Game Development | Zone 18 Eternal River
It’s that time again for another journey of starting with a blank slate and working towards a vision. This time I go over the different layers that make up creating a zone in my game. Form the generic landscape layer that everything else is built on to adding in a river and finally the little things for much-needed detail.
Landscape Layer
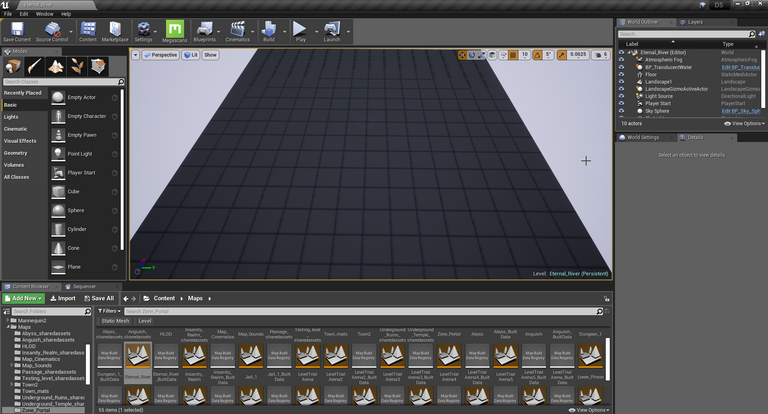
Like any new zone, a starting point was needed. In some instances, I might just place a couple of tiles. In others such as Eternal River, it was started with a landscape layer that I could add to or subtract as needed.
One of the first things I like to work out is the scale of things. Since this entire map is a cave and I have used all the assets before that I’ll be making this zone out of I have a decent understanding now of the scale of the meshes to the player.
I did play around with a few different sized landscape layer grids. The first couple of attempts I felt were too small for an entire river to be flowing throughout the main path the player would be following to the end. As a result that ended up being a major factor in the overall size, I worked further on.
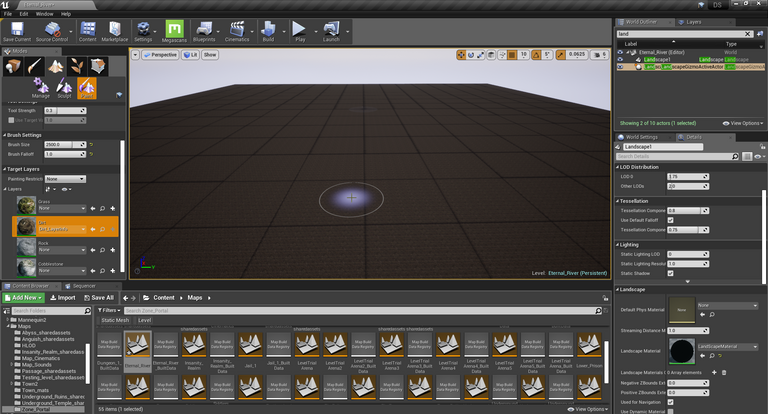
After that, I simply used a copy of a landscape material I had already set up in several other zones to be the base tone. While I could go back later on and add in several other layers I mostly just went with this dirt texture.
While it is a bit basic there will be many other elements to bring the entire zone together. I also don’t have to worry about it playing a major impact on preference down the line if I need to make adjustments to hit some FPS goals I have in mind.
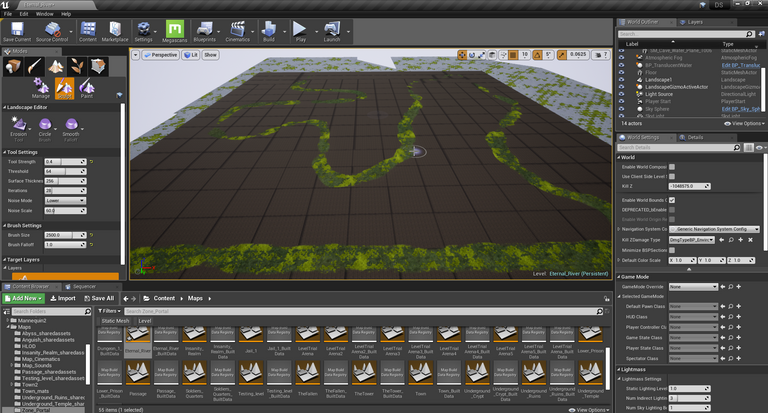
The next step was setting up the major influence this map was going to be based around the river itself. I was not quite certain how long it needed to be so I just filled up my entire landscape layer with a body of water. I can always subtract later any unused part.
This was done by using the scalping tool in Unreal Engine 4 (UE4) and digging a trench with an erosion tool around the map itself. I spawned in as the player several times to ensure I was not making it too deep.
I don’t have an actual swimming system and animation set up in this game. I also don’t intend to do so. As such I wanted to make sure most parts were no deeper than waist-deep. While I could always add in such a system later on it’s not in my original plans and adding time-consuming items to an already multiyear plan is something I want to avoid at least for now.
The water itself is quite a disgusting cave looking water that I use in almost all of my maps when there is a water feature. I had layers of water sheets that I simply adjusted to be under the landscape layer itself so they would be seen.
The above screenshot does look a bit patchy. This is due to several factors from being so far away from the different water sheets and several settings I have set up. Once spawned as the player and much closer this is not the case.
Outlining The Zone
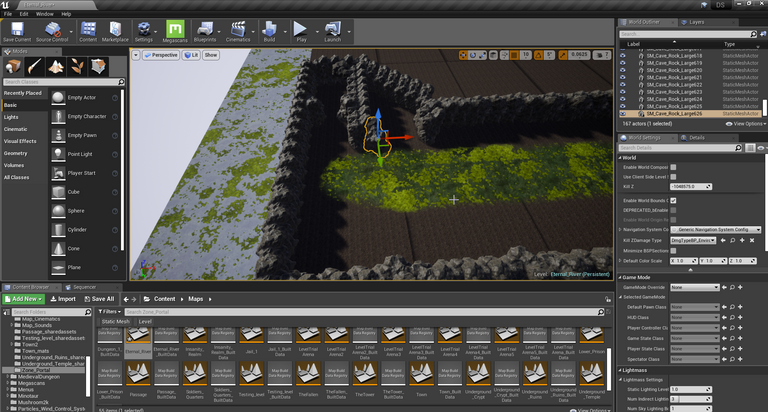
The next major step in working on this zone was placing the outer walls (rocks) around the river itself. This will create the main path for the player. While also giving me some large voids to play around with and add in several little side areas if I want around the river.
This is also part where I spent some time playtesting run time. Without any monsters or anything else for the player to encounter it took me around 10 minutes going in different and rooms and down the main pathway.
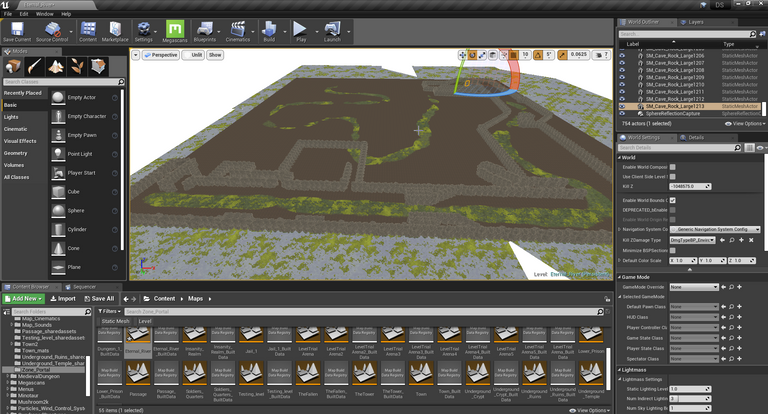
This zone is going to be one of the bigger ones I created. With how wide the river is and depending on how much exploring the player wants to do. Add in with how I end up placing monsters for the player to hunt later next year. This will be a decent chunk of time to fully clear. Which I am fine with as long as performance is not hit too hard which I can always address later on with several changes.
This above screenshot I ended up taking after some time. I will not say if this was the final outline of the zone itself as I do like to in a few of them add in a secrete area from time to time. I don’t always though so that should not be expected either. Such things always get added in later once I know I have all the screenshots for sharing that could give them away taken.
The final step was adding in the roofing to all the areas the player would have access to. Thankfully this is a rather quick process of just copying large sections and pasting them along. While I do try and break up some of the patterns that doing it this way can cause. There will be other factors to draw the eye away from it added in later on.
With a zone like this possibly having 5k meshes (actors) in it. I always try and do it in as neat of a fashion as I can. I don’t want to have too much overhang and just meshes the player will never see taking up space.
Once everything is done I went in and start deleting unused sections of the landscape layer itself. Along with resizing the water sheets. There is nothing else beyond the walls if a player somehow found themselves outside anyway. I also don’t’ want to waste performance resources or time rendering unused areas either.
I also did add in a few evaluation changes to the landscape layer to give the cave floor a bit more character. While it will be quite small and I suspect unnoticed by most. It’s all the little things that make something come to others.
Lighting
Consider if you will someone slowly losing their mind after manual placing over 700 light sources into a zone. Align, adjust, check, repeat. Align, adjust, check, repeat. Align, adjust, check, repeat. Align, adjust, check, repeat. Crazy!
While it is a bit excessive and I might remove some at a later stage. It is easier for now to add them while I go than having to redo everything later on. I can always just delete half of them in areas where I feel it’s not needed. This is also not a cave I’m looking to make dark so I’m quite fine with a lot of light.
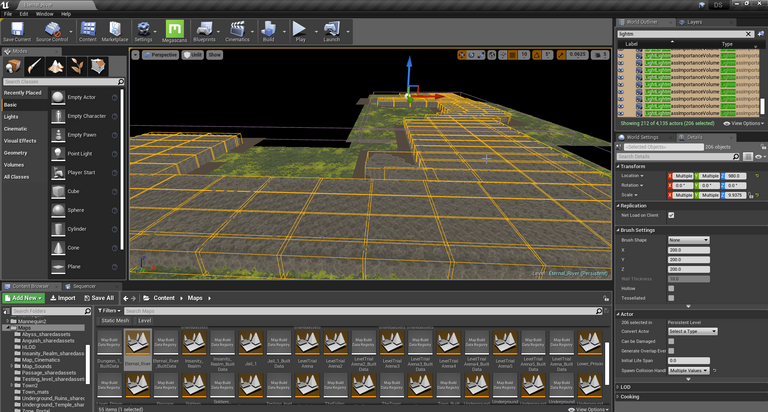
The next stage was adding in a lot of light importance volumes. These more or less tell UE4 where I want the focus to be for rendering light. While you could just make one giant volume the game engine itself dislikes that and that will add a lot of time to compiling the lighting with such large areas.
I also added in a couple of post-process volumes to the zone. This gives me some quite advanced features for controlling the lighting itself from color grading to lens effects. I make some adjustments to the film options for slope, tope, and shoulder and more or less leave everything else alone. A lot of the other options have a heavy impact on performance and some even require other software to get full advantage out of.
Lighting was worked on for several days as it can be quite a boring task of placing endless amounts of light sources. I usually try and break that up by doing other tasks. It can also take many hours per lighting compile and I do usually like to know how things are coming along so I can make adjustments as needed.
Foliage And Structures
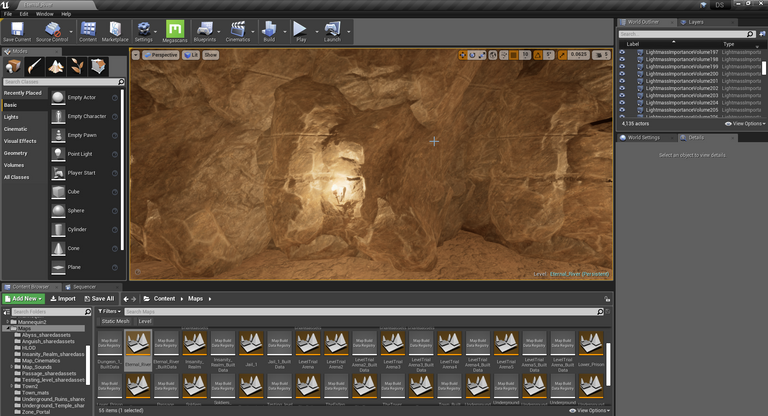
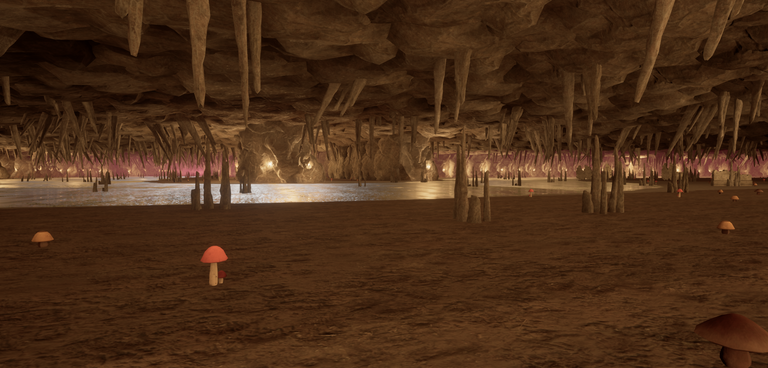
Up till this point, the inside of the cave is quite barren. You just have a giant river running through it along with a lot of torches. It was time to give this zone a lot of detail and help build the overall feeling for it as well.
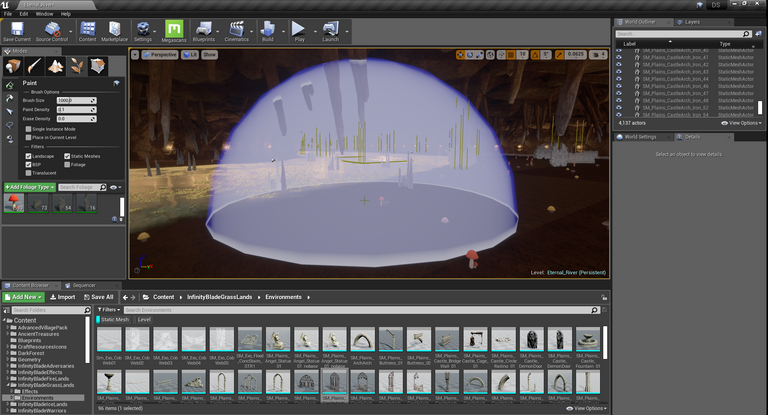
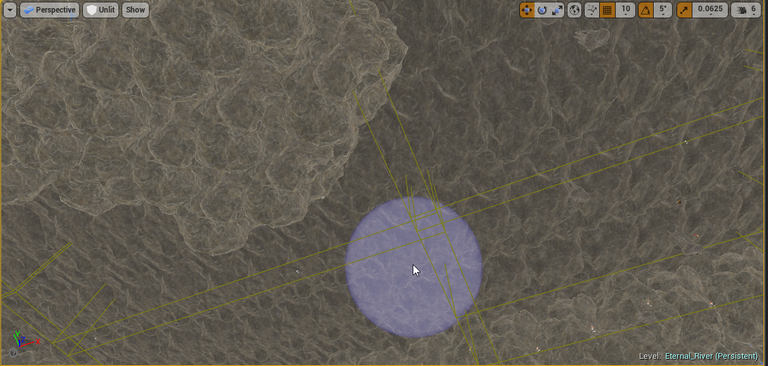
Thankfully UE4 has quite an amazing tool called foliage. It allows you to set a few parameters of items you place in it like a paint bucket. Then with a brush just paint them onto your world with your mouse. As you move around they spawn in randomly with the parameters you gave them.
There are some pros and cons to doing something like this. It can be quite easy to go overboard and kill your FPS and the overall performance of a zone. You could for instance place down a million blades of grass in a matter of moments if you wanted. That would be quite a lag fest.

I went over different sections of my cave in different phases. I wanted to finally control the madness as best you could. Some places I wanted to go heavy with some things and others not so much.
I first added a layer of cave mushrooms to just about everywhere but the river itself. I didn't want them to be very dense either. I also knew I could turn off shadows on them to save on performance and the player is not going to care much or notice. They are small enough that would t be darn annoying running into them all the time as a player moving around the zone so I disabled collision on them as well. In total 1,700 mushrooms were placed.
After that, I went lightly over a few areas with a few dilapidated walls. Since these are bigger objects they would cast shadows and have a collision. I did add a few areas of interest as well manually without the foliage tool. With the size of several areas and the zone overall it needed a few points of interest and areas to work with later on.
Finally, with it being a cave it was time to add in stalactites and stalagmites to give the overall look and feel I wanted. Many zones ago I would have done this process manually one or a couple at a time. They would just never work the way I wanted them when using the foliage tool.
Thankfully I have wised up a bit since then and realized I just needed to change my point of a view. Who would have thought dragging the foliage tool on the underside of the zone would have resolved all my issues and saved me many hours of work. Over 2k of them ended up just being as easy as clicking and dragging the mouse a few times.
Final Thoughts
I’m always a little sad once I finish what I consider to be phase one of a zone. There is always that fun of starting fresh and working your way to a conclusion. I had a lot of fun for the most part and look forward to further developing things along. For now, it’s off to another blank slate and to start the madness all over again.
Other Posts:
Information
Screenshots were taken and content was written by @Enjar. Screenshots are from Unreal Engine 4.
Game roadmap.


https://twitter.com/EnjarGames/status/1335109005820256263
Congratulations @enjar! You have completed the following achievement on the Hive blockchain and have been rewarded with new badge(s) :
You can view your badges on your board and compare yourself to others in the Ranking
If you no longer want to receive notifications, reply to this comment with the word
STOPDo not miss the last post from @hivebuzz:
Oh my. 😁
Yup. 😁👍
https://twitter.com/WoodstockPro/status/1335133927804182531
Wow es muy bueno lo que has publicado, gracias por compartir.
Thanks, have a great weekend.
Gracias para vos tambien, saludos.