Improvement on dehydrating vegetables for long term storage.
Some thoughts on dehydrating vegetables the 'easy' way. There are many posts on YouTube and elsewhere, promoting using frozen vegetables in a dehydrator; for fast long term storage. I do Not claim to have originated this method of preservation, but I will address some things that improve upon their process.
This Lady was the first I saw on this:
https://m.youtube.com/watch?v=m1K2mbk8WZo
I watch her often, and find her methods practical and accurate. She is pretty sharp, watch her channel!
I have found a couple of improvements to her method, that will save time and costs.
Fun at home:
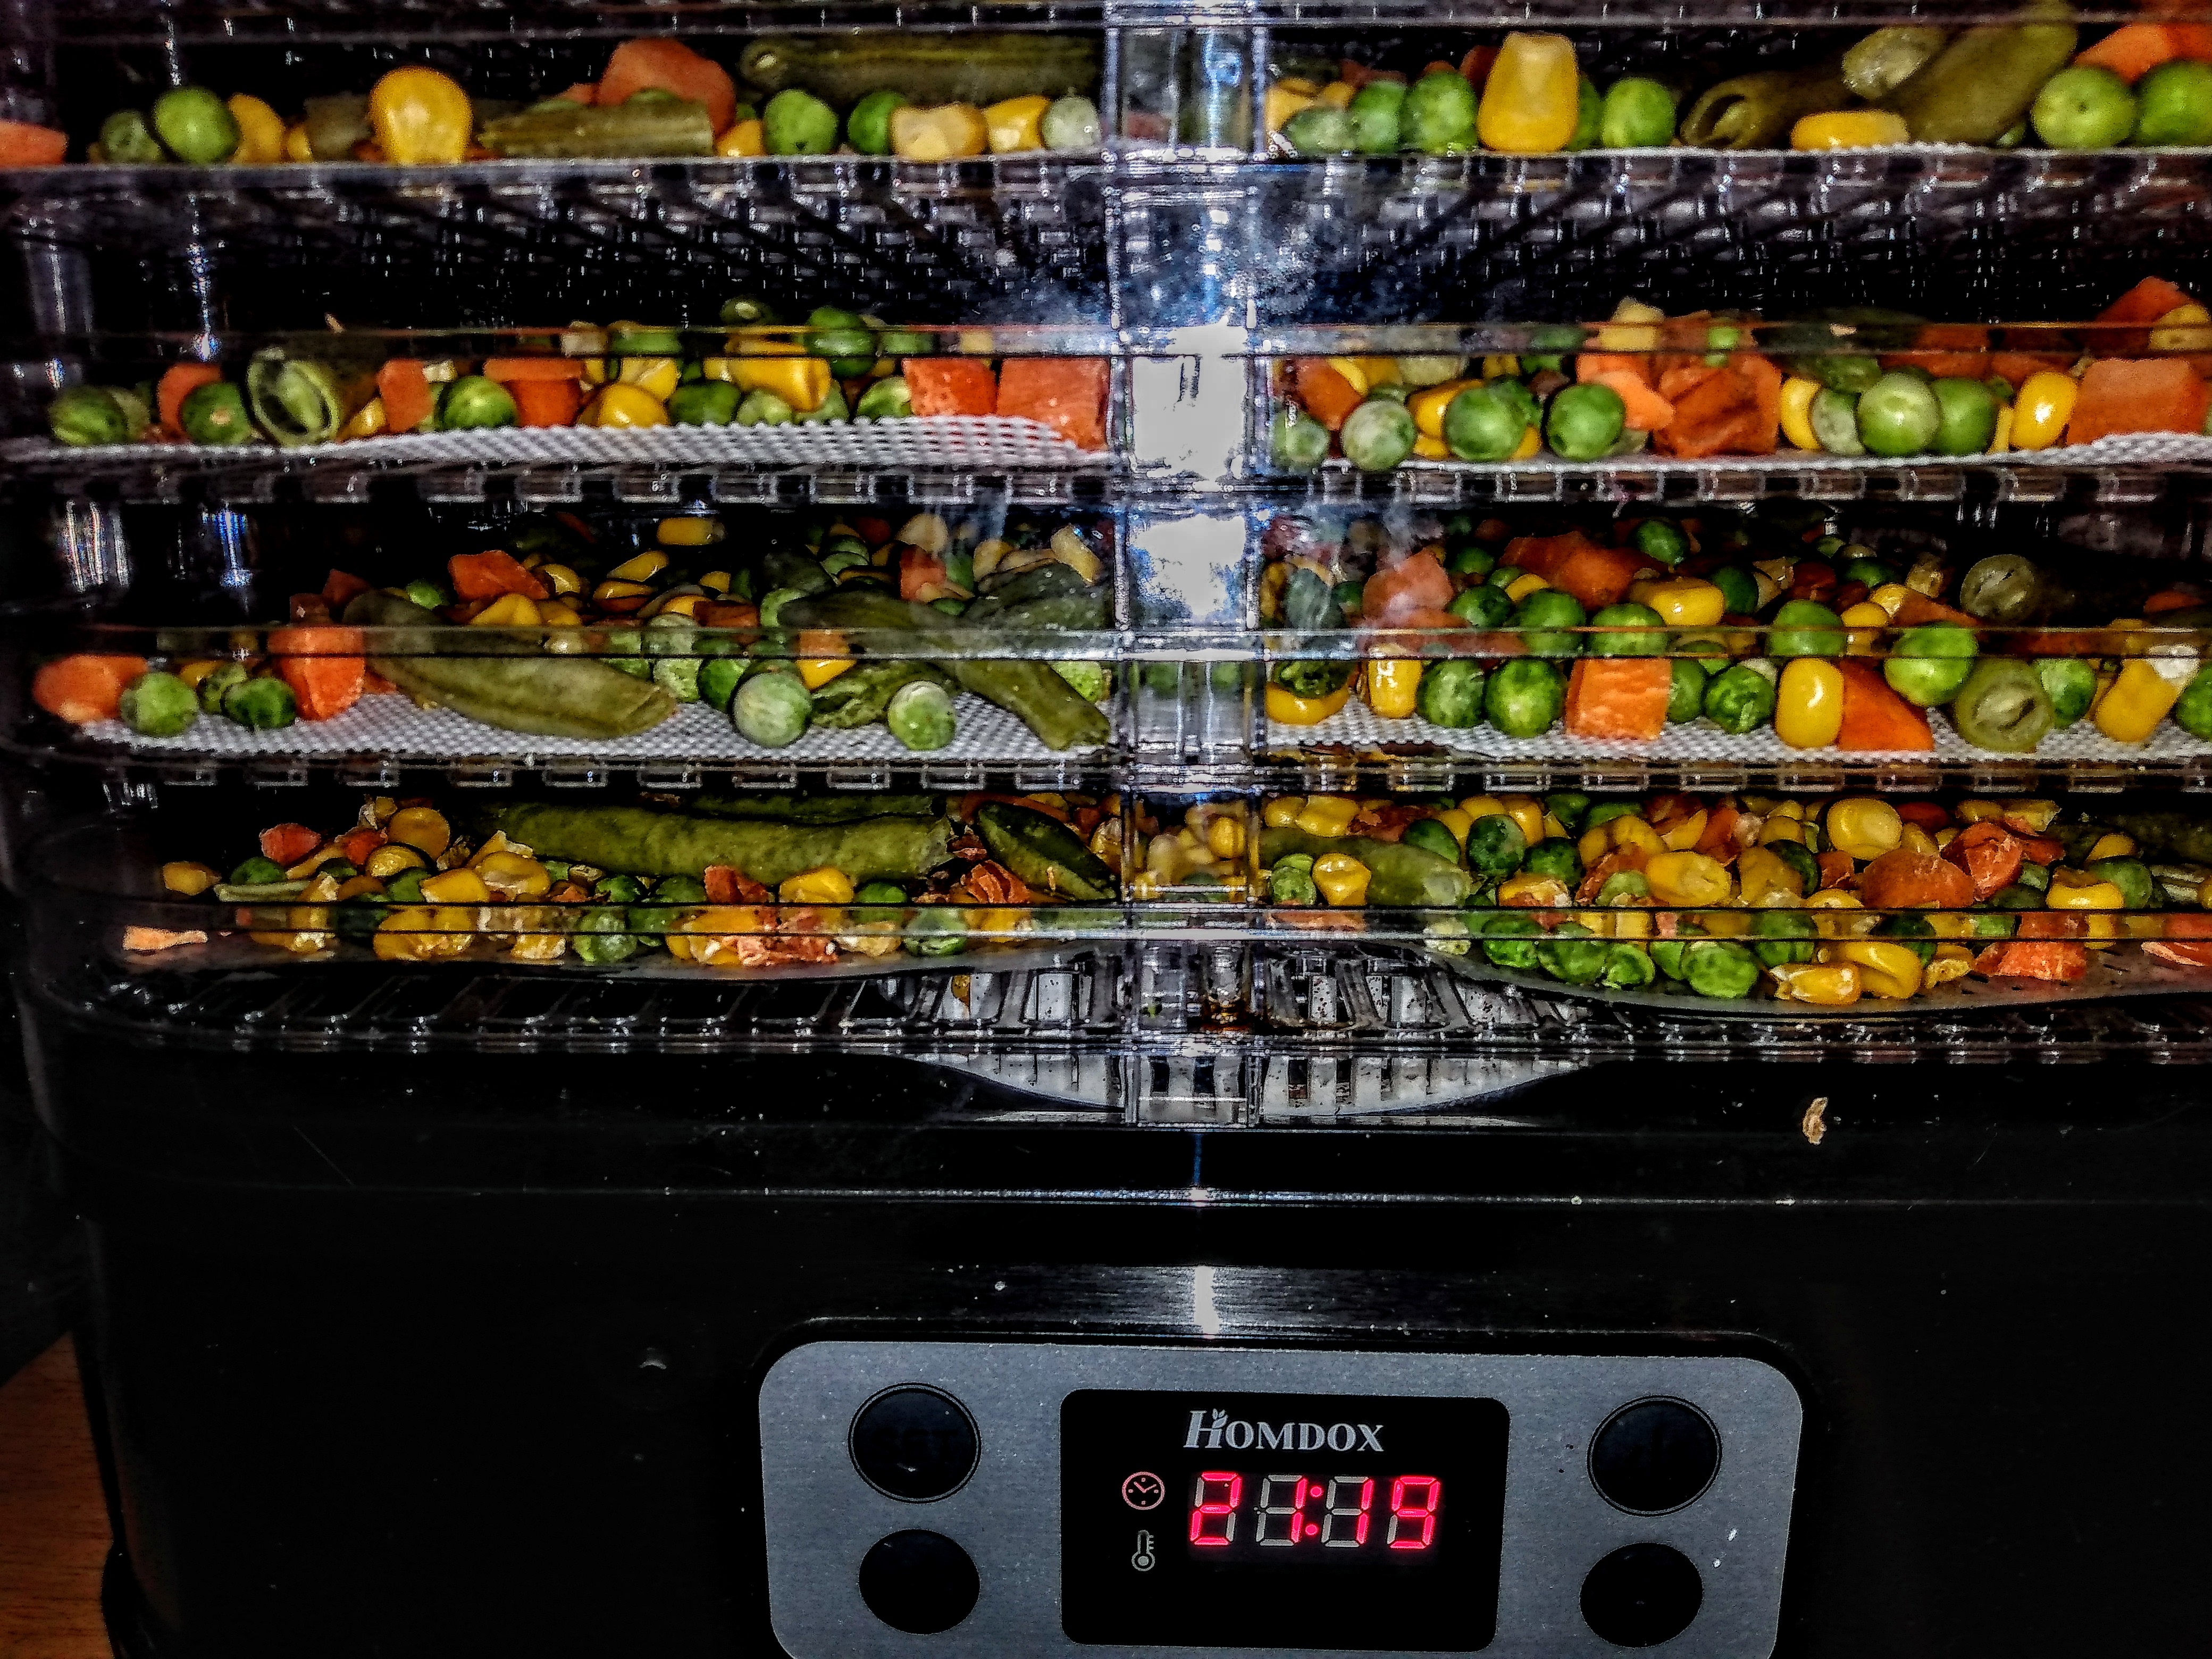
Mixed vegetables for stew:

Using frozen vegetables.
First, she uses frozen vegetables, which can clump and seldom lay right on the trays. I find that if you set them in the sink overnight, all those problems are solved.
Second, frozen vegetables must be thawed first, then the atmospheric condensation must be evaporated before the dehydration can begin. Using thawed vegetables, they condense no moisture from the air; because they are sealed in a bag.
Third, the frost on the vegetables must be evaporated away too. When sink thawed, I just nip the corner and pour the melted frost out. I usually get a little less than a quarter cup, but in 8 trays, that is a cup and a half!
When you add the atmospheric moisture we avoid, we are reducing the moisture loading by several cups. I have no idea how long it would take to evaporate 2 cups of water....
Add that to the time and power needed to thaw the frozen vegetables, and the savings are readily apparent. Thawing in a sink uses no dehydrator time or power. Additionally, this thawing can be done, while the evaporator is processing another batch; increasing the throughput of the dehydrator.
I follow her method of vacuum sealing the dehydrated vegetables in canning jars. I do that slightly different, because I use a vacuum pump designed for refrigeration. I do this for two reasons:
First, because I have this vacuum pump already (multiple uses) because I do my own refrigeration work.
Secondly, it pulls a significantly better vacuum than the toys they sell for this use. I run the pump until the hose collapses, then I know I have a good vacuum!
Easy, fast, and efficient....
💗🤠💙
This is awesome!
Thanks on the tips, those will be helpful in my future projects.
You reminded me again that I really need to get myself a vacuum sealer.
It cuts the processing time in half, and 5 pounds of vegetables roughly fills a quart canning jar. This batch is already sealed for long term storage!
Thanks for coming by.
💗🤠💙😁
It sounds like you could build a freeze dryer from scrap, if you cared to do so.
The advantage of freeze drying is that the water comes out as vapor without changing to liquid first.
I just don't know where to find a box that would withstand a good vacuum.
ROFLOL, I'm working on one! The vacuum vessel is not to hard...use a pressure cooker. Just be sure to use one that doesn't had a rubber sealing ring, as it is only designed to resist pressure, not vacuum. I have found two so far at resale stores, one I will never trust under pressure.
I'm studying the cycle right now, hard freeze first, followed by a slow rise in temperature under a hard vacuum.
Life is never boring!
💗💙💗💙
When hive finally moons I will be in the market for a homemade one, if we can come to a price and get me through that corner of Oklahoma.
2500usd for a factory made one leaves a lot of room for haggling, iyam.
When I get it running, I'll post on it. It should be a fun build!
I bought a separate refrigeration unit so it will be stand alone after I get it running well in my freezer first!
Too many things to finish, LOL!
😆😁🤠
Many thanks!
Interesting and useful information!
Cuts the processing time by about half, so I can process more volume. It is low cost, good quality long term storable food. Great for prepping storage!
💗🤠💙
and useful :-)
Should keep us eating until I can get some plants harvested!
💗🤠👍😁
All good points on dehydration and storage. I'd add a couple pointers:
First, make sure your dehydrator temps stay under 145F or you will lose nutrients to the high heat.
And if using a vacuum sealer to store things, make sure the moisture content is 5% or less. Botulism can develop if there's too much moisture.
THanks, I use 140 degrees (recommended by the manufacturer) and dry them until they sound like glass chips. The pump pulls 26 inches of mercury, so there is next to nothing there.
I'm thinking about using argon first in the jar, because I have it, and it's heavier than air; then the vacuum.
I like this, I will get a moisture meter!
💗🤠💙
I just got a dehydrator. I needed this motivation to read the directions and get going with it. Thanks.
It is a good tool, dried food is good for a decade; add vacuum and it moves to get years.
Enjoy your new toy, and keep on prepping!
🤠😆🤕🥴