Mi participación en el concurso: Foami & anime fusion; Arbol de navidad // My participation in the contest: Foami & anime fusion; Christmas Tree


Spanish
Buenas buenas...
Recibe un cordial saludo de mi parte. Súper emocionada vengo a participar en el concurso: Anime y foami de la comunidad Hive Diy. Tengo que confesar que tuve varias ideas cunado leí sobre el concurso, pero en un momento me llego la idea de hacer un árbol de navidad. Esto con la finalidad de tener lo para mis hijos, para que vayan sintiendo que estamos en unas fechas diferente, muy emotivas y significativas, en donde se horran tradiciones. Yo quede encantada con el resultado, mis hijos también. Te invito a que te quedes a ver y leer.

Materiales a usar:
Anime
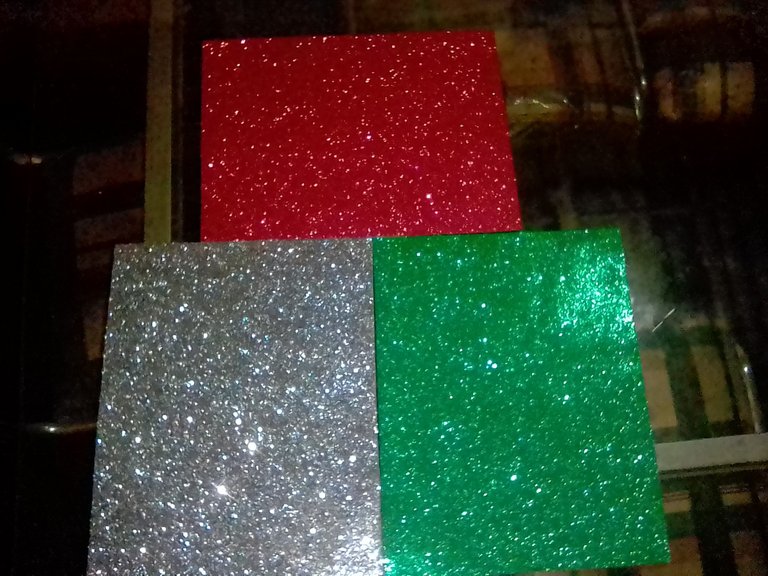
Foami escarchado de color rojo, verde y plateado
Pintura de color blanca
Tijera
Pega
Papel celofán de color verde
Un pedazo de cartón de huevo
2 palitos de chupeta
Bolsa de papel (donde viene el bulto de harina Pan)
Papel bon
Hojas recicladas
Lápiz
Marcador
Pincel
Elaboración:
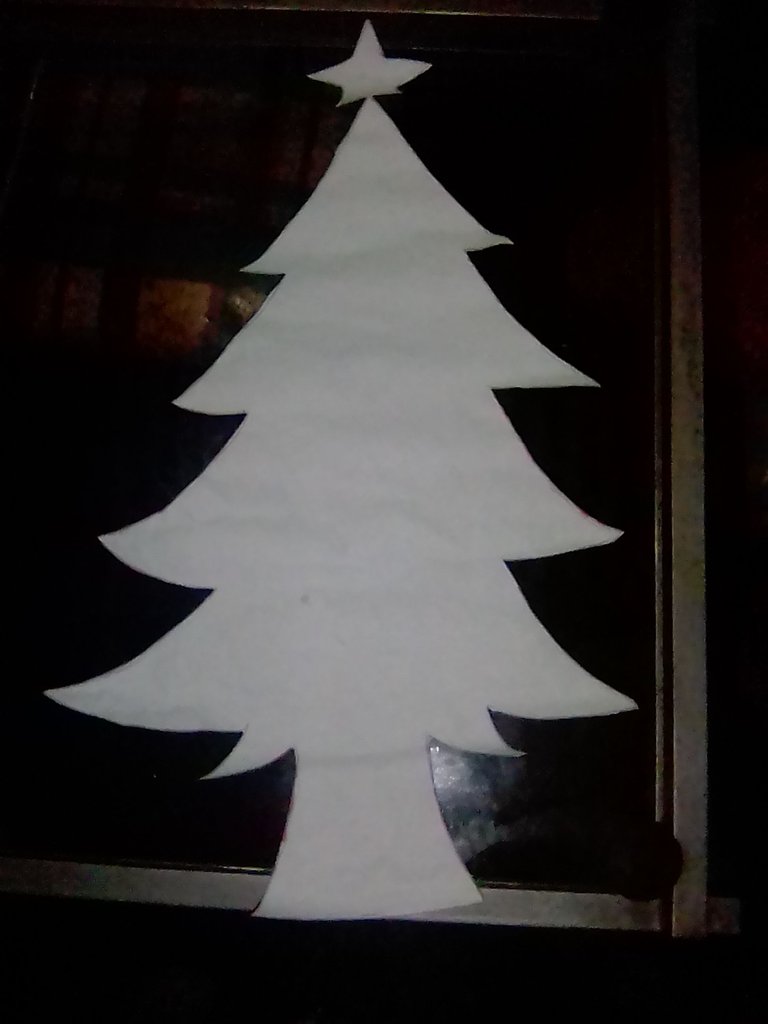
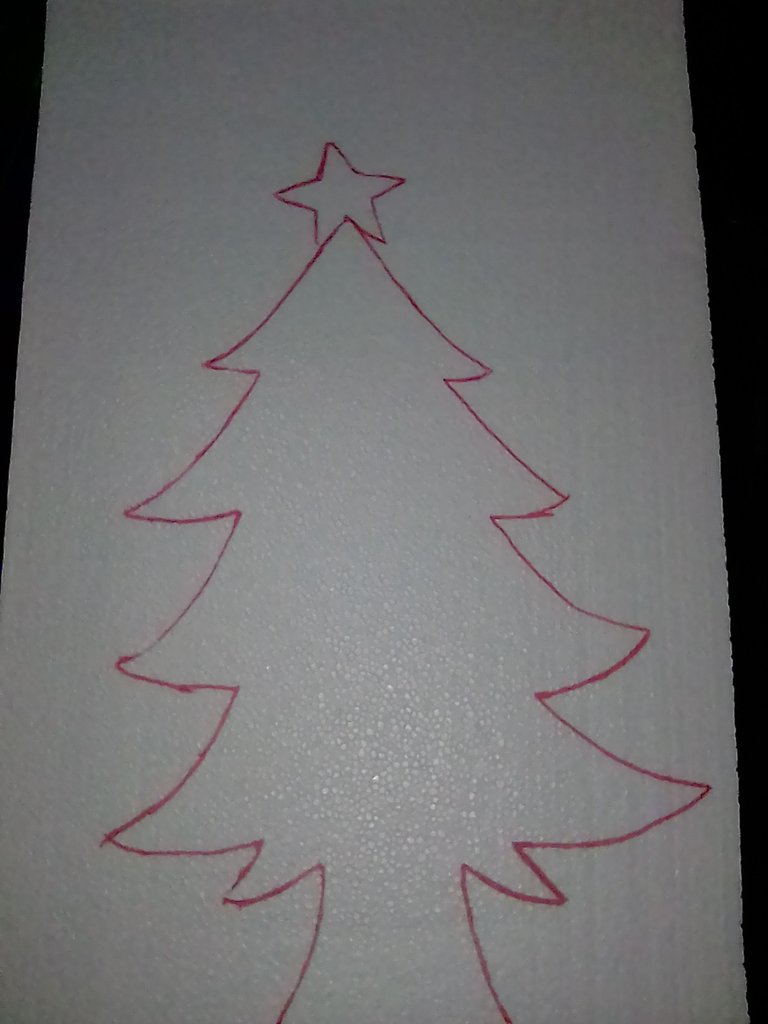
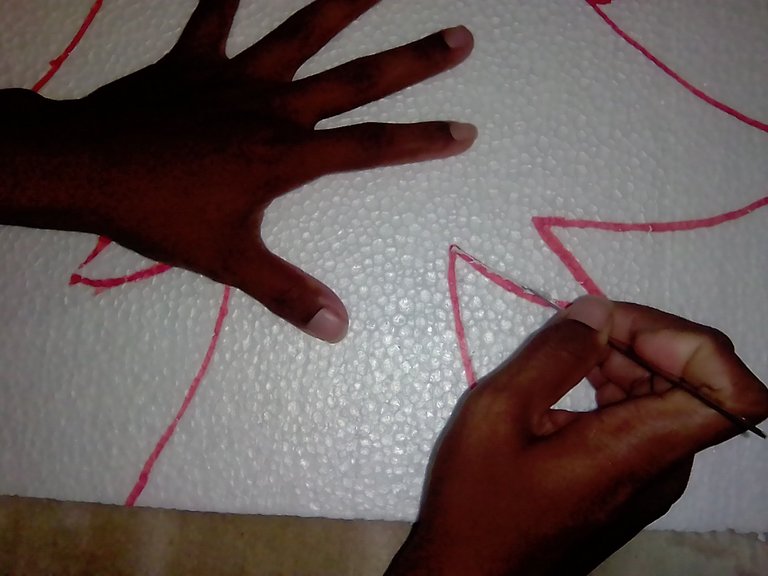
Lo primero es ordenar las ideas en la cabeza (jajaja…), luego conseguir los materiales a usar. Y pongo manos a la obra. El dibujo del árbol me lo regalaron. Busco la lámina de anime, coloco el dibujo del árbol sobre el anime, lo marco con ayuda de un marcador rojo, para picar el anime uso un cuchillo.
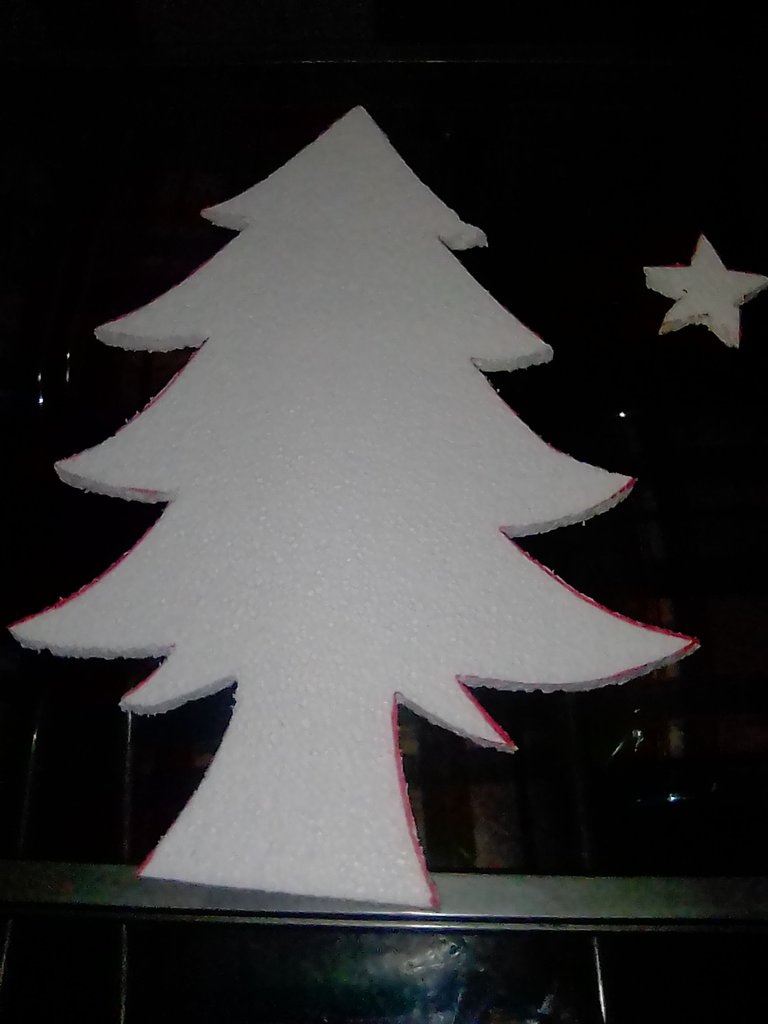
Listo la figura del árbol y la estrella en anime, busco los dibujos de los adornos que le voy a colocar al árbol.
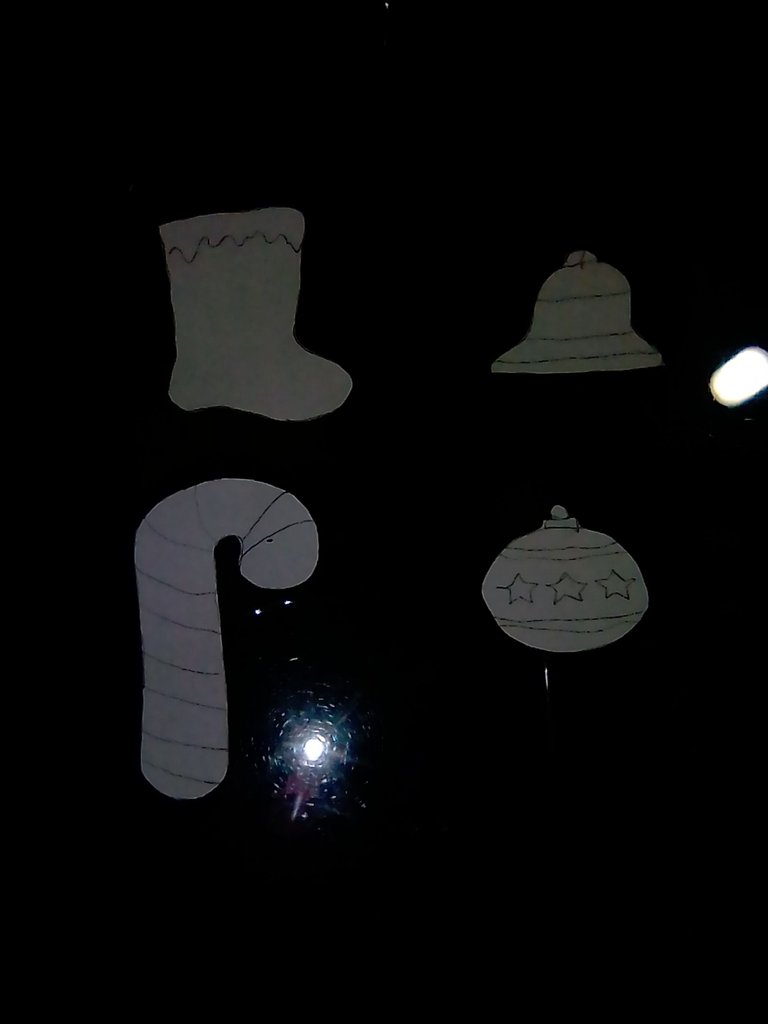
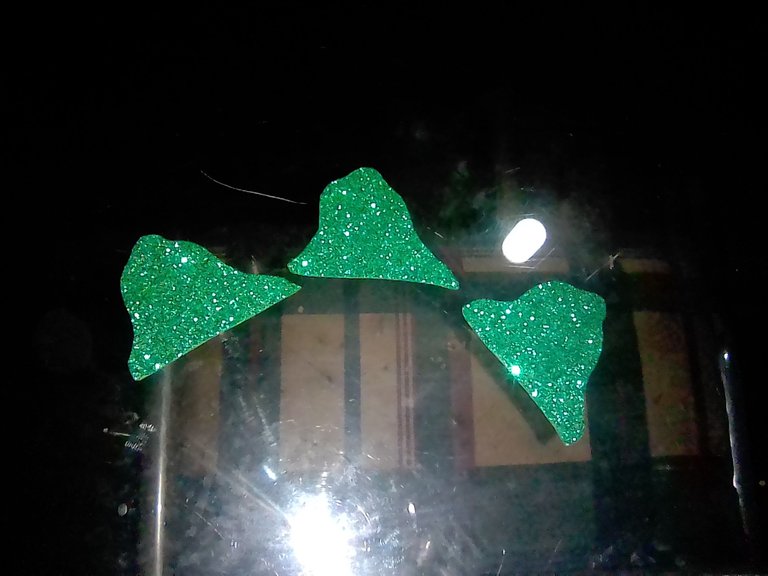
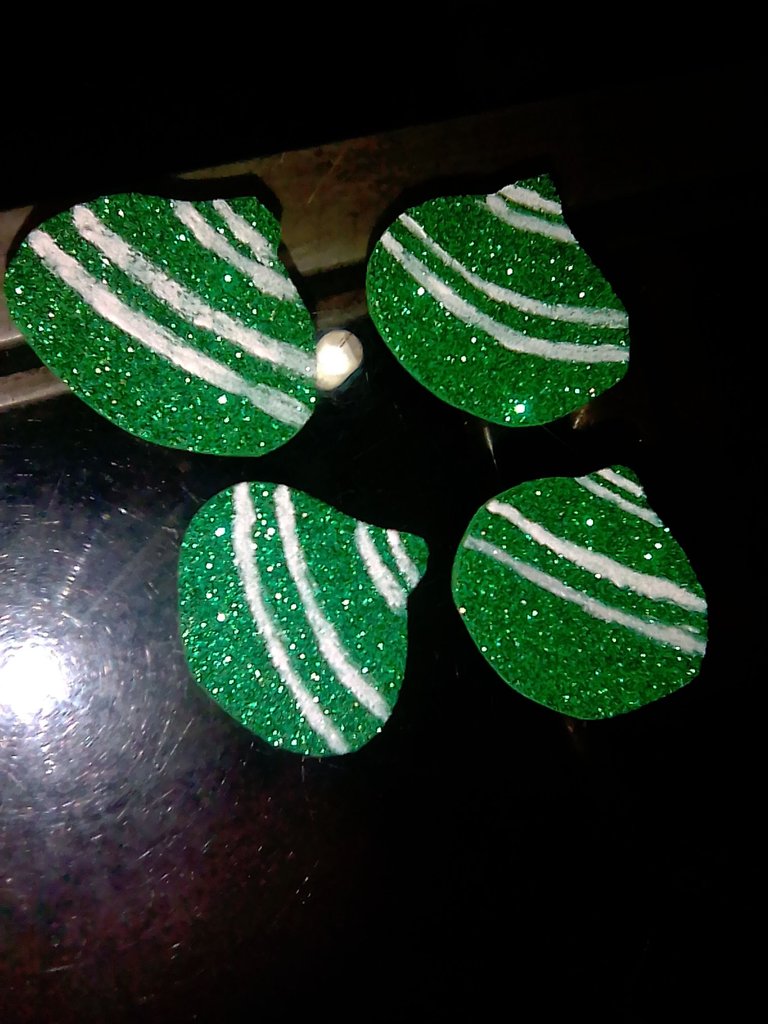
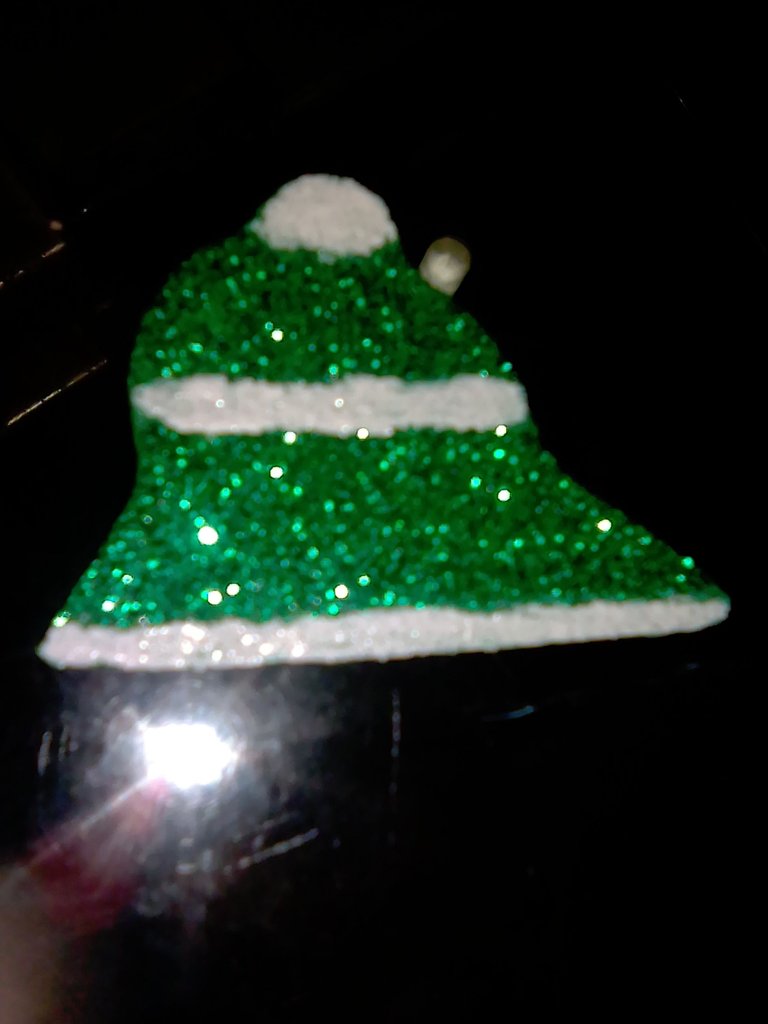
Coloco las figuras de la campana y le guirnalda en la parte de atrás del foami de color verde. (Los foamis los compre escarchados para que se vieran más bonitos los adornos en el árbol.) Voy a dibujar los y luego recortar los.
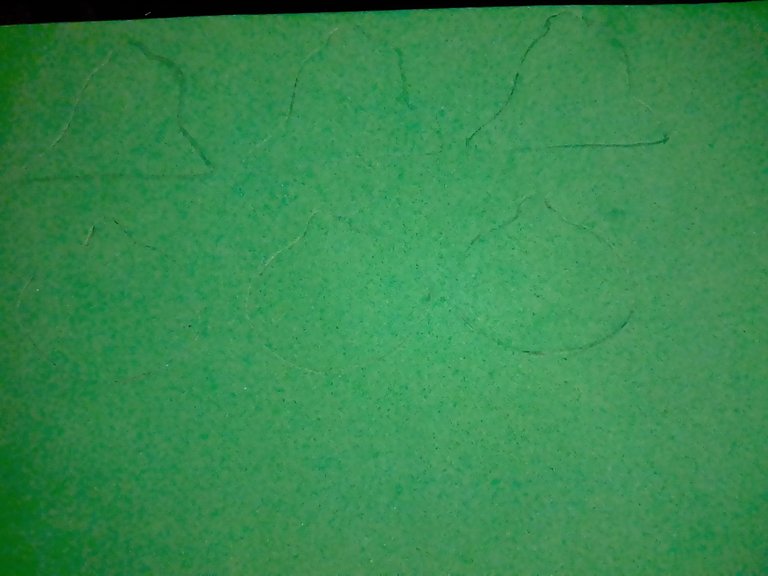
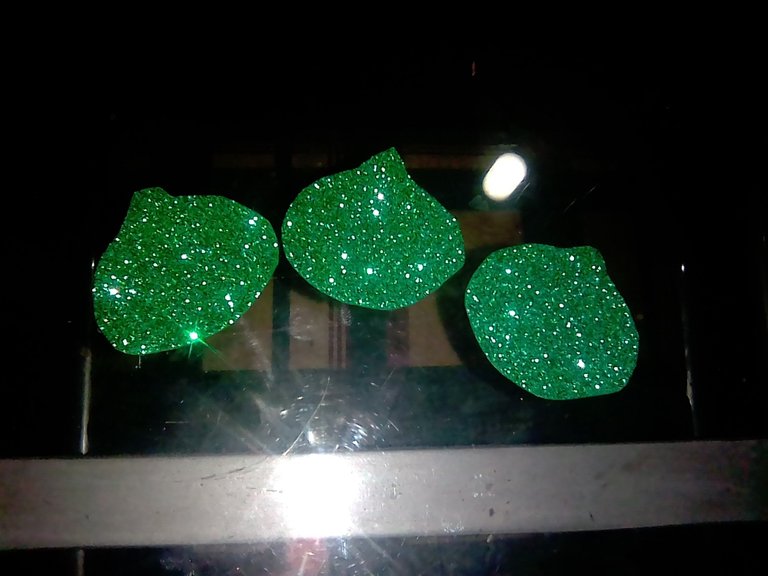
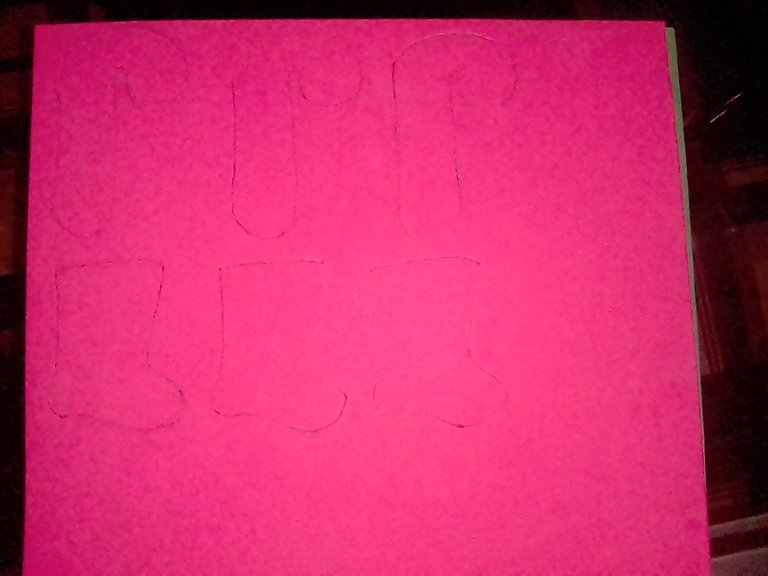
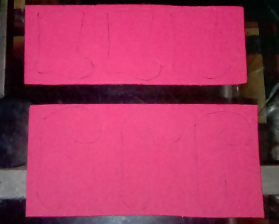
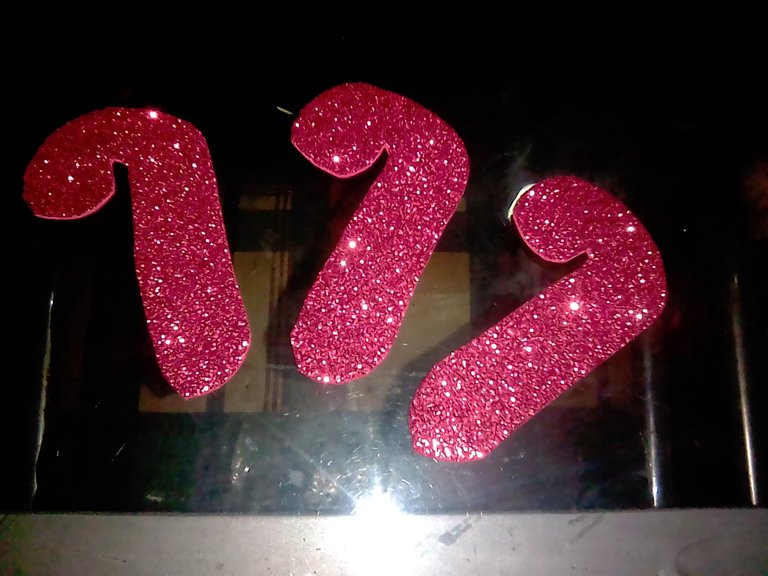
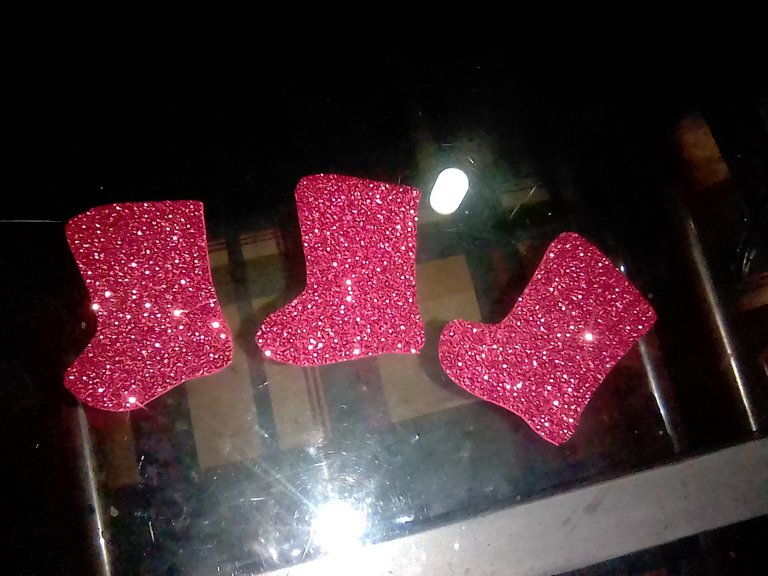
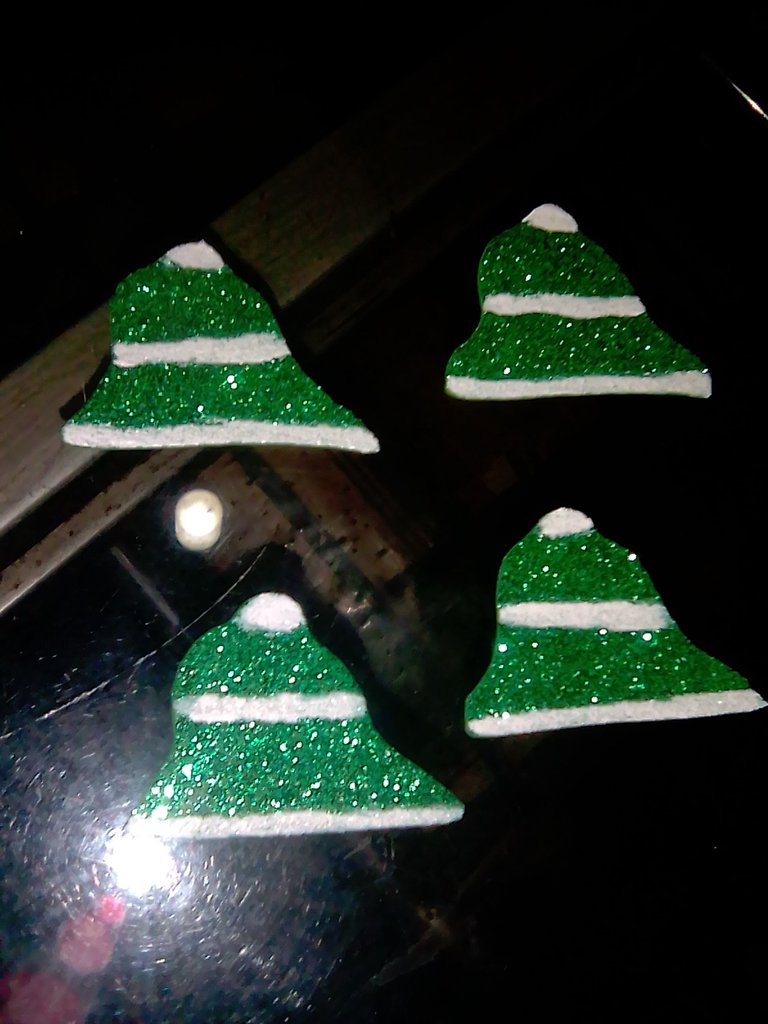
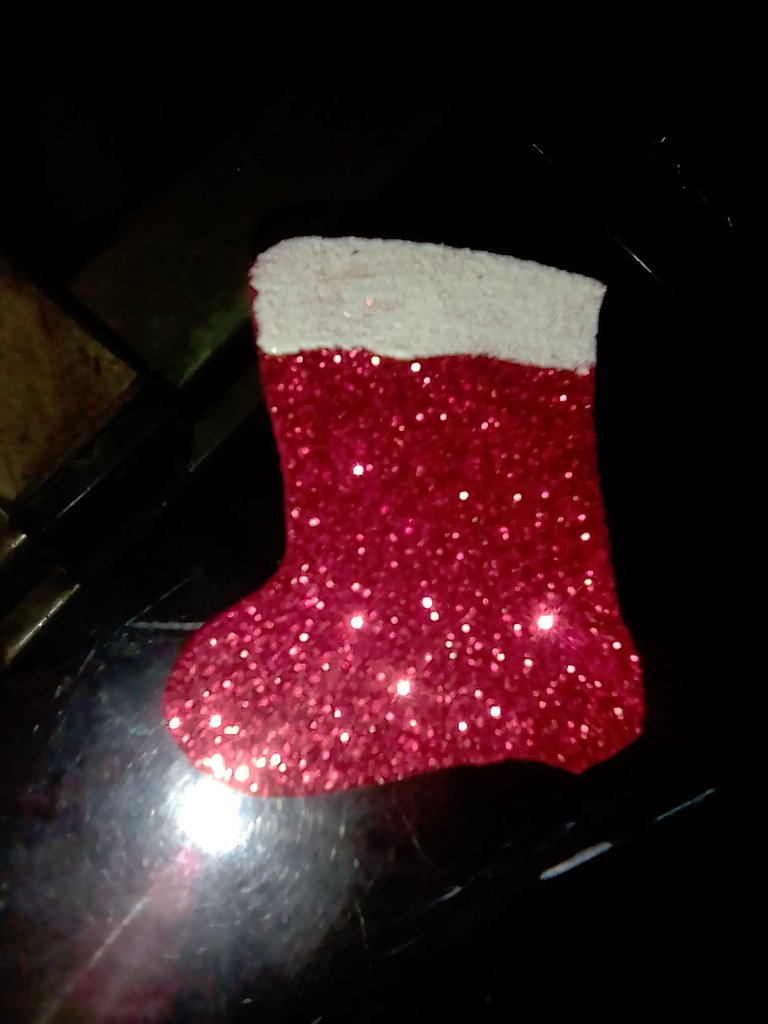
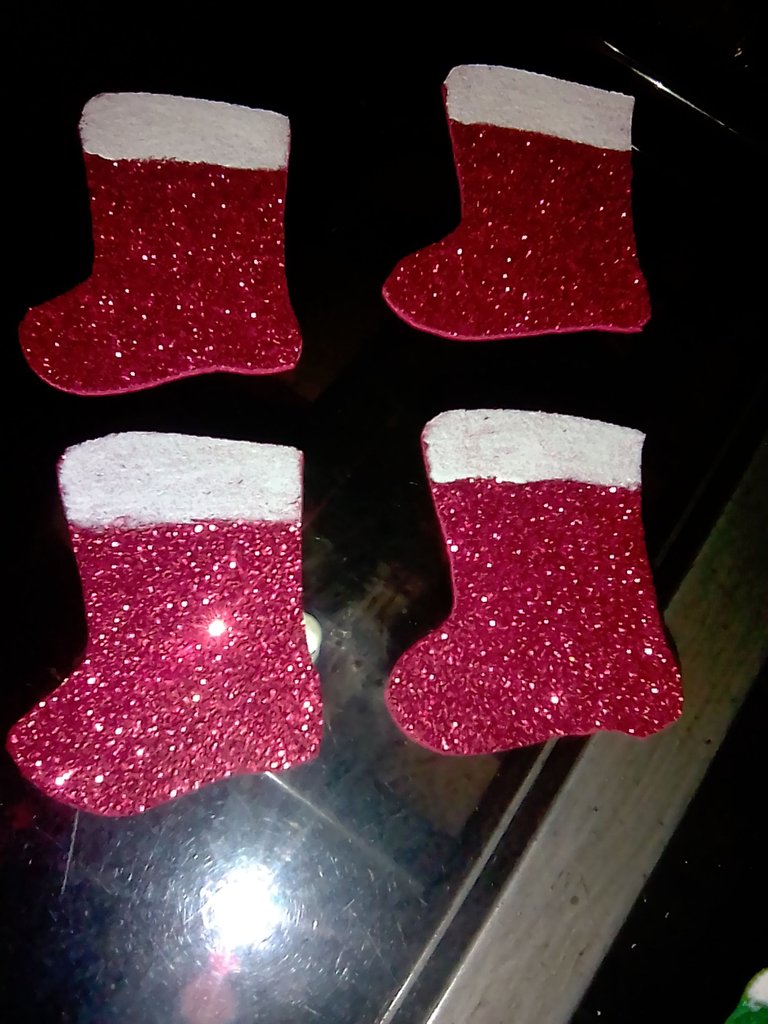
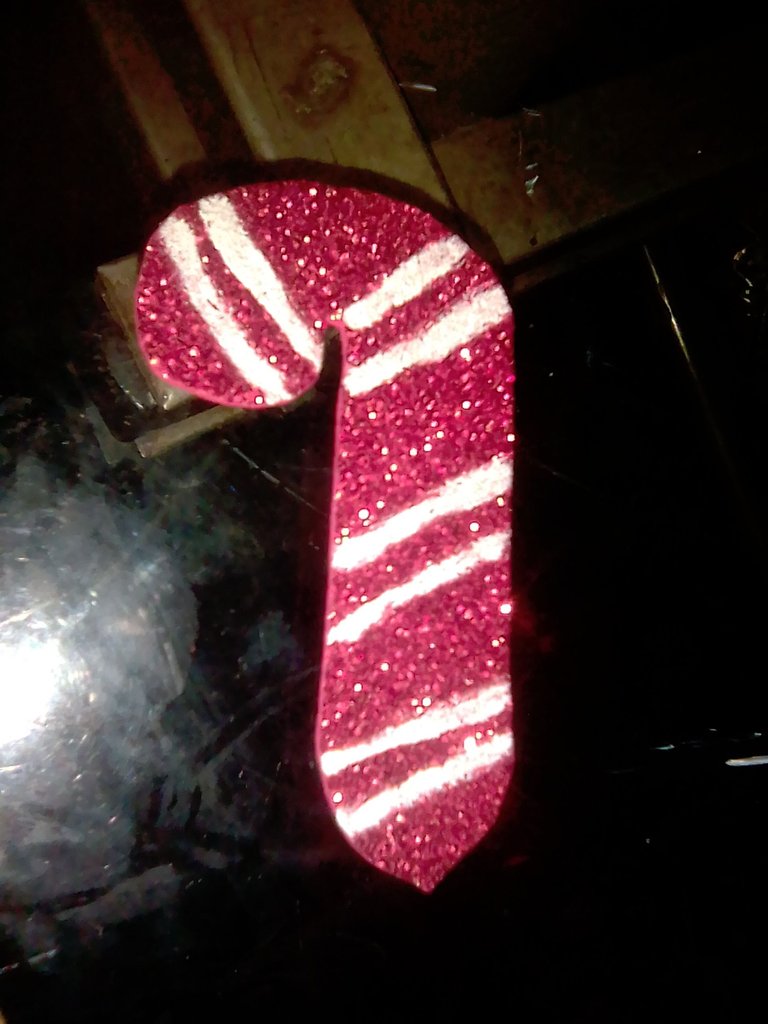
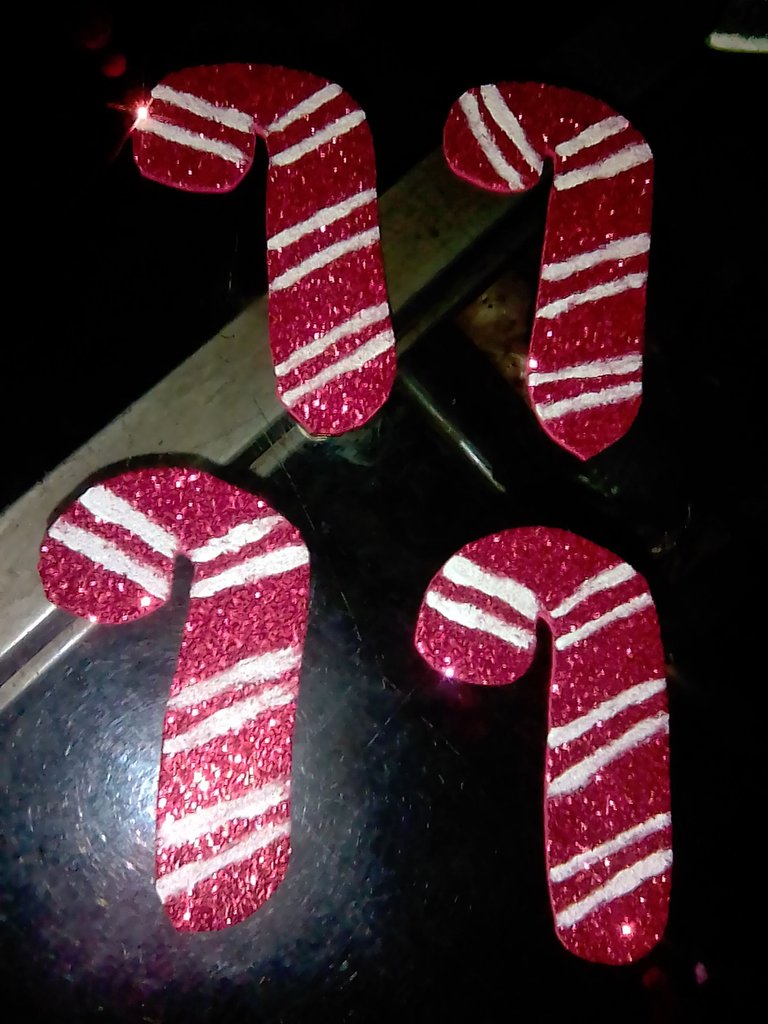
Continuo con las botas y los bastones de caramelos, el procedimiento es igual que con las anteriores, dibujo y recorto. (En las fotos aparecen 3 ejemplares de cada adorno, pero más adelante me di de cuenta que necesitaba uno más).
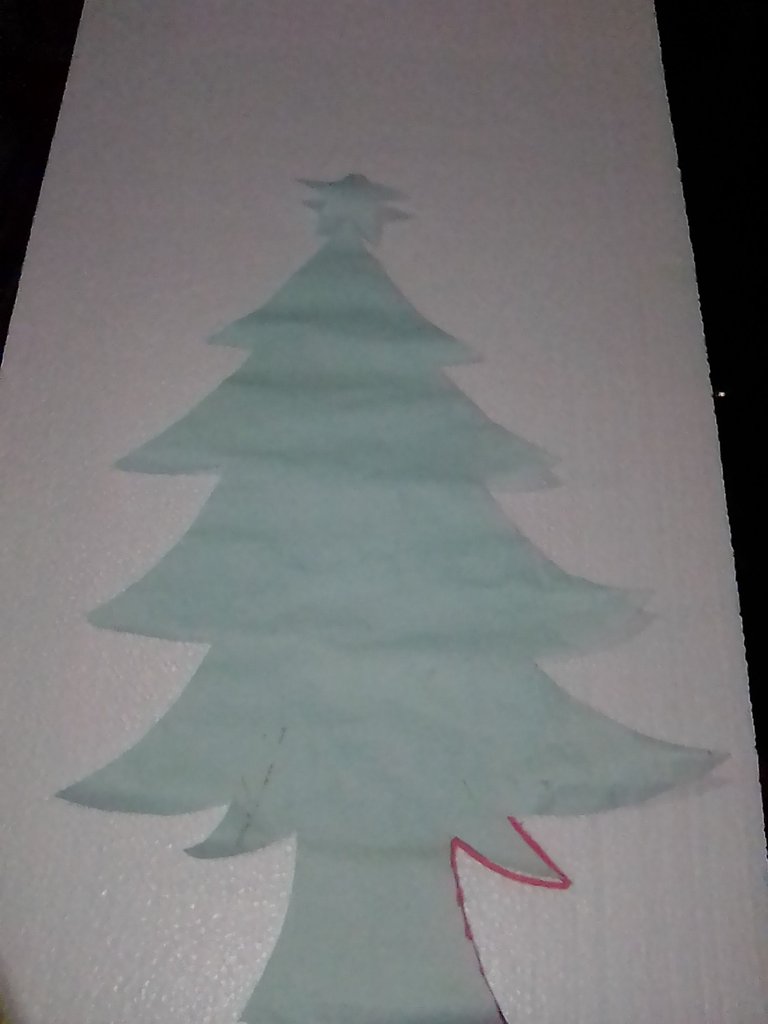
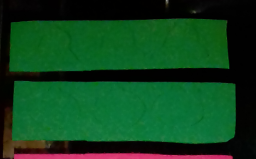
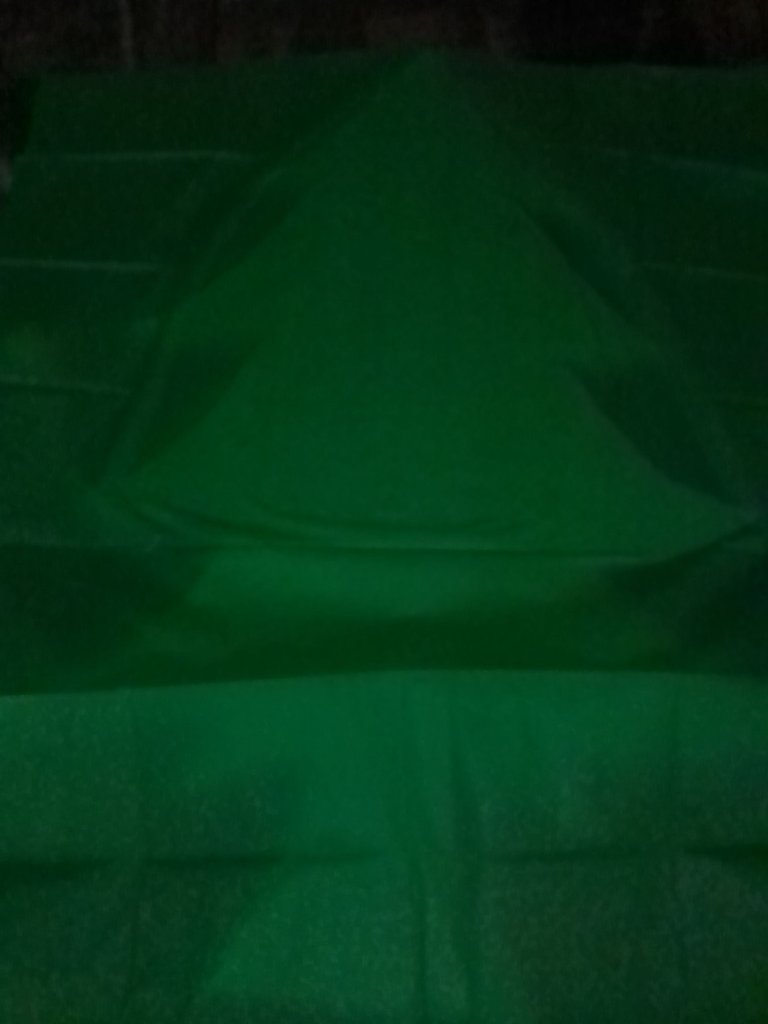
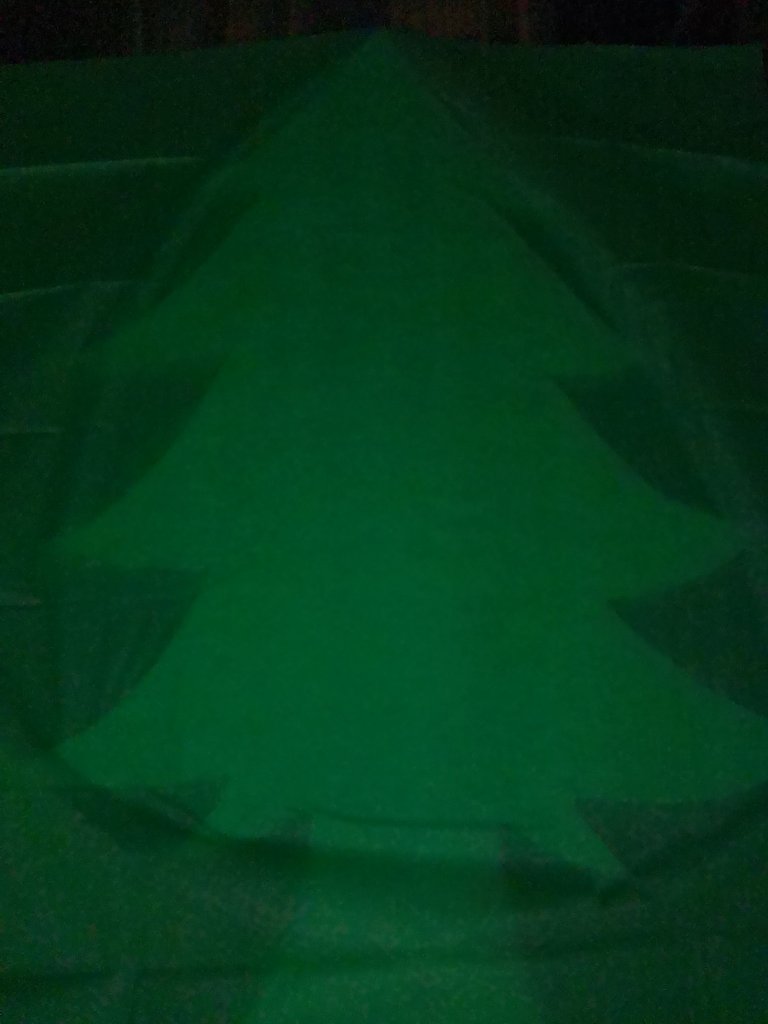
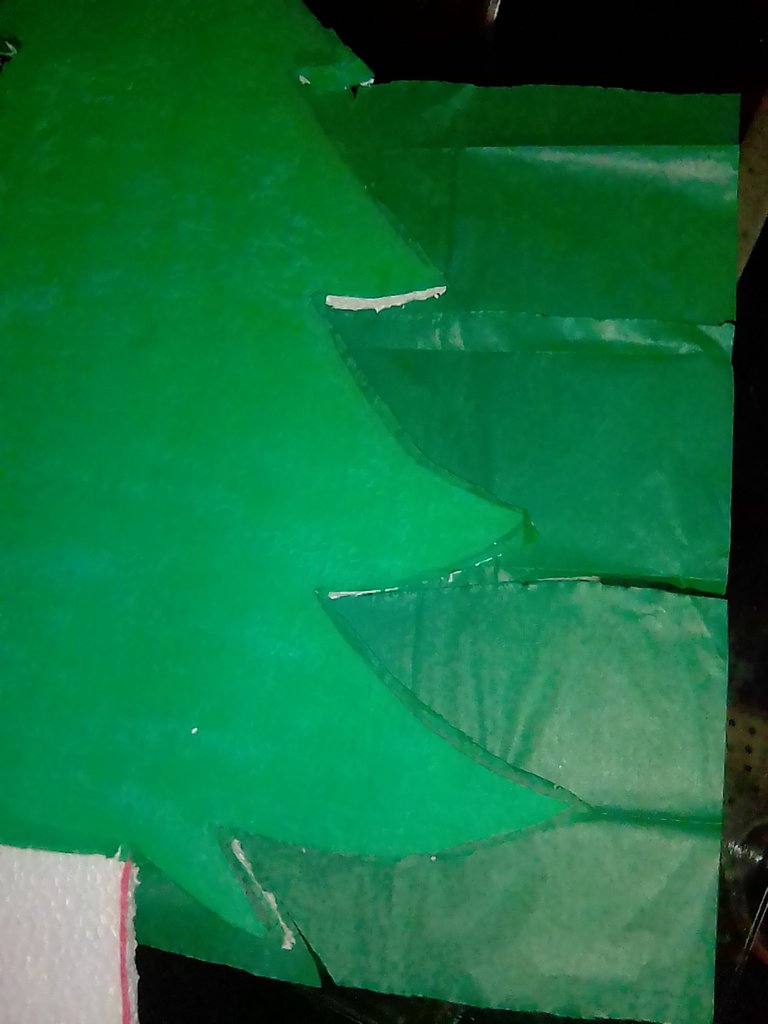
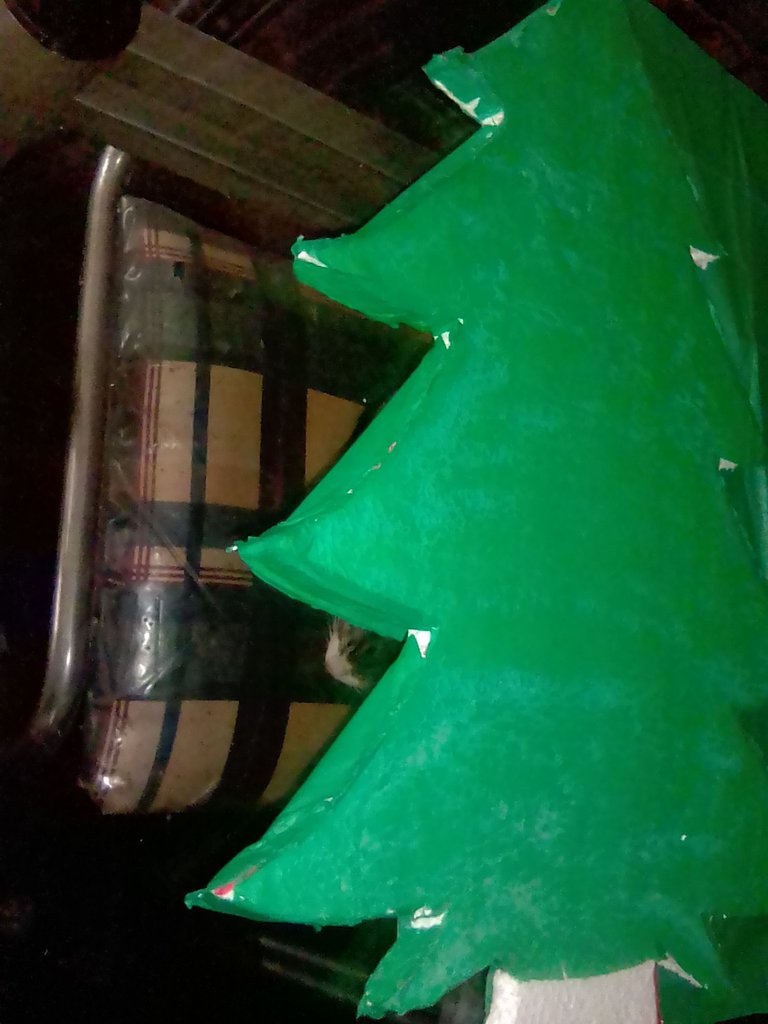
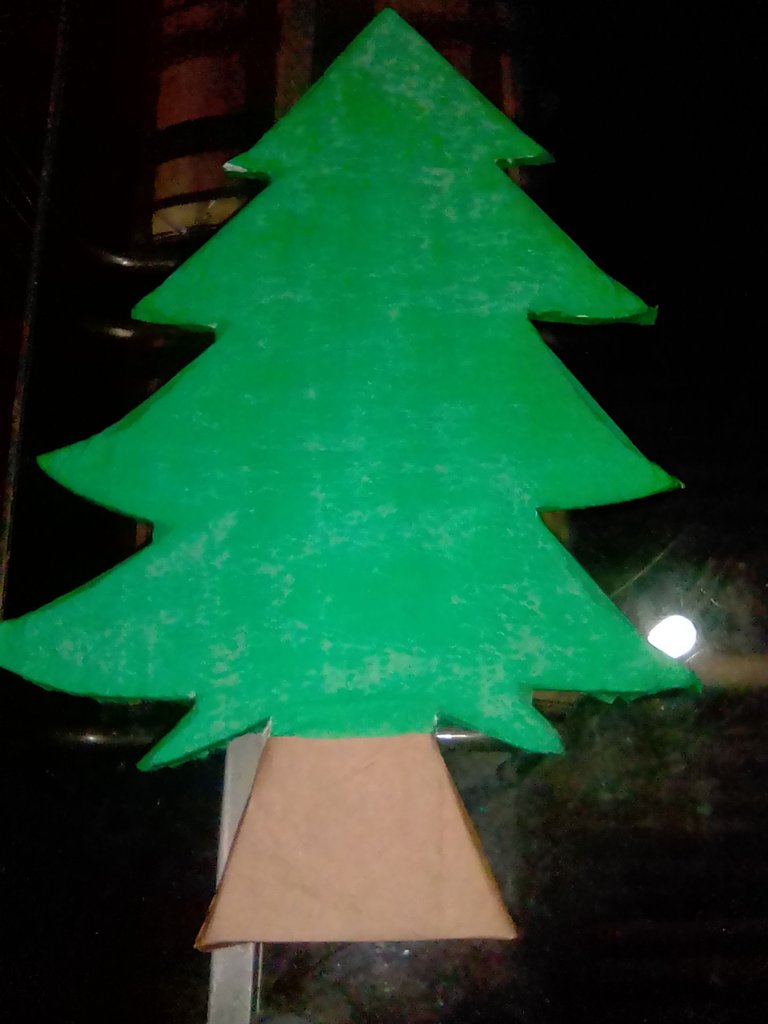
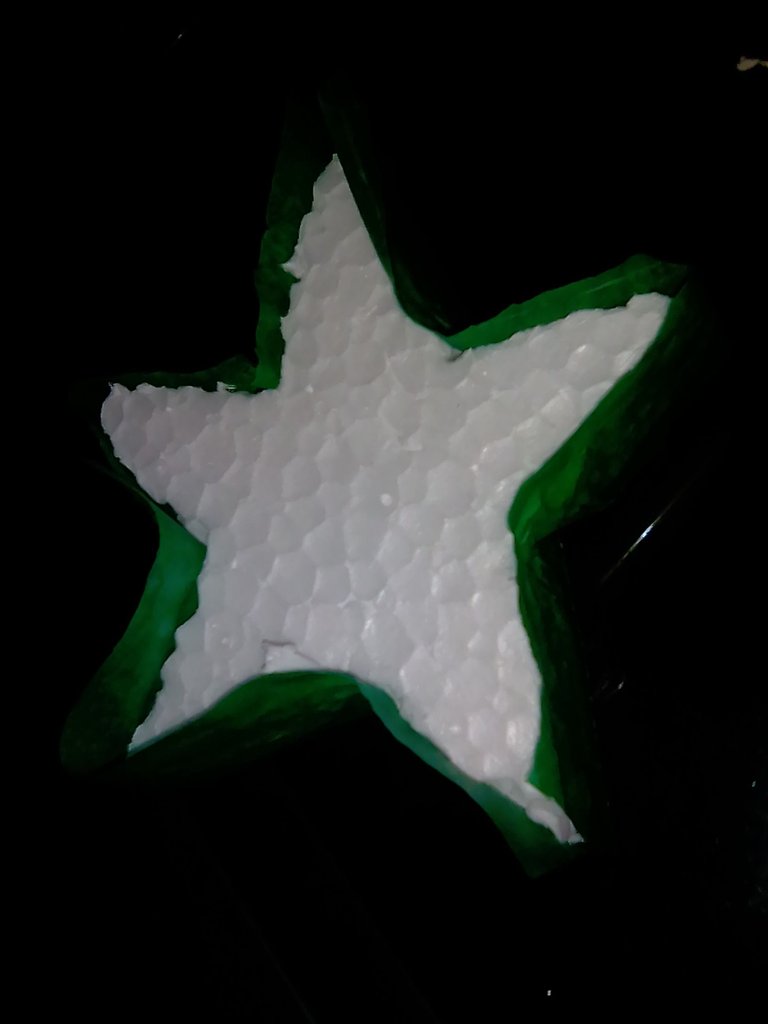
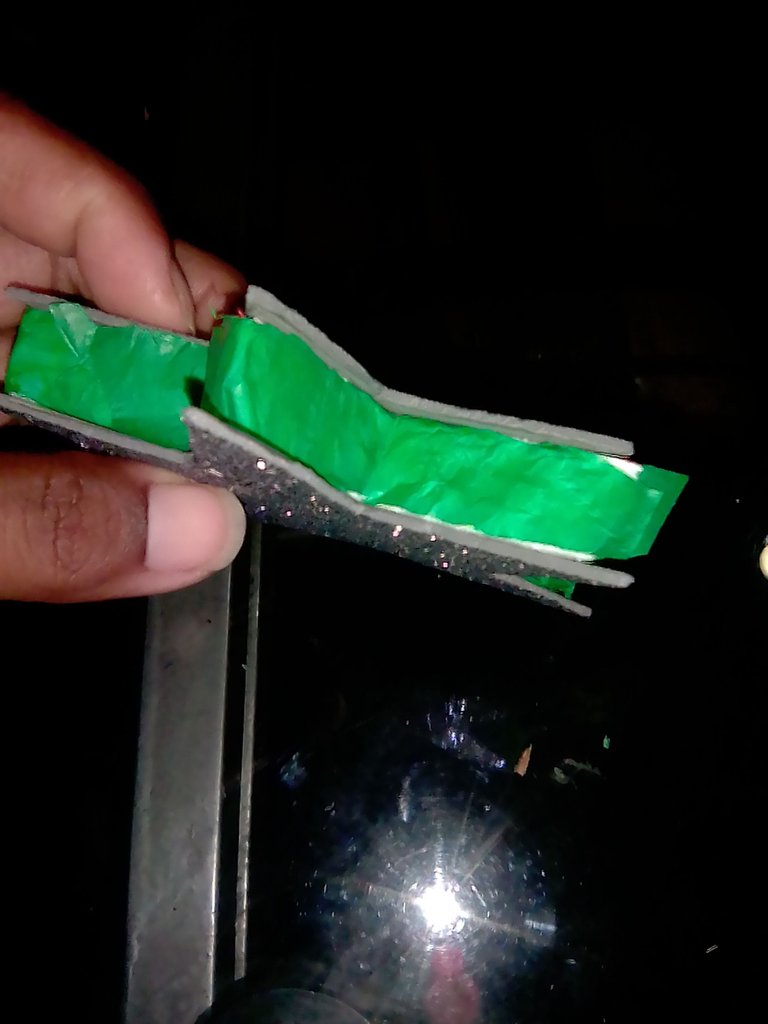
Ya con los adornos recortados, me pongo a pegar el papel celofán de color verde, sobre el anime con forma de árbol. Lo realizo poco a poco, recorto lo que sobra de los lados, esta va a ser la parte de atrás del árbol. Para la parte de adelante le agrego un poco más, puesto que esta vez voy a tapar los bordes para que no se note el anime. A la parte del tronco no le voy a pegar el papel celofán.

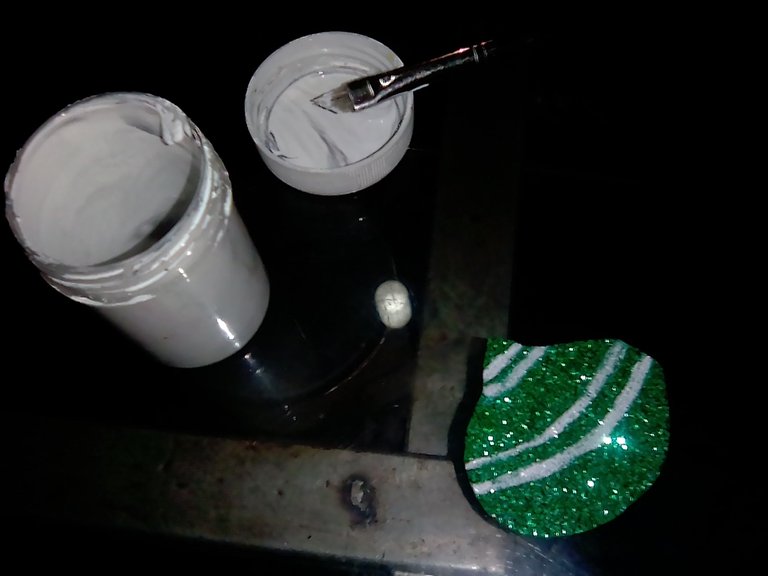
Ahora agarro los adornos recortados, la pintura de color blanco y un pincel. Realizo unas lineas, esto con la finalidad de que los adornos se vean mejor.
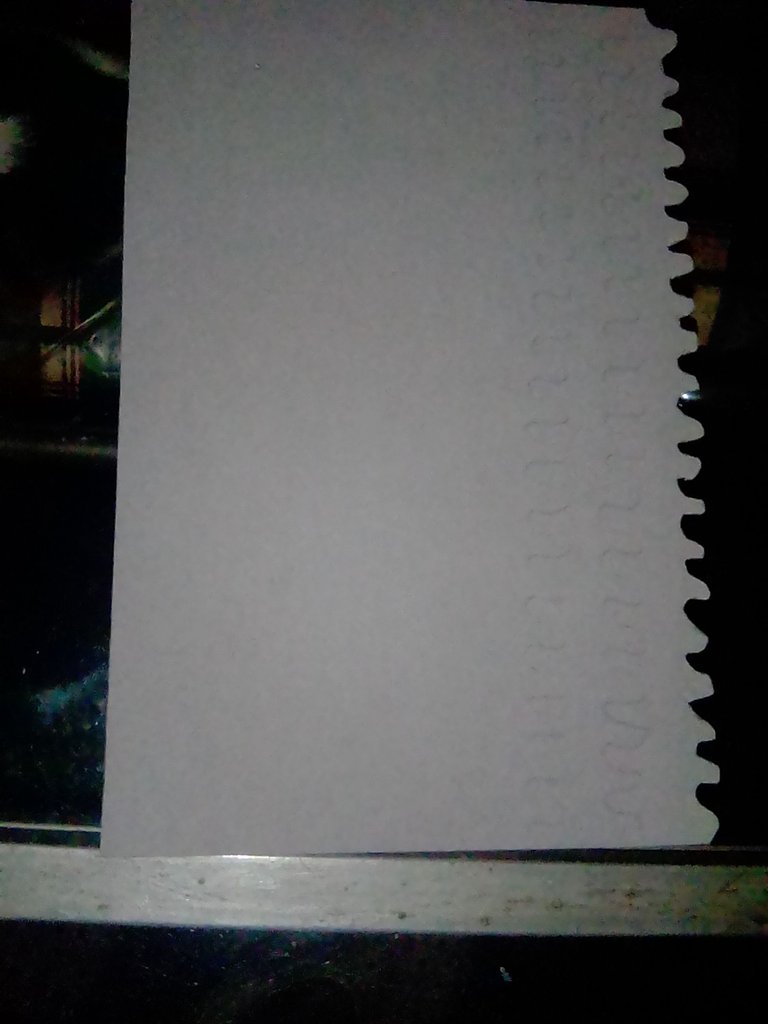
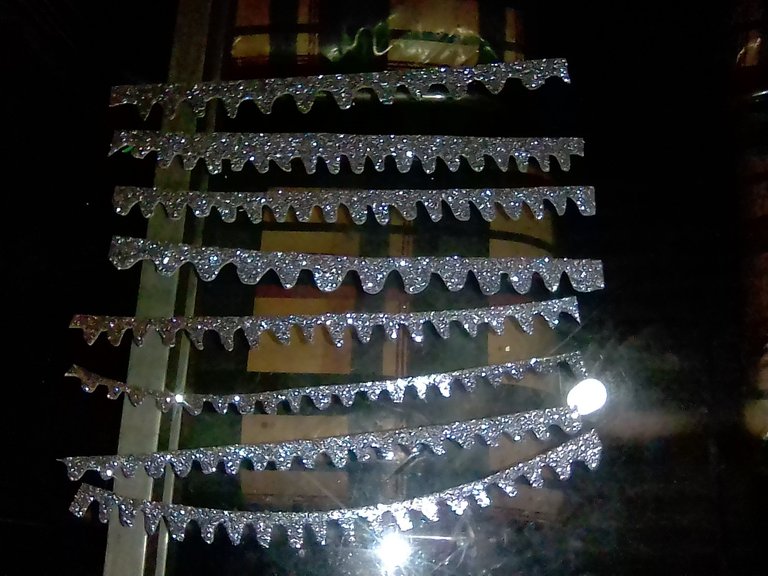
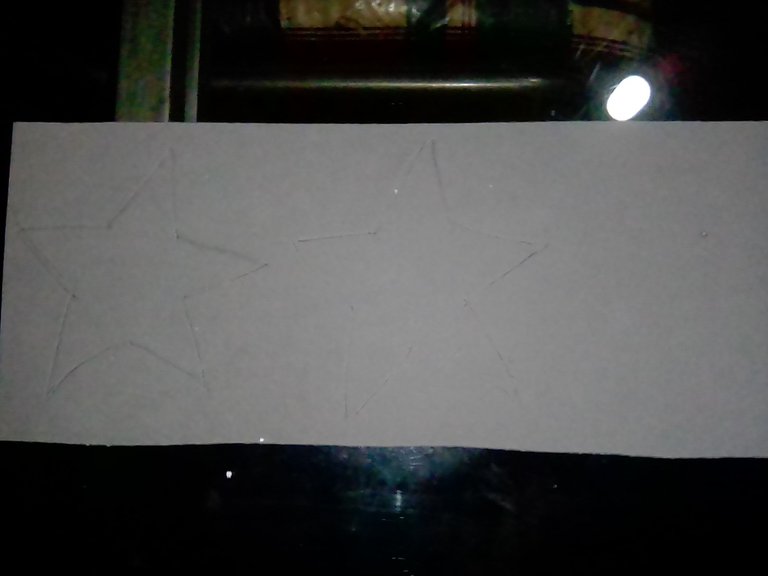
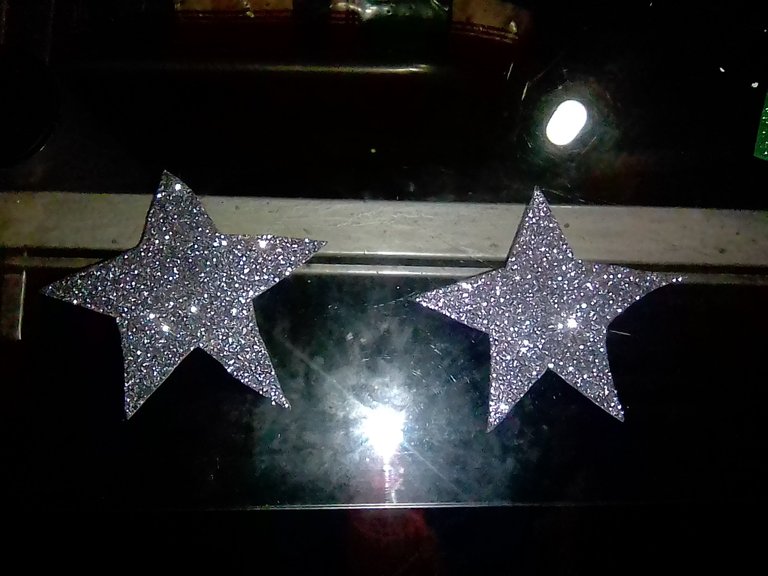
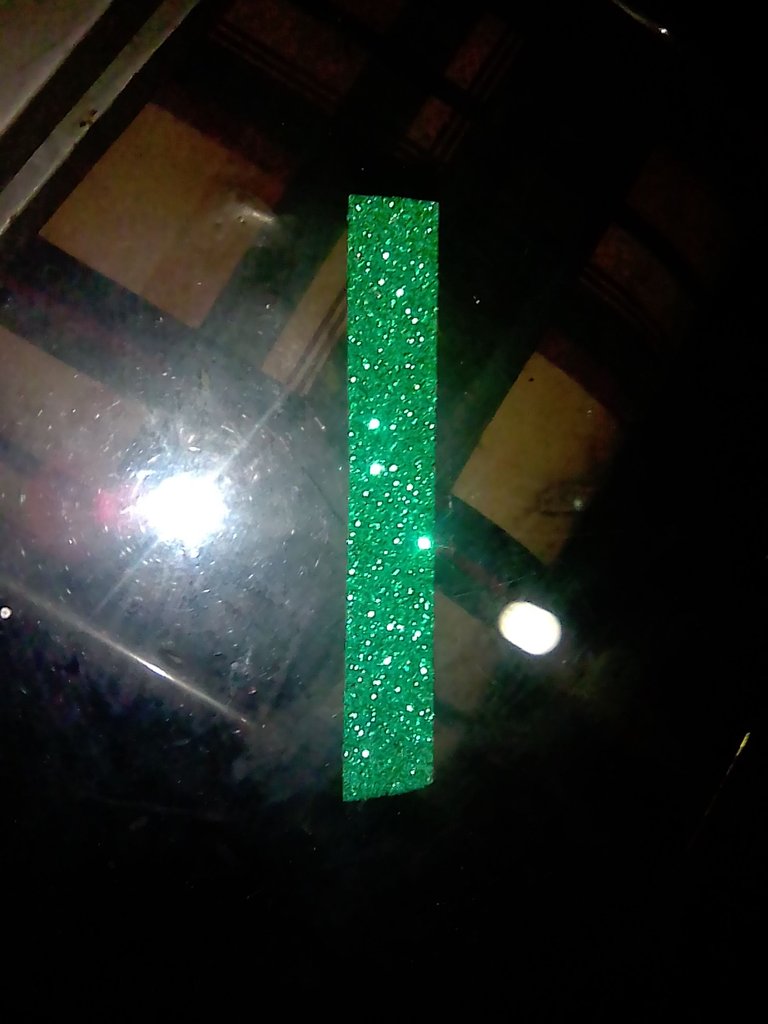
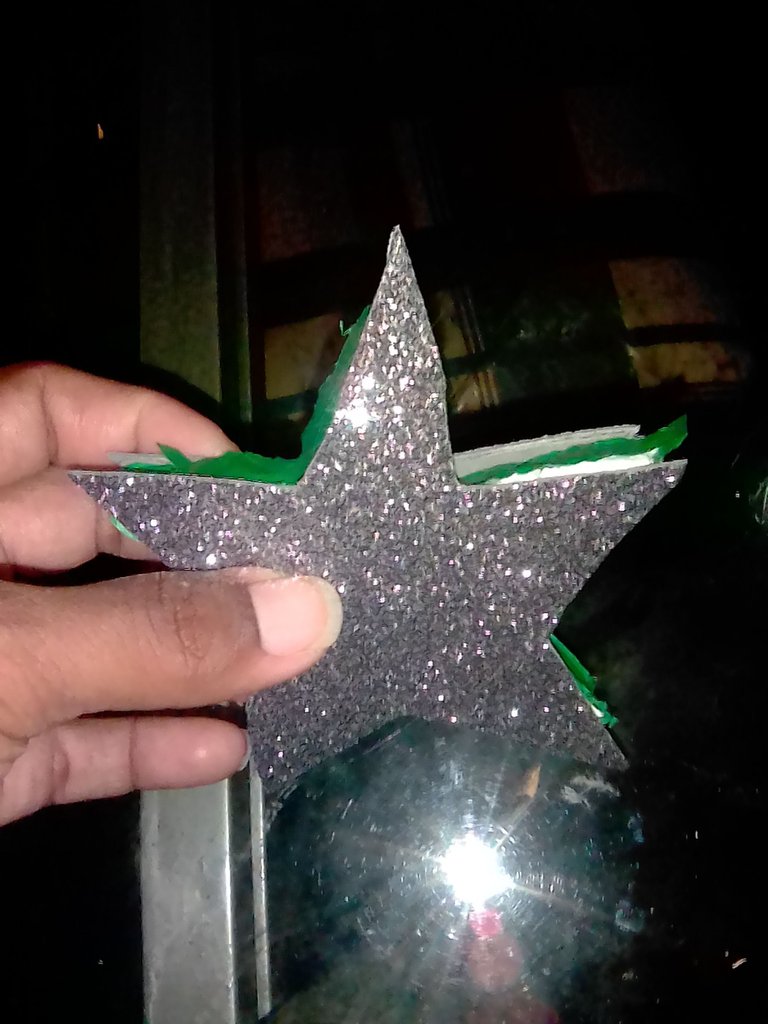
Para el foami de color plateado, le dibujo unas líneas onduladas para que no quede tan simple y le dé mejor acabado. Adicionalmente, también lo uso para la estrella, donde calqué y recorto.
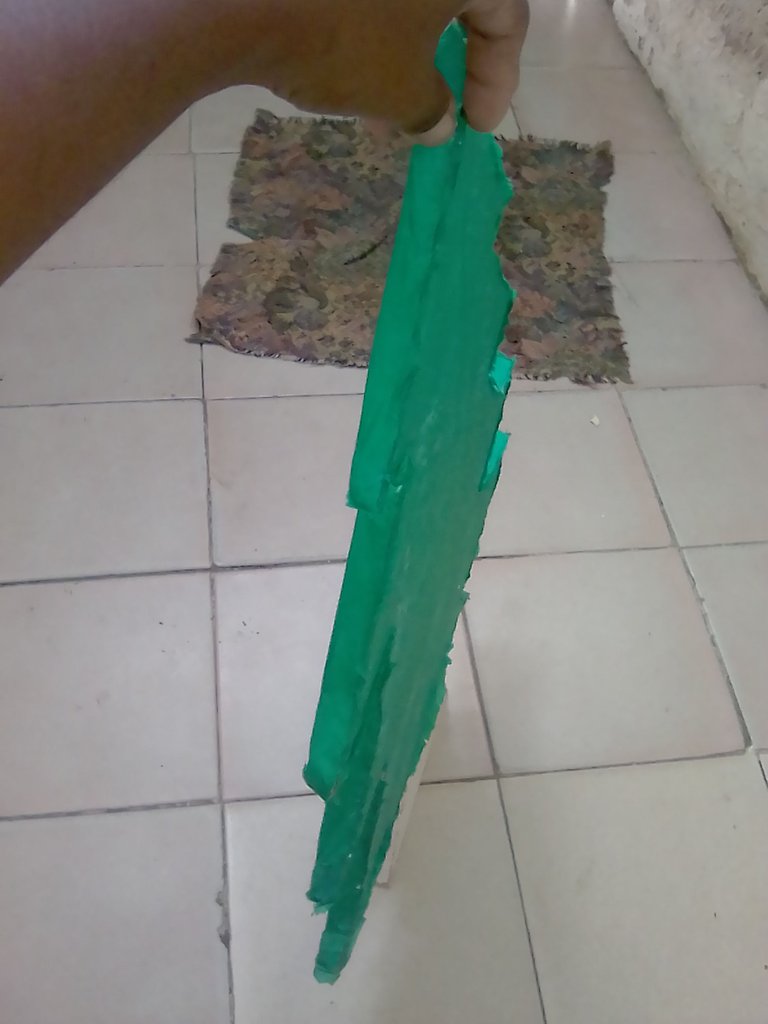
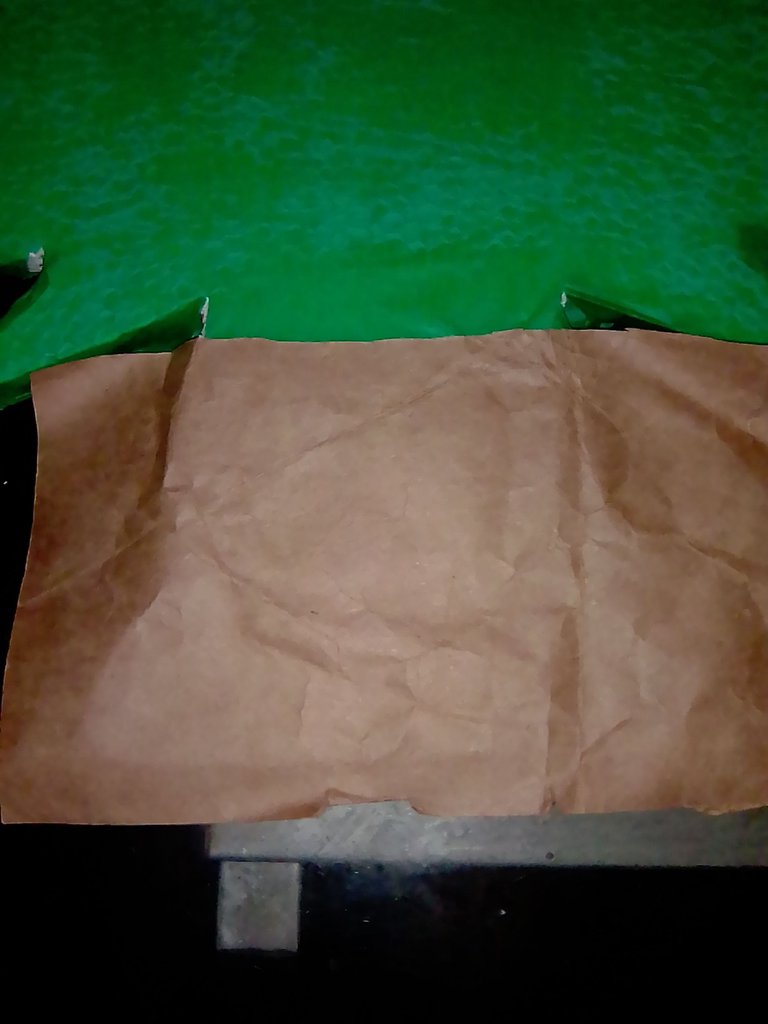
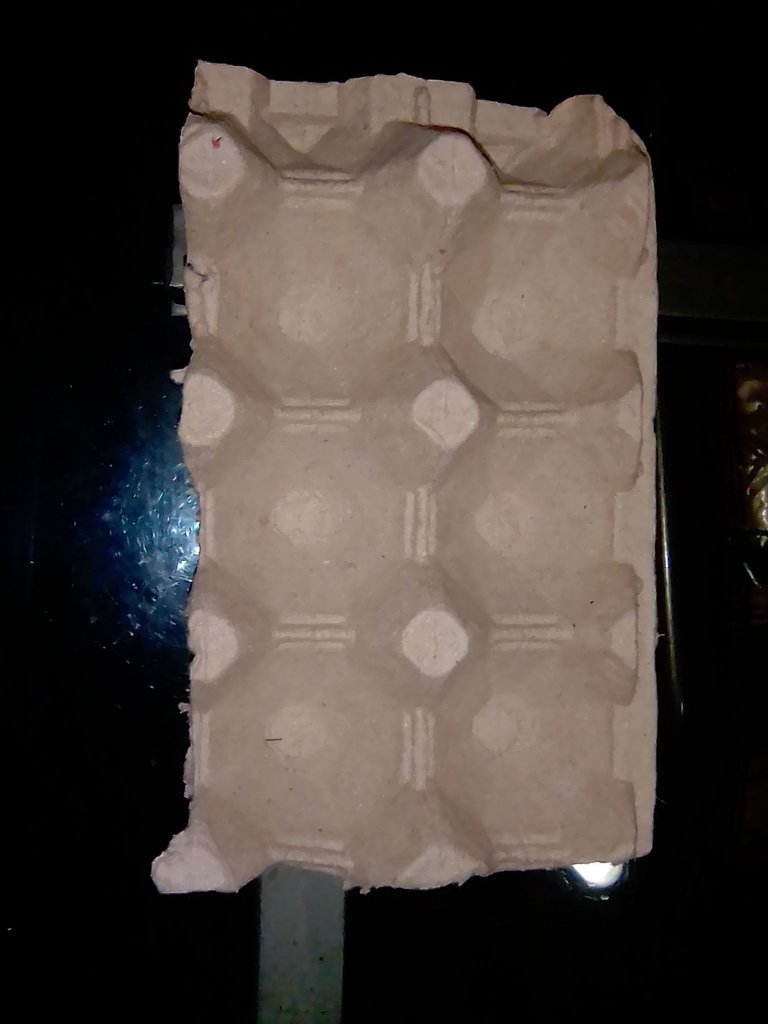
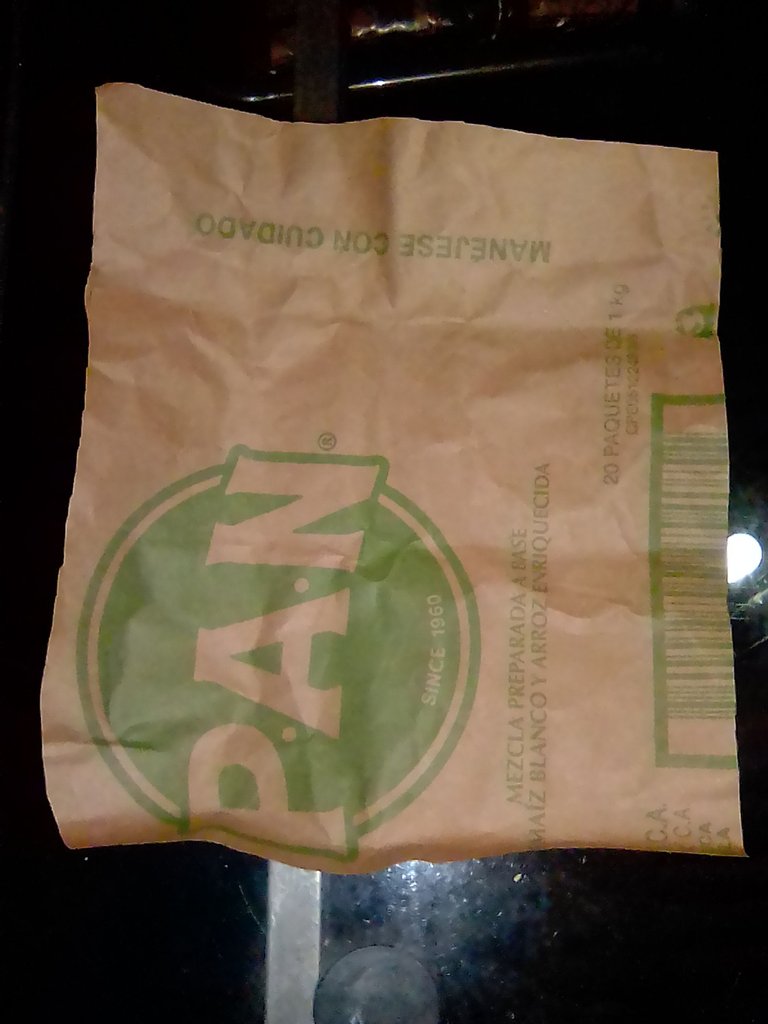
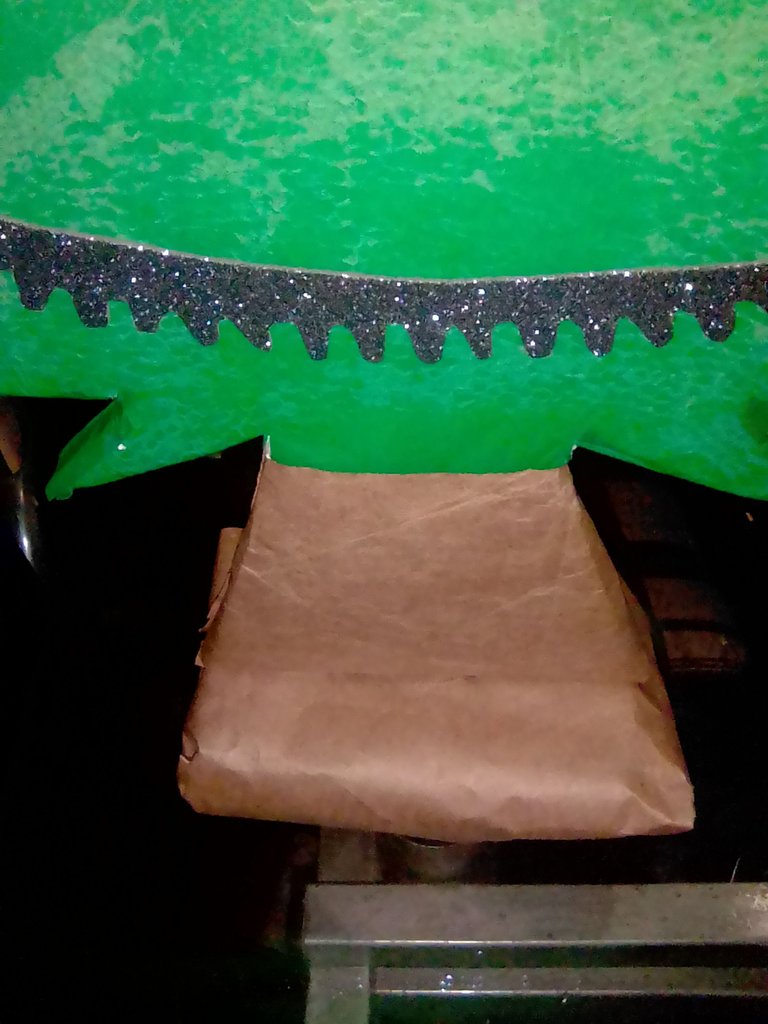
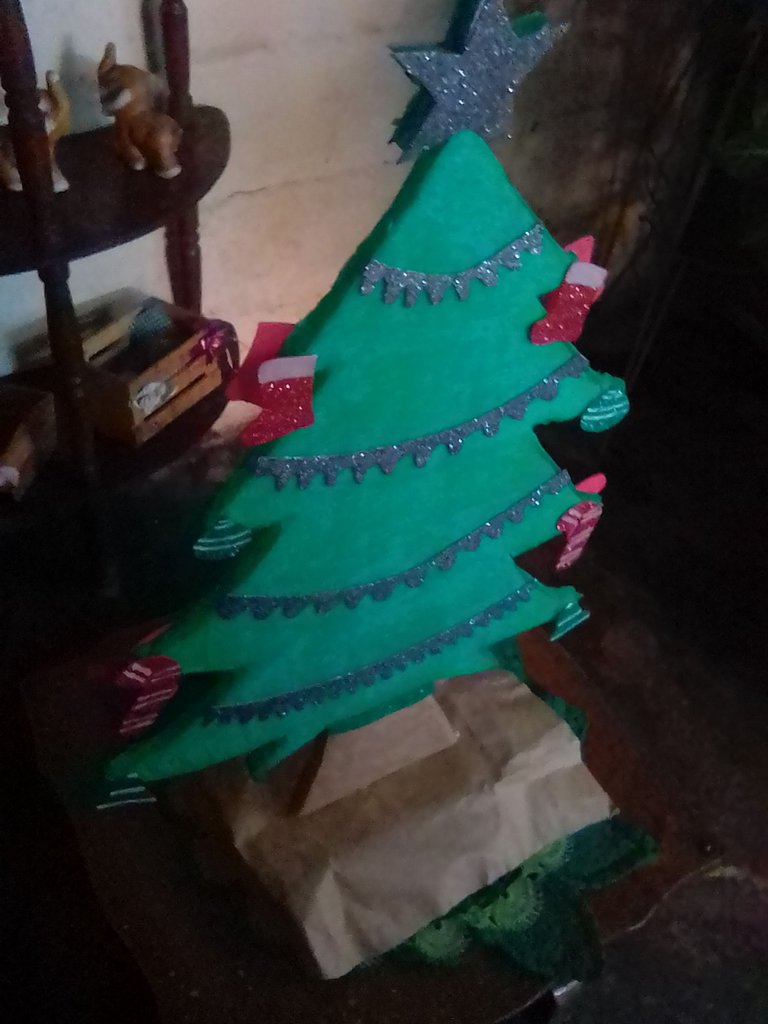
Ya tengo los adornos listos, pero es lo último que voy a agregar. Busco la bolsa de papel (la de bulto donde viene la harina Pan), esto lo voy a usar para el tronco y la base del árbol. Para la base voy a usar un pedazo del cartón de huevo, lo cubriré con esa bolsa de papel.
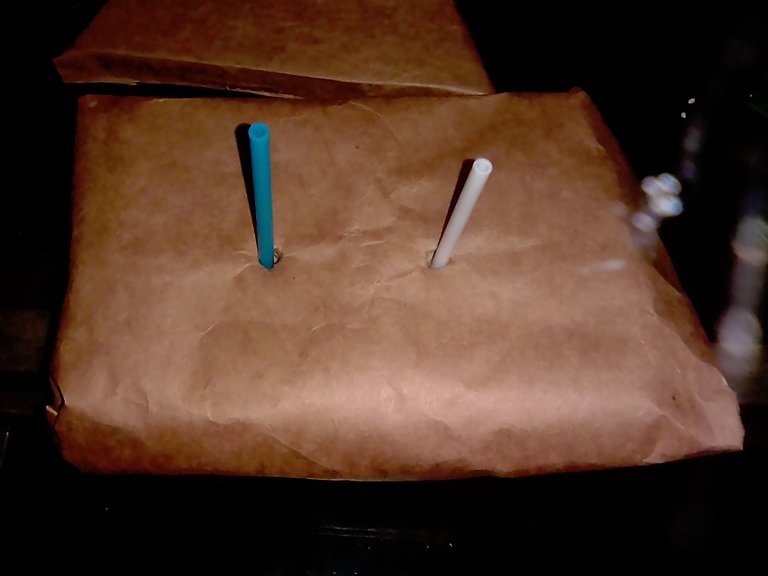
Para poner el árbol de la base, usare dos palos de chupeta, puesto que no tengo una pega resistente.

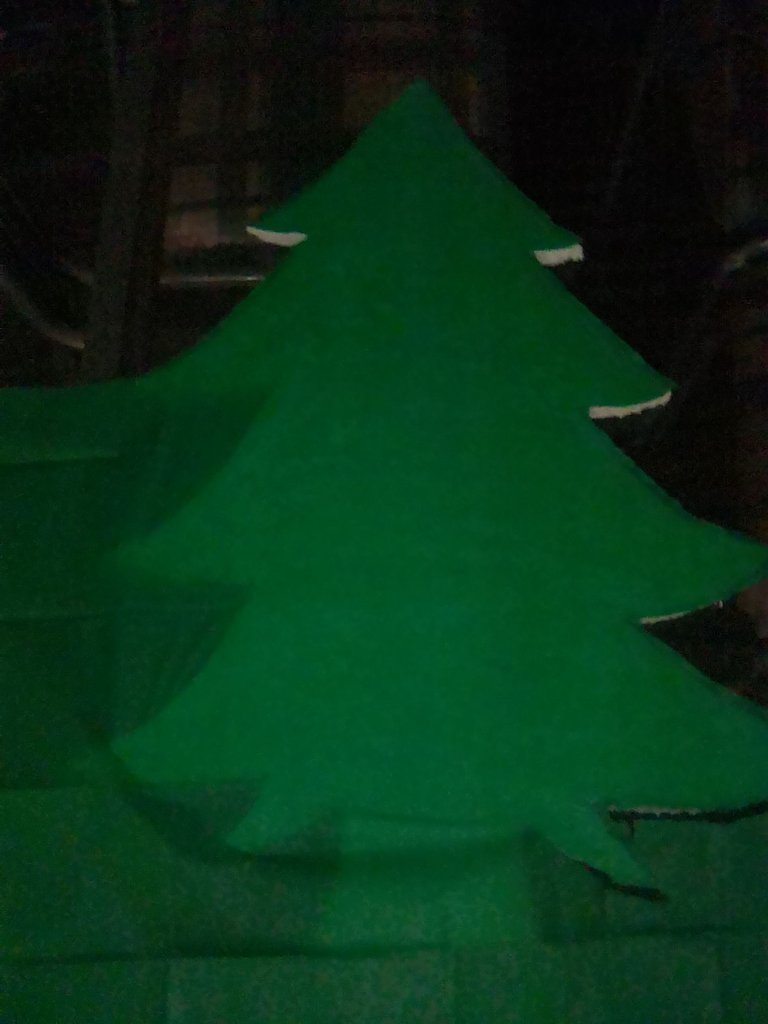
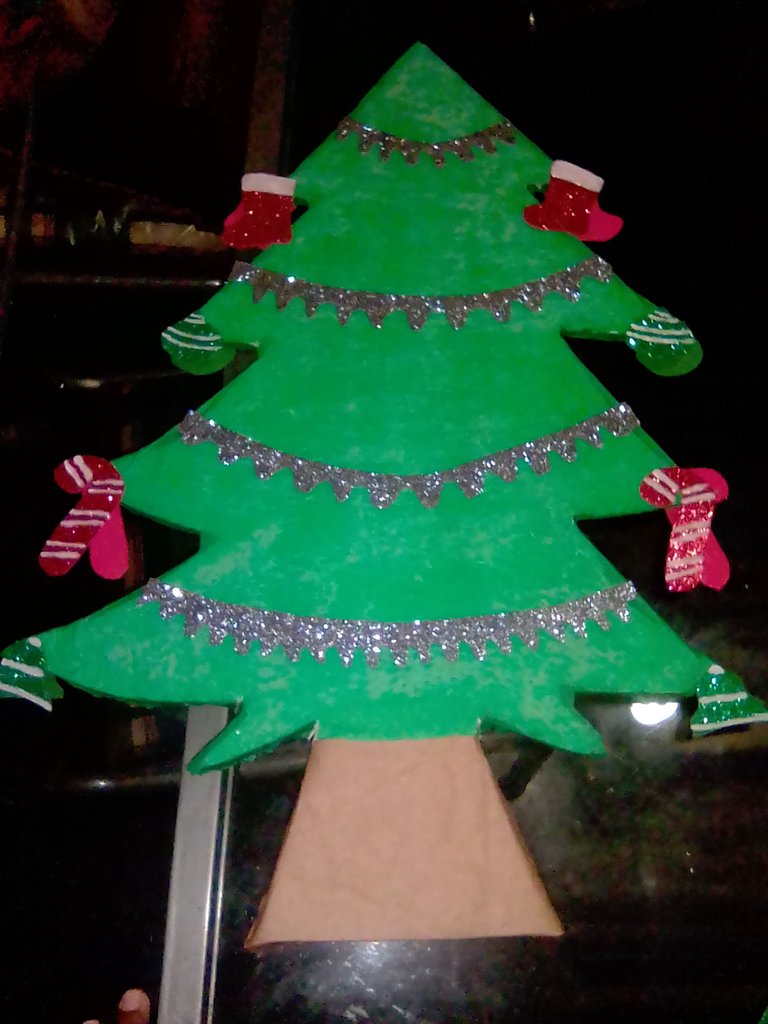
Es momento de comenzar con la decoración. Primero lo hago en la parte de atrás del árbol, pego primero, las campanas en la parte de abajo, sigo con los bastones de caramelo, sucesivamente las guirnaldas y las botas. Eso en las puntas de las ramas del árbol. Dentro del árbol voy a pegar las tiras onduladas que realice. Le doy la vuelta al árbol y repito el mismo procedimiento.

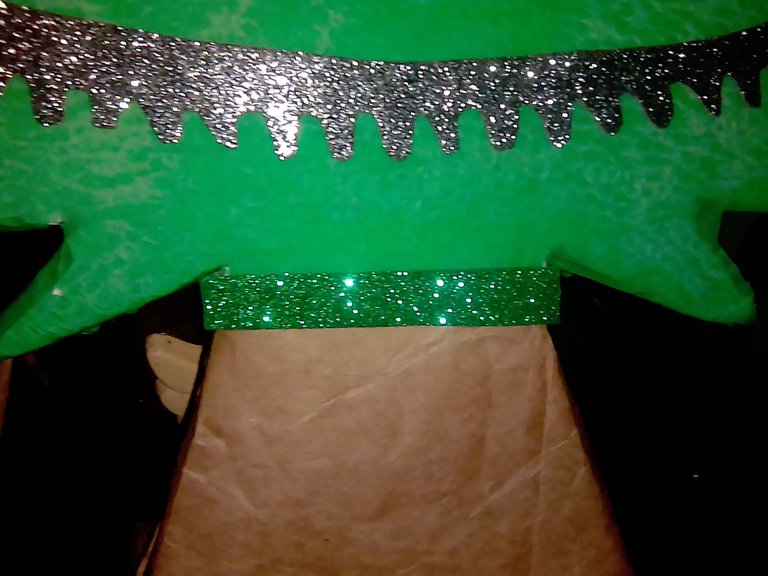
Todavia siento que falta un detalle, voy a pegar un pedazo de foami de color verde en donde comienza el tronco del arbol.
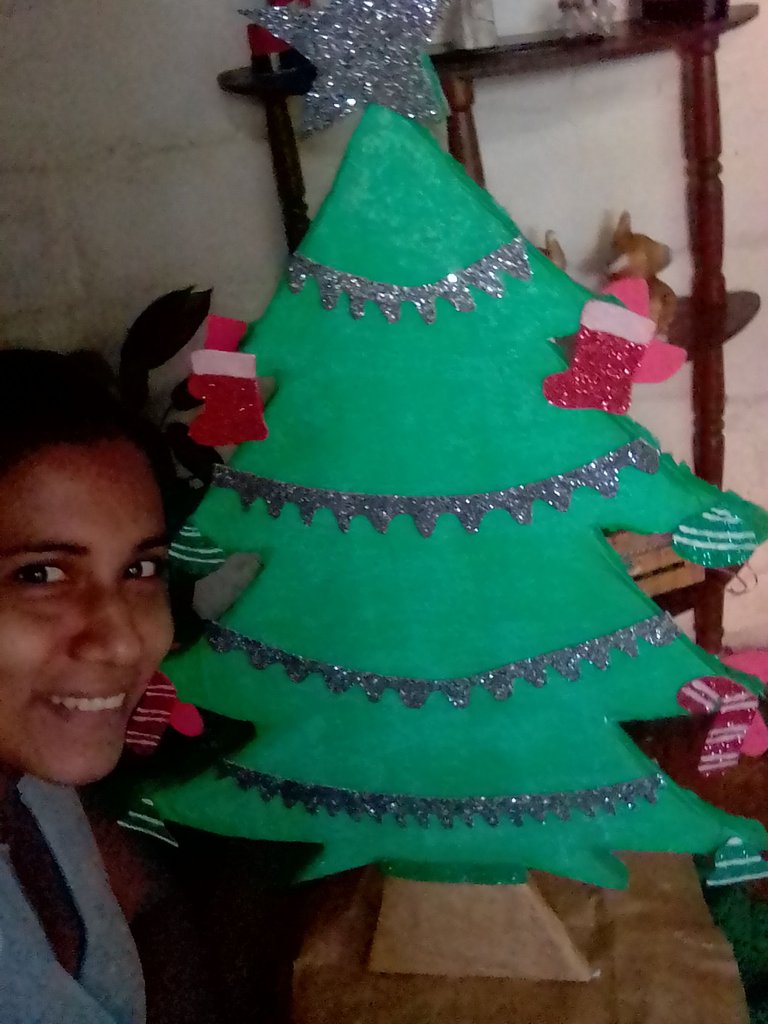
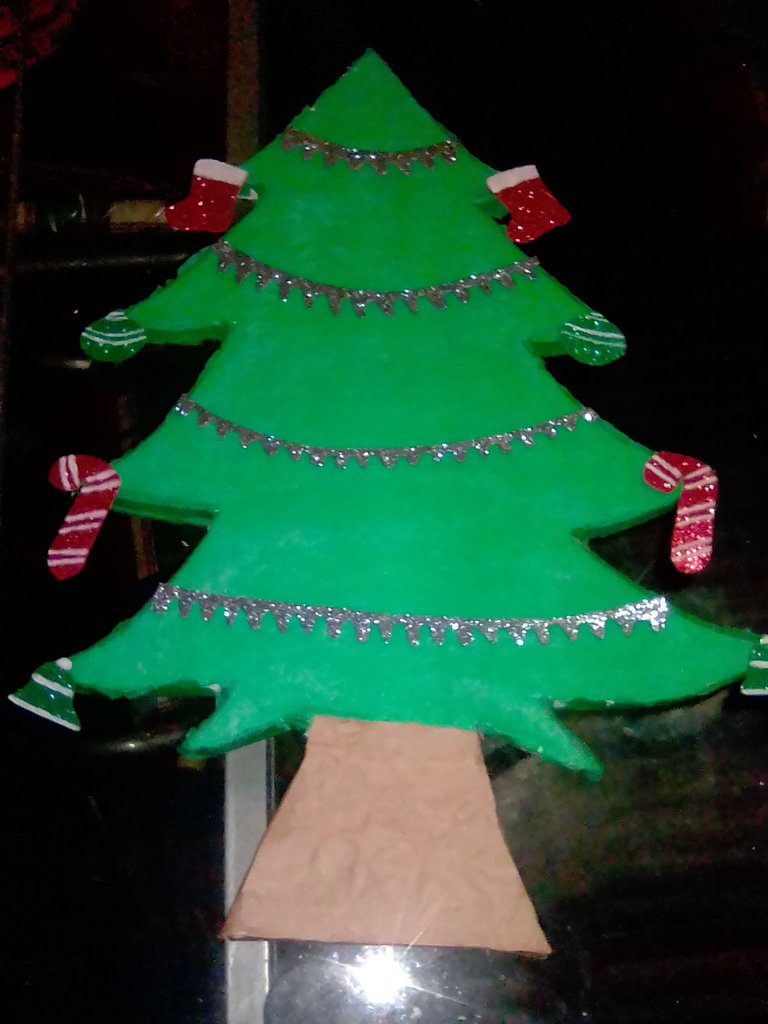
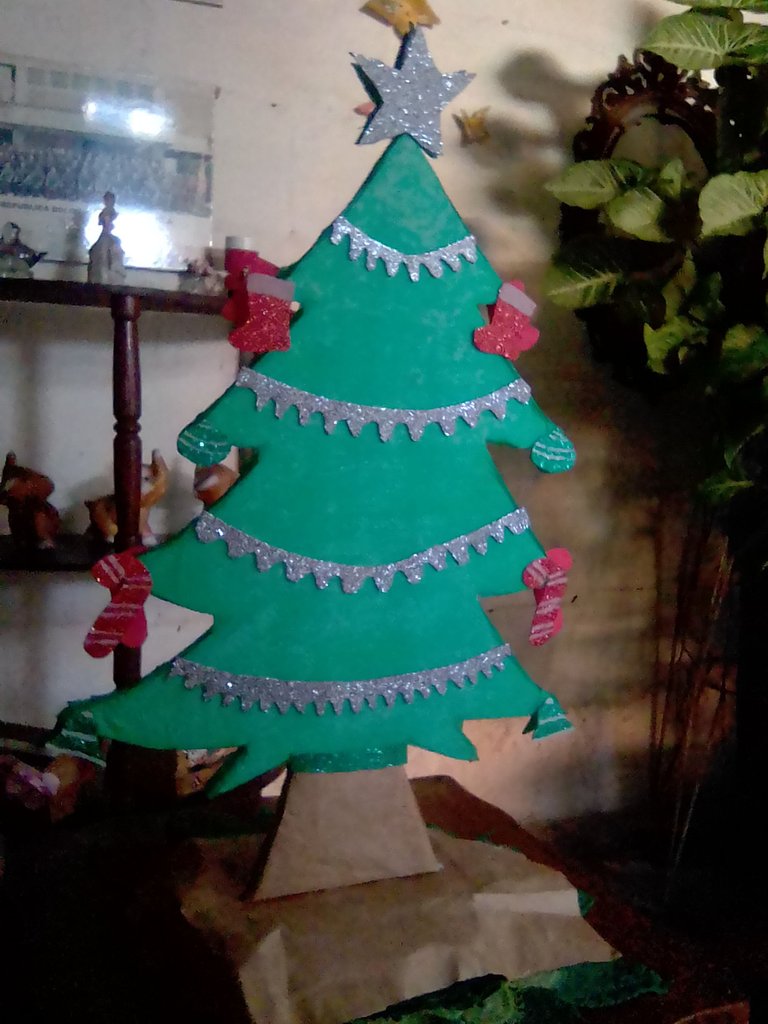
Para la estrella le pego papel celofan por los lados y luego pego las estrellas con foami y listo. Un lindo árbol de navidad.
Es ideal cuando no se cuenta con suficiente espacio en la casa para un árbol sintético o cuando no hay suficiente presupuesto para comprar uno. Yo me divertí haciéndolo, además logre mi cometido, el cual era que le gustara a mis hijos.
Espero que te haya gustado, gracias por quedarte a ver y leer, no vemos en una próxima publicación.
English
Good good...
I'd like to send you my best regards. I am very excited to participate in the contest: Anime and foami from the Hive Diy community. I have to confess that I had several ideas when I read about the contest, but at one point I came up with the idea of making a Christmas tree. This with the purpose of having it for my children, so that they can feel that we are in a different, very emotional and meaningful time, where traditions are celebrated. I was delighted with the result and so were my children. I invite you to stay and watch and read.
Materials to use:
Anime
Red, green and silver colored frosted Foami
White paint
Scissors
Glue
Green cellophane paper
A piece of egg carton
2 lollipop sticks
Paper bag (where the lump of flour comes Bread)
Bone paper
Recycled sheets
Pencil
Marker
Brush
Elaboration:
The first thing is to sort out the ideas in my head (hahaha...), then get the materials to use. And then I get to work. The tree drawing was given to me as a gift. I look for the anime sheet, I place the tree drawing on the anime, I mark it with a red marker, to cut the anime I use a knife.
I ready the figure of the tree and the star in anime, I look for the drawings of the ornaments that I am going to place on the tree.
I place the figures of the bell and the garland on the back of the green foami (I bought the foamis frosted to make the ornaments look nicer on the tree.) I am going to draw them and then cut them out.
I continue with the boots and the candy canes, the procedure is the same as with the previous ones, I draw and cut them out. (In the pictures there are 3 copies of each ornament, but later I realized that I needed one more).
Once the ornaments are cut out, I glue the green cellophane paper on the tree-shaped anime. I do it little by little, I cut what is left over on the sides, this is going to be the back of the tree. For the front part I add a little more, since this time I am going to cover the edges so that the anime will not be noticed. I'm not going to glue the cellophane paper to the trunk.
Now I take the cut out ornaments, the white paint and a brush. I make some lines, this in order to make the ornaments look better.
For the silver colored foami, I draw some wavy lines so that it is not so simple and gives it a better finish. Additionally, I also use it for the star, where I trace and cut it out.
I already have the ornaments ready, but this is the last thing I'm going to add. I look for the paper bag (the lumpy one where the Pan flour comes), this I will use for the trunk and the base of the tree. For the base I am going to use a piece of the egg carton, I will cover it with that paper bag.
For the base of the tree, I will use two lollipop sticks, since I don't have a strong glue.
Now it's time to start decorating. First I do it at the back of the tree, I glue the bells at the bottom first, then the chocolate canes, then the garlands and the boots. I glue the bells at the top of the branches of the tree. Inside the tree I will glue the wavy strips I made. I turn the tree upside down and repeat the same procedure.
I still feel that one detail is missing, I am going to glue a piece of green foami where the tree trunk begins.
For the star I glue cellophane paper on the sides and then glue the stars with foami and that's it. A nice Christmas tree.
It is ideal when you don't have enough space in the house for a synthetic tree or when you don't have enough budget to buy one. I had fun making it, and I achieved my goal, which was that my kids would like it.
I hope you liked it, thanks for watching and reading, see you in a future post.

Imágenes de mi propiedad
Texto traducido en Deepl
Baner y separador elaborado en Power point