Art: Fantasy Portrait
Arte Digital | Digital Art
Saludos querida comunidad, presento un nuevo trabajo digital, siempre he amado los retratos y relacionarlos con luces que iluminen y lleven a un mundo de fantasia siempre ha sido mi meta, este especificamente esta relacionado con hojas sutiles que hacen ver el personaje con un poco de sutileza...
Greetings dear community, I present a new digital work, I have always loved portraits and relating them with lights that illuminate and lead to a fantasy world has always been my goal, this specifically is related to subtle leaves that make the character look with a little bit of subtlety...
¡Espero te guste! | I hope you like!
Presentación del diseño | Desing presentación
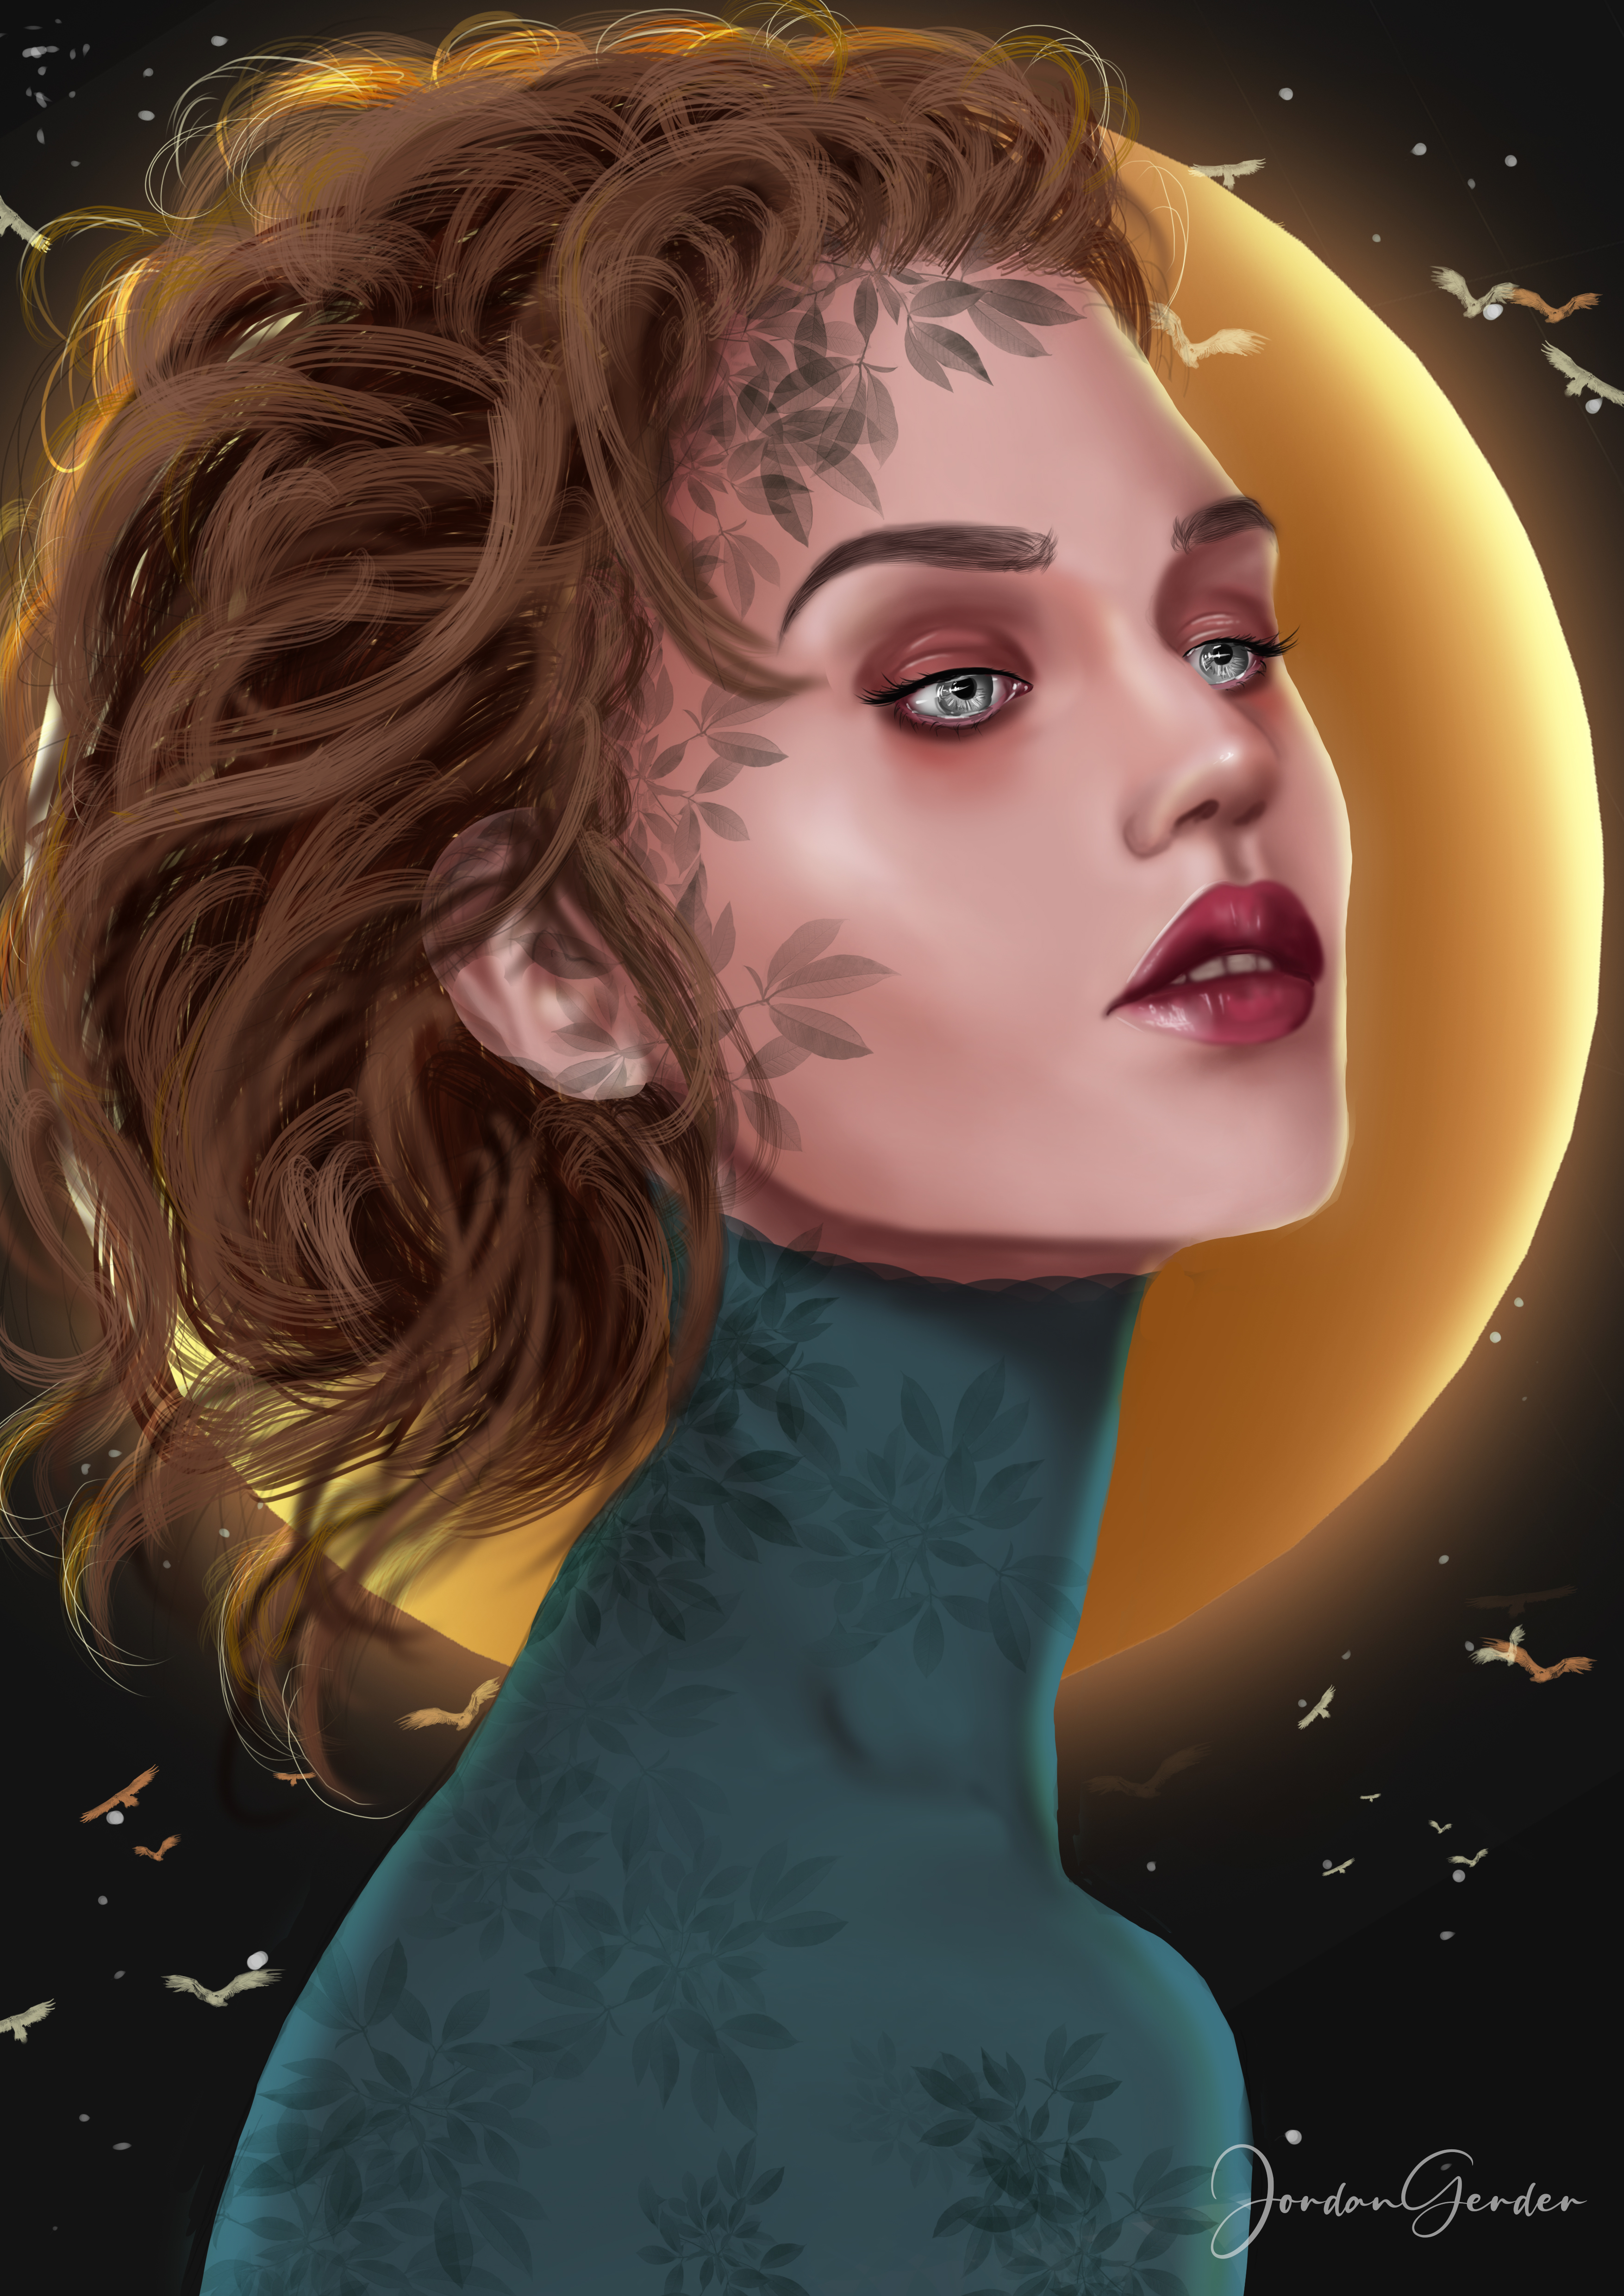
Reflejada por luces exteriores, con hojas sutiles en mi piel me elevo hacia un mundo irreal de fantasia...
Reflected by exterior lights, with subtle leaves on my skin, I rise to an unreal world of fantasy...
Materiales | Materials
- Mini laptop
- Tableta Huion H950P
- Programa Adobe Photoshop cc
- Mini laptop
- Huion H950P tablet
- Adobe Photoshop cc program

Proceso | Process
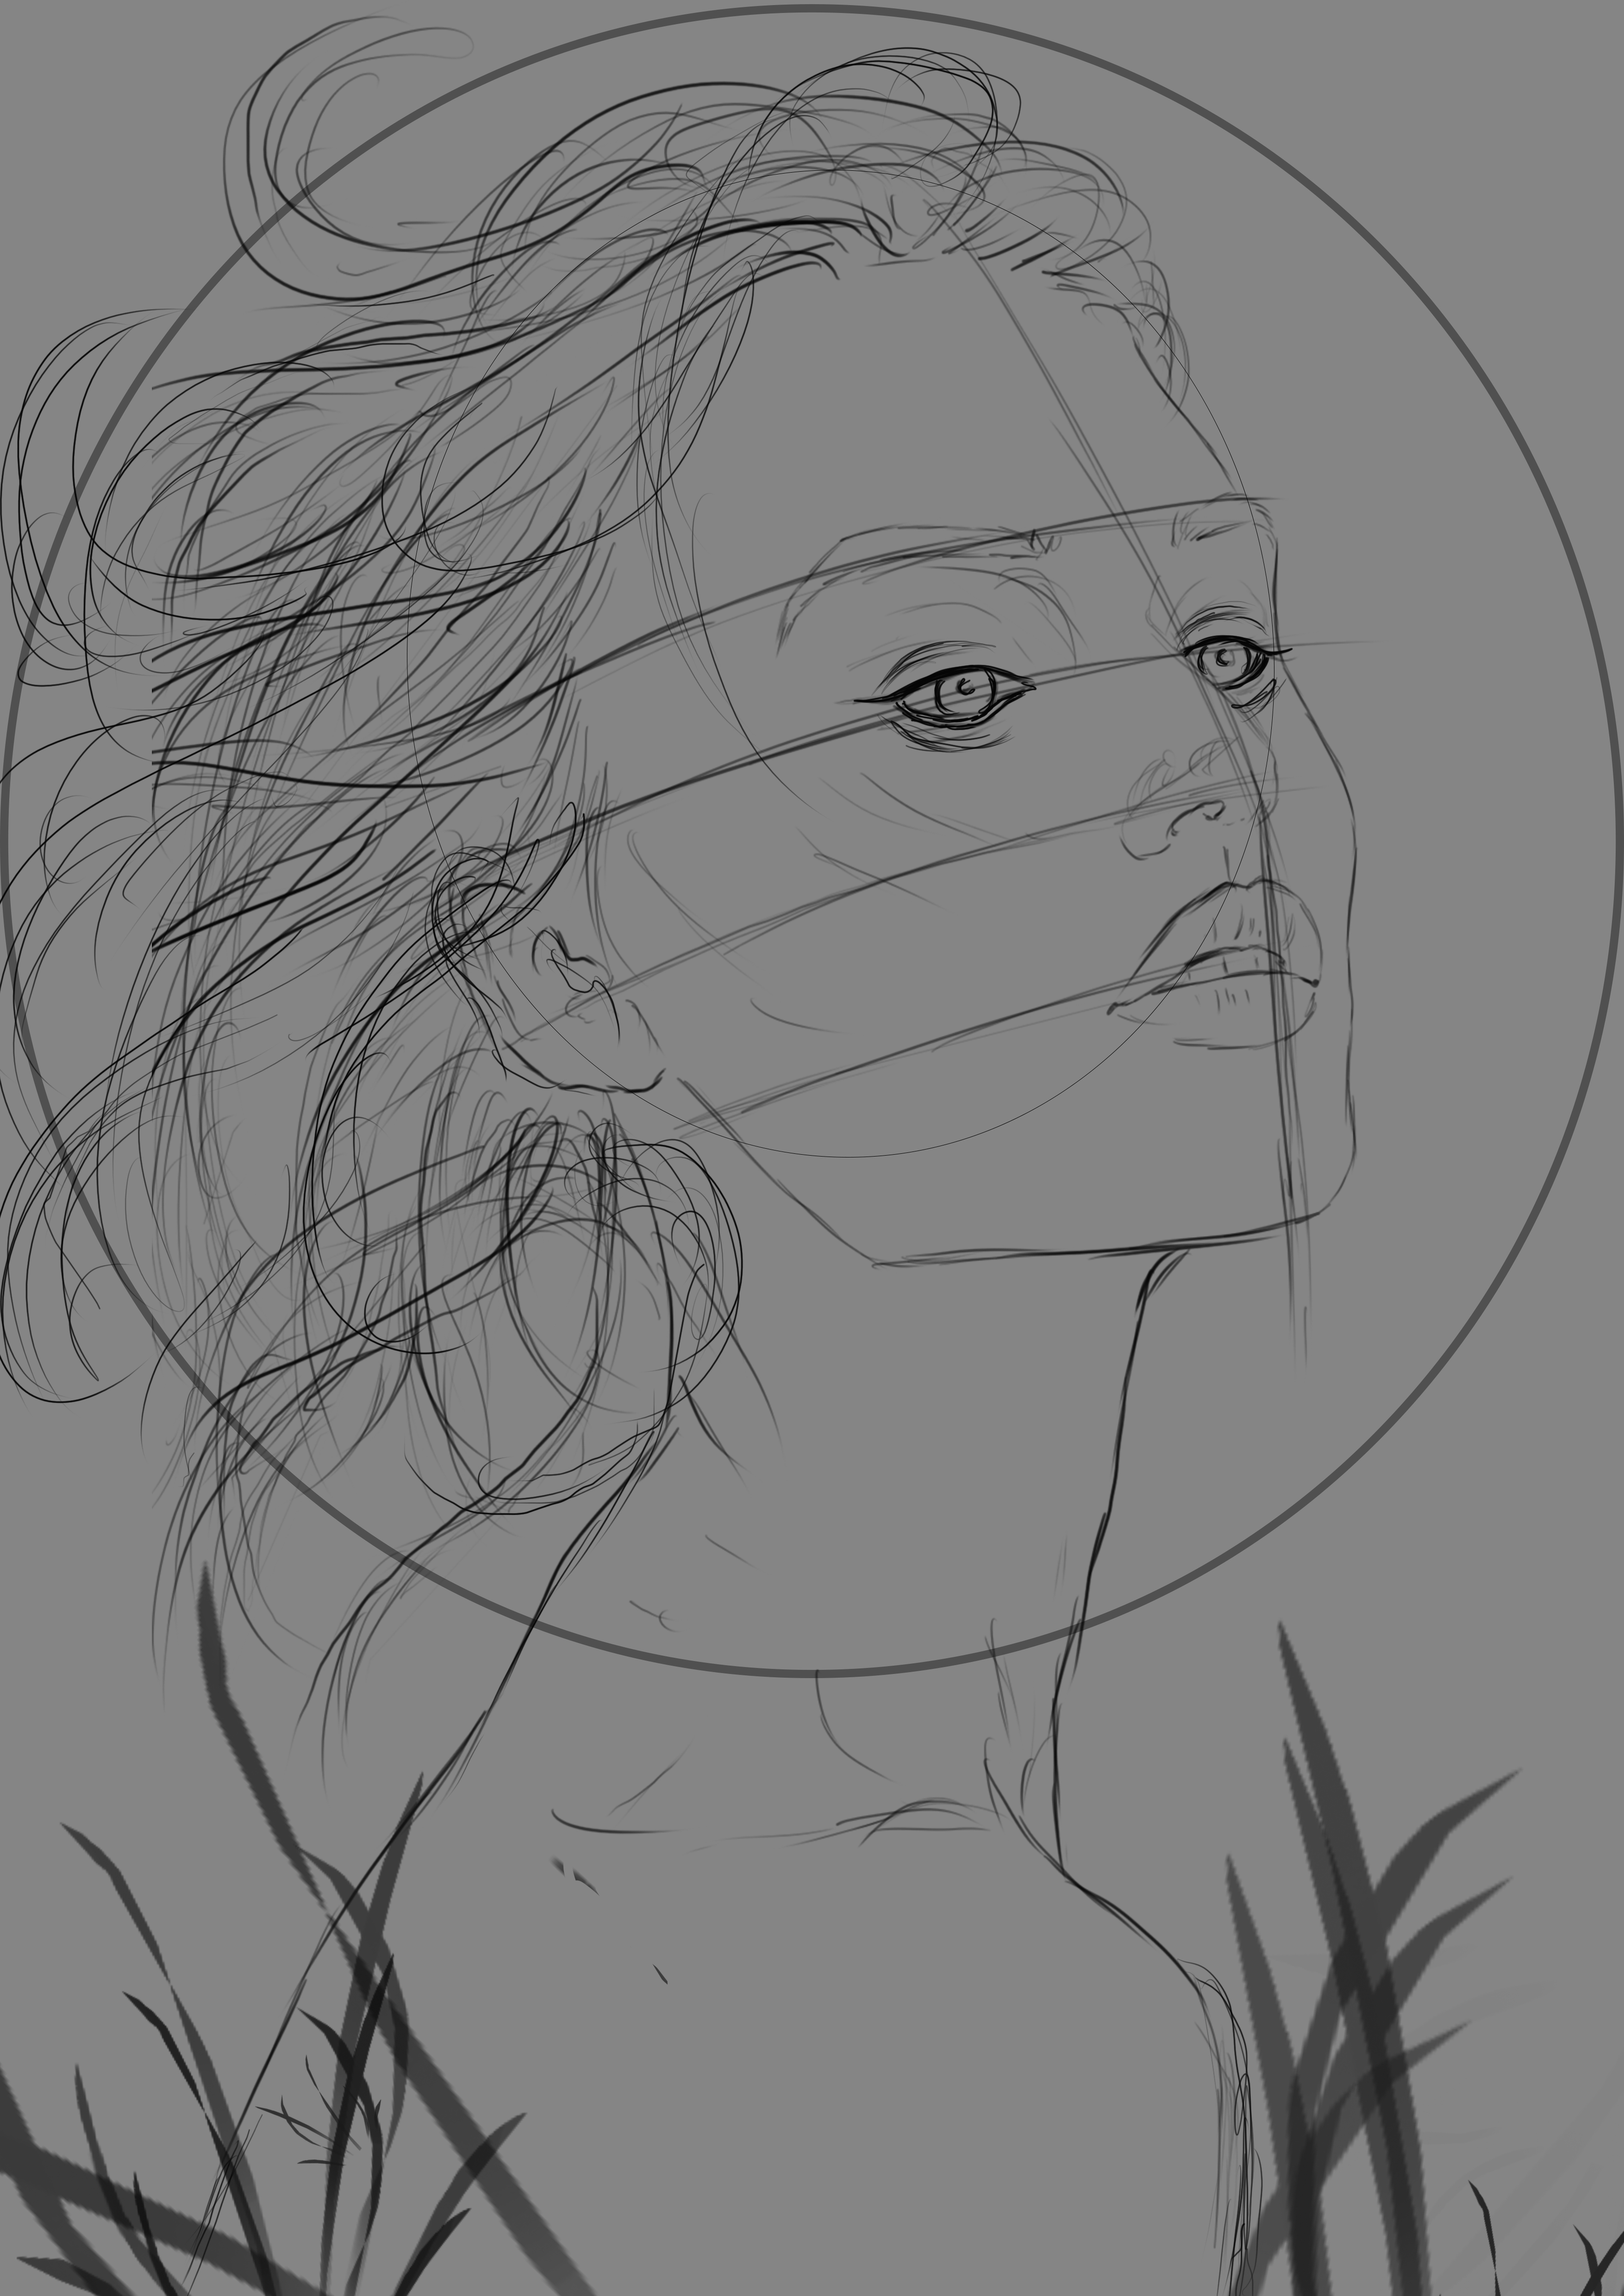
Primer paso: El boceto, es donde creamos la mayor parte de lo que queremos, despues tener lineas entendibles, continuamos al segundo paso:
First step: The sketch is where we create most of what we want, after having understandable lines, we continue to the second step:
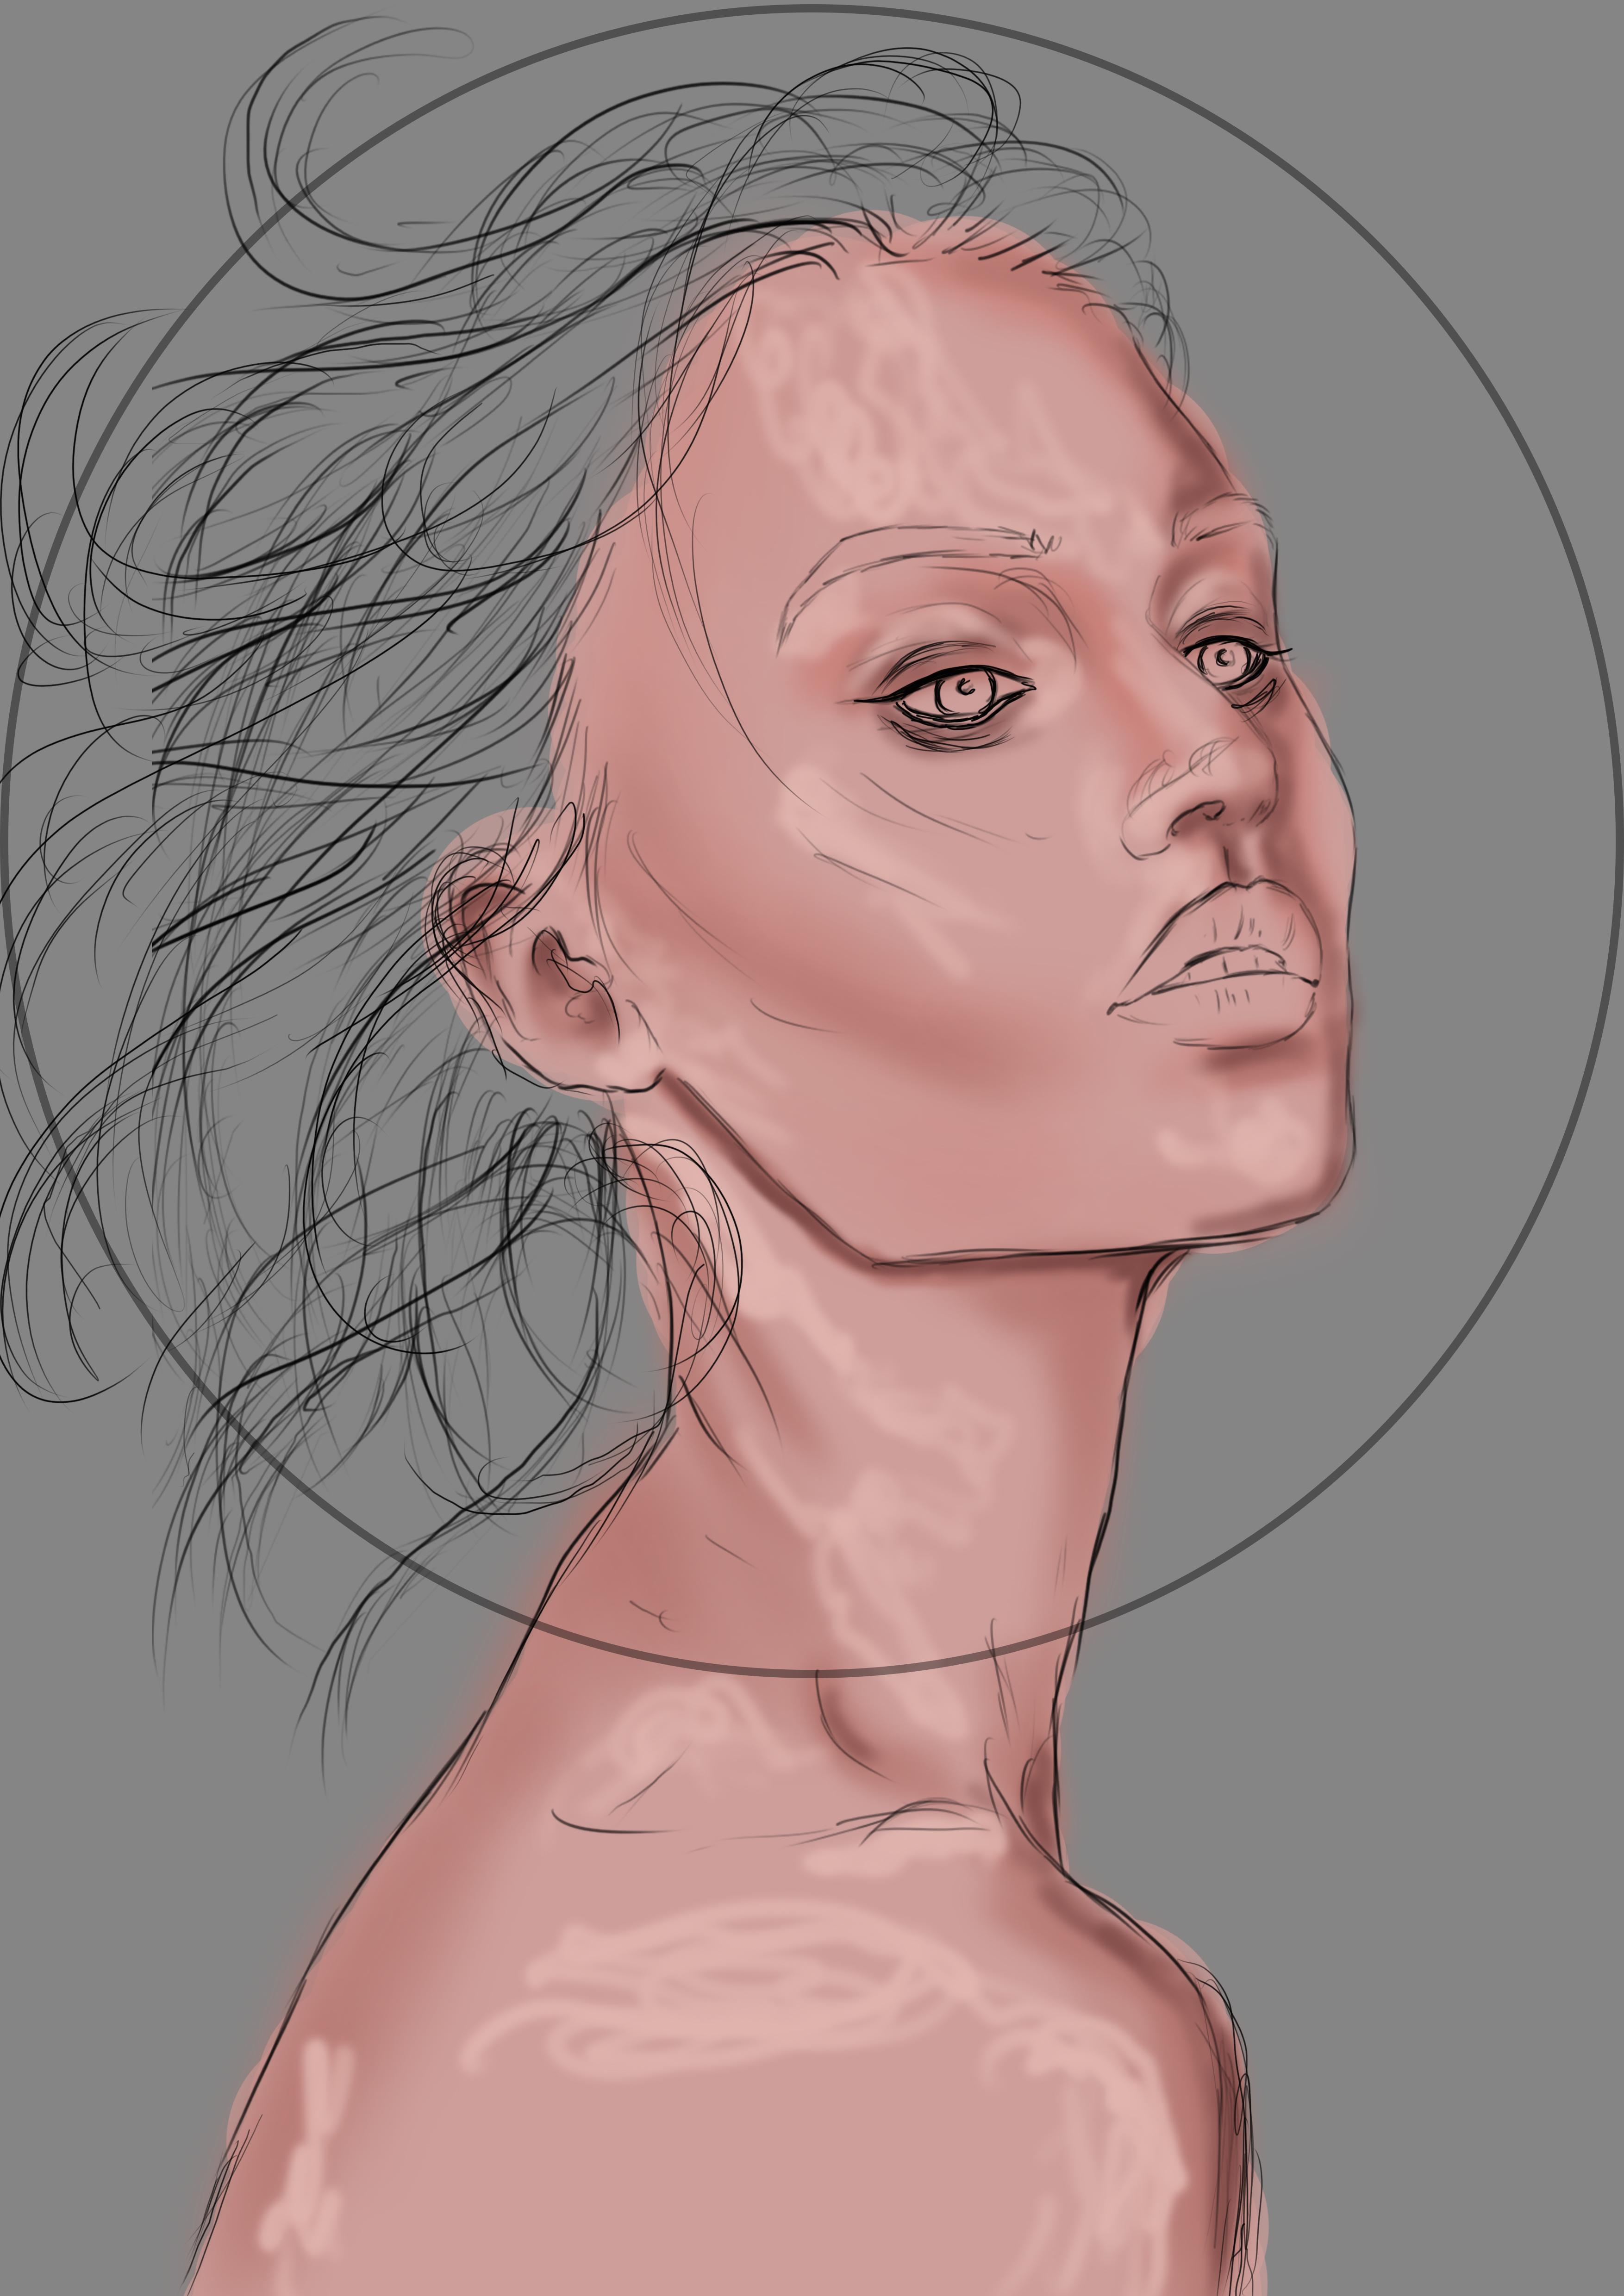
Segundo paso: colores base,Selecionamos algunas tonalides un tono medio y adicional a este uno oscuro partiendo de la base y un claro partiendo de la misma base escogida anterioremente, y una tonalidad saturada para que sea mejor trabajada al piel al momento de mezclar las tonalides.
Para este paso uso un pincel difuso, resulta mejor al momento de mezclar el color:
Second step: base colors, we select some tonalides a medium tone and in addition to this a dark one starting from the base and a light one starting from the same base chosen previously, and a saturated tone so that it is better worked to the skin when mixing the tonalids .
For this step I use a diffuse brush, it is better when mixing the color:
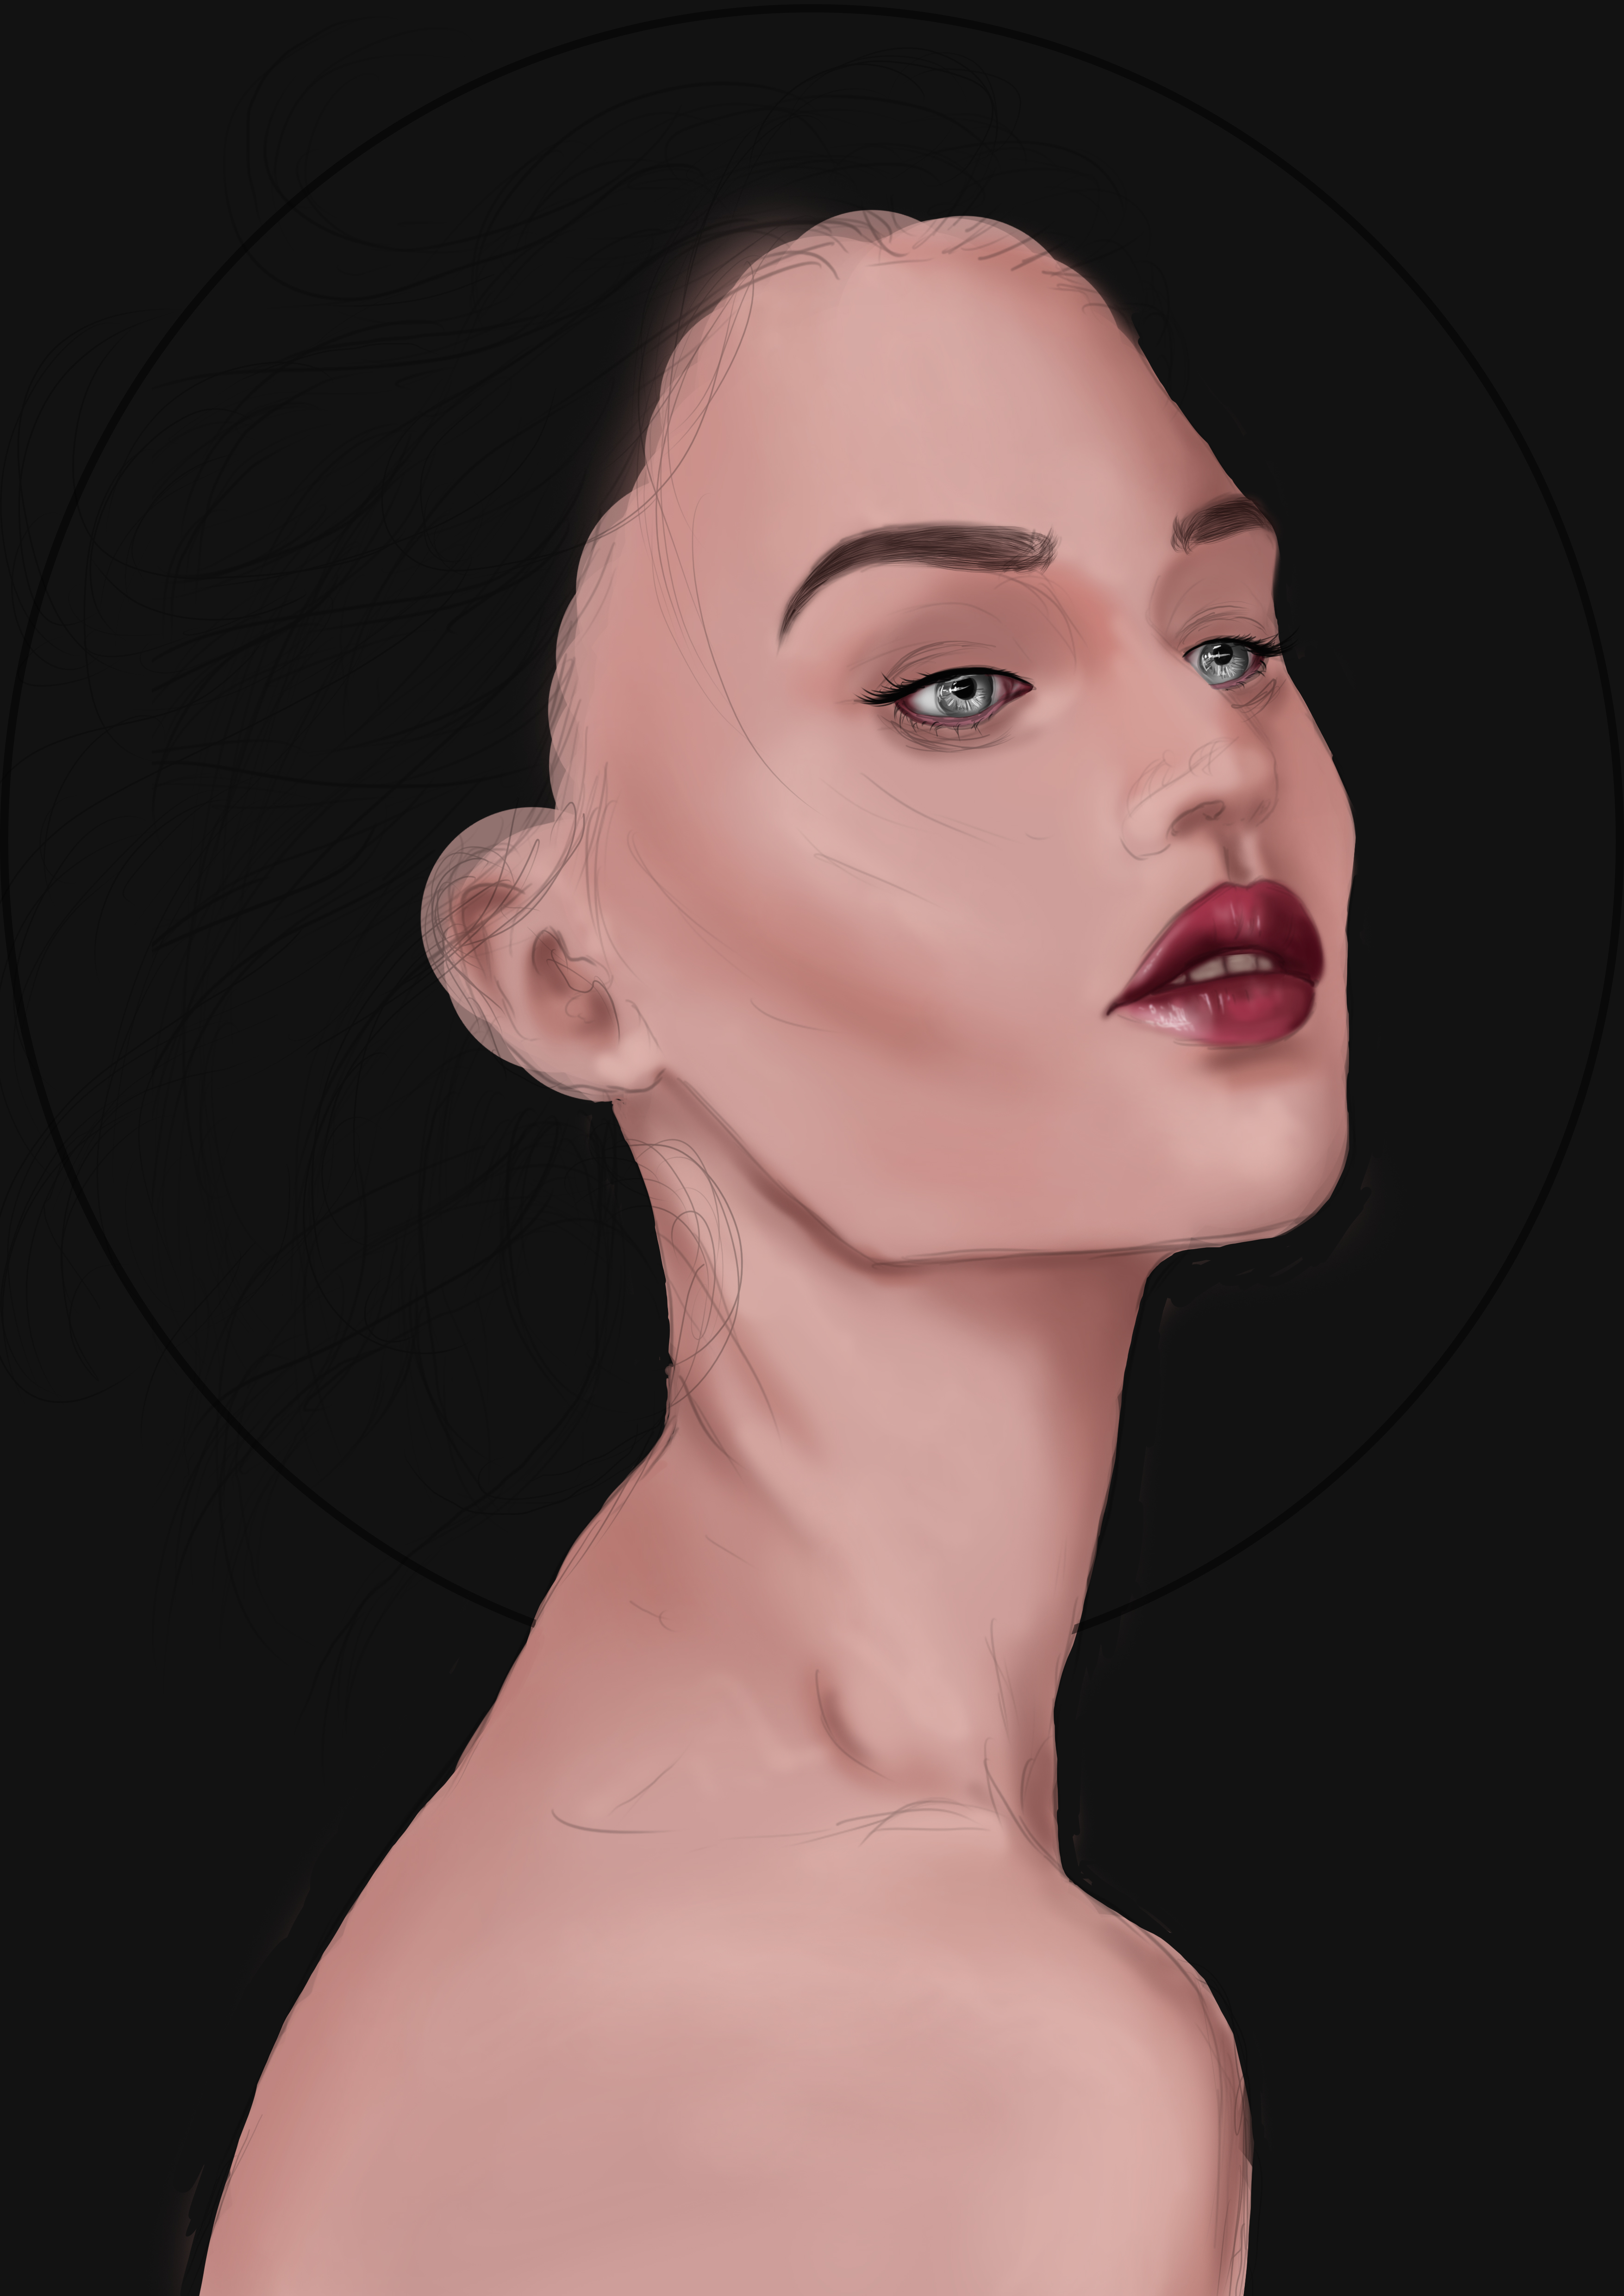
Tercer paso: una vez mezclamos todo el color de la piel es momento de detallar las otras partes de la ilustracion:
Third step: once we mix all the skin color, it is time to detail the other parts of the illustration:
Cuarto paso: Es hora de agregar cabello, imagine un cabello suelto al aire libre pero este cubria toda la escena que queria mostrar, he recogido su cabello al descuido con mechones que se entralazan con otros dando buen aspecto y haciendo lucir un rostro hermoso:
Fourth step: It is time to add hair, imagine a loose hair in the open air but this covered the entire scene that I wanted to show, I have collected your hair carelessly with strands that interlace with others giving good appearance and making a beautiful face look:
Ajusté detalles finales y así obtuve el fino resultado:
I adjusted final details and that was how I obtained the fine result
Espero te haya gustado lo he elaborado con cariño para ustedes, nos vemos en la próxima 😍
I hope you liked it, I have elaborated it with love for you, see you next time 😍
¿Cómo pintar la piel en Photoshop? (piel difusa) | How to paint skin in Photoshop? (fuzzy skin)

Presentación del diseño | Desing presentación
Reflejada por luces exteriores, con hojas sutiles en mi piel me elevo hacia un mundo irreal de fantasia...
Reflected by exterior lights, with subtle leaves on my skin, I rise to an unreal world of fantasy...
Materiales | Materials
- Mini laptop
- Tableta Huion H950P
- Programa Adobe Photoshop cc
- Mini laptop
- Huion H950P tablet
- Adobe Photoshop cc program
Proceso | Process
Primer paso: El boceto, es donde creamos la mayor parte de lo que queremos, despues tener lineas entendibles, continuamos al segundo paso:
First step: The sketch is where we create most of what we want, after having understandable lines, we continue to the second step:
Segundo paso: colores base,Selecionamos algunas tonalides un tono medio y adicional a este uno oscuro partiendo de la base y un claro partiendo de la misma base escogida anterioremente, y una tonalidad saturada para que sea mejor trabajada al piel al momento de mezclar las tonalides.
Para este paso uso un pincel difuso, resulta mejor al momento de mezclar el color:
Second step: base colors, we select some tonalides a medium tone and in addition to this a dark one starting from the base and a light one starting from the same base chosen previously, and a saturated tone so that it is better worked to the skin when mixing the tonalids .
For this step I use a diffuse brush, it is better when mixing the color:
Tercer paso: una vez mezclamos todo el color de la piel es momento de detallar las otras partes de la ilustracion:
Third step: once we mix all the skin color, it is time to detail the other parts of the illustration:
Cuarto paso: Es hora de agregar cabello, imagine un cabello suelto al aire libre pero este cubria toda la escena que queria mostrar, he recogido su cabello al descuido con mechones que se entralazan con otros dando buen aspecto y haciendo lucir un rostro hermoso:
Fourth step: It is time to add hair, imagine a loose hair in the open air but this covered the entire scene that I wanted to show, I have collected your hair carelessly with strands that interlace with others giving good appearance and making a beautiful face look:
Ajusté detalles finales y así obtuve el fino resultado:
I adjusted final details and that was how I obtained the fine result
Espero te haya gustado lo he elaborado con cariño para ustedes, nos vemos en la próxima 😍
I hope you liked it, I have elaborated it with love for you, see you next time 😍
¿Cómo pintar la piel en Photoshop? (piel difusa) | How to paint skin in Photoshop? (fuzzy skin)
0
0
0.000
Me encantó el resultado, gran trabajo 😊
Holaa. Muchas gracias ❤️