Un saludo Creativos!!
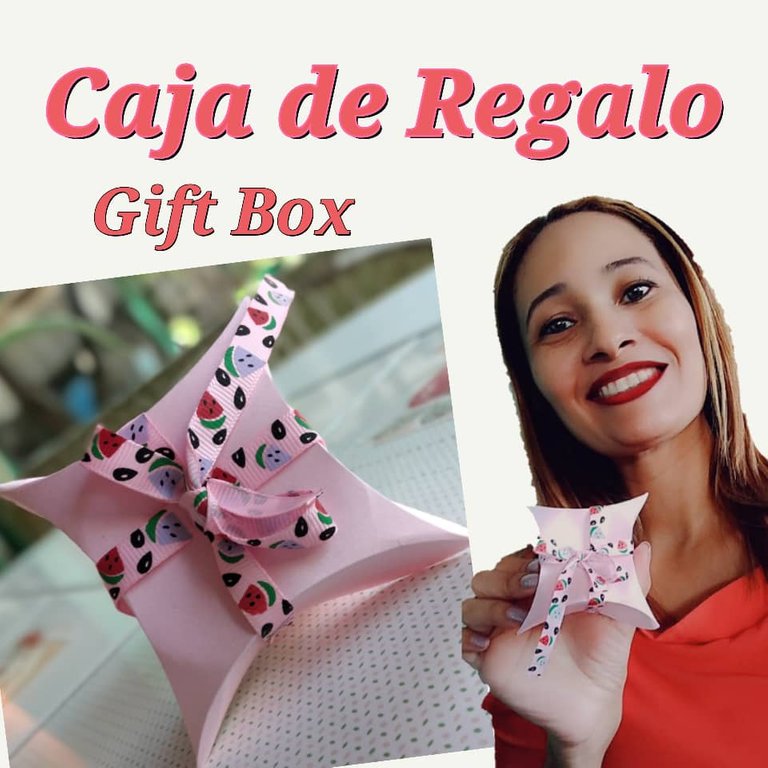
Se que he realizado muchas cajas de regalo, pero es que existen muchas formas de hacer cajas y bolsas de regalos, así que aprovecho para mostrarles un tutorial de una caja muy fácil y que se vende muy bien, además que ya estamos a nada de la época del año donde damos muchos regalos, así que sin más preámbulo vamos a poner manos a la obra.
Creative greetings!
I know I've made many gift boxes, but there are many ways to make boxes and gift bags, so I take this opportunity to show you a tutorial of a very easy box that sells very well, plus we are already a few days away from the time of year when we give many gifts, so without further ado let's get to work.
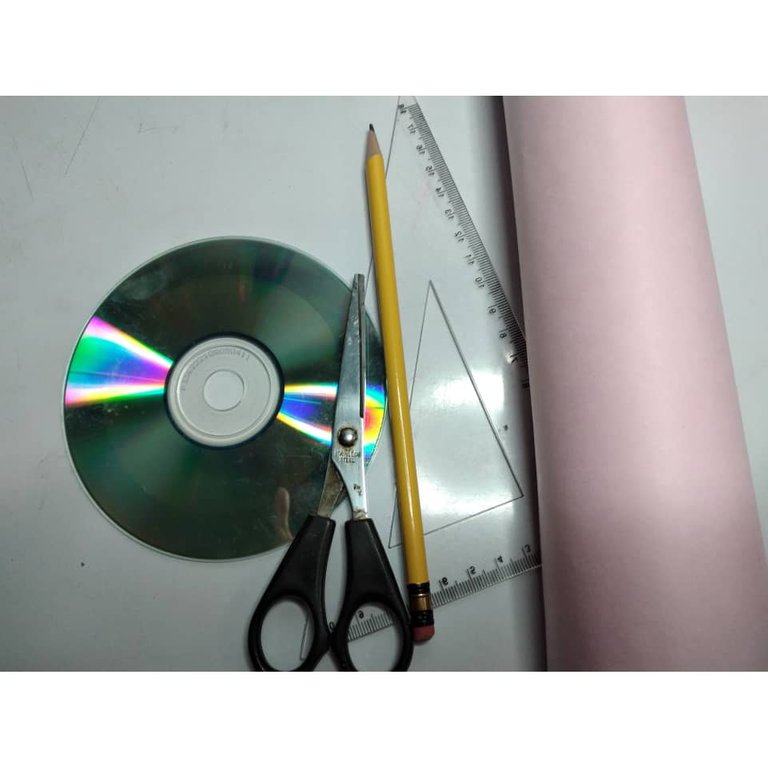
Materiales:
- Cartulina
- Cinta decorativa
- Regla y tijera
- Cd
- Lápiz
Materials:
- Cardboard
- Decorative ribbon
- Ruler and scissors
- Cd
- Pencil
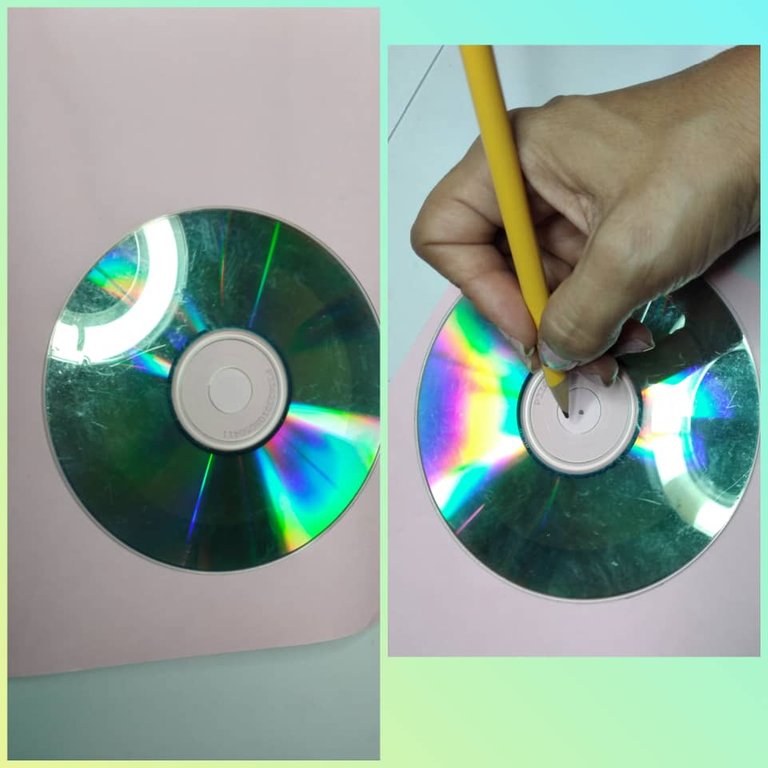
Lo primero es colocar el Cd sobre la cartulina y dibujar un círculo y colocamos el punto en el medio para darnos una guía.
The first thing is to place the Cd on the cardboard and draw a circle and place the point in the middle to give us a guide.
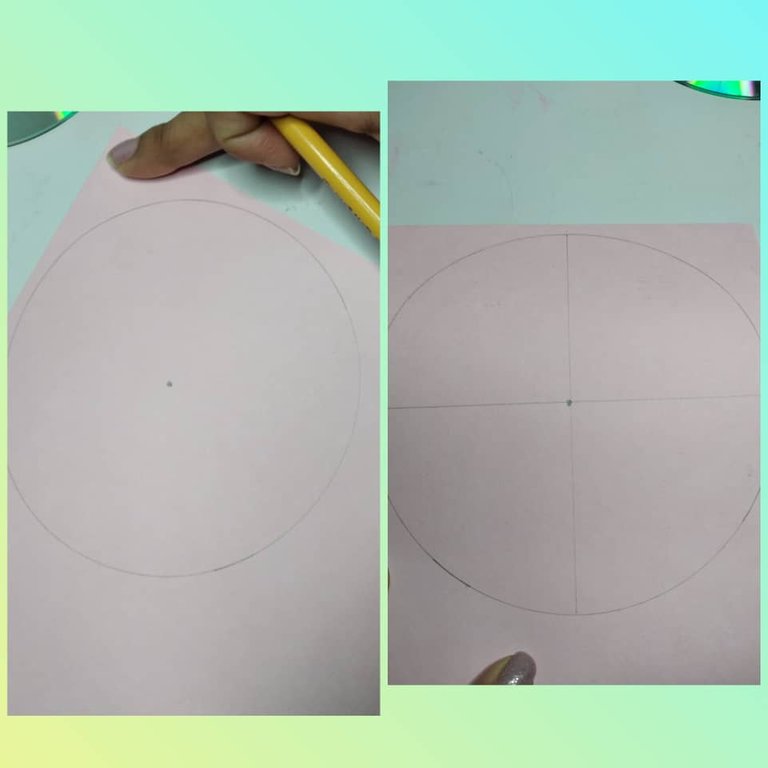
Después de dibujar el circulo, vamos a dividirlo en 4 partes cin nuestra regla.
After drawing the circle, let's divide it into 4 parts with our ruler.
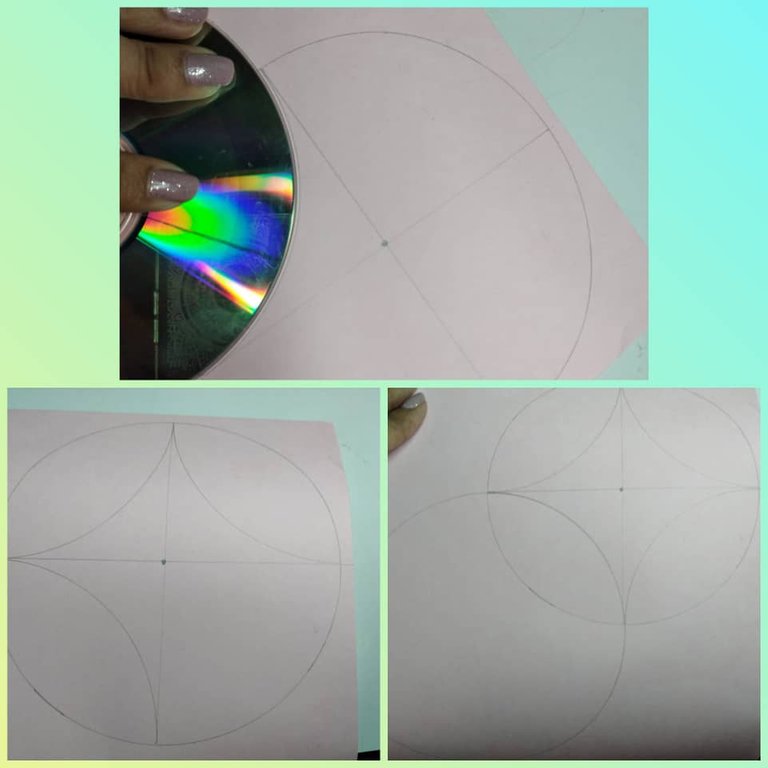
Ahora vamos a dibujar el redondez del Cd como se ve en la foto, como una media luna, solo lo haremos en 3 partes. Y en la última dibujamos un circulo completo.
Now we are going to draw the roundness of the Cd as you can see in the picture, like a half moon, we will only do it in 3 parts. And in the last one we will draw a complete circle.

Hacemos lo mismo en esta parte del circulo.
We do the same in this part of the circle.
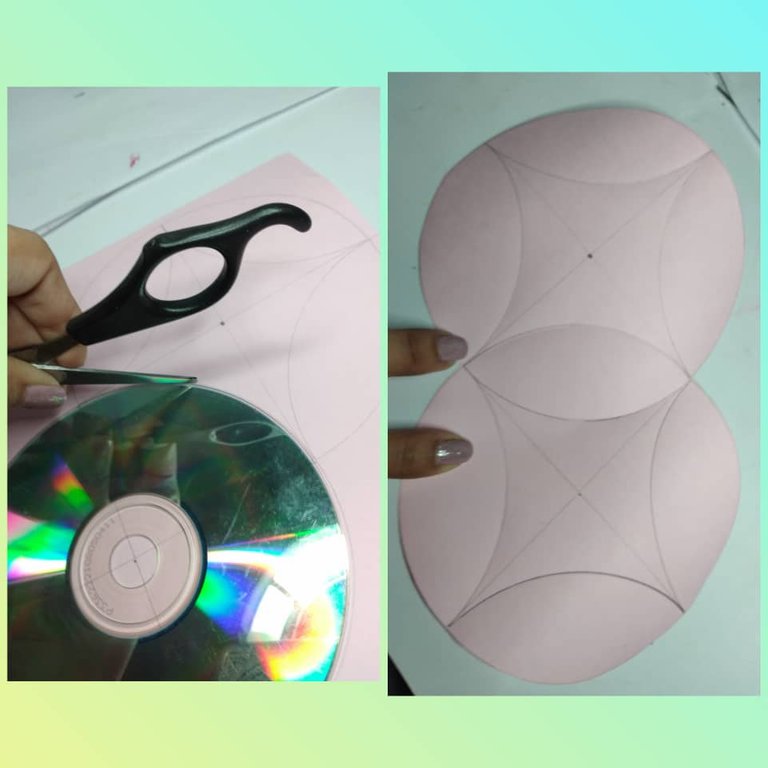
Con la punta de una tijera marcamos solo la parte de las medias lunas y luego recortamos el contorno de los circulos, tal y como se ve en la imagen.
With the tip of a scissors we mark only the part of the half moons and then we cut out the contour of the circles, as seen in the image.
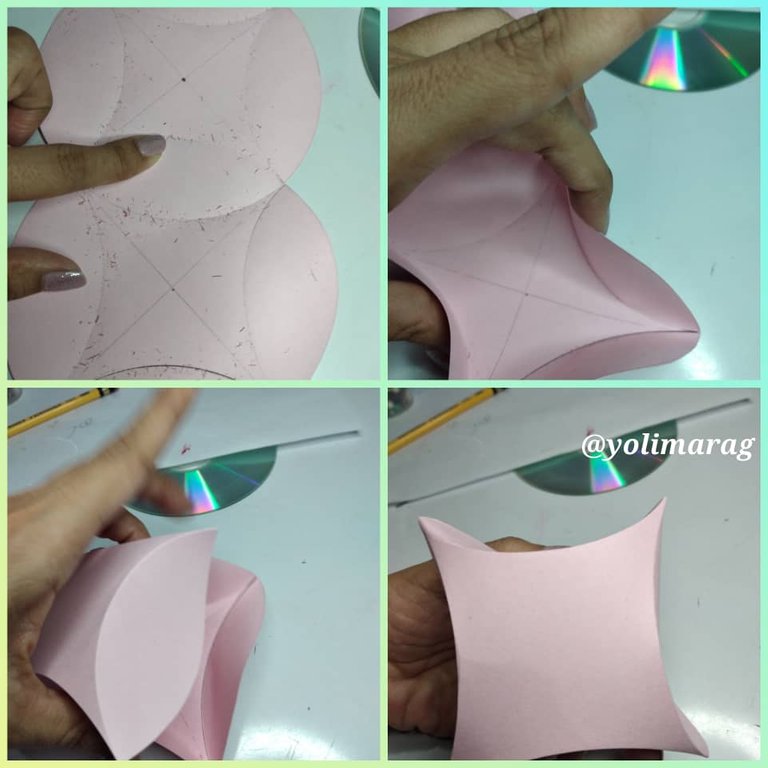
Borramos las líneas y vamos a comenzar a dar forma, por las partes que pasamos la tijera hasta cerrar la caja.
We delete the lines and we will begin to shape, by the parts that we pass the scissors to close the box.
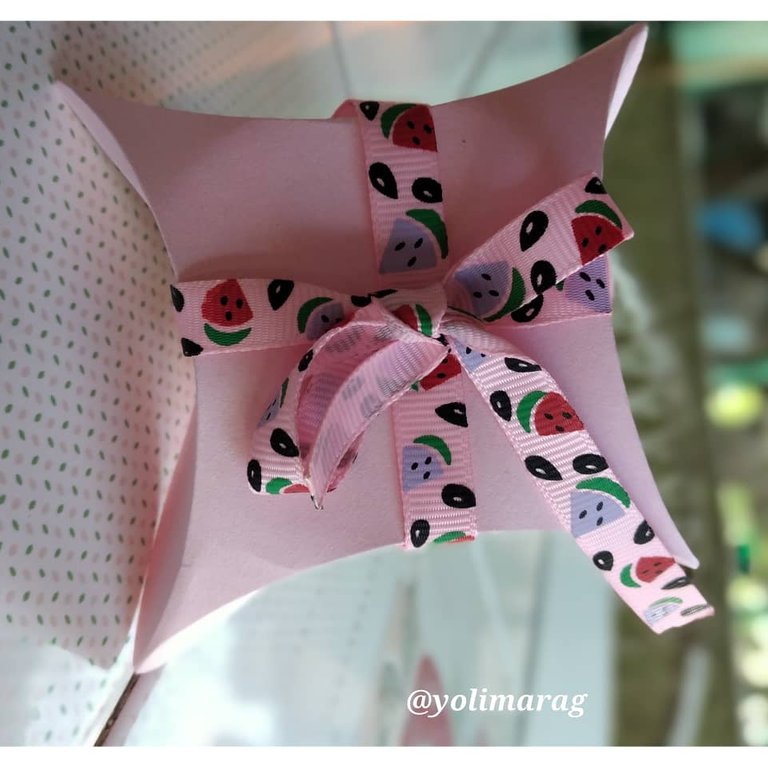
Por último le colocamos una cinta de su preferencia y cerramos con un lazo y está listo, una hermosa cajita para guardar un regalo hermoso.
Espero que les encantará este post tanto como a mi! gracias por leer, nos vemos en el próximo, bendiciones 💛💙❤️
Finally we put a ribbon of your choice and close with a bow and you are ready, a beautiful little box to keep a beautiful gift.
I hope you will love this post as much as I do! thanks for reading, see you next one, blessings 💛💙❤️
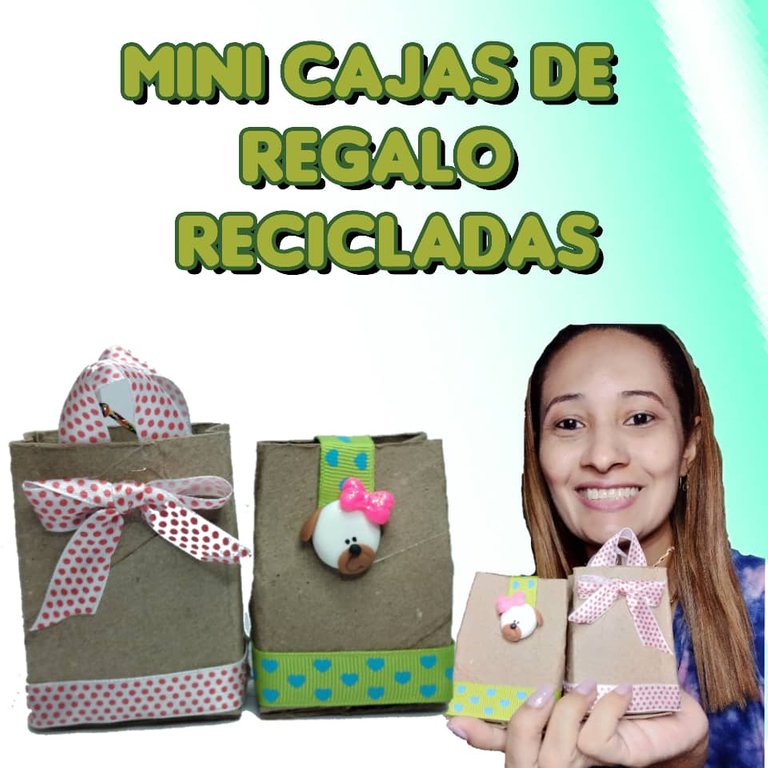
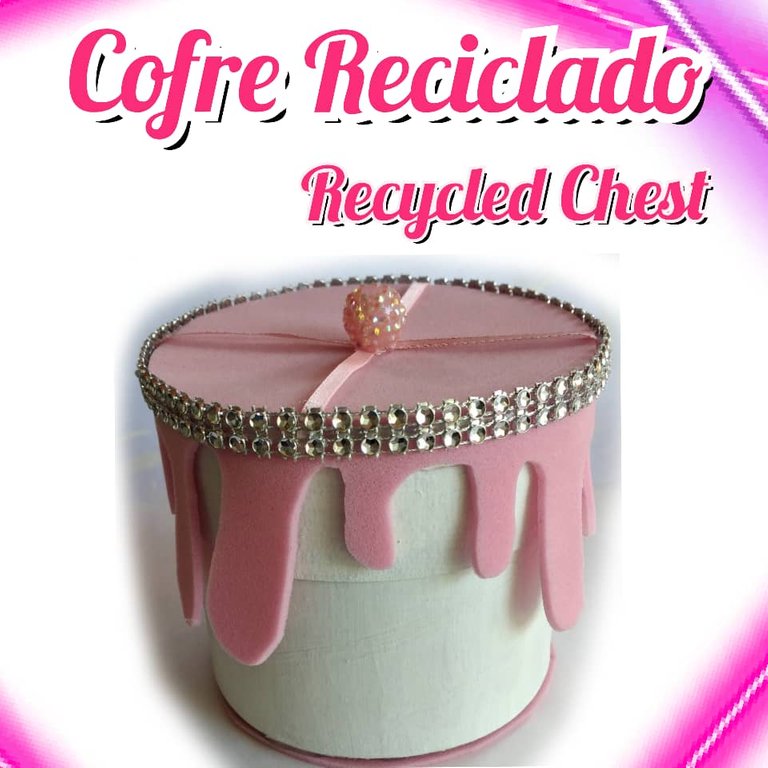
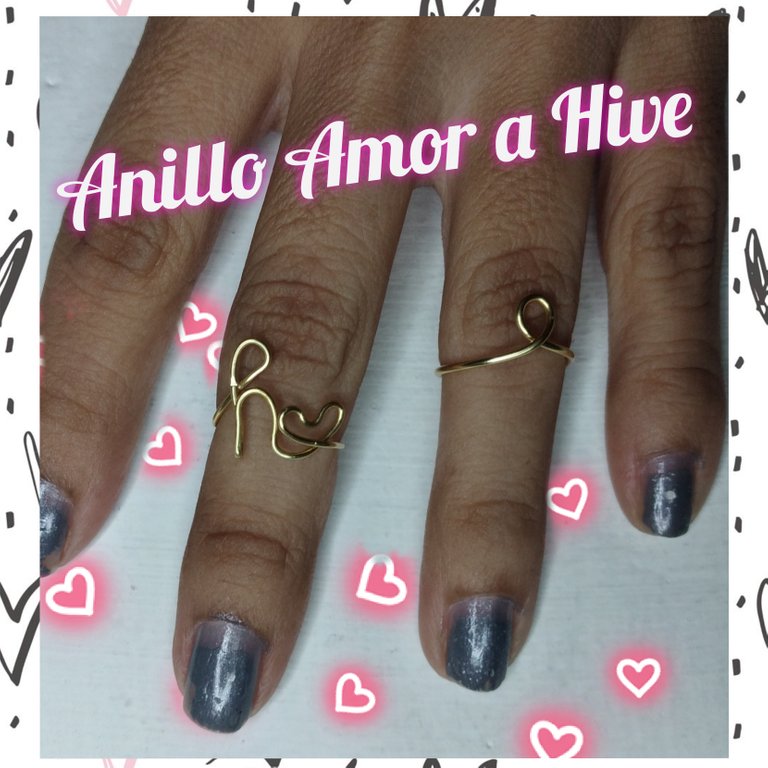
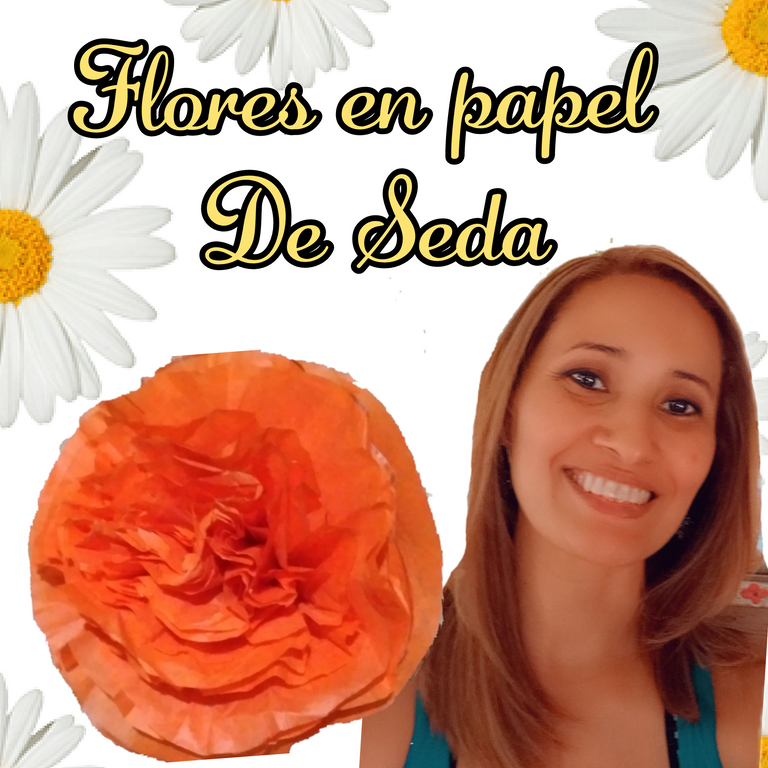
Algunos Proyectos que pueden interesarte // Some Projects that may interest you:


Curador: @Mariale07
Te invitamos a visitar nuestro servidor en Discord
https://twitter.com/yolimarag/status/1323762296691318789
Hi @yolimarag ! Thank you for posting through our Hive Community Page This article will be passed to other curation projects for more votes support. Keep up the good works!
Muchas gracias por el apoyo 🤗
Hola @yolimarag excelente y muy educativo se muestra claramente los pasos. Excelente. 🤗
Muchas gracias por pasar y leer