[Eng-Esp] Making a rabbit with reusable material. -- Haciendo un conejo con material reutilizable.

avatar

Making a rabbit with reusable material.

Haciendo un conejo con material reutilizable.


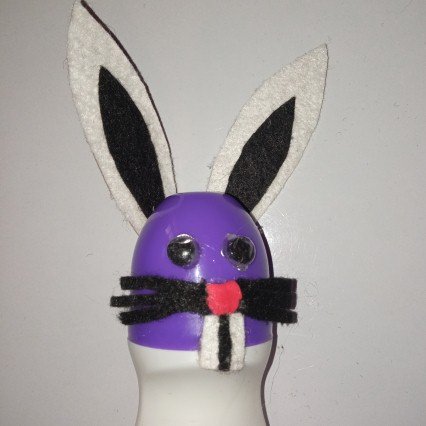
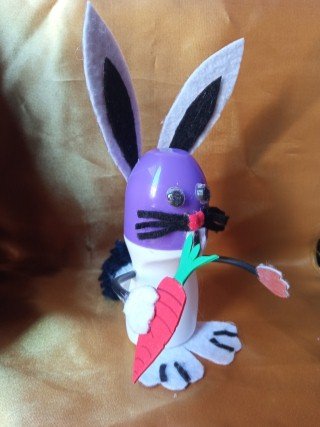
Hello reader friends, today I will be presenting a cute rabbit with reusable material, it looks beautiful, don't miss it, go to the end of the post and see how magnificent it looks.

Hola amigos lectores, hoy estaré presentando un tierno conejo con material reutilizable, queda hermoso no te lo pierdas, acompañe hasta el final del post y ve que magnífico queda.

portada.jpg


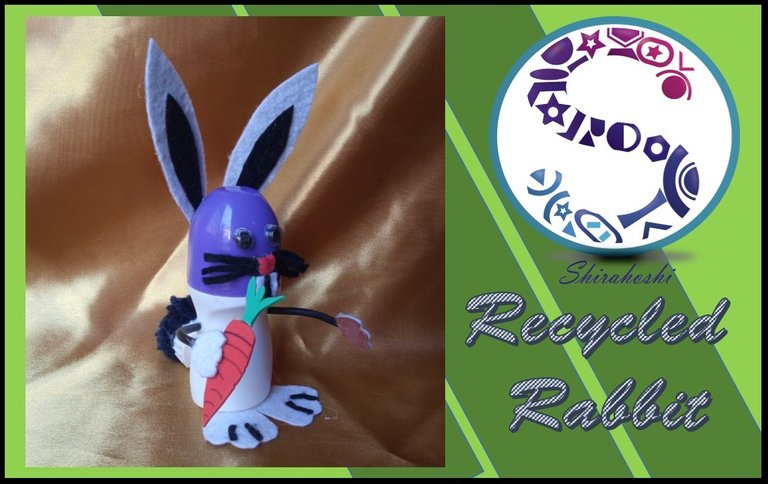
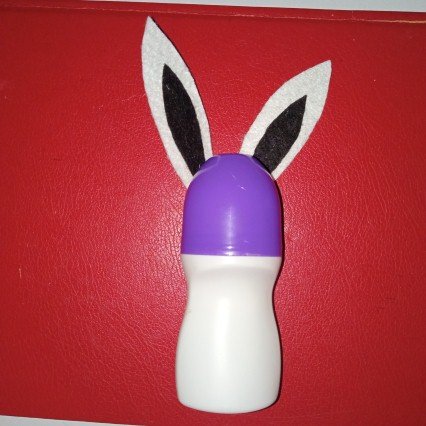
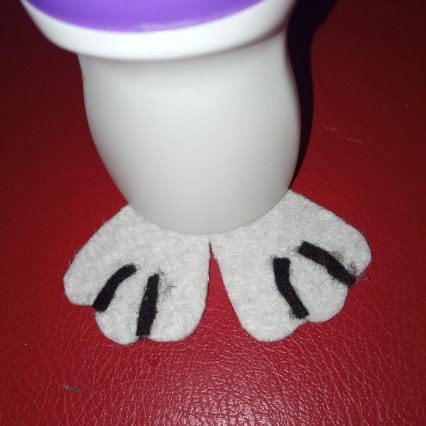
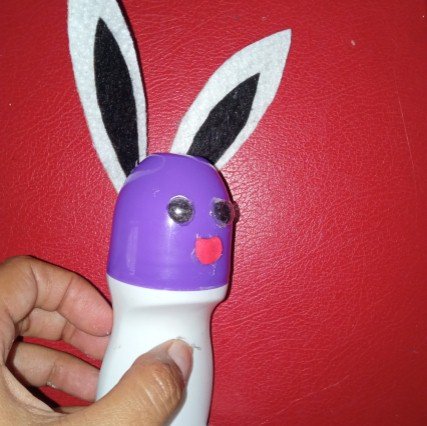
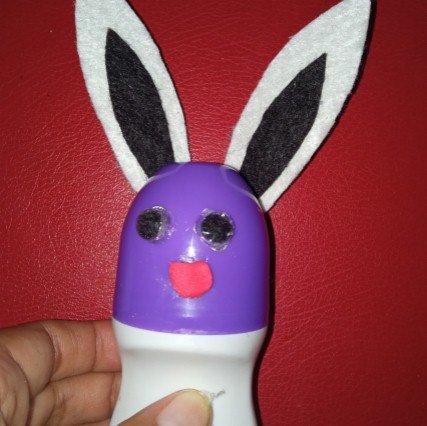
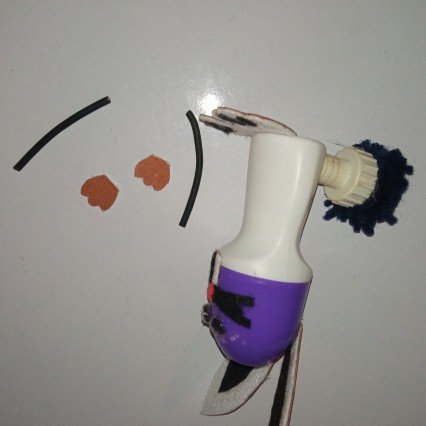
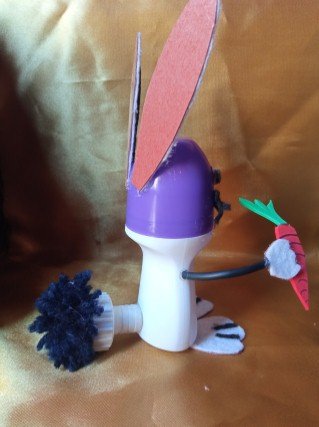
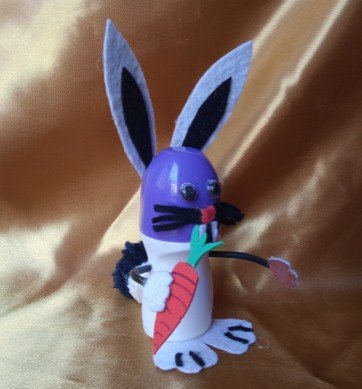
I love the movements that rabbits give, they are fast and very eager, when I was little I had a beautiful rabbit, but unfortunately he died and I really didn't know what caused his death, one day I went to see him as usual and I found him sad and a few days later he passed away, today looking through my things I wanted to make a bunny honoring my dead bunny with reusable materials and this way I make my entry to the invitation of my friend @jennyzer who was so kind to invite me to participate in CREATIVE RECYCLING CHALLENGE #9.

Me encantan los movientos que dan los conejos son rápidos y muy ansiosos, cuando era pequeña tuve un hermoso conejo, pero desafortunadamente murió y realmente no supe que le causó el fallecimiento, un día fui a verlo como acostumbraba y me lo encontré triste y a los días falleció, hoy buscando entre mis cosas quise hacer un conejo dándole honor a mi conejito muerto con materiales reutilizables y de esta manera hago mi entrada a la invitación de la amiga @jennyzer que fue tan gentil de invitarme a participar en CREATIVE RECYCLING CHALLENGE #9.


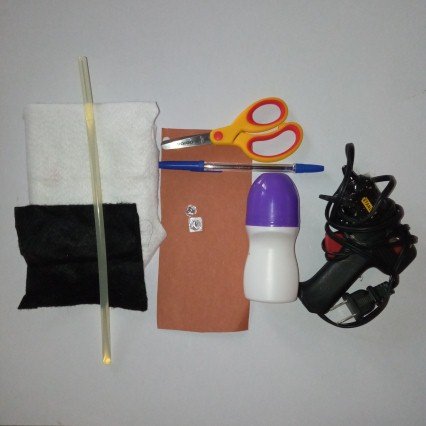
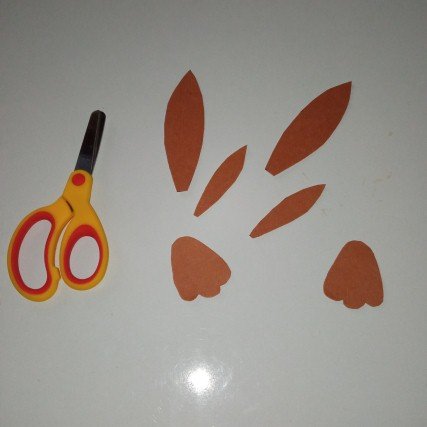
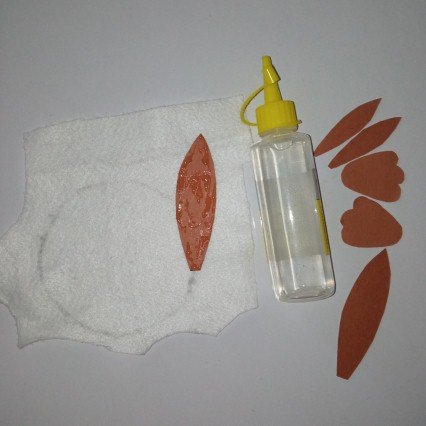
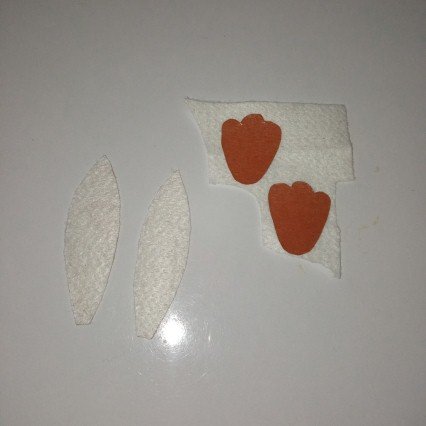
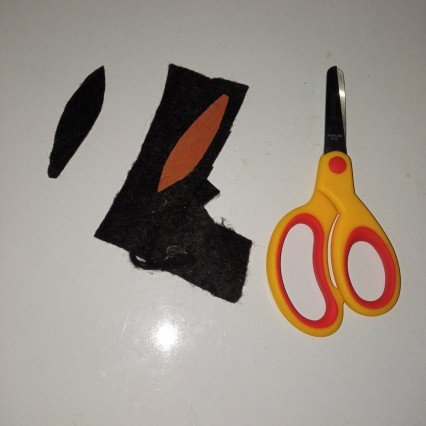
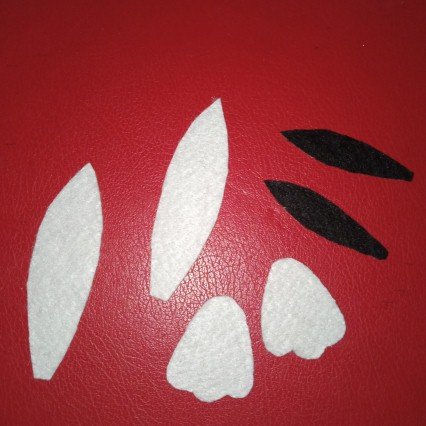
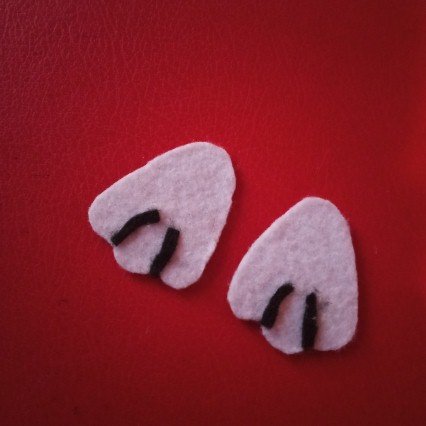
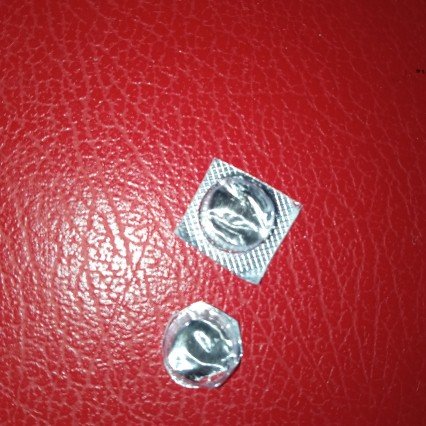
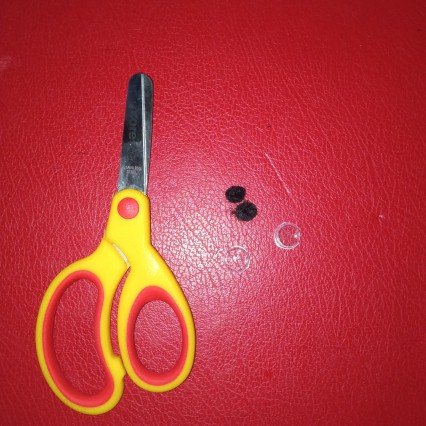
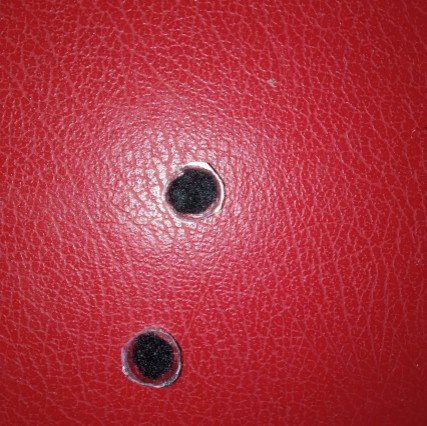
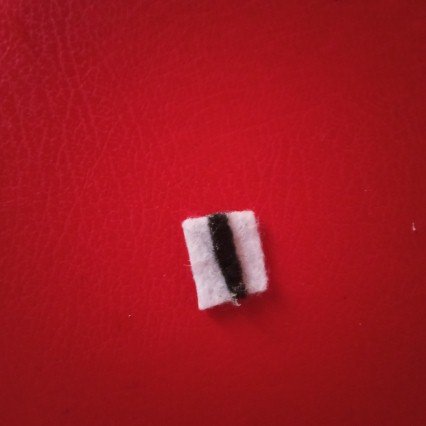
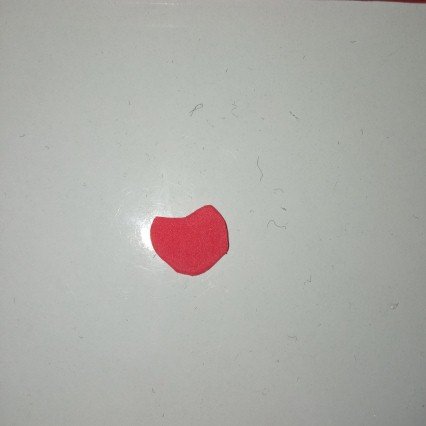
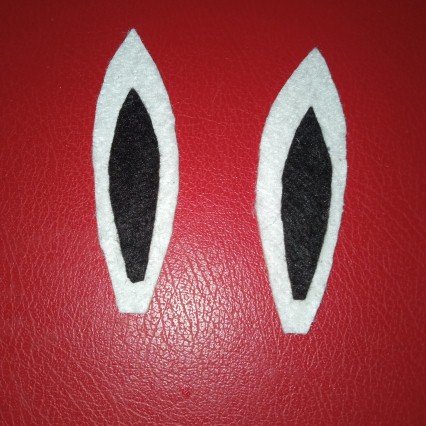
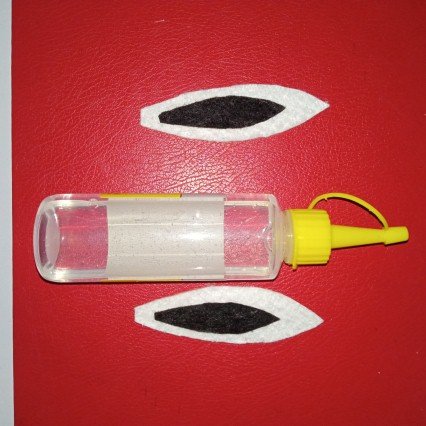
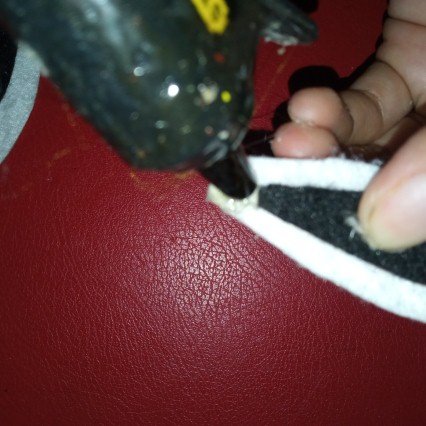
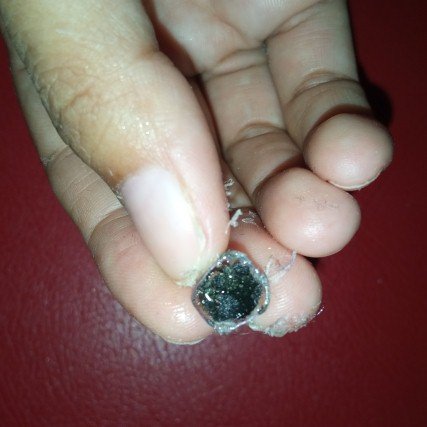
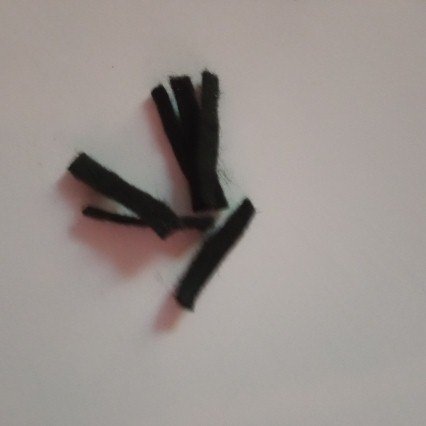
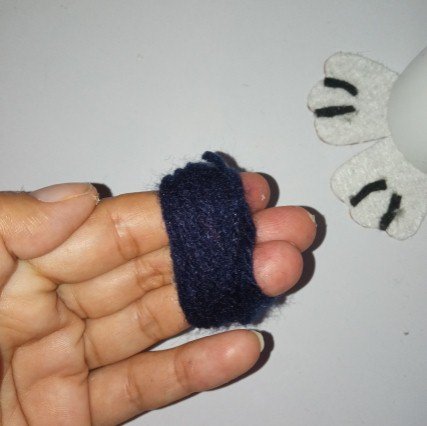
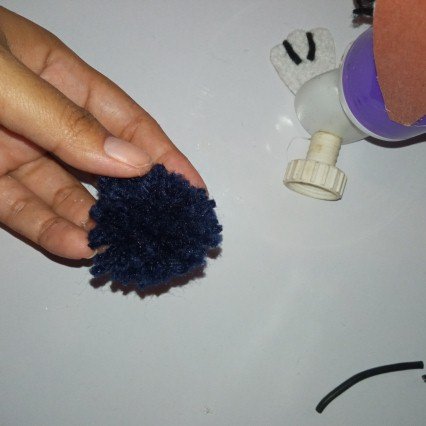
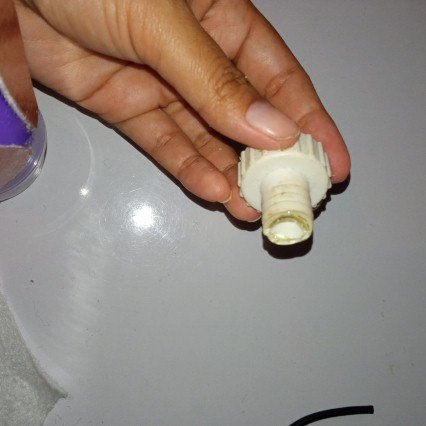
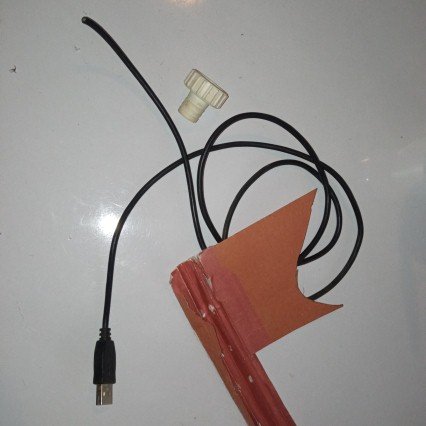
The materials to be used were:

  • Silicone.
  • EVA rubber.
  • Felt.
  • Cardboard.
  • USB cable.
  • Pill wrapper.
  • Deodorant bottle.
  • Hose union.
  • Twine.

Los materiales a utilizar fueron:

  • Silicón.
  • Goma eva.
  • Fieltro.
  • Cartón.
  • Un cable USB.
  • Envoltura de pastillas.
  • Frasco de desodorante.
  • Unión de manguera.
  • Estambre

Imagen1.jpg


The first thing I do is to draw the patterns of the ears and paws on a blank sheet of paper.
Lo primero que hago es sacar los patrones de las orejas y las patas en una hoja en blanco.

Imagen2.jpg

Imagen3.jpg


After having the patterns ready, I transfer them to cardboard and then cut them out as you will see in the images.
Luego de tener listo los patrones los paso al cartón y luego recortó como verán en las imágenes.

Imagen4.jpg

Imagen5.jpg


Here he placed silicone on the cardboard of the big ears and paws and proceeded to glue on the felt.
Aquí colocó silicón en el cartón de las orejas grandes y las patas, procedo a pegar en el fieltro.

Imagen6.jpg

Imagen7.jpg


Cut out each piece and at once I do the same procedure of gluing the smaller ear to the black felt and cut it out.
Recortó cada pieza y de una vez hago el mismo procedimiento de pegar al fieltro negro la oreja más pequeña y recortó.

Imagen8.jpg

Imagen9.jpg


Here I take out 4 very thin pieces of black felt that I will place on the rabbit's feet as you can see.
Aquí saco 4 trozos muy delgado de fieltro negro que le colocare en las patas del conejo así como podrán observar.

Imagen10.jpg

Imagen11.jpg


The tablet wrapper is rounded and a black circle is made and we put it in the hole of the tablet wrapper.
La envoltura de las pastillas se redondean y se hace un círculo negro y lo metemos en el agujero de la envoltura de la pastilla.

Imagen12.jpg

Imagen13.jpg

Imagen14.jpg


We make a little square and place a piece of black felt in the middle, which will be the rabbit's big teeth.
Hacemos un cuadrito y le colocamos un pedazo de fieltro negro por el medio y serán los grandes dientes del conejo.

Imagen15.jpg


Make a red nose with the Eva rubber.
Con la goma Eva realice una nariz roja.

Imagen16.jpg


I take the black and white ears and glue them with silicone.
Agarro las orejas blancas y negras y las pegamos con silicón.

Imagen17.jpg

Imagen18.jpg


On the lower part of the ear we put silicone stick and glue it to the deodorant bottle.
En la parte de abajo de la oreja le colocamos silicón en barra y pegamos al envase de desodorante.

Imagen19.jpg

Imagen20.jpg


In this step we will glue the legs and eyes of the rabbit with silicone stick.
En este paso pegaremos las patas y los ojos del conejo con silicón en barra.

Imagen21.jpg

Imagen22.jpg


I proceed to glue the Eva rubber nose, with felt we will remove some black whiskers and at once we will glue the teeth.
Procedo a pegar la nariz de goma Eva, con fieltro le sacaremos unos bigotes negros y de una vez le pegaremos los dientes.

Imagen23.jpg

Imagen24.jpg

Imagen25.jpg

Imagen26.jpg


A pompom is made with yarn that will be glued to the tail of a hose joint.
Con estambre se hace un pompón que irá pegado a la cola de una unión de manguera.

Imagen27.jpg

Imagen28.jpg

Imagen29.jpg

Imagen30.jpg


We cut two pieces of the USB cable where the little legs of the bunny will go, we glue with silicone stick.
Picamos dos trozos del cable USB dónde irán las patitas pequeñas del conejito, pegamos con silicón en barra.

Imagen31.jpg

Imagen32.jpg


Finally, as always, I leave you a photo session of the rabbit with a carrot that I wanted to make with Eva rubber to give more view to the cute bunny.
Para finalizar como siempre les dejo una sesión de fotos del conejo con una zanahoria que le quise hacer con goma Eva para darle más vista al tierno conejo.

Imagen33.jpg

Imagen34.jpg

Imagen35.jpg

Imagen36.jpg


Without more to say and hoping that this craft post is to the liking of every reader I say goodbye with a big hug, love you @shirahoshi.

Sin más que decir y esperando que este post de manualidad sea del agrado de cada lector me despido con un fuerte abrazo, los quiere @shirahoshi.

Logo sin sombra.gif


The photographs are my own and were taken by me with a Redmi 9 and were edited in powerpoint.

Las fotografías son de mi autoría y fueron tomadas por mí con un Redmi 9 y se editaron en powerpoint.


The Step by Step Gif was made by me in AdobePhotoshop CC2014.

El Gif de Paso a Paso fue realizado por mi en AdobePhotoshop CC2014.


The logo was designed by me in Adobe Illustrator CC 2015 and its animated version was made in After Effects CC 2017.

El logo fue diseñado por mí en Adobe Illustrator CC 2015 y su versión animada la realice en After Effects CC 2017.


Language corrector used Deepl.

Corrector de idioma utilizado Deepl.

My social networks-Mis redes sociales


0
0
0.000
1 comments
avatar

Congratulations @shirahoshi! You have completed the following achievement on the Hive blockchain and have been rewarded with new badge(s) :

You received more than 7000 HP as payout for your posts and comments.
Your next payout target is 8000 HP.
The unit is Hive Power equivalent because your rewards can be split into HP and HBD

You can view your badges on your board and compare yourself to others in the Ranking
If you no longer want to receive notifications, reply to this comment with the word STOP

Check out the last post from @hivebuzz:

Feedback from the April 1st Hive Power Up Day
0
0
0.000