[Eng-Esp] Making a functional telescope out of cardboard --- Haciendo un telescopio Funcional con cartón.
Making a functional telescope out of cardboard
Haciendo un telescopio Funcional con cartón.
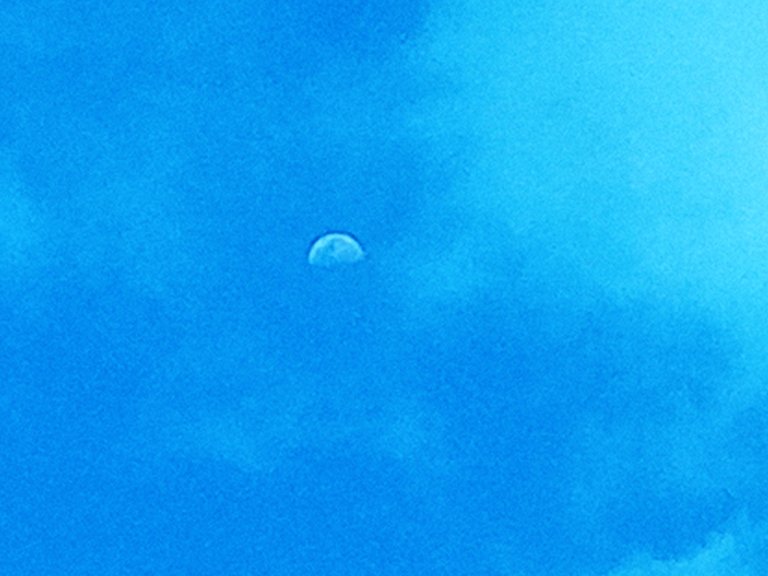
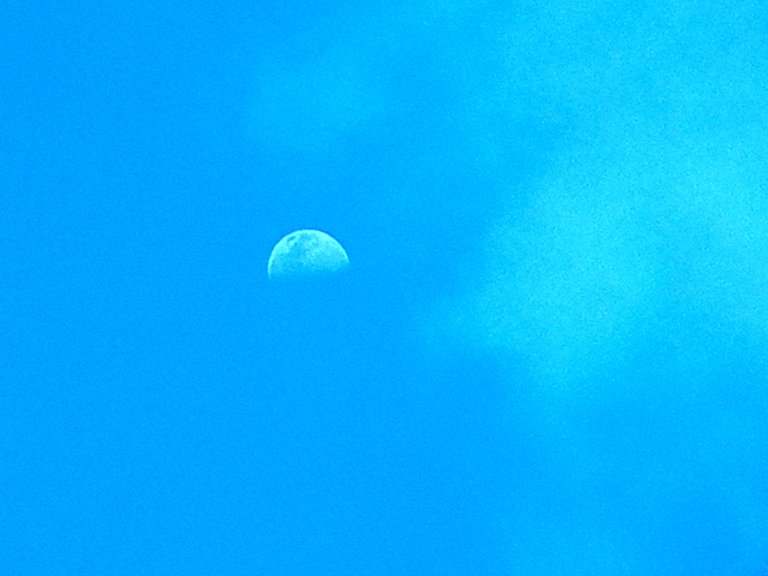
Greetings my dear reader friends! Today I bring you a very curious project whose purpose is to enjoy the beautiful starry sky or some element that is far away from us. I'm talking about a homemade telescope quite simple and easy to make, all made with recycled materials except for the lenses, which can be found quite cheaply or we may have one forgotten in the closet.
Saludos mis queridos amigos lectores! El día de hoy les traigo un proyecto bastante curioso y el cual tiene como finalidad, poder disfrutar del hermoso cielo estrellado o de algún elemente que se encuentre lejos de nosotros. Les hablo de un telescopio casero bastante simple y sencillo de hacer, realizado todo con materiales reciclados a excepción de las lentes, las cuales la podremos encontrar a un precio bastante económico o bien puede que tengamos una olvidada en el armario.
This curious telescope can be made for us or for the little ones of the house, so that they can be distracted observing distant places or they can play at being pirates. This idea is really great because it is fully functional although we must take into account that the power of it will depend entirely on the magnification of the glass we use.
Este curioso telescopio podemos hacerlo para nosotros o para los pequeños de la casa, con el fin de que se distraigan observando lugares lejanos o bien puedan jugar a ser piratas. Esta idea realmente es muy genial ya que es totalmente funcional aunque debemos de tener en cuenta que la potencia del mismo dependerá totalmente del aumento que posea el cristal que usemos.
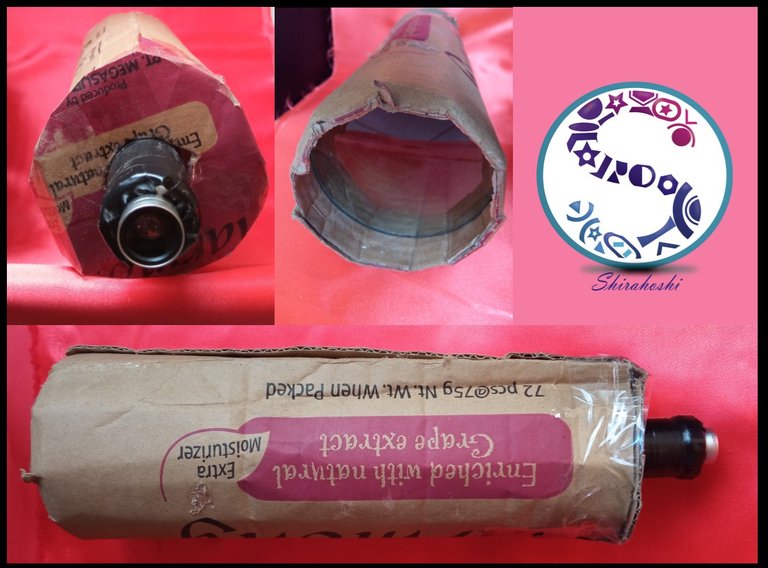
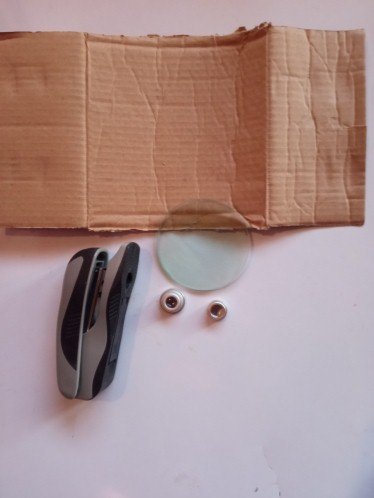
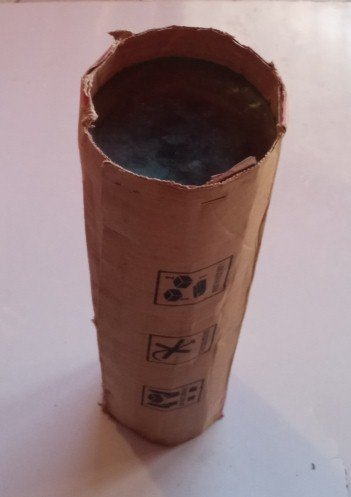
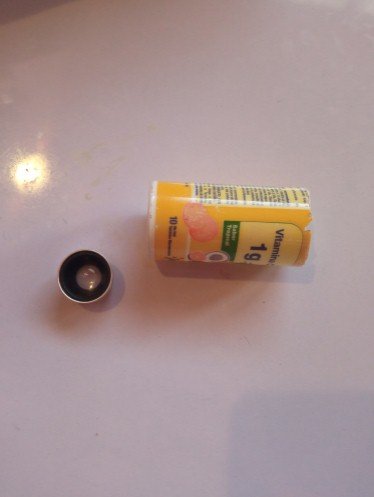
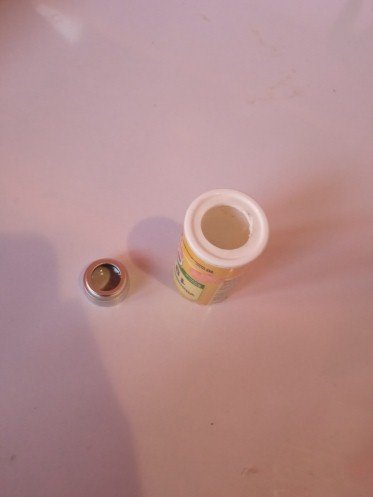
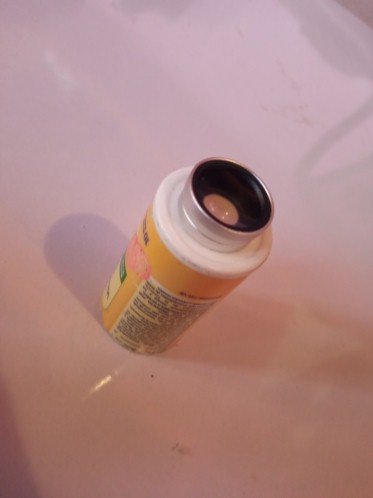
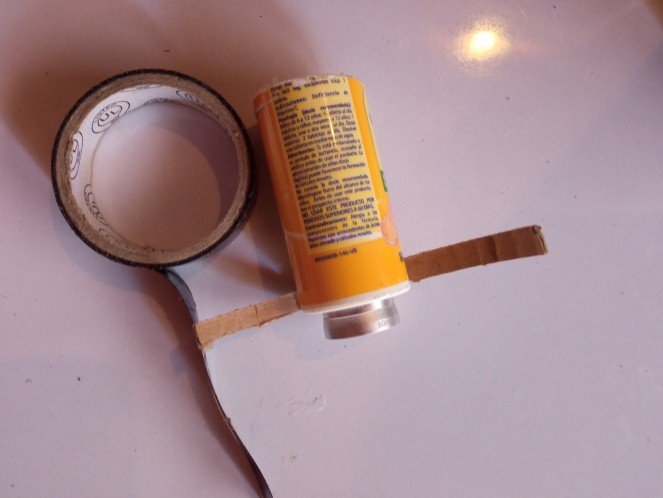
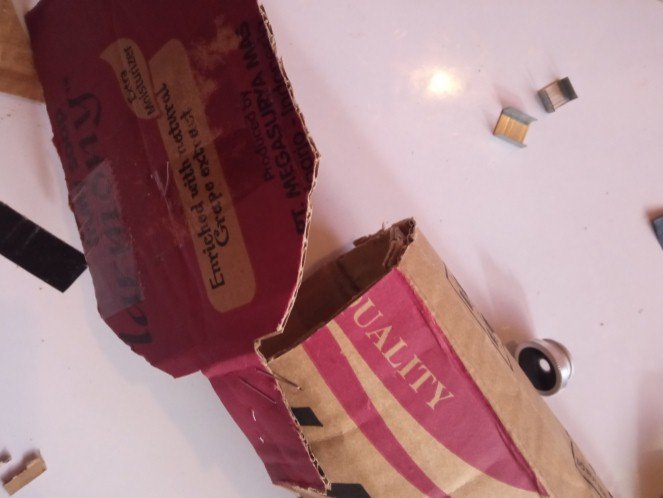
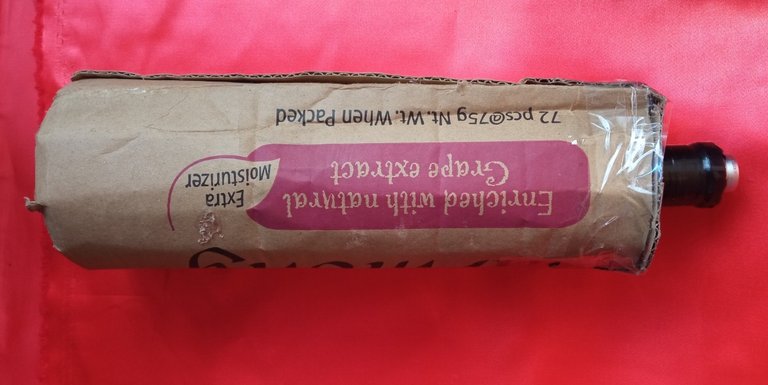
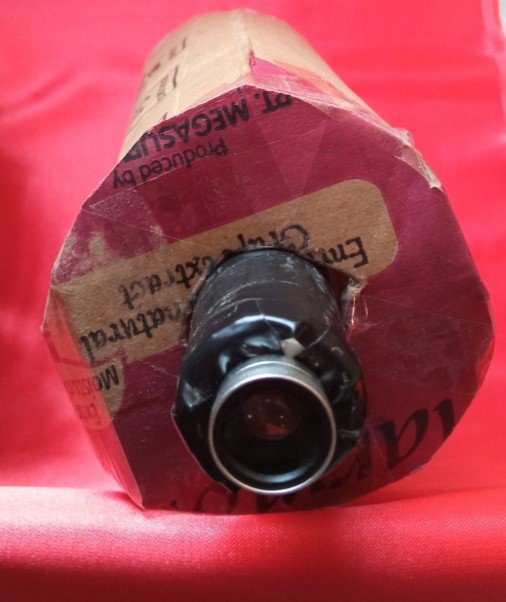
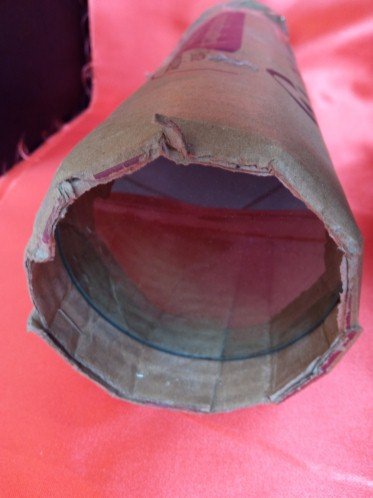
To make it I used few elements, mostly cardboard for the structure, a small tube of vitamins and two lenses, one from an old magnifying glass I had and the other lens I got from the wide angle lens that came as part of a small kit of lenses that I bought some time ago. In the step by step you will see the evolution of this curious project and you will learn how to make your own homemade telescope.
Para realizarlo use pocos elementos, más que todo cartón para la estructura, un pequeño tubo de vitaminas y dos lentes, una de una lupa vieja que tenía y el otro lente lo obtuve del gran angular que venía como parte de un pequeño kit de lentes que compre hace un tiempo. En el paso a paso verán la evolución de este curioso proyecto y aprenderán a realizar su propio telescopio casero.


I hope this little project was to your liking and you can make your own telescope at home, as always thank you for reading to the end, love you @shirahoshi and I look forward to seeing you in a future post.
Espero que este pequeño proyecto fuera de tu agrado y puedas hacer tu propio telescopio en casa, como siempre agradecida por leer hasta el final, los quiere @shirahoshi y los espero en un próximo post.

The photographs are my own and were taken by me with a Redmi 9 and were edited in powerpoint.
Las fotografías son de mi autoría y fueron tomadas por mí con un Redmi 9 y se editaron en powerpoint.
The Step by Step Gif was made by me in AdobePhotoshop CC2014.
El Gif de Paso a Paso fue realizado por mi en AdobePhotoshop CC2014.
The logo was designed by me in Adobe Illustrator CC 2015 and its animated version was made in After Effects CC 2017.
El logo fue diseñado por mí en Adobe Illustrator CC 2015 y su versión animada la realice en After Effects CC 2017.
Language corrector used Deepl.

https://twitter.com/shiraho47800990/status/1363290813631979520
GENIAL.... VALE LA PENA INTENTAR HACERLO