[Eng-Esp] Making a cute ladybug magnet.--- Haciendo un lindo imán de mariquita.
Making a cute ladybug magnet.
Haciendo un lindo imán de mariquita.
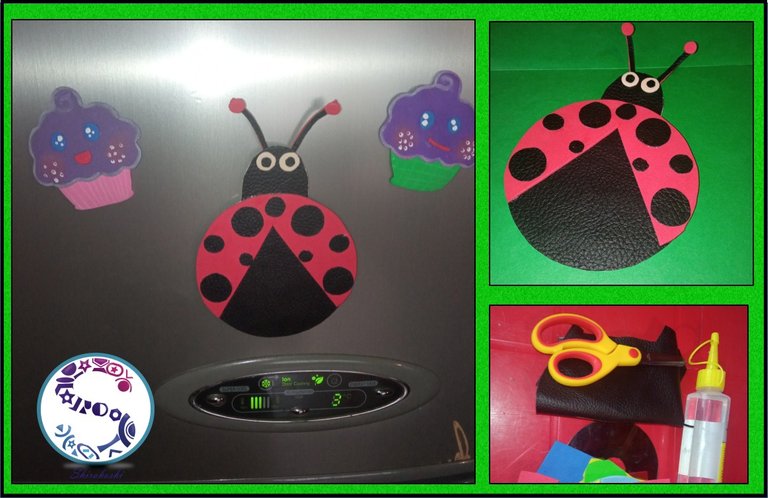
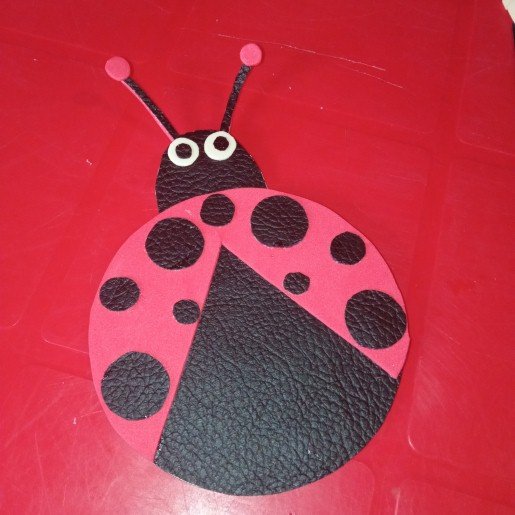
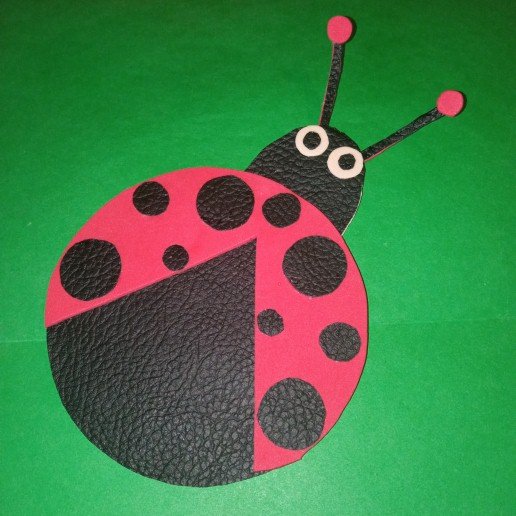
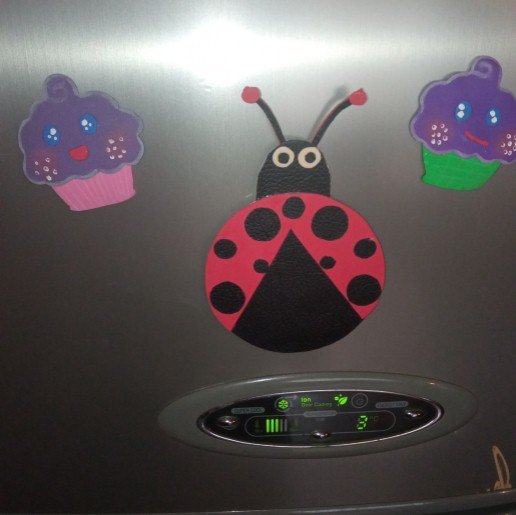
Hello reader friends, happy and blessed day today I will be showing you a beautiful ladybug magnet very easy to make and inexpensive, join me until the end of the post and enjoy every step I made.
Hola amigos lectores, feliz y bendecido día hoy les estaré mostrando un hermoso imán de mariquita muy fácil de hacer y económico, acompáñame hasta el final del post y disfruta cada paso que realizó.
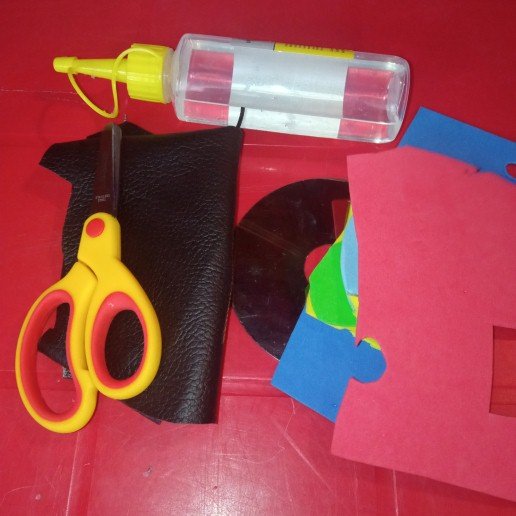
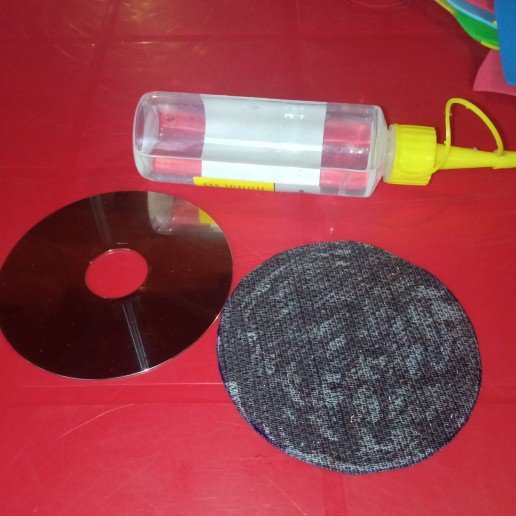
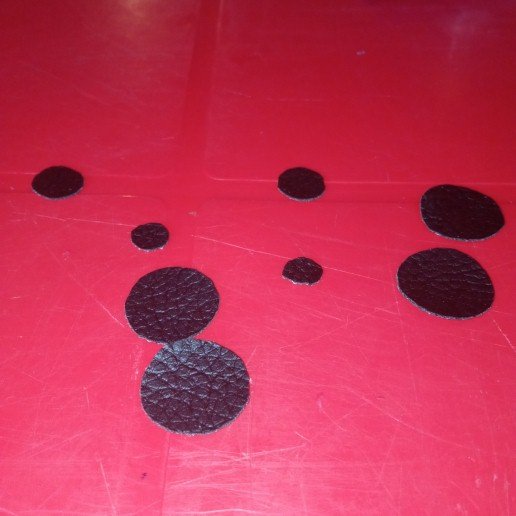
The materials I used to make this craft were the following:
- A CD.
- EVA rubber.
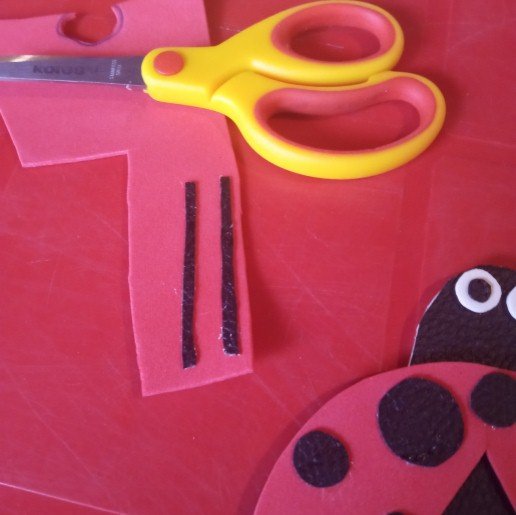
- Black rope.
- Silicone stick and liquid.
- Scissors.
Los materiales que utilice para hacer está manualidad fueron los siguientes:
- Un CD.
- Goma eva.
- Cuerina negra.
- Silicón en barra y líquido.
- Tijera.
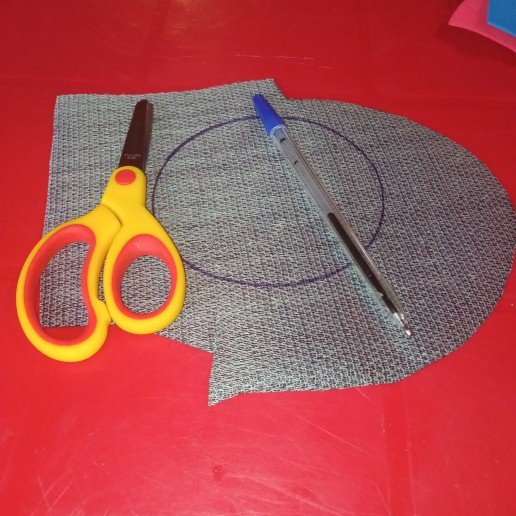
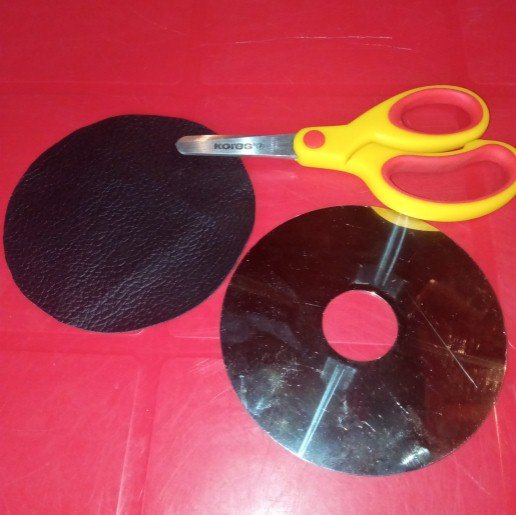
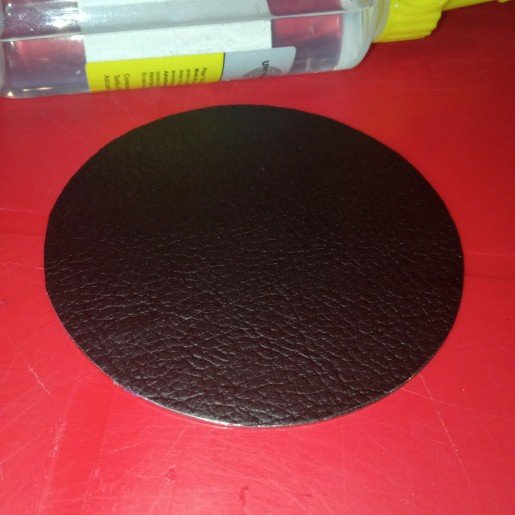
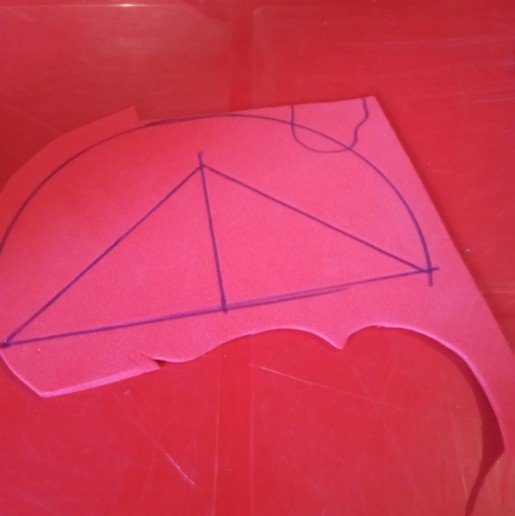
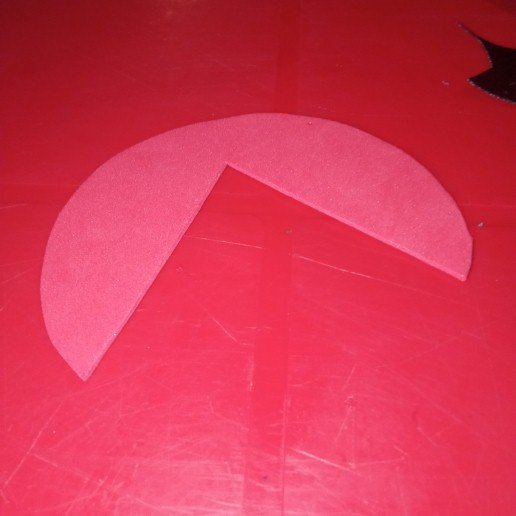
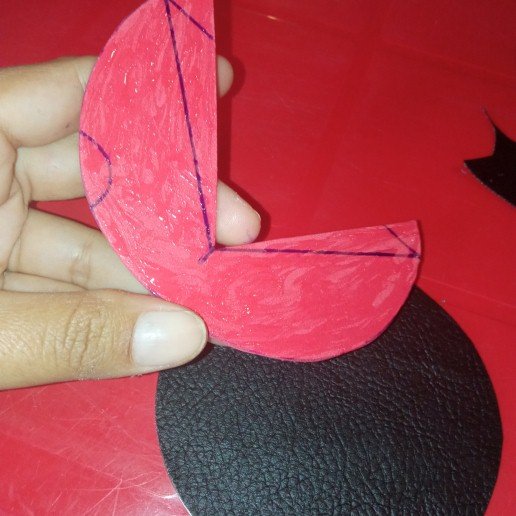
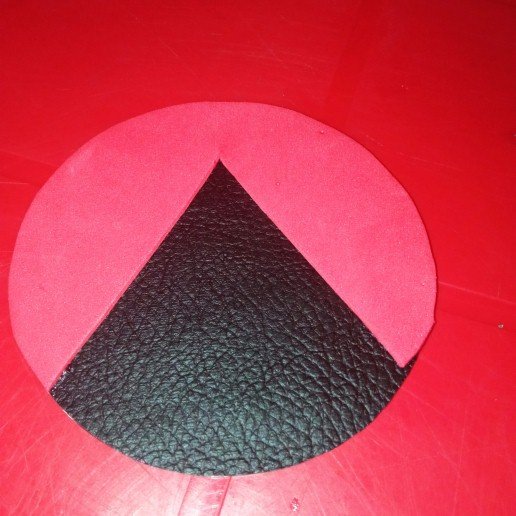
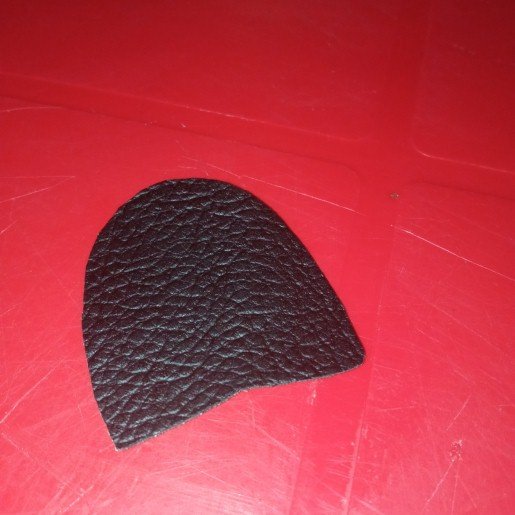
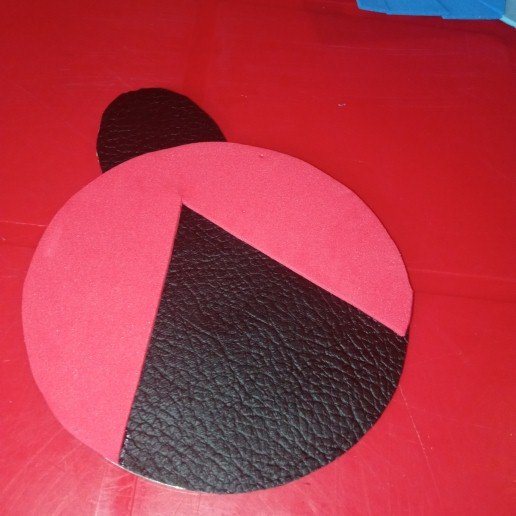
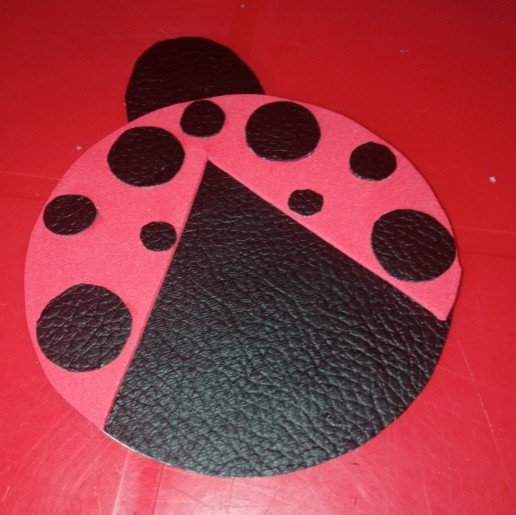
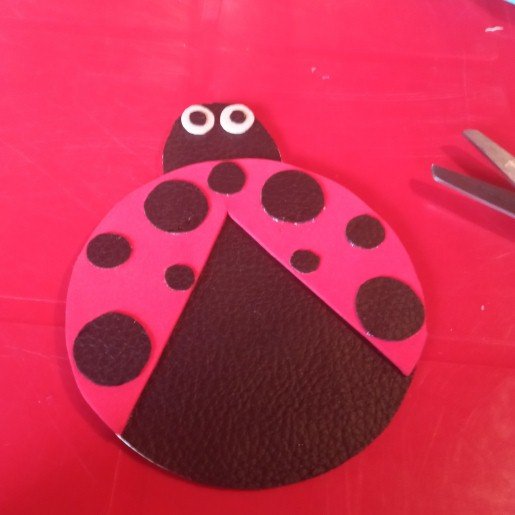
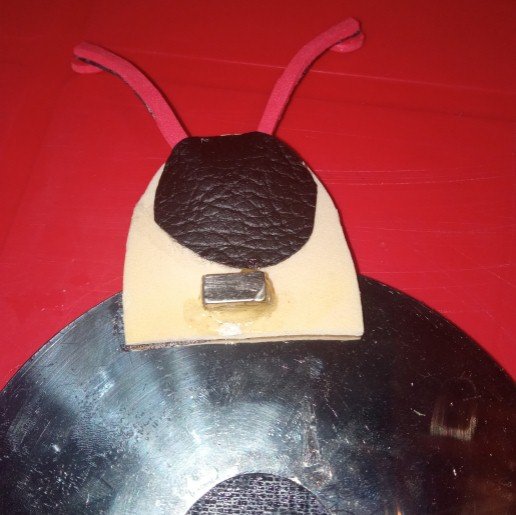
Here I will start this cute craft let's enjoy it together and join me in this wonderful post.
Aquí comenzaré está linda manualidad disfrutémosla juntos y acompáñame en este maravilloso post.


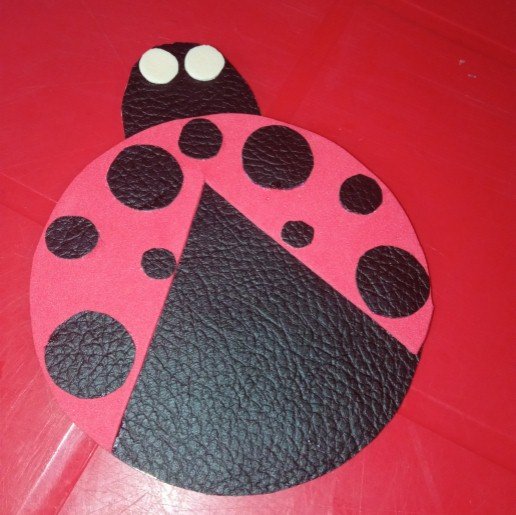
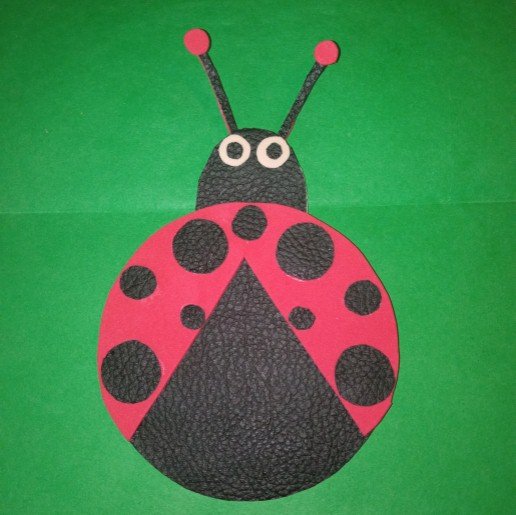
Without more to say and hoping that this craft post is to the liking of every reader I say goodbye with a big hug, love you @shirahoshi.
Sin más que decir y esperando que este post de manualidad sea del agrado de cada lector me despido con un gran abrazo, los quiere @shirahoshi.
The photographs are my own and were taken by me with a Redmi 9 and were edited in powerpoint.
Las fotografías son de mi autoría y fueron tomadas por mí con un Redmi 9 y se editaron en powerpoint.
The Step by Step Gif was made by me in AdobePhotoshop CC2014.
El Gif de Paso a Paso fue realizado por mi en AdobePhotoshop CC2014.
The logo was designed by me in Adobe Illustrator CC 2015 and its animated version was made in After Effects CC 2017.
El logo fue diseñado por mí en Adobe Illustrator CC 2015 y su versión animada la realice en After Effects CC 2017.
Language corrector used Deepl.

¡Felicidades! Esta publicación obtuvo upvote y fue compartido por @la-colmena, un proyecto de Curación Manual para la comunidad hispana de Hive que cuenta con el respaldo de @curie.
Si te gusta el trabajo que hacemos, te invitamos a darle tu voto a este comentario y a votar como testigo por Curie.
Si quieres saber más sobre nuestro proyecto, acompáñanos en Discord: La Colmena.