Kitchen Corner Base Cabinets Installed, Sealed the Butcher Block Counter Top
I installed the kitchen corner and sink cabinets for my new house build, that I've been slowly working on for the past couple years. The counter top was ready for pick up, it was time to get it done.
Kitchen Cabinets Install
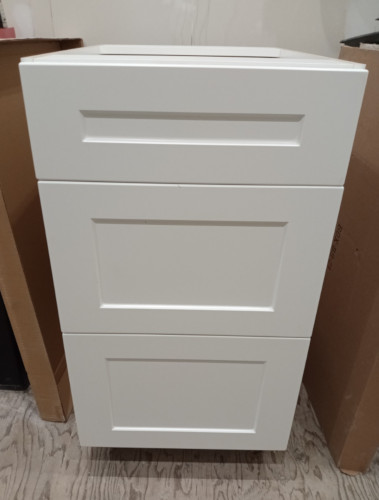
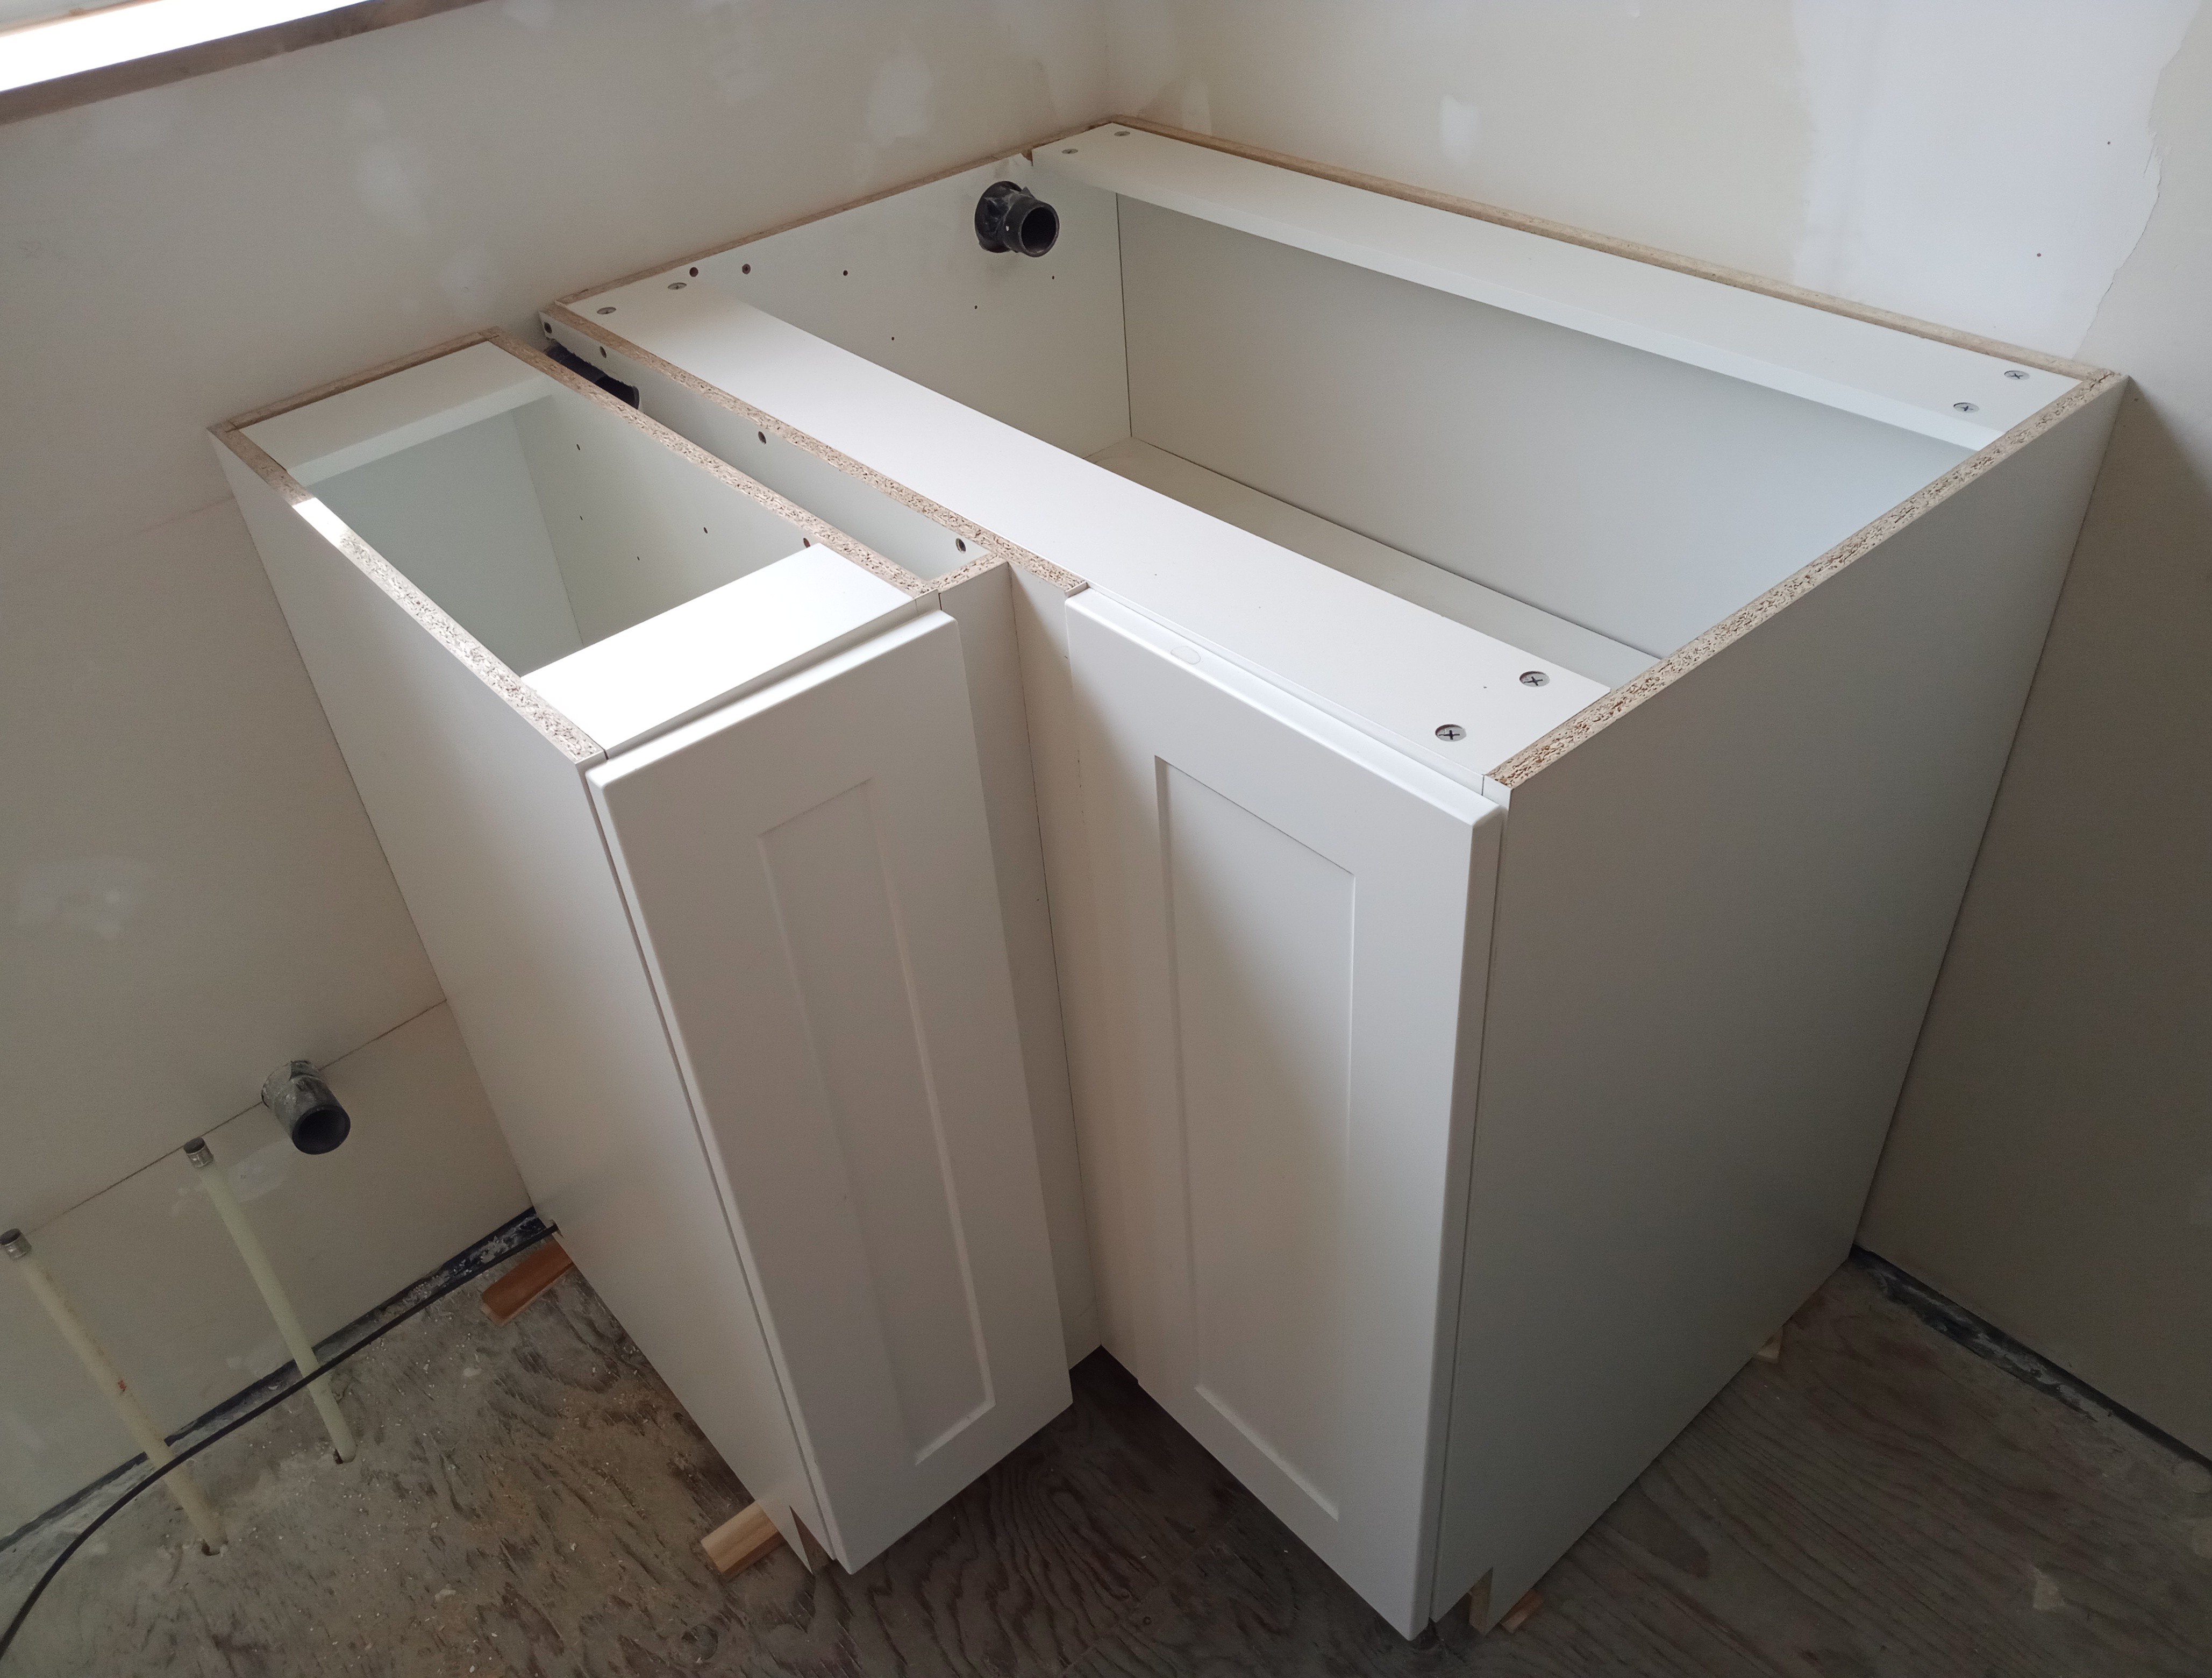
Previously I assembled a three drawer cabinet, 30" sink cabinet, 9" 1-door cabinet, and the blind corner cabinet. The cabinets needed to be fit into place, shimmed, and secured to the wall before adding the counter top.
 |  |  |
|---|
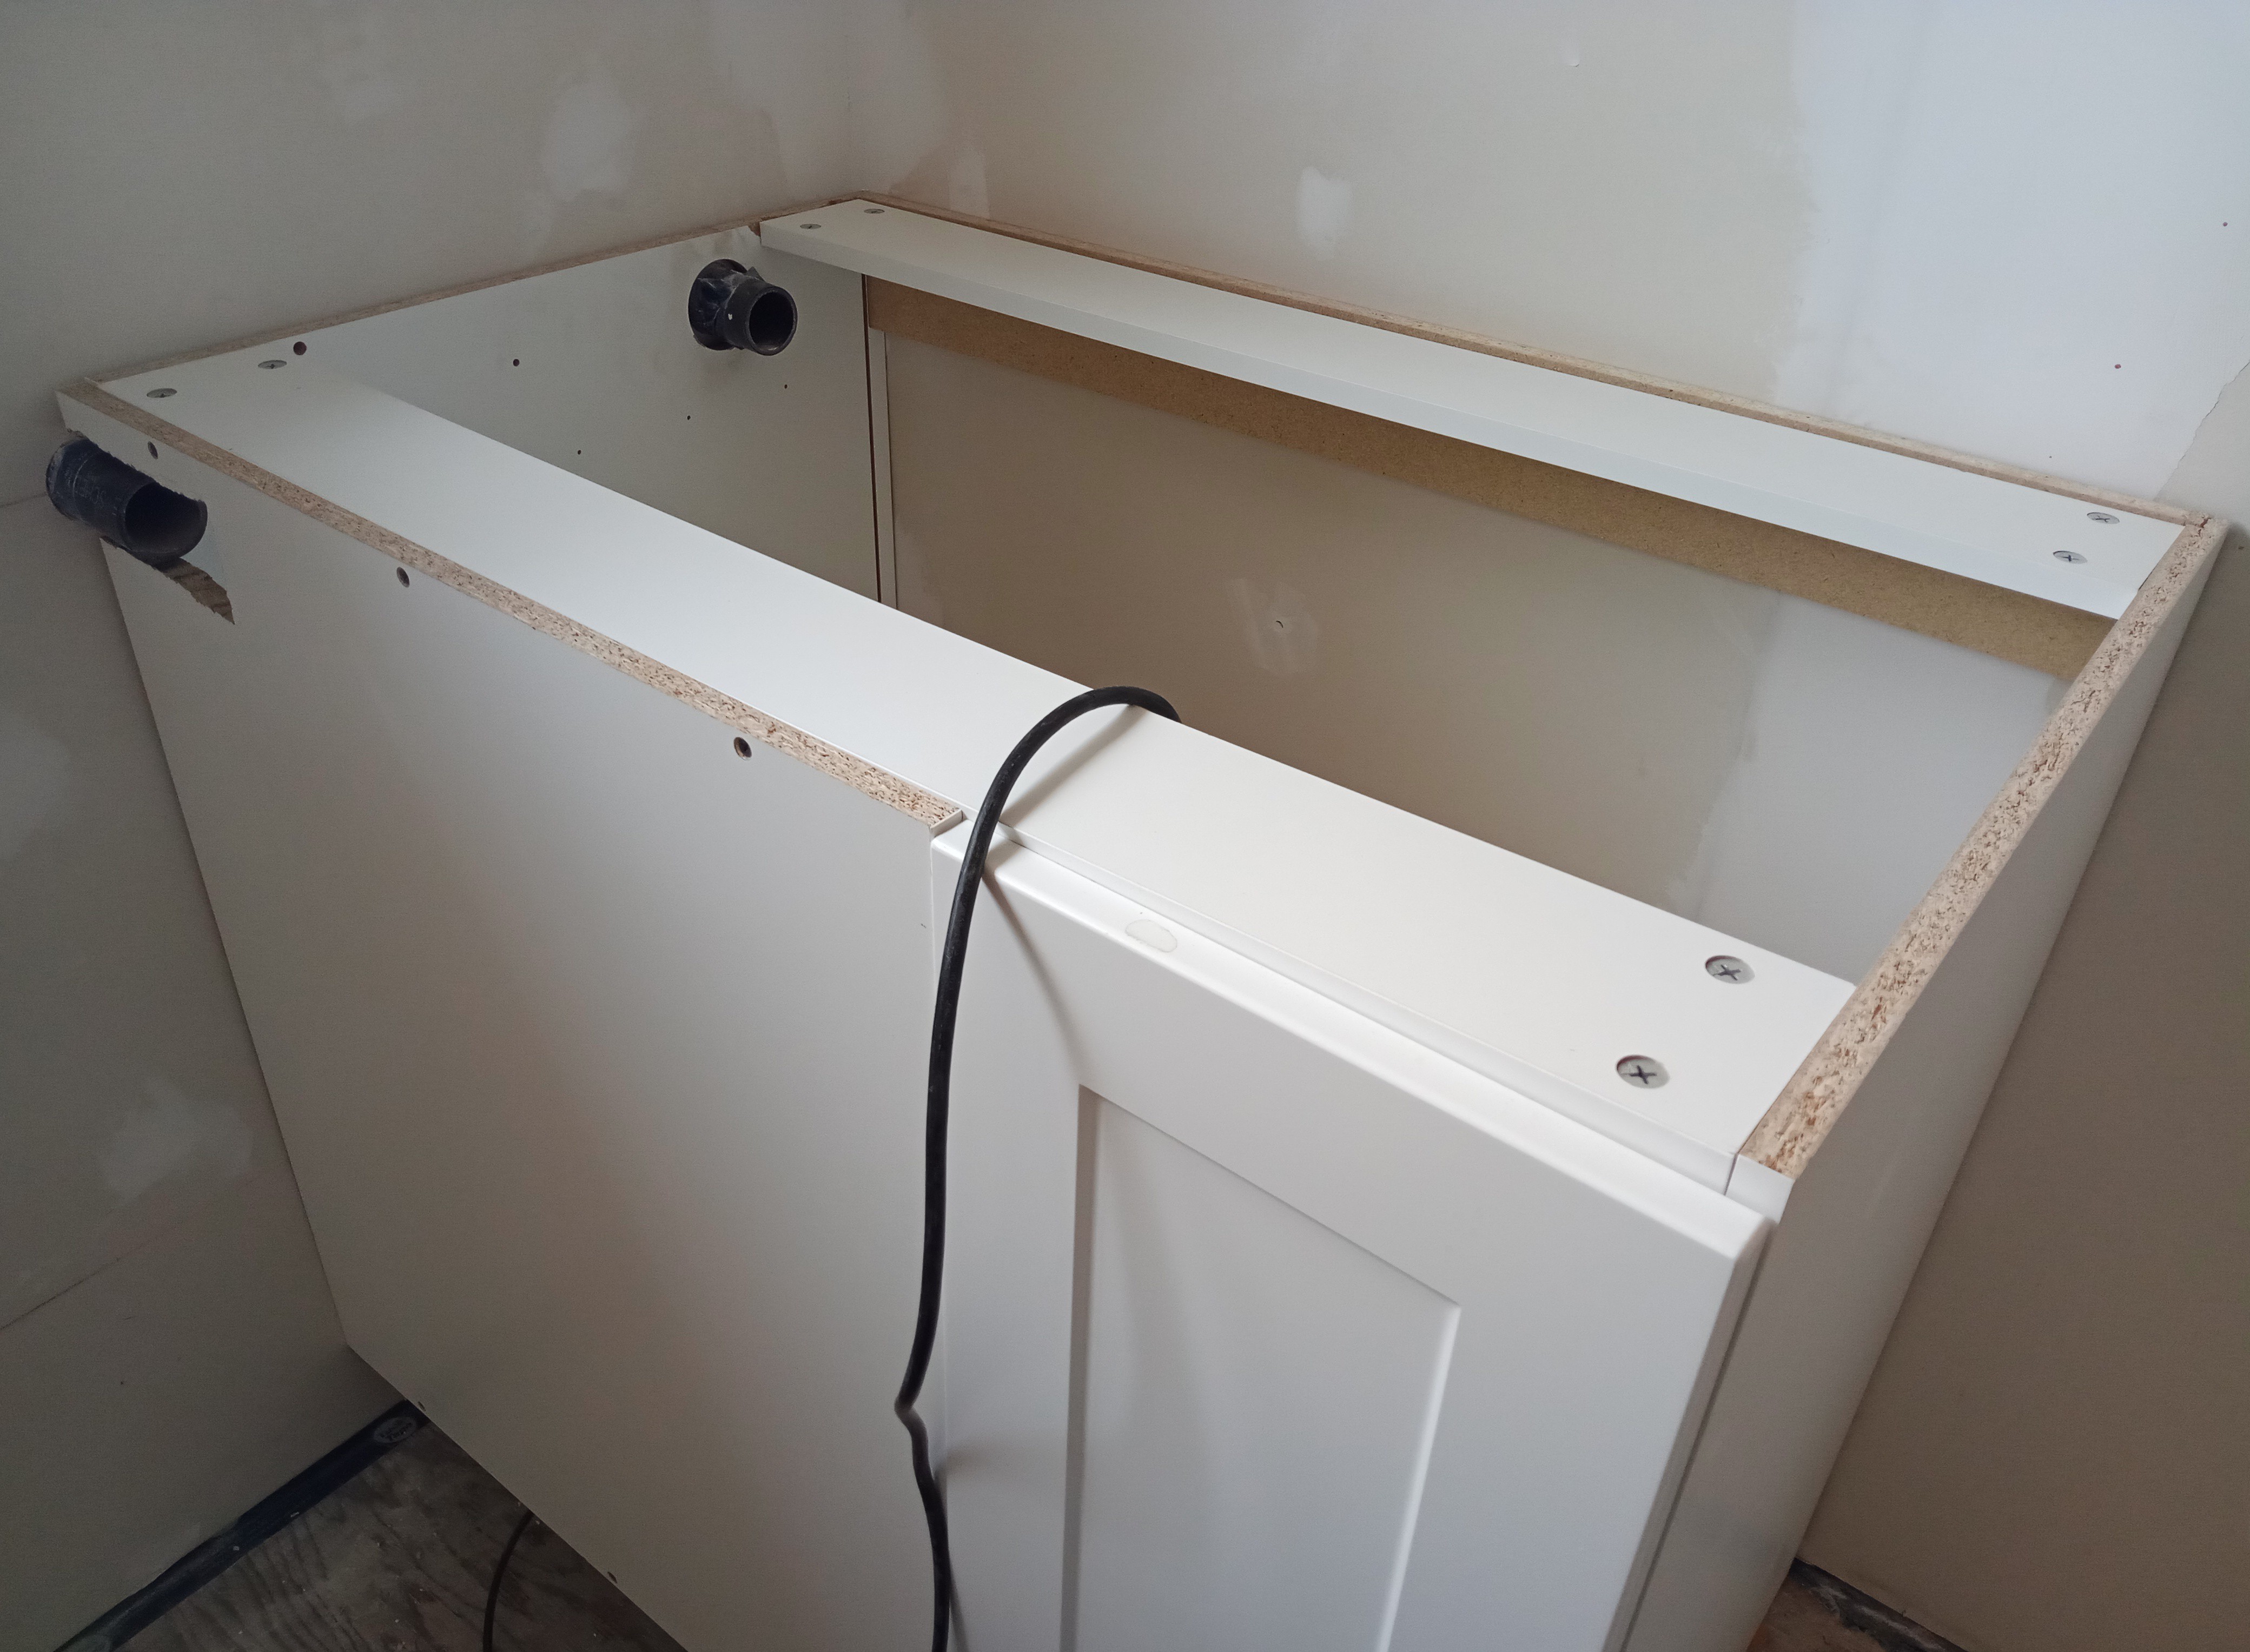
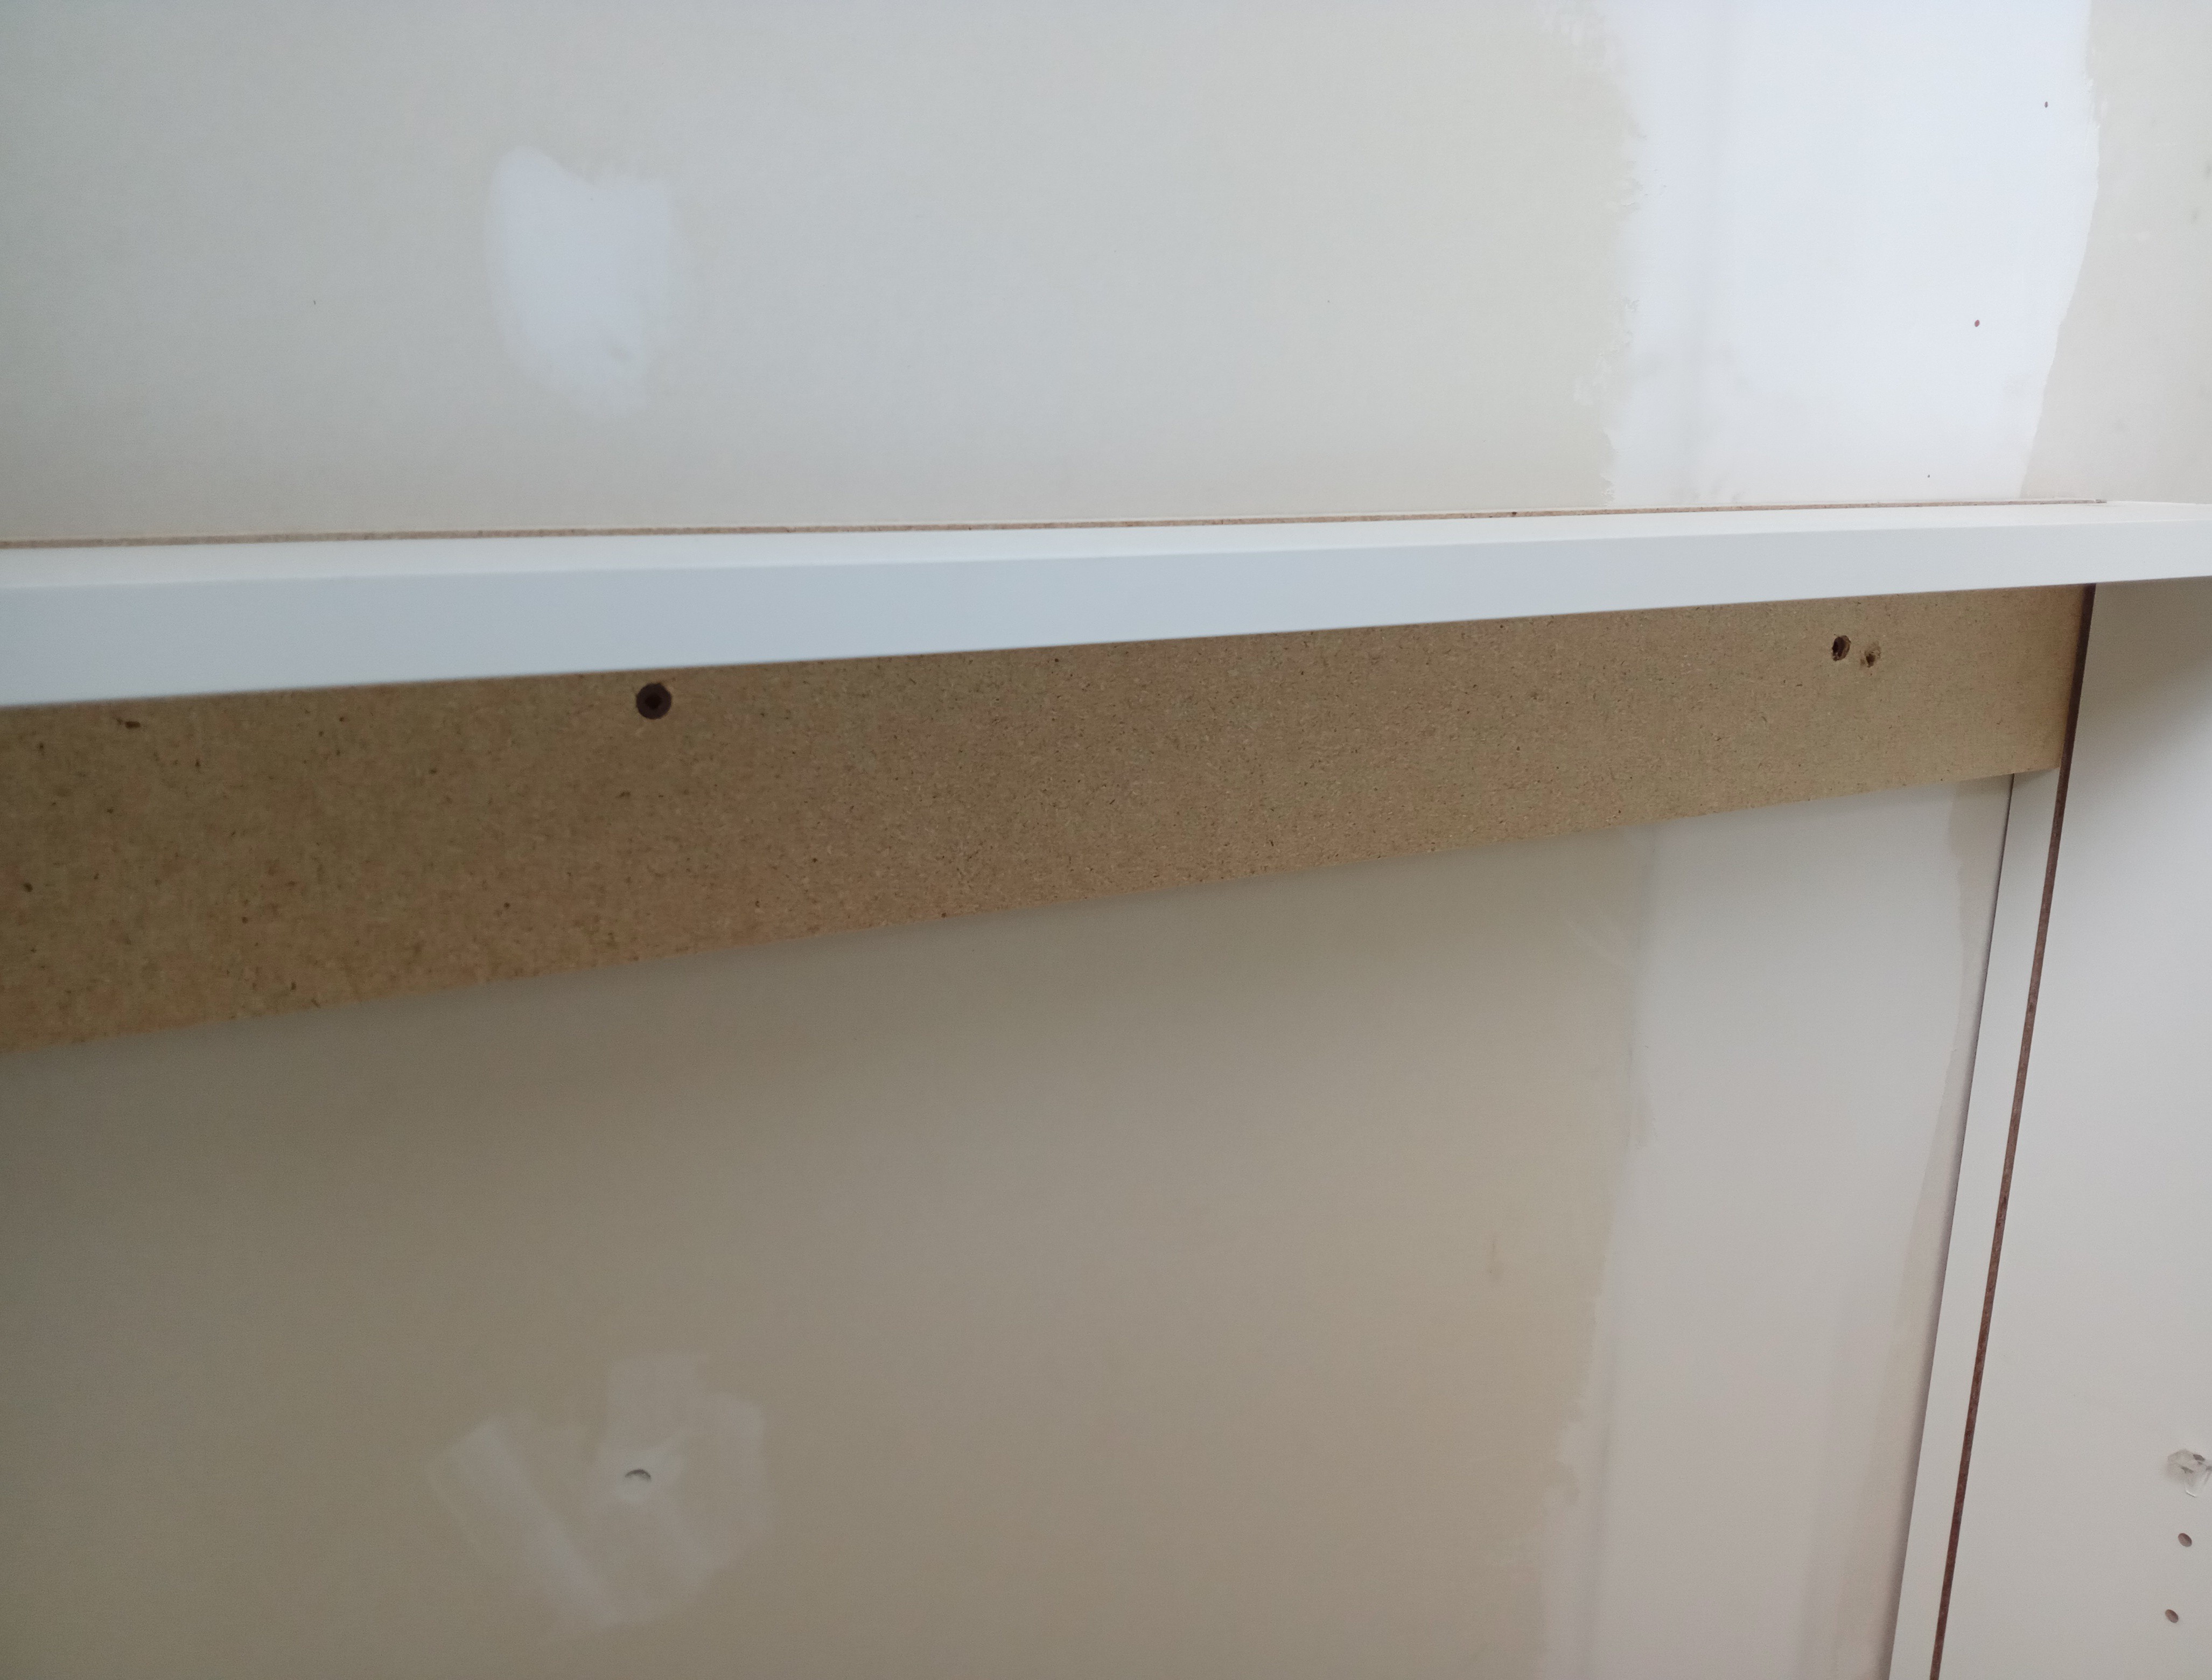
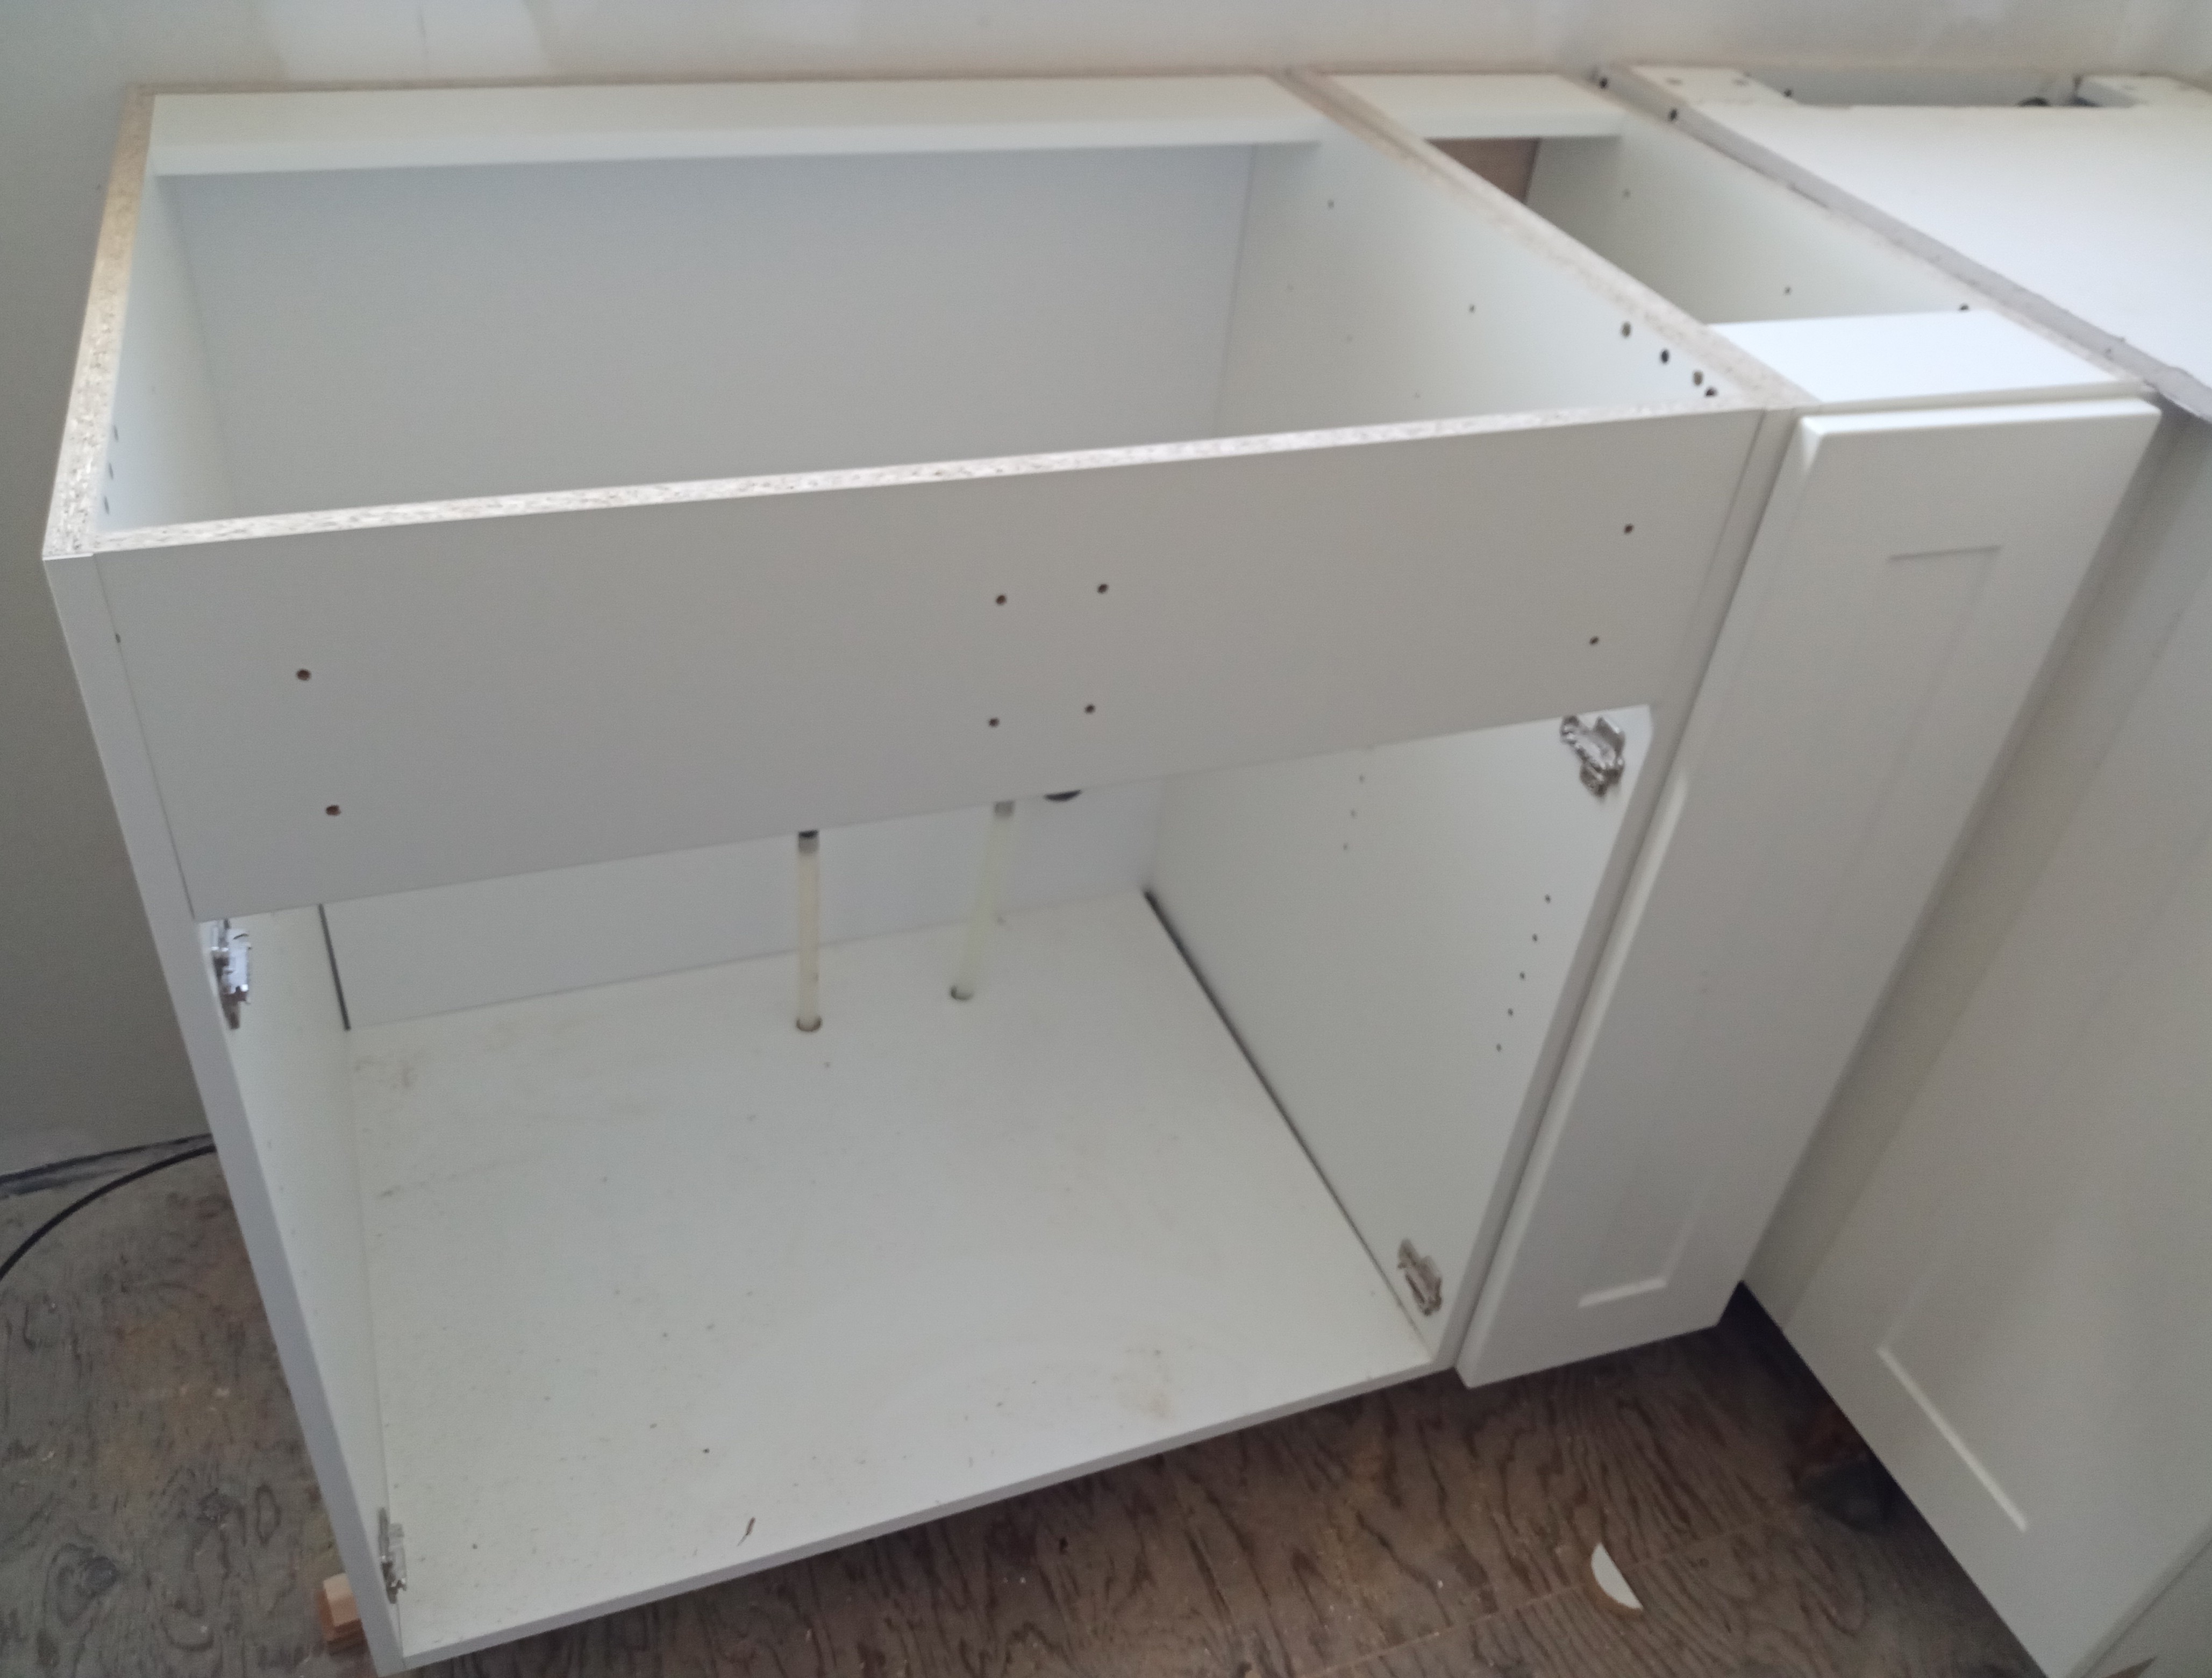
Blind Corner Cabinet
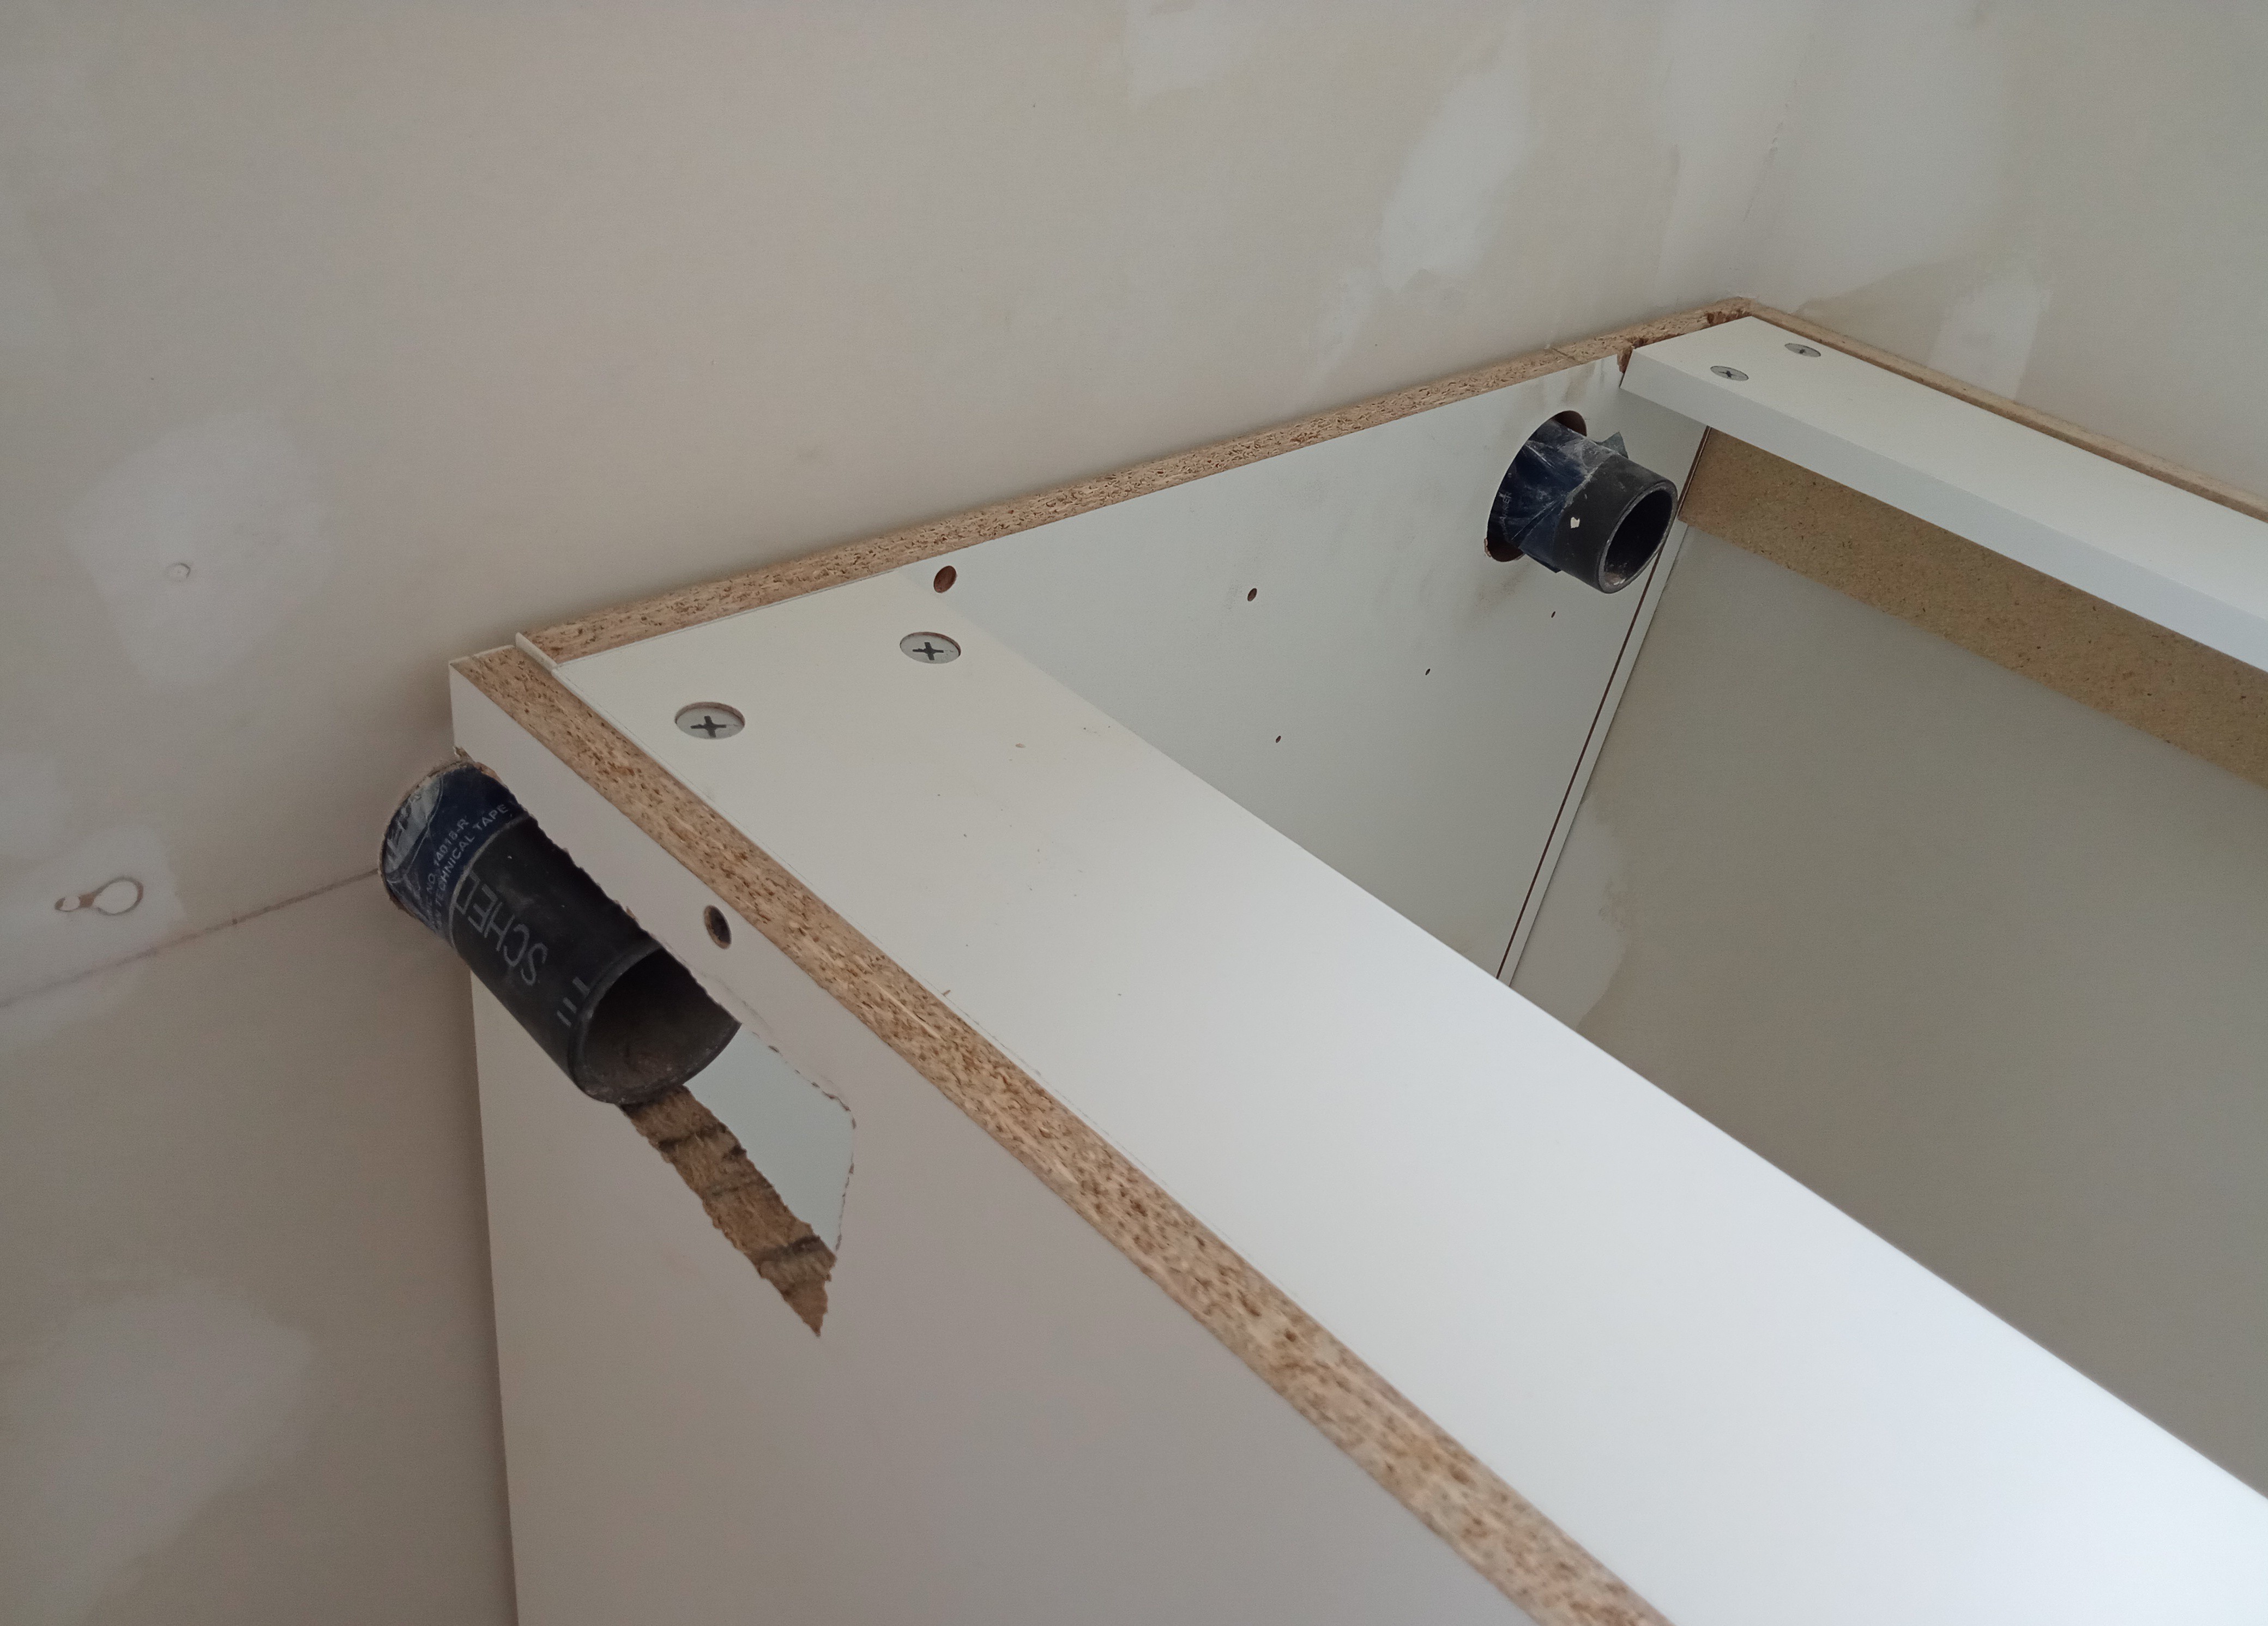
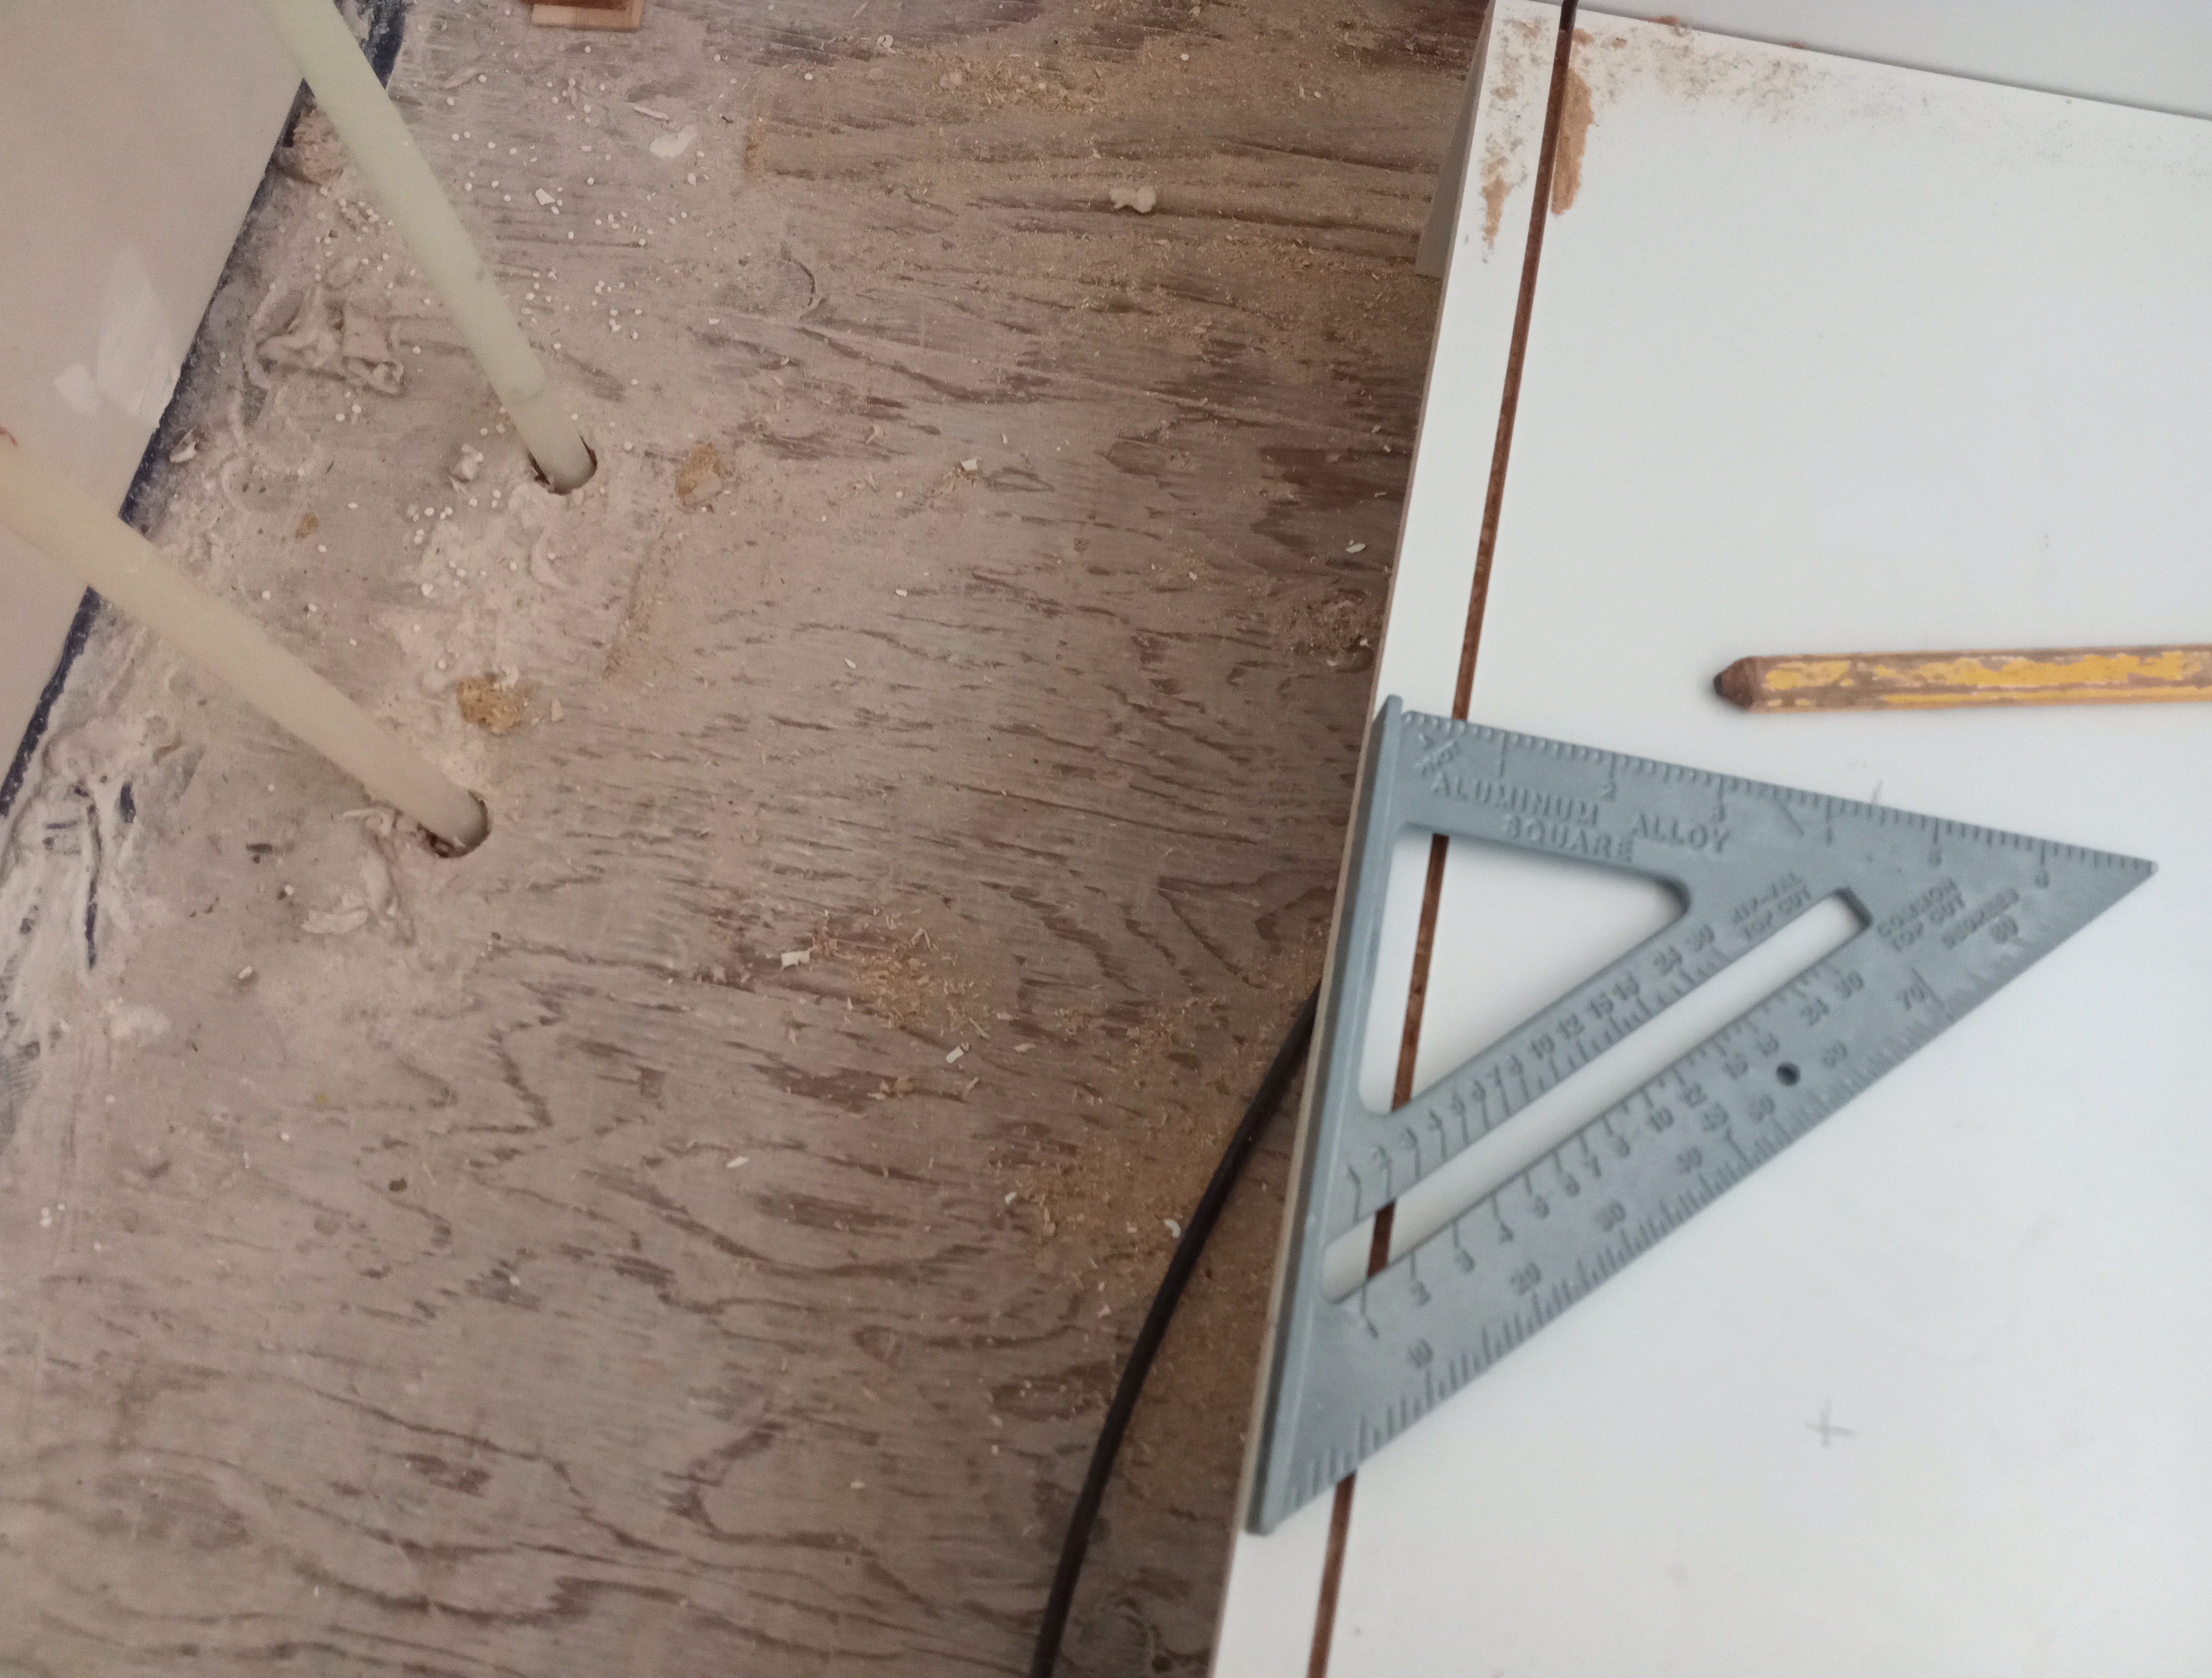
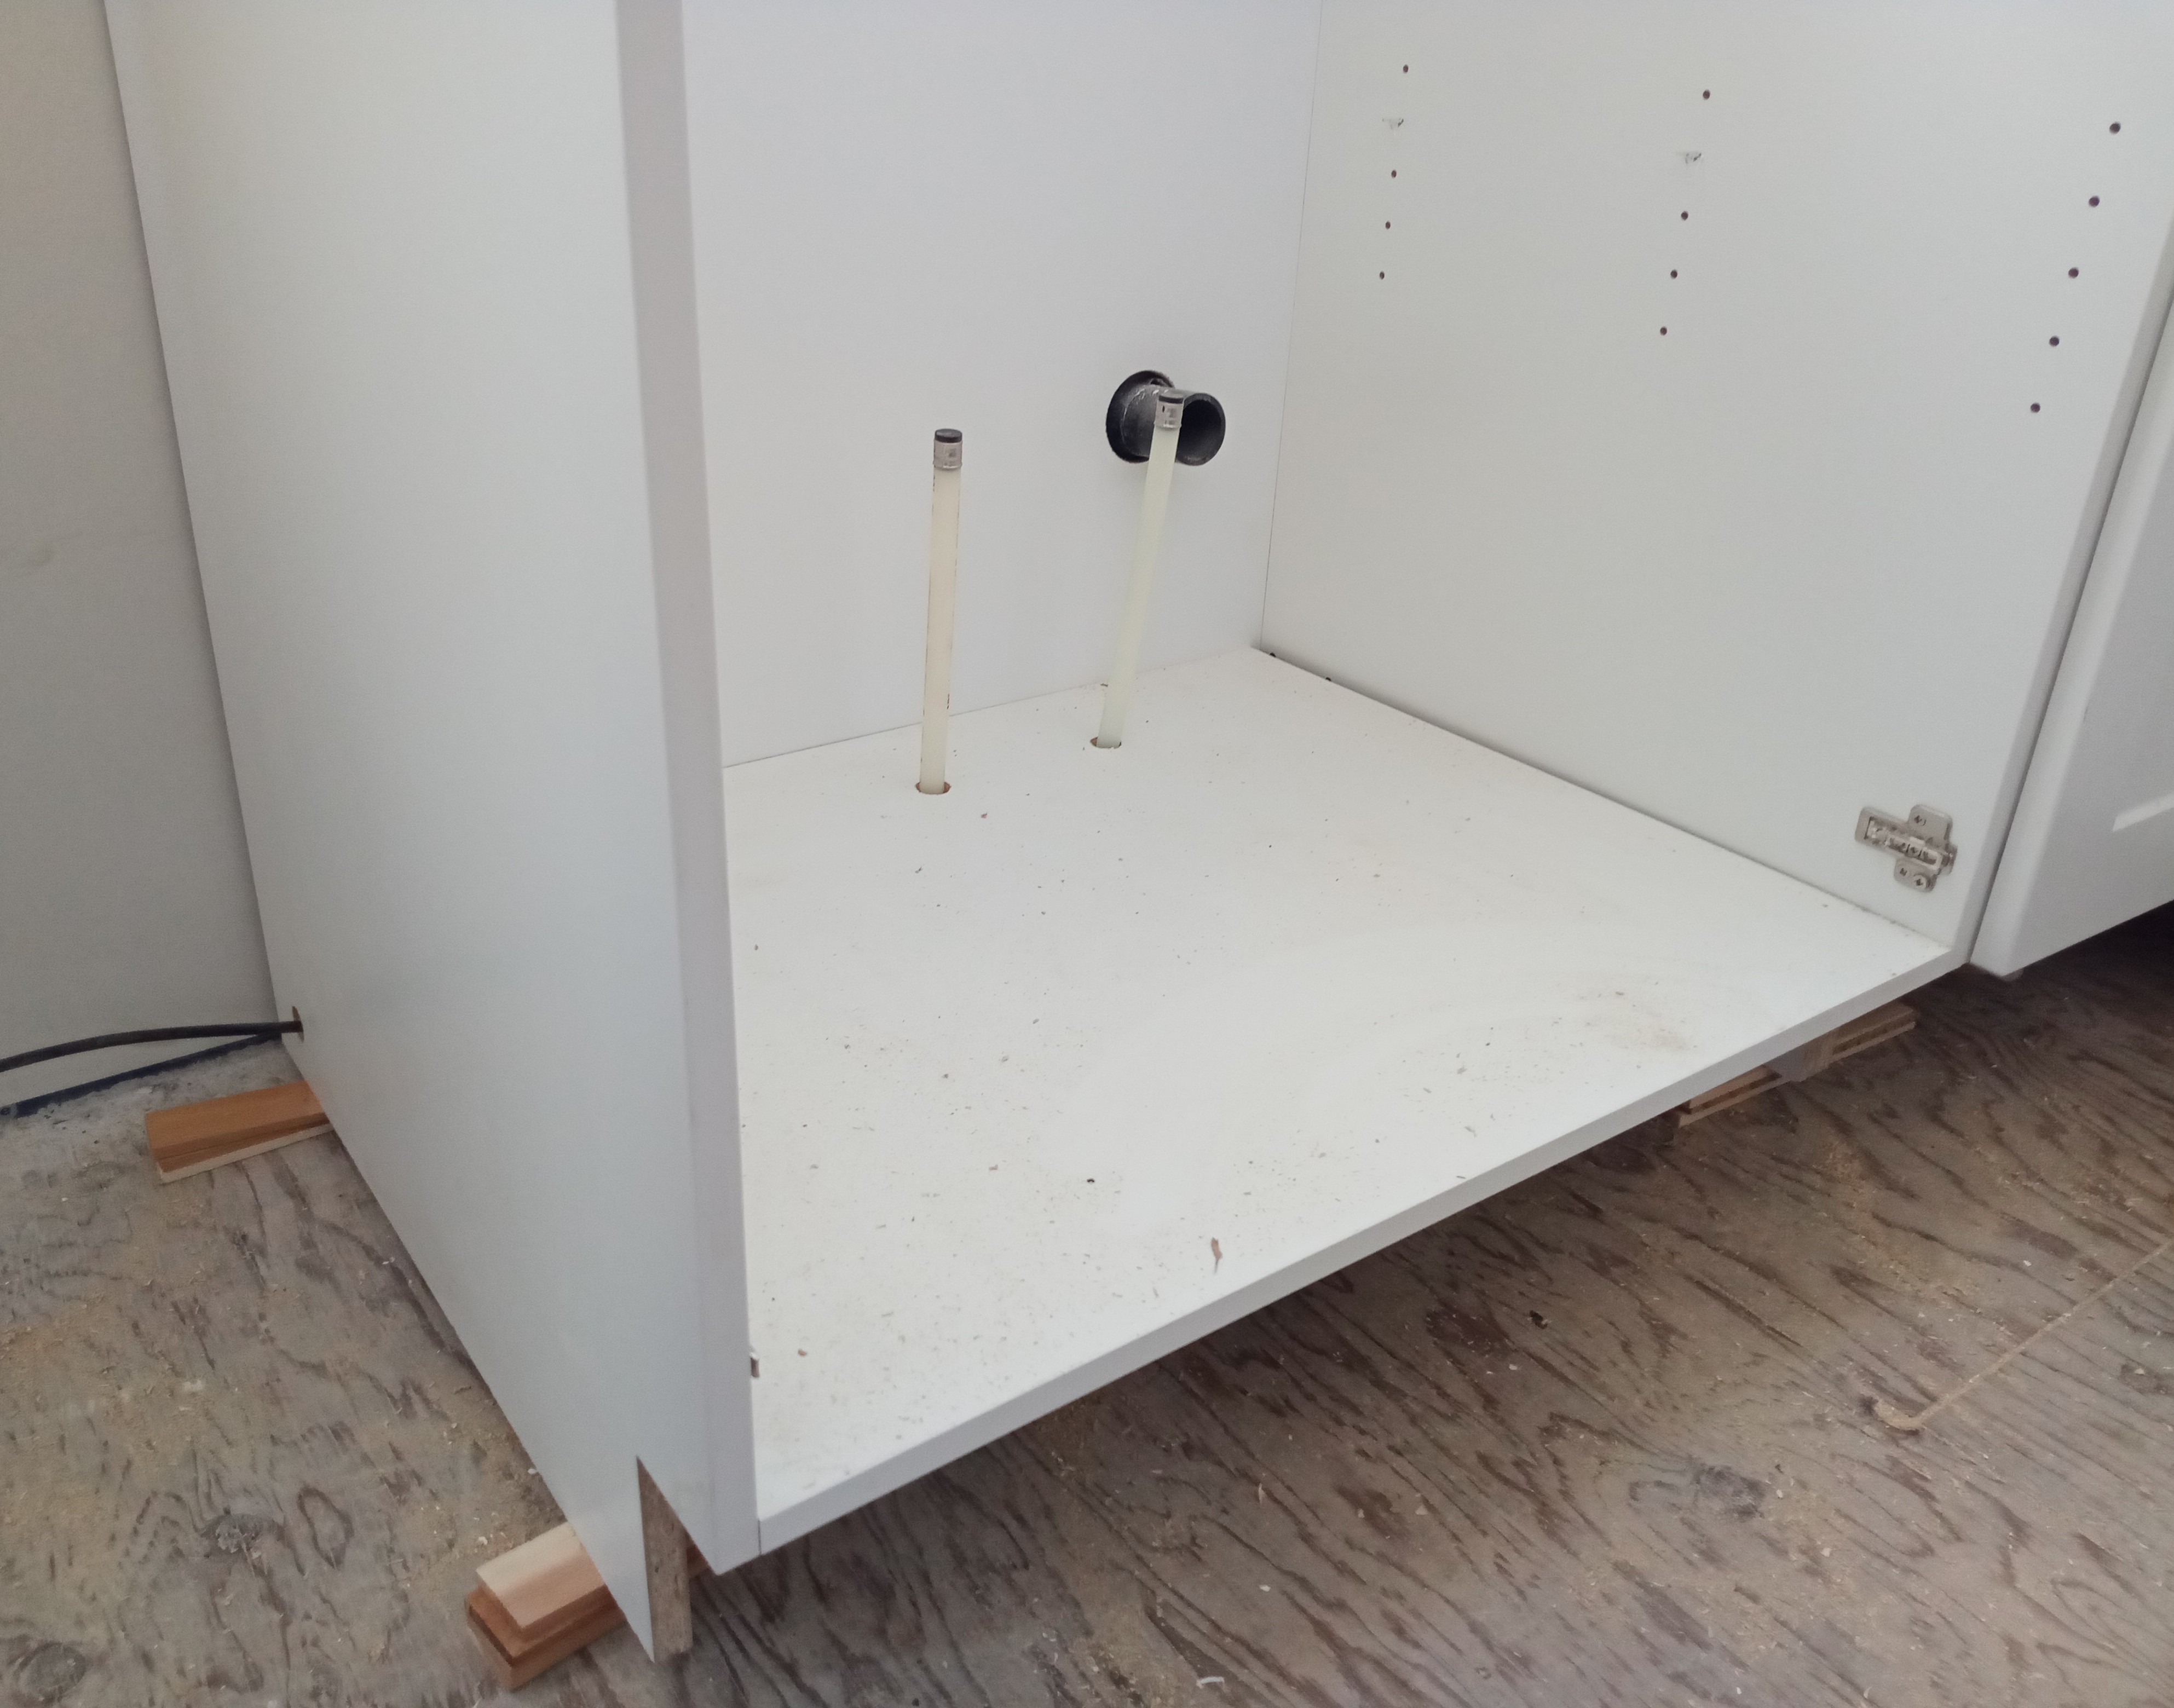
A couple holes were drilled at the back and side of the corner cabinet, for the plumbing vent pipes. I pushed the side of the cabinet tight against the wall, backed it up until it touched the pipes, then lifted it level and drew circles around the pipes and onto the back of the cabinet. I pulled the cabinet away from the wall and cut the holes with a drill and a saw, then I made sure the pipes went into the holes as I pushed the cabinet tight against the back and side wall.
 |  |  |
|---|
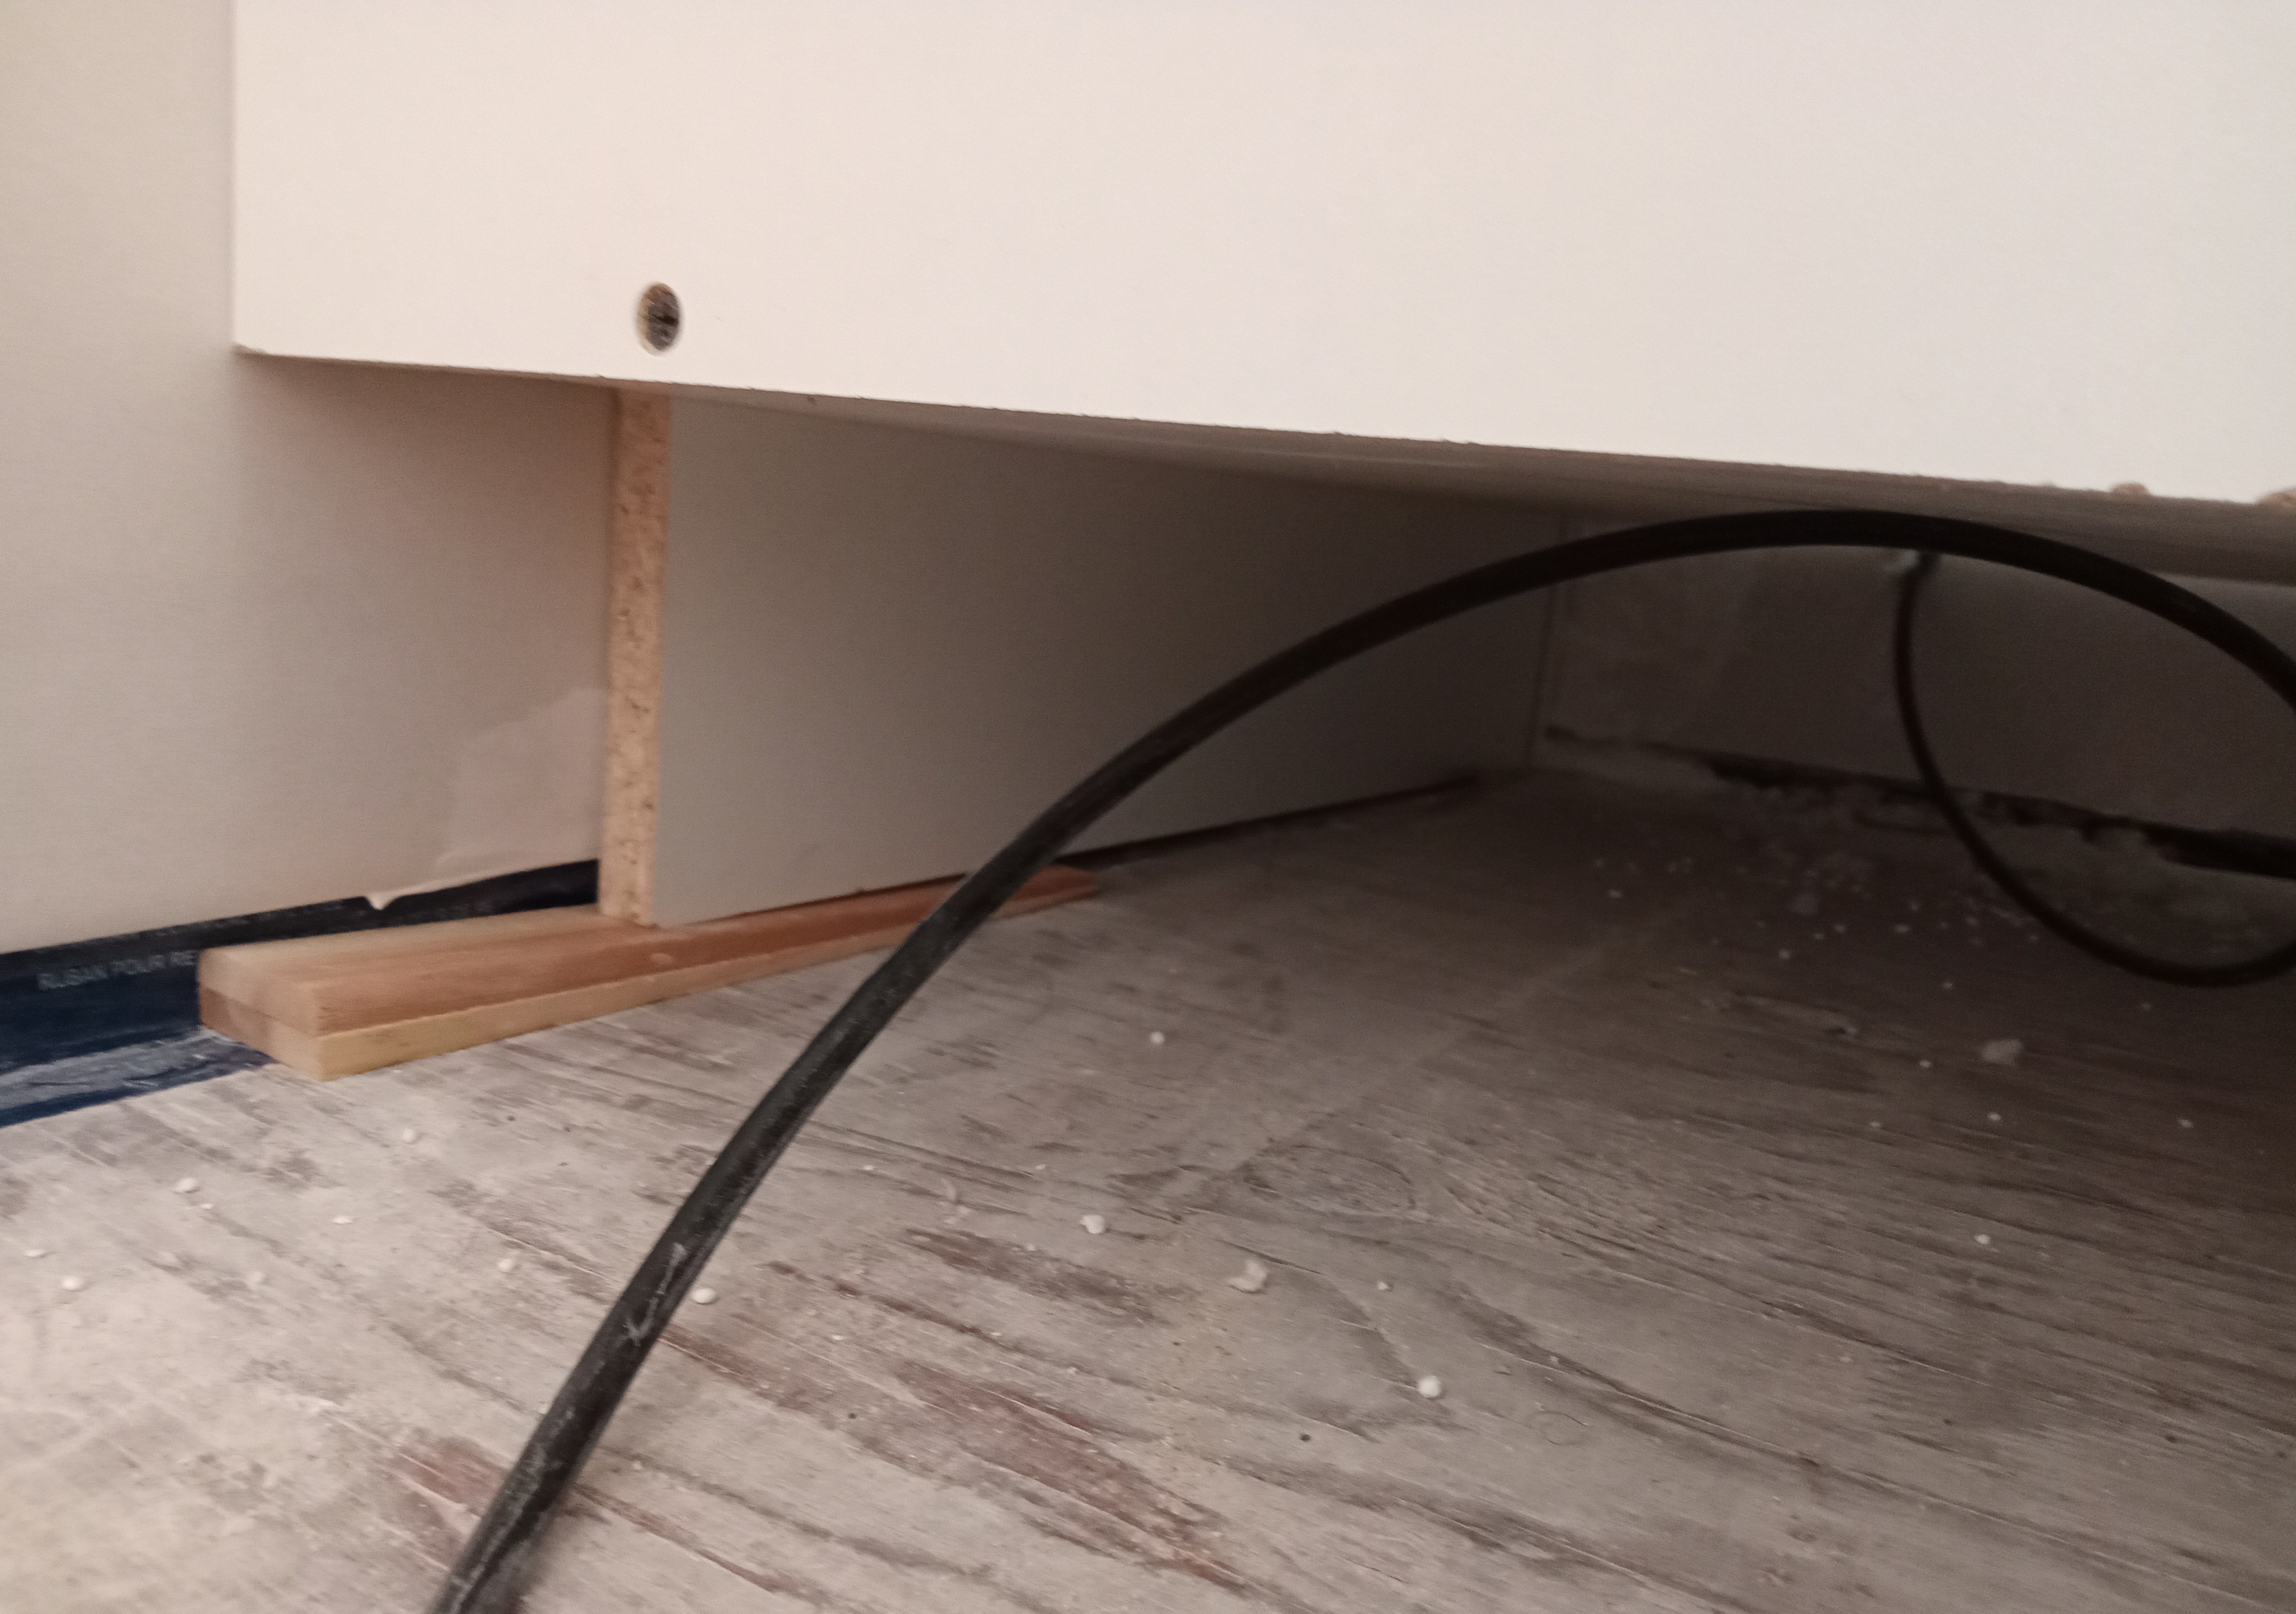
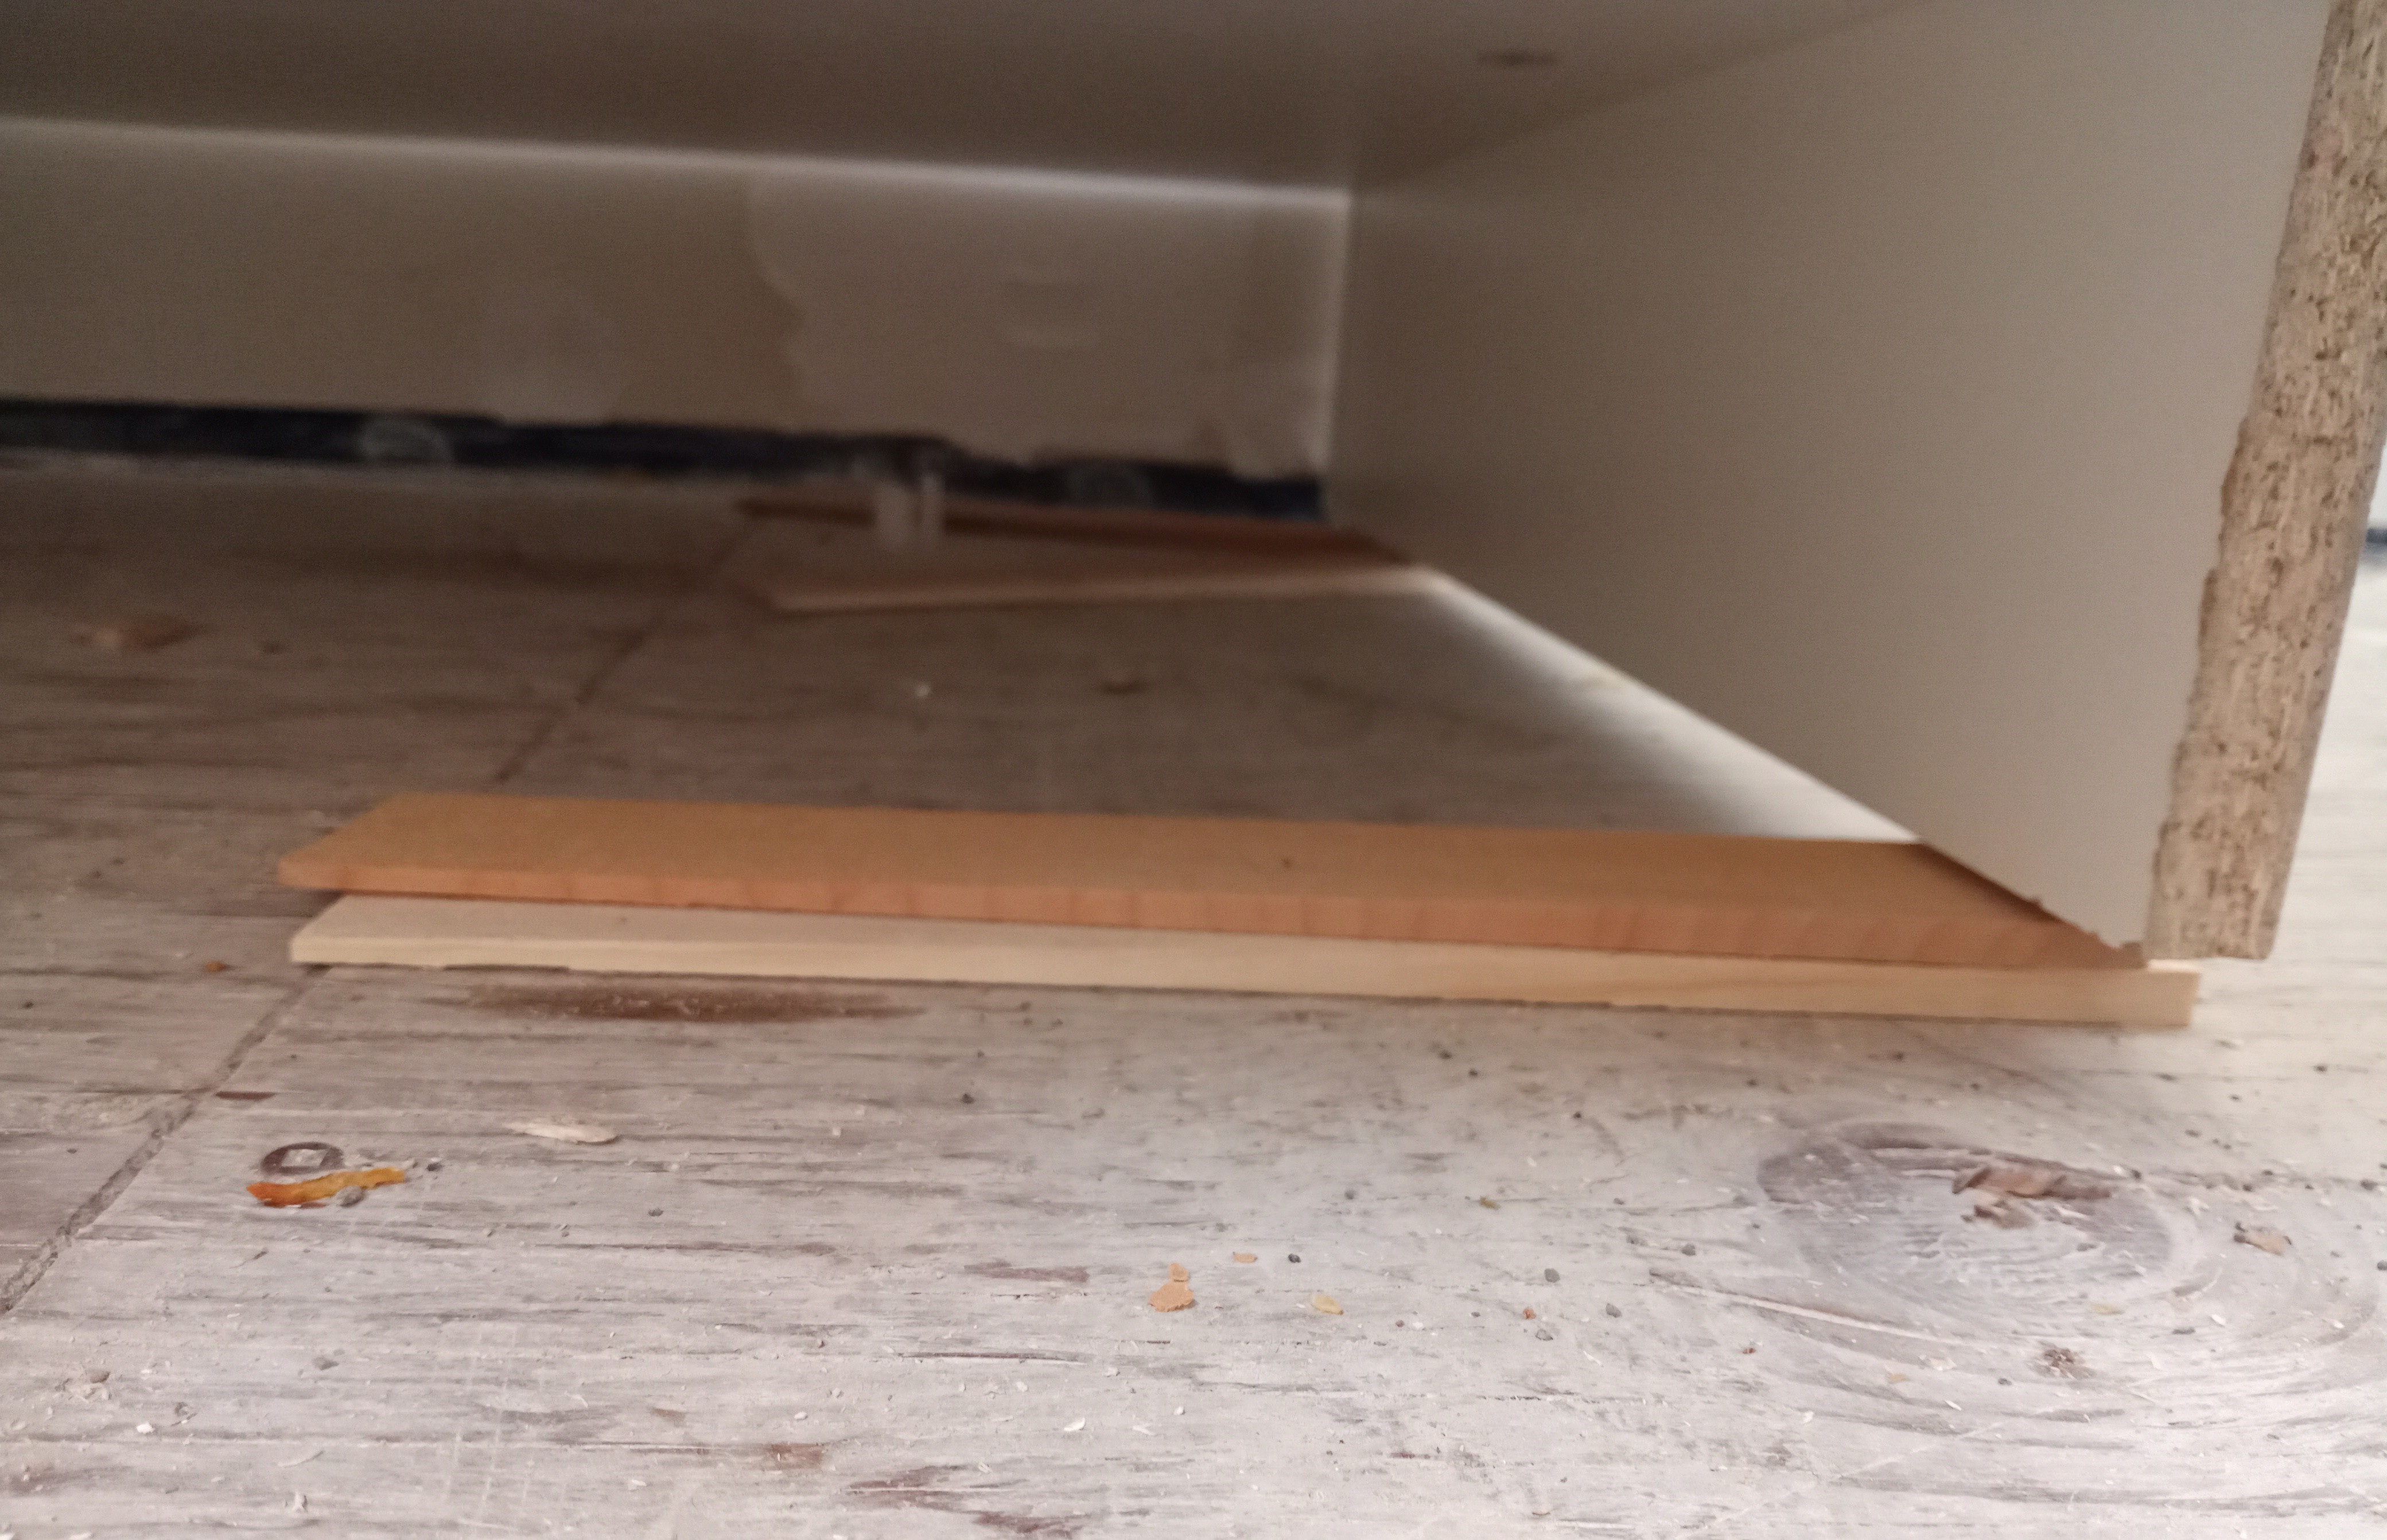
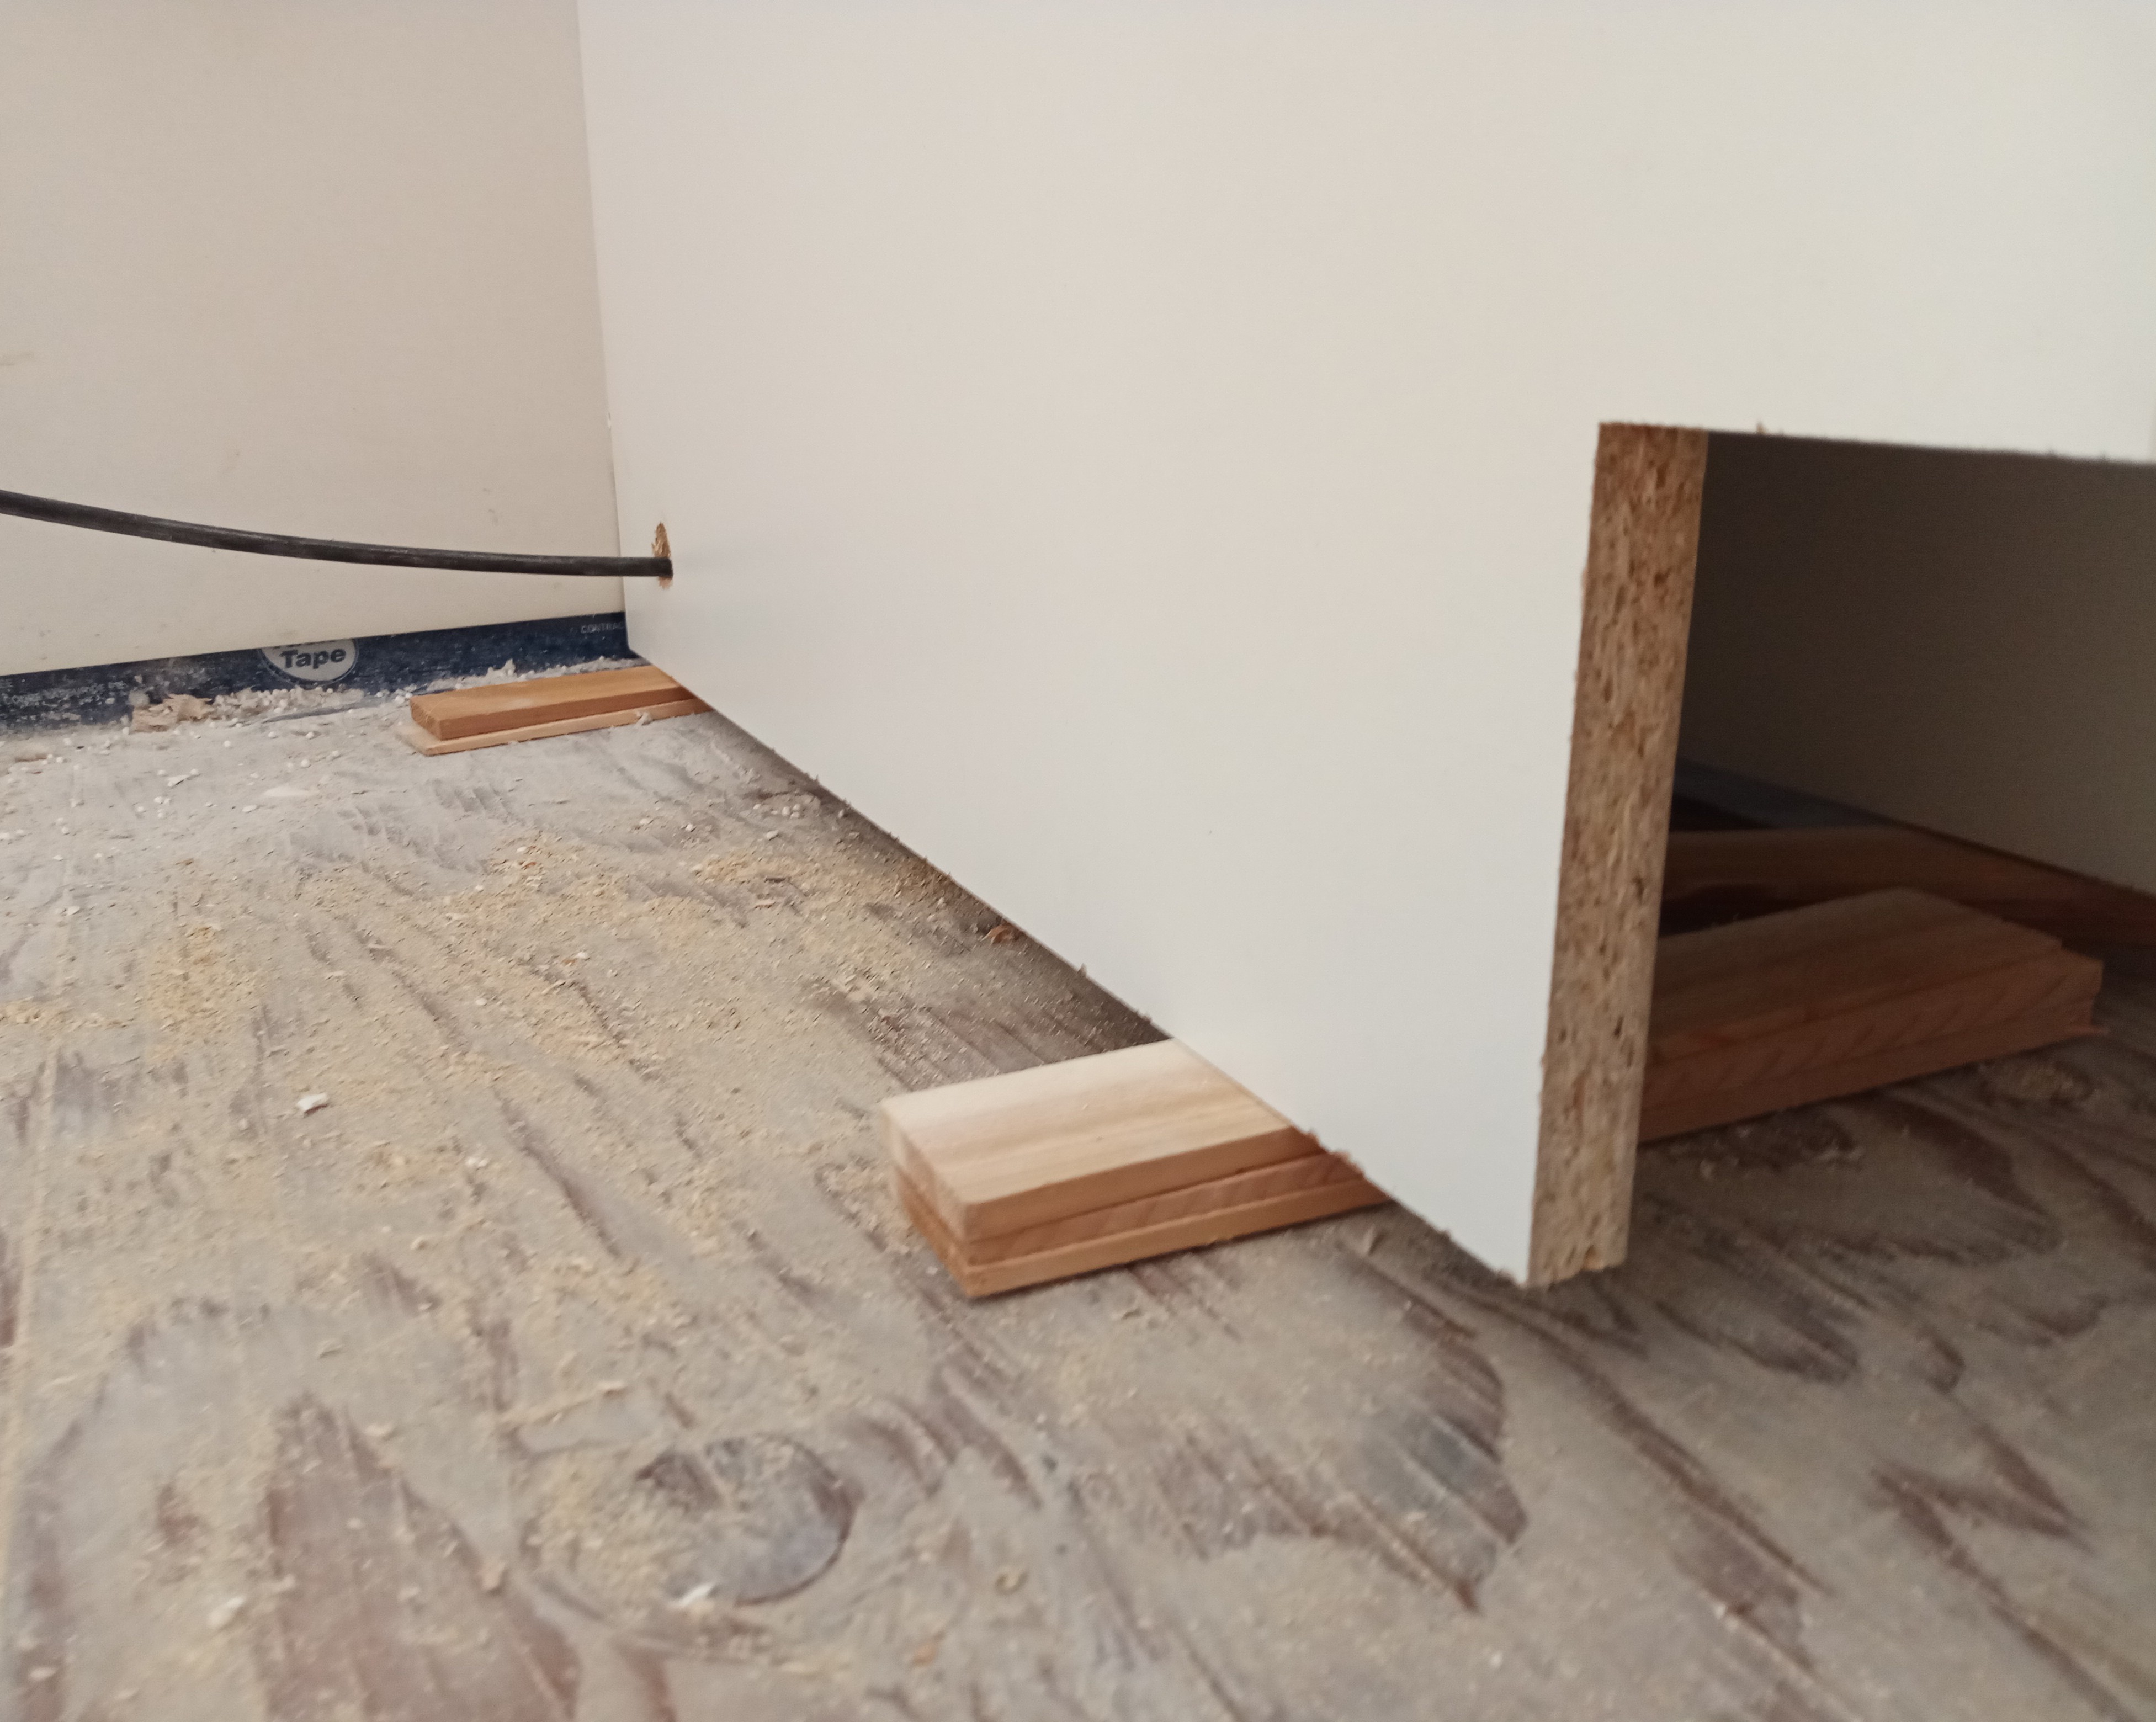
The Ethernet wire from the internet dish was fed under the cabinet. Shims were added under the cabinet sides to level up the cabinet, the floor is a little high in the corner and along the wall, the flooring when installed will raise the floor a little more.
 |  |
|---|
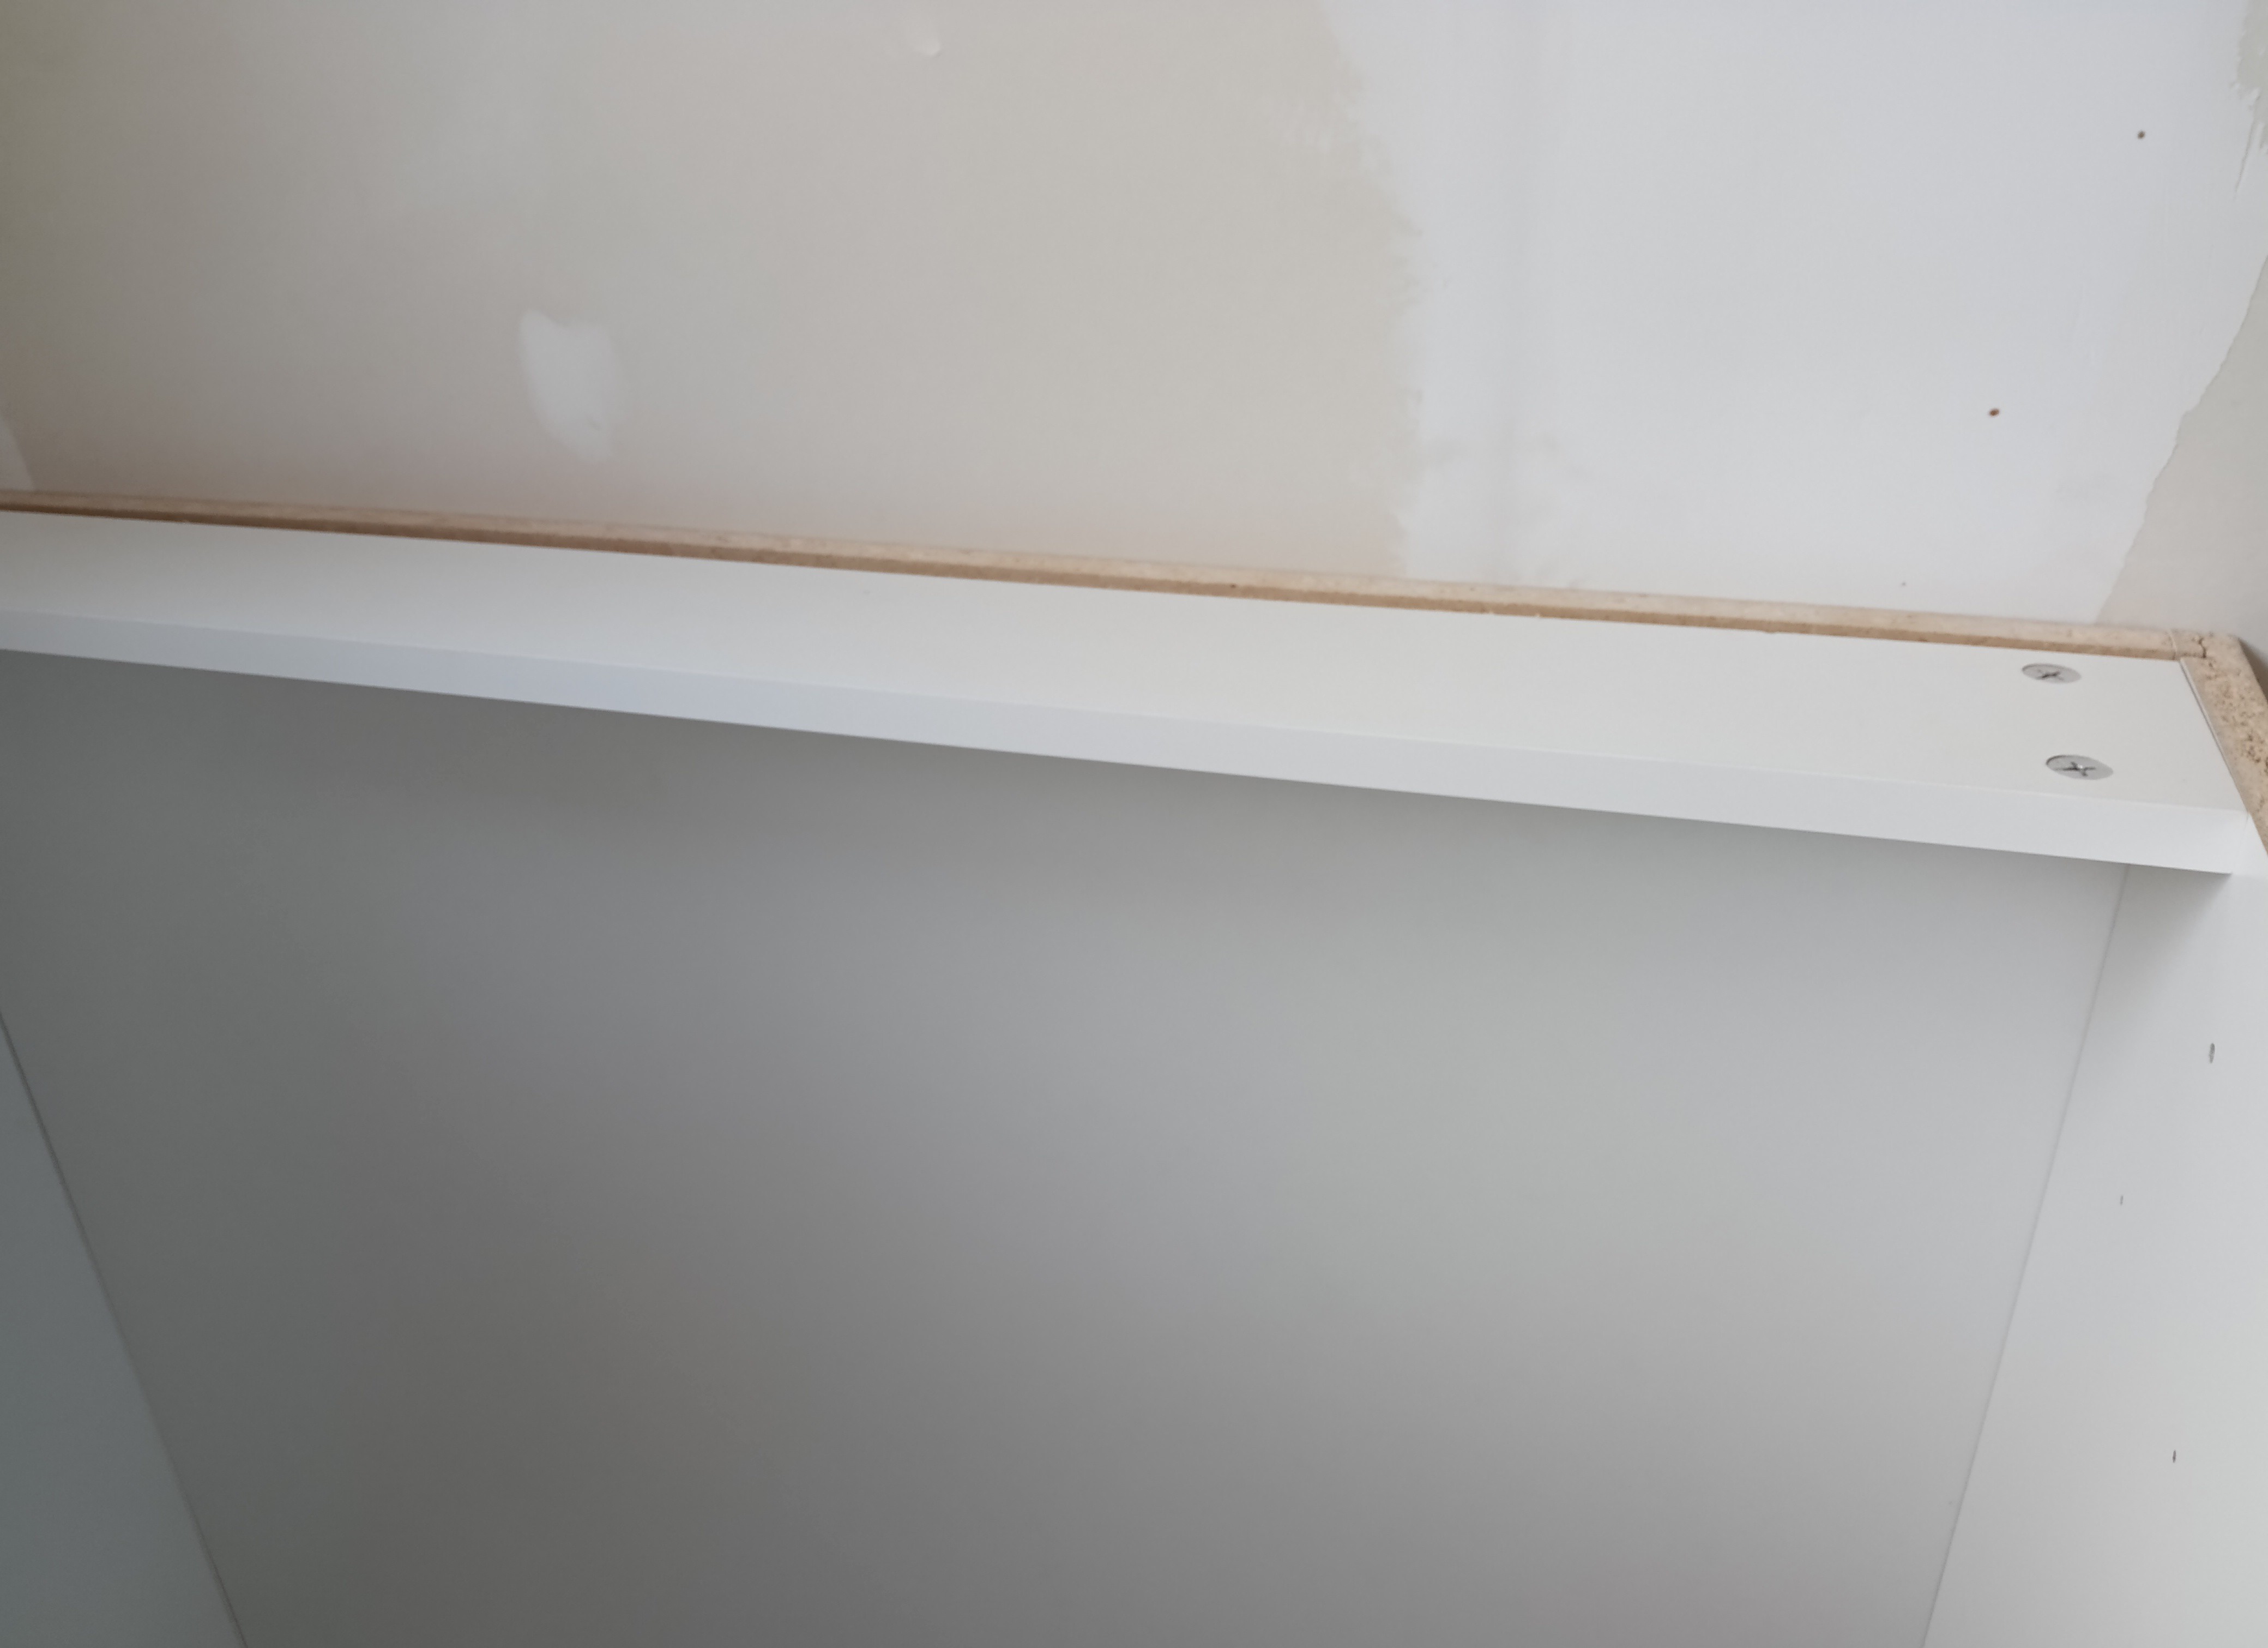
The cabinet was screwed into the wall studs to hold it in place.
 |  |
|---|
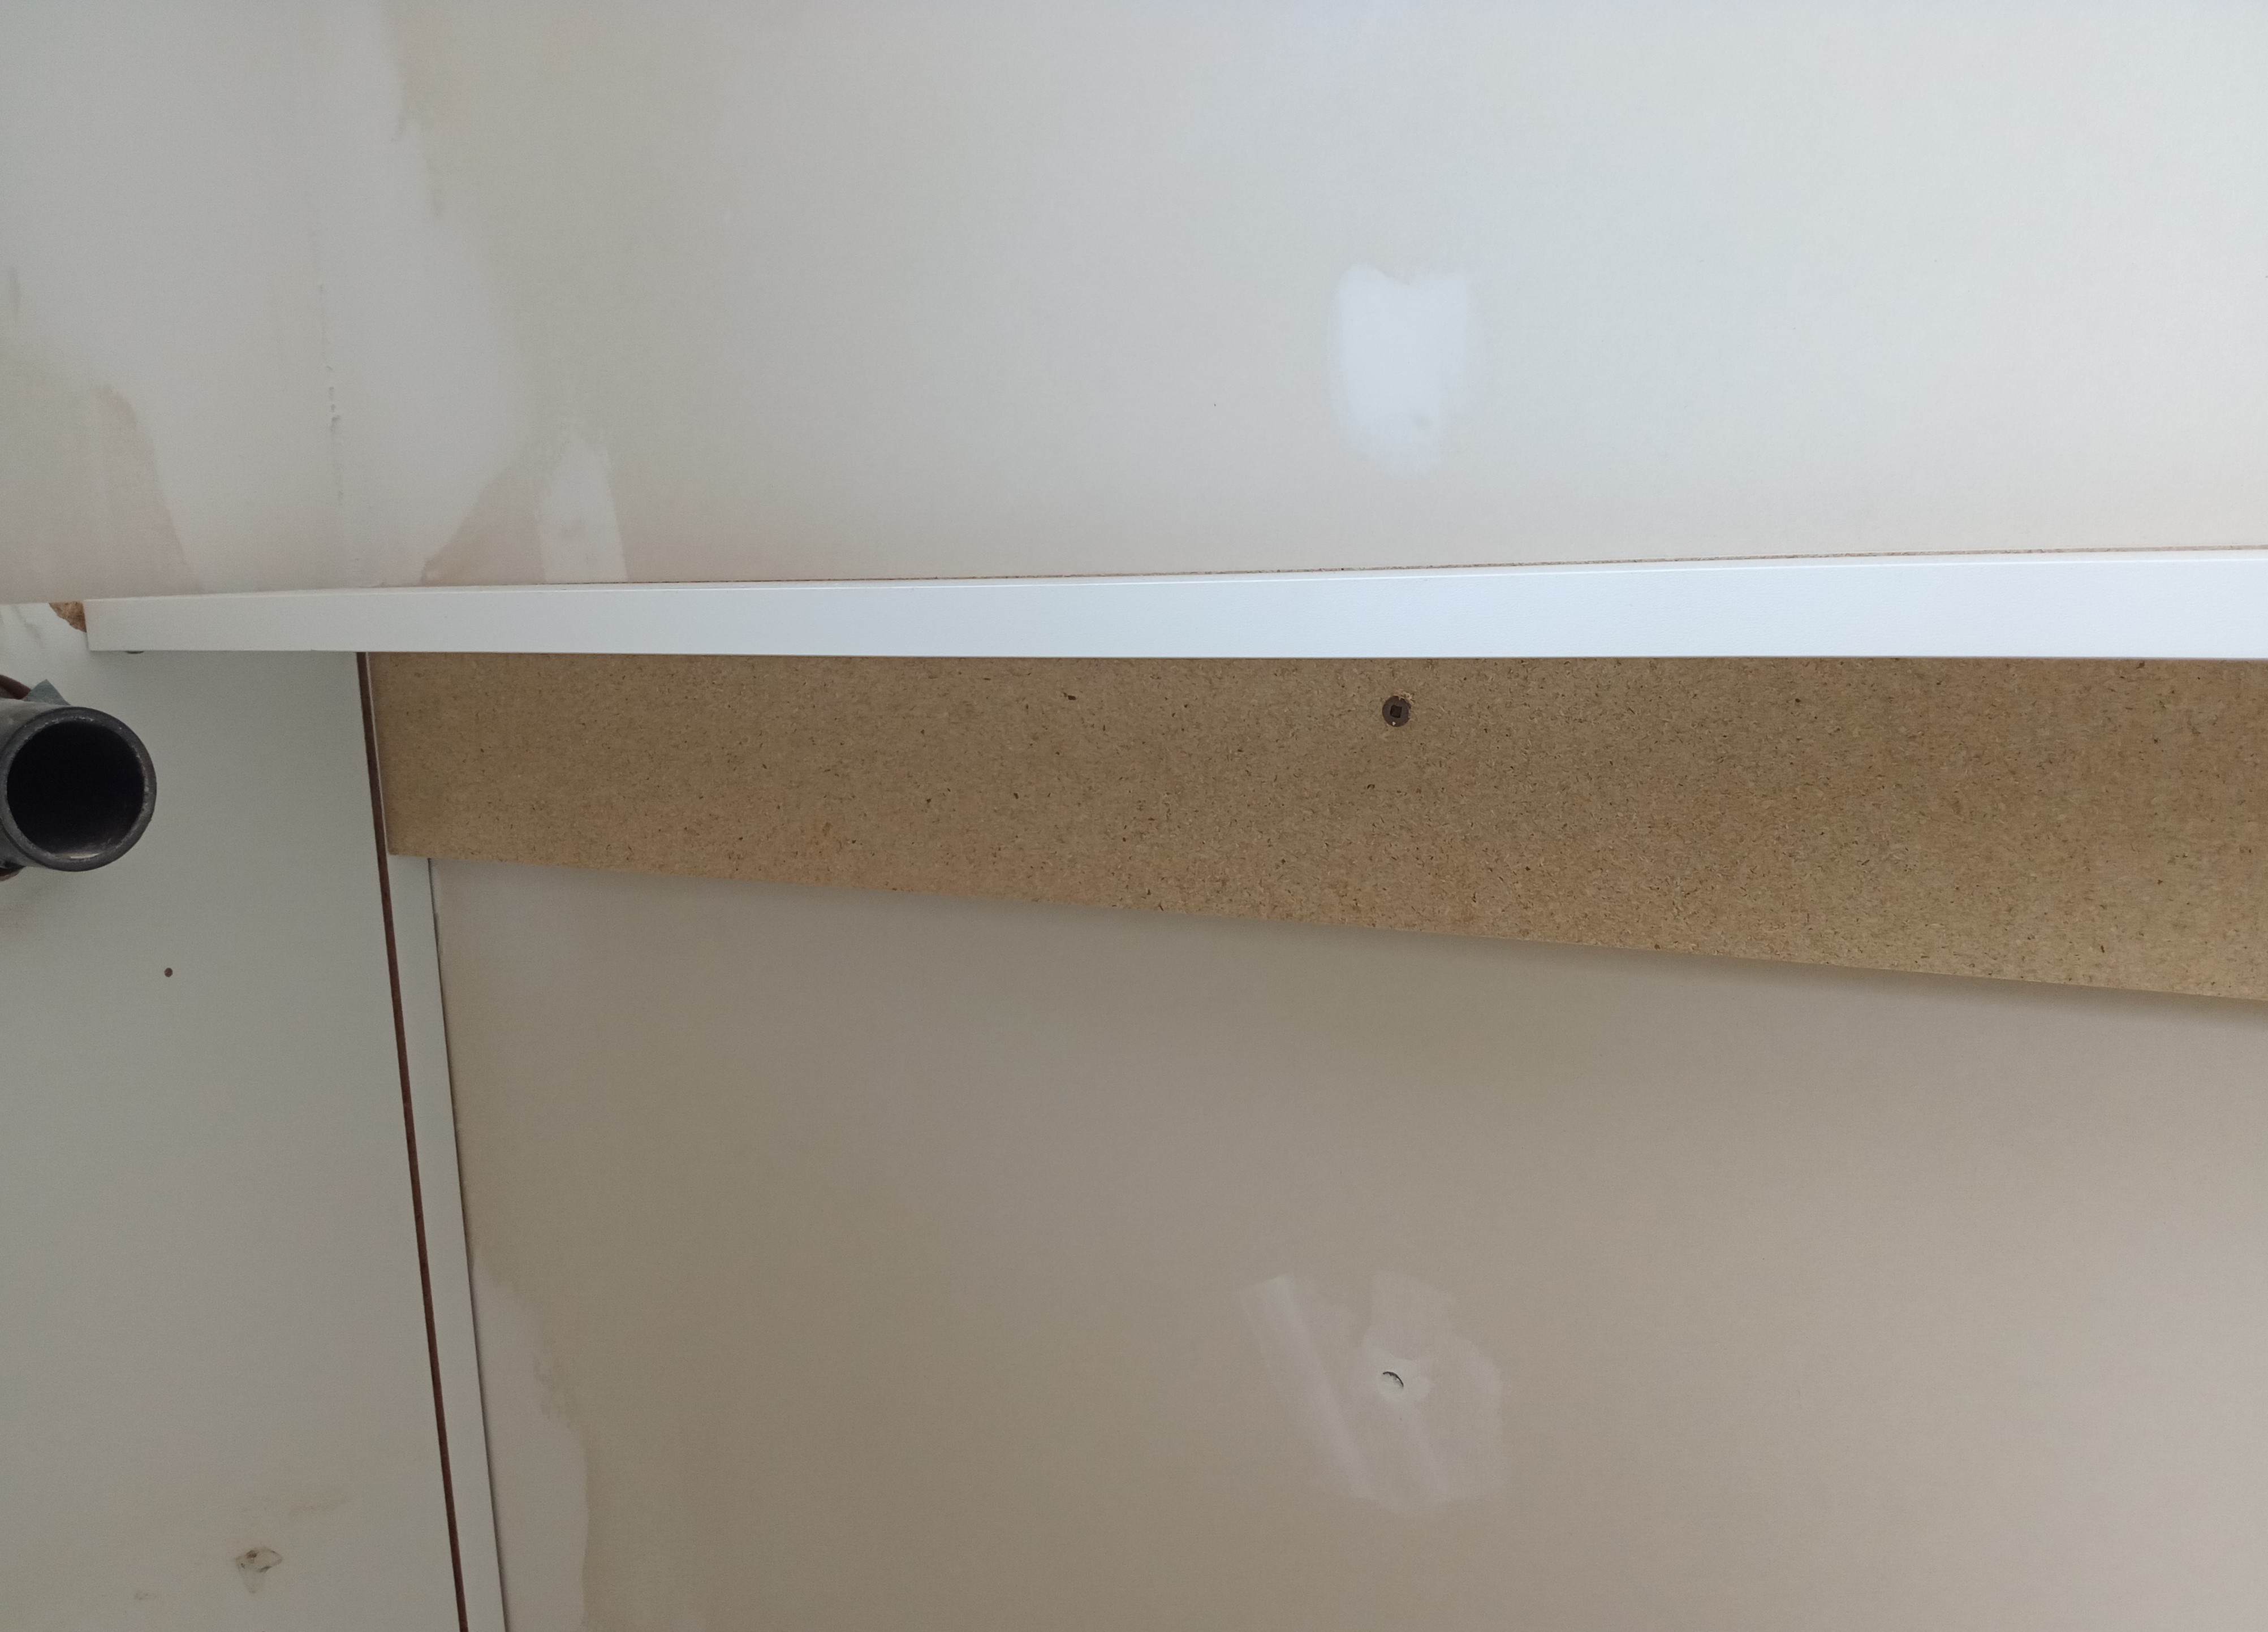
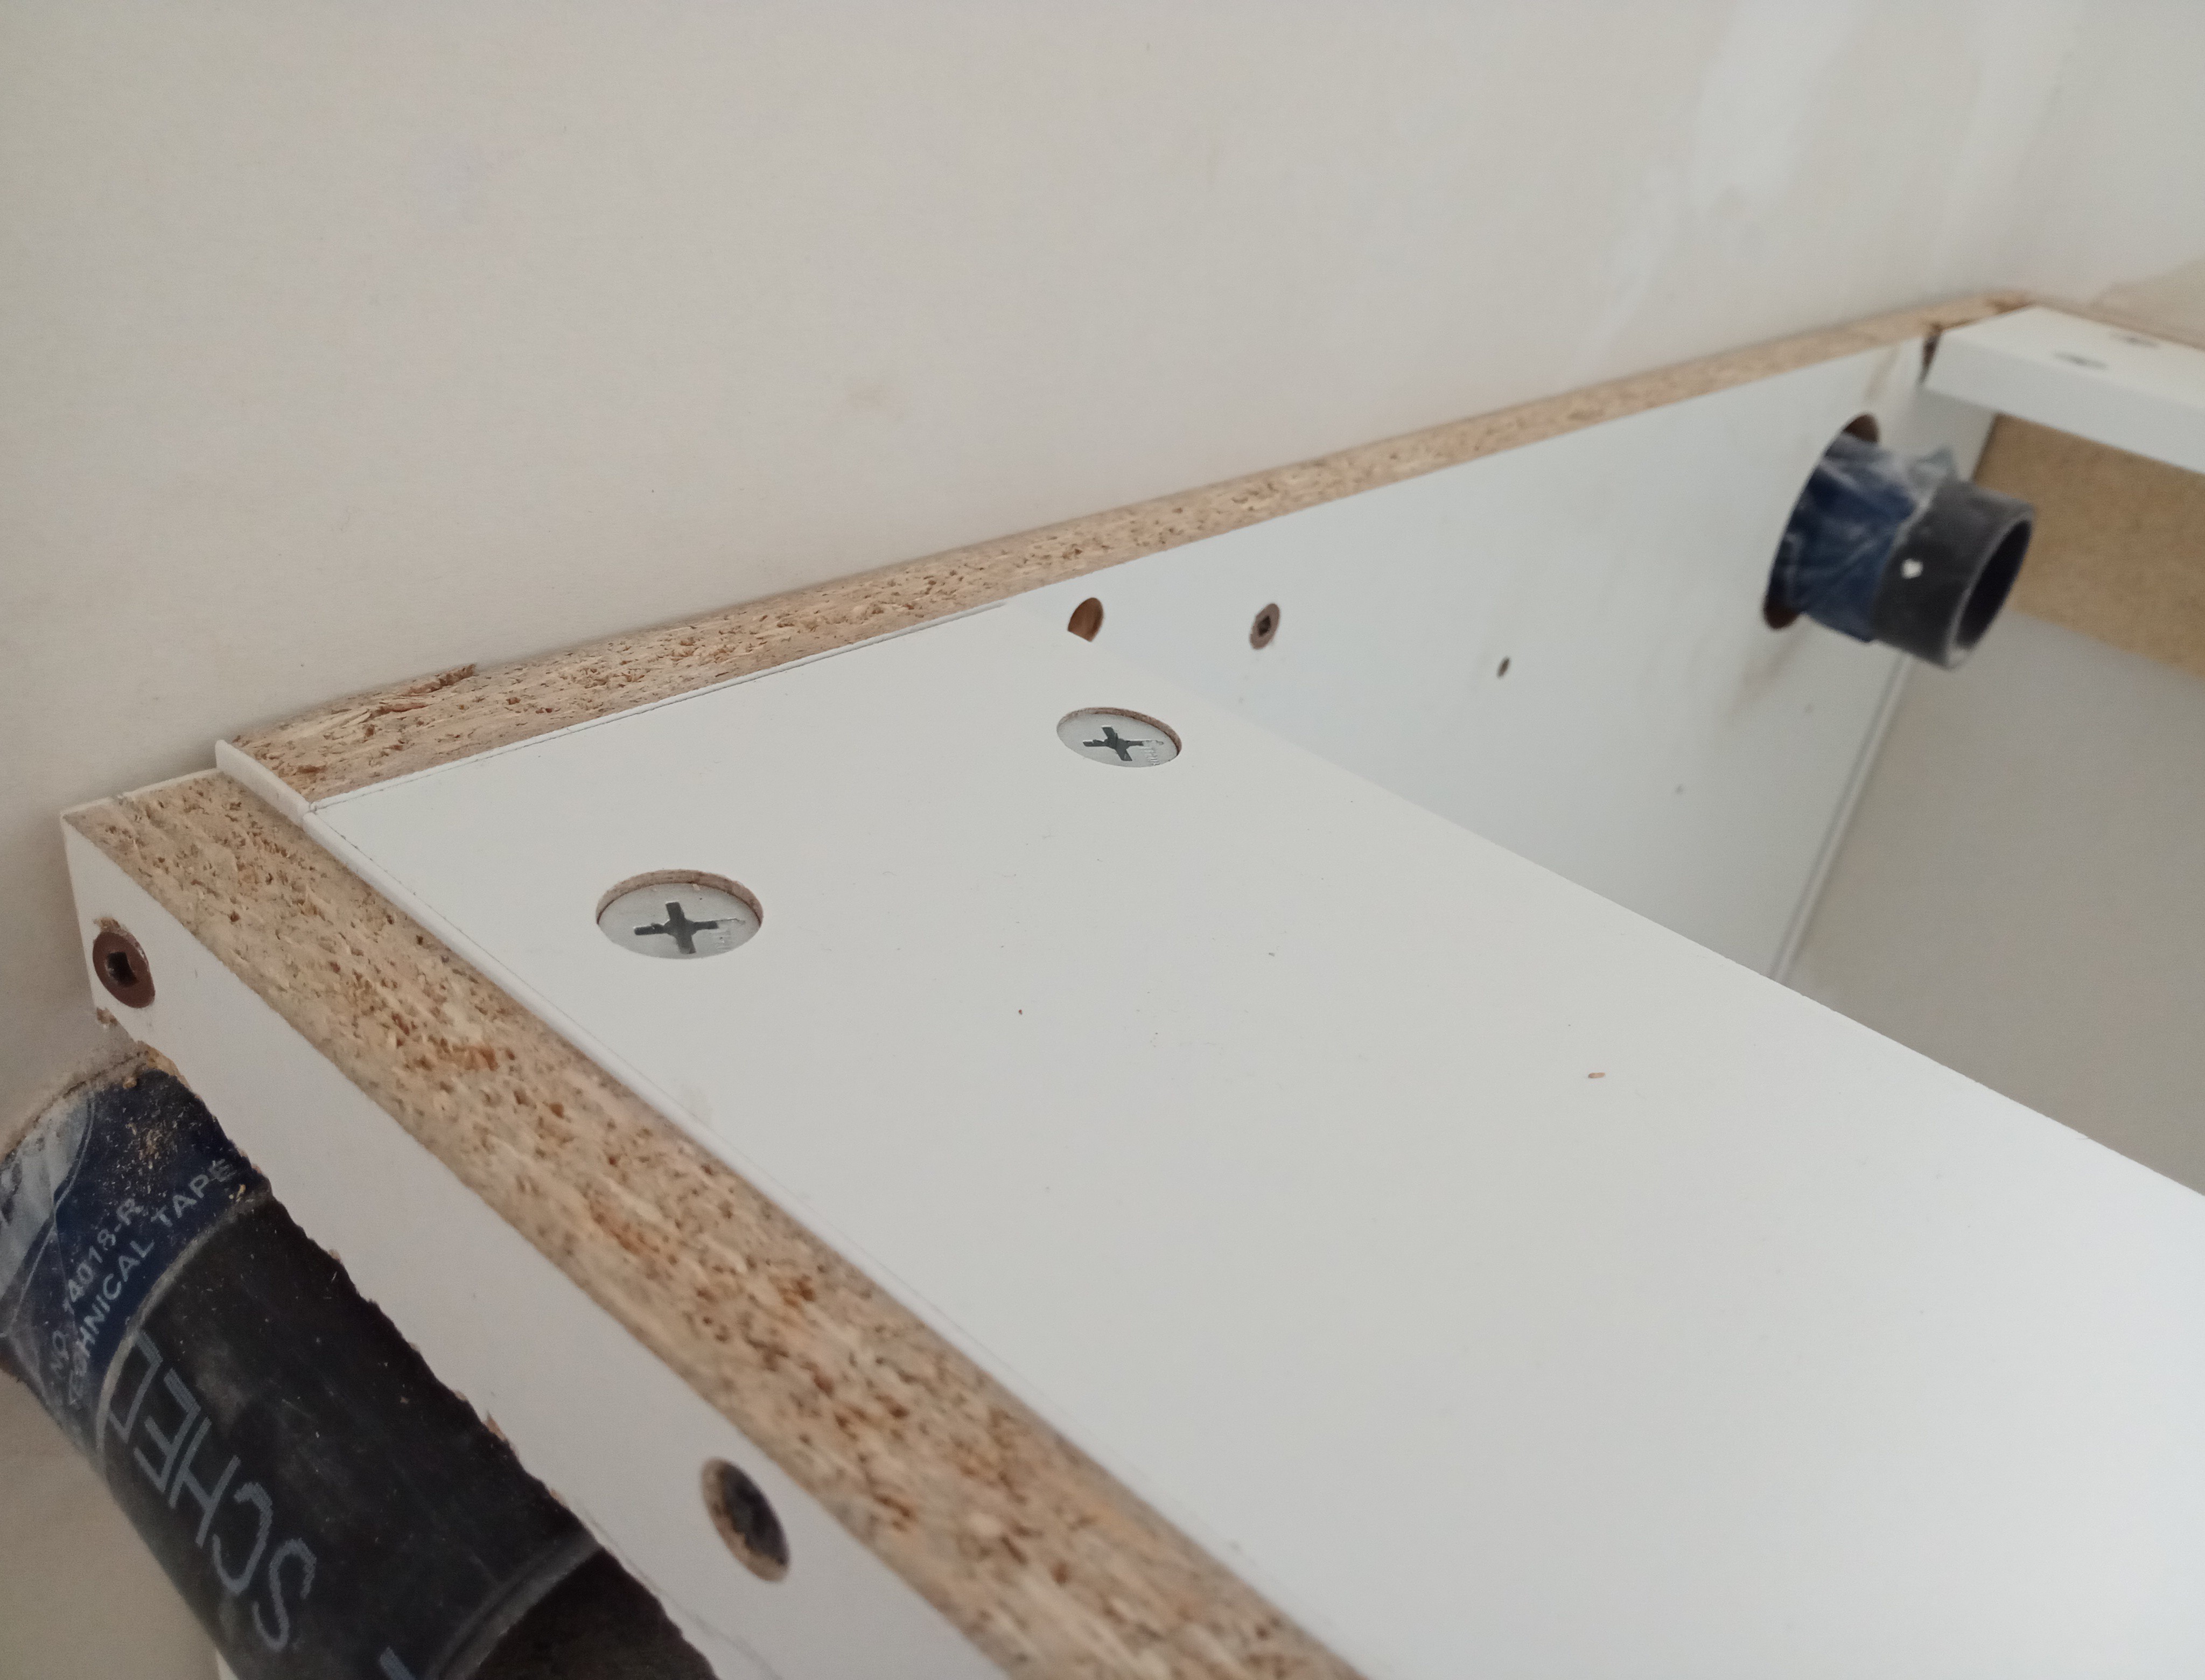
The back panel slides down through the the top slot in the back of the cabinet to cover the wall stud screws for a clean finish. A couple extra screws to stiffen the cabinet where I cut the hole for the vent pipe.
 |  |
|---|
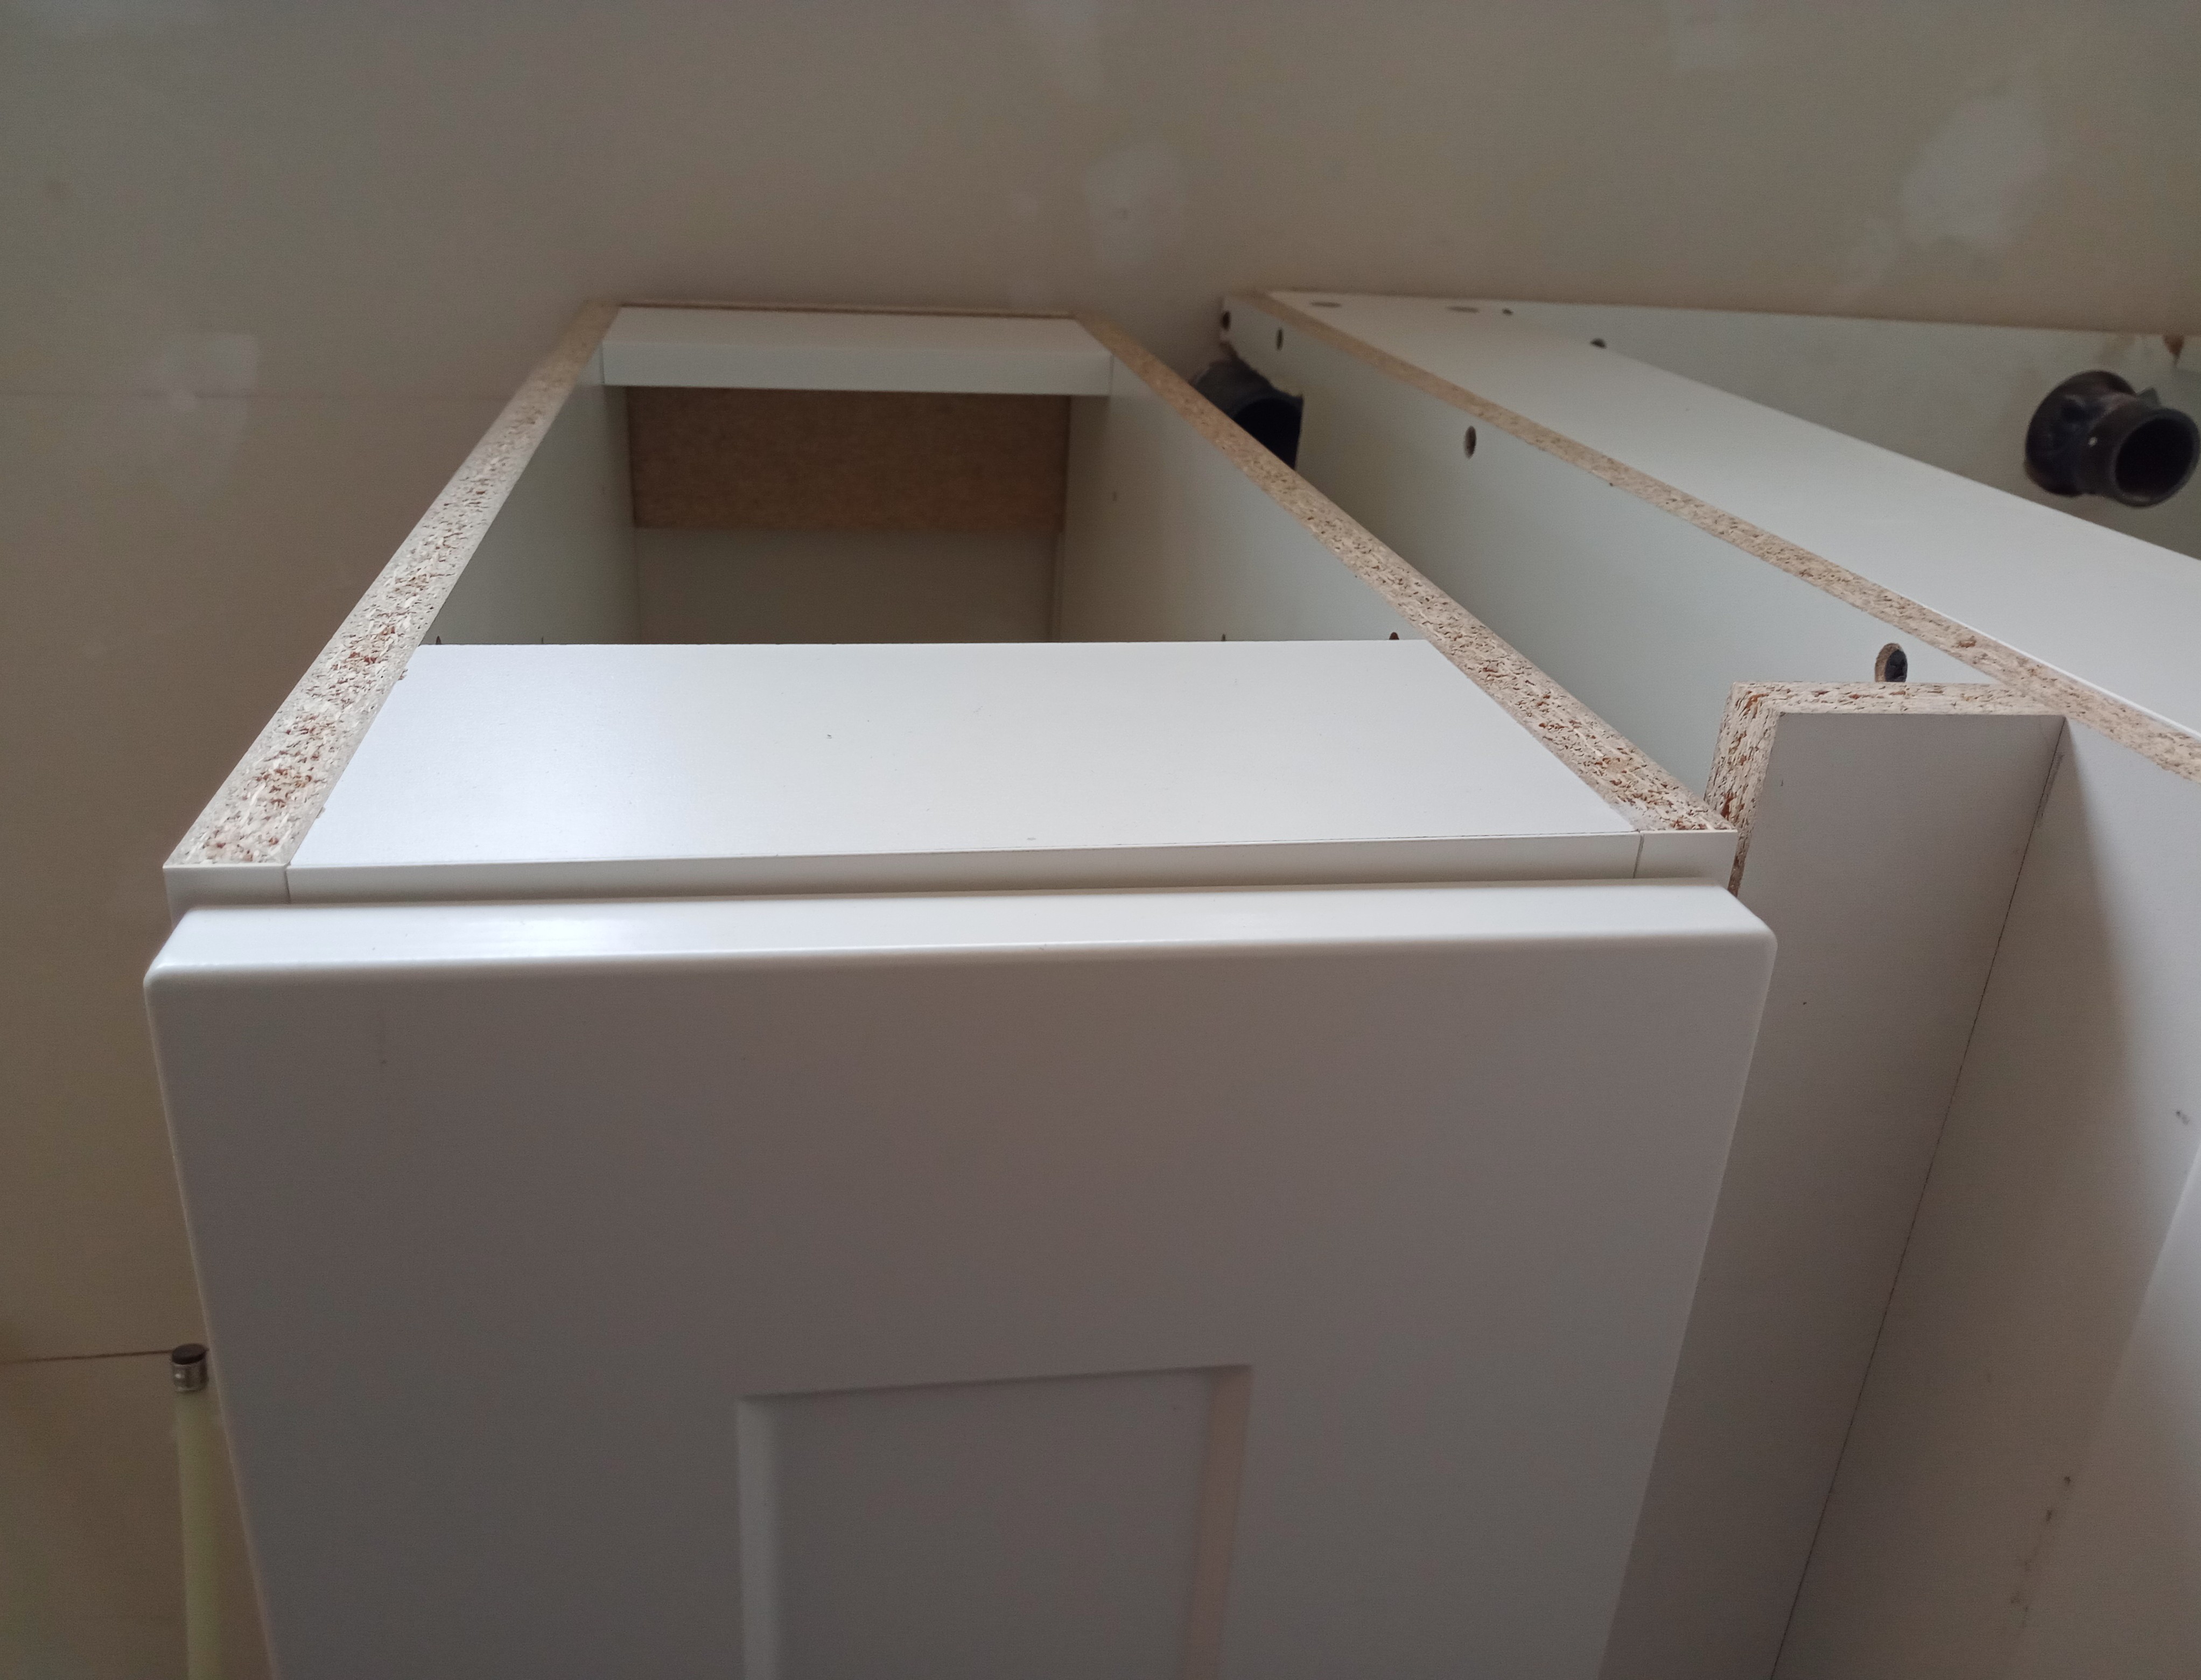
Single Door 9" Cabinet
You can see the front of the cabinet needed extensive shimming to level up with the corner cabinet, the blind corner cabinet spacing wood piece was added to give the door proper spacing.
 |  |
|---|
A hole was drilled on both sides of the cabinet, at the back and bottom, to feed the internet wire through. Screwed it to the wall at the top back, and into the corner cabinet spacer, then slid the back panel in place for the finishing touch.
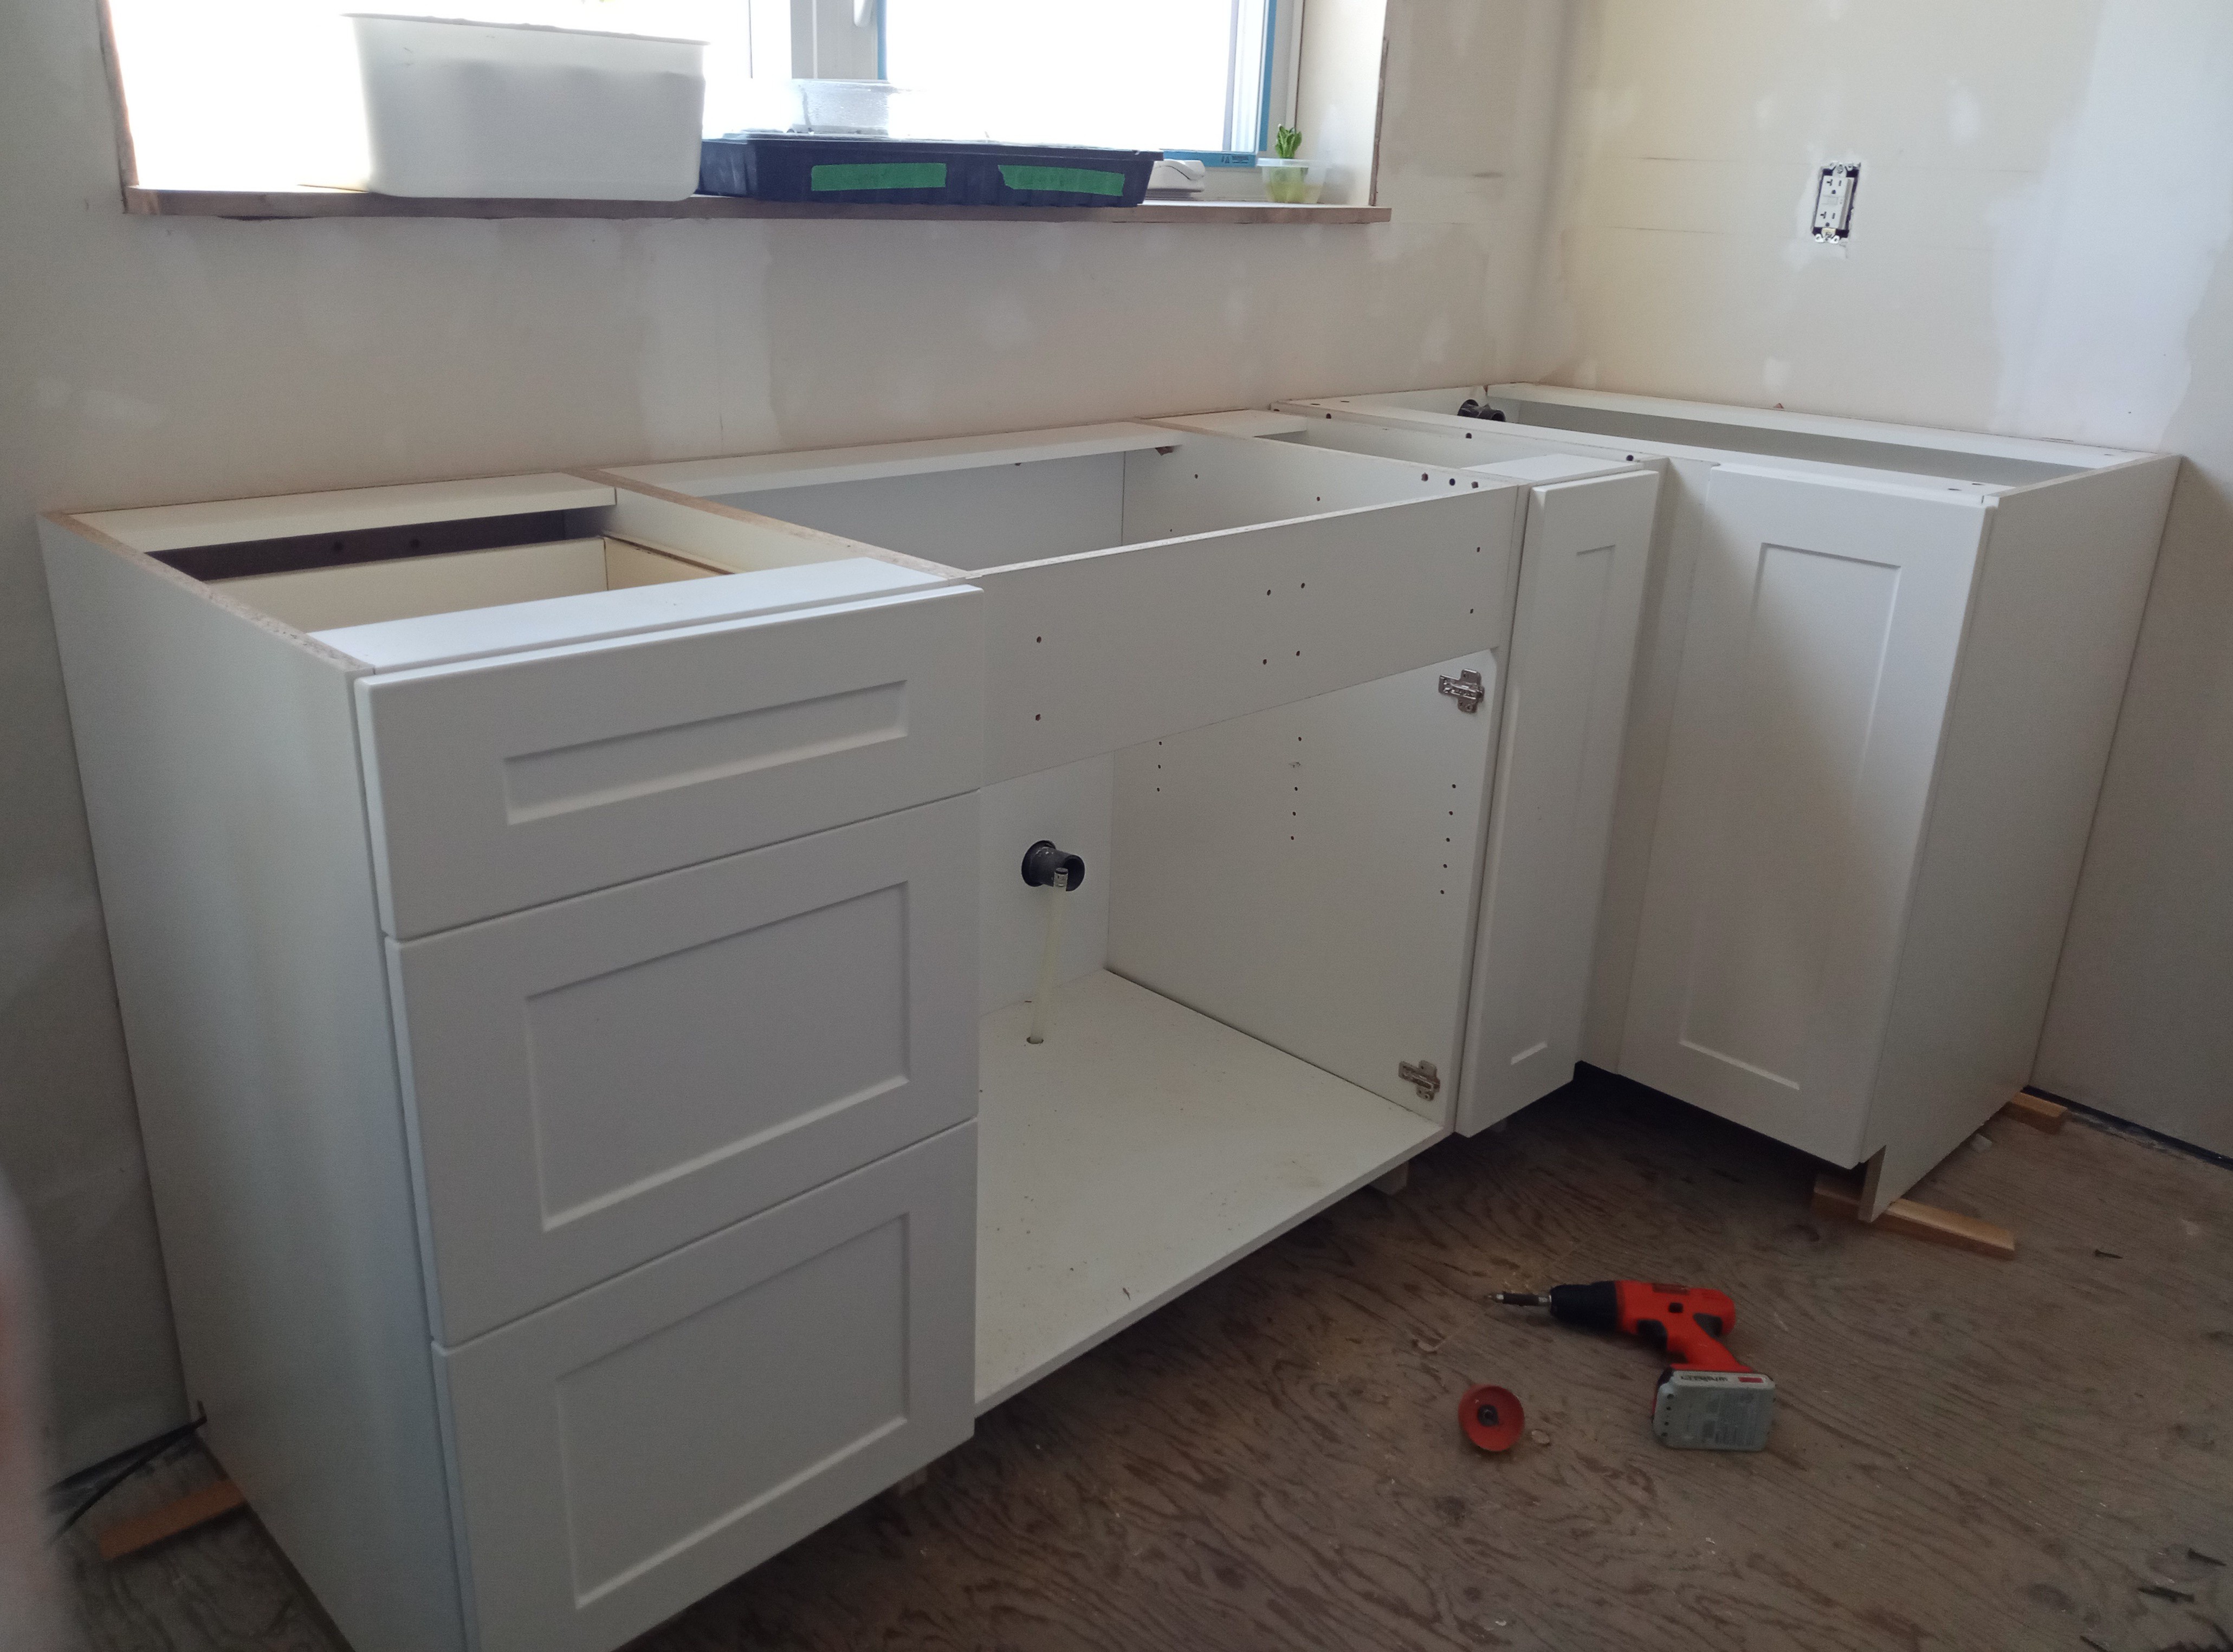
30" Sink Cabinet
I had to drill a few holds in the bottom and back of the sink cabinet for the water feeds and drain pipe. I pushed the cabinet tight with the side of the 9" cabinet, slid it towards the wall until the back touched the black drain pipe, then drew a circle around the drain pipe, and an 'x' in the middle for where I needed to drill the hole with the proper size hole cutting drill bit. I also marked where the centers of the water feed pipes hit the back of the bottom shelf, measured from the wall to the center of the pipe, then marked an 'x' the same distance in - selected the proper size bit, drilled the holes.
 |  |
|---|
I tipped the sink cabinet forward and slid it back far enough into position to get the water lines fed into the bottom holds, then made sure the black drain pipe went into the back hole as we tipped it down into position, tight against the wall and 9" cabinet. Shimmed the front and the back, you can see how I put the shims in sideways for the next cabinet to be set on. a few in the back of the cabinet to the wall studs, up high where they would be hidden by the sink - the back panel would have been impossible to slide into the slot afterwards with that drain pipe in the way.
 |  |
|---|
Level with the 9" cabinet, a few screws to hold them together securely.

Three Drawer Cabinet Install
The drawers were removed, and holes drilled for the internet cable that was ran through the bottom and back of the cabinet. The cabinet was pushed tight against the wall and the sink cabinet, shimmed to level up with the sink cabinet, then screwed it to the wall studs, and to the sink cabinet.
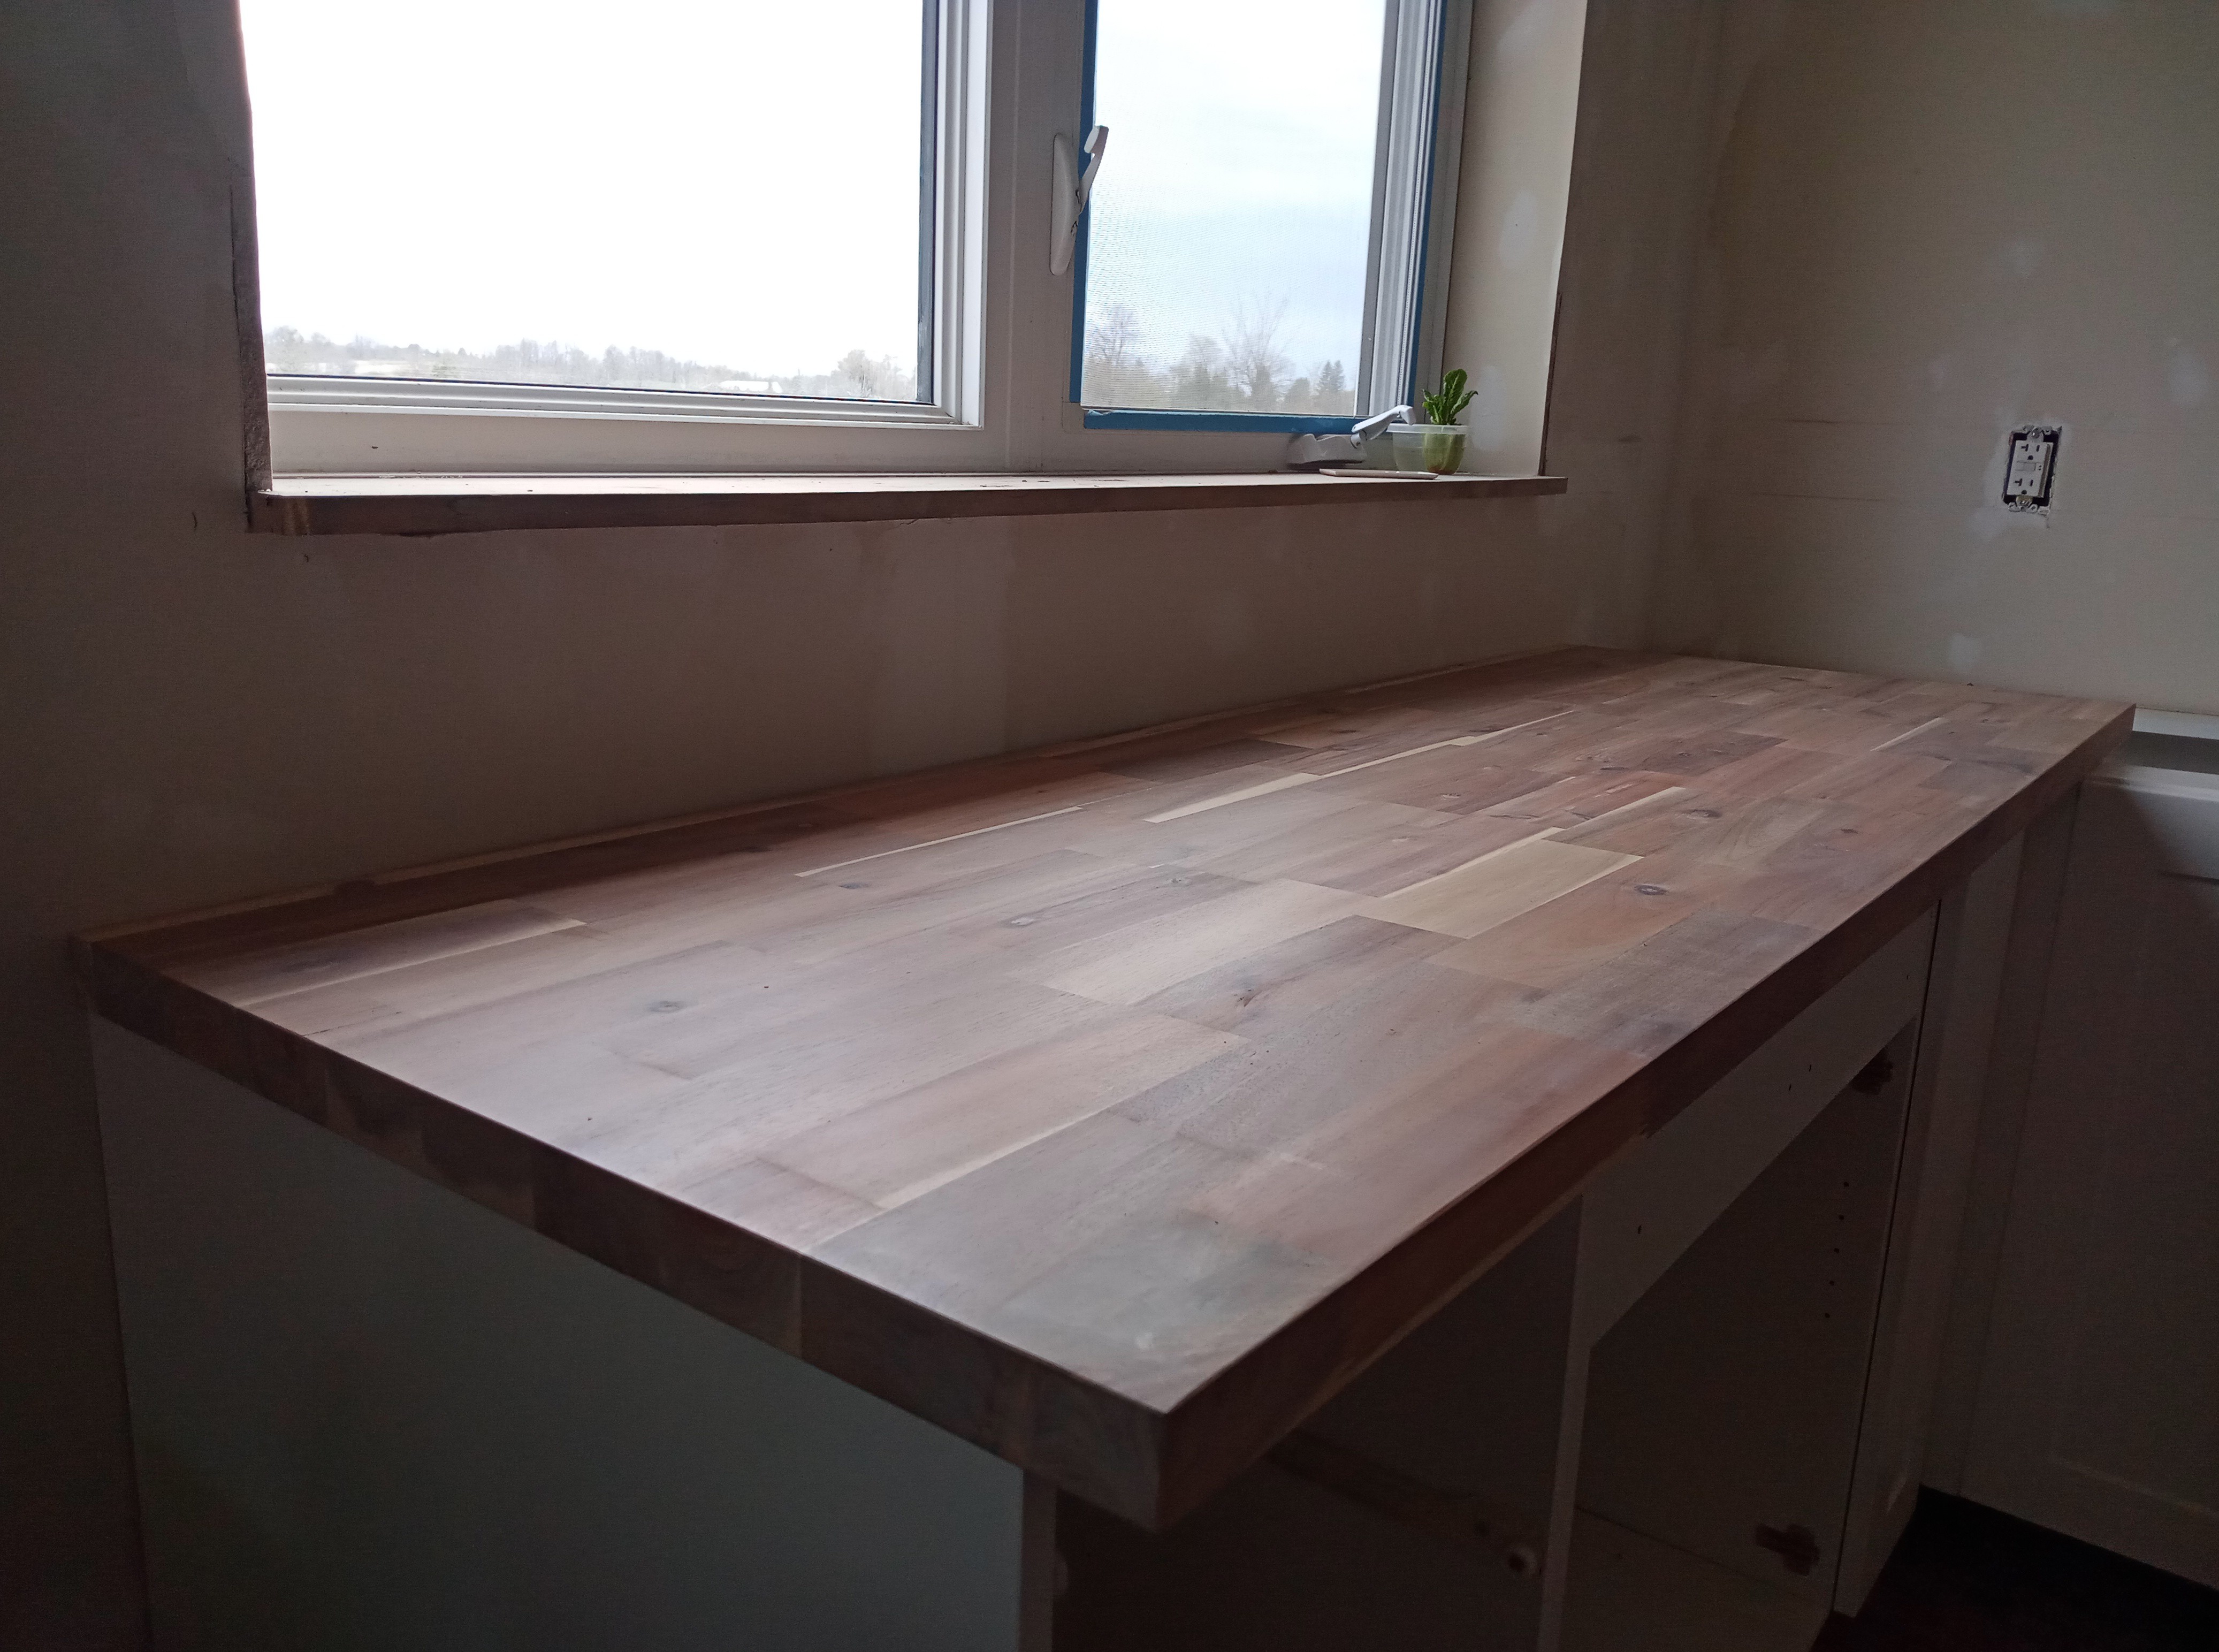
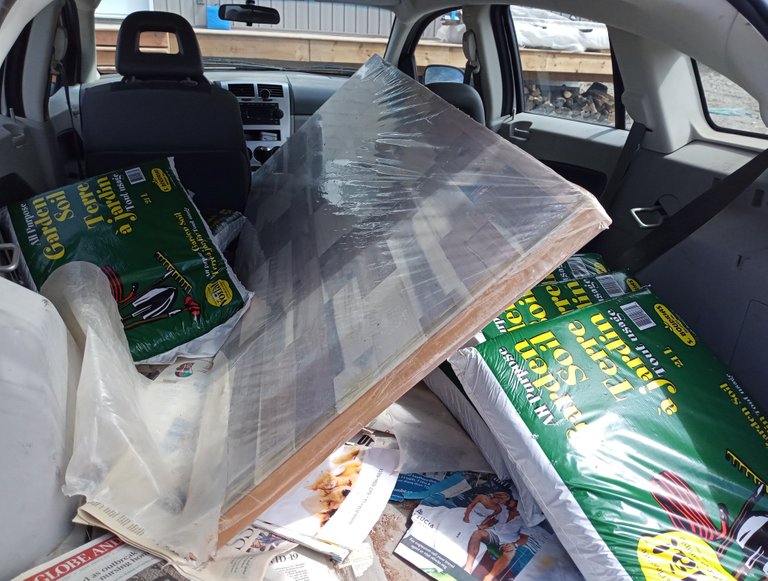
Butcher Block Counter Top
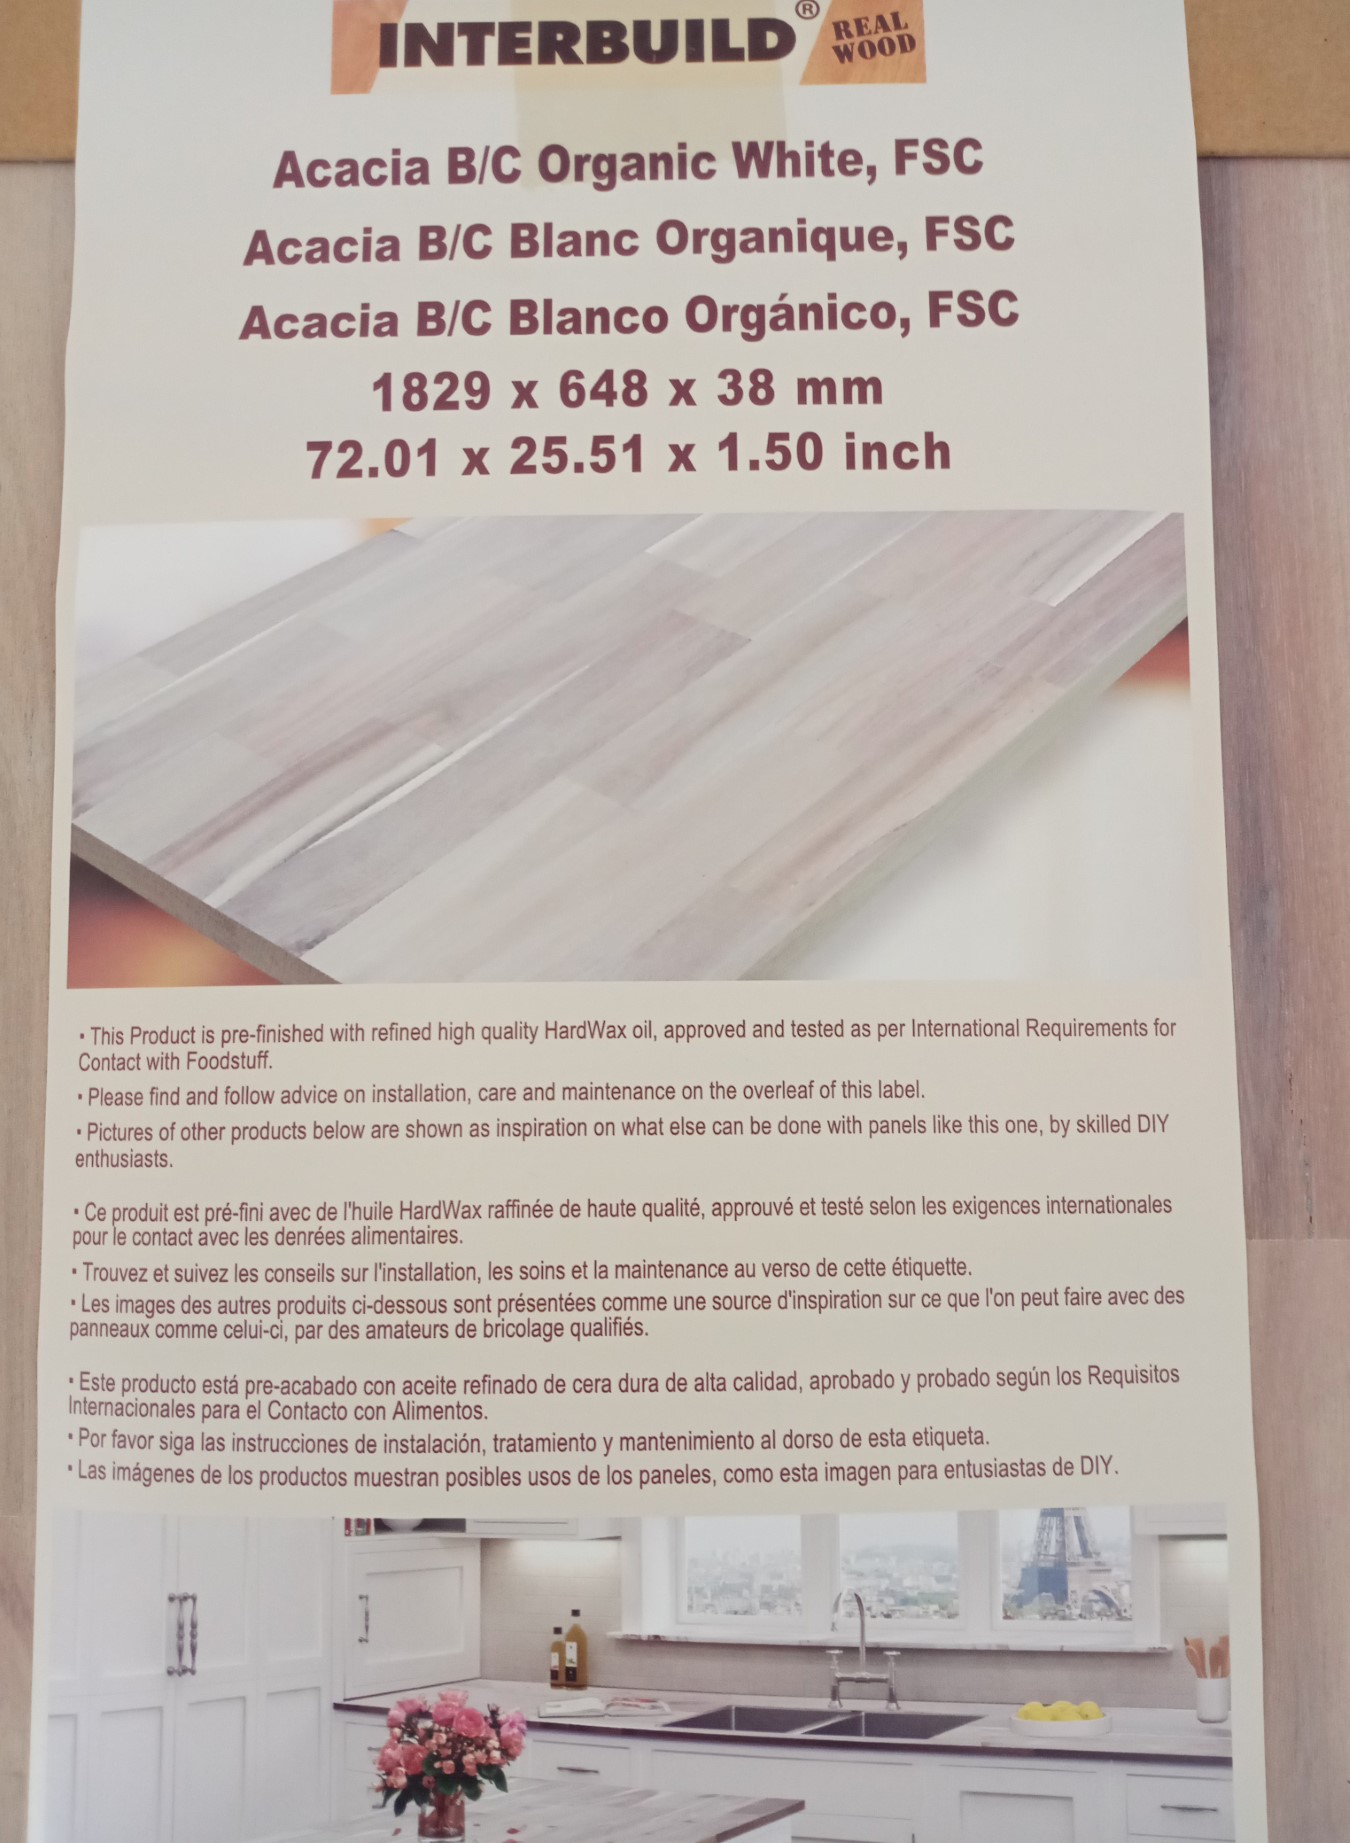
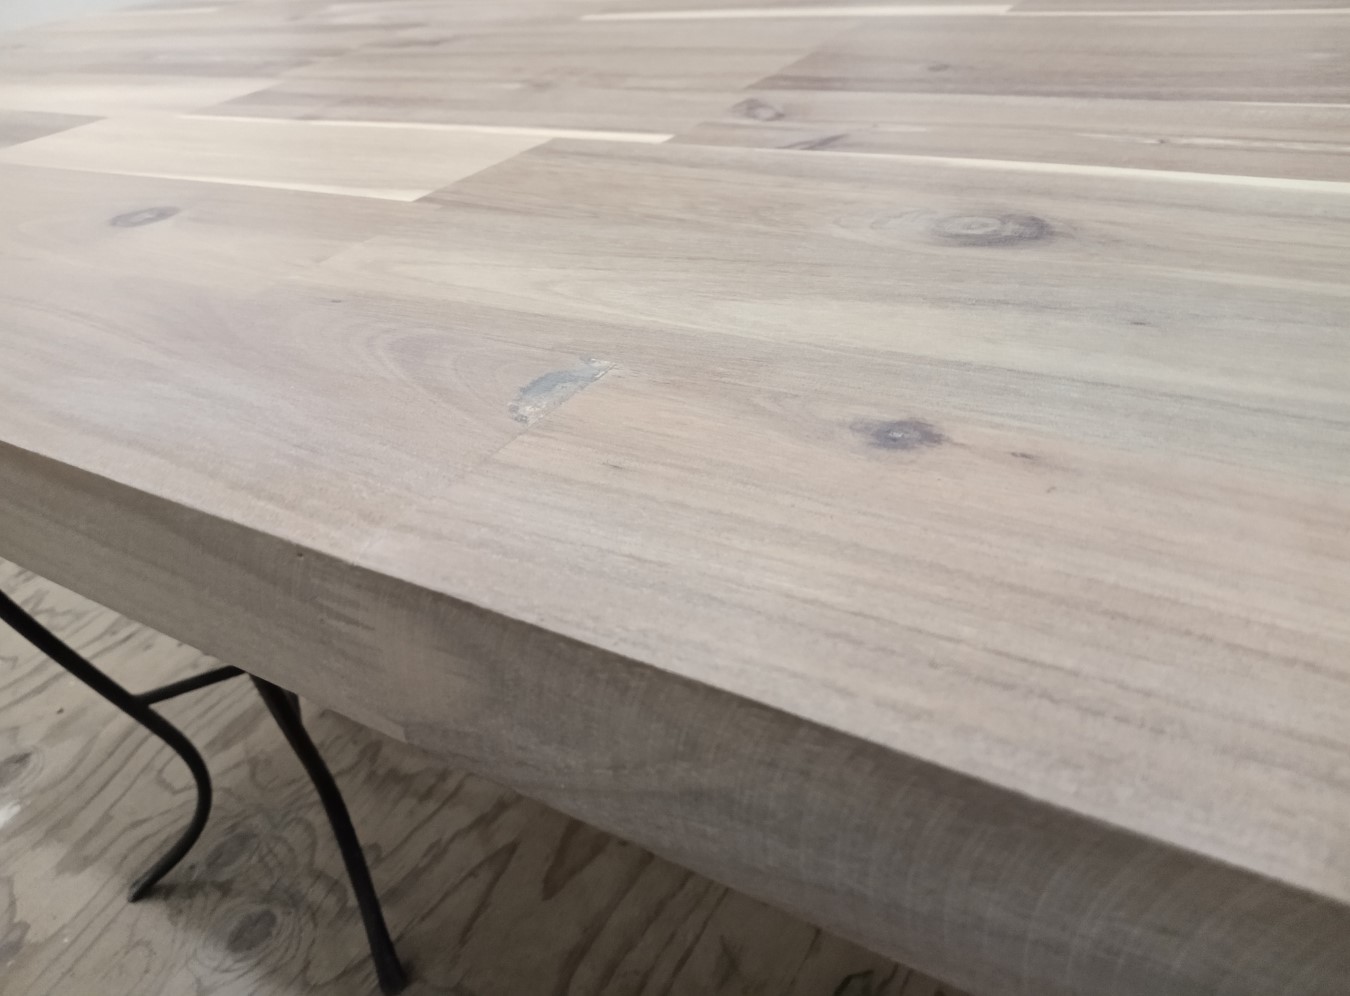
I picked up the butcher block counter top from the hardware store, it's 6' long x 2'1.5" deep x 1.5" thick. I've ordered another one of these to complete the corner, along with the proper set of doors for the sink cabinet, and another 9" cabinet and door for the other side of the blind corner cabinet.
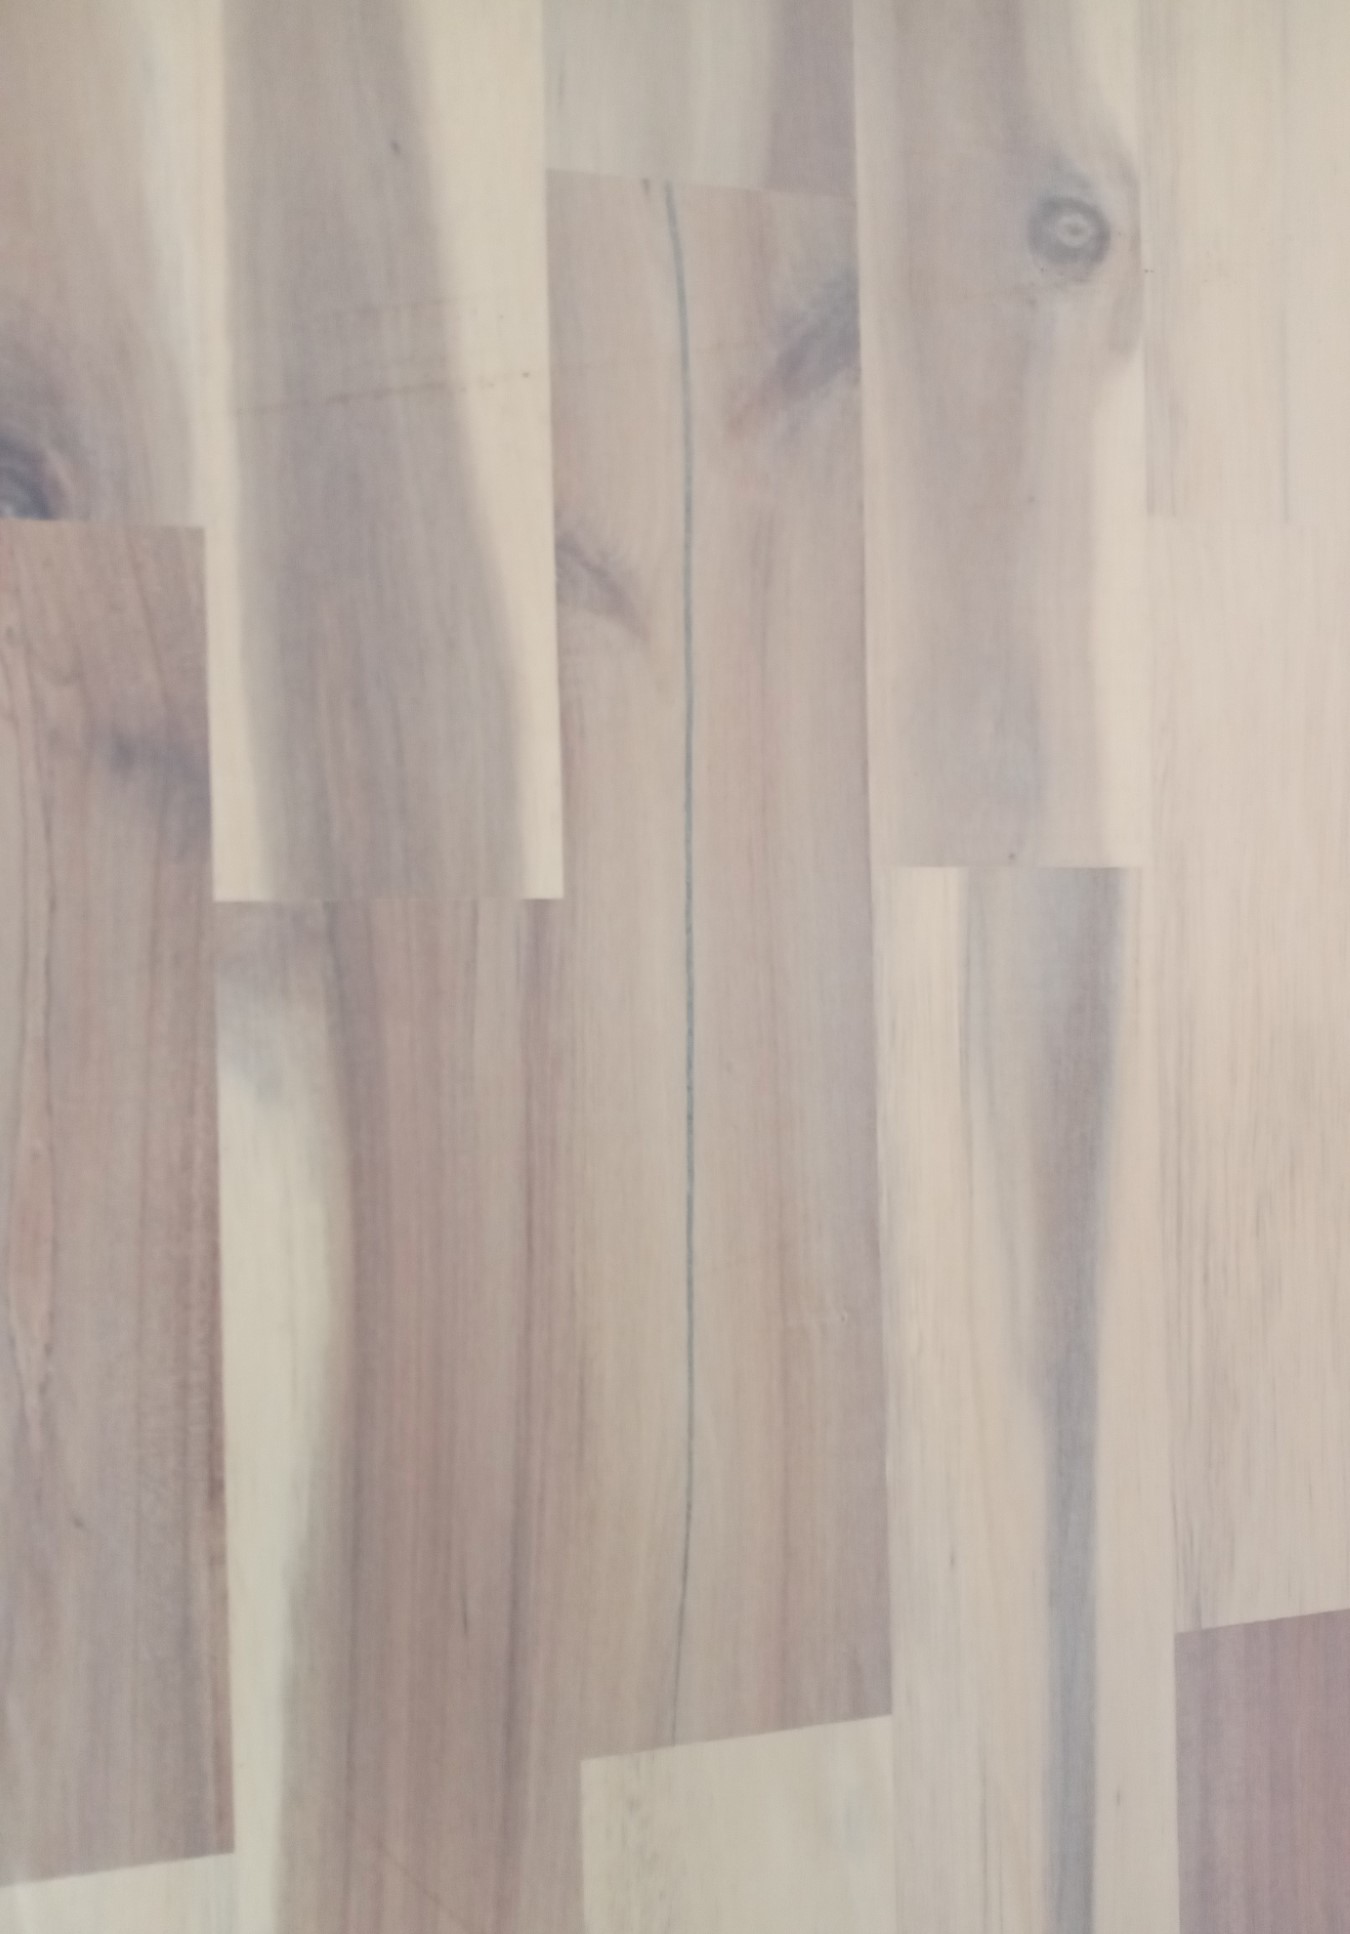
The counter top is made with Acacia Wood, this is the Organic White version.
 |  |
|---|
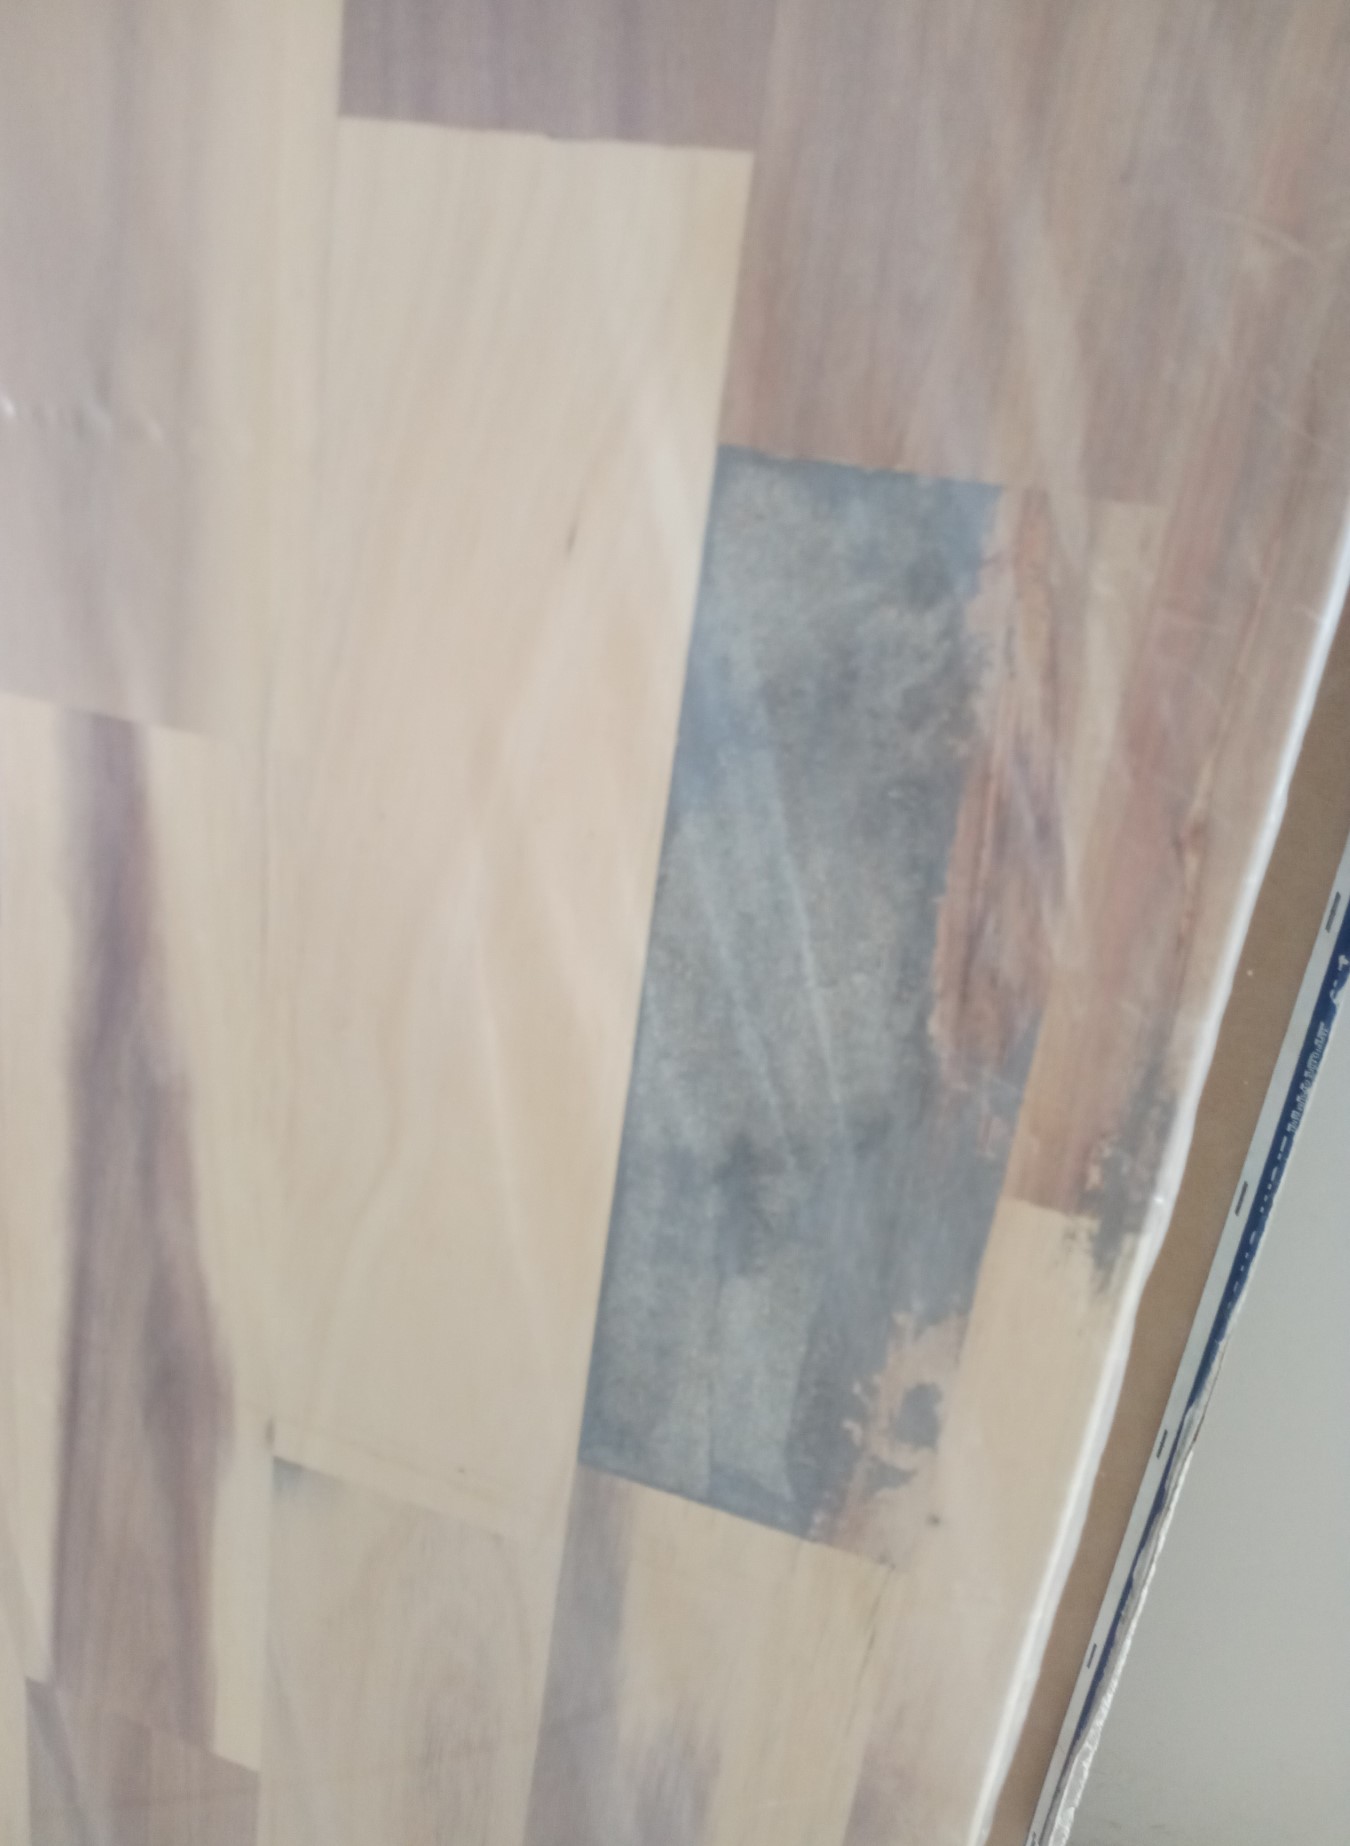
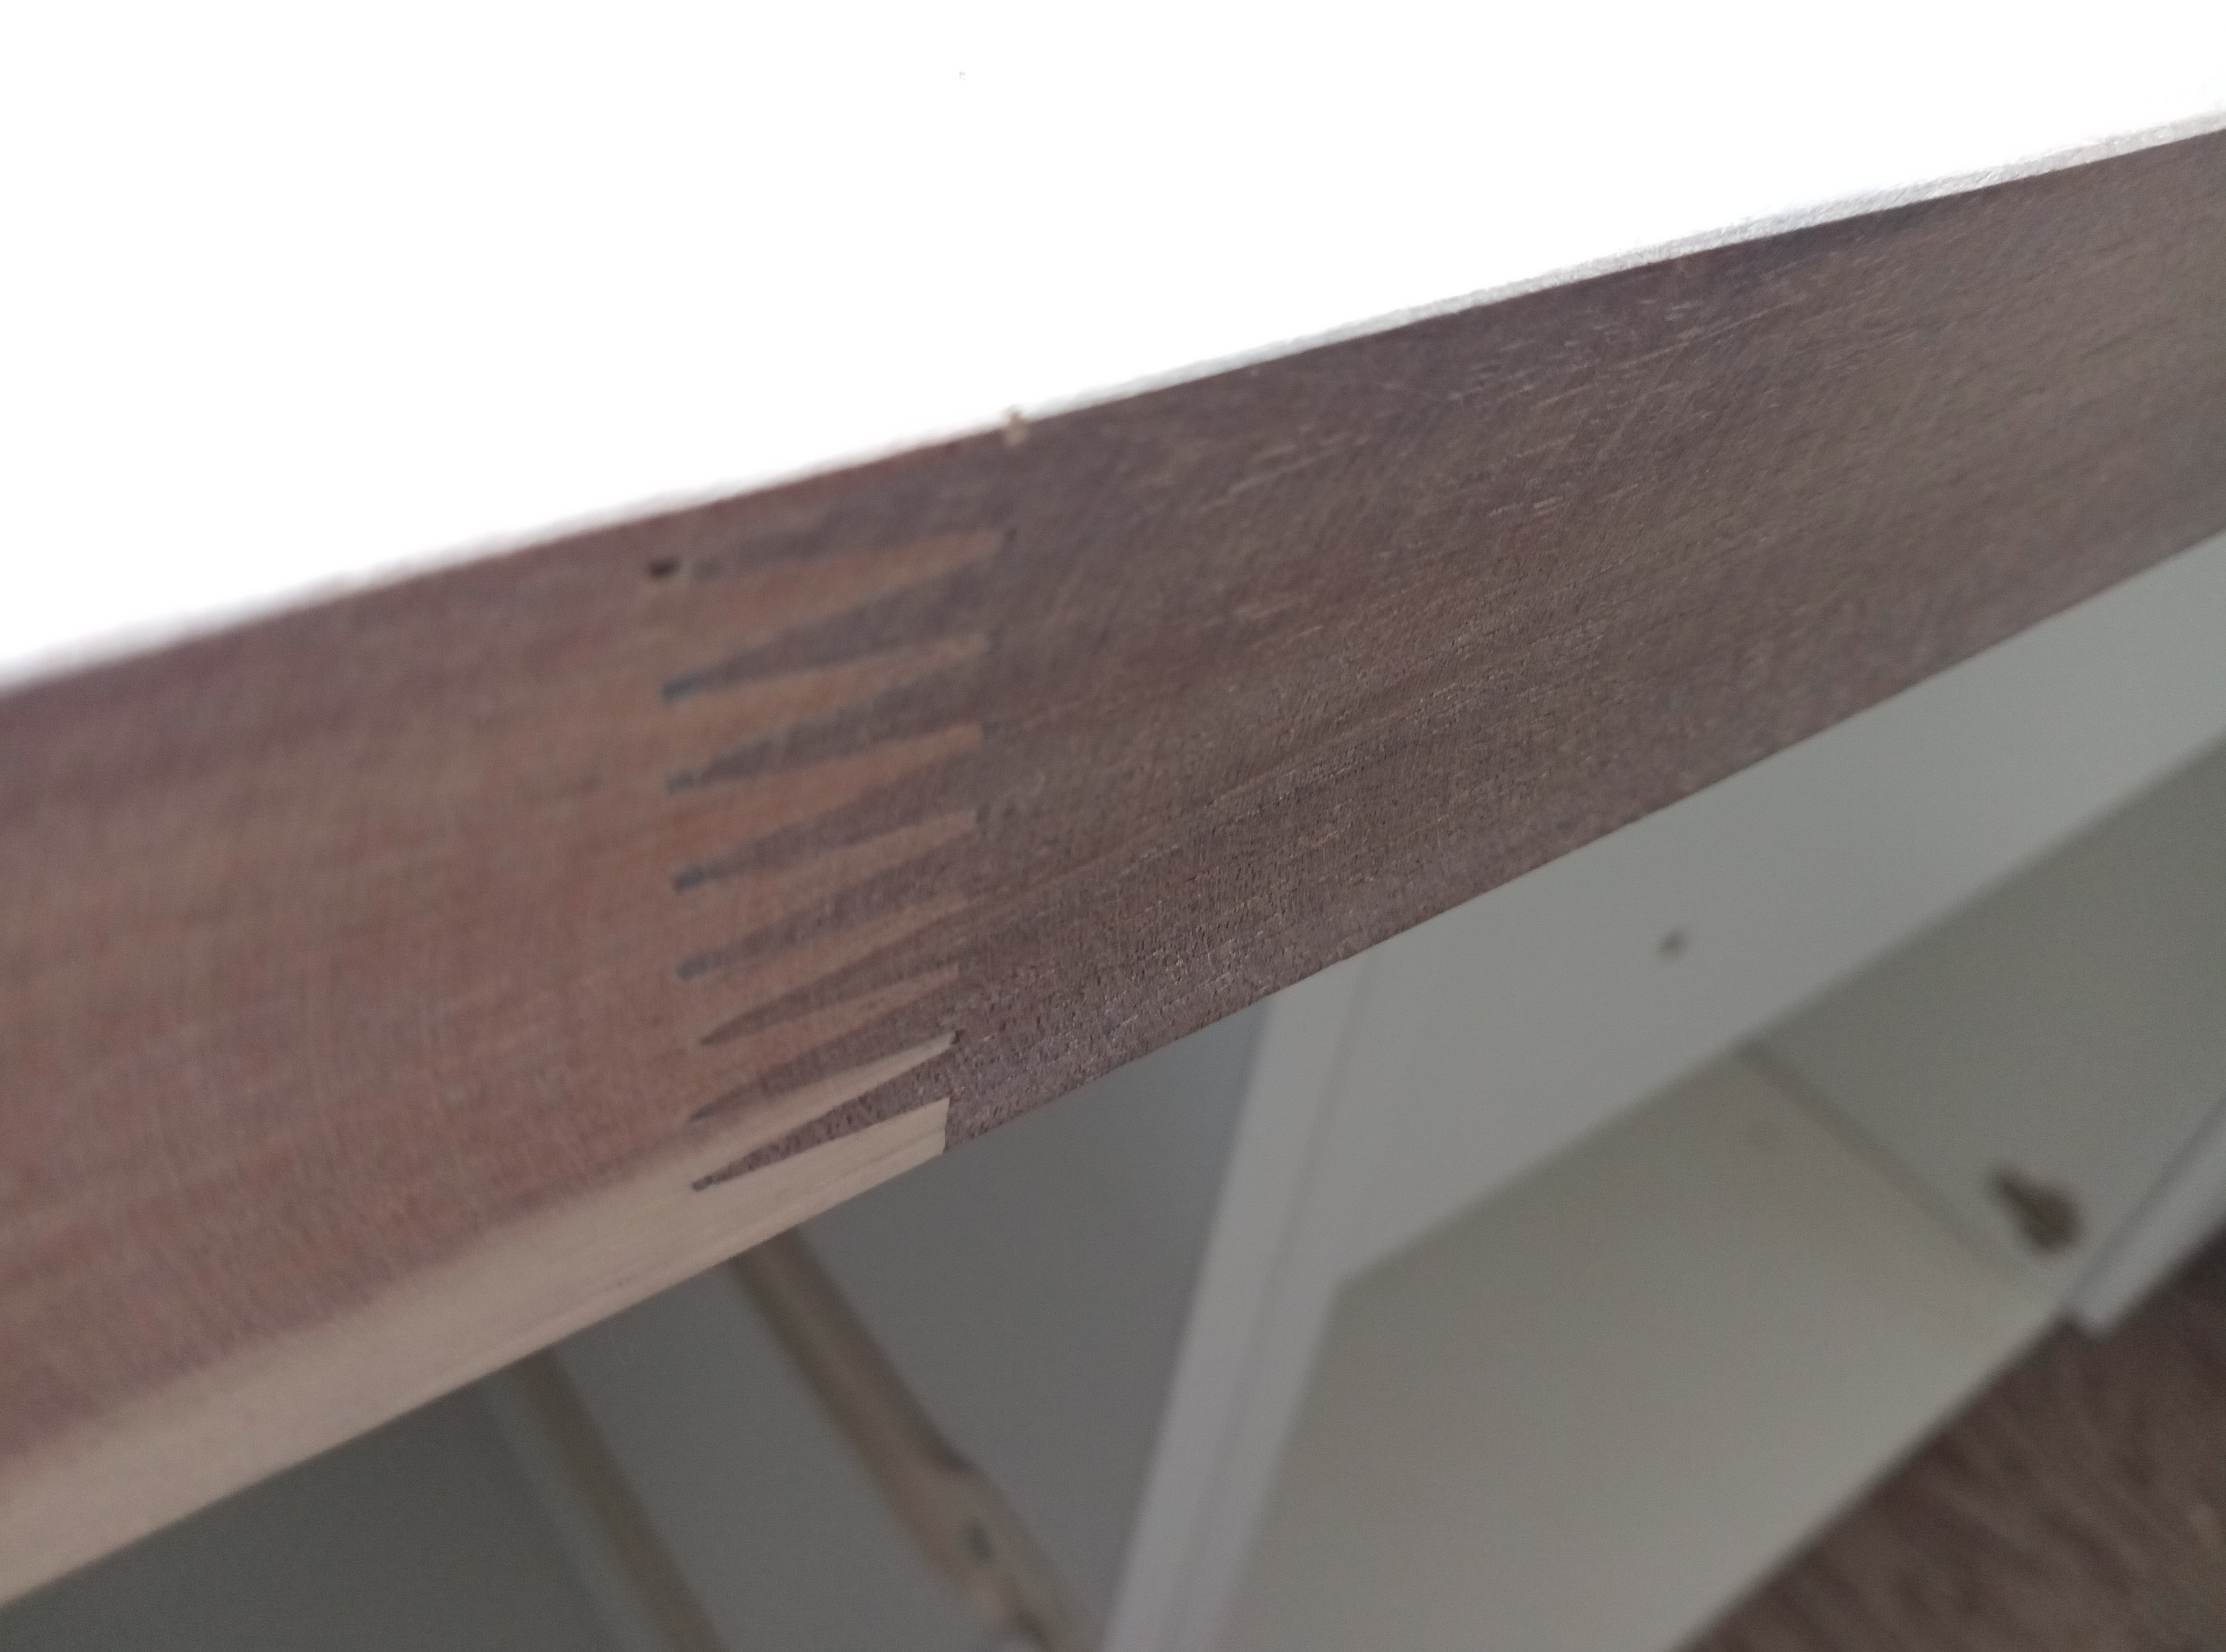
Pictured below are the obvious bottom side blemishes.
 |  |
|---|
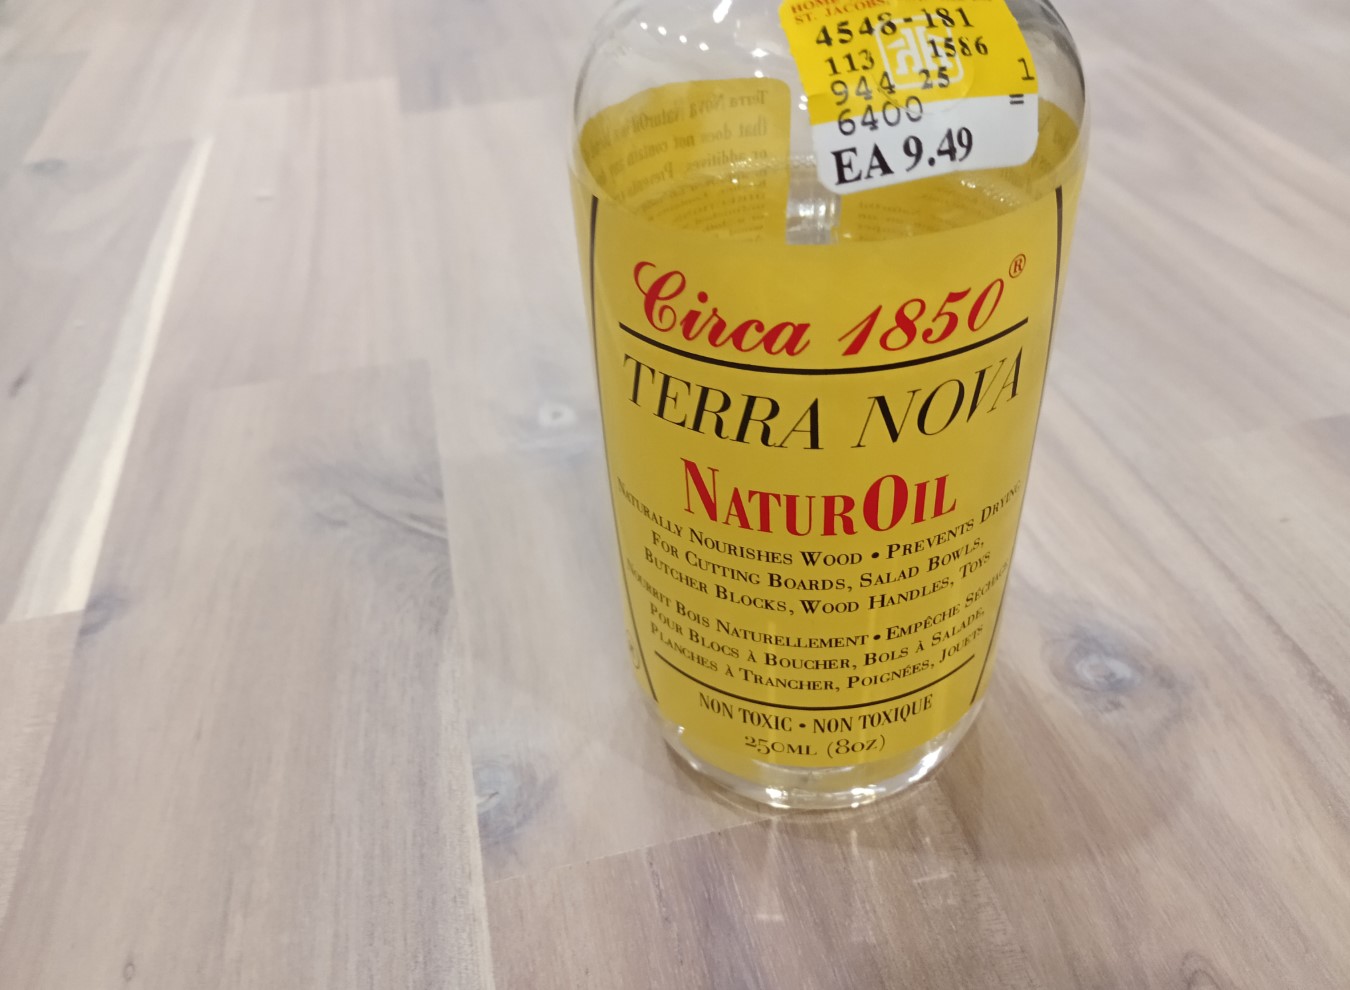
Butcher Block Sealing
This butcher block counter top comes unsealed, it needed to be sealed with butcher block oil. This prevents the wood counter top from absorbing liquids that could easily swell or stain it.
 |  |
|---|
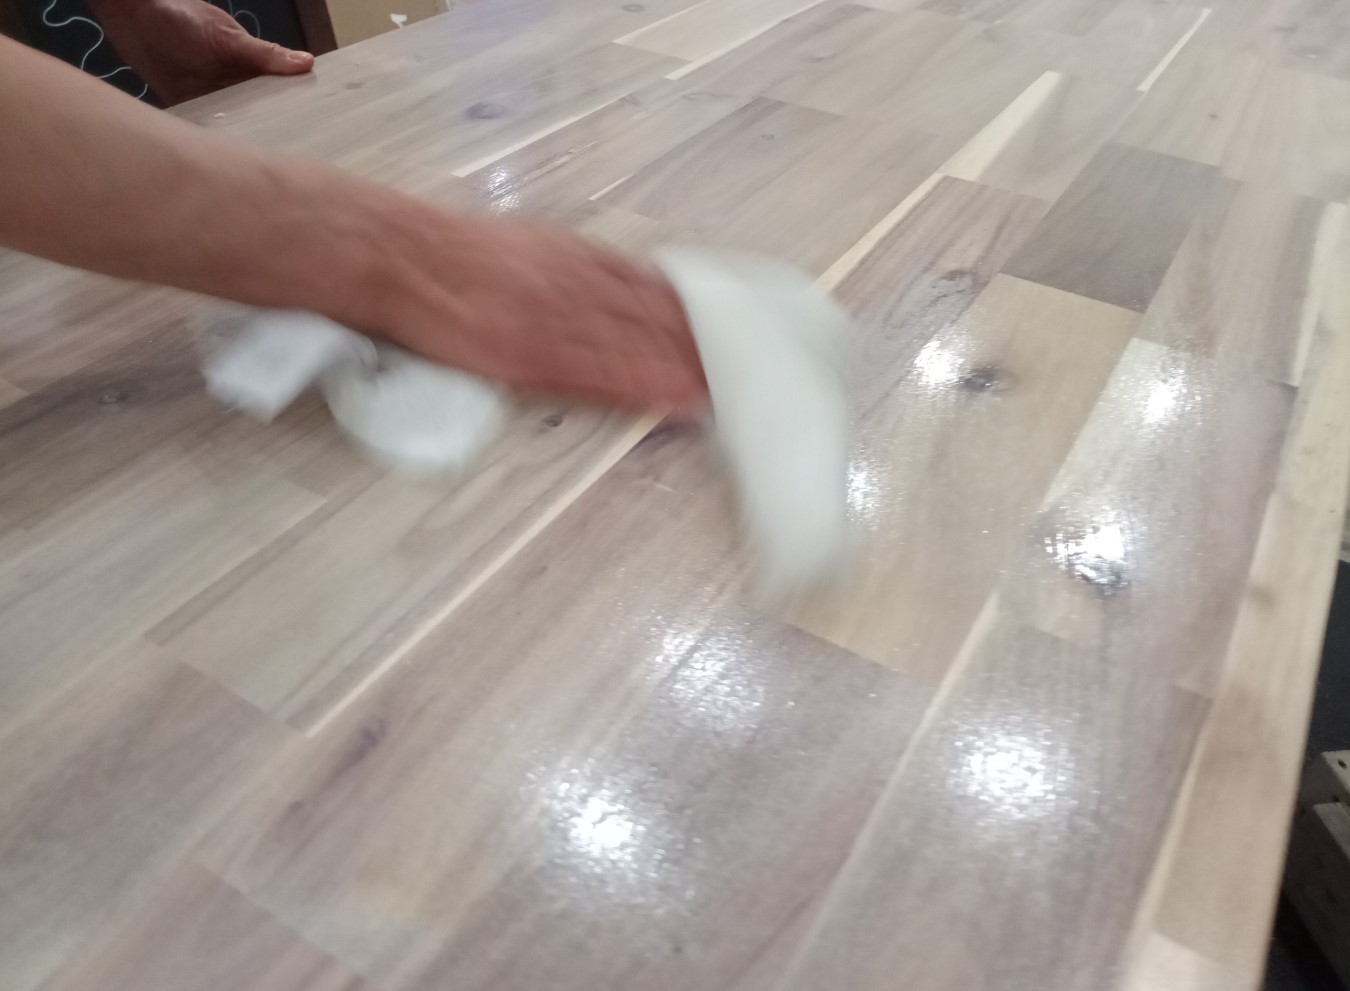
The oil is applied once and left to dry, then applied a second time, left to dry, then any excess remaining oil is wiped off.
 |  |
|---|
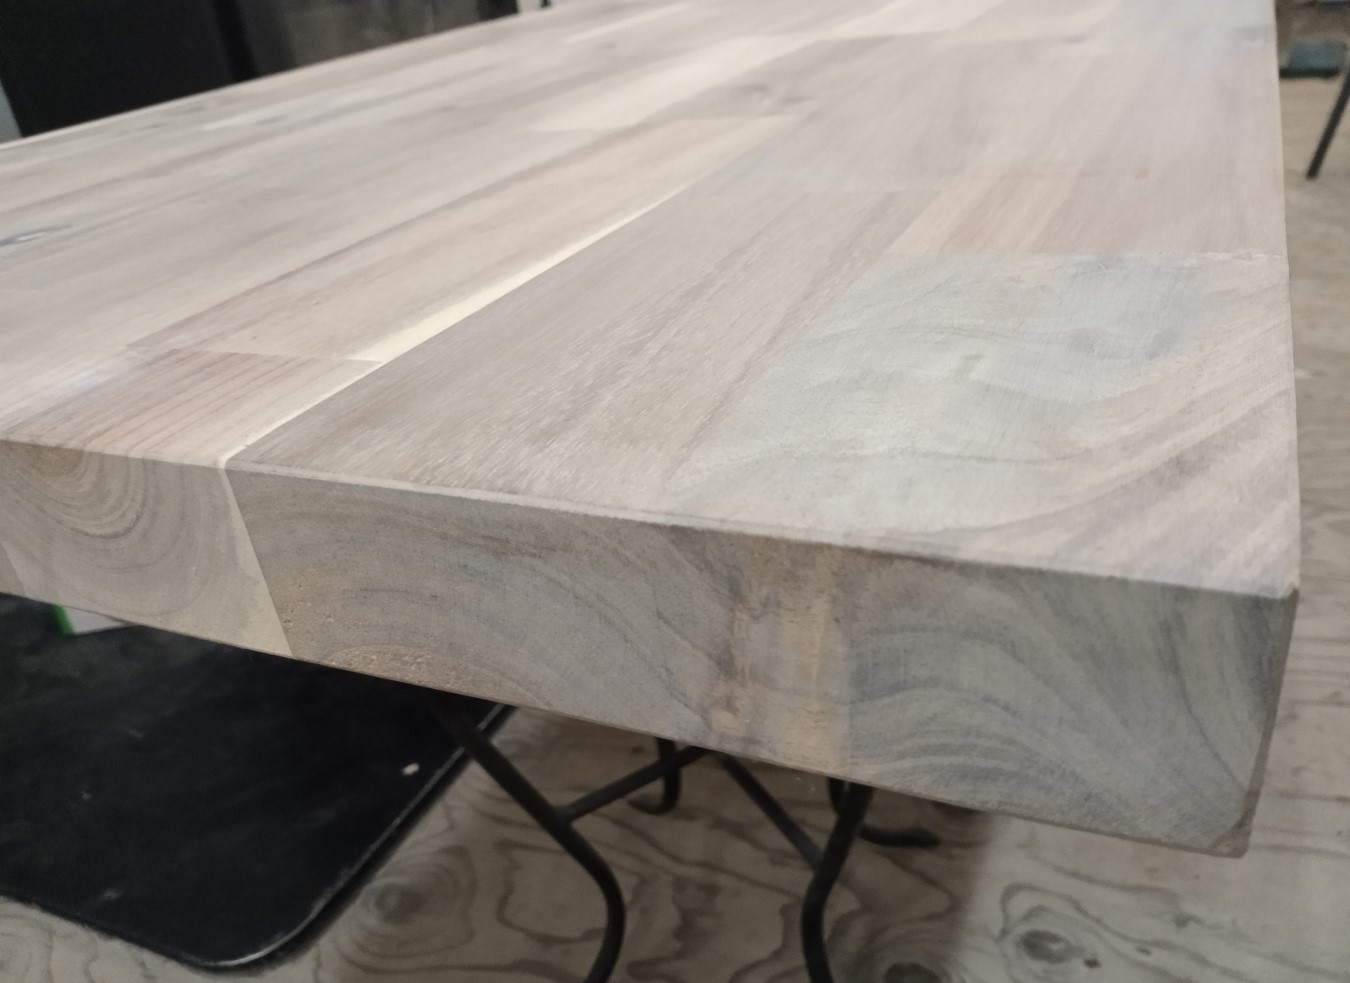
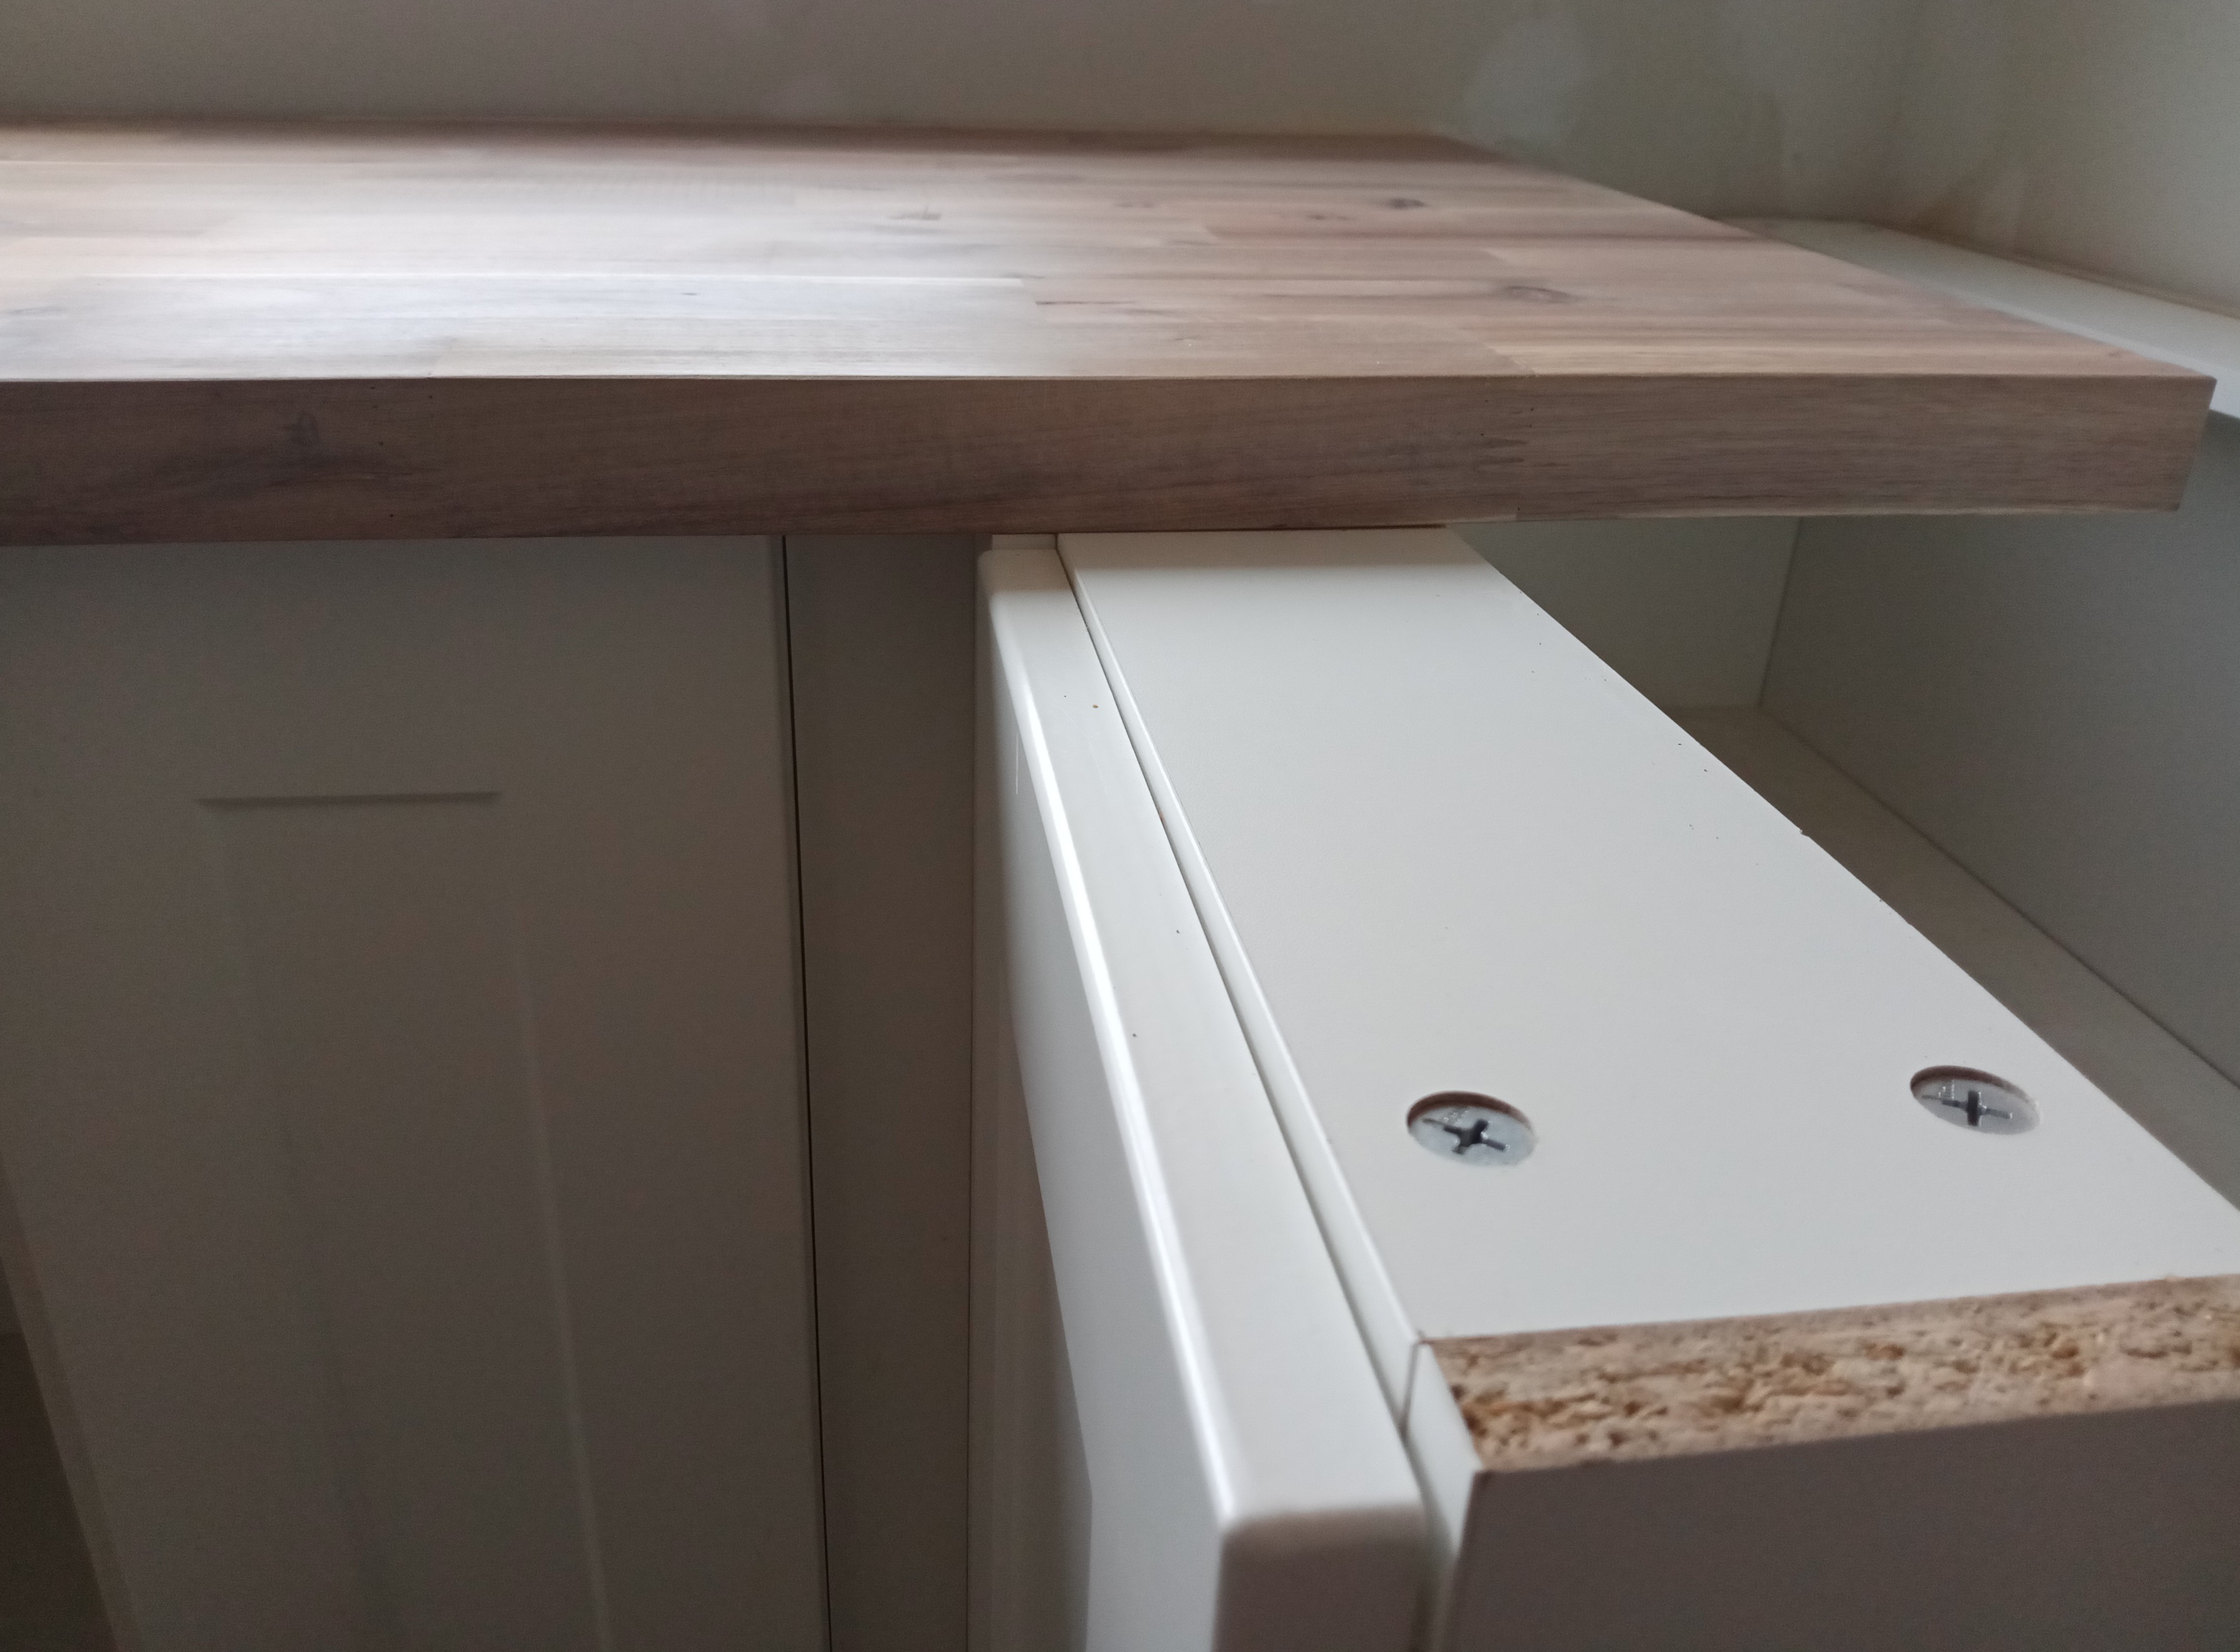
After the sealant had fully soaked in, and the counter top was dry to the touch, I set the it on top of the installed cabinets to see how it looked beauty. It's a little too long, I'll post the cut and installation soon.
 |  |
|---|