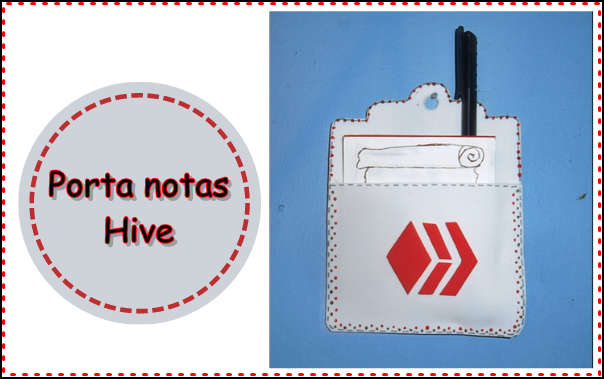
DIY: Cómo hacer un porta notas de Hive | DIY: How to make a Hive notepad

Español | English
Hello community♡ I hope you have an excellent weekend. Every day we usually make notes whether it is writing down the day's homework, some important date or any activity we want to remember. That is why today I bring you a very useful and simple manual on how to make a notepad, without further ado let's start with the step by step.
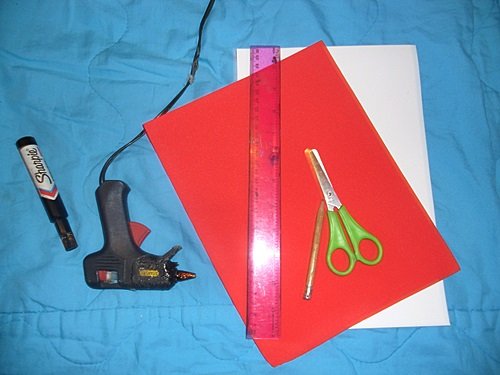
Materiales | Materials
| Foamy o goma eva | Foamy |
|---|---|
| Tijera | Scissors |
| Silicon caliente | Hot silicone |
| Regla | Rule |
| Lápiz | Pencil |
| Marcadores | Marketers |
Paso a paso | Step by step
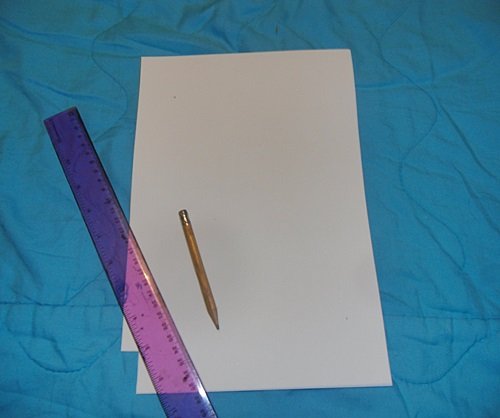
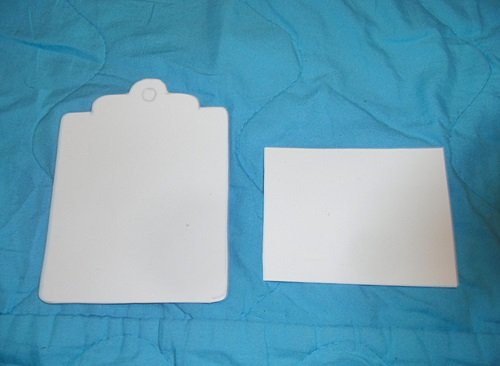
The first step is to make the base of the notepad. Using the ruler, draw a line 14 cm high by 12 cm wide. At the top I made some designs. Then you also draw a picture 10 cm high and 12 cm wide.
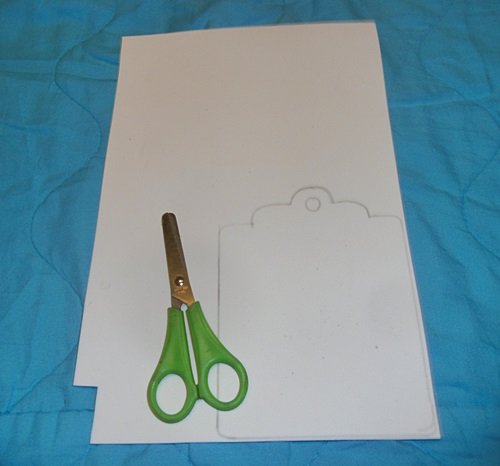
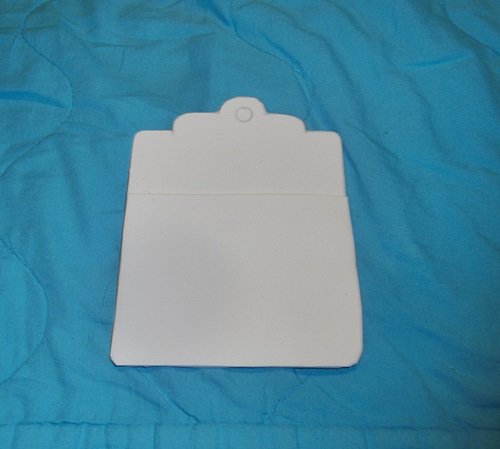
The next step is to cut out the pieces of the notepad, and glue them together to create a pocket or envelope.
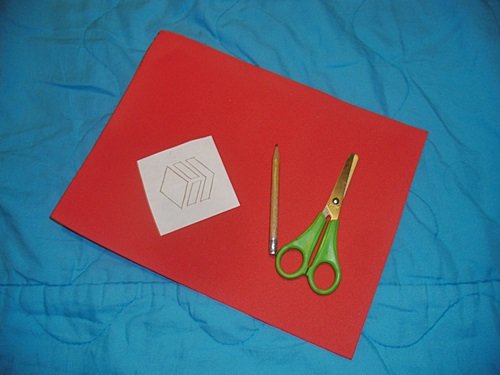
With the red foamy color the hive logo is made and then cut out.
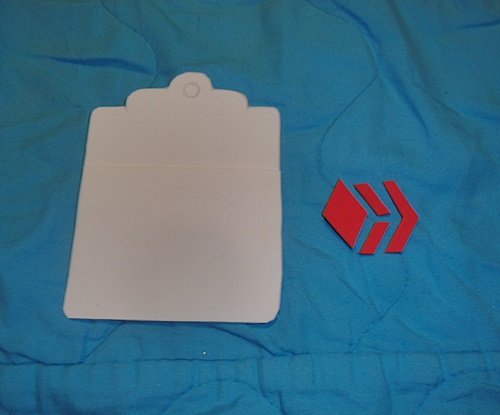
Then the hive logo is pasted in the center of the notepad and to give it more color it is decorated. In my case I added several dots around it.
Resultado | Result
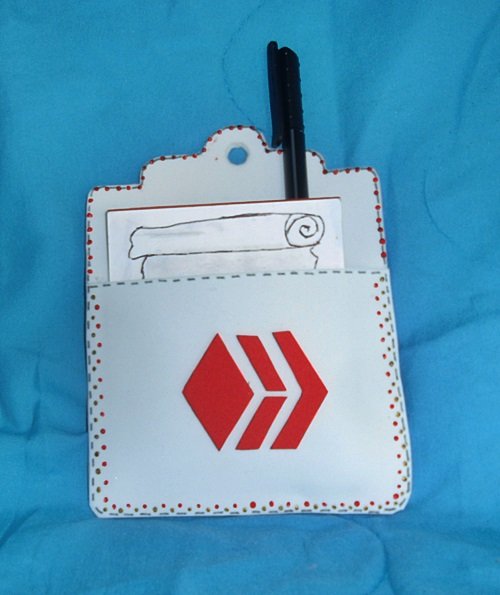
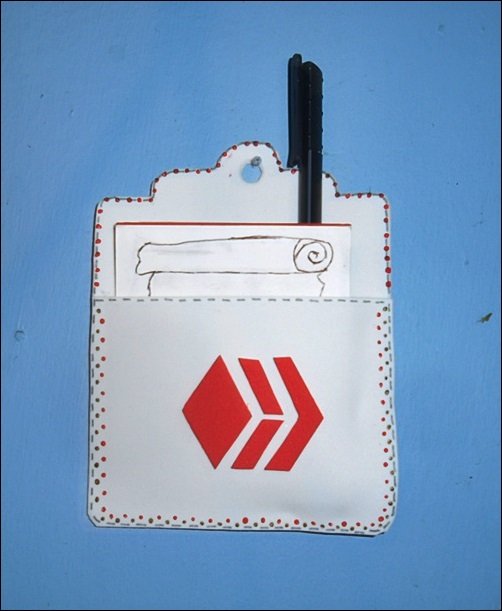
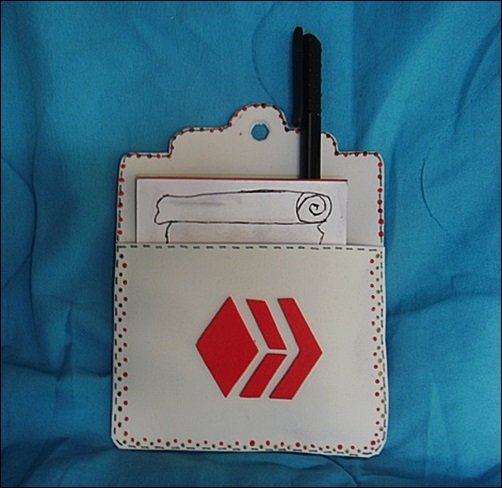
This note holder can be placed anywhere you want, fridge, office or in a room.
Hi @mavis16 ! Thank you for posting through our Hive Community Page This article will be passed to other curation projects for more votes support. Keep up the good works!
Thank you very much for your support. Greetings!
Very good job with this little diy project! I love it. I appreciate that you showed us how you did it step by step, that to me is a very important thing and I think our son will enjoy making one of these with me!
It's an easy craft to make so the kids in the house can have fun in the process. Thank you very much for your support. Greetings!
Congratulations @mavis16! You have completed the following achievement on the Hive blockchain and have been rewarded with new badge(s) :
You can view your badges on your board and compare yourself to others in the Ranking
If you no longer want to receive notifications, reply to this comment with the word
STOPDo not miss the last post from @hivebuzz: