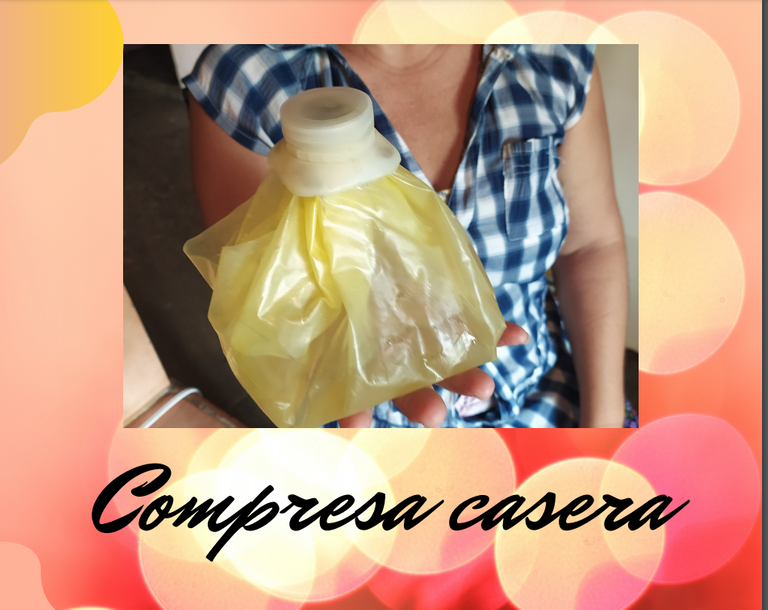
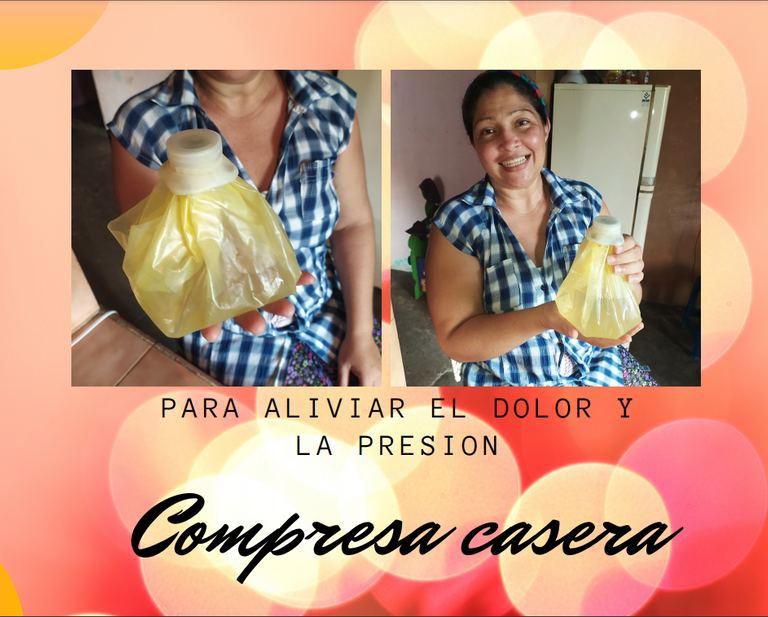
[ESP-ENG] Compresa casera |Homemade compress
Greetings my beautiful people. This time I want to share with you an idea that came up today due to the monthly visit of the friend of all women (the period). In my case it causes me a lot of pain in my belly and I didn't have a compress to put with warm water on my belly, so I decided to make it. Here is the step by step, let's do it !
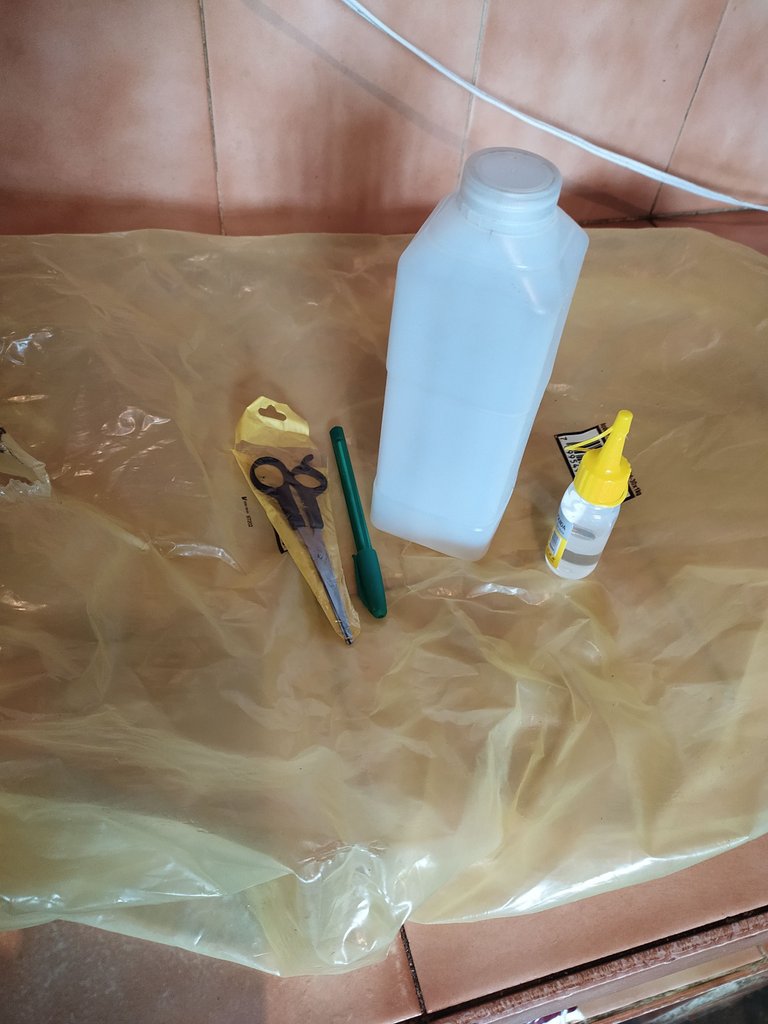
Materiales:
- Una bolsa de plástico resistente.
- Un envase plástico de boca ancha.
- Silicon preferiblemente en barra.
- Tijera.
Materials:
- Asturdy plastic bag.
- A wide-mouth plastic container.
- Silicone preferably in bar form.
- Scissors.
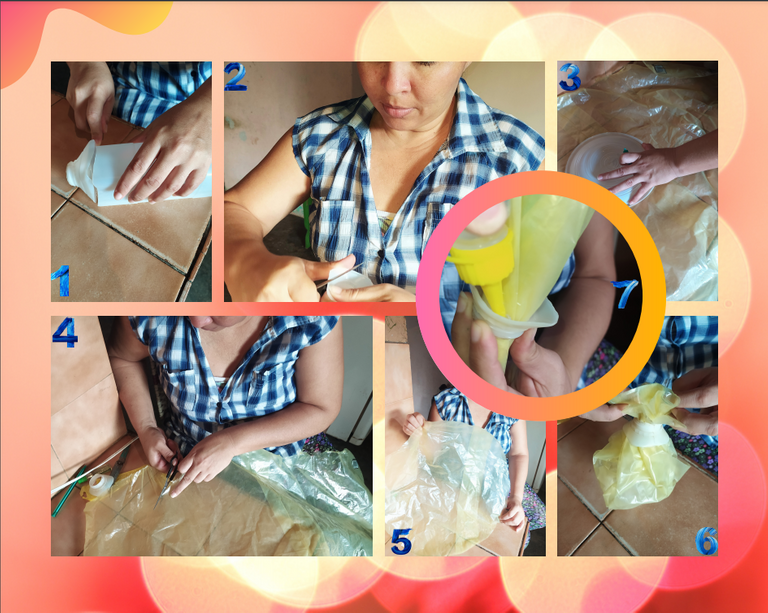
Paso a Paso
- Paso 1: Cortamos la boquilla del envase plástico a unos 5 cm hacia abajo.
- Paso 2: Raspamos el borde para retirar el filo.
- Paso3: Con la tijera abrimos la bolsa por un costado.
- Paso 4: Sobre la bolsa colocamos la medida del tamaño que deseamos la compresa y marcamos.
- Paso 5: Procedemos a cortar la bolsa a la medida deseada.
- Paso 6: Introducimos las orillas del circulo cortado por la boquilla del envase y cortamos el excedente de bolsa.
- Paso 7: Aplicamos silicon por la parte de abajo entre la bolsa y la boquilla, dejamos secar.
Step by Step
- Step 1: Cut the nozzle of the plastic container about 5 cm downwards.
- Step 2: We scrape the edge to remove the edge.
- Step 3: With the scissors we open the bag on one side.
- Step 4:On the bag we place the measure of the size we want the compress and mark it.
- Step 5: We proceed to cut the bag to the desired size.
- Step 6 : Insert the edges of the cut circle through the nozzle of the container and cut off the excess bag.
- Step 7: Apply silicone on the bottom between the bag and the nozzle, let it dry.

0
0
0.000
0 comments