Cómo hacer un rastreador de KI (DBZ). || How to make a KI tracker (DBZ).

avatar

Hola amantes de las manualidades. || Hello crafts lovers.

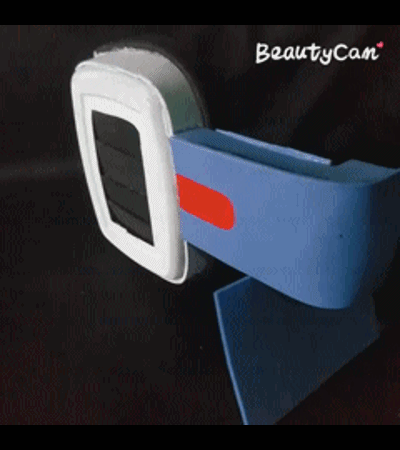
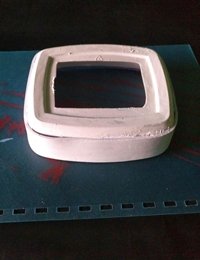
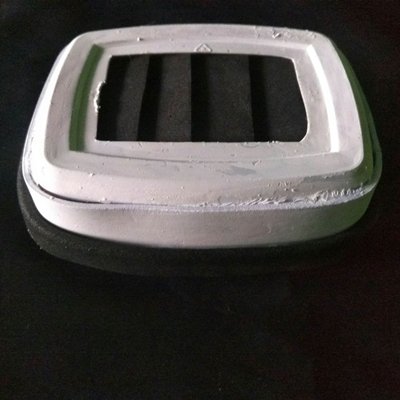
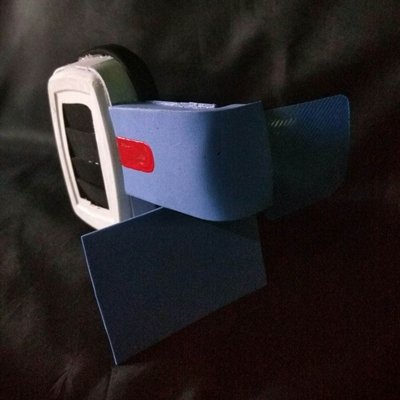
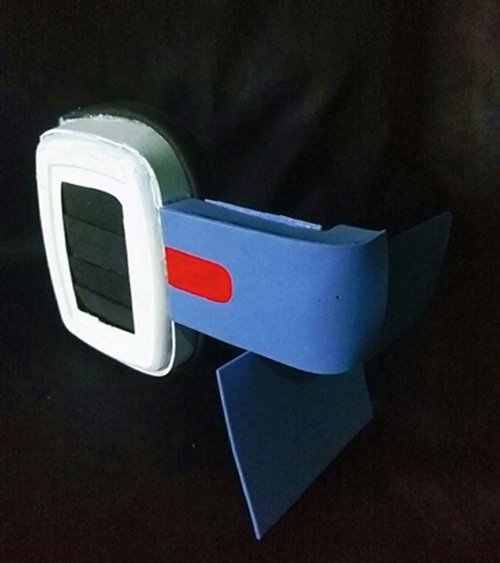
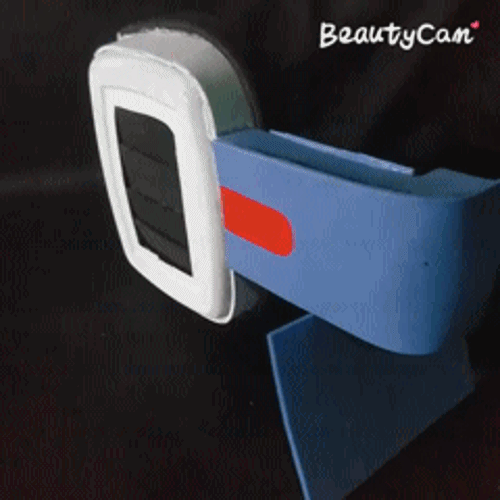
He traído una manualidad con toda la onda anime, hoy les enseñaré como hacer su propio rastreador de Ki de Dragon Ball Z, he creado esta artesanía para complementar una caracterización que realicé de uno de los personajes de la serie, pronto verán ese tutorial en mi blog.

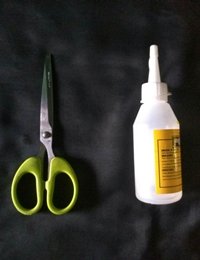
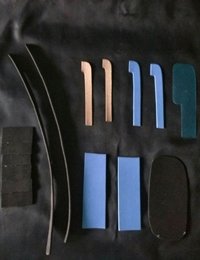
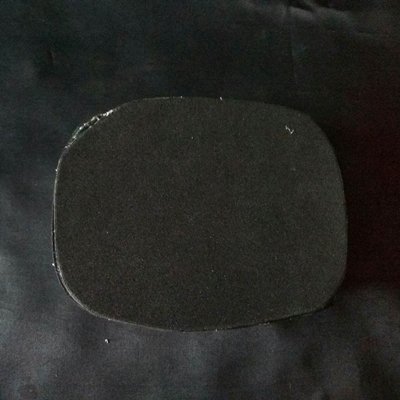
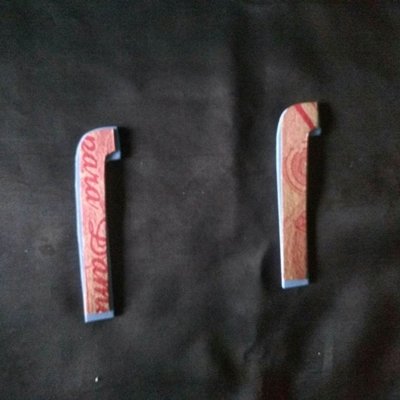
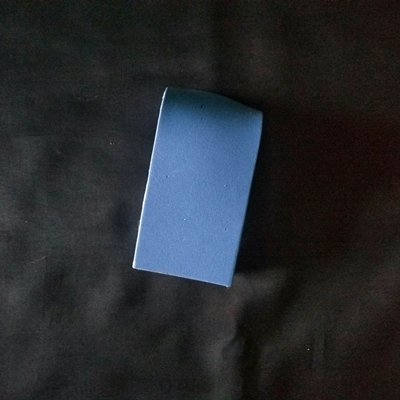
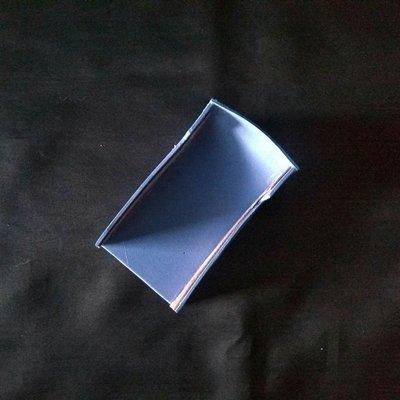
Sin embargo, si son amantes de la serie este es un articulo de colección perfecto, otro punto a su favor es que esta hecho con materiales reciclados, sin más que agregar iniciemos...

I have brought a craft with all the anime vibe, today I will show you how to make your own Dragon Ball Z Ki tracker, I have created this craft to complement a characterization that I made of one of the characters of the series, soon you will see that tutorial on my blog.

However, if you are lovers of the series this is a perfect collector's item, another point in its favor is that it is made with recycled materials, without further ado, let's start...

j.png
05.png

Materiales: || Materials:

05.png
j.png

1 envase de plástico (envase de mantequilla), goma eva blanca y negra, pinturas blanca y roja, pedazo de cartón, carpeta de plástico, tijeras y pegamento.
1 plastic container (butter container), black and white eva glue, white and red paints, piece of cardboard, plastic folder, scissors and glue.

152466934_2992254577689614_3793085176128902038_n.jpg

j.png
05.png

Paso a paso: || Step by step:

05.png
j.png


▪️ Primero deben recortar el envase de mantequilla unos 2 cm, luego recortar un rectángulo en el centro de 4 cm x 7 cm, es necesario pintar en color blanco el envase. Recorté 5 rectángulo de 2 cm x 3 cm y los pegué uno sobre otro, luego esa pieza la pegué en el lado de adentro del envase.
▪️ First cut out the butter container about 2 cm, then cut out a rectangle in the center of 4 cm x 7 cm, it is necessary to paint the container in white color. I cut 5 rectangles of 2 cm x 3 cm and glued them one on top of the other, then I glued that piece on the inside of the container.


07.png


▪️ Recorté 2 tiras de goma eva negra las pegué doblando a la mitad, esa tira gruesa que se creó la pegué en el contorno del envase, a continuación recorté las figuras que ven en la segunda imagen de la pieza de cartón, para ello tomé como referencia las medidas de mi oreja derecha al ojo, recorté las mismas piezas en la goma eva y pegué una sobre otra.
▪️ I cut 2 strips of black eva rubber and glued them folding them in half, that thick strip that was created I glued it on the contour of the container, then I cut the figures that you see in the second image of the cardboard piece, for this I took as reference the measures of my right ear to the eye, I cut the same pieces in the eva rubber and glued one on top of the other.

(

07.png


▪️ Recubrí ambas piezas en goma eva, pueden usar goma eva blanca, yo usé azul porqué era la que tenía disponibe.
▪️ I covered both pieces in eva rubber, you can use white eva rubber, I used blue because it was the one I had available.

)

07.png


▪️ Pegué la pieza a un extremo del envase, y luego recorté de la carpeta de plástico un lente el cual pegué a la estructura, finalmente pinté un botón rojo a un costado del rastreador. Tienen tres opciones para usar el rastreador, primero pegarlo a una diadema, segundo pegarle broches para luego sujetarlo a su cabello, o en mi caso hice una abertura en la goma eva que pegué de base y por allí me lo coloco en la oreja.
▪️ I glued the piece to one end of the container, and then I cut out a lens from the plastic folder which I glued to the structure, finally I painted a red button on the side of the tracker. You have three options to use the tracker, first glue it to a headband, second glue clips to attach it to your hair, or in my case I made an opening in the eva rubber that I glued as a base and through there I put it in my ear.


07.png

j.png
05.png

Rastreador de KI (DBZ). || KI tracker (DBZ).

05.png
j.png

152327487_3525977104179970_2811590047902666986_n.jpg


152018684_1992551634219696_2841870099703217434_n.jpg


anigifffff.gif

j.png
05.png

Thank you for reading this publication!

05.png
j.png


Imágenes tomadas desde mi Alcatel One Touch Idol 4. || Images taken from my Alcatel One Touch Idol 4.
Separadores hechos en PhotoScape. || Dividers made in PhotoScape.
Ediciones hechas en Photoscape. || Editions made in Photoscape.
Translator Deepl.

Imagen incrustada. || Embedded image. 1


0
0
0.000
6 comments
avatar

Hola @jennyzer
Excelente manualidad y muy sencilla de elaborar, gracias por compartir.
Saludos.

0
0
0.000
avatar

Es un articulo de colección muy genial, aquellos fanáticos de la serie apreciarán este post, gracias por comentar.

0
0
0.000
avatar

Muy buena idea y fácil de hacer. Saludos.

0
0
0.000
avatar

Super fácil de hacer y lo mejor es que es reciclada, gracias por comentar.

0
0
0.000