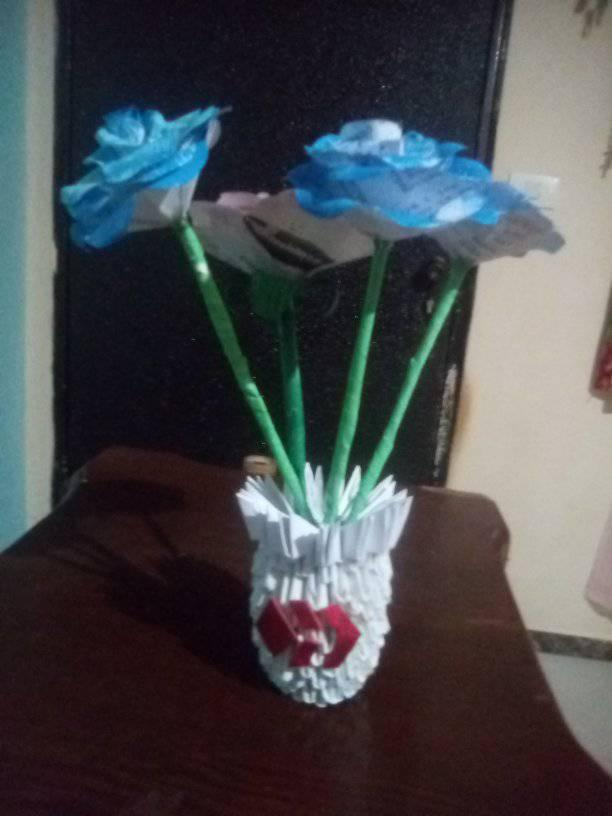
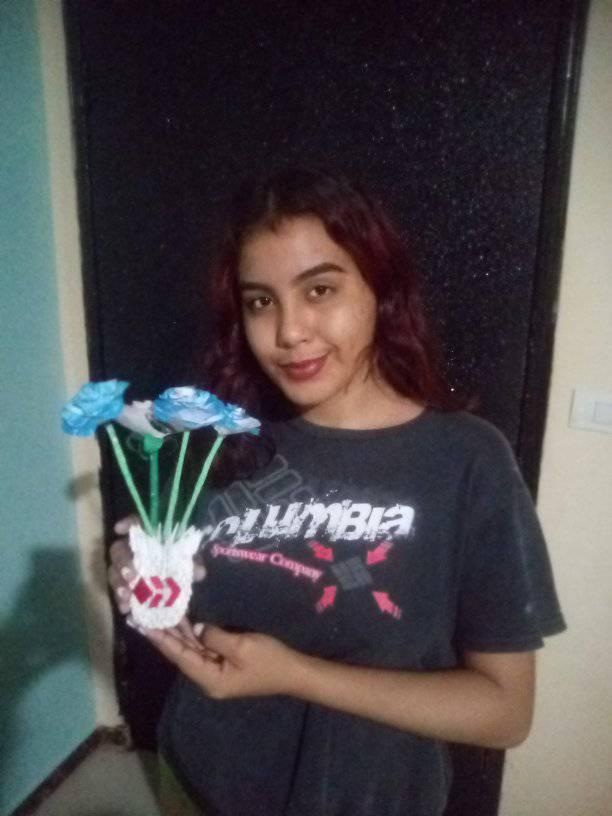
[ESP-ENG] Mi porron de origami hive con flores de papel. -My origami hive with paper flowers.
Greetings my beautiful people of Hive, today I bring you a nice origami porron with flowers made of paper, I hope you like it! .
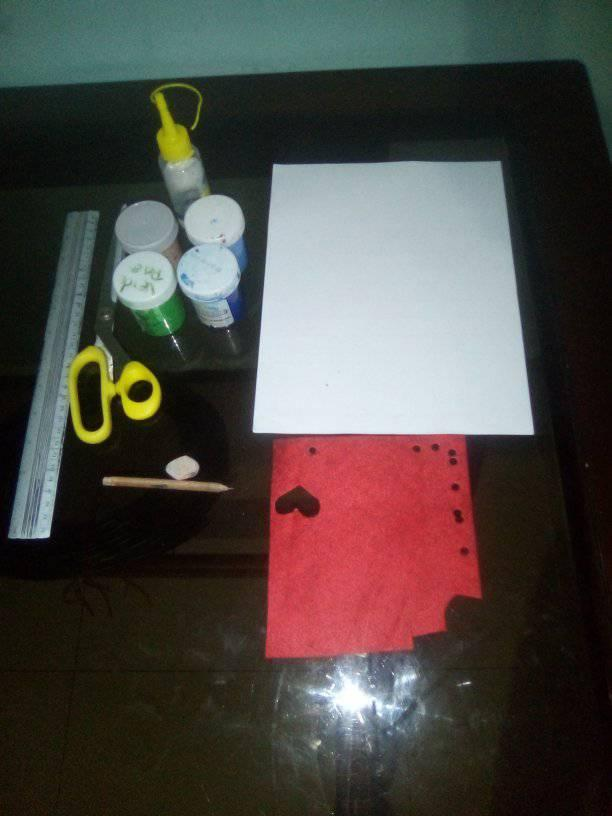
- Silicon liquido y en barra.
- Liquid and stick silicon.
- Tijera.
- Scissors.
- Regla.
- Rule.
- Pinturas al frío.
- Cold paints.
- Foami.
- Foami.
- Lapiz.
- Pencil.
- Hojas de maquina.
- Machine blades.
- Molde redondo.
- Round mold.
- Palito de altura.
- High stick.
Steps to elaborate our origami Hive porron:
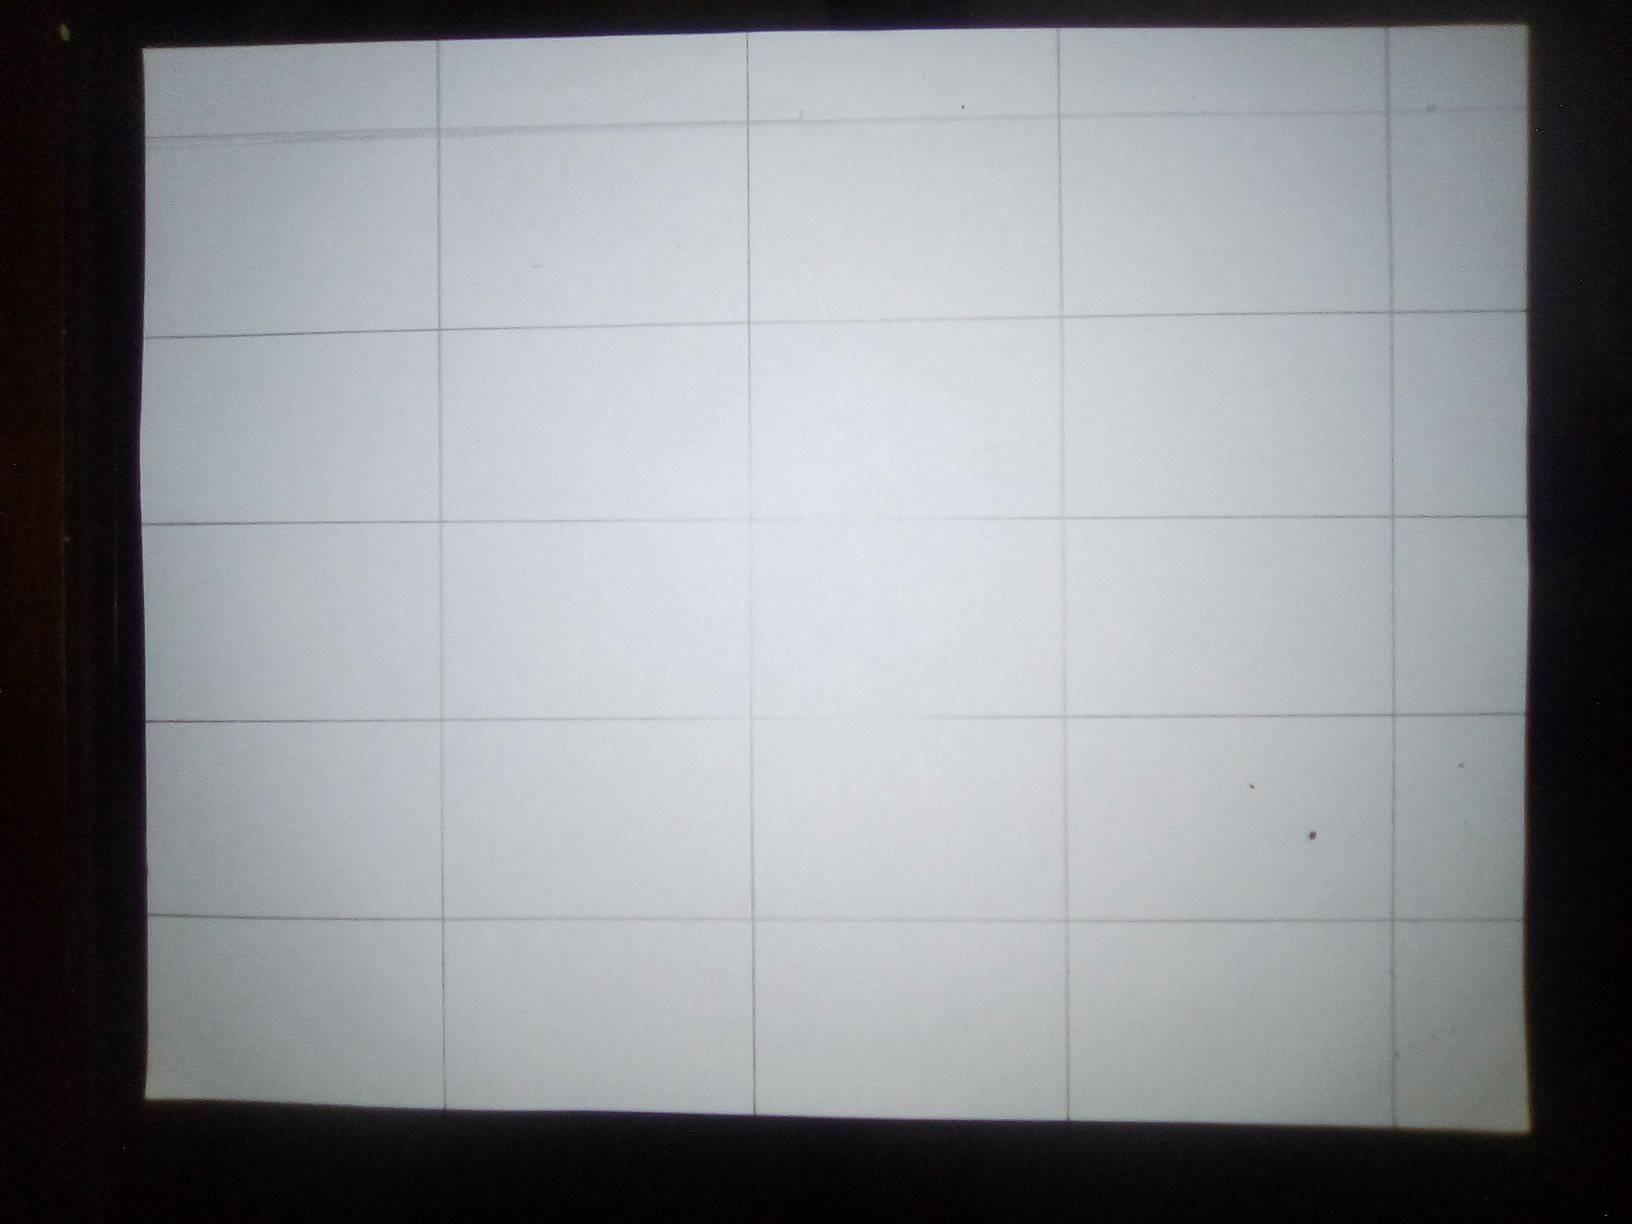
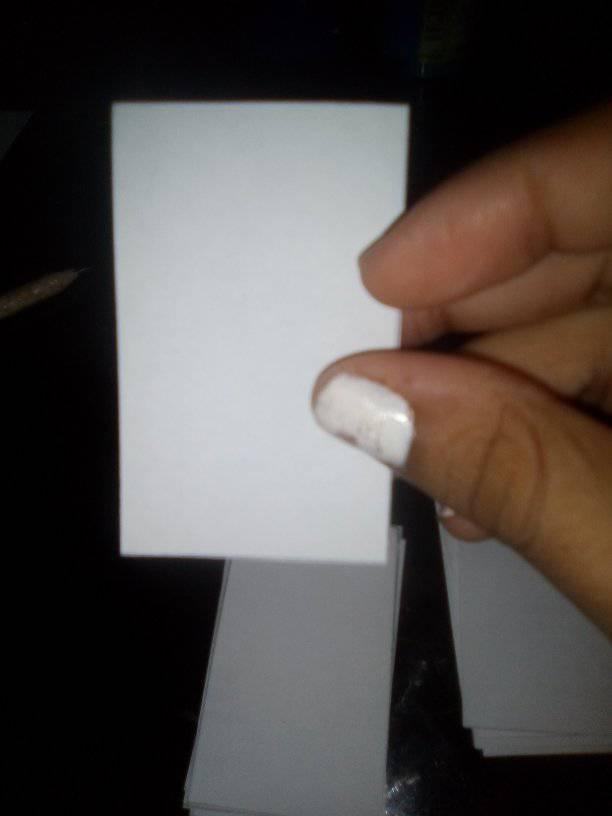
1- Agarramos una hoja de maquina y con la ayuda de la regla vamos a realizar cuadros de 4cm de ancho por 6,5 de largo.
1- We take a machine sheet and with the help of the ruler we will make squares of 4cm wide and 6.5cm long.
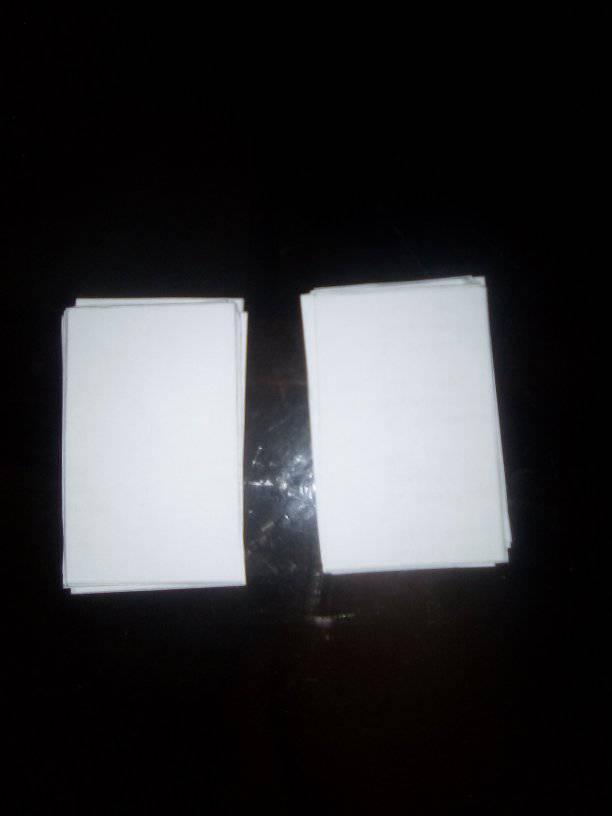
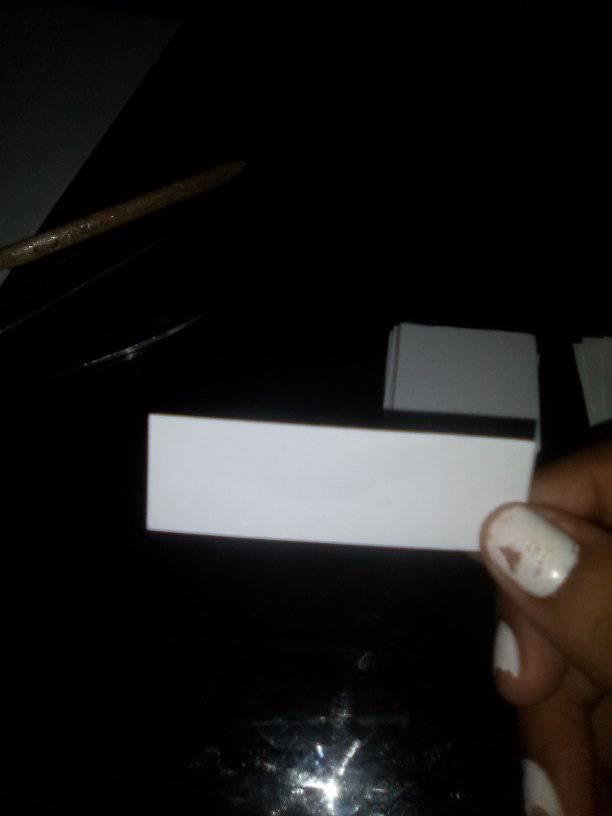
2- Luego con la tijera vamos a recortar los cuadros ya realizados.
2- Then with the scissors we are going to cut out the already made squares.
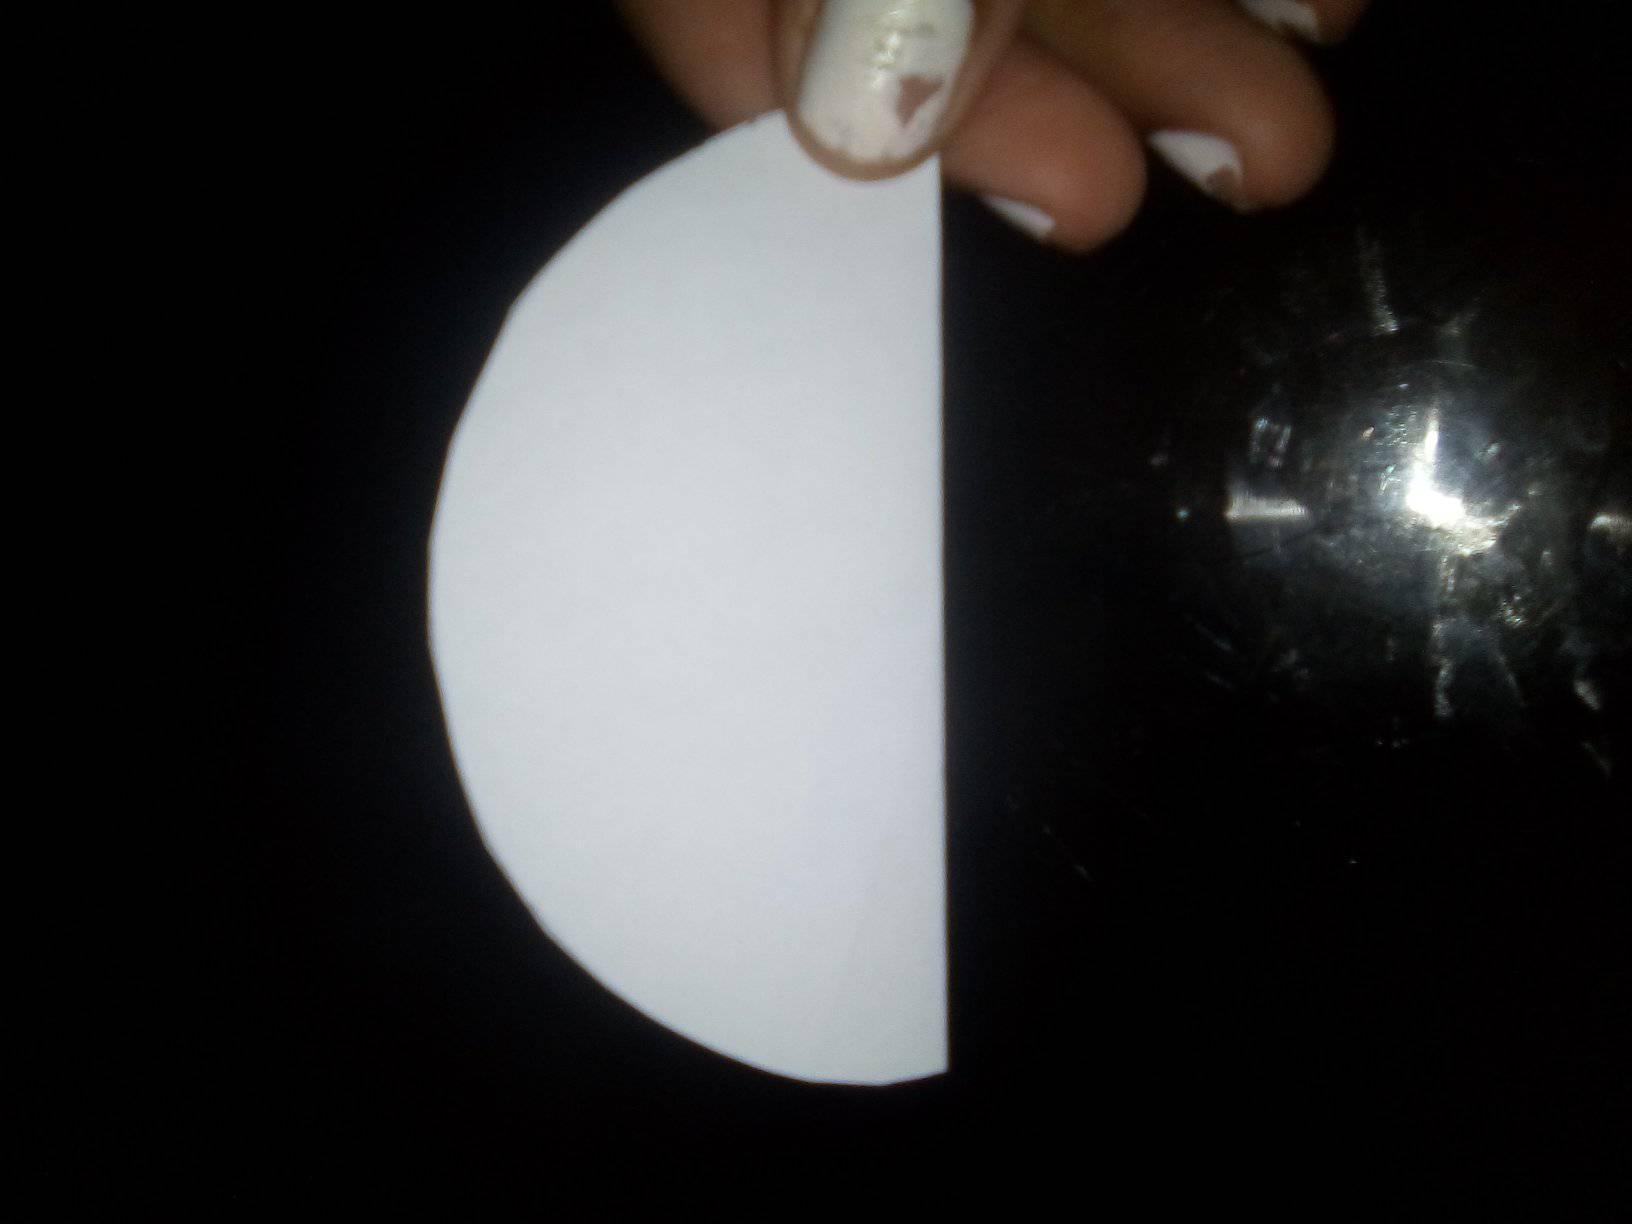
3- Vamos a agarrar cuadro por cuadro y los vamos a comenzar a doblar, primero lo doblaremos a la mitad.
3- We are going to take each square and start folding them, first folding them in half.
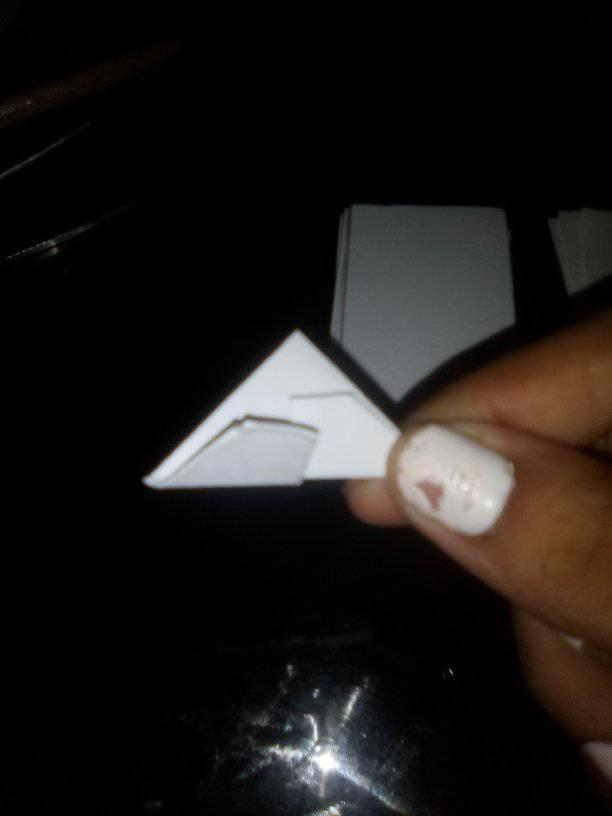
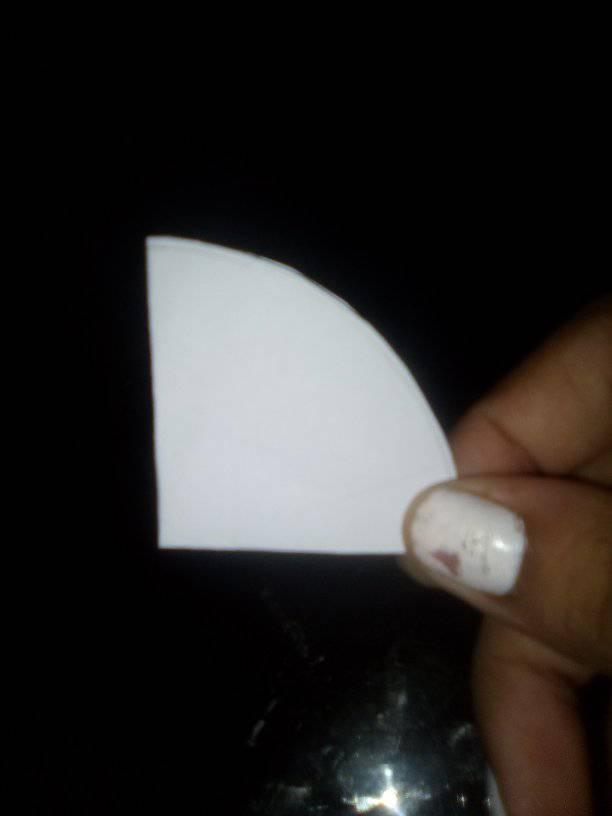
4- Luego lo doblaremos de manera que nos quede un triangulo, el sobrante lo doblaremos en la punta.
4- Then we will fold it in such a way that we have a triangle, the excess will be folded at the tip.
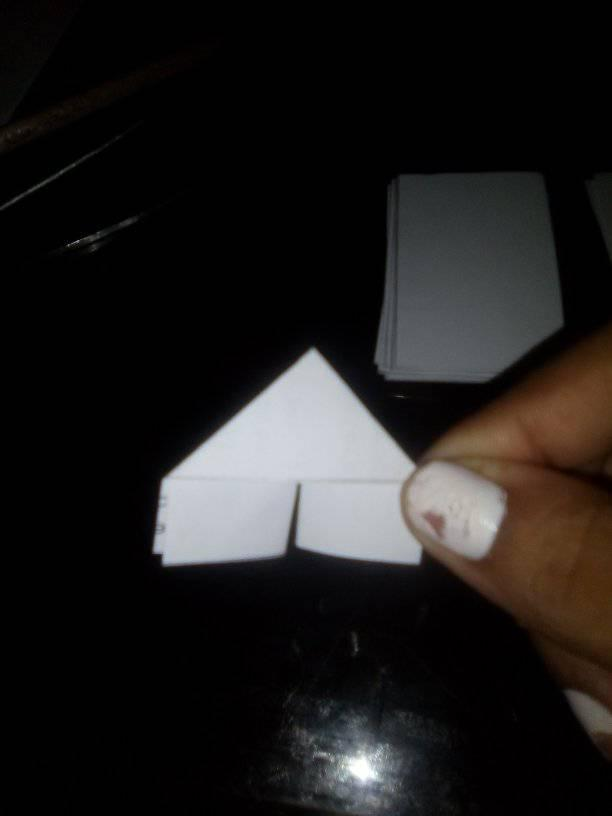
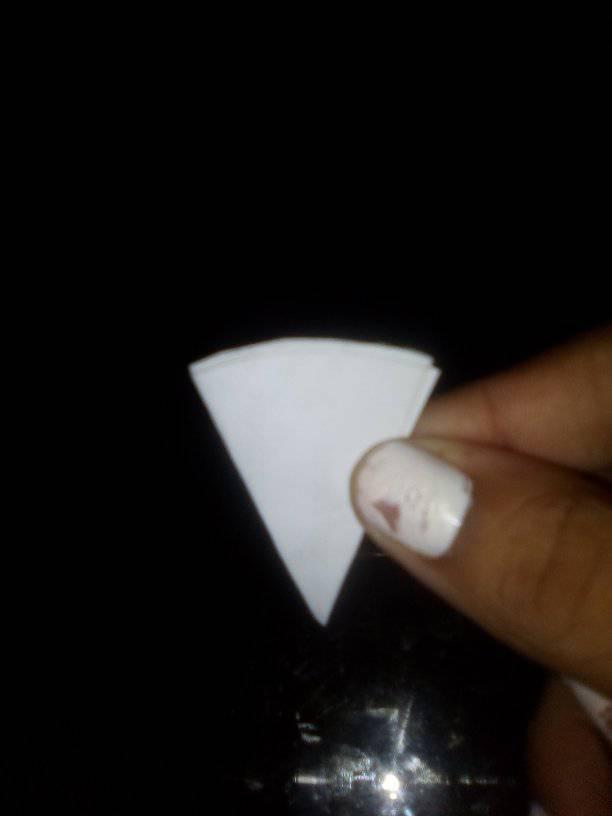
5- Seguido doblaremos el excedente para que así nos quede un triangulo, ya nuestro triangulo lo do doblamos a la mitad y nos quedará así.
5- Next we will fold the excess so that we have a triangle, and our triangle we fold it in half and it will look like this.
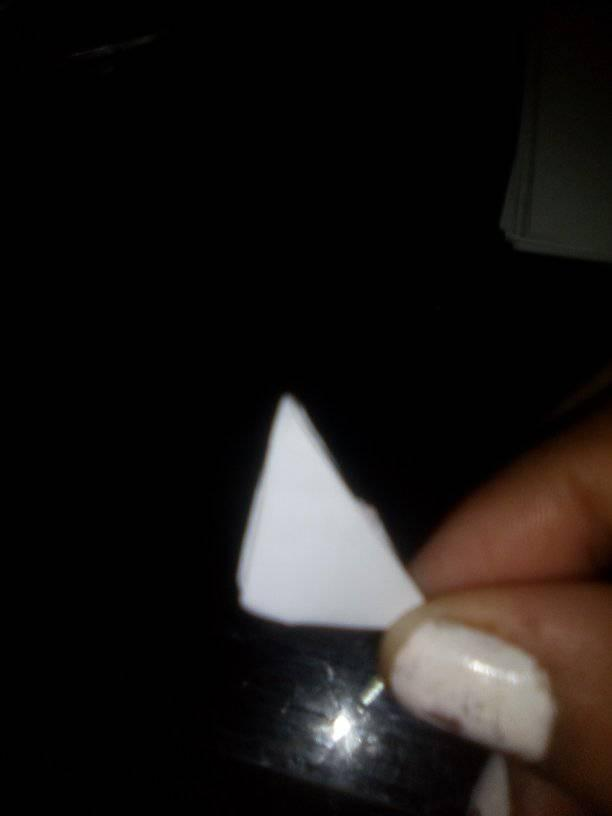
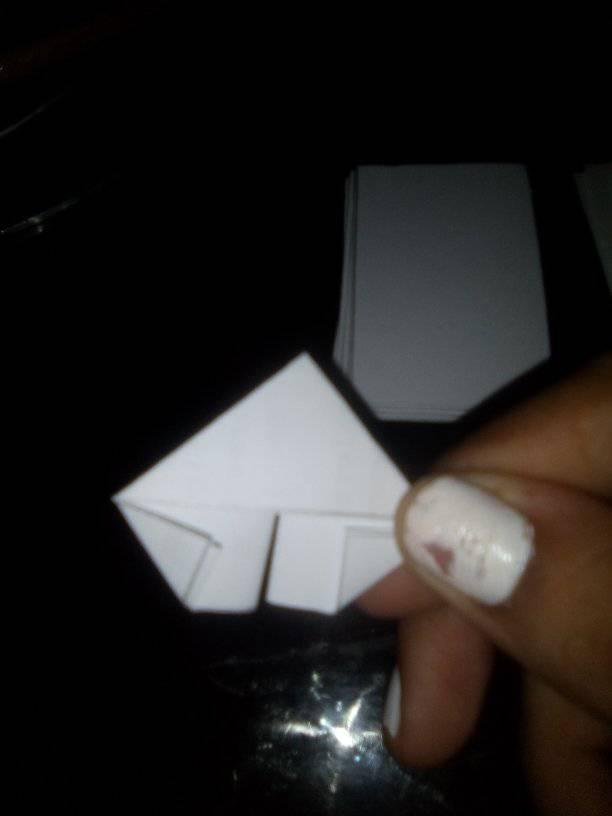
6- Ya listas nuestras piezas comenzaremos a armar nuestro porron de manera que nos quede así (El tamaño es opcional).
6- Once our pieces are ready we will start to assemble our porron so that it looks like this (The size is optional).

Steps to make our paper flowers:
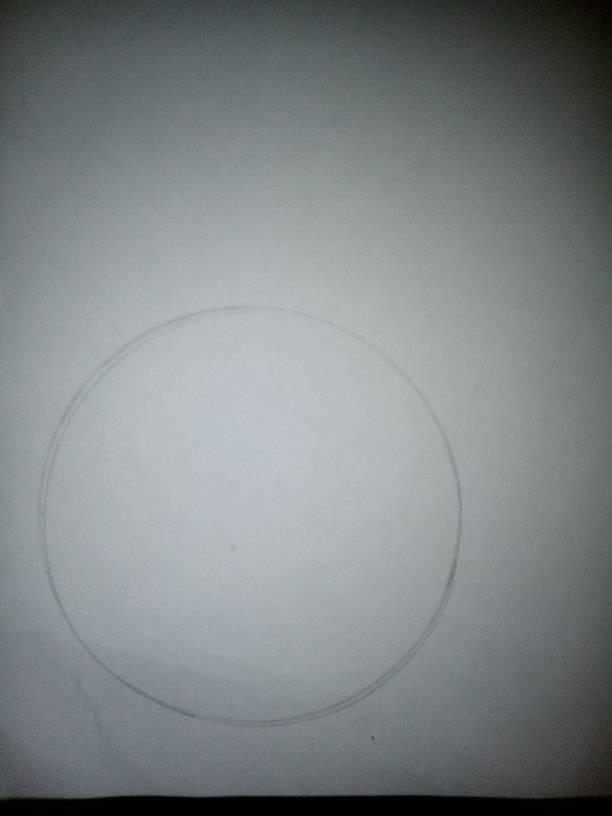
1- En una hoja de maquina vamos a elaborar un circulo.
1- We are going to draw a circle on a piece of paper.
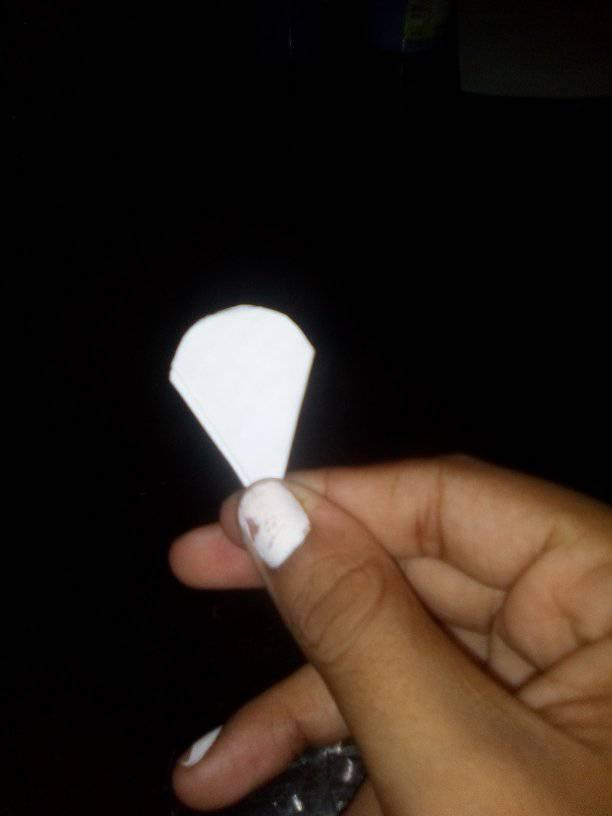
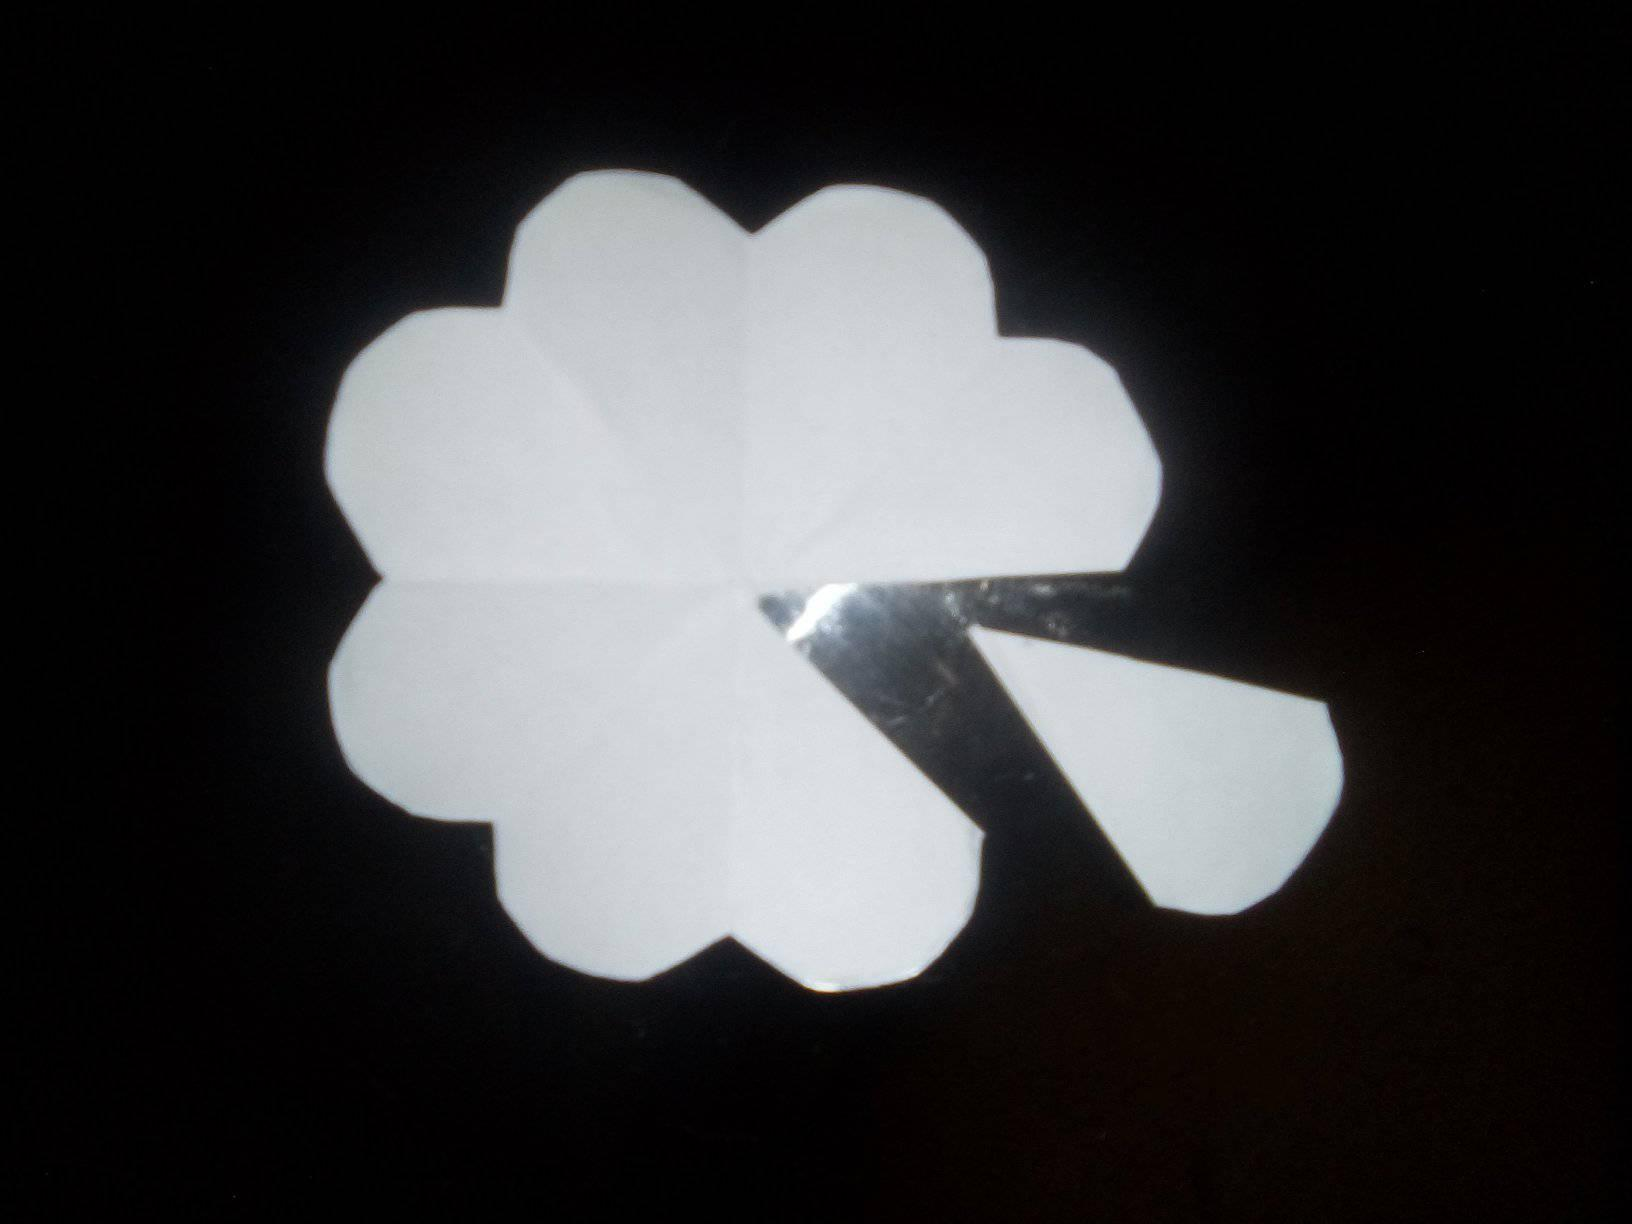
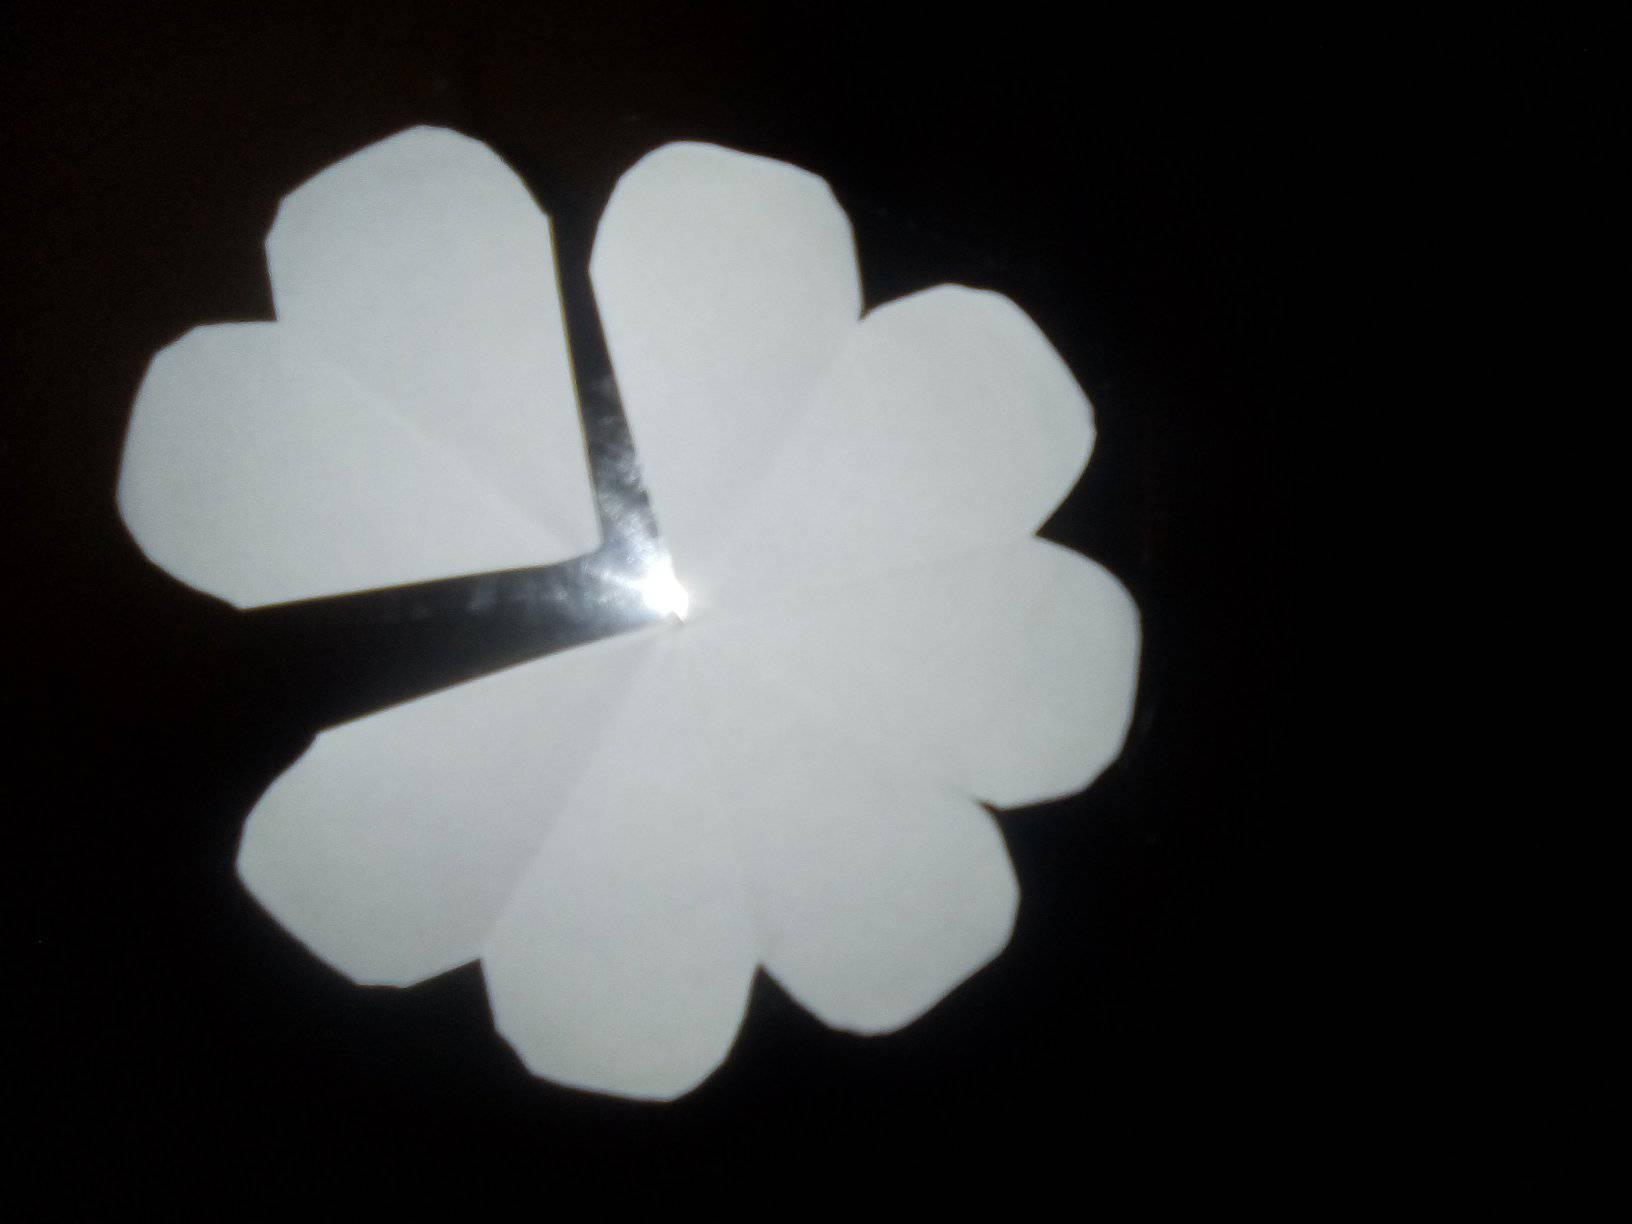
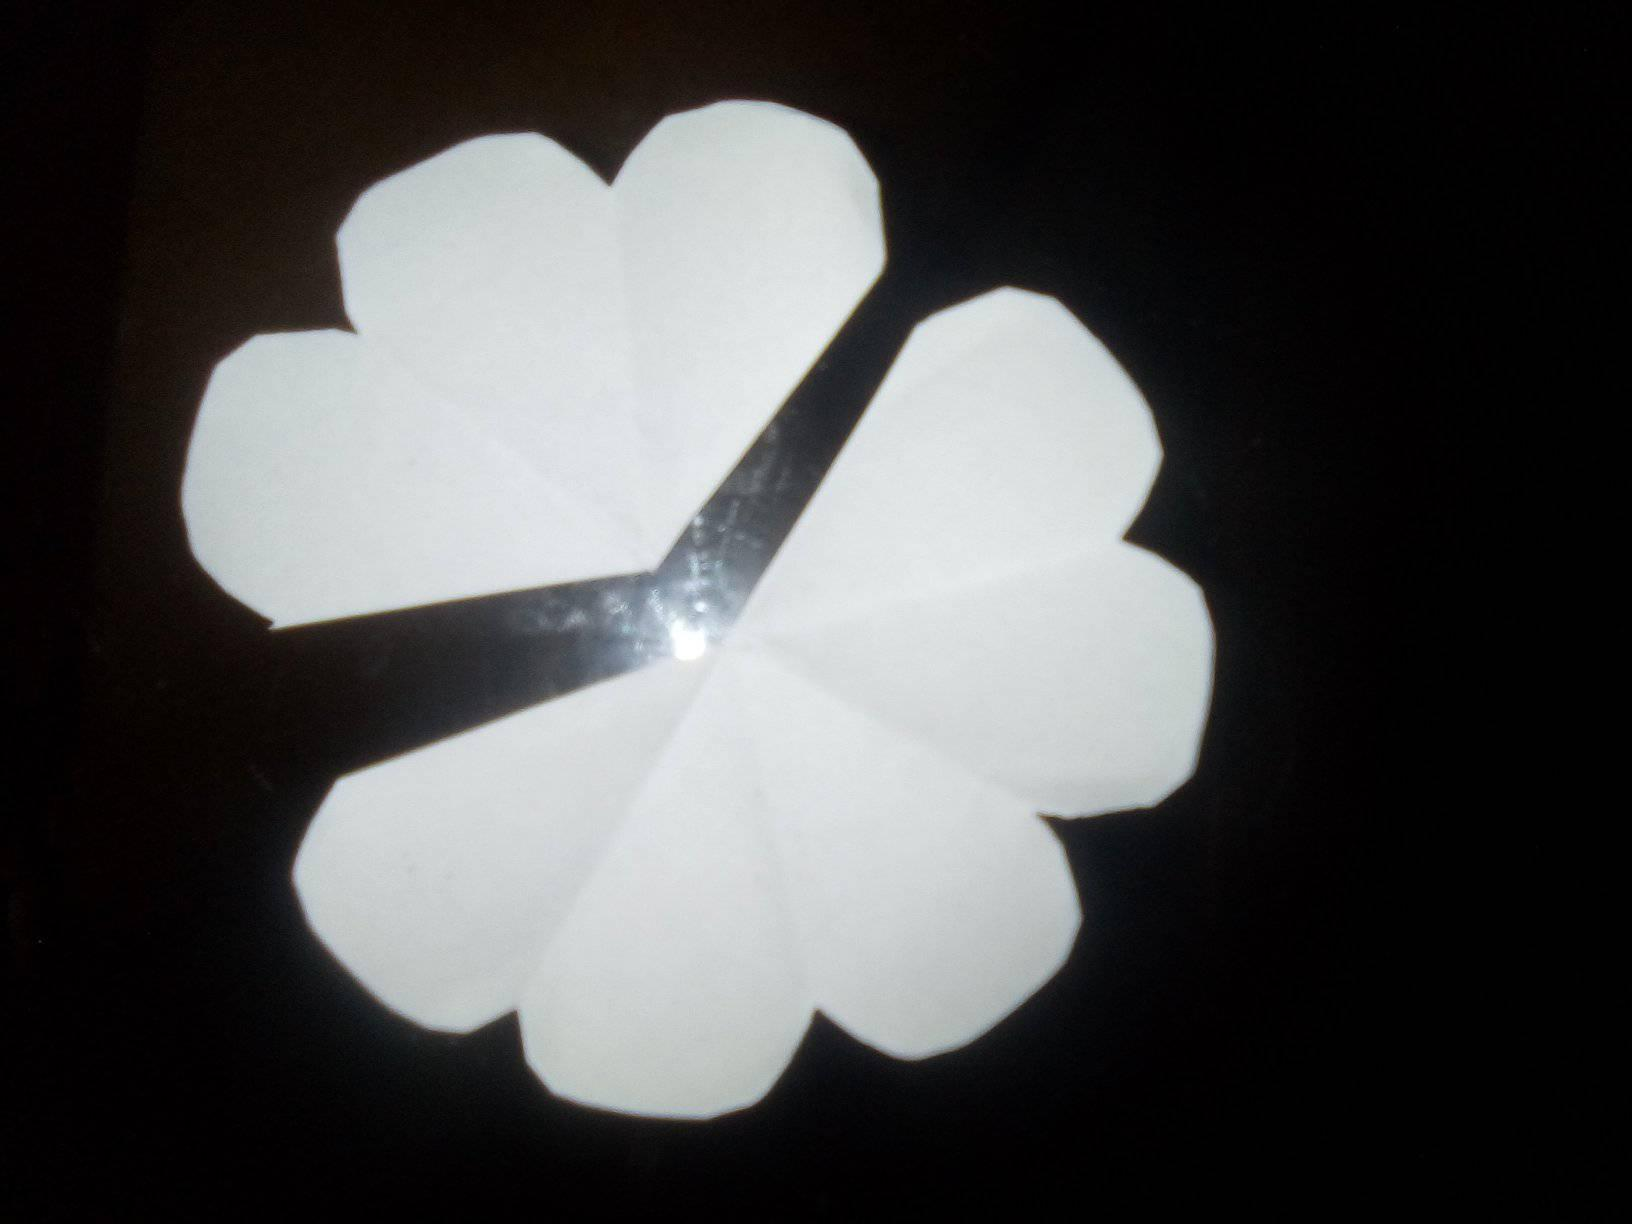
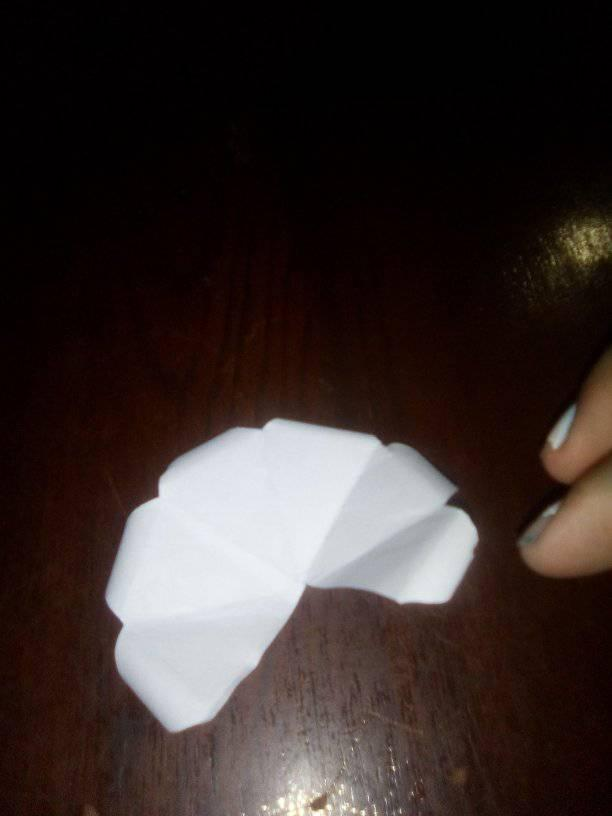
2- Con ayuda de una tijera vamos a cortar el circulo y lo vamos a doblar a la mitad 3 veces y cortaremos hasta tener la forma de un pétalo.
2- With the help of a scissors we will cut the circle and fold it in half 3 times and cut until we have the shape of a petal.
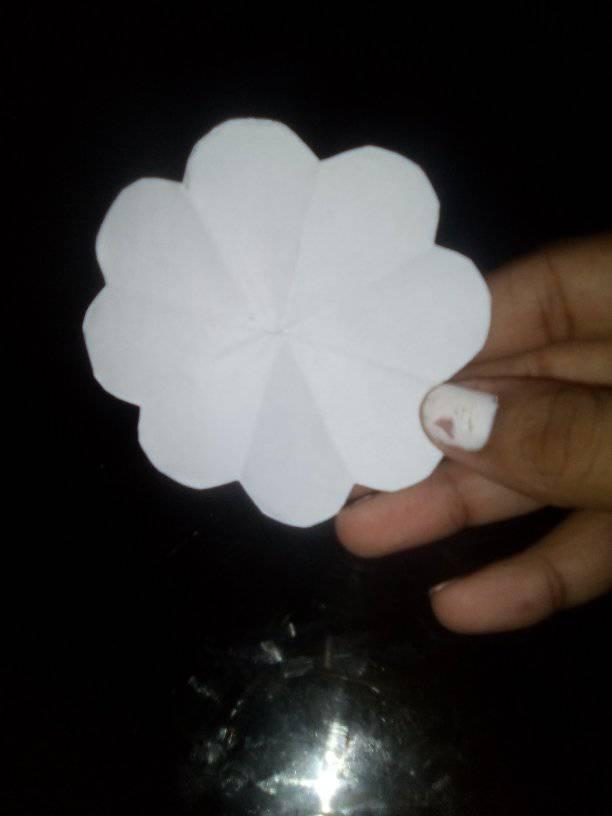
3- Luego vamos a cortar una rueda, cortaremos un pétalo, con la siguente cortaremos dos y con la última 3.
3- Then we are going to cut a wheel, we will cut one petal, with the next one we will cut two and with the last one we will cut 3.
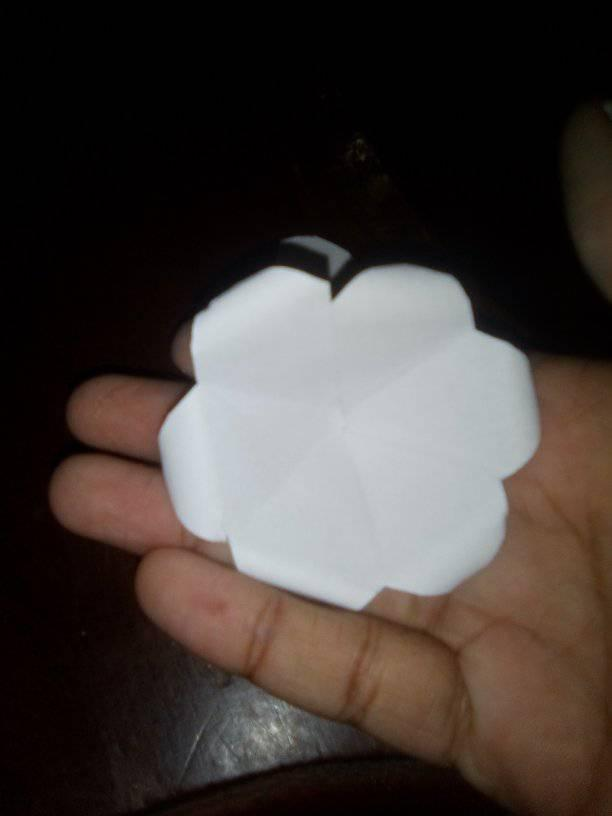
4- Luego con ayuda de la tijera vamos a rizar las puntas y con la pintura al frío las pintamos, cuando ya estén secas las pegamos con el silicon.
4- Then with the help of the scissors we are going to curl the tips and with the cold paint we paint them, when they are dry we glue them with the silicon.
5- Comenzamos a armar nuestra flor , antes de pegar le cortamos un poquito la punta y con ayuda de un palito de altura vamos a comenzar de pegar de mayor a menor.
5- We begin to assemble our flower, before gluing we cut a little bit the tip and with the help of a height stick we are going to start gluing from bigger to smaller.
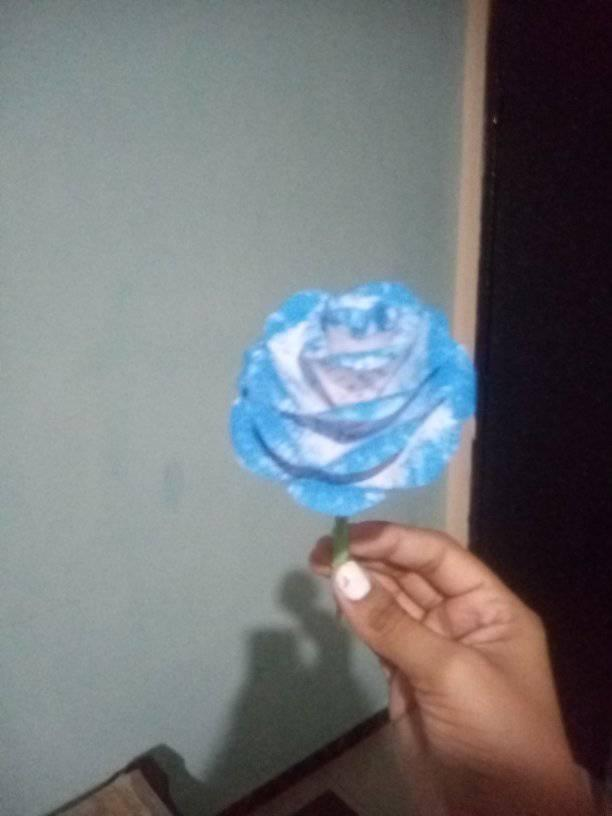
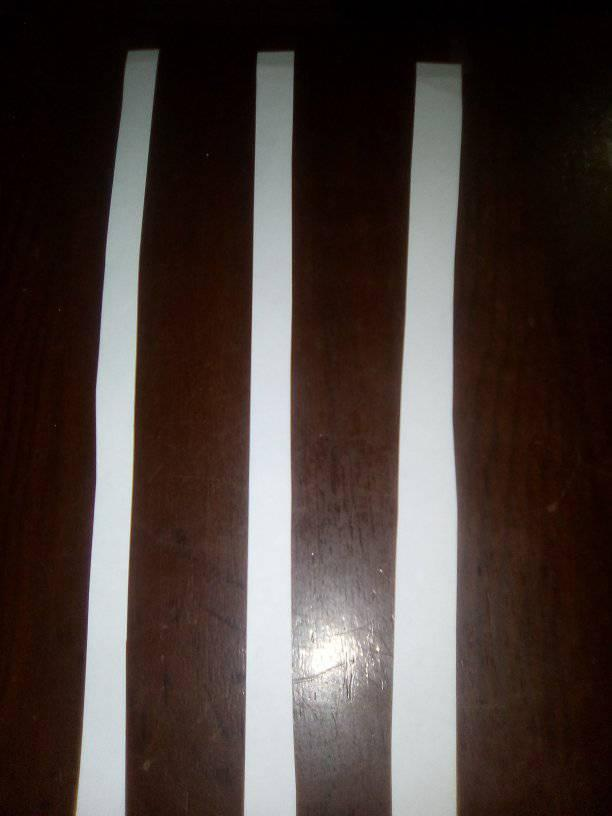
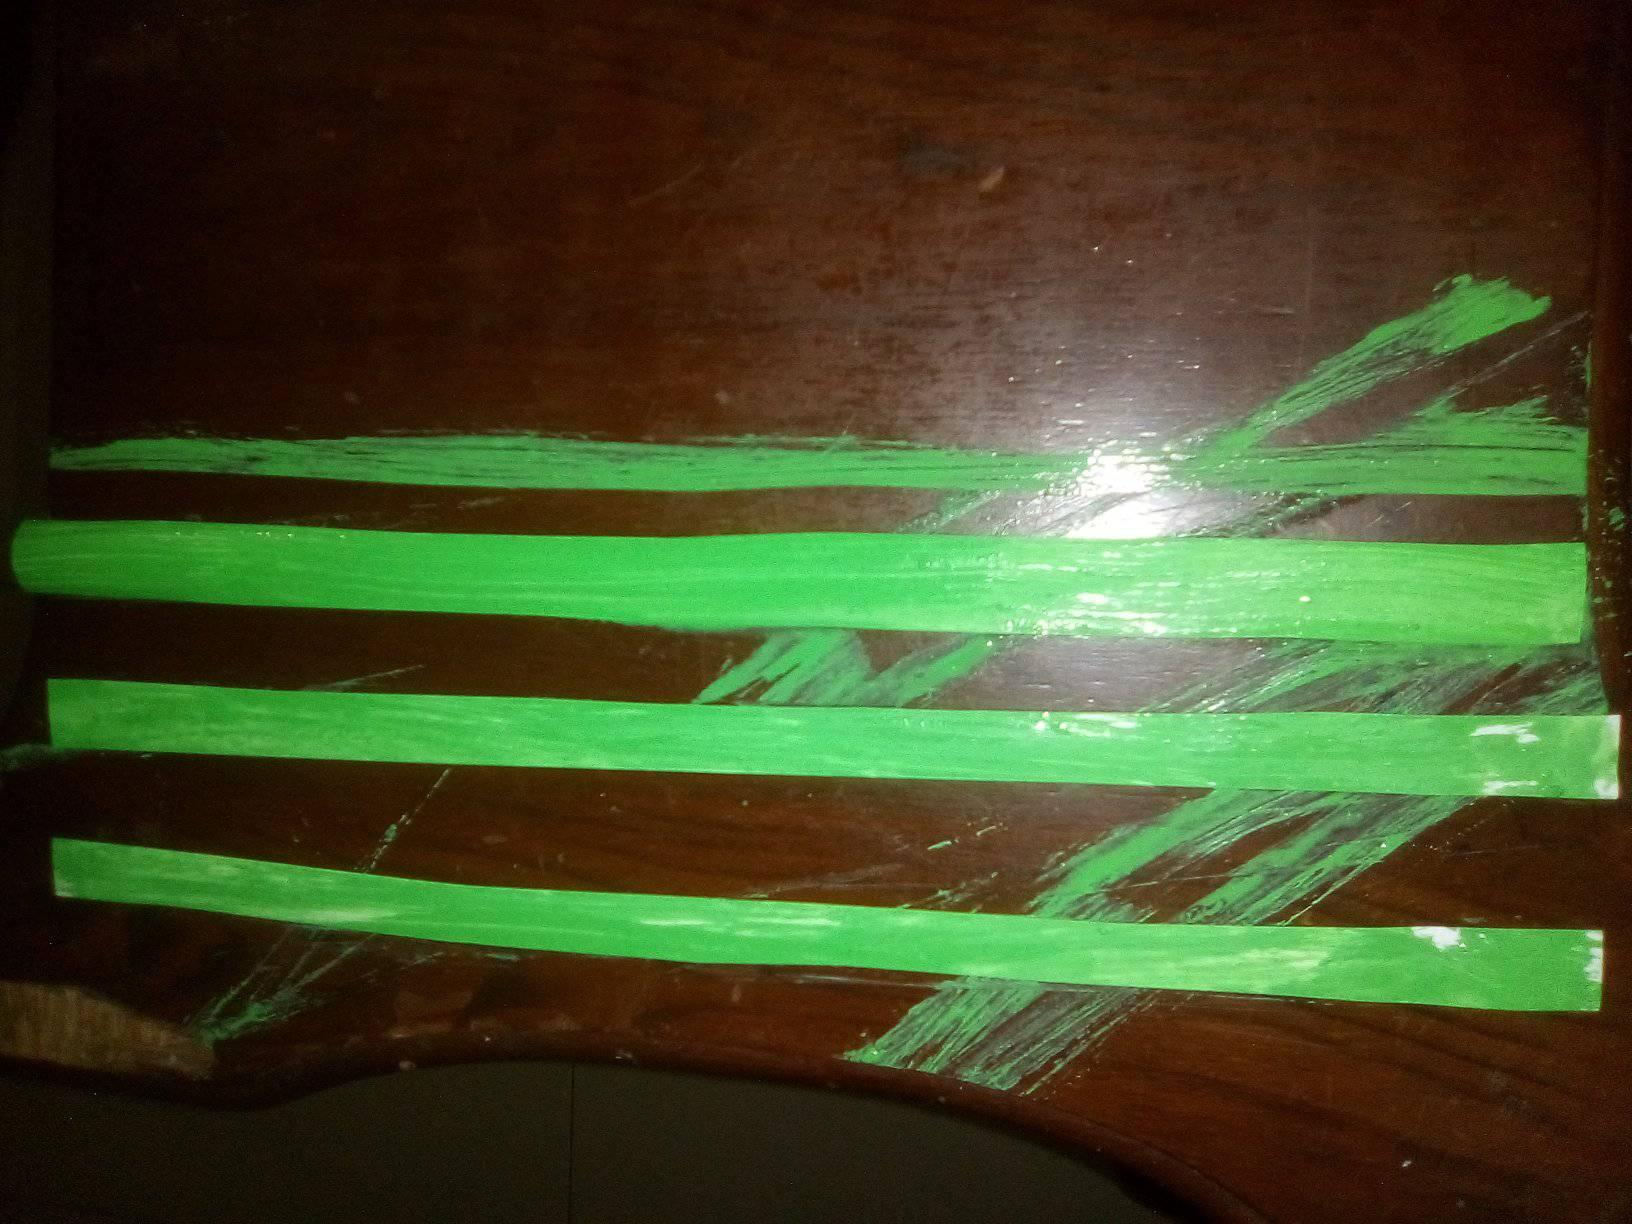
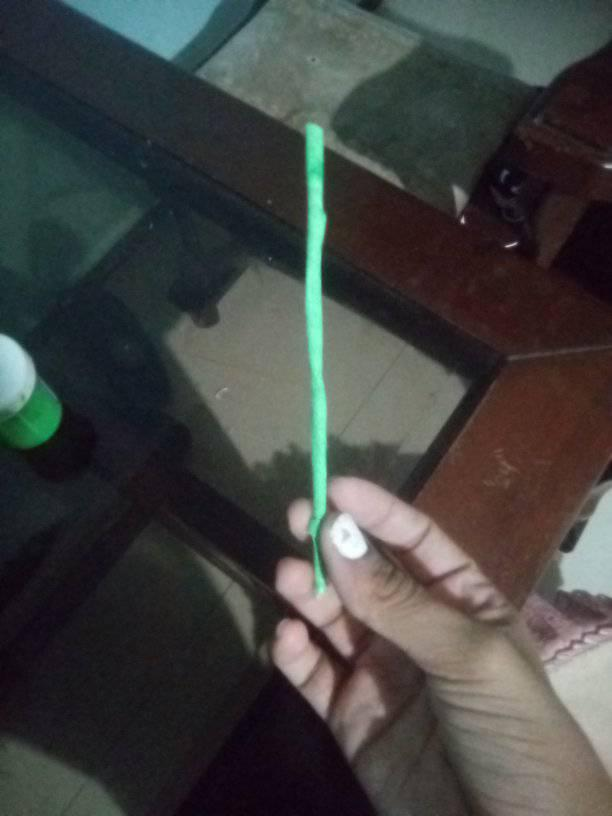
6-Cortamos unas tiras del ancho de tu preferencia y lo pintamos de verde, cuando esté seco con un palito de altura lo vamos a ir enrollando y lo pegamos a la flor.
Finally we insert the flowers in our porron hive and ready, we will have a nice table decoration. .
This is the final result I hope you like it as much as I do, see you in another blog!

Congratulations @iamarianneth! You have completed the following achievement on the Hive blockchain and have been rewarded with new badge(s) :
Your next target is to reach 400 upvotes.
You can view your badges on your board and compare yourself to others in the Ranking
If you no longer want to receive notifications, reply to this comment with the word
STOPSupport the HiveBuzz project. Vote for our proposal!