{ESP-ING} COMO REALIZAR UN BOLSO DE MANOS PARA NIÑAS//HOW TO MAKE A HANDBAG FOR GIRLS
Hola mi gente, espero estén muy bien y llenos de salud que es lo más importante. Hoy les traigo la manera de realizar un bolso de mano para niñas con materiales de provecho que de seguro tendrás en casa, un método fácil, económico, práctico y con un resultado muy lindo.
Los materiales para la obra son:
- Cartón delgado (una carpeta o una caja de Cereal)
- 2 tipos de telas diferentes de tu gusto personal.
- Pegamento para telas.
- 1 o 2 broches o cierre mágico.
- Adornos infantiles a tu gusto.
- Lápiz, tijera y regla.
Elaboración paso a paso:
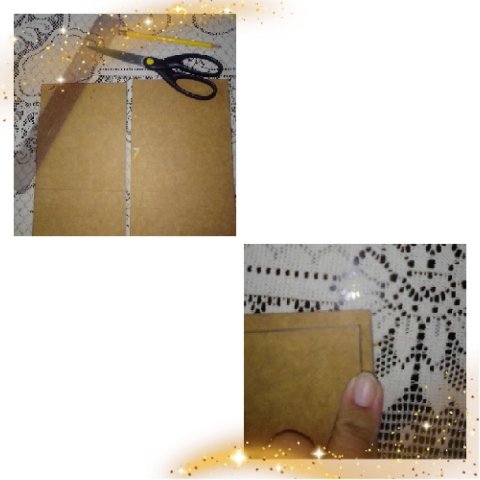
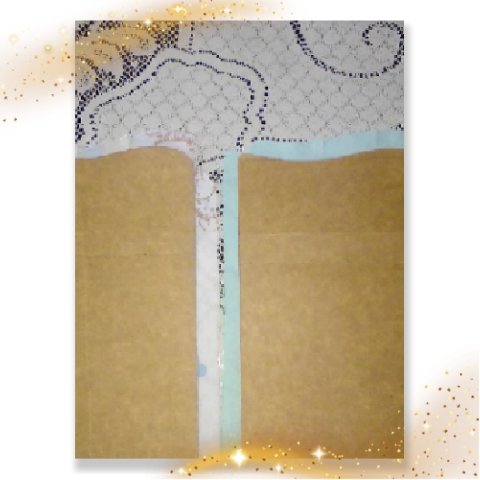
1) Recortamos 2 caras de cartón, uno de 25 centímetros de largo por 14 centímetros de ancho y el otro con 0,5 centímetros menos de todos los lados, o sea de 24 centímetros de largo por 13 centímetros de ancho, estos para que sean la parte de afuera y la parte de adentro de nuestro bolso.
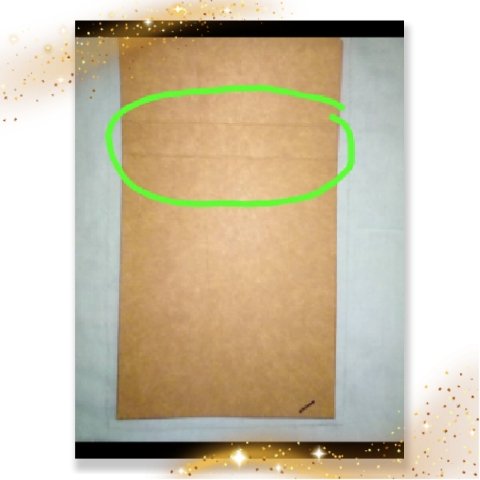
2) Medimos en ambas caras 6,5 centímetro de arriba hacia abajo y realizamos un raya, luego desde dicha raya medimos 2 centímetros y la marcamos con otra raya, ambas rayar nos servirán para doblar y que quede la forma de para la tapa de nuestro bolso.
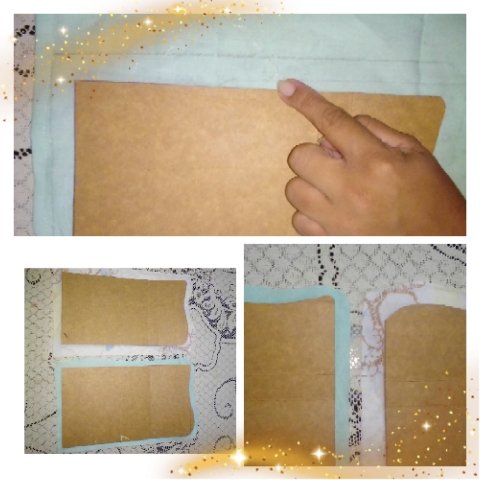
3) Recortamos la parte de arriba de ambas caras con una pequeña figura de curva, recuerda que la cara más pequeña debe tener 0,5 cm menos en esta parte también.
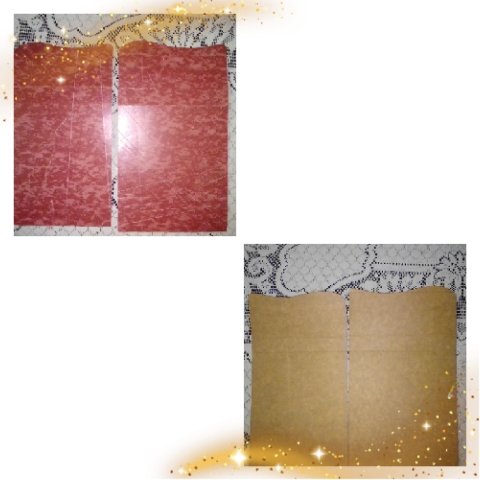
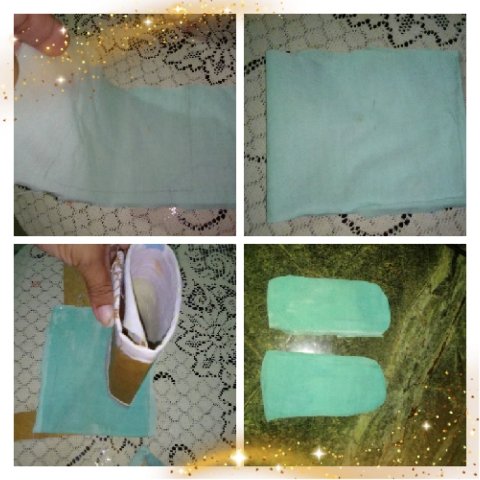
4) Las telas de tu preferencia, la utilizaremos para forrar cada cara, así que la vamos a recortar dejando 2 centímetro demás para pegarla por la parte posterior.
5) Cada una de las puntas la recortaremos de manera transversal.
6) Procedemos a pegar los centímetros que sobran de tela.

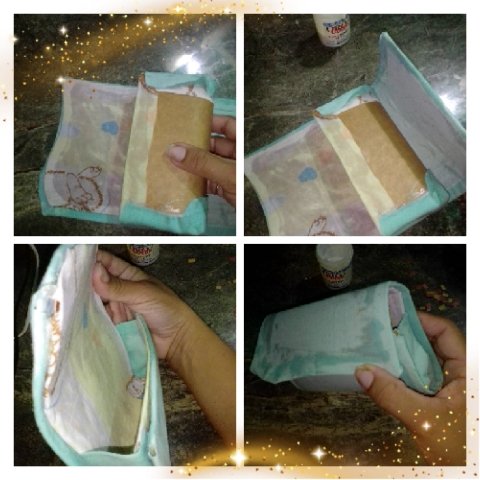
7) Tomamos una parte de la tela de la cara de afuera, la doblamos, la pegamos, para que quede doble, colocamos los lados de nuestro bolso en esta tela doble y dibujamos el patrón con al menos 2 centímetros demás para luego pegarla.
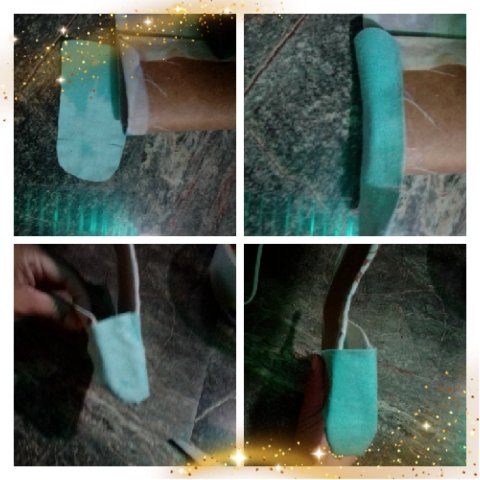
Hasta los momentos tenemos la parte de adentro de nuestro bolso:
8) Ahora procedemos a pegar la parte interna de la parte externa de nuestro bolso, desde la parte de arriba hasta pegar todo.
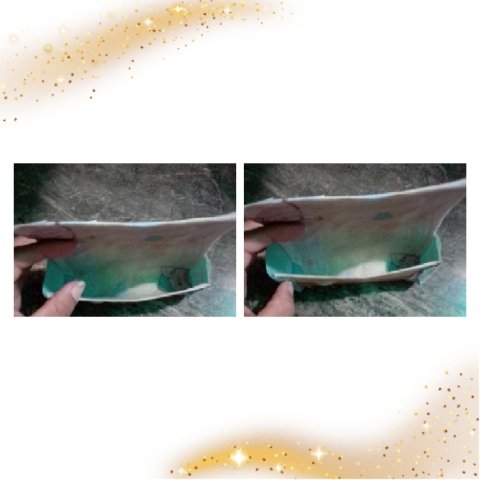
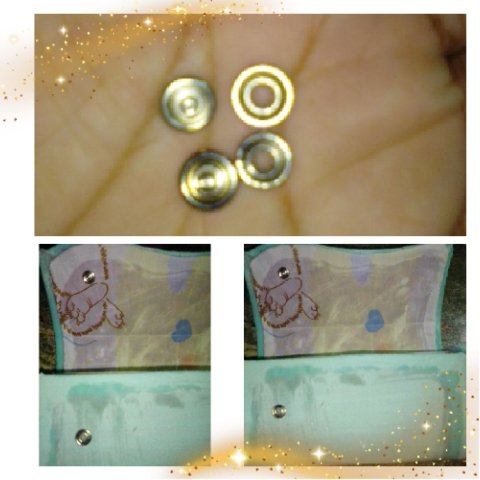
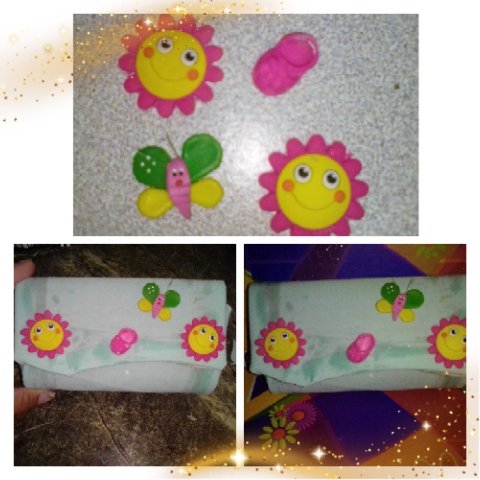
9) Una vez que ya este seco nuestro bolso, nos queda pegar los broches o cierre mágico para que se pueda mantener trancado y luego decoramos con adornos.
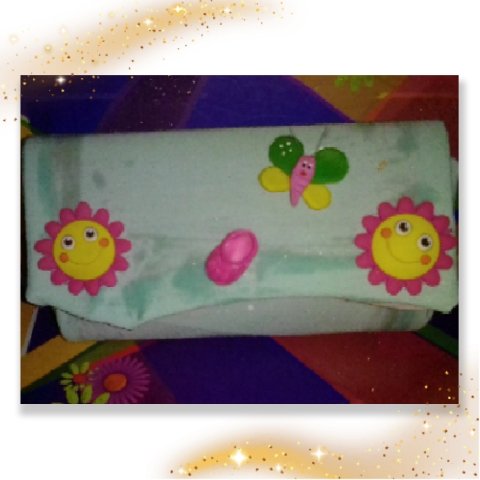
RESULTADO FINAL:
ENGLISH
Hello my people, I hope you are very well and full of health which is the most important thing. Today I bring you the way to make a handbag for girls with useful materials that you will surely have at home, an easy, economical, practical and with a very nice result.
The materials for the work are:
- Thin cardboard (a folder or a cereal box).
- 2 different types of fabrics of your personal taste.
- Fabric glue.
- 1 or 2 brooches or magic clasp.
- Children's ornaments of your choice.
- Pencil, scissors and ruler.
Step by step:
1) We cut out 2 sides of cardboard, one of 25 centimeters long by 14 centimeters wide and the other with 0.5 centimeters less on all sides, that is 24 centimeters long by 13 centimeters wide, these to be the outside and inside of our bag.
2) We measure on both sides 6.5 centimeters from top to bottom and make a stripe, then from this stripe we measure 2 centimeters and mark it with another stripe, both stripes will help us to fold and make the shape for the lid of our bag.
3) Cut the top of both sides with a small curve figure, remember that the smaller side should have 0.5 cm less in this part too.
4) The fabric of your choice, we will use it to line each side, so we are going to cut it leaving 2 centimeters more to glue it on the back.
5) Cut each of the ends crosswise.
6) We proceed to glue the remaining centimeters of fabric.
7) We take a part of the fabric from the outside, we fold it, we glue it, so that it is double, we place the sides of our bag in this double fabric and we draw the pattern with at least 2 centimeters more to glue it later.
So far we have the inside of our bag:
8) Now we proceed to glue the inner part of the outer part of our bag, from the top to glue everything.
9) Once our bag is dry, we have to glue the clasps or magic clasp to keep it locked and then we decorate it with ornaments.
FINAL RESULT:
- Fotografias tomada por mi teléfono móvil.
- Edición de collage: desde mi teléfono móvil con la App Foto Collage.
- Traducción: Deepl.
- Photographs taken by my cell phone.
- Collage editing: from my cell phone with the Foto Collage App.
- Translation: Deepl.
gracias por su apoyo