[ESP - ENG] Elabora tu propio Porta Lápiz | Make your own Pencil Holder
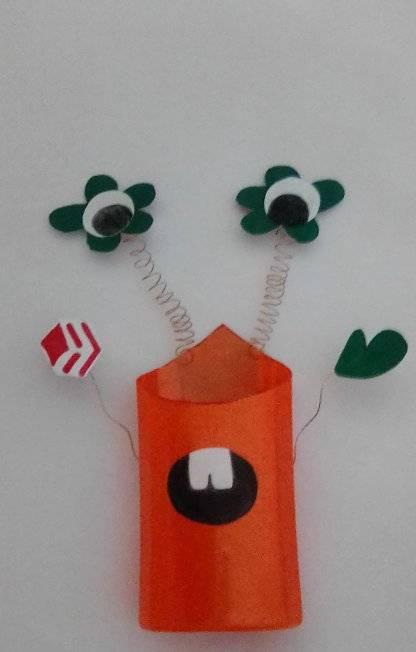
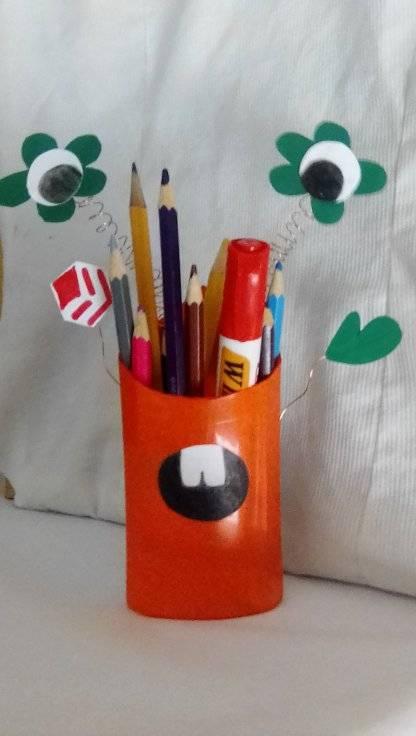
El día de hoy les quiero presentar un Lindo Porta lápiz en forma de muñeco elaborado con un envase plástico de Champú y otros materiales de provecho, Ideal para guardar tus lápices y colores.
Today I want to present a cute doll-shaped pencil holder made with a plastic container of shampoo and other useful materials, ideal for storing your pencils and colors.
Ahora les estaré explicando como realizar este lindo Porta lápiz paso a paso.
Now I will be explaining to you how to make this cute pencil holder step by step.
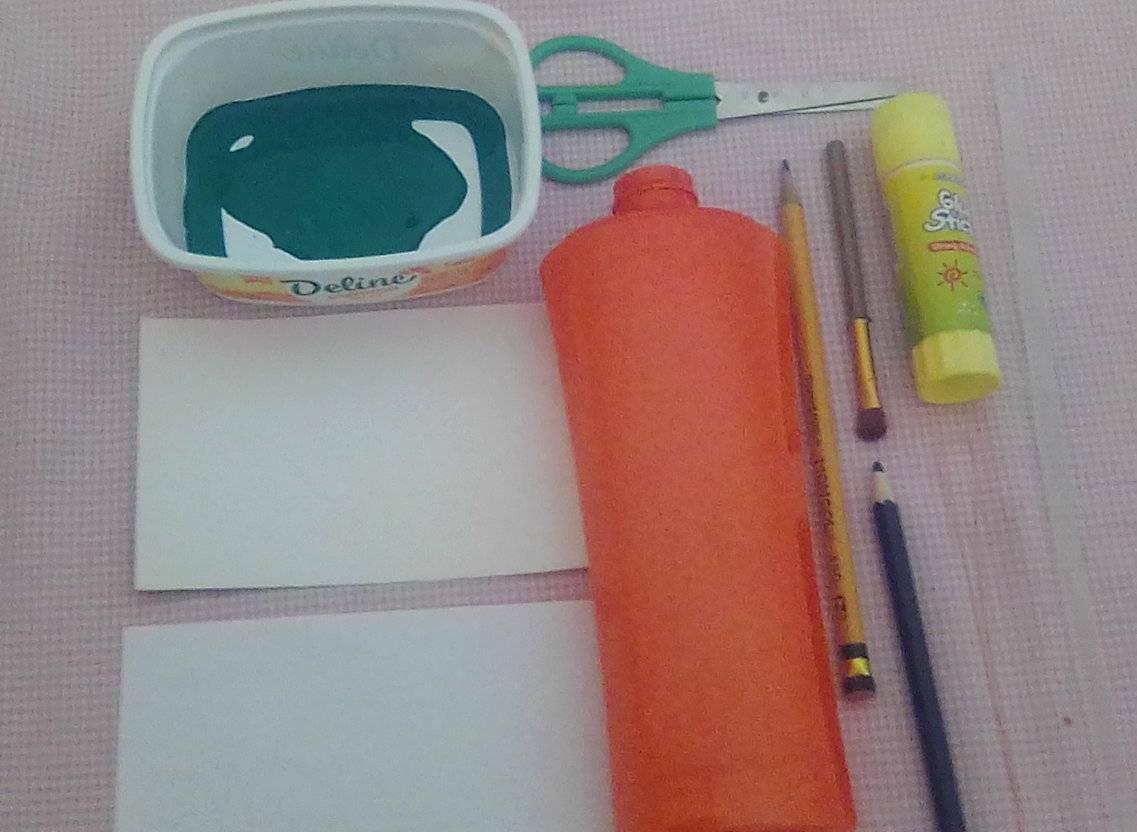
• Materiales:
• Envase plástico de champú
• Alambre de cobre
• Pintura verde
• Silicón en barra
• Pega en barra
• Cartulina blanca
• Hoja blanca reciclada
• Tijera
• Pincel
• Lápiz negro para colorear
• Lápiz crayón
• Materials:
• Plastic container of shampoo
• Copper wire
• Green paint
• Silicone stick
• Stick on stick
• White cardboard
• Recycled white sheet
• Scissor
• Brush
• Black pencil for coloring
• Crayon pencil
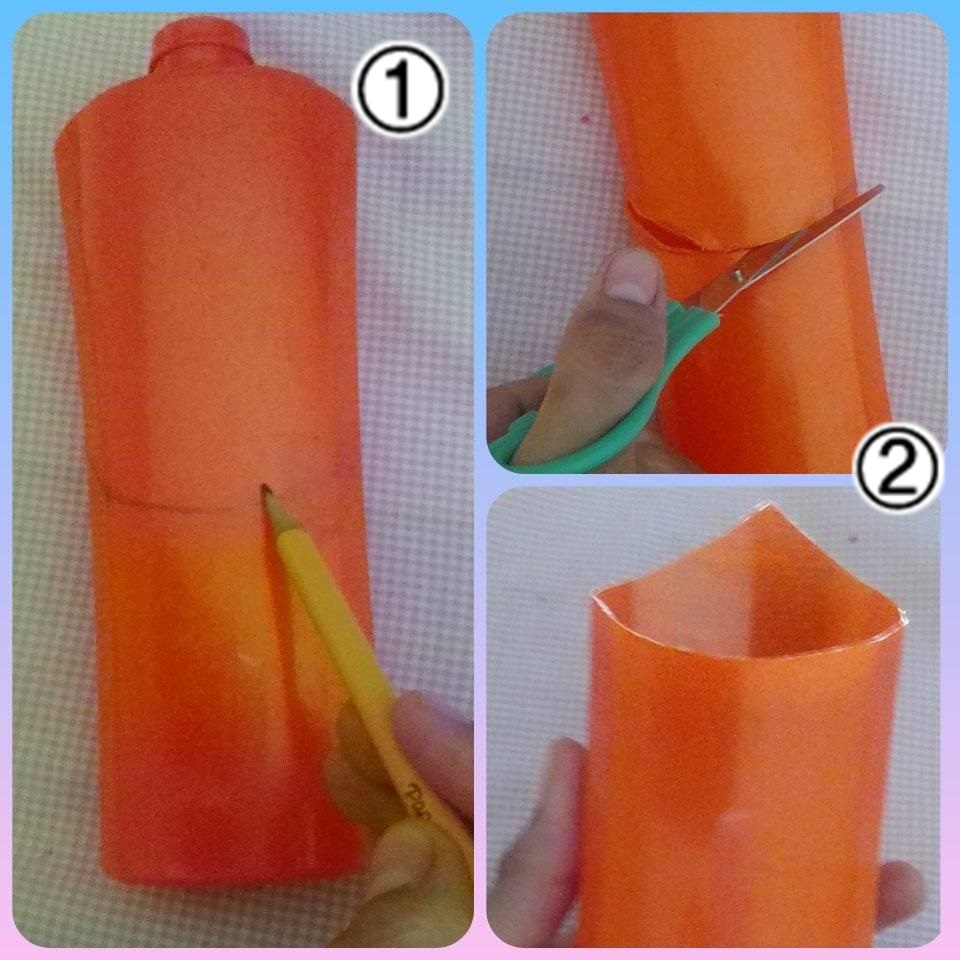
• 1: Con el lápiz crayón medir nuestro envase a la medida que queramos.
• 2: Recortar el envase.
• 1: With the crayon pencil, measure our container to the extent that we want.
• 2: Cut out the container.
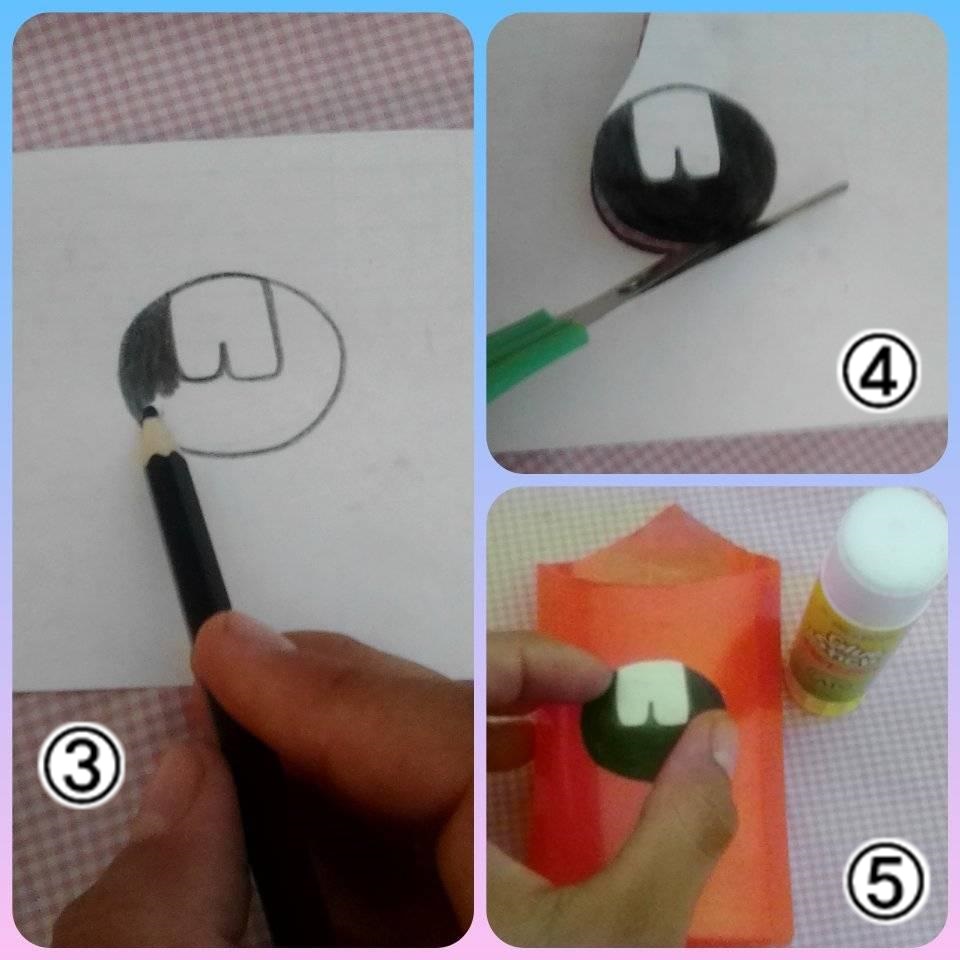
• 3: Con el lápiz negro para colorear dibujar la boca del muñeco en la hoja blanca.
• 4: Recortar.
• 5: Pegar con pega en barra la boca del muñeco en el envase.
• 3: With the black coloring pencil, draw the doll's mouth on the white sheet.
• 4: Crop.
• 5: Stick the doll's mouth on the container with a stick.
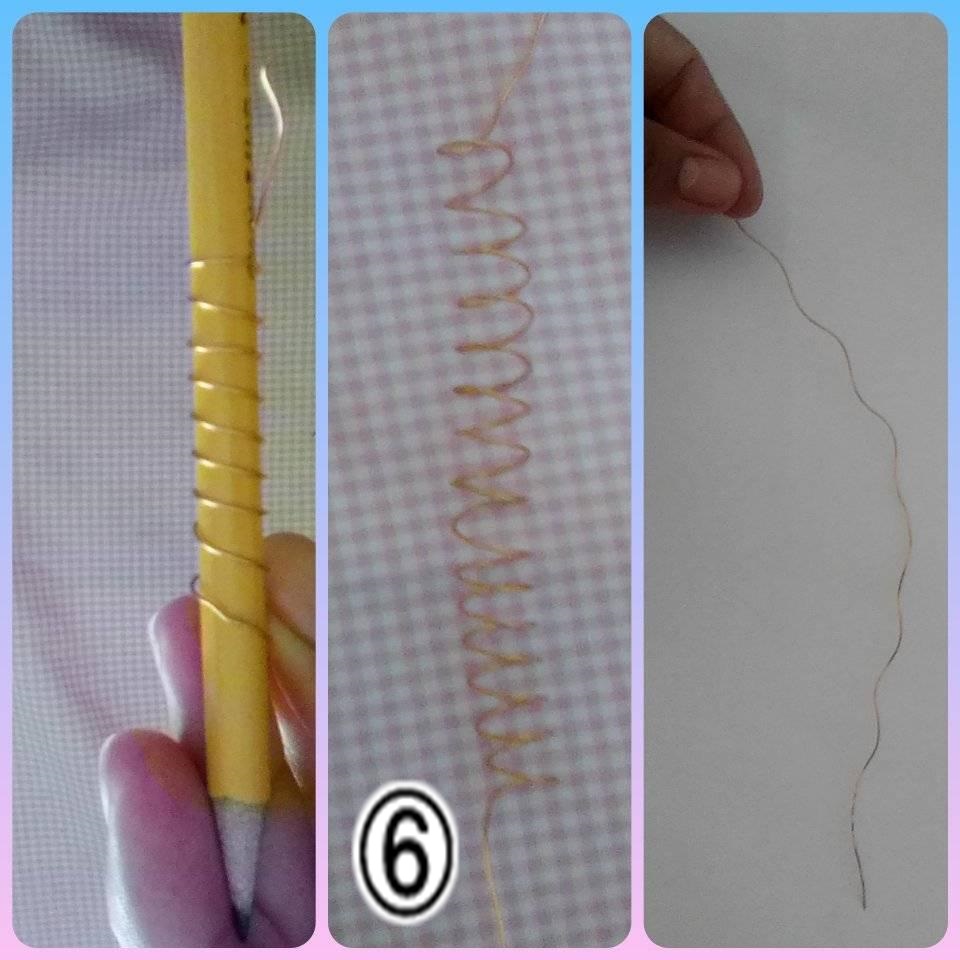
• 6: Con un lápiz enrollar el alambre de cobre para realizar la base de los ojos del muñeco.
• 6: With a pencil roll the copper wire to make the base of the doll's eyes.
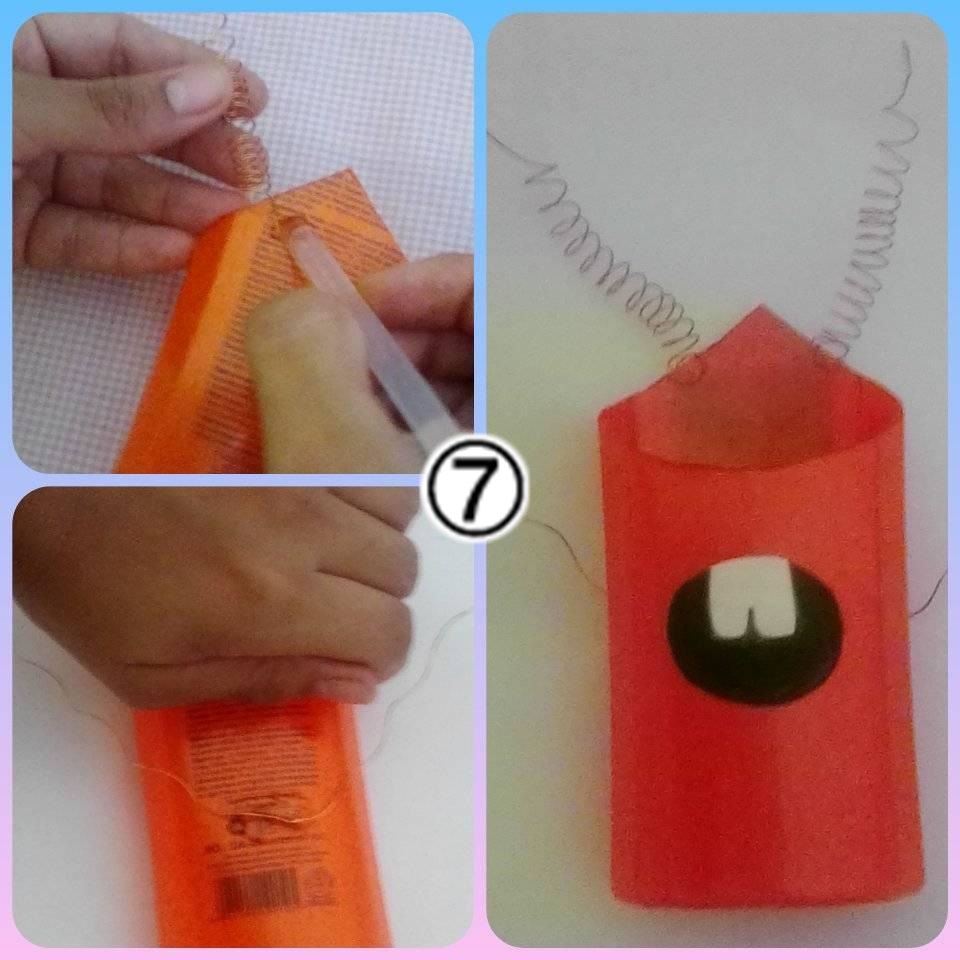
• 7: Pegar los alambres ondulados en la parte superior y media del envase para los brazos y base de ojos.
• 7: Glue the corrugated wires to the top and middle of the container for the arms and base of eyes.
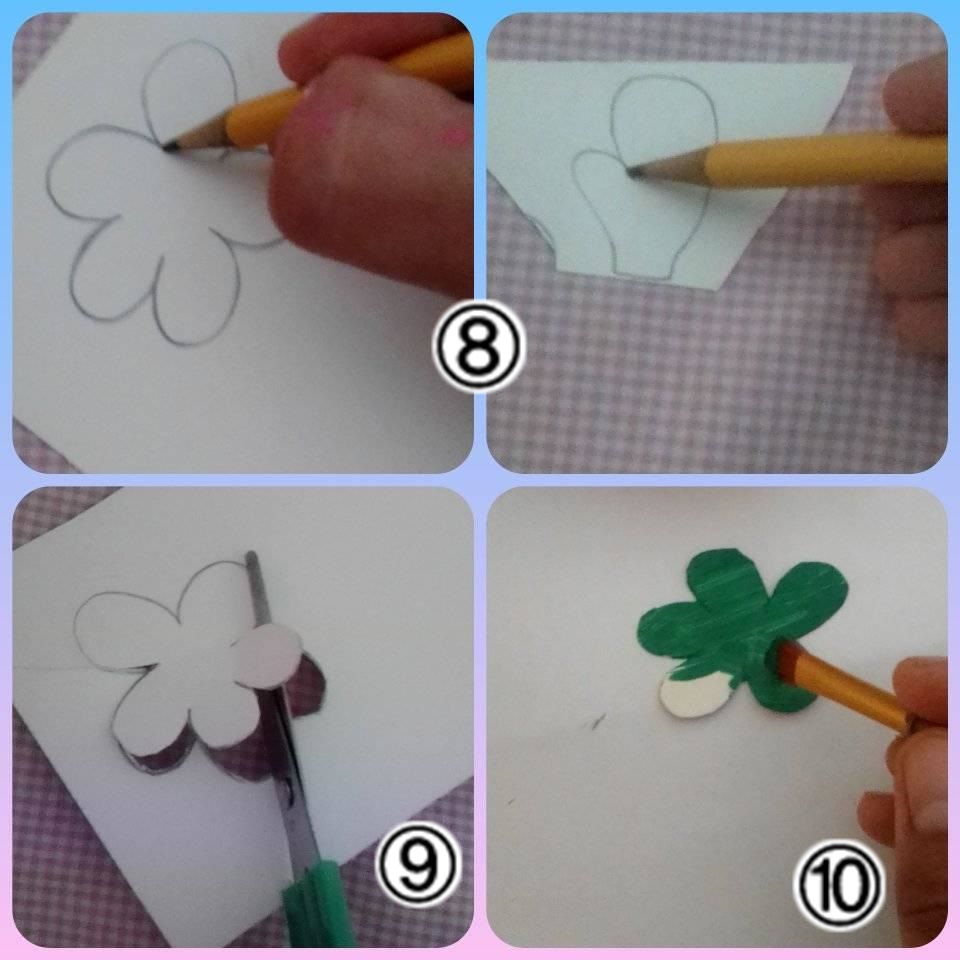
• 8: Dibujar dos listas Flores y una Mano.
• 9: Recortar.
• 10: Pintar las flores y la mano del muñeco.
• 8: Draw two lists Flowers and a Hand.
• 9: Trim.
• 10: Paint the flowers and the doll's hand.
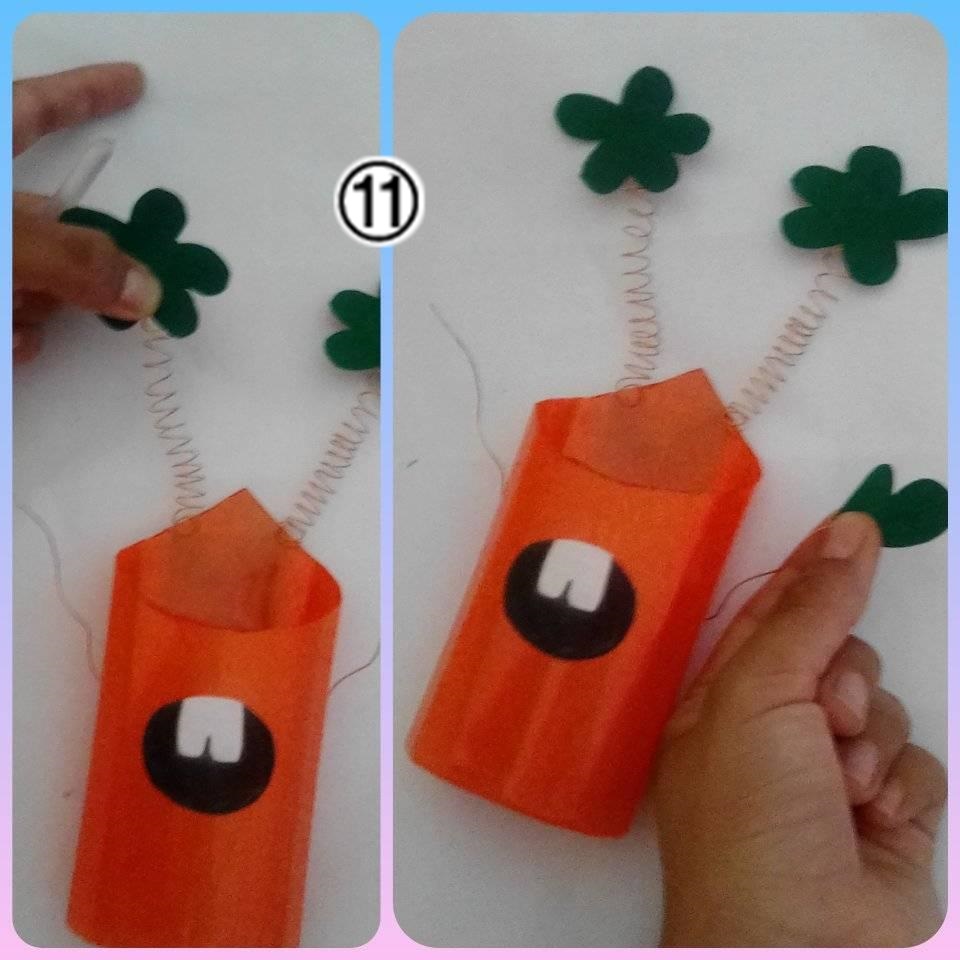
• 11: Pegar las flores y la mano de nuestro muñeco en los alambres.
• 11: Glue the flowers and our doll's hand on the wires.
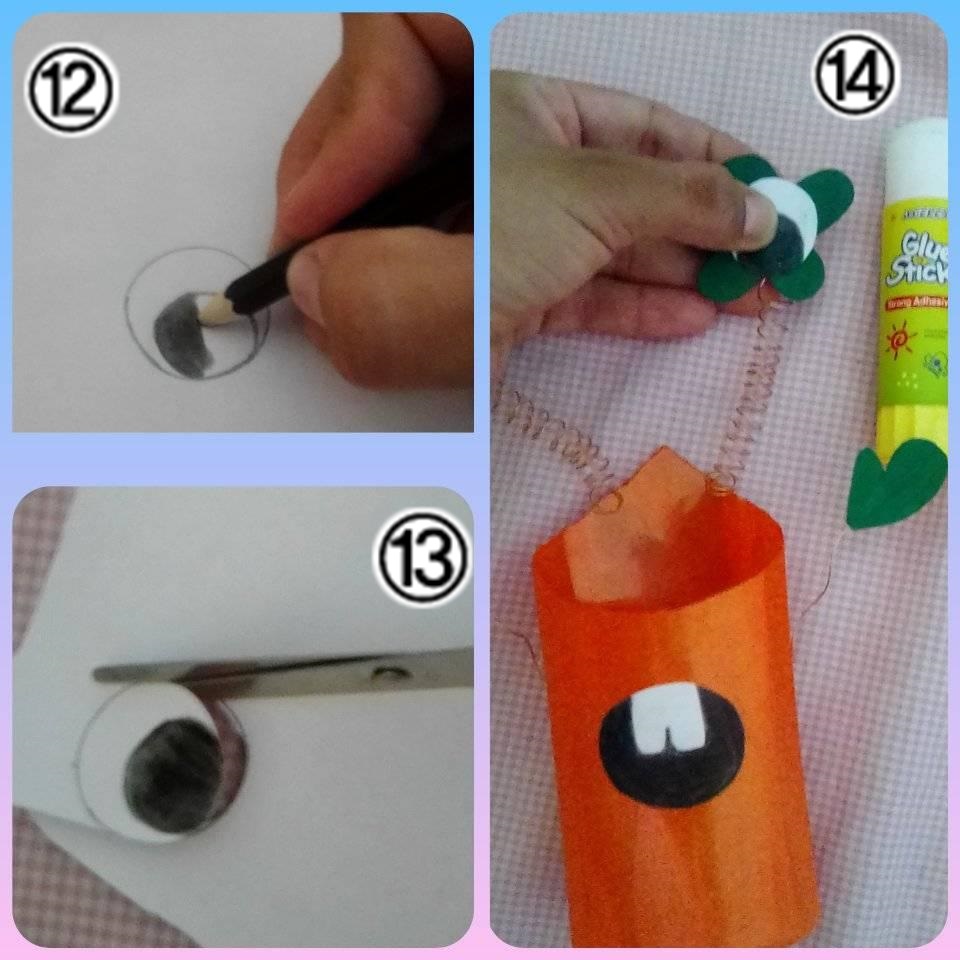
• 12: Dibuja los ojos del muñeco con lápiz color negro
• 13: Recortar.
• 14: Ya recortado los ojos del muñeco procedemos a pegarlos en las flores.
• 12: Draw the doll's eyes with black pencil.
• 13: Trim.
• 14: Once the doll's eyes have been cut out, we proceed to glue them on the flowers.