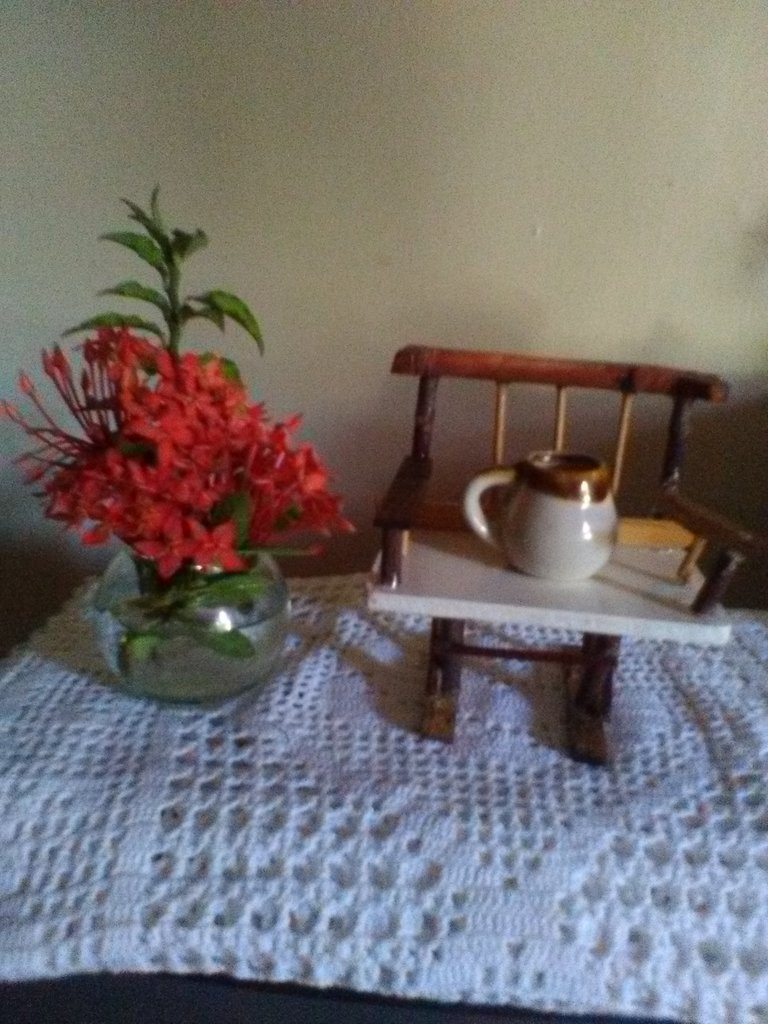
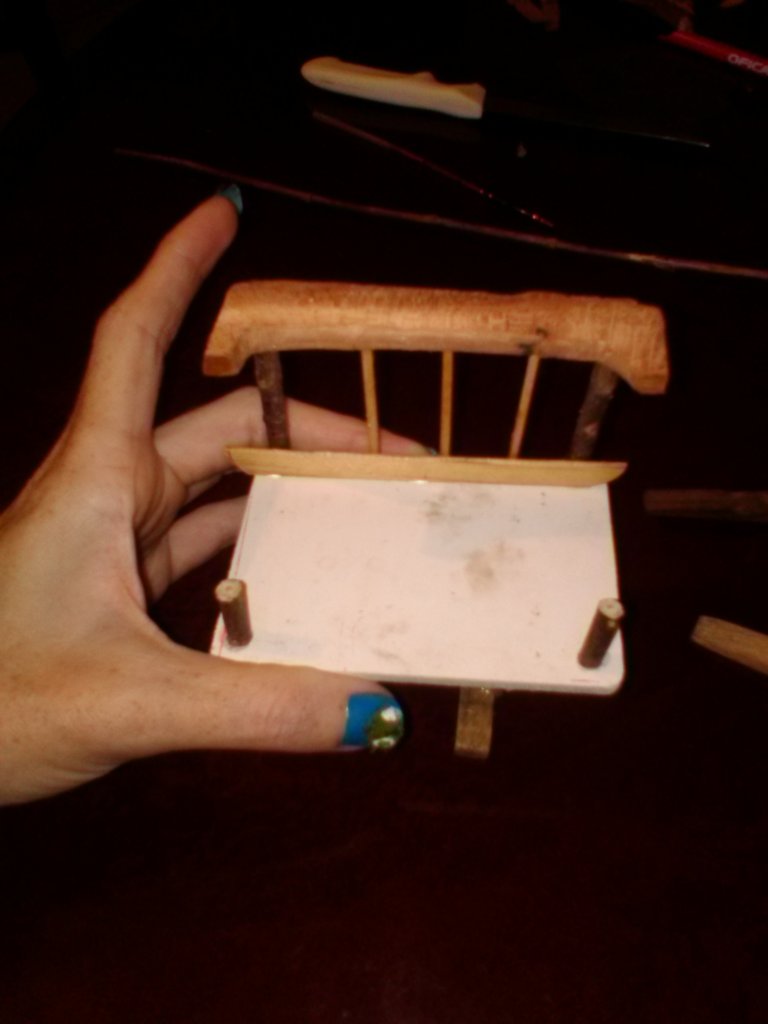
Mini mueble decorativo elaborado con madera reciclada.. Mini decorative furniture made from recycled wood.
Hermosa comunidad de HIVE, como se habrán podido dar cuenta, me he basado durante estos últimos días en la construcción de adornos decorativos con material de provecho y de verdad, como podemos aprovechar las cosas que tenemos en nuestros hogares que consideramos que ya no nos son útiles sin embargo si utilizamos nuestra creatividad e imaginación desarrollaremos nuestras destrezas y habilidades y nos sorprenderemos con las grandes obras que podemos elaborar.
Beautiful community of HIVE, as you may have noticed, I have based these last few days in the construction of decorative ornaments with useful materials and really, as we can take advantage of the things we have in our homes that we consider that are no longer useful, however if we use our creativity and imagination we will develop our skills and abilities and we will be surprised with the great works that we can elaborate.
Materiales:
- Ramitas de arboles
- trozos de madera, paleta, palillos, cuadrado de plástico
- martillo, alicate, exacto, cegueta
- silicòn
- barniz
- làpiz

Materials:
- Tree twigs.
- pieces of wood, trowel, toothpicks, plastic square, hammer,
pliers - hammer, pliers, exacto, glue stick, silicone
- silicone
- varnish
- pencil
Pasos:
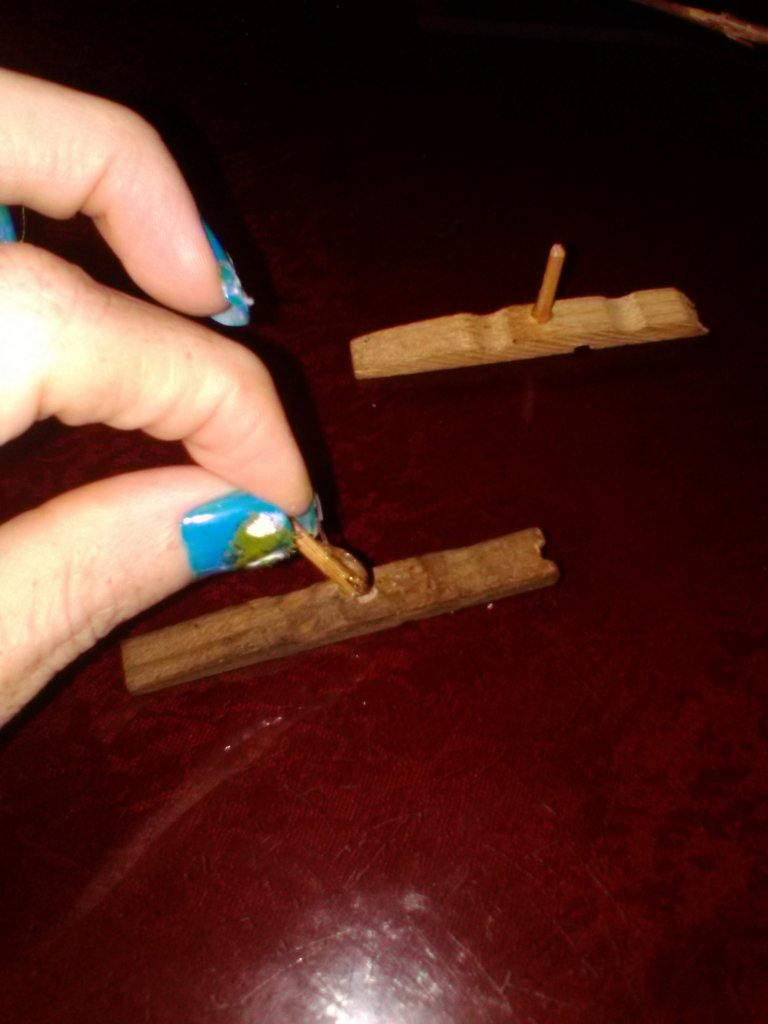
Comenzamos a cortar las ramitas, sacando 12 pedacitos, de esta medidas: 4 de 5cm, 4 de 3cm, 2 de 4 1/2
cm y 2 de 2cm.
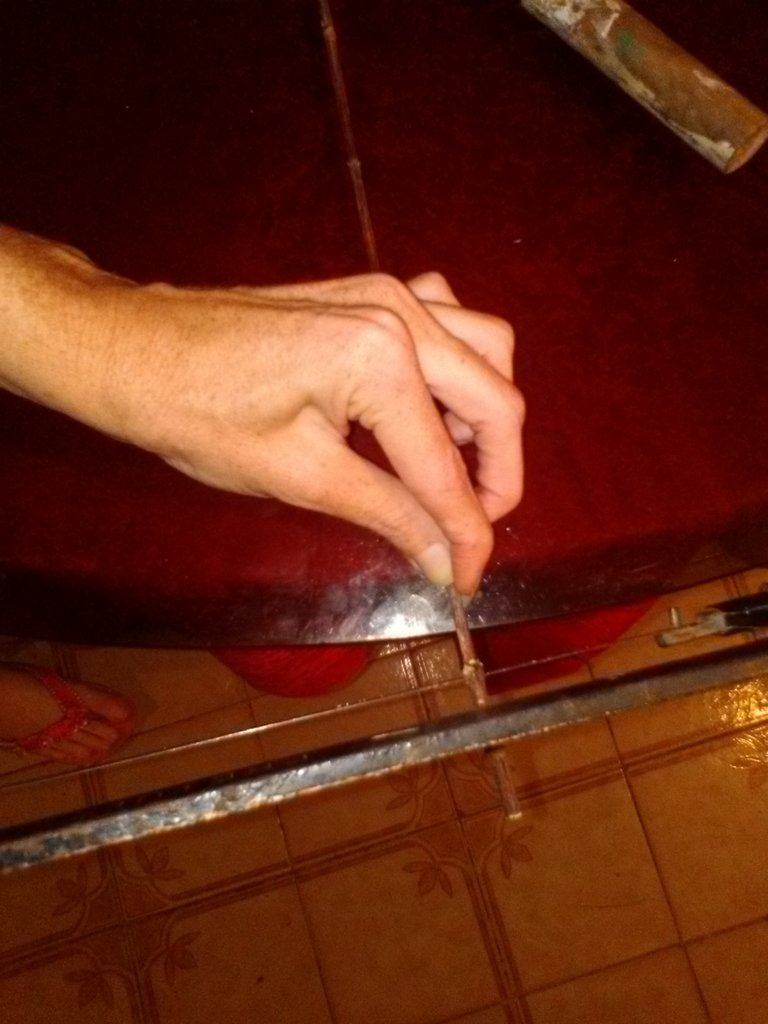
Steps:
We begin to cut the twigs, taking out 12 small pieces, of these measures: 4 of 5cm, 4 of 3cm, 2 of 4 1/2
cm and 2 of 2cm.
Cortamos un pedacito de madera de 9cm para hacer el respaldo del mueble, se le pegan a los laterales 2 ramitas de 5cm luego se perforan 3 hoyos dejando 2 cm de separación entre cada uno y le pegamos los palillos reforzandolo con media paleta.
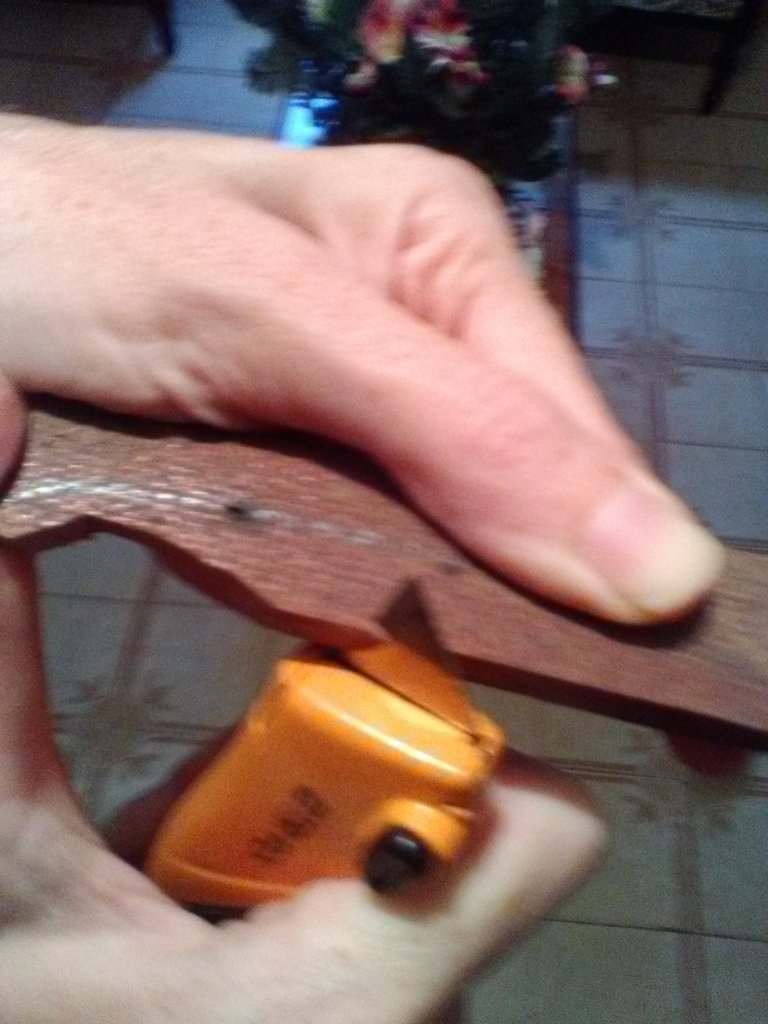
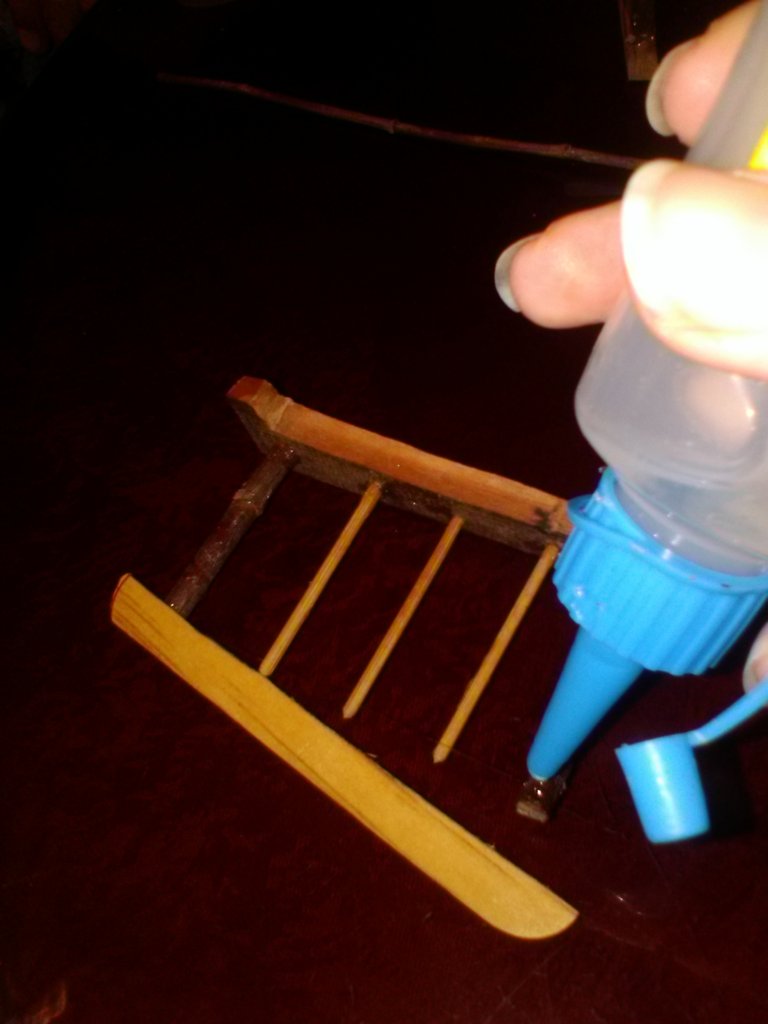
We cut a piece of wood of 9cm to make the back of the furniture, we glue 2 twigs of 5cm to the sides, then we drill 3 holes leaving 2 cm of separation between each one and we glue the sticks reinforcing it with half a pallet.
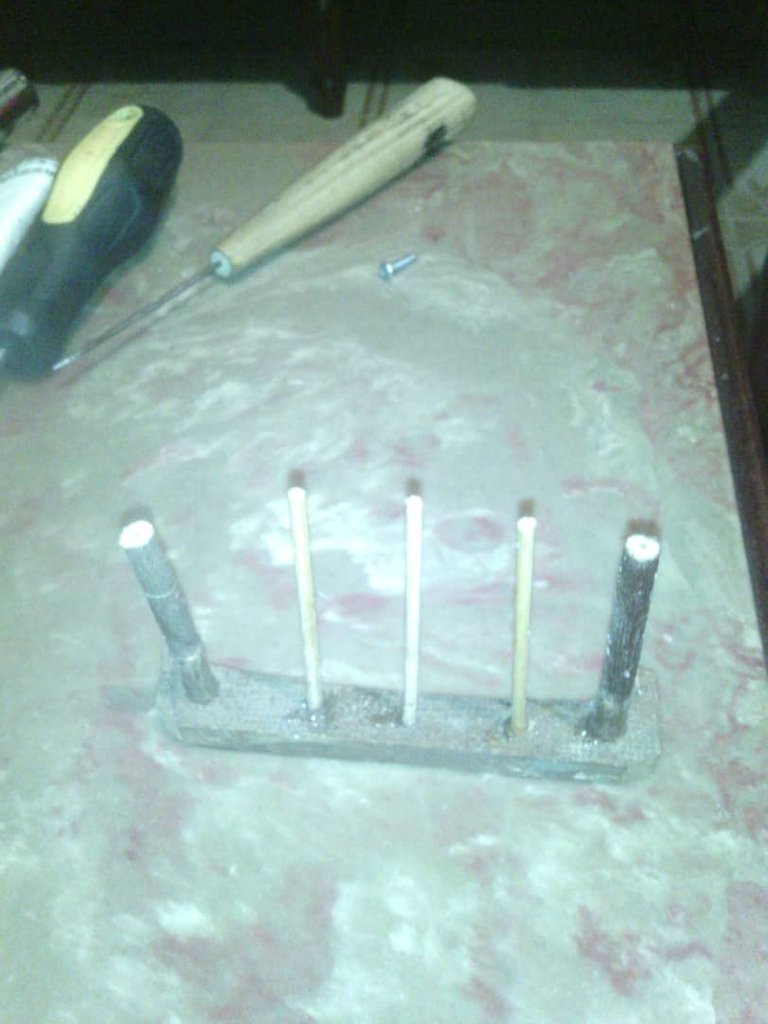
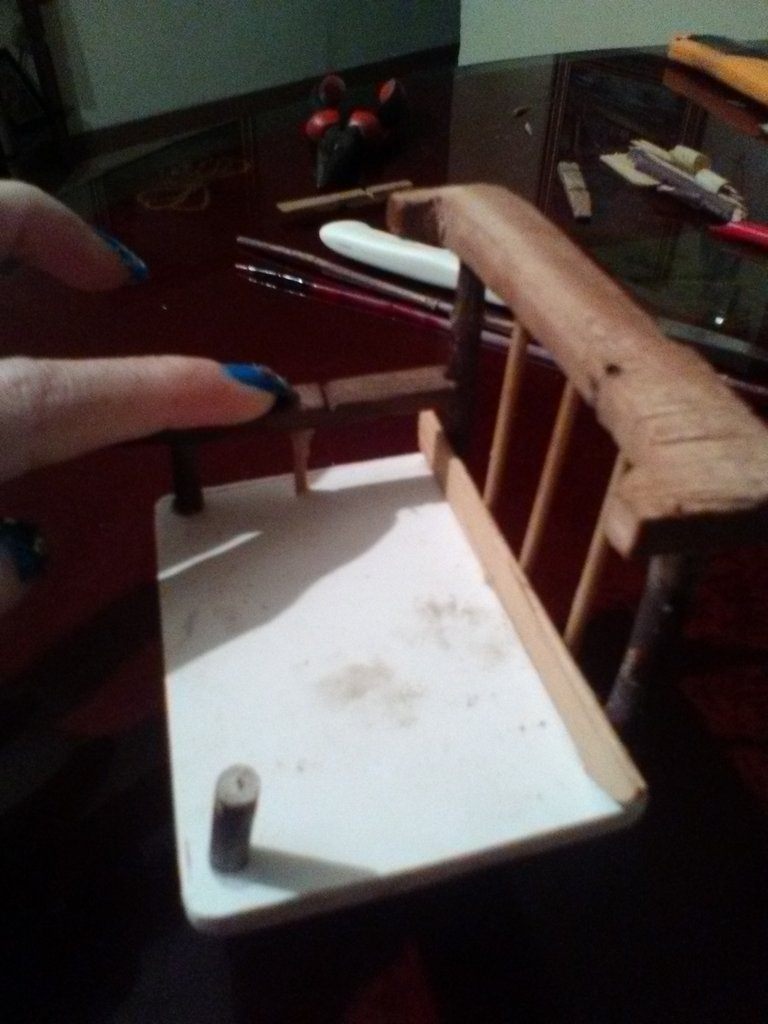
Para la base del mueble cortamos, lijamos un rectángulo de madera de 9 x 6cm también se le pegan 4 ramitas unido a medio gancho de ropa como soporte de 3cm que van hacer las patas del objeto.
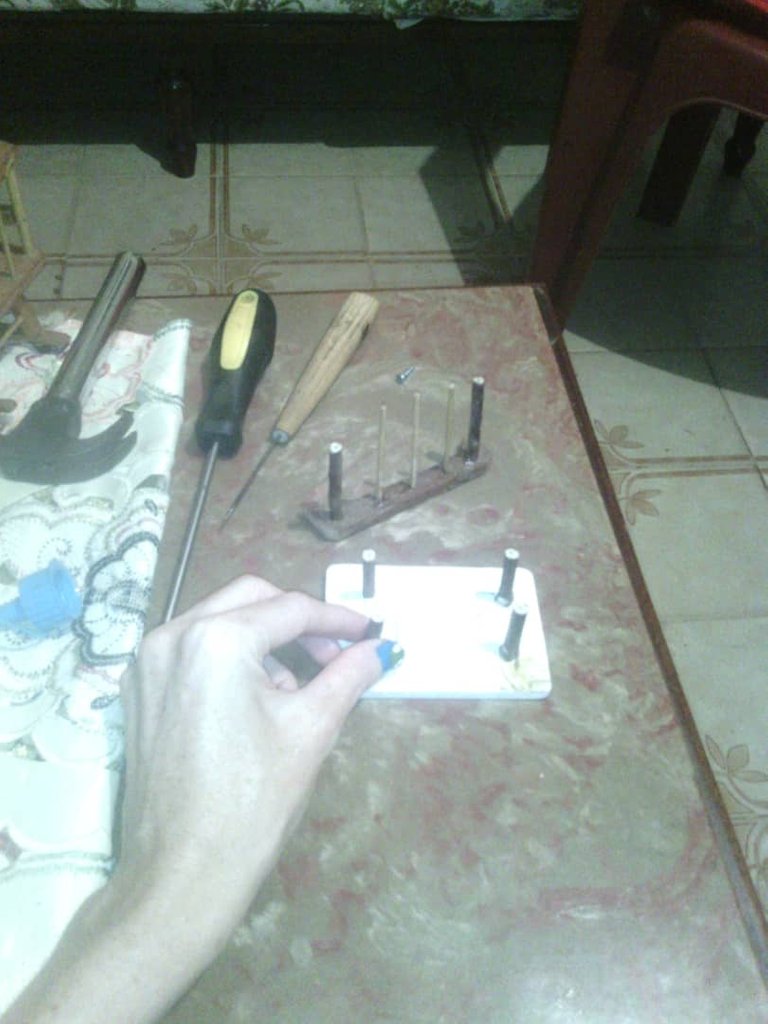
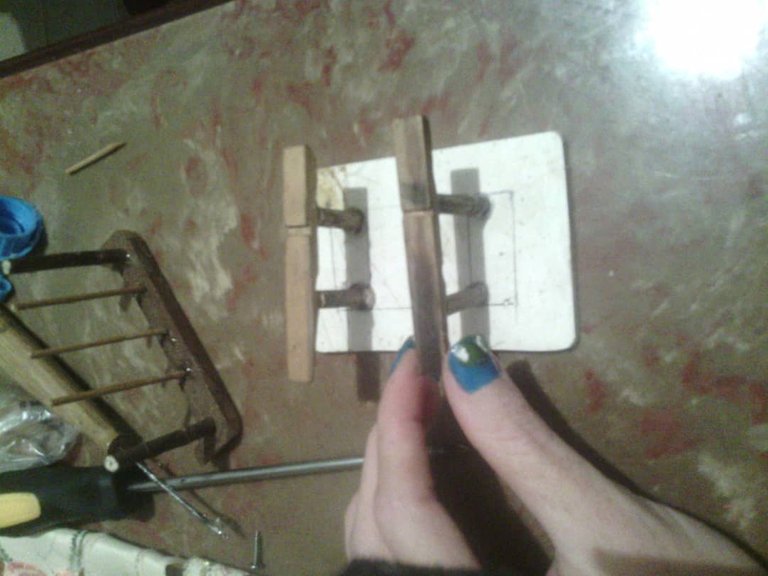
For the base of the piece of furniture we cut and sand a 9 x 6cm rectangle of wood, we also glue 4 twigs together with half a 3cm clothes hanger as a support that will make the legs of the object.
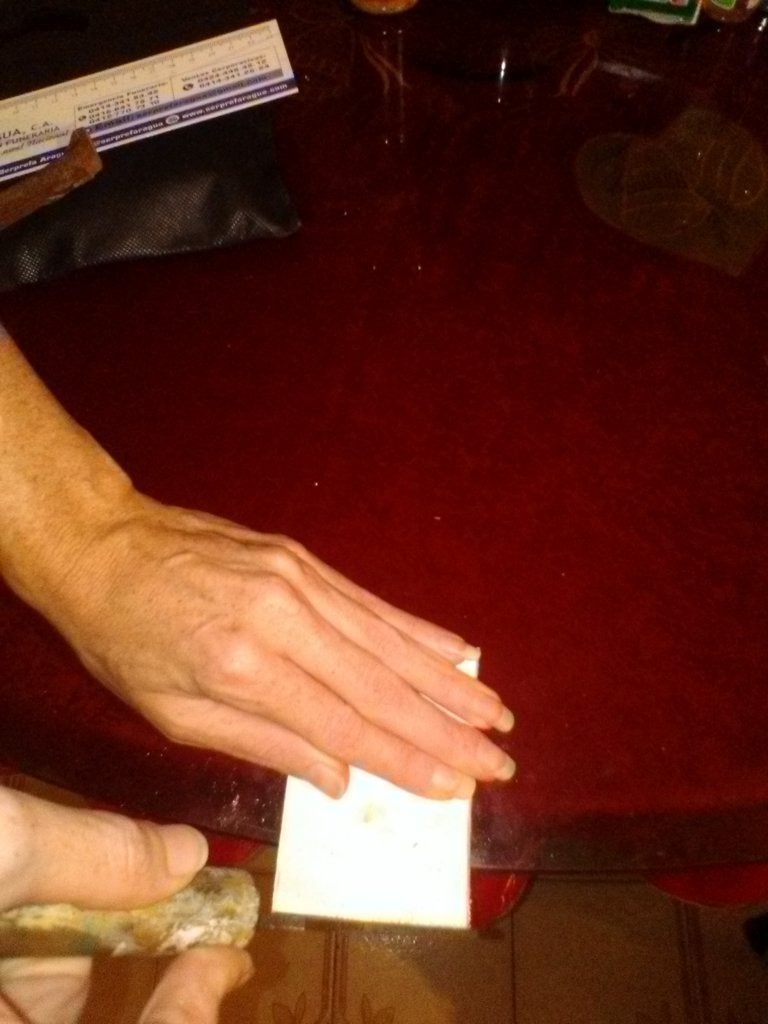
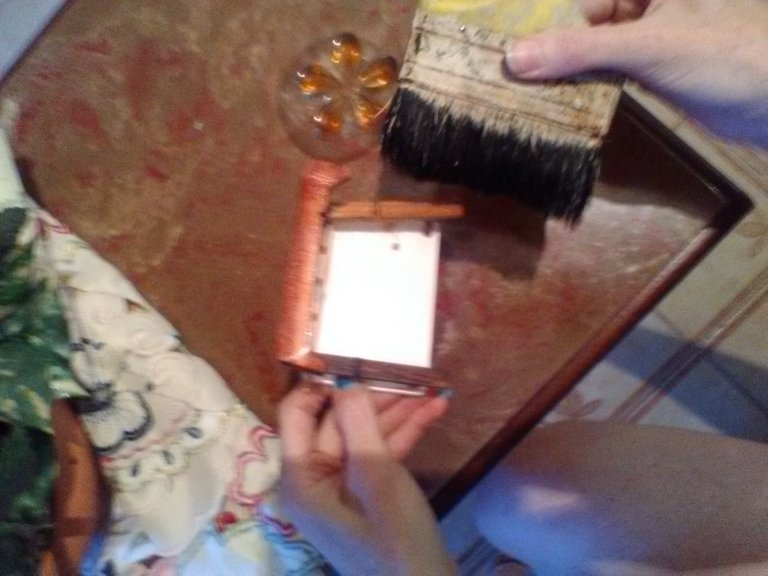
A la base en la parte superior se le pega 2 ramitas de 2cm también a medio gancho se le pega por el centro del mismo un palillo de 2 cm para obtener los apoya brazo del mueble además se le une el espaldar con la base del mueble para ir dándole forma y por ultimo se le eche barniz para darle brillo a la madera.
To the base in the upper part we glue 2 twigs of 2 cm also to half hook we glue a stick of 2 cm in the center of the same one to obtain the armrests of the furniture also we join the backrest with the base of the furniture to give it form and finally we put varnish to give brightness to the wood.
Presentación final del adorno decorativo de madera reciclada.
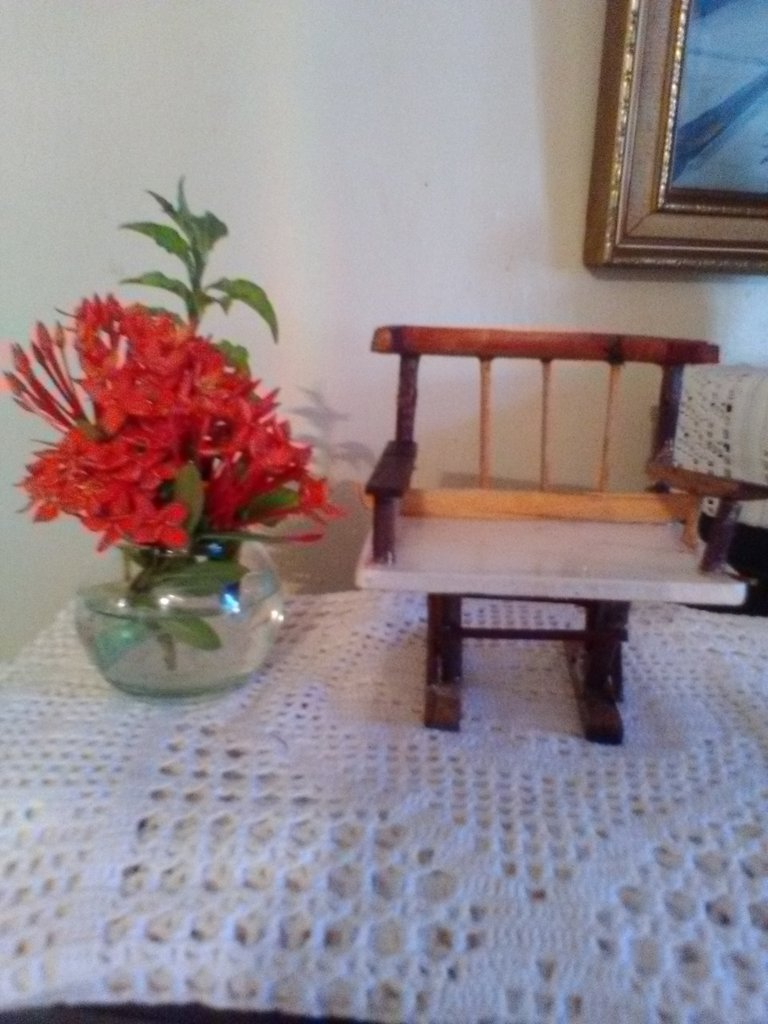
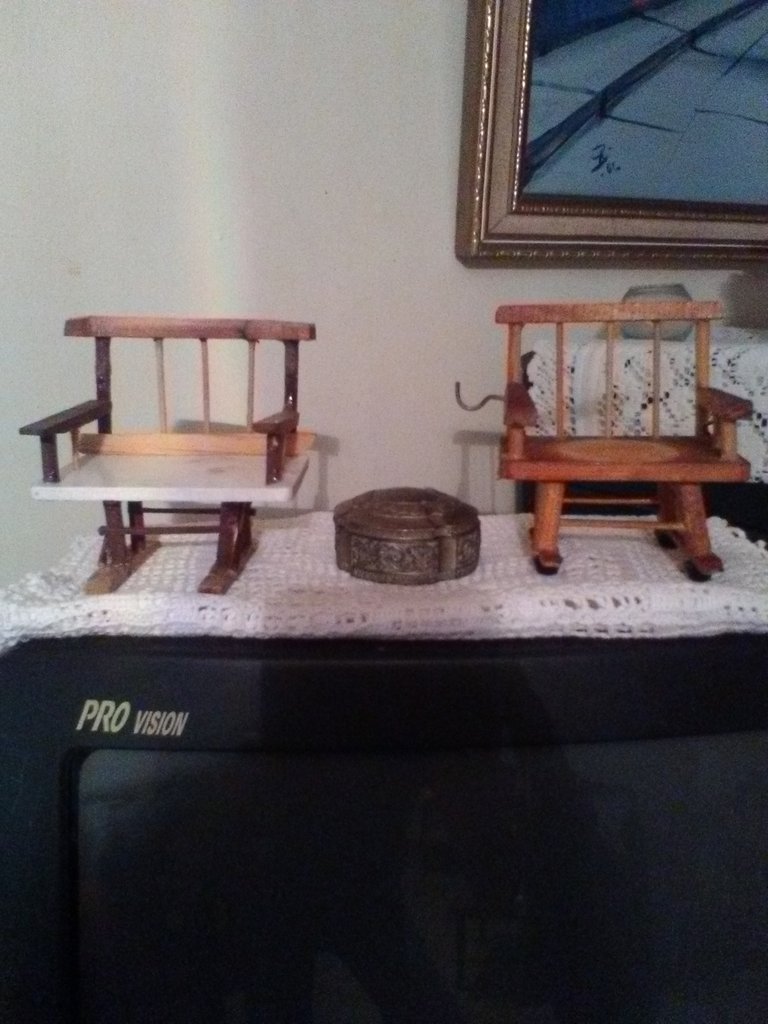
Final presentation of the decorative ornament made of recycled wood.
Congratulations @cielitorojo! You have completed the following achievement on the Hive blockchain and have been rewarded with new badge(s) :
You can view your badges on your board and compare yourself to others in the Ranking
If you no longer want to receive notifications, reply to this comment with the word
STOPWonderful craft with wood @cielitorojo friend.
Hello, thank you very much for your nice comment. Regards
Reblogged!/This is an intelligent idea @cielitorojo! I guess we never know how far we can go until we think it. But it never really works until we start to finish. Wonderful wood work you did there. Can my unborn child sit there too?😂 Hope it doesn't break when he/she does with a heavy weight.
Que cosita más línda, me encanta como luce gracias por mostrarnos como podremos elaborarlo