RECYCLİNG PROJECT FROM A PRINGLES BOX
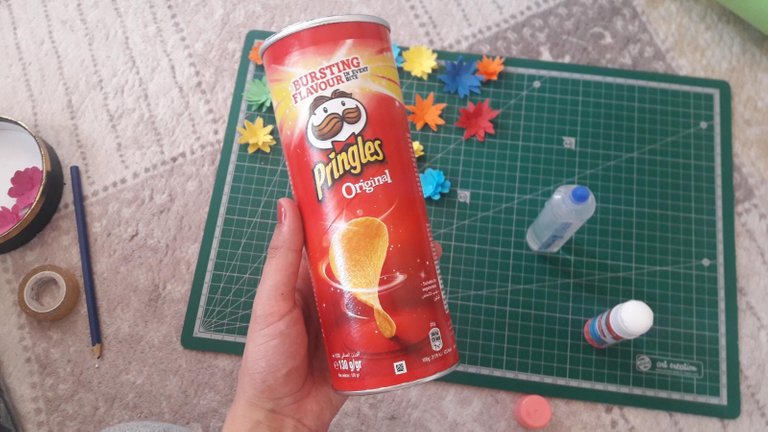
Hello everyone, friends. I will tell you about a recycling project today. If you are thinking about how to evaluate empty pringles boxes, this post is for you. I made a very cute pencil case from a Pringles box. You can also use this for other purposes. You can also turn it into a money bank.
Herkese merhaba arkadaşlar.Bugün sizlere bir geri dönüşüm projesi anlatacağım.Boş pringles kutularını nasıl değerlendirebilirim diye düşünüyorsanız bu post size göre.Pringles kutusundan çok sevimli bir kalemlik yaptım.Bunu başka amaçlar için de kullanabilirsiniz.Kumbaraya da dönüştürebilirsiniz.
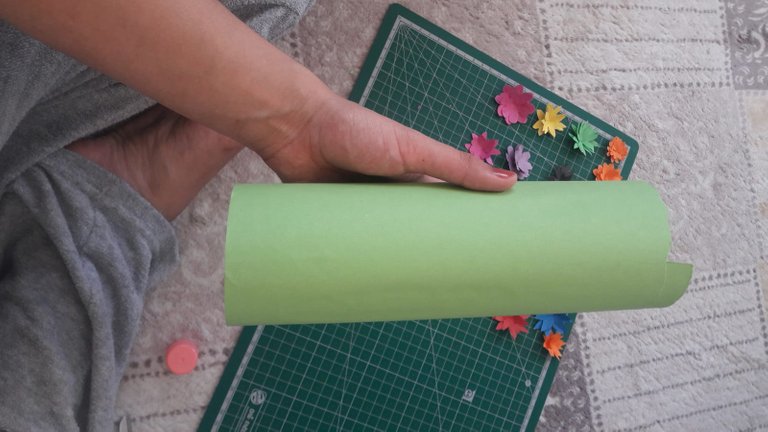
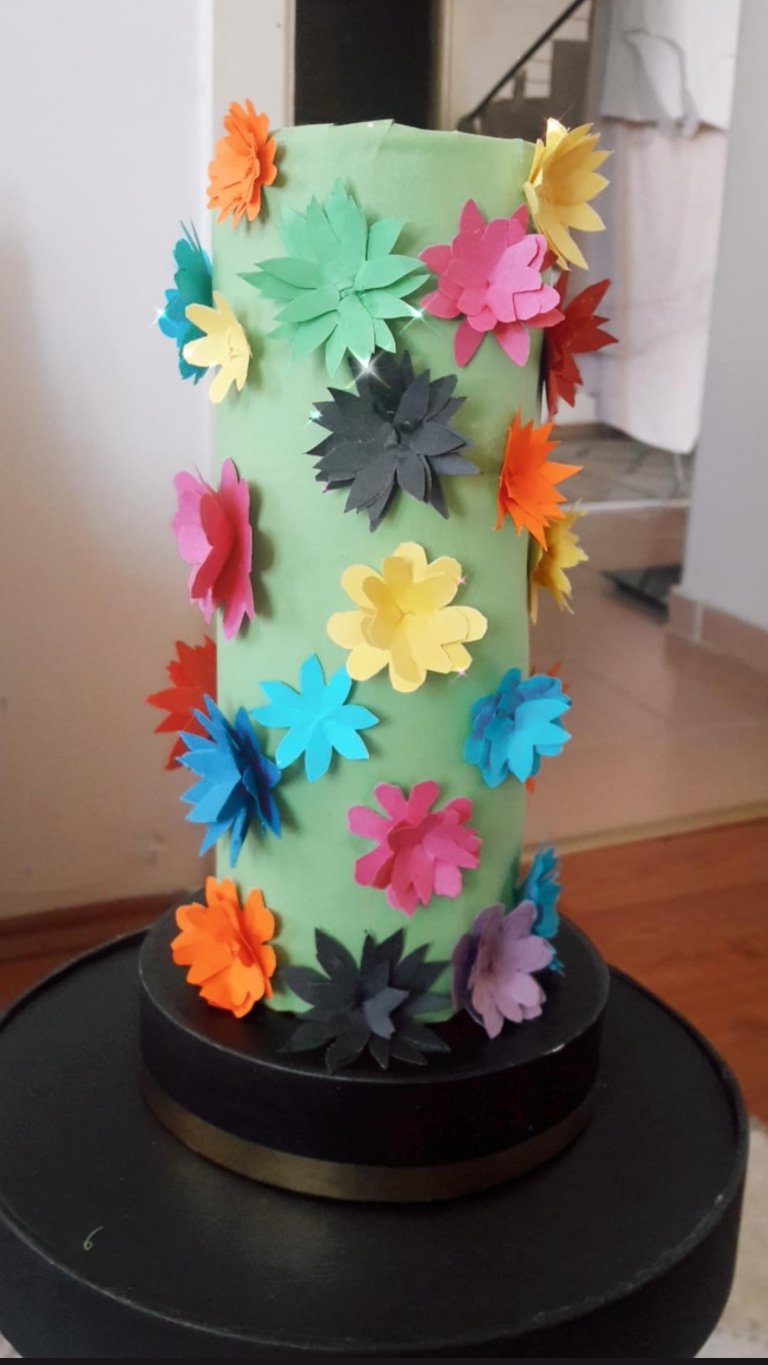
You will need a lot of colored paper, glue, scissors and an empty box of pringles in 4 * 4 sizes. Let's take the empty box of pribgles and cover it with a green paper. Let's glue the end points. Let's cut the top and bottom parts of the paper with scissors as shown in the figure. Then paste it. Let's cut a circle from an orange paper to eliminate the bad image. Let's stick it to the bottom.
4*4 boyutlarında bir sürü renkli kağıda,yapıştırıcıya,makasa ve boş bir pringles kutusuna ihtiyacınız olacak.Boş pringles kutusunu alalım etrafını yeşil bir kağıtla kaplayalım.Bitim noktalarını yapıştıralım.Kağıdın üst ve alt kısımların makasla şekildeki gibi keselim.Ardından yapıştıralım.Kötü görüntüyü yok etmek için de turuncu bir kağıttan daire keselim.Alt kısmına yapıştıralım.

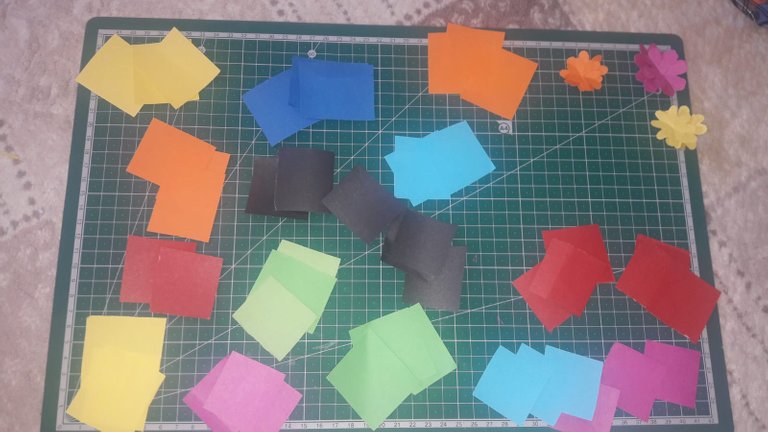
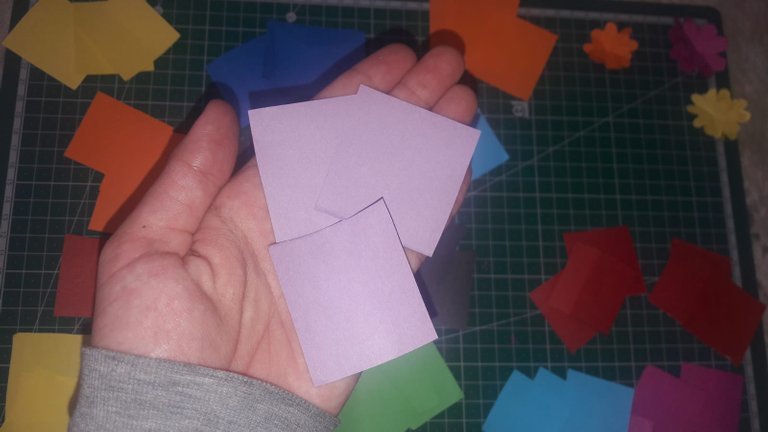
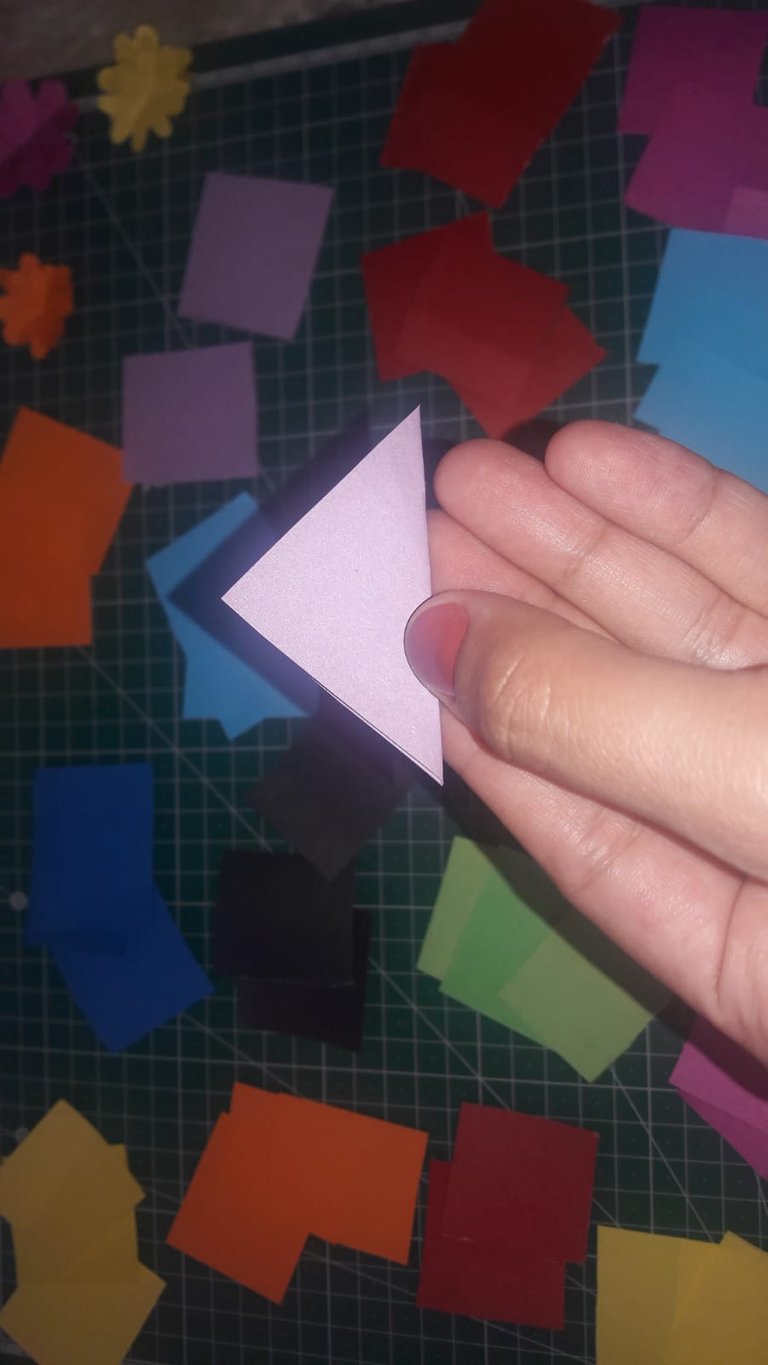
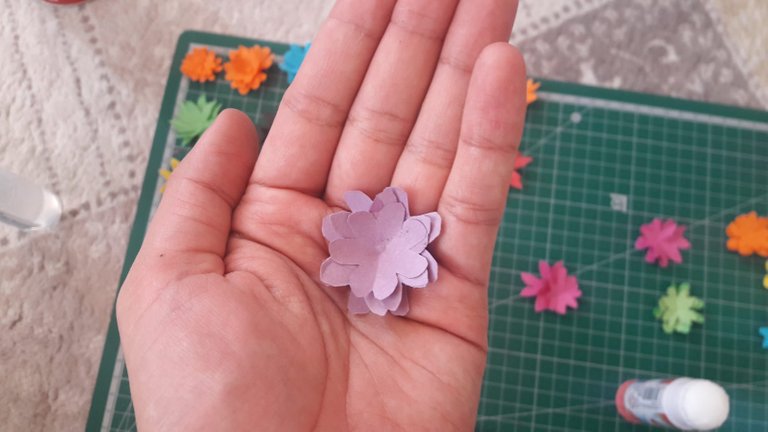
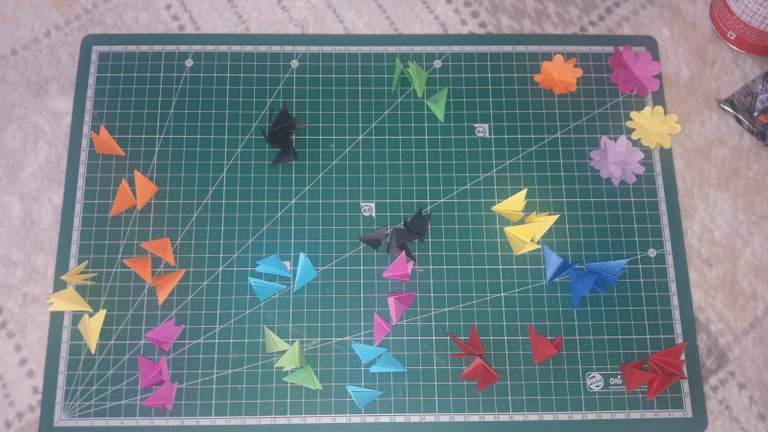
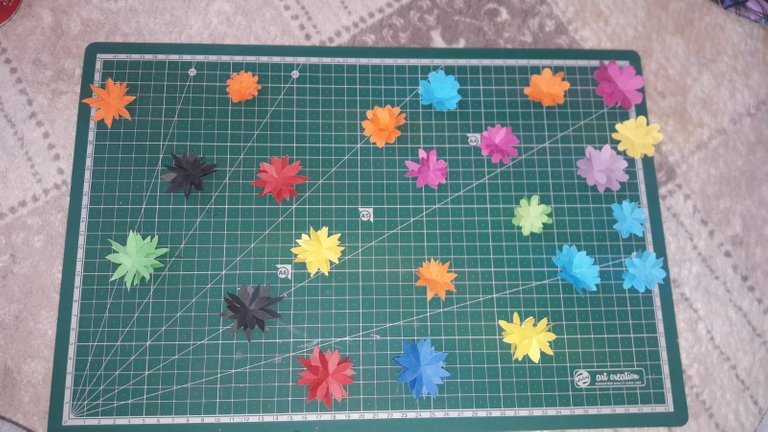
Now we will make flowers to decorate our box. Let's cut about 20 * 3 paper in 4 * 4 sizes. Let's fold the paper into a triangle. Let's repeat this process 2 more times. Let's grab the corner point. Let's cut it like in the figure. Let's repeat this process 3 times. Let's cut and glue a branch of the first flower, 2 parts of the second flower. Let's glue the flowers together. In this way, let's make our other flowers.
Şimdi kutumuzu süslemek için çiçekler yapacağız. 44 boyutlarında yaklaşık 20 3 kağıt keselim.Kağıdı üçgen olarak katlayalım.Bu işlemi 2 kere daha tekrarlayalım.Köşe noktasından tutalım.Şekildeki gibi keselim.Bu ilemi 3 kere tekrarlayalım.Birinci çiçeğin bir dalını, ikinci çiçeğin 2 kısmını kesip yapıştıralım.Çiçekleri içiçe geçirip yapıştıralım.Bu şekilde diğer çiçeklerimizi de yapalım.
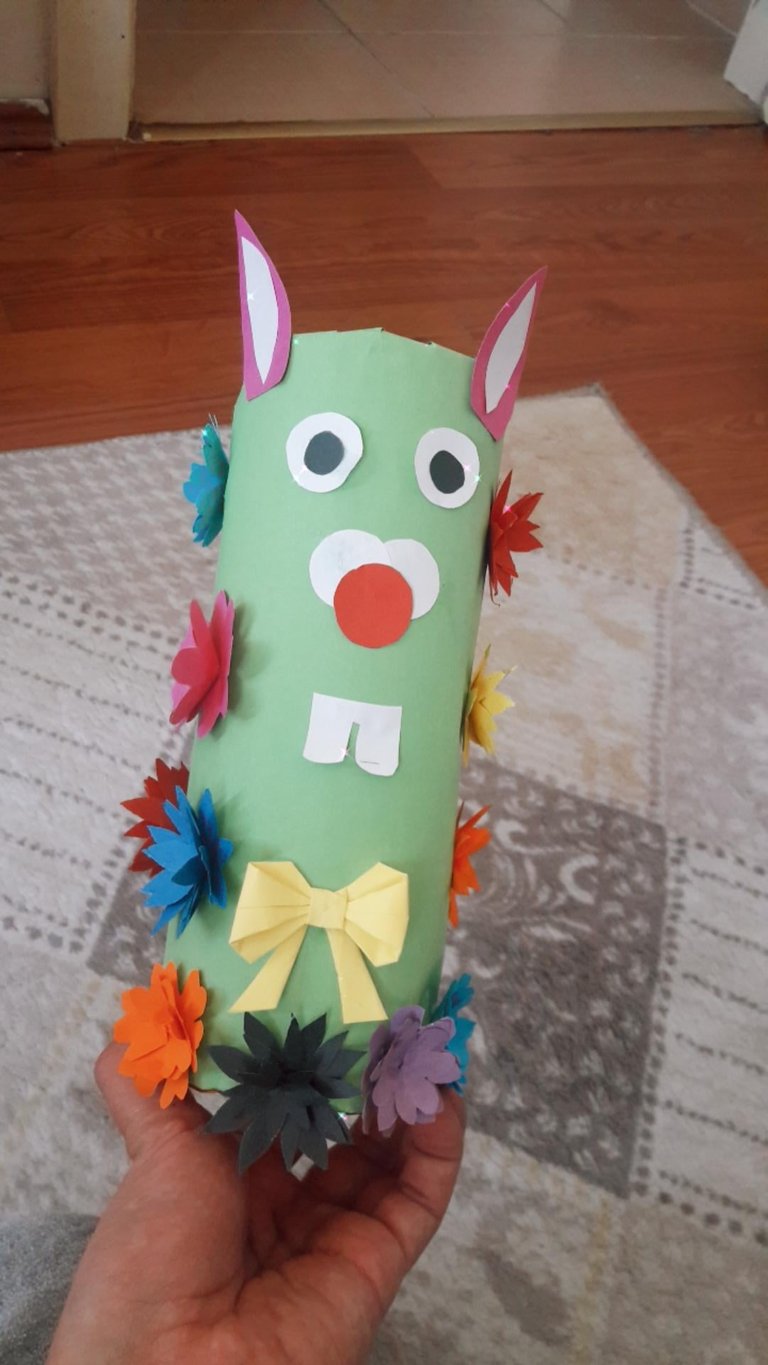
Let's make bunny ears, eyes, ribbon and nose. You can take a look at my other posts and see how to make them. Let's stick the face of the rabbit and the ribbon like in the image. Then, glue our dried flowers to the back of the box and the sides of the rabbit.
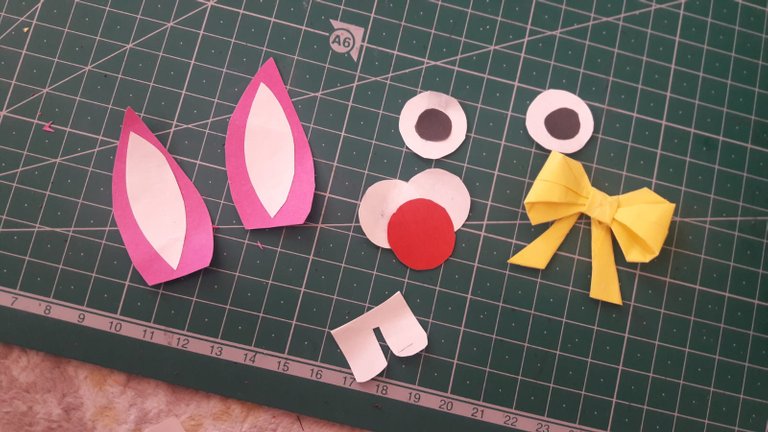

Tavşan kulakları, gözleri, kurdele ve burun yapalım.Diğer postlarıma göz atıp bunları nasıl yapacağınızı görebilirsiniz.Tavşanın yüzünü ve kurdeleyi görseldeki gibi yapıştıralım.Ardından kuruyan çiçeklerimizi kutunun arka kısmına ve tavşanın yan taraflarına yapıştıralım.
And our box is ready. Thank you for your support. See you in the next projects. Take care.
Ve kutumuz hazır.Destekleriniz için teşekkür ederim.Sonraki projelerde görüşmek üzere.Kendinize iyi bakın.
Congratulations, your post has been upvoted by @dsc-r2cornell, which is the curating account for @R2cornell's Discord Community.
Before now used stuffs was only good to be thrown away but now the case is actually different. Thanks for not throwing the pringle box away.
This is a lovely design..
thanks :)
Thank you for sharing this amazing post on HIVE!
Your content got selected by our fellow curator @stevenson7 & you just received a little thank you via an upvote from our non-profit curation initiative!
You will be featured in one of our recurring curation compilations and on our pinterest boards! Both are aiming to offer you a stage to widen your audience within and outside of the DIY scene of hive.
Join the official DIYHub community on HIVE and show us more of your amazing work and feel free to connect with us and other DIYers via our discord server: https://discord.io/diyhub!
If you want to support our goal to motivate other DIY/art/music/homesteading/... creators just delegate to us and earn 100% of your curation rewards!
Stay creative & hive on!