[ESP-ENG] Tutorial Gorro De Cumpleaños Paso a Paso // Birthday Hat Tutorial Step by Step
Hola amigos de hive Espero se encuentren increíble.
El día de hoy Quiero compartir con ustedes Cómo elaborar un gorro de cumpleaños de manera fácil espero les guste tanto como a mí.
Hello friends of hive I hope you find it incredible.
Today I want to share with you how to make a birthday hat in an easy way. I hope you like it as much as I do.
los materiales que van a necesitar para elaborarlo son:
the materials you will need to elaborate it are:
1.- dos hojas blancas tamaño carta.
2.- silicon.
3.- tijeras.
4.- una cinta elastica.
1.- two white letter-size sheets.
2.- silicon.
3.- scissors.
4.- an elastic band.
elaboración:
elaboration:
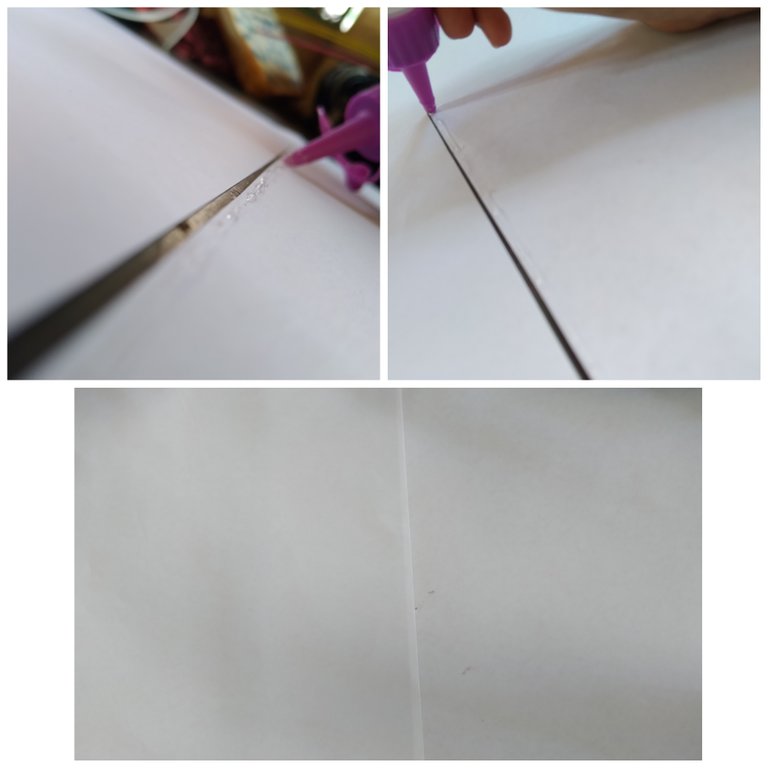
lo primero que vamos a hacer es colocar las hojas una al lado de otra en forma vertical, luego le colocamos silicón en el borde de la hoja y pegamos las hojas.
The first thing we are going to do is to place the sheets next to each other vertically, then we put silicone on the edge of the sheet and glue the sheets together.
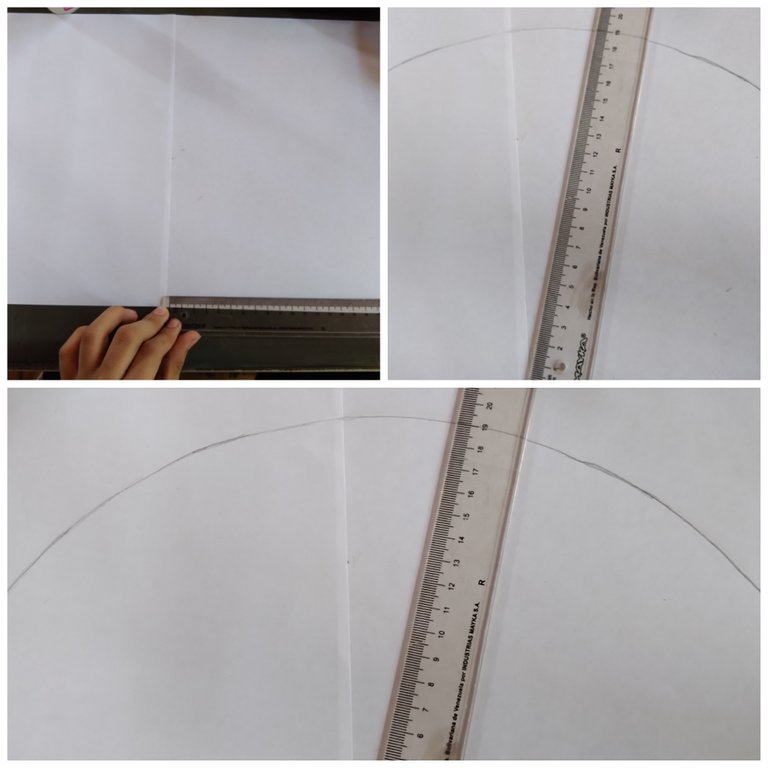
Ahora elaboramos un medio círculo con un diámetro de 19 cm, si no tienes un compás puedes usar una regla.
Now we make a half circle with a diameter of 19 cm, if you don't have a compass you can use a ruler.
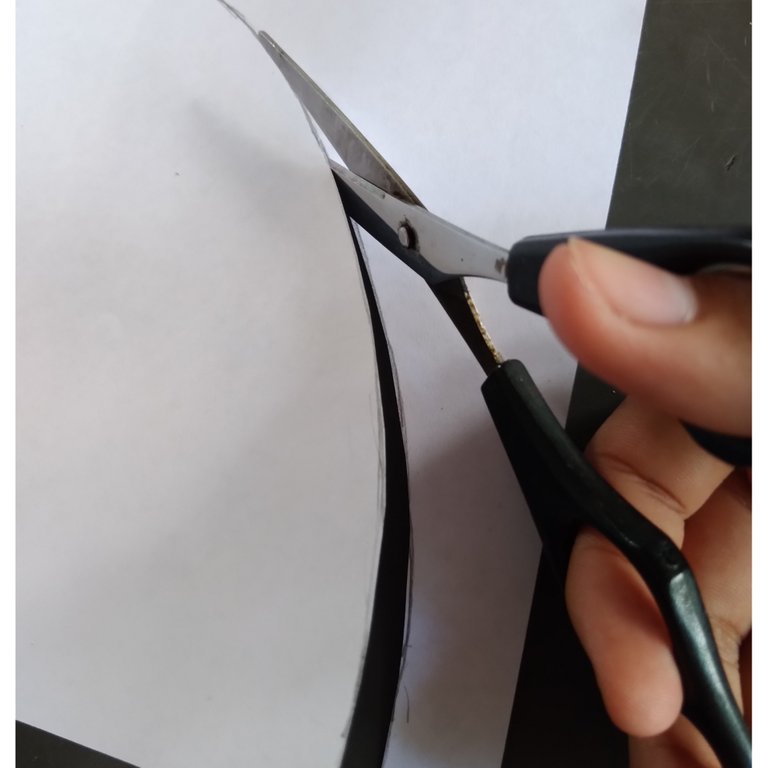
Ahora tomamos las tijeras y cortamos el cemi circulo que acabamos de hacer.
Now we take the scissors and cut the cemi-circle that we just made.
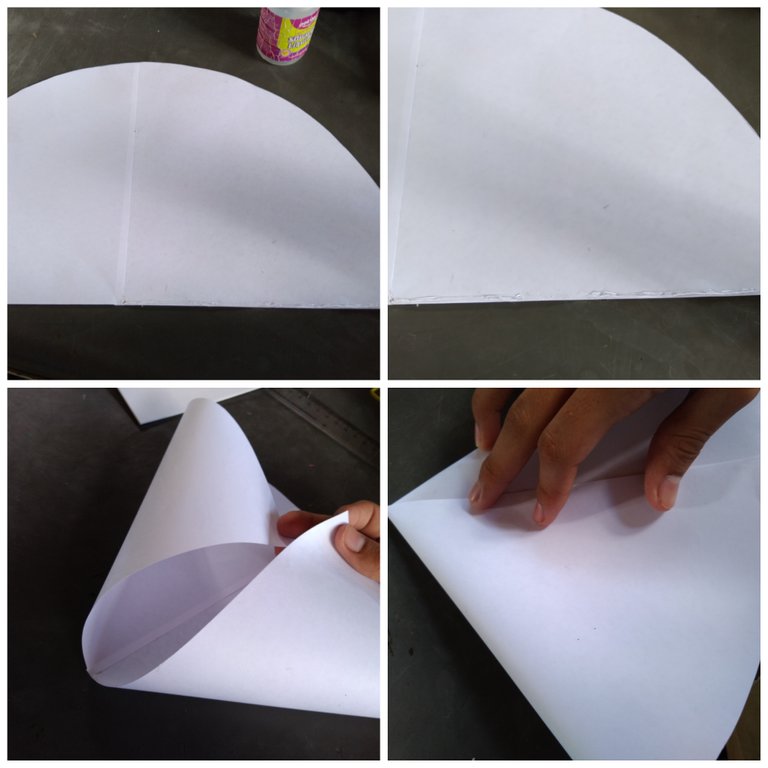
ya que tenemos nuestro semicírculo cortado colocamos silicón en el borde de la parte de abajo es decir en la que está recta de la parte derecha.
Ahora doblamos las esquinas hacia la parte arqueada formando un cono Y con el silicón que previamente hemos colocado pegamos.
Since we have our semi-circle cut, we put silicone on the edge of the bottom, i.e. the one that is straight on the right.
Now we fold the corners to the arched part forming a cone Y with the silicone that we have previously placed stick.
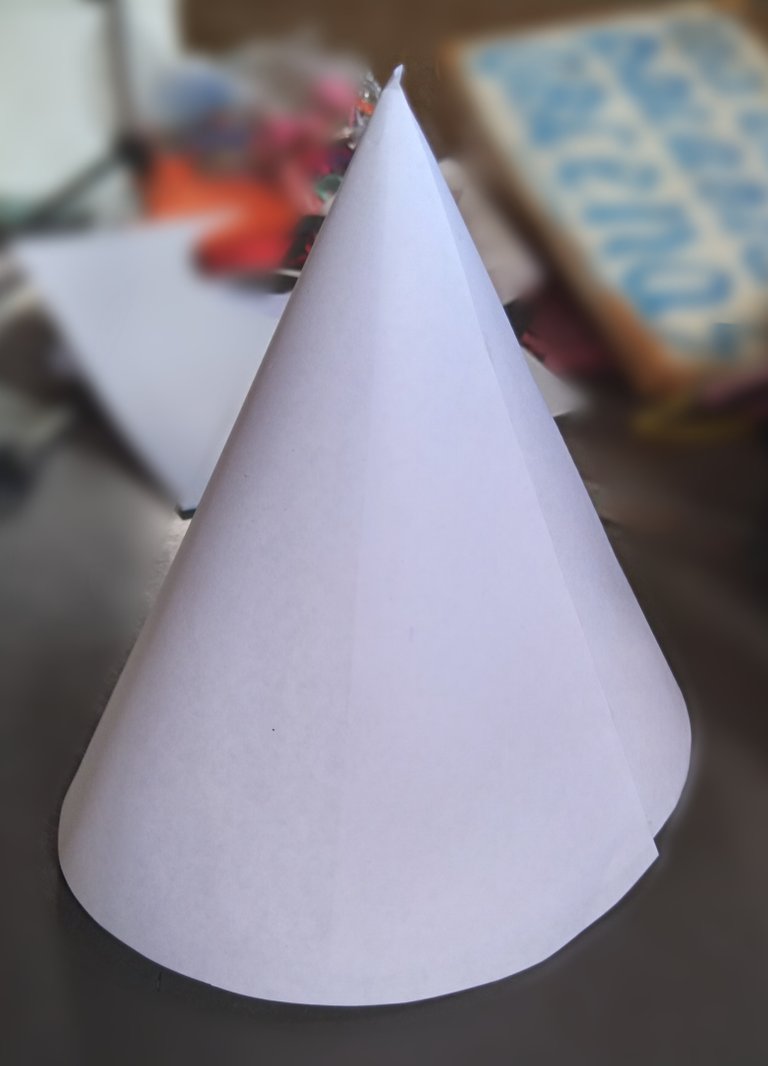
y nos debería de quedar como el de la fotografía.
and it should look like the one in the picture.
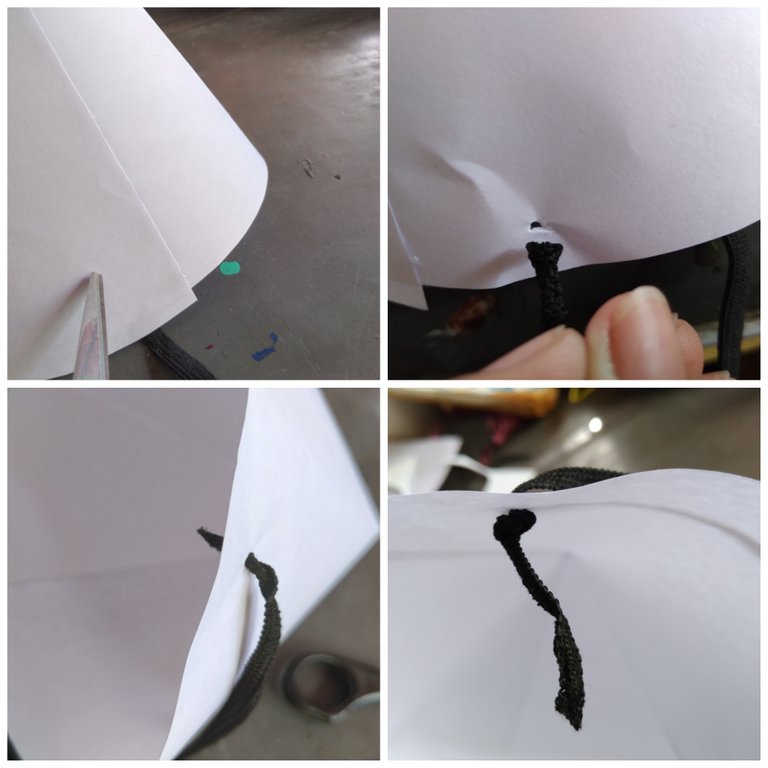
Luego con Las tijeras hacemos un pequeño orificio en la parte de abajo izquierda del cono le introducimos un elástico y cuando el elástico haya entrado hacemos un nudo para que no pueda salir cortamos el excedente y repetímos esto mismo en el lado derecho.
Then with the scissors we make a small hole in the lower left side of the cone we introduce an elastic and when the elastic has entered we make a knot so it can't come out we cut the excess and we repeat this on the right side.
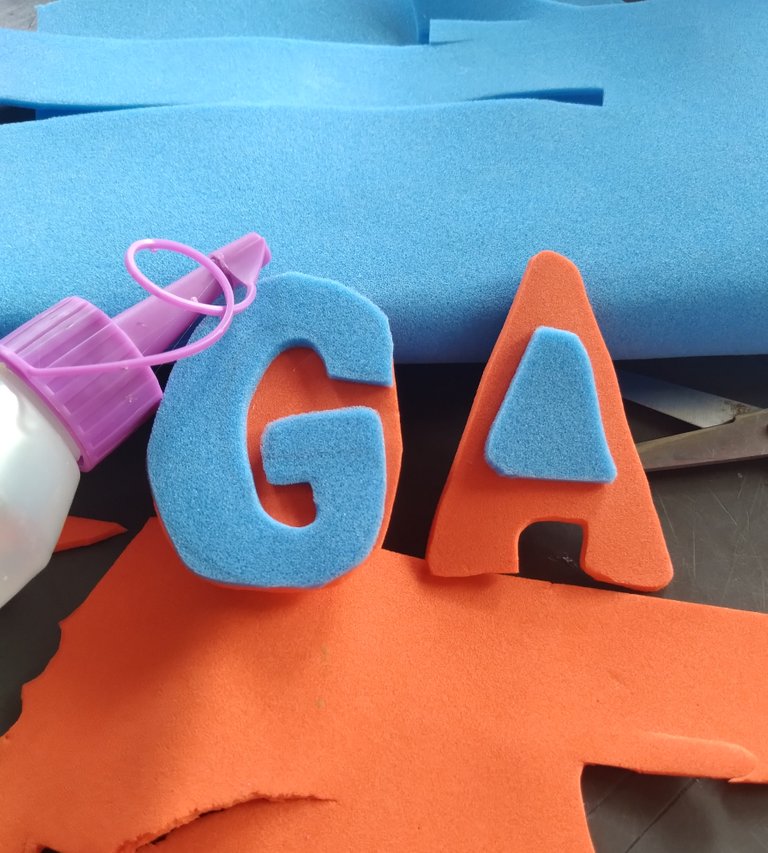
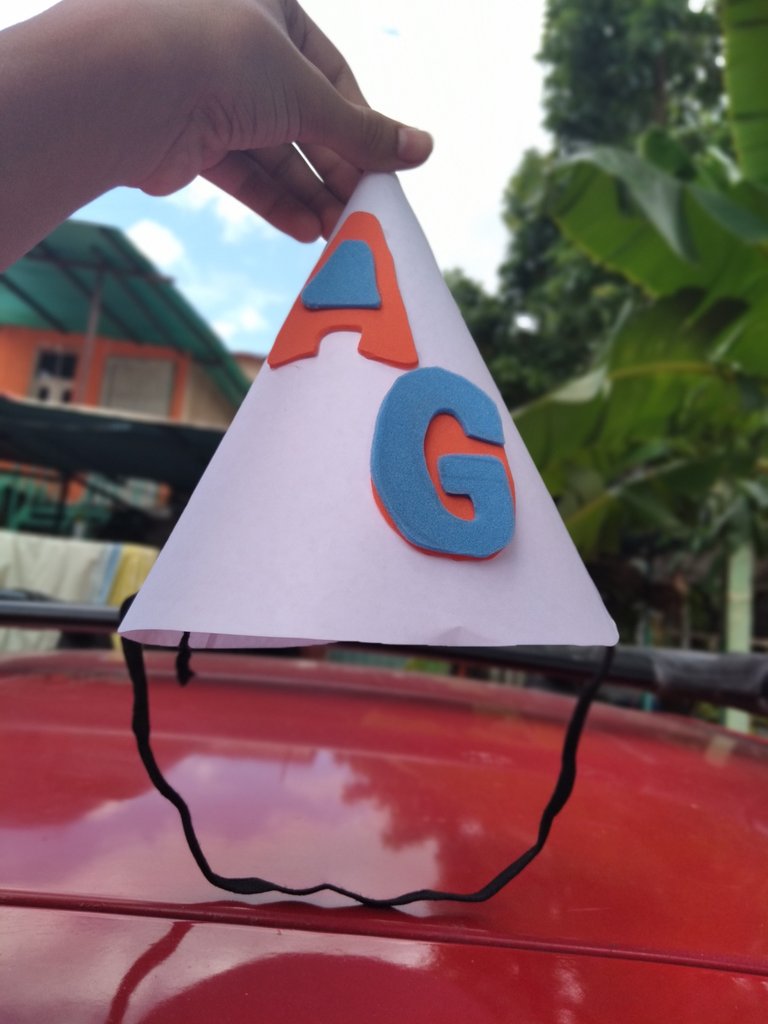
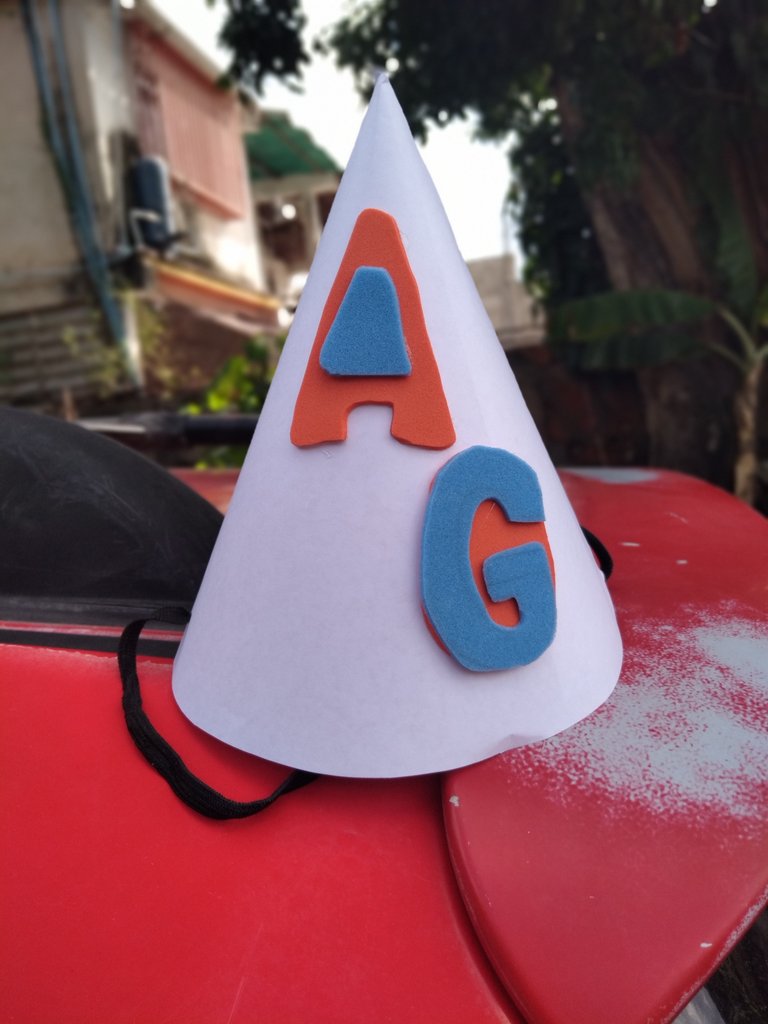
Ahora yo con foami elabore mis iniciales para decorar el sombrero de cumpleaños pero ustedes pueden decorar su sombrero de la manera que ustedes deseen.
Y listo ya hemos terminado nuestro gorro quedo increible y ya podemos lucirlo en nuestra fiesta de cumpleaños.
Now I foamed my initials to decorate the birthday hat but you can decorate your hat any way you want.
And that's it, we have finished our hat and it looks amazing and we can wear it at our birthday party.
Bueno amigos de hive hasta aqui mi post de hoy espero les alla gustado tanto como a mi, nis vemos en un proximo post adios.
Well friends of hive until here my post of today I hope you like it as much as I do, see you in a next post goodbye.
Todas las fotografias fueron tomadas con mi telefono celular
All pictures were taken with my cell phone.