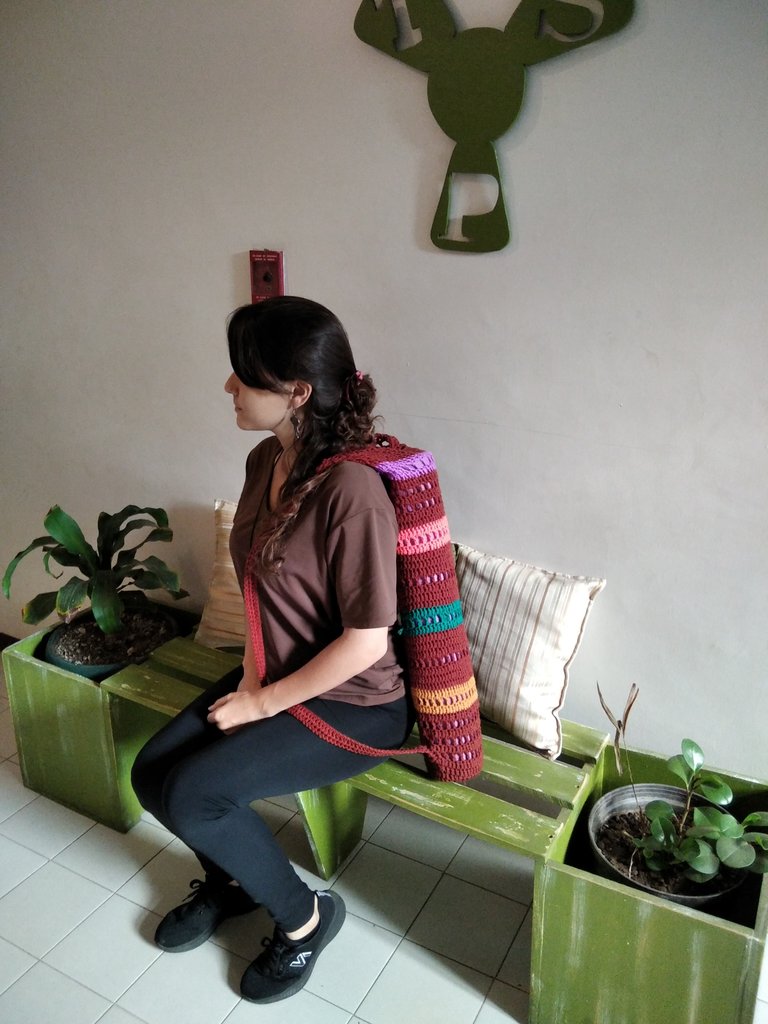
Y así se hace un porta matt. / And that's how a porta matt is made.

Materiales para la elaboración de funda de alfombras para hacer yoga:
Aguja de crochet o ganchillo, tamaño 4.5.
Hilo acrílico para tejer.
Materials for making yoga mat covers:
Acrylic yarn for knitting.
Crochet or crochet hook, size 4.5.
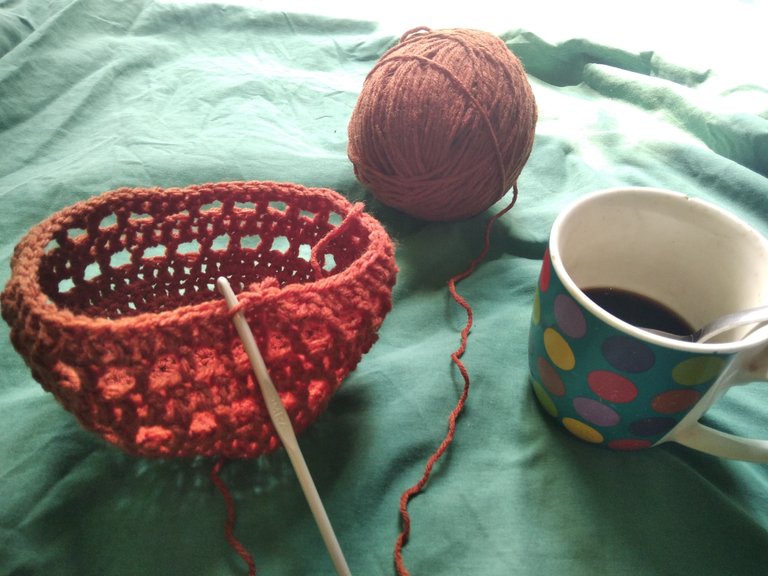
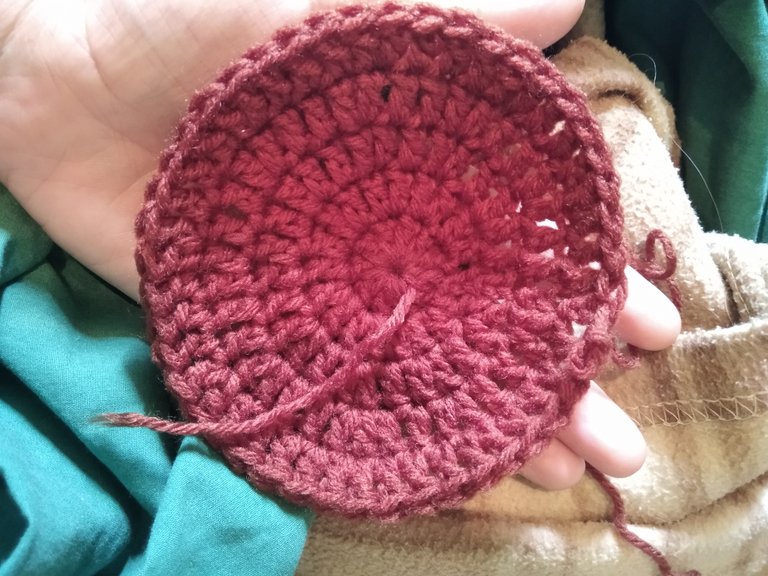
Paso 1:
Comenzamos haciendo un anillo mágico, es decir, en circulo, hasta hacer aumentandos para ir dandole forma de funda.
Step 1:
We start by making a magic ring, that is, in a circle, until we make increases to give it the shape of a cover.
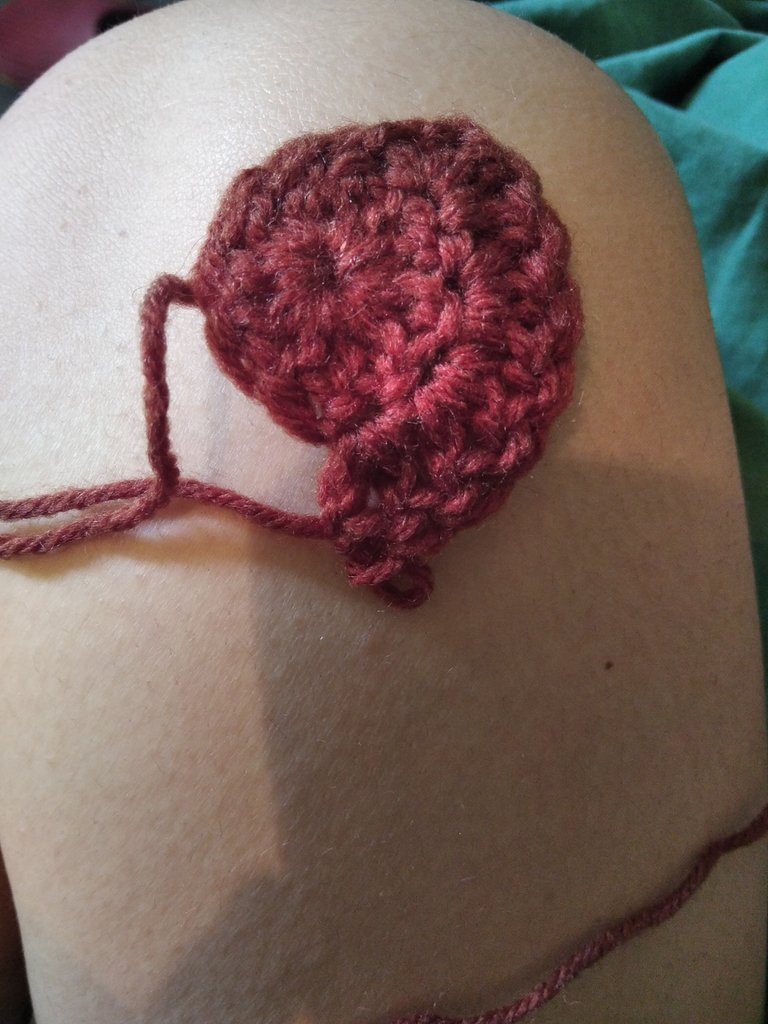

Paso 2:
Luego de tejer el anillo magico, vamos haciendo aumentos en cada punto alto.
Step 2:
After knitting the magic ring, we are making increases in each double crochet.
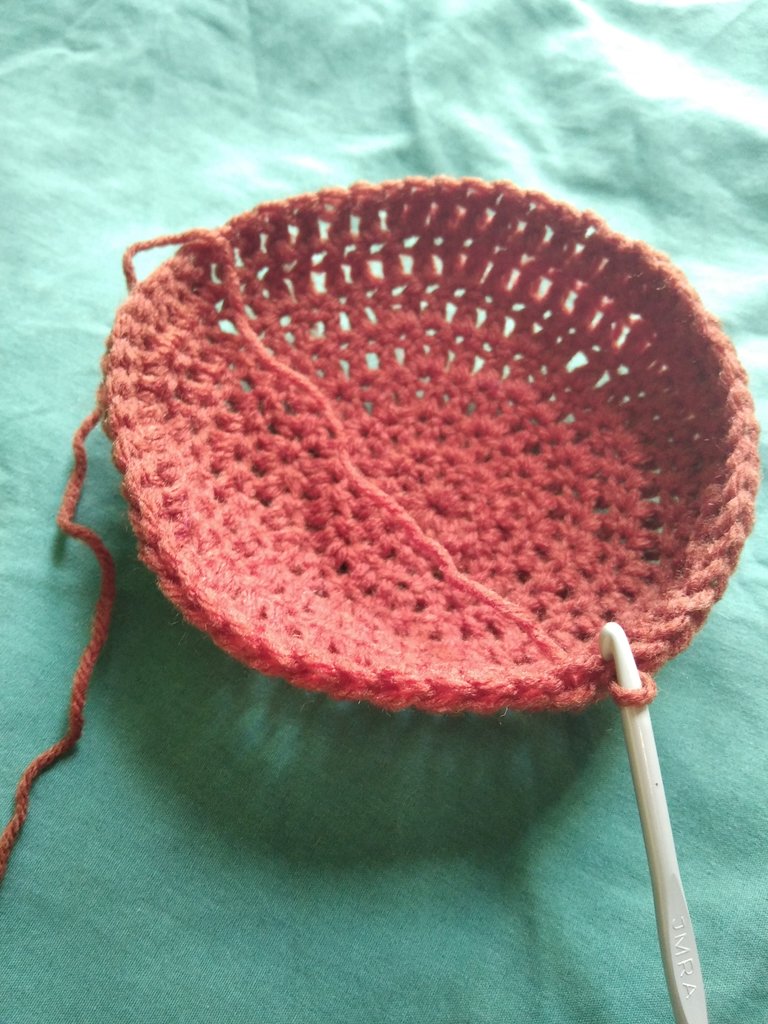
Paso 3:
Seguidamente, empezamos a hacer puntos distintos. seguiremos tejiendo igual pero con un punto que no se tejera, sera intercalado.
Step 3:
Next, we start to make different points. We will continue knitting the same but with a stitch that is not woven, it will be interleaved.
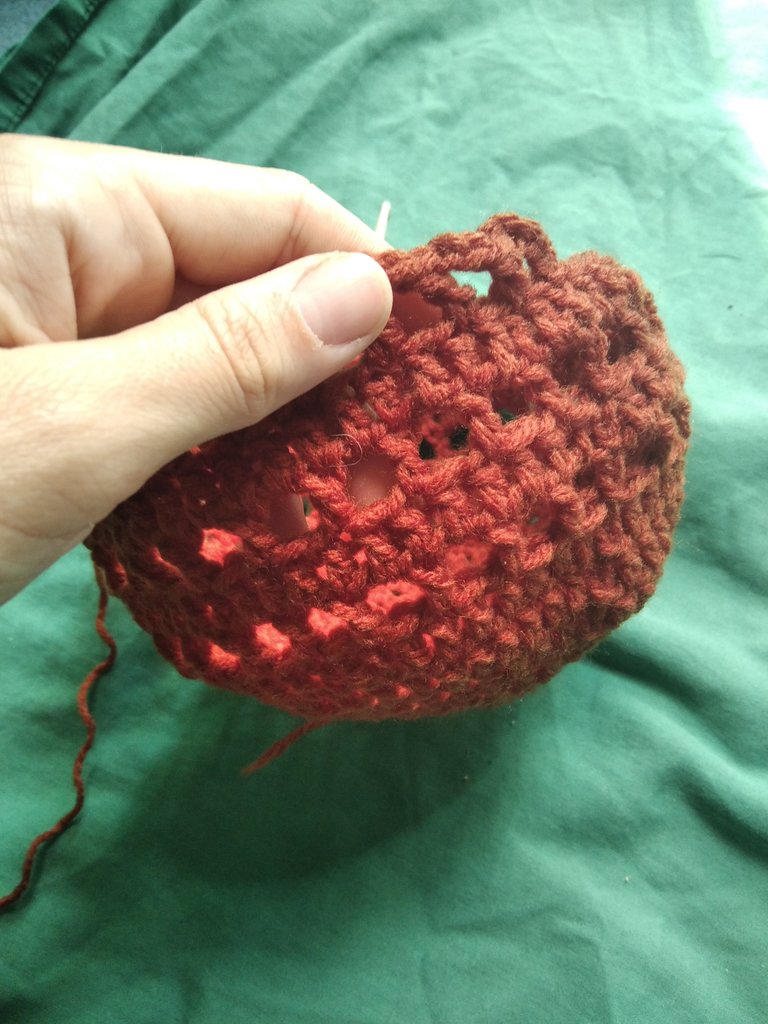
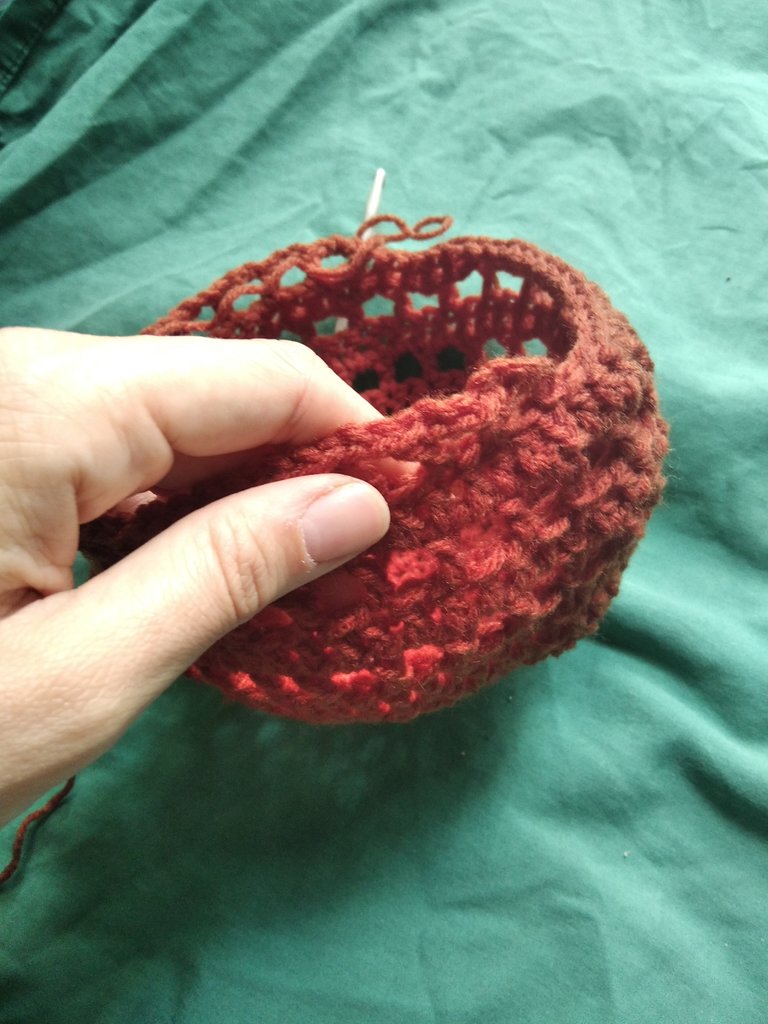
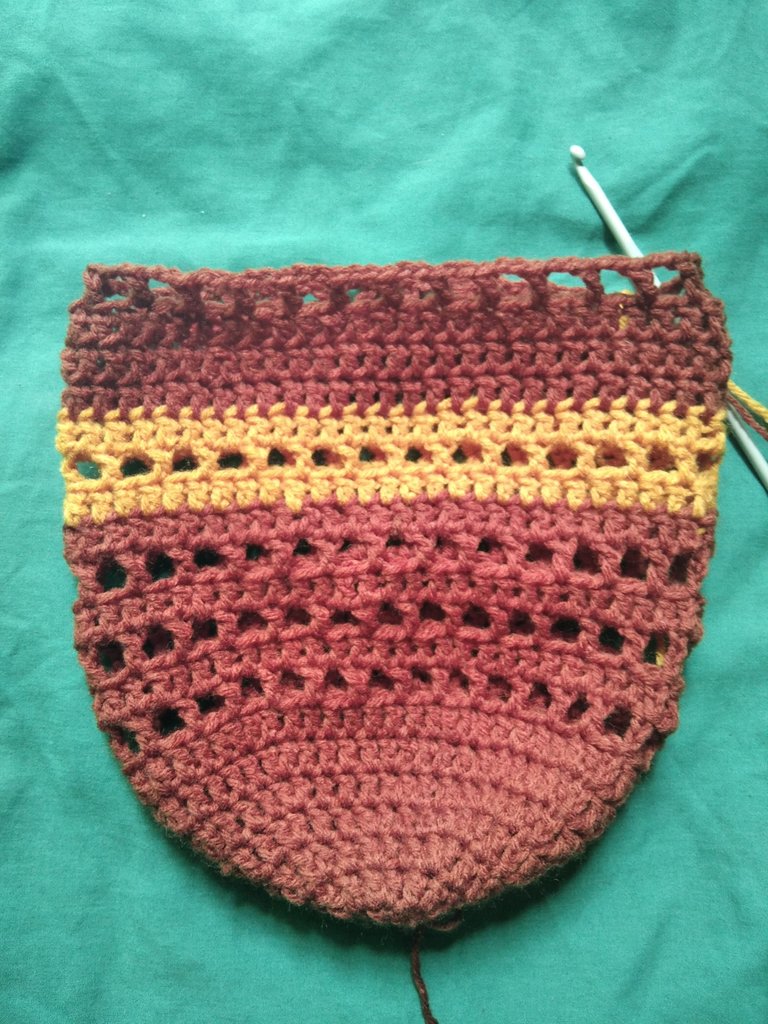
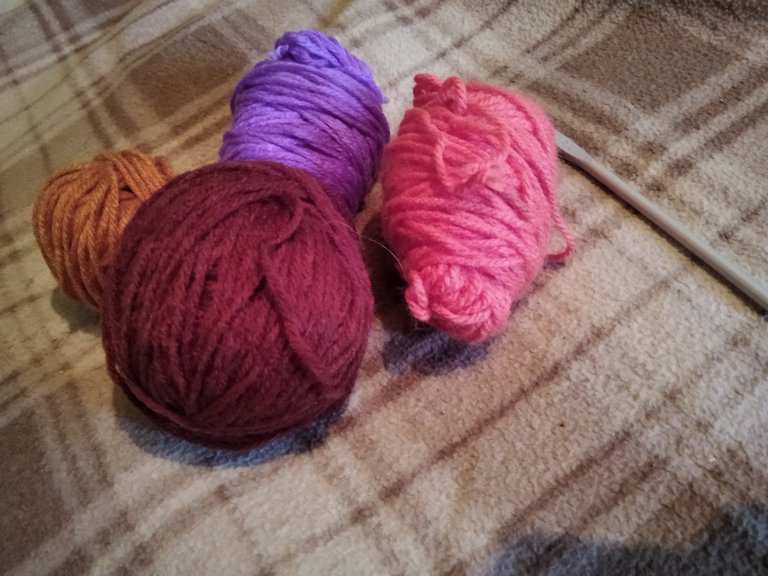
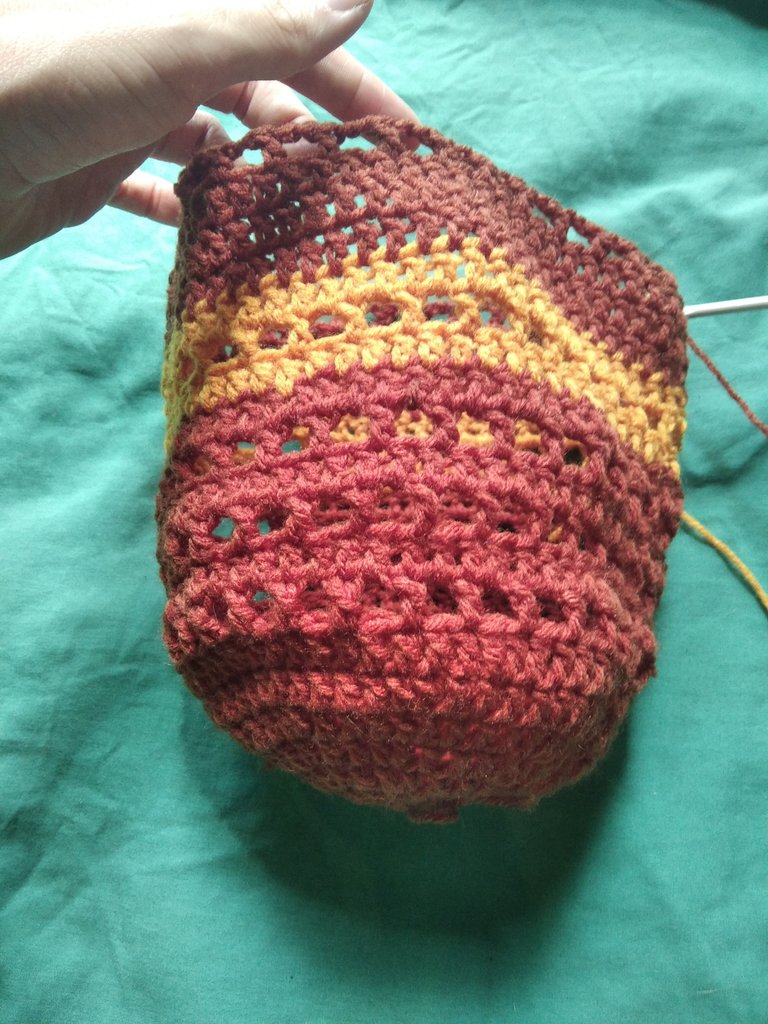
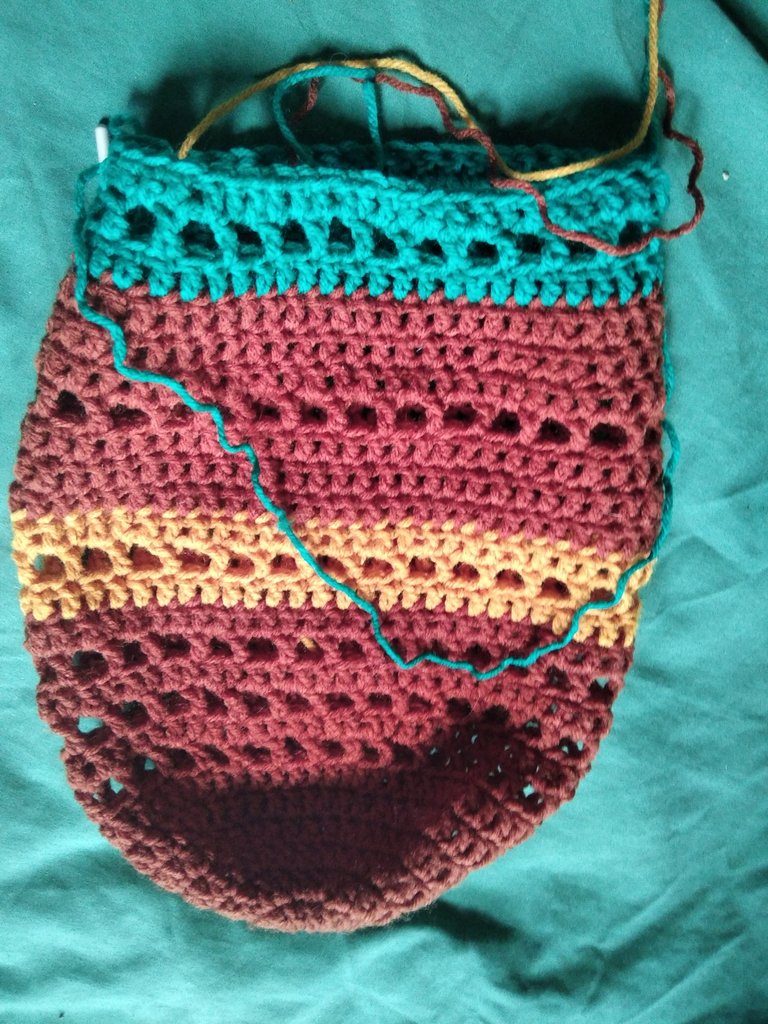
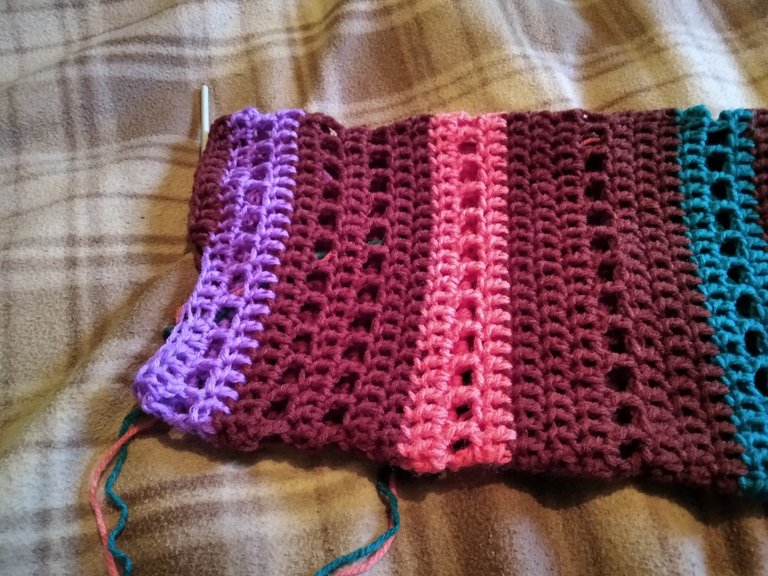
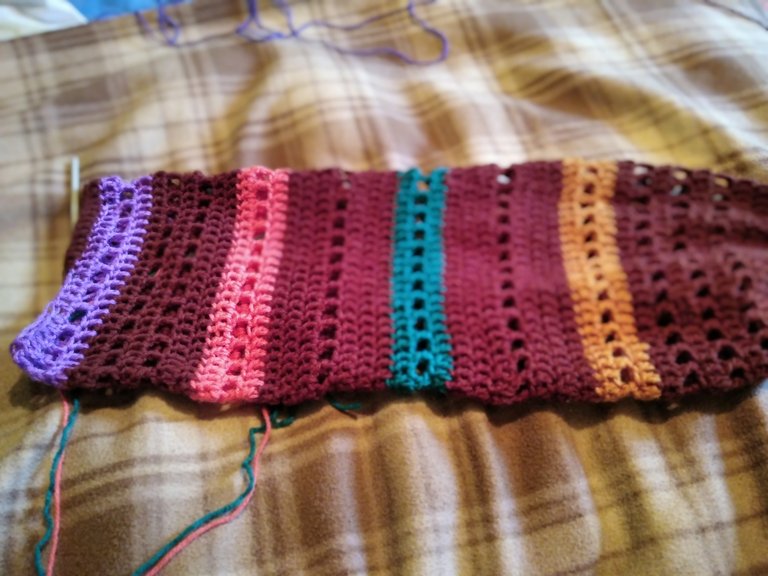
Paso 4:
Le cambiamos el color, dependiendo del ancho y el sentido estetico que quieras darle a tu porta matt.
Step 4:
We change the color, depending on the width and aesthetic sense that you want to give to your porta matt.
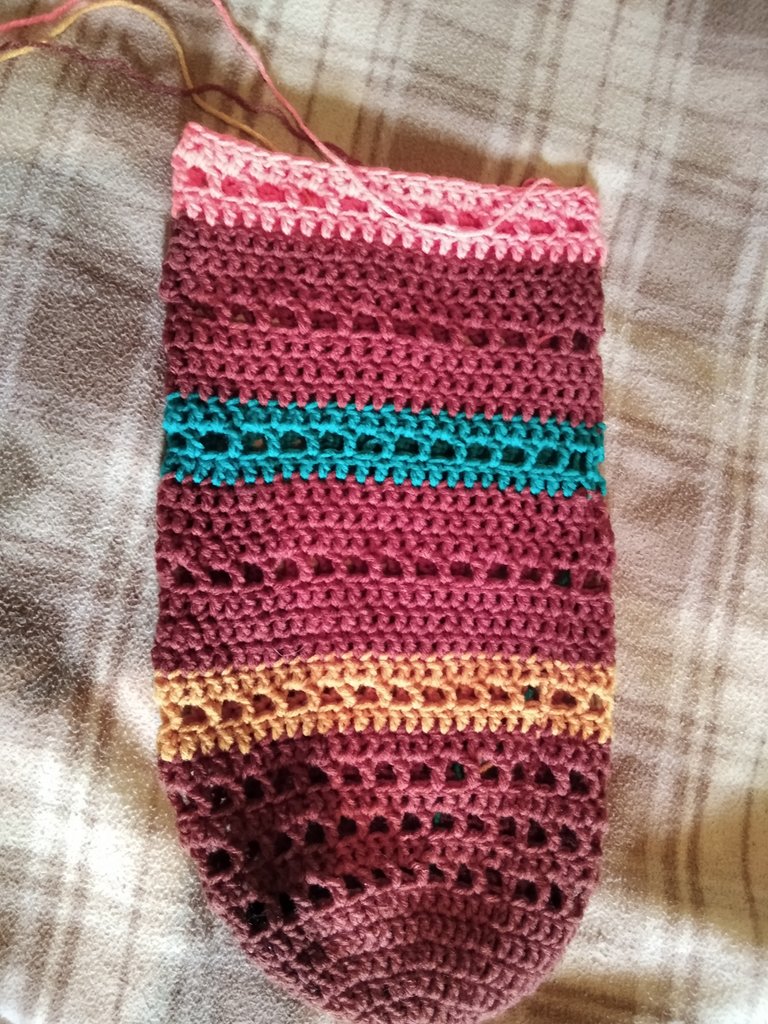
Paso 5:
Procedemos a colocarle la cinta tejida.
Step 5:
We proceed to place the woven ribbon.


Feliz fin de semana! Te ha quedado precioso, la gama de colores muy sobria, me encanta. Gracias por el paso a paso. Saludos
Que lindo que te gusto jeje. Esta vez no explique el paso a paso tan detallado. Pero ahí vamos mejorando cada día jeje. Un abrazo
Si, pero se entiende el paso a paso, lo dejas claro para mí.
Ah porque tu eres talentosisima en el arte del tejido 😊 . Saludos.