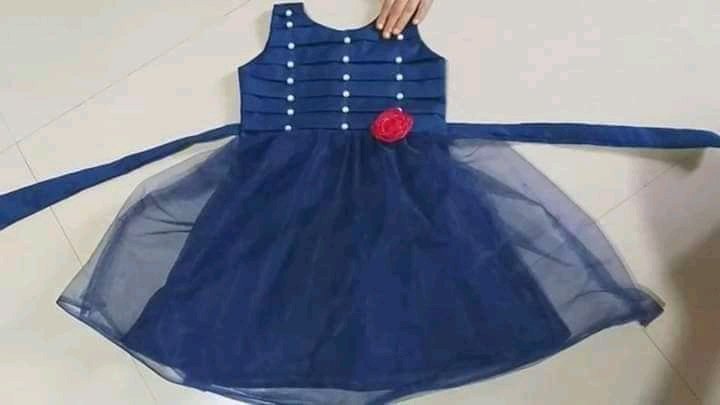
Making a littles princess gown @smilestitches, still putting smiles on your face 😀
Hello my beloved "hivers" how are we doing? I trust we're doing perfectly fine, am not doing bad either actually am just so happy, I mean am always so happy because I know as long as i'm alive there's surely hope for a better tomorrow 😁, and I also know and believe that my tomorrow must be greater than today so am not bothered about today. I might have not told you guy that i have a female cousin who's into fashion and designing too and she's currently training me how to stylish a female dress too. So yesterday i had a training session with her so she said, "today I'll be showing you how to make a little princess gown" and I was like 😱 really? I was just so happy and its was really fun learning how to make a little princess gown, so I'll be sharing with your guys step by step, from the start to the finish how we completed this cute gown😊👇
ITEMS USED:
*A nervy blue material
*A nervy blue organza (Hard neat)
*A nervy blue thread
*White bally beads
*A red rose
PROCESSES:
First step:
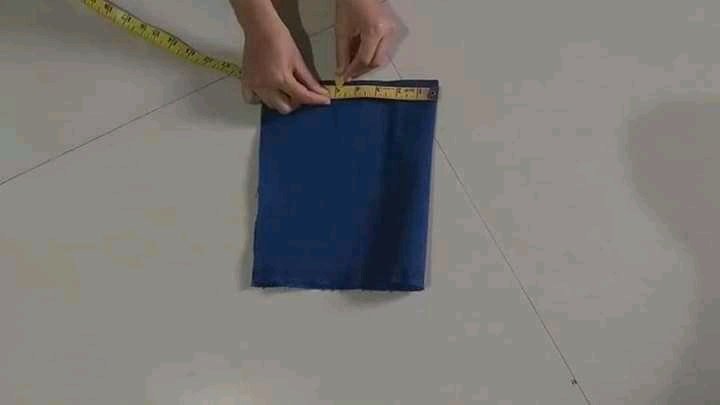
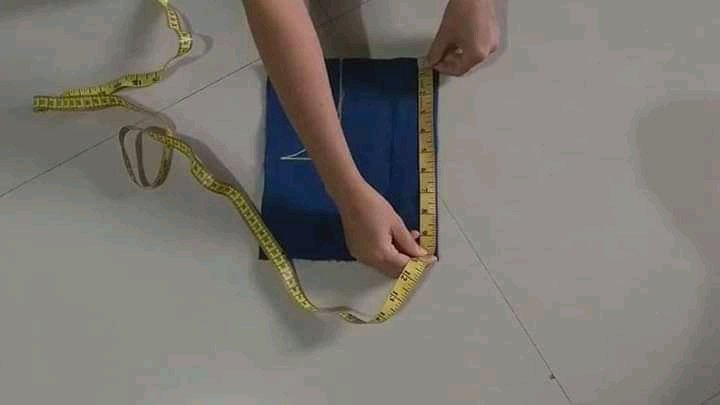
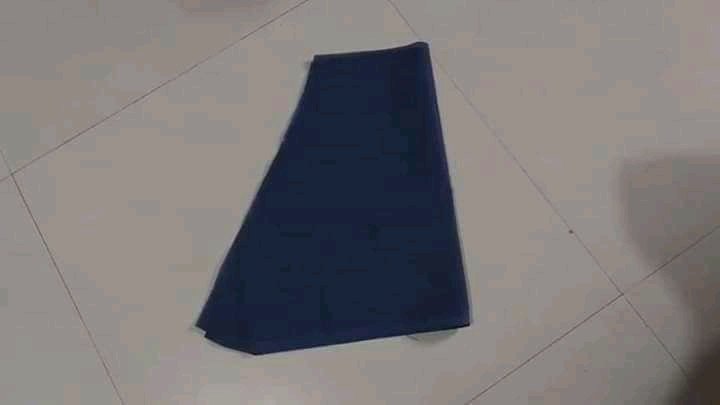
We started by laying the big material on the cutting, after that we folded 9inches size and 10inches length and we cut out from the big material, then keep the big material aside and lay the little pieces we've cut on the table for cutting of the half top, after we've laid it. 👇
Step two:
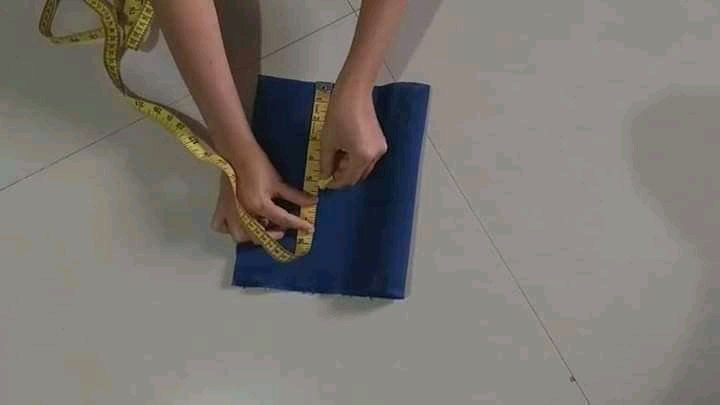
Now the cloth is laid, we'll be cutting out the little girl's shoulder which was 10inches from the original measuring, so we divided the 10inches into two which is 5inches so we took 5inches as the shoulder 👇
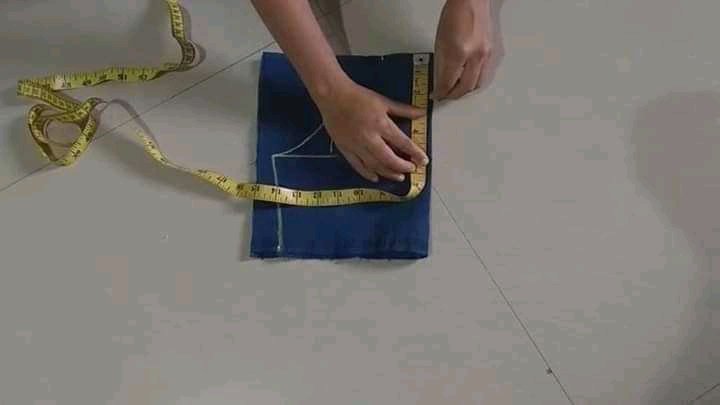
Now because we folded it into two now if we open it, it will be 10inches just exactly the little girl's shoulder. Then we took the length of the rounding that goes to the armpit, we took 5inches too👇
Step three:
We indicated the measurements we've taken So far with a chalk.
Q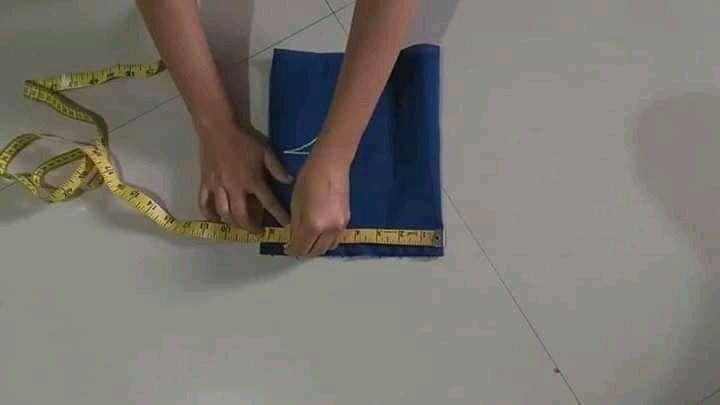
And then we sketched the body measurement too with the chalk, the little girl's body measurement was 28inches with allowance, so we divided that 28inches into 4 and we got 7inches, then we indicated it and from the armpit we drew the shape of the body 👇
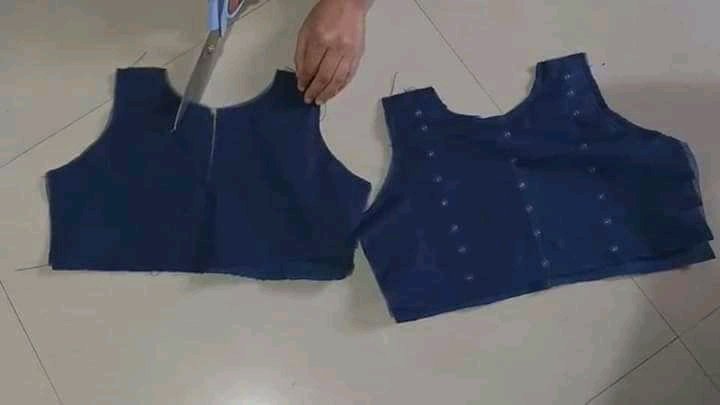
Step four:
We then proceeded to the neck, we took the size 2inches and the length 2.5inches, we drew a chalk to indicate 👇
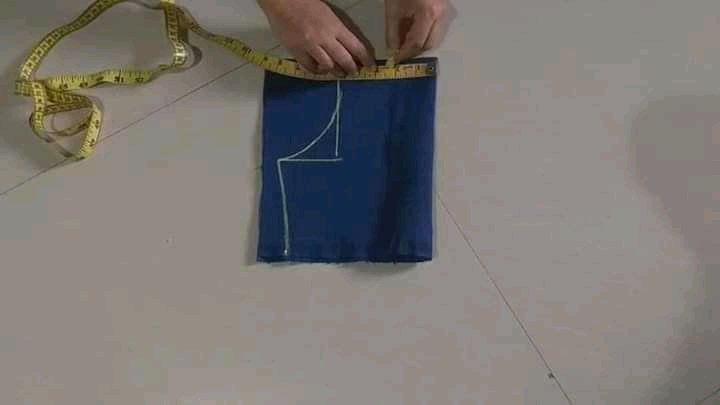
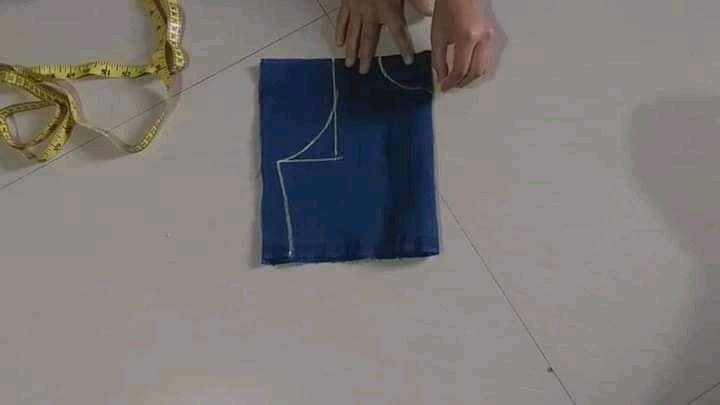
And the we did the cutting 👇
Step five:
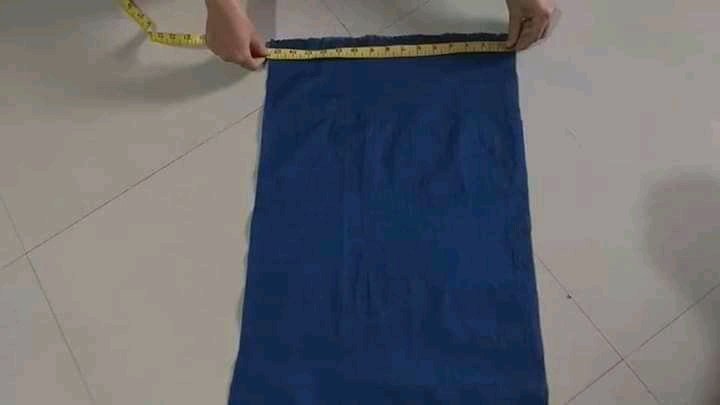
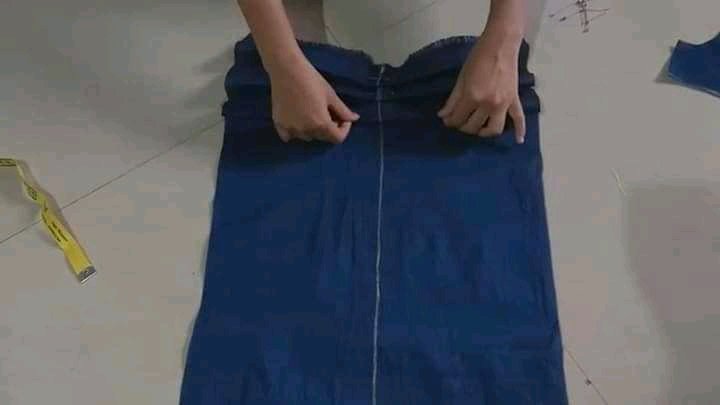
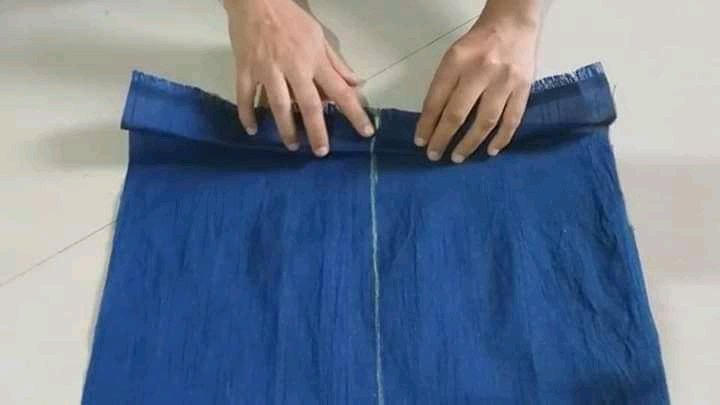
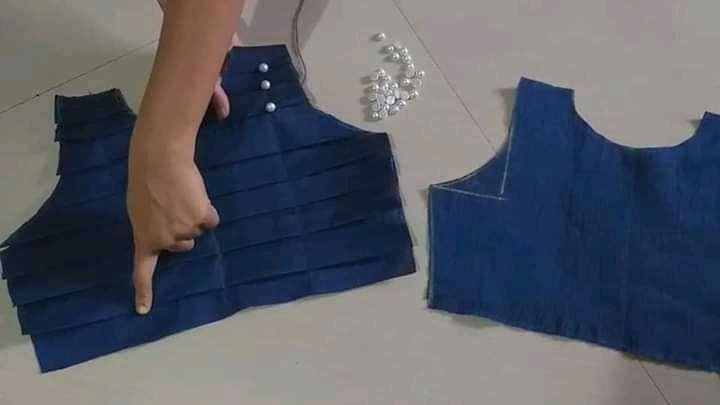
We now cut out 16inches size and 35inches length from the remaining nervy blue
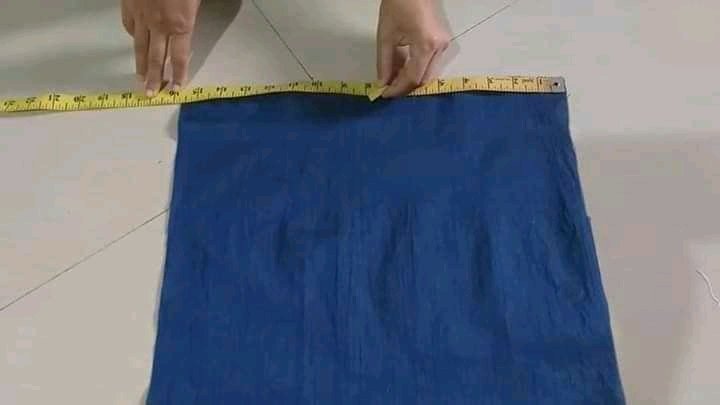
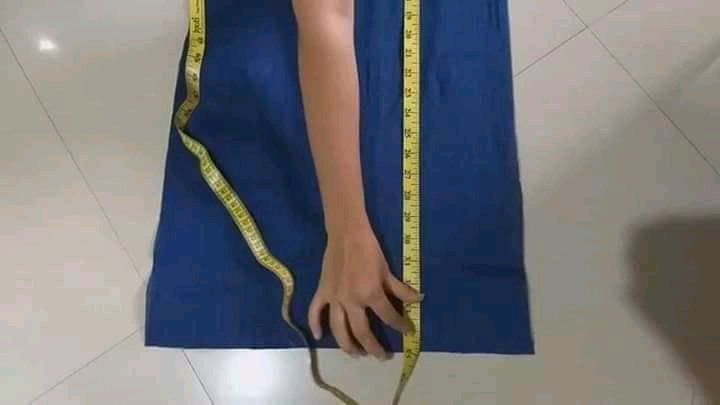
Then we drew a straight line to indicate the middle and we started pleating bit by bit
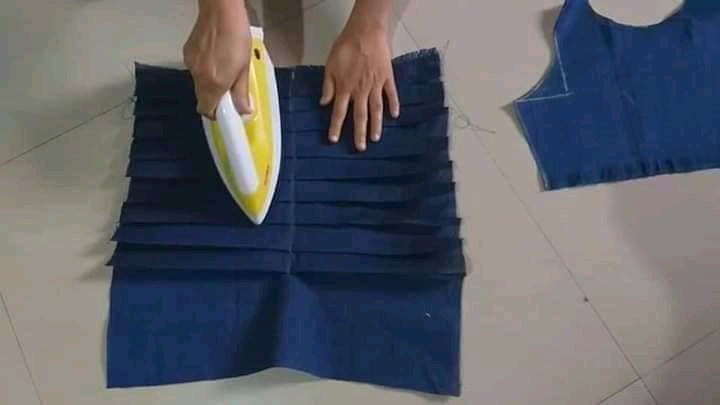
This was how it looked when we were done and we ironed it too 👇
Step six:
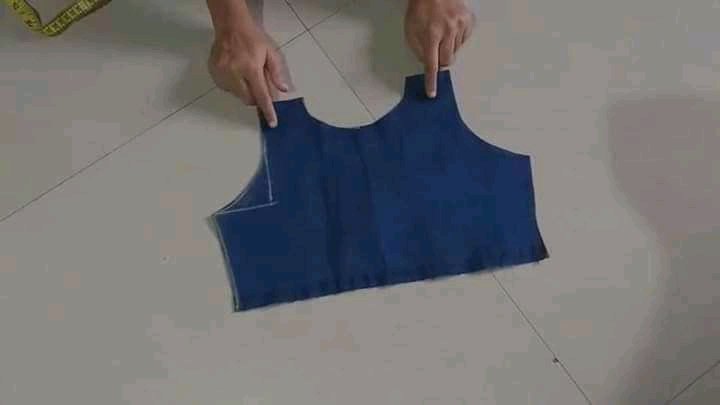
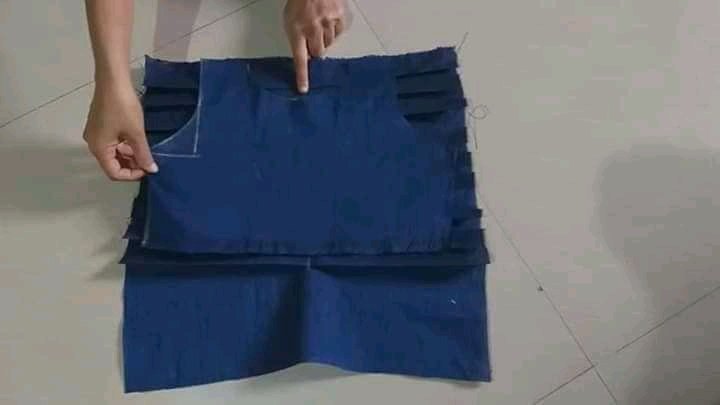
After we finished the pleating, we then took the other half front we cut, we place it on top of the pleating and we cut the same so that we will use the pleated side as the front while we will use that other plain front as the inner turning.👇
Step seven:
This was really stressful, actually I was happy she didn't ask me to do it because it was very stressful and stress was the last thing I need at that point I was already furious, tho to the multiple steps I received. Unlike the man category that doesn't stress at all. but I thought maybe it was because it was my first time in that side of work. So she used iron to gum the stones to the front👇
And then after the stoning, she cut both front and turn it with another pieces to the back 👇
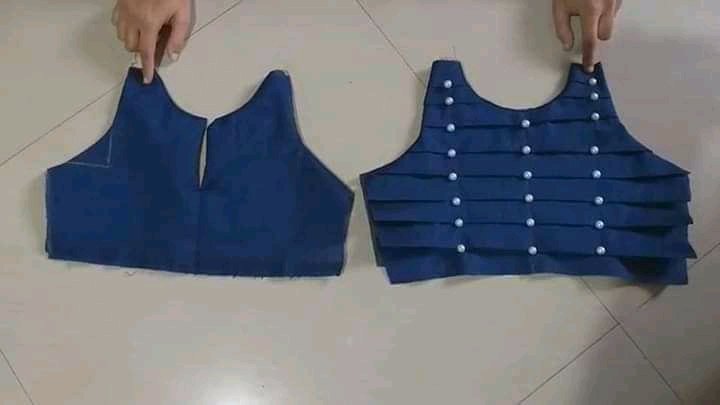
Now the front was ready!!!!
Step eight:
We now cut the orgainza neat in the more than the skirt size of the little girl, then we did just one thread line at the top to twist and give us this shape 👇
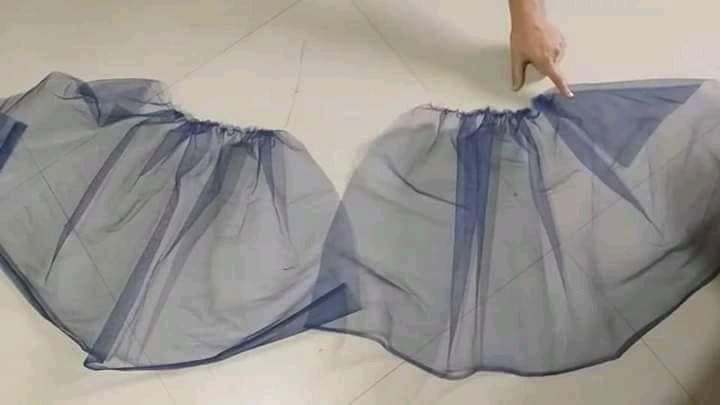
Finally, we also cut our nervy blue material to the size of the orgainza and we did the same twisting for the Sam shape to come out 👇
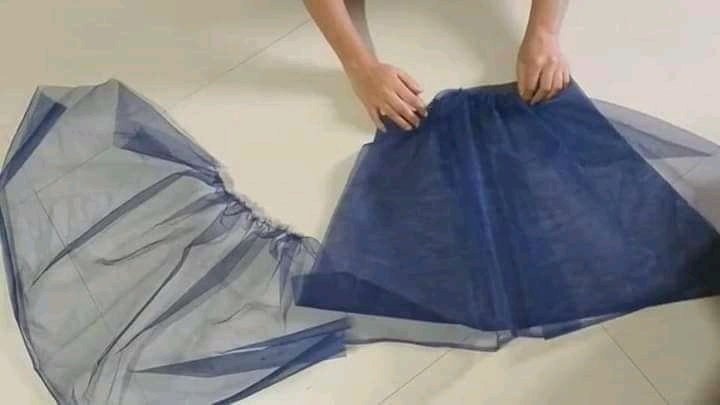
Lastly after the twisting we then join it to the back and front of the short top 👇
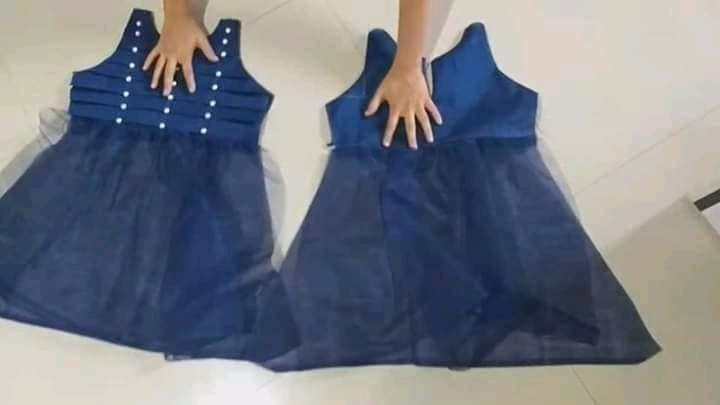
We joined both sides to the little princess measurement and boom!! Her royal highness's dress was ready😁 👇
A very hug Thanks to every one for visiting my blog, I do hope from the steps have listed, you'll understand and be able to make your own princess gown too, I love you all and God bless you!!!
Happy sunday guys😬🤗
Hehehehehe
See who we have here ooo
Nice one dear
😂 😂 😂 my dear, am here to stay for real oooo😊😊😊 and am glad to see you on this platform too
That's good
Welcome once again
Thanks so much 😁
You're welcome
Awwwwn your always in my heart joor😊😁
Issoright
Congratulations @smilestitches! You have completed the following achievement on the Hive blockchain and have been rewarded with new badge(s) :
Your next target is to reach 200 replies.
You can view your badges on your board and compare yourself to others in the Ranking
If you no longer want to receive notifications, reply to this comment with the word
STOPCheck out the last post from @hivebuzz:
Support the HiveBuzz project. Vote for our proposal!
Thank you so much @hivebuzz for this amazing support, its a big boost to my effort, thank you so much
Thanks so much @hivebuzz am so glad for your support
You're welcome @smilestitches 😊👍
😊😊😊
This is beautiful. I love the detailed illustration