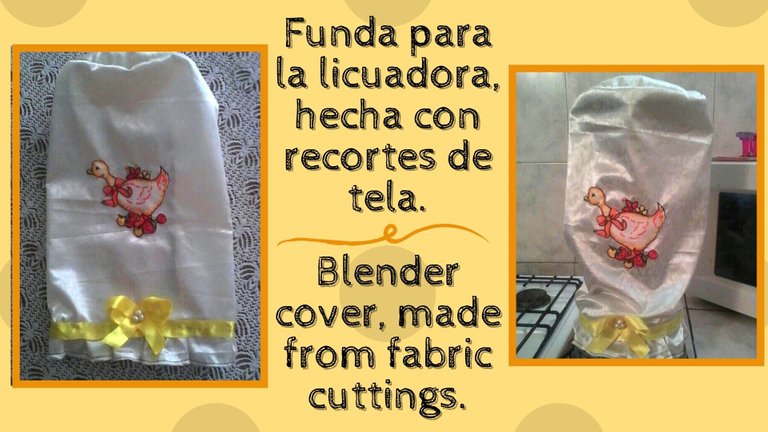
[ESP/ENG] FUNDA PARA LA LICUADORA HECHA CON RECORTES DE TELA. // BLENDER COVER MADE FROM FABRIC CUTTINGS.
Hello friends of this nice community, today I will show you how to make this lining or cover to dress our blender.
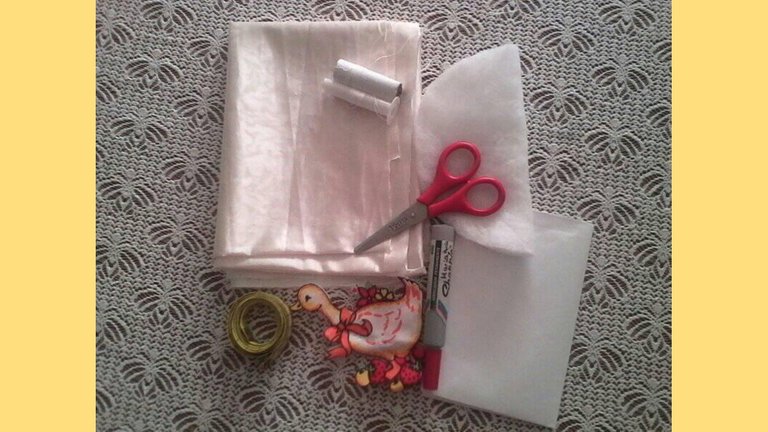
| Materiales: | Materials: | |
|---|---|---|
| Recortes de tela. | Fabric cutouts. | |
| Aguja. | Needle. | |
| Hilo. | Thread. | |
| Tijera. | Scissors. | |
| Cinta métrica. | Measuring tape. | |
| Cinta para decorar. | Tape for decorating. | |
| Silicón. | Silicone. | |
| Relleno (guata). (Opcional). | Stuffing (wadding). (Optional). | |
| Marcador. | Marker. | |
| Papel. | Paper. | |
| Figura para decorar. | Figure to decorate. |
¡Comencemos!
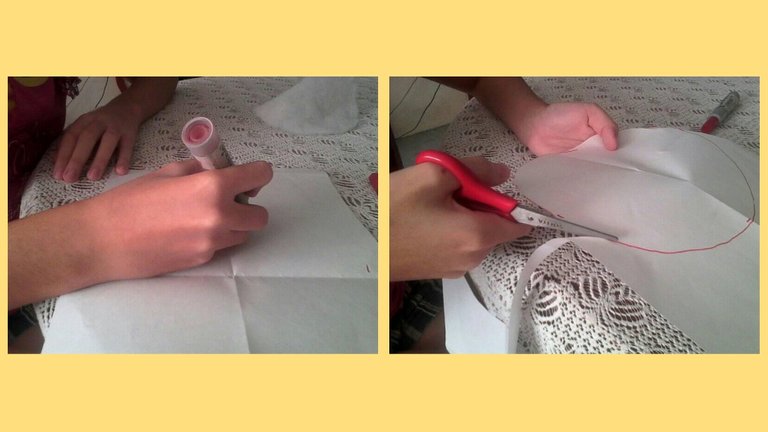
Cuando ya tengamos las medidas marcamos un círculo en papel y recortamos.
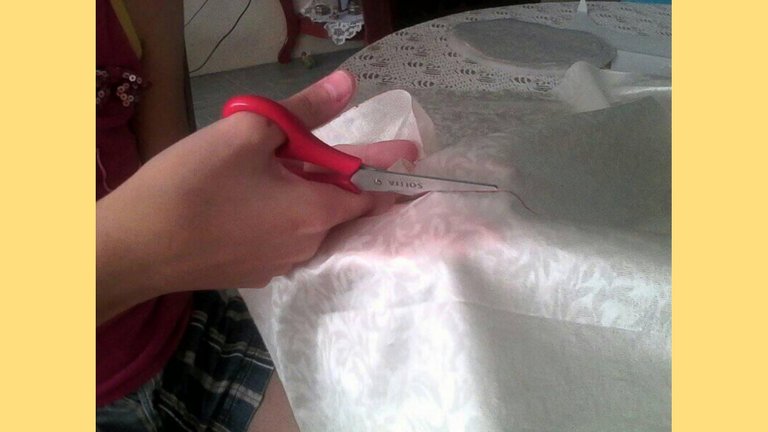
First, we measure the top of the blender to make our pattern.
Once we have the measurements, we mark a circle on paper and cut it out.
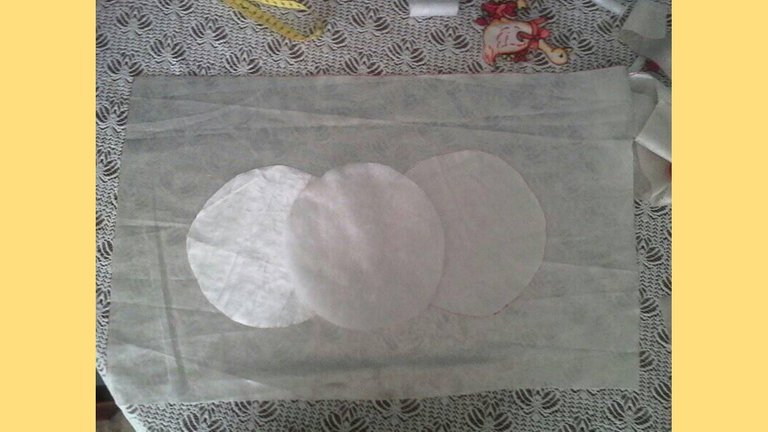
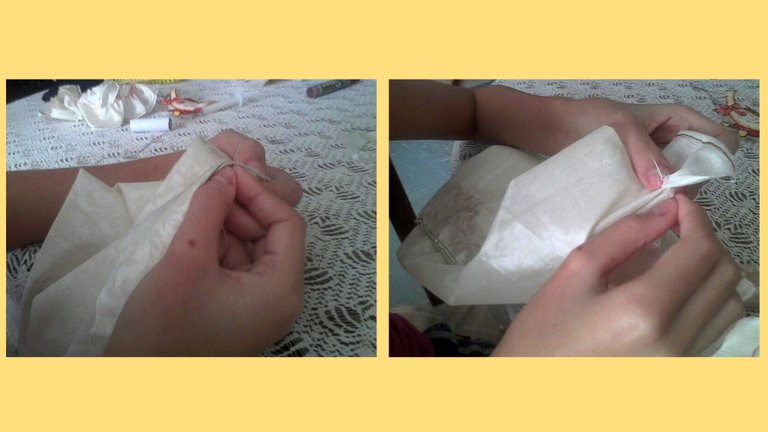
Then, we mark the pattern on the fabric and cut it out, in this case I cut two pieces to join them with the stuffing, because the one I used was not firm.
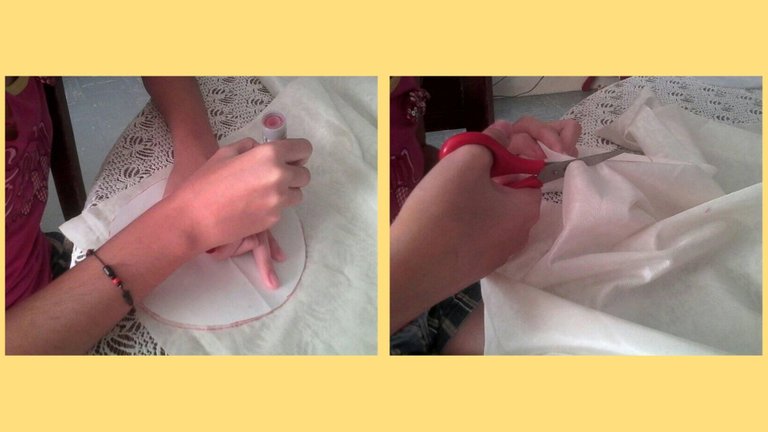
We measure the height of the blender, mark a rectangle on the fabric and cut it out.
These are the pieces I cut out:
A coser!
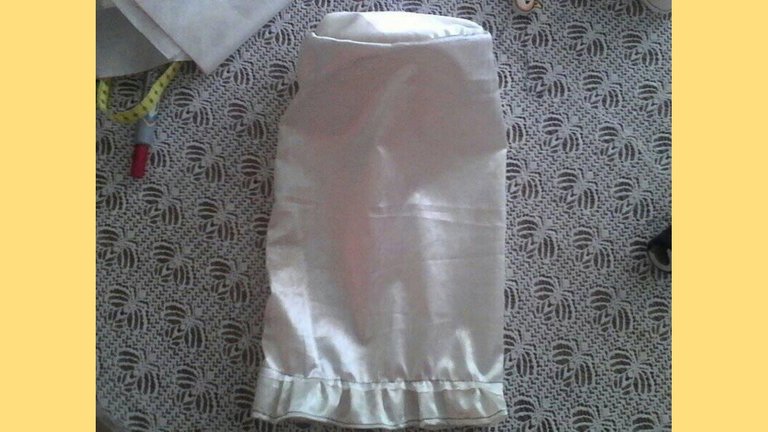
In my case, I joined the two pieces with the stuffing, and then proceeded to sew the rectangle together with the circle.
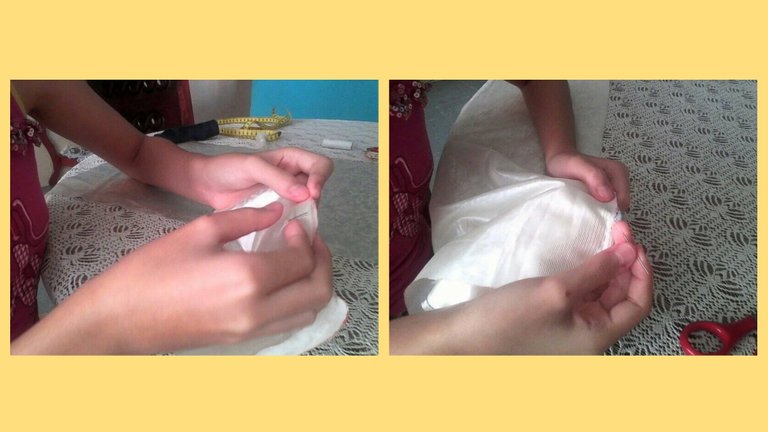
We cut a strip of the same fabric, proceed to sew and thus form a curl as shown in the following images:
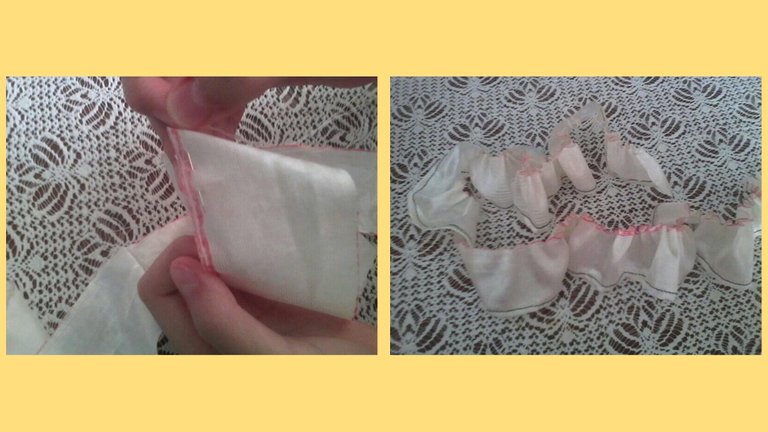
We sew the strip to the bottom of the other pieces already joined.
Y así nos queda:
And so we are left with:
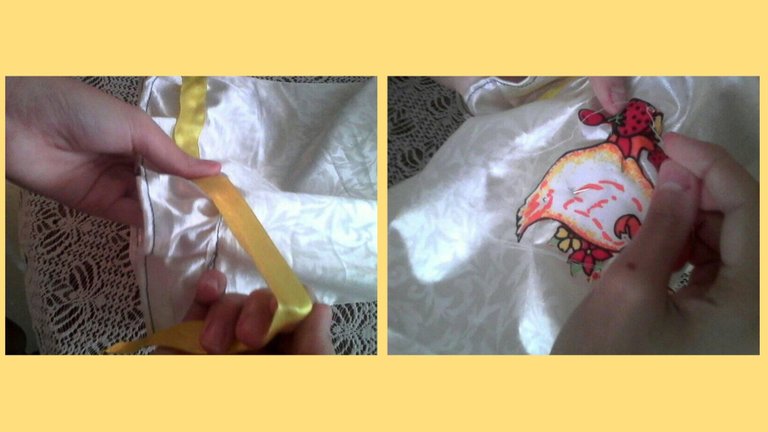
Finally, we glue a silicon ribbon with a bow at the bottom, and the figure to decorate is sewn in the center of the cover or lining.
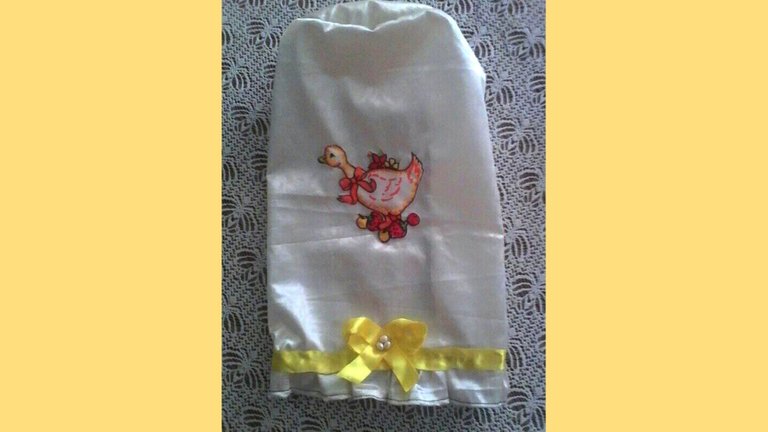
Y listo, así nos queda!
Editadas en Canva.
Texto traducido en DeepL.
All these photos are authored by me @mariamglow , they were taken with my phone. Edited in Canva.
Text translated at DeepL.
Hello @mariamglow! Welcome to the NeedleWorkMonday Community!
What a pretty blender cover! Thank you for sharing with us this week :)
Every week needleworkers from around the globe get together to share our work, patterns, tips, ideas and shortcuts as we support one another. Our goal is to inspire the Hive blockchain to give crafting a try.
On Monday’s we use the #needleworkmonday tag and on all other days we use the #needlework tag without the word Monday attached. We share and post our work directly from the Community page.
We encourage our members to share the process of their work through photos (as you have done). This not only validates your work but it takes us along the creative journey with you 🙂
For more information about what we do and for our posting guidelines please visit our FAQs.
Thank you ~
very good! the duck is just super !!!
Thank you very much for reading my post!!