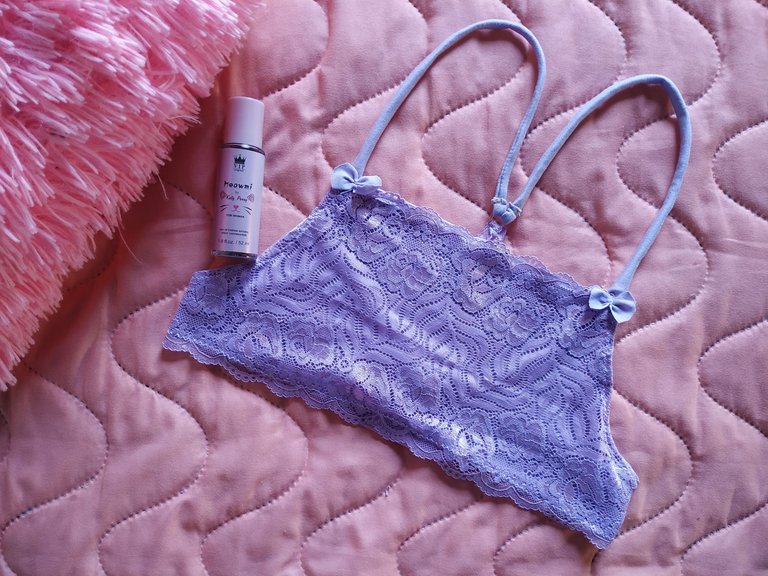
Bralette de dama (Color en tendencia) || Lady's bralette
Hola a todos queridos amigos de Hive, feliz lunes y feliz inicio de semana.
Estamos a solo un día de que termine el mes de enero y solo puedo decir que el tiempo está pasando muy rápido, mejor dicho este 2023 está veloz.
Les quería comentar que buscando entre los moldes que tenía guardado conseguí uno de un top de dama muy bonito, lo hice hace un par de años y me gustó su resultado. Este molde lo obtuve gracias al canal de YouTube de Hugo Quili. Aquí les dejo el link por si quieren ir a ver su canal ya que todo el tiempo está dando cursos de ropa íntima, el que obtuve fue totalmente gratis ya que de vez en cuando proporciona moldes sin que tengas que pagar nada.
Hello all dear friends of Hive, happy Monday and happy start of the week.
We are only one day away from the end of January and I can only say that time is passing very fast, or rather this 2023 is going fast.
I wanted to tell you that looking through the molds I had saved I got one of a very nice lady's top, I made it a couple of years ago and I liked the result. I got this mold thanks to Hugo Quili's YouTube channel. Here is the link in case you want to check out his channel since he is always giving courses on intimate apparel, the one I got totally free since from time to time he provides molds without you having to pay anything.
Este molde lo puedes conseguir allí, no obstante yo le hice unas pequeñas reformas para que quedará más de mi estilo. Ahora sí, sin más comencemos.
You can get this mold there, however I made some small changes to make it look more like my style. Now, without further ado, let's get started.

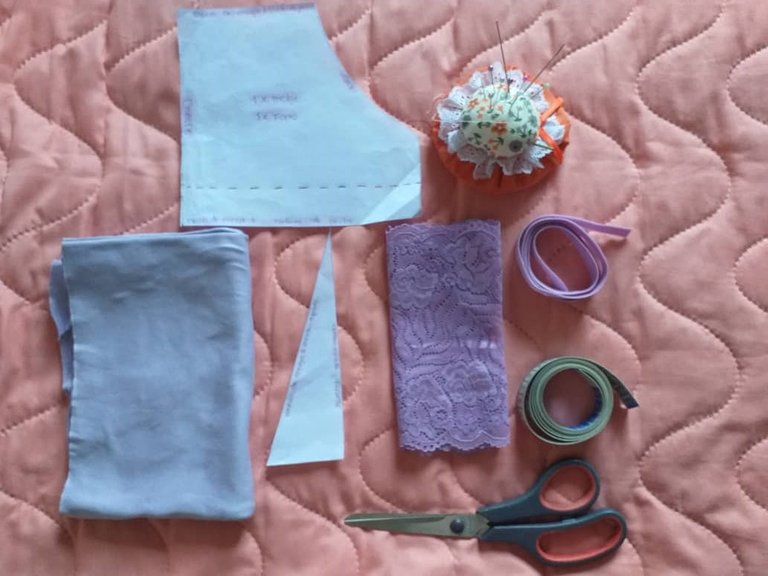
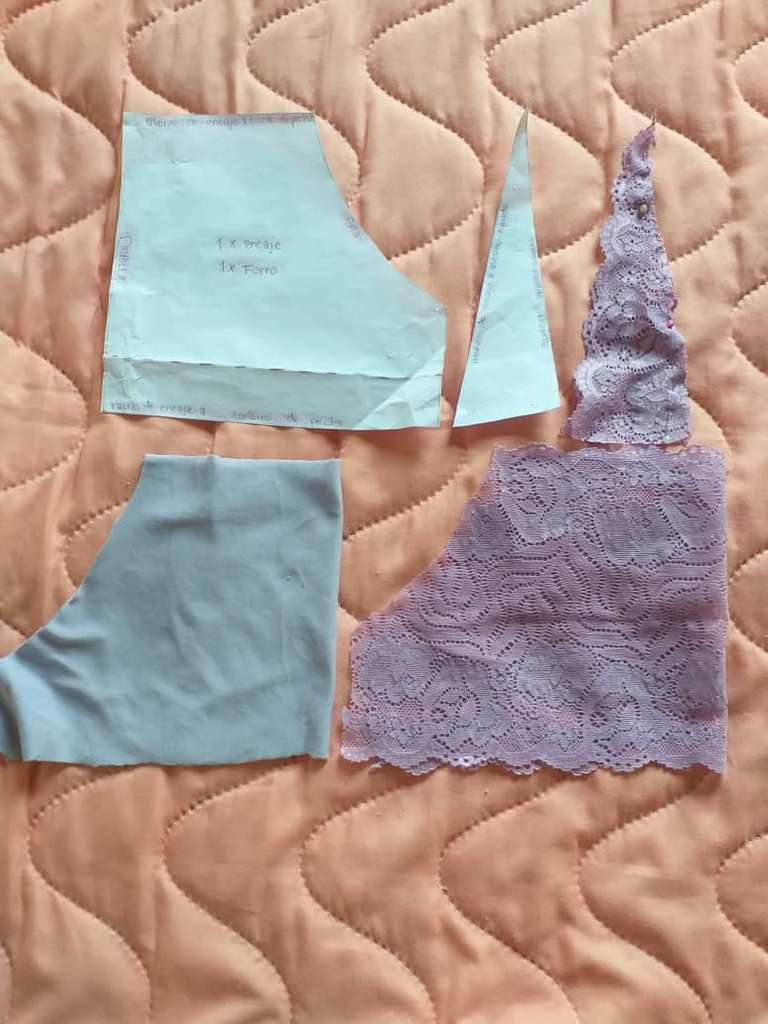
- Encaje elástico de 20 cm de alto.
- Tela de algodón color lila.
- Alfileres.
- Agujas.
- Hilos, tijeras, cinta métrica.
- Elástico para tiras de 1 cm de ancho.
- Moldes.
- Elastic lace 20 cm high.
- Lilac colored cotton fabric.
- Pins.
- Needles.
- Threads, scissors, measuring tape.
- Elastic for 1 cm wide strips.
- Molds.

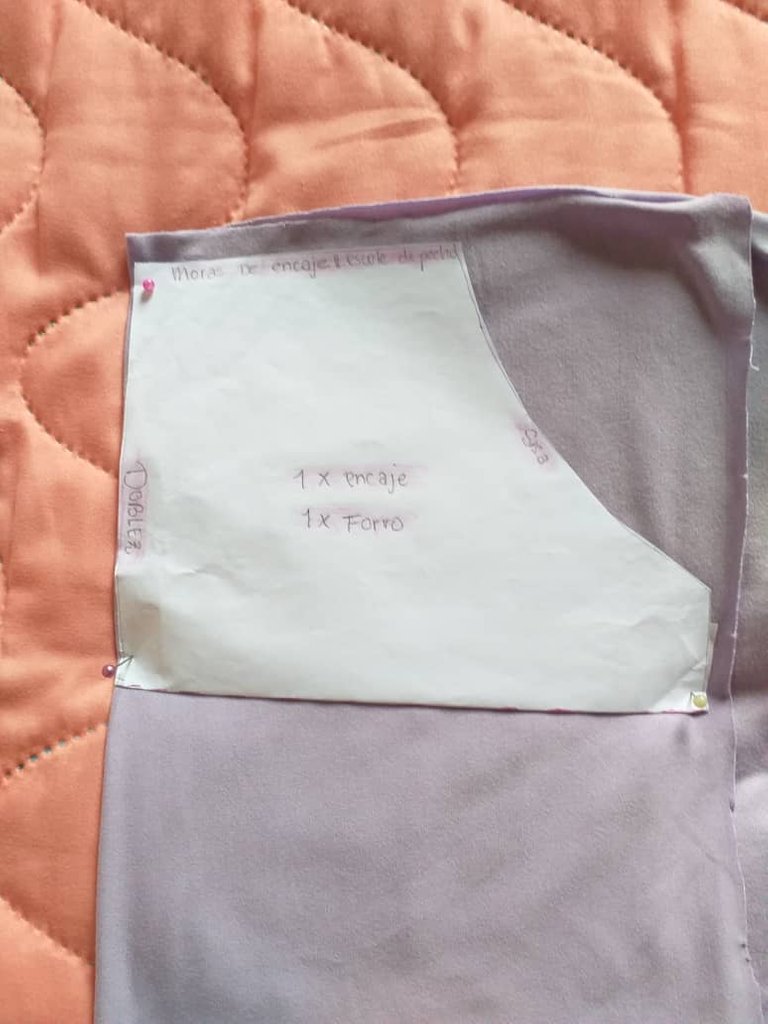
Colocamos la tela de algodón sobre el molde con un doblez del lado izquierdo.
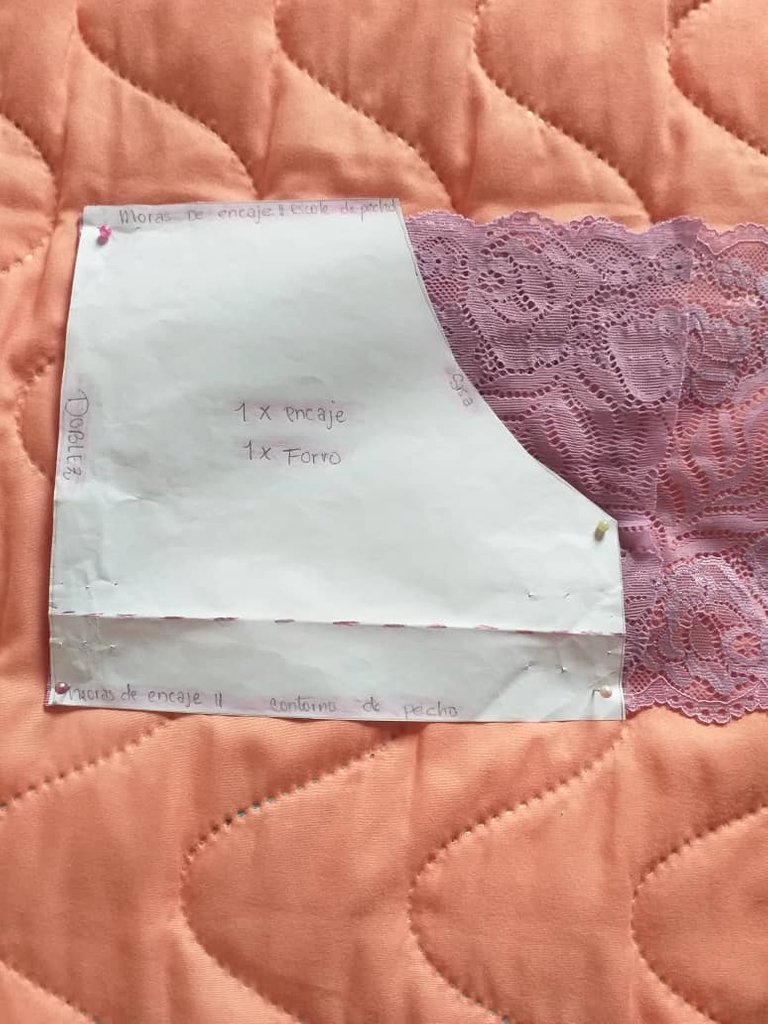
Repetimos el proceso con el encaje, en este caso dejamos las ondas que ya trae el encaje y no las recortamos.
Place the cotton fabric over the mold with a fold on the left side.
Repeat the process with the lace, in this case we leave the waves that the lace already has and do not cut them out.

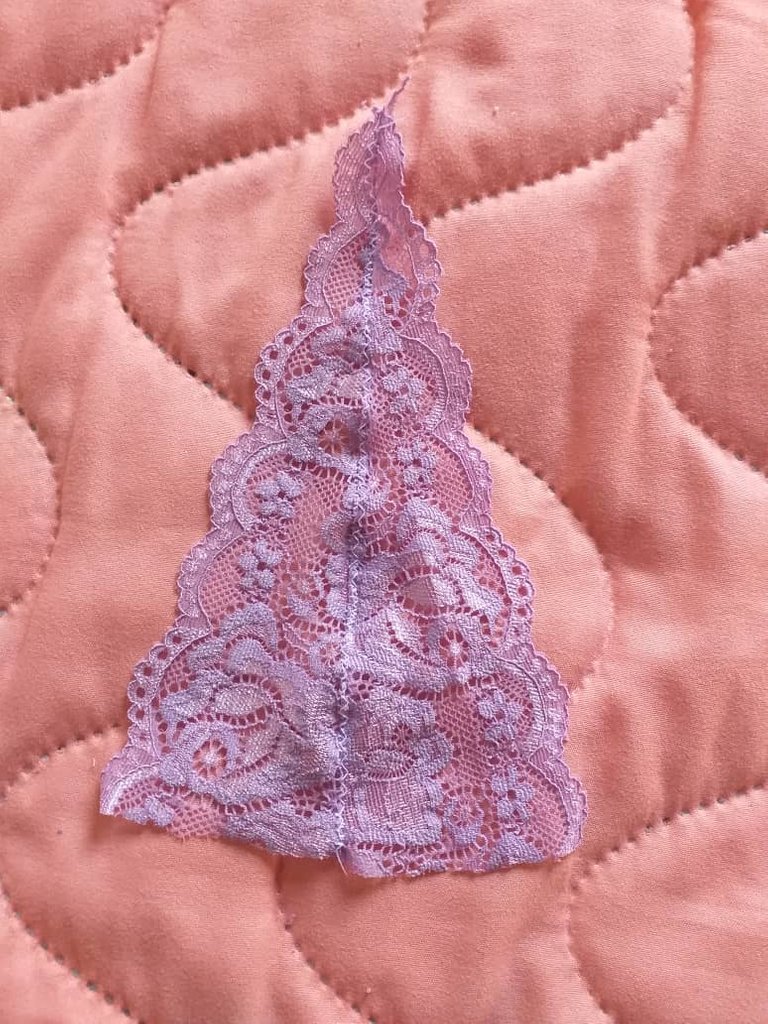
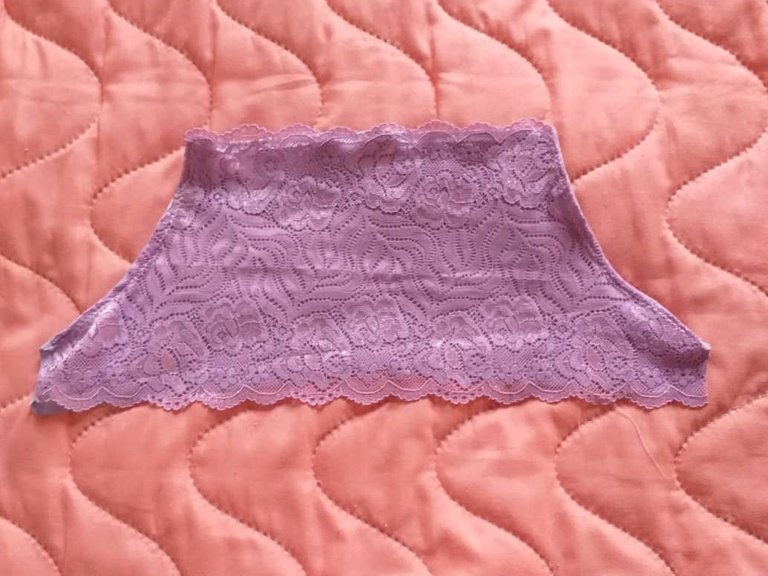
Hacemos dos triángulos con el encaje, está será la parte trasera y Nos debe de quedar estás piezas.
We make two triangles with the lace, this will be the back part and we should have these pieces.
Los dos triángulos que hicimos de encaje los vamos a coser para que nos quede de esta manera. Pasamos doble costura.
We are going to sew the two lace triangles we made so that they look like this. We double stitch.
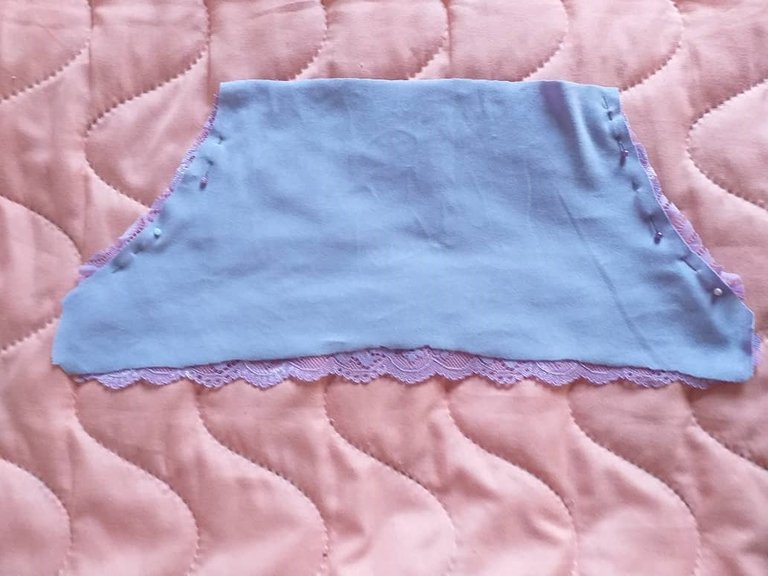
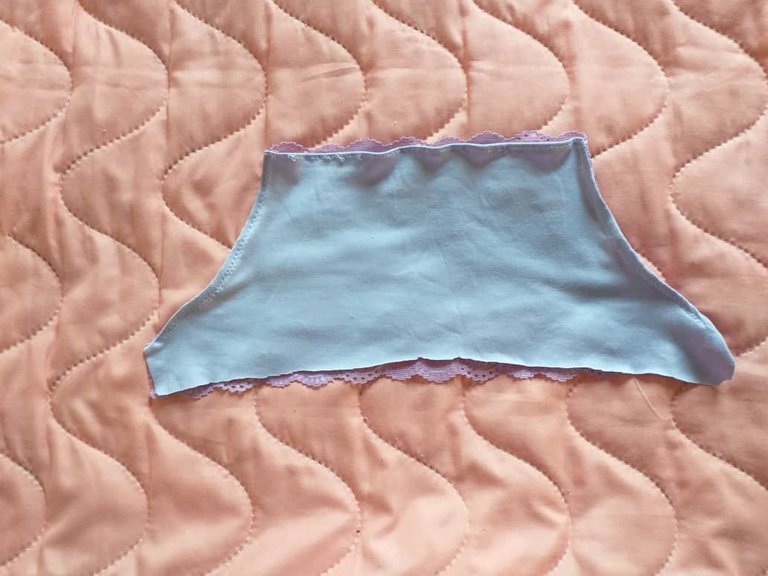
Colocamos la pieza de algodón sobre la de encaje y cosemos por los lados de la sisa. Cómo ven, yo primero coloque unos alfileres para ajustar y centrar ambas piezas.
Place the cotton piece over the lace piece and sew along the sides of the armhole. As you can see, I first placed some pins to adjust and center both pieces.
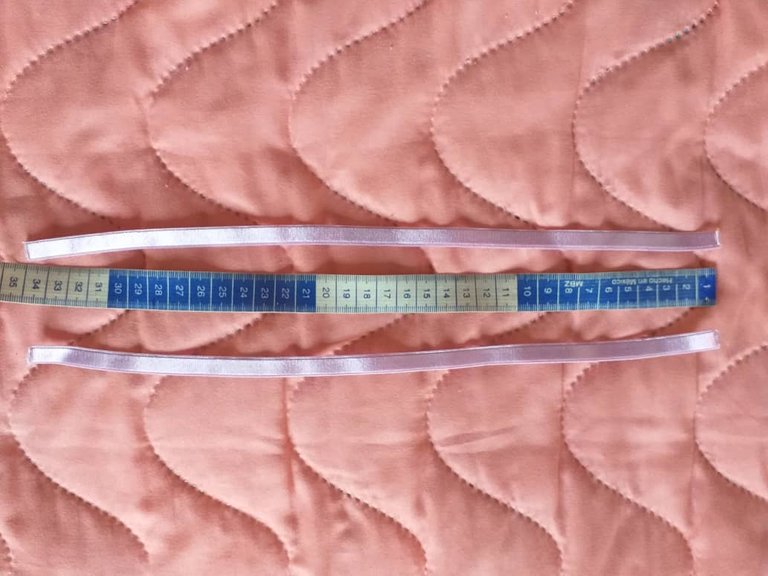
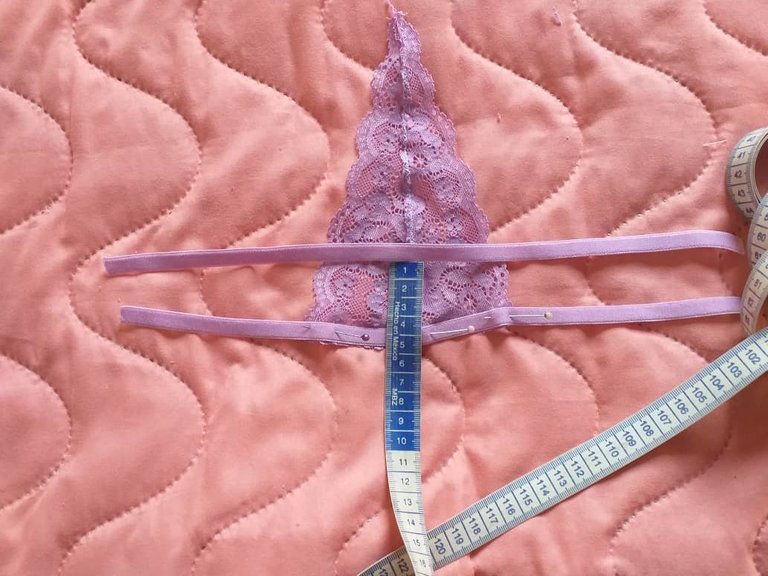
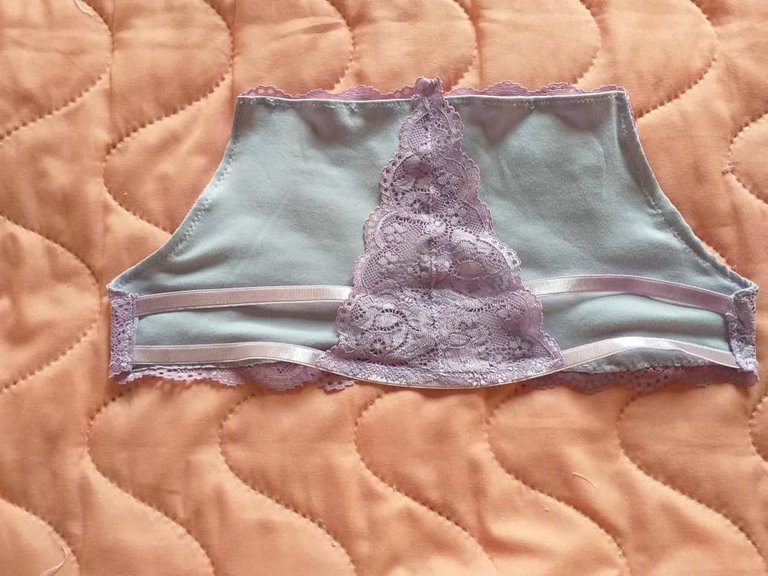
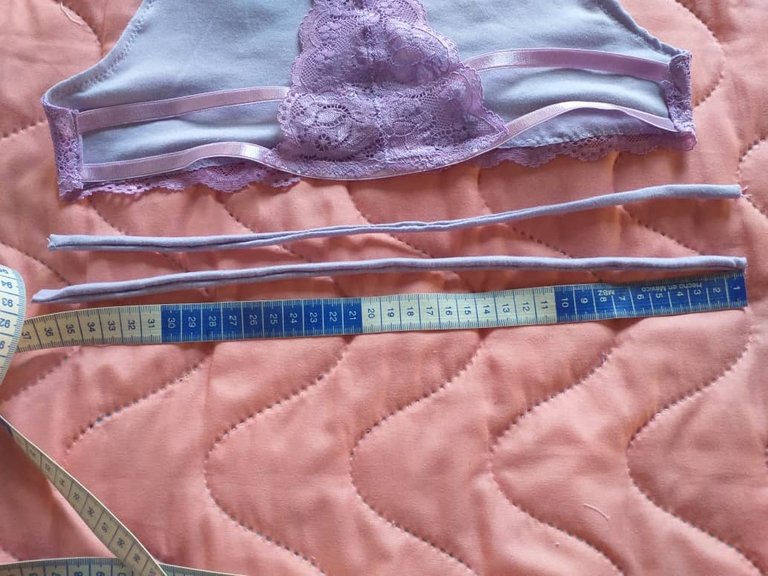
Recortamos dos tiras elásticas de 34 centímetros de largo y las sobreponernos sobre el triángulo que acabamos de armar, las colocamos a cinco centímetros de distancia. Recordemos coser por la parte interior de la pieza.
We cut two elastic strips of 34 centimeters long and place them over the triangle that we have just assembled, placing them five centimeters apart. Remember to sew on the inside of the piece.
Las tiras que sobresalen a los lados la vamos a unir a los laterales de la parte delantera del top de esta manera.
The strips that protrude from the sides will be attached to the sides of the front of the top in this way.
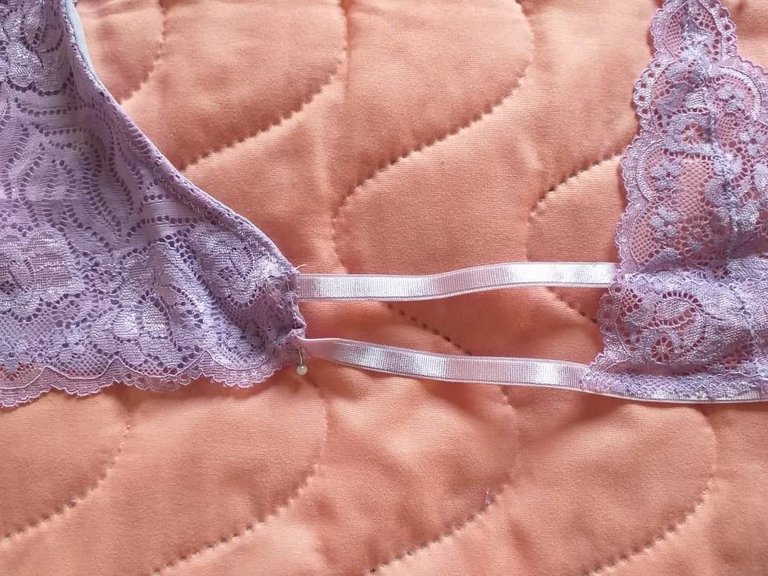
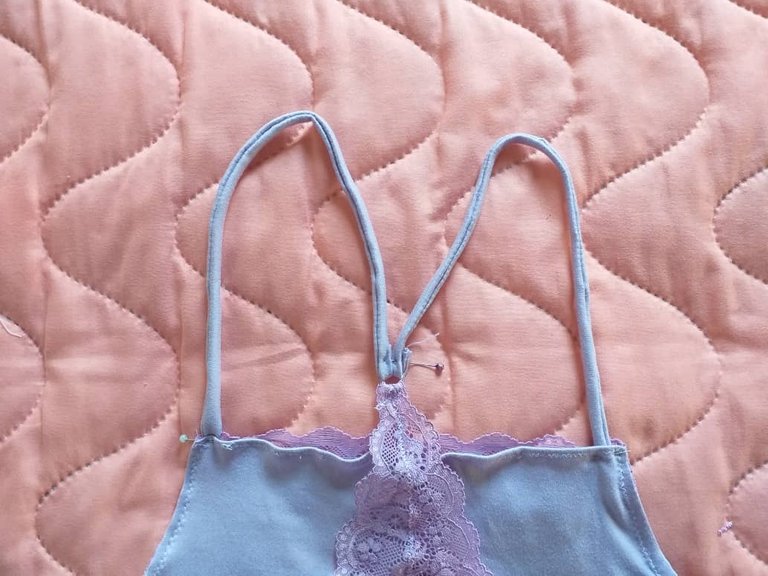
Luego hacemos dos tiras de 36 cm de largas, estás serán las tiras que unirán la parte delantera y la posterior. Estas tiras la uniremos al vértice superior del triángulo con un aro de plástico.
Then we make two 36 cm long strips, these will be the strips that will join the front and the back. These strips will be attached to the upper vertex of the triangle with a plastic ring.
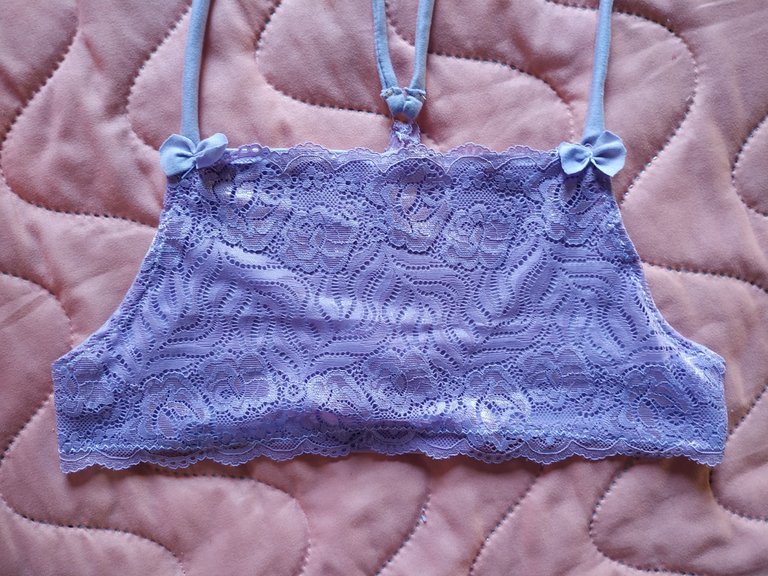
Colocamos unos lazos para decorar la parte delantera y tendremos listo este bello bralette.
We place some ribbons to decorate the front and we will have ready this beautiful bralette.
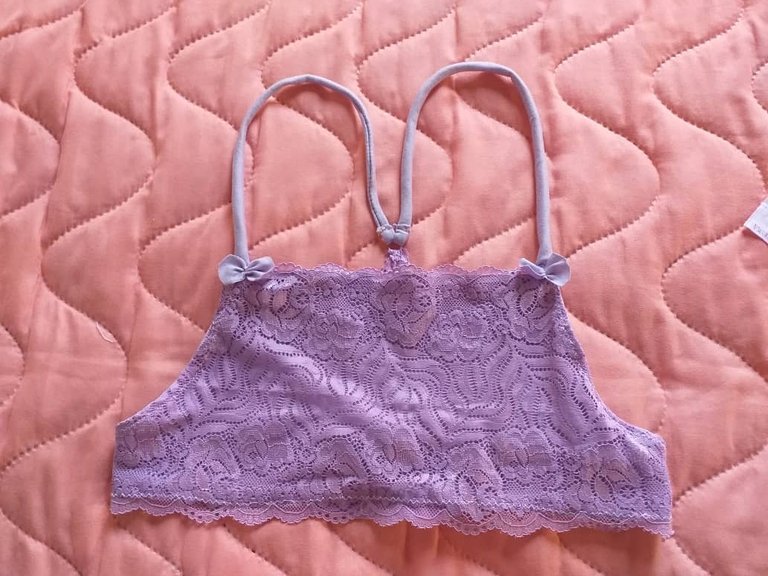
Lo que más me gusta de este modelo es que es muy cómodo, escogí este color que está muy en tendencia ahora y creo que acerté con el tono. Si desean pueden colocar morita por el contorno, incluso usar tira de brasiel en vez de de las tiras de algodón que inserté.
Espero les haya gustado mi tutorial del día de hoy.
Que tengan un bello día y noche.
Chau.
What I like most about this model is that it is very comfortable, I chose this color that is very trendy now and I think I got it right with the tone. If you want you can put morita around the contour, even use a strip of brasiel instead of the cotton strips that I inserted.
I hope you liked my tutorial today.
Have a nice day and night.
Bye.
Editado en Canva || Edited in canva
Fotos tomadas de mi teléfono Xiaomi Redmi Note 6 Pro y mi teléfono Samsung J4 plus || Photos taken from my Xiaomi Redmi Note 6 Pro pone and my Samsung J4 plus phone.
Fuente del editor de imágenes y separadores|| Image editor source
https://twitter.com/316102314/status/1620195212101570561
The rewards earned on this comment will go directly to the people sharing the post on Twitter as long as they are registered with @poshtoken. Sign up at https://hiveposh.com.
me encanta ese color, es un tono precioso, y se ve muy comodo para usar tambien, es muy buen diseño
Muchas gracias 😄
Me encanto el resultado y con este paso a paso, muy fácil de seguir para elaborarlo.
El color es genial, además que se ve muy cómodo.
Muchas gracias linda, creo que lo que mas acerté fue en el color 😄
Congratulations @gabimramirez! You have completed the following achievement on the Hive blockchain And have been rewarded with New badge(s)
Your next target is to reach 1500 replies.
You can view your badges on your board and compare yourself to others in the Ranking
If you no longer want to receive notifications, reply to this comment with the word
STOPCheck out our last posts:
Support the HiveBuzz project. Vote for our proposal!
Muy lindo y cómodo😊😃
Gracias, la verdad es bastante cómodo.
Me gusta mucho el diseño, color y la tela de encaje. Es una prenda muy fina ✨ te felicito!! 💐
Gracias linda, desde que vi el encaje me enamoré de el.
Wowwww... These are so lovely piece, you sure know how to get the best fabric and I agree with you that this year is rather too fast.
Well done dear @gabimramirez 💖😍❤
Thank you very much for your nice comment, greetings
Esta muy lindo el resultado y ese color es uno de mis favoritos,felicidades 🤗
Muchas gracias 💛
Que bonito diseño, amiga. Buena elección de color😊 inspira mucha delicadeza y comodidad.
me encanto este tutorial, los colores, el modelo yo estoy optando por bralettes ya que las varillas son muy incomodas