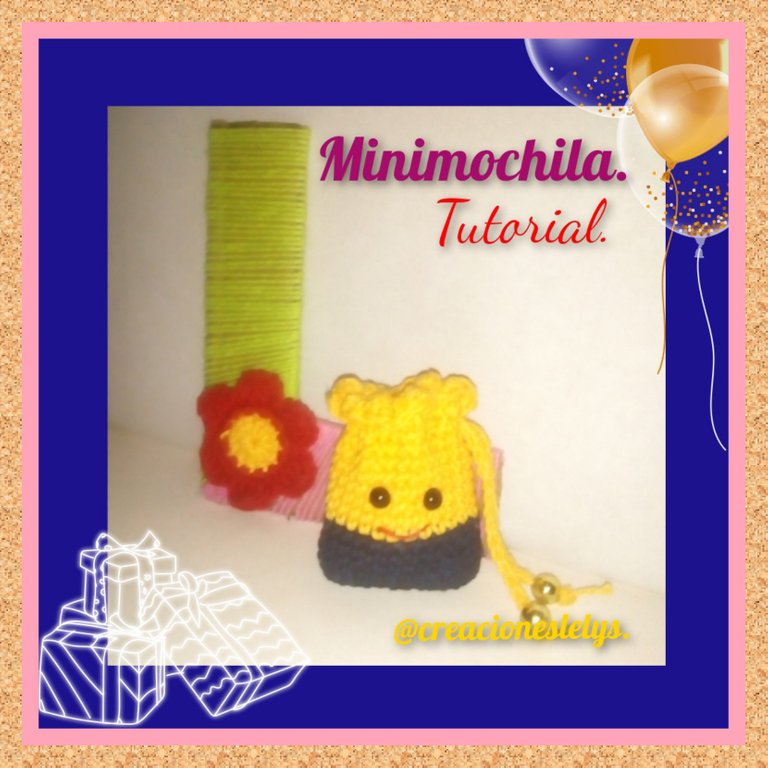
Tutorial: Souvenir Minimochila Tejida. [Esp -Eng]
Spanish
Hola!
Soy Lelys 🤝 bienvenidos a mi espacio creativo. En estos días he deseado tejer varios diseños de bolsitas, algunas para souvenir y otras para modelos mas grandes como carteras y bolsos. Hoy les compartiré esta minimochila para recuerditos o souvenir. Esta preciosa. Acompáñame a realizarla.

MATERIALES:
♥️ Hilo pabilo.
♥️ Aguja de crochet de 2,5 mm.
♥️ Algodón para rellenar.
♥️ Tijeras.
♥️ Aguja lanera.
♥️ Ojitos.
♥️ Pegamento.
PROCEDIMIENTO:
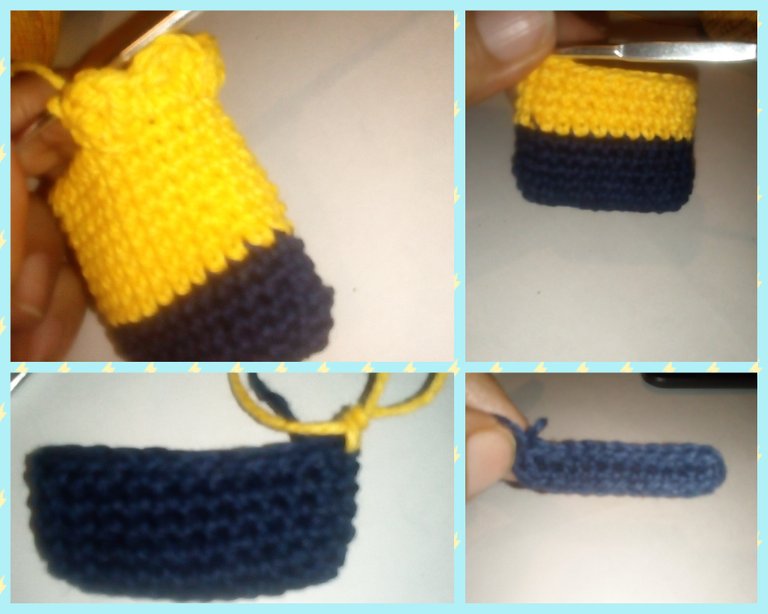
♥️ Iniciamos tejiendo una cadena con los puntos necesarios para lograr el ancho de la bolsita. (12)
♥️ Tejemos una vuelta iniciando con 1cad-1pb-1aum. Seguimos tejiendo pb hasta llegar al otro extremo, repite 1pb-1aum. Continua con pb hasta llegar a la cadena de inicio. Cierra la vuelta.
♥️ Teje tantas vueltas necesites para lograr la altura de la bolsita. (15)
♥️ La última vuelta hazla de abanicos.
♥️ Puedes tejerla unicolor o si lo prefieres combinas dos colores, quedan muy bonitas. Solo tendrás que hacer un cambio de color a la altura que lo prefieras.
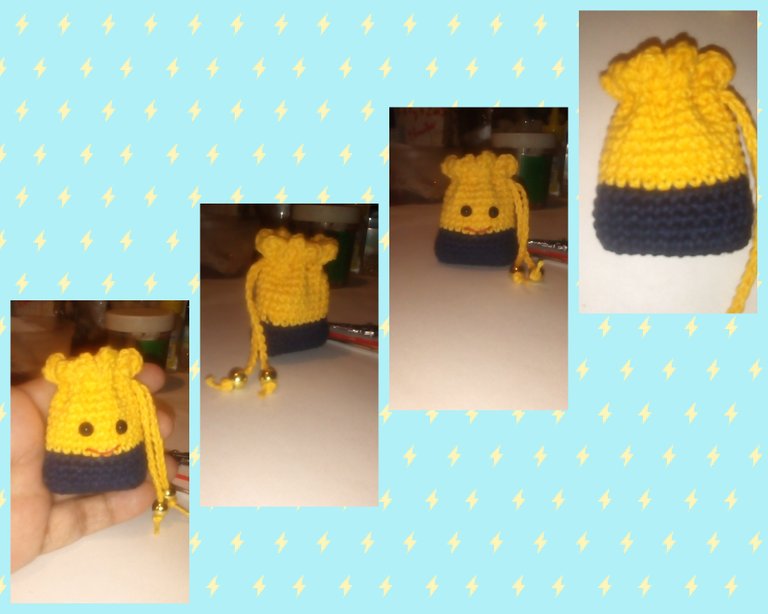
♥️ Haz un cordón con el hilo del mismo color de la bolsita. Ayudándote con la aguja lanera, pásalo por en medio de todos los puntos en la antepenúltima vuelta del tejido. Servirá para cerrar la bolsita.
♥️ En cada una de las puntas del cordón coloca un abalorio o haz un nudo grueso.
♥️ Puedes personalizar las bolsitas realizando variados modelos como: gatitos, perritos u otro diseño que desees.
♥️ Pega los ojitos y borda la boca.
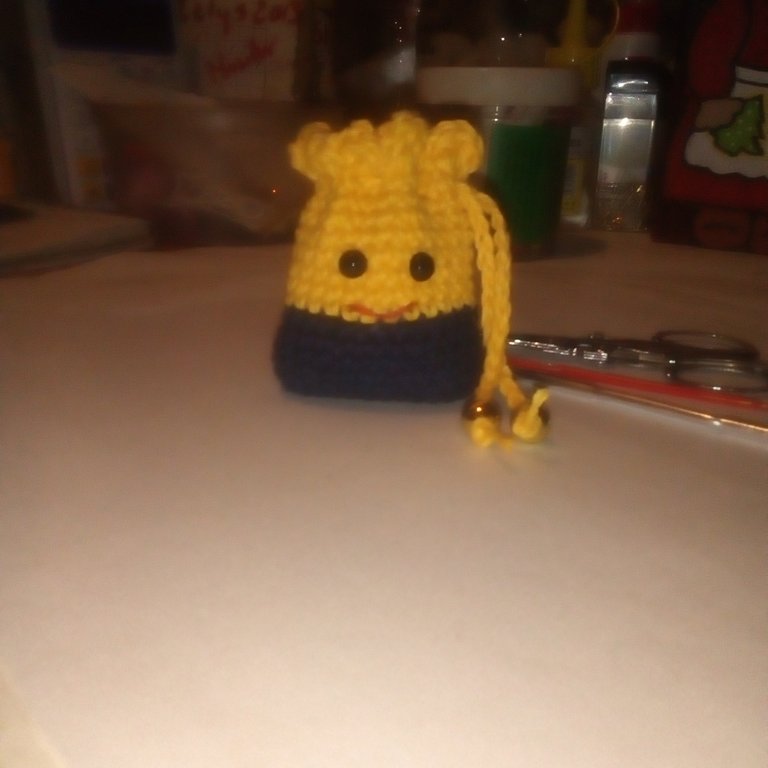
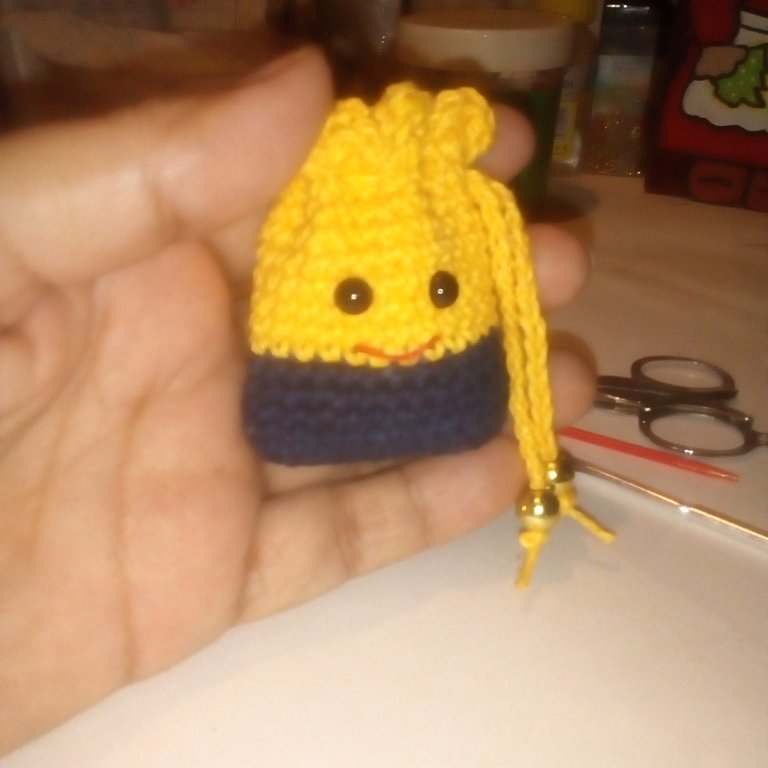
Finalizamos nuestra bolsita. 🛍 Se ve muy bonita.
📸 Todas las fotos son de mi propiedad. Edite con Polish, Canva y Textgram. Uso siempre traductor de Google. Espero que hayas disfrutado del tutorial.
English
Hello!
I am Lelys 🤝 welcome to my creative space. These days I have wanted to weave various designs of bags, some for souvenirs and others for larger models such as purses and bags. Today I will share with you this * mini backpack * for souvenirs or souvenirs. It's beautiful. Join me to do it.
MATERIALS:
♥ ️ Wick thread.
♥ ️ 2.5mm crochet hook.
♥ ️ Cotton to fill.
♥ ️ Scissors.
♥ ️ Wool needle.
♥ ️ Eyes.
♥ ️ Glue.
PROCESS:
♥ ️ We start by knitting a chain with the necessary stitches to achieve the width of the bag. (12)
♥ ️ We knit a round starting with 1ch-1sc-1inc. We continue knitting sc until we reach the other end, repeat 1 sc-1aum. Continue with bp until you reach the start chain. Close the loop.
♥ ️ Knit as many rows as you need to achieve the height of the bag. (15)
♥ ️ Make the last lap with fans.
♥ ️ You can knit it in one color or if you prefer, combine two colors, they are very beautiful. You will only have to make a color change at the height that you prefer.
♥ ️ Make a cord with the thread of the same color as the bag. Using the yarn needle, pass it through the middle of all the stitches on the third to last round of the fabric. It will serve to close the bag.
♥ ️ At each end of the cord, place a bead or tie a thick knot.
♥ ️ You can customize the bags by making various models such as: kittens, puppies or any other design you want.
♥ ️ Glue the eyes and embroider the mouth.
We finish our bag. 🛍 It looks very pretty.
📸 All photos are my property. Edit with Polish, Canva, and Textgram. I always use Google translator. Hope you enjoyed the tutorial.
Feliz fin de semana! Demasiado cuchi...Es útil tomar como base tu patrón para hacer los accesorios a las barbies. Saludos.
Hola, gracias.
Este se adapta perfecto. Solo colocaríamos las asas de atrás. Se le vería super linda a la Barbie.