Conejo 🐇 Tejido a crochet. Siguiendo tutorial. [Esp-Eng]
¡Hola!
Soy Lelys 🤝 BIENVENIDOS 🙋
El día de hoy quiero compartirles una experiencia crochetil. La amiga @kattycrochet nos regaló el tutorial para elaborar unos preciosos Conejos tejidos. Me impactó la forma de realizarlos y hoy quiero mostrarles cómo los elaboré. De más estaría decirles que seguí todos los pasos explicados por ella.
Hello!
I'm Lelys 🤝 WELCOME 🙋 Today I want to share a crochetil experience with you. The friend @kattycrochet gave us the tutorial to make some beautiful Knitted Rabbits. I was struck by the way they were made and today I want to show you how I made them. It would be unnecessary to tell you that I followed all the steps -beautiful-and-fast explained by her.

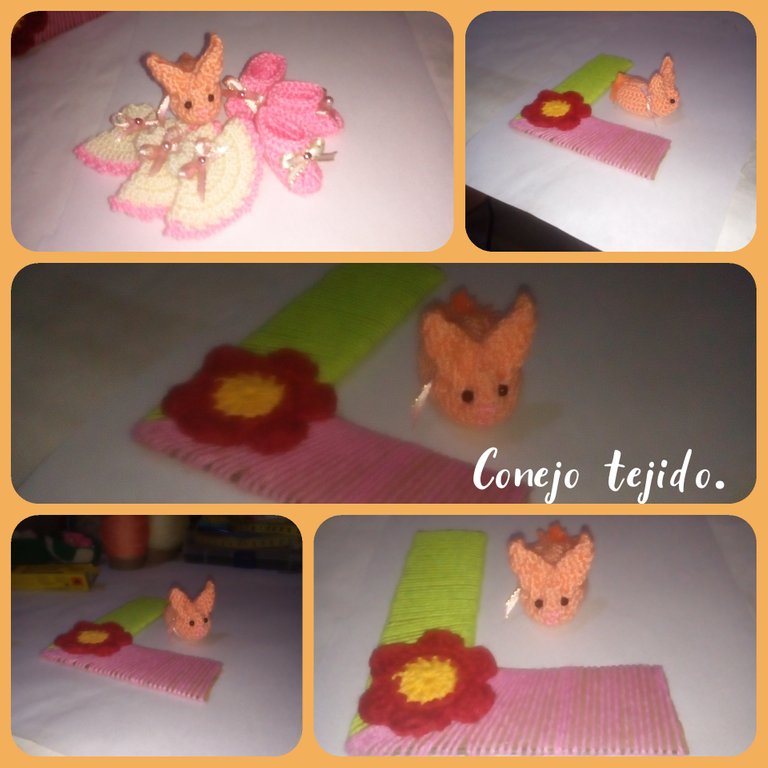
🐇 Para tejer esta muestra utilicé hilo de crochet delgado color naranja, aguja de 1,60 mm, aguja lanera. Perlitas corridas color negro. Una hebra de hilo rosado (también crochet). Algodón sintético y pegamento.
🐇 To knit this sample I used thin orange crochet yarn, 1,60 mm needle, yarn needle. Black colored beads. A strand of pink yarn (also crocheted). Synthetic cotton and glue.

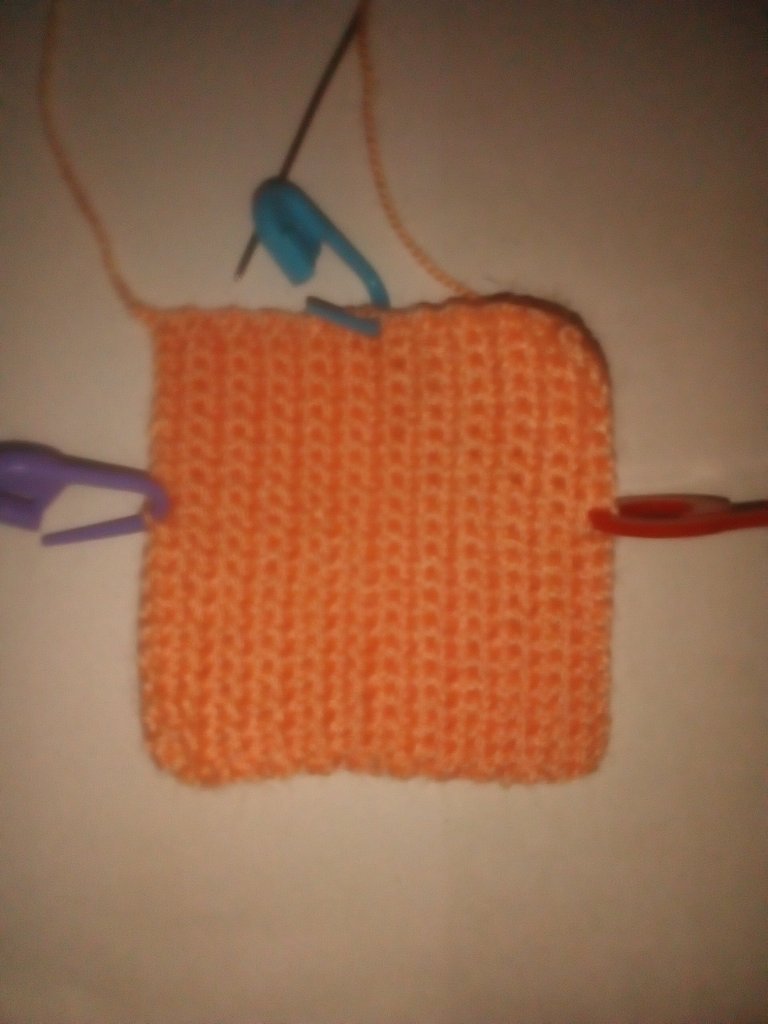
🐇 Empezamos tejiendo un cuadrado. El mío mide 6 CM por cada lado. Lo inicié con una cadena de 21 puntos. Luego tejí sólo vueltas de pb.
🐇 We start by weaving a square. Mine is 6CM on each side. I started it with a 21 point chain. Then I worked only sc rounds.

🐇 Doblé a la mitad, siempre atenta de que las líneas quedaran verticales. Con los separadores marqué los puntos desde donde trazaría el hilo para formar el triángulo.
🐇 I folded in half, always making sure that the lines were vertical. With the spacers I marked the points from where I would draw the thread to form the triangle.
🐇 Con la aguja lanera tracé el triángulo, usando el mismo hilo color naranja. La primera línea la inicié desde un poco más arriba de 3cm o sea no propiamente a la mitad.
🐇 With the wool needle I traced the triangle, using the same orange thread. I started the first line from a little higher than 3cm, that is, not properly in the middle.
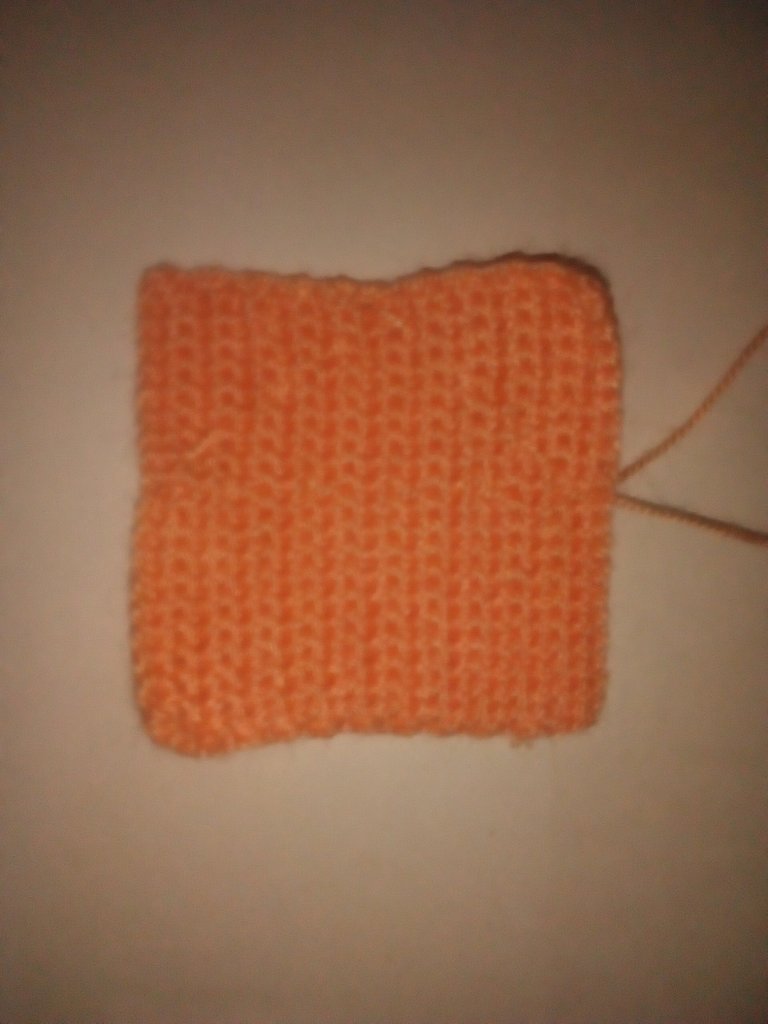
🐇 Si te fijas están visibles las dos hebras de hilo, las usaremos para formar las orejas del conejo. Templamos suavemente cada hebra hasta ver las orejas formadas. Hacemos un nudito y escondemos en el tejido. Ensaltamos la aguja lanera con hilo del mismo color y procedemos a coser. Procurando hacer notar la parte de la cabeza. No si antes colocar un poco de relleno (algodón sintético).
🐇 If you notice the two strands of thread are visible, we will use them to form the rabbit's ears. We gently tighten each strand until we see the ears formed. We make a knot and hide in the fabric. We enhance the wool needle with thread of the same color and proceed to sew. Trying to make the part of the head notice. Not if before placing a little padding (synthetic cotton).

🐇 Vamos colocando más relleno y cosiendo el cuerpo del conejo. Al llegar al final, pasamos la hebra por los puntos de la última vuelta del tejido y halamos para cerrar. Haces una colita de pompón y listo. ¡Queda terminado! Sólo resta colocar los ojitos, bordar nariz y boca.
🐇 We are putting more filling and sewing the body of the rabbit. At the end, we pass the yarn through the stitches of the last round of the fabric and pull to close. You make a pompom tail and that's it. It is finished! It only remains to place the eyes, embroider nose and mouth.
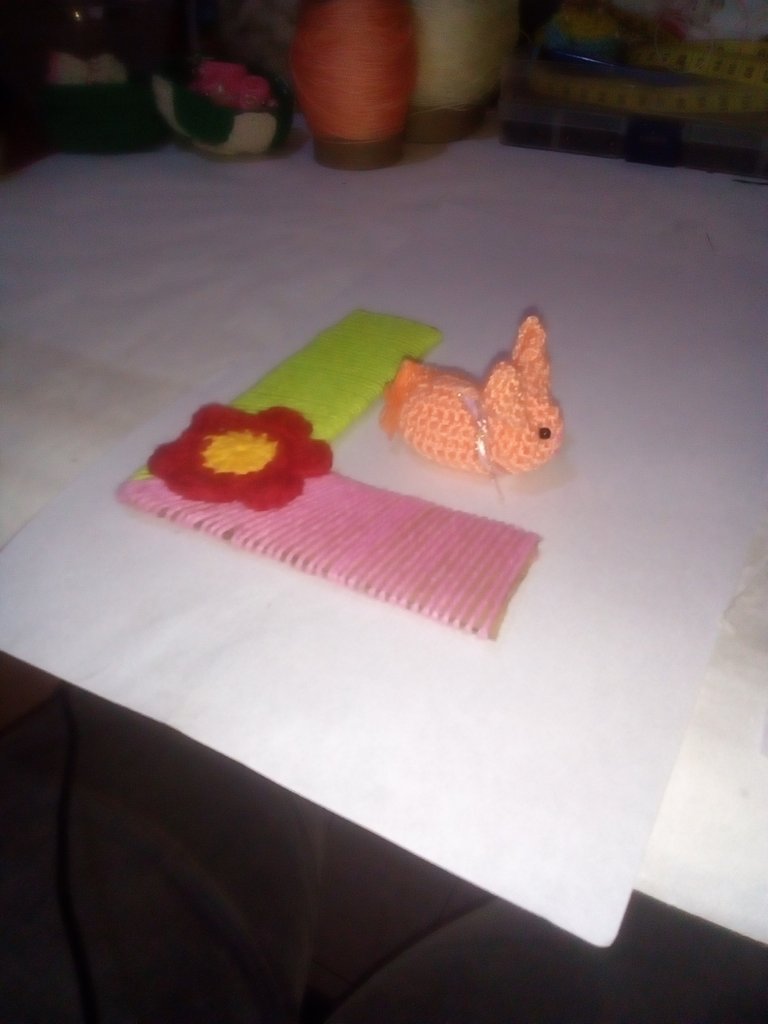
¡Me gusta mucho el resultado!
Haciendo unos más me quedarán mejor. Recuerda pasar a revisar el tutorial original pinchando allá arriba en el enlace.
I really like the result! Doing a few more will fit me better. Remember to go on to review the original tutorial by clicking on the link up there.

📸 Fotos de mi autoría. Edité con Textgram, Polish y PhotoGrid. Uso siempre traductor de Google. Se les quiere.
📸 Photos of my authorship. I edited with Textgram, Polish and PhotoGrid. I always use Google translator. They are loved.


🙏 A @eve66 por los separadores.// 🙏 To @eve66 for the separators.
Te quedaron preciosos Lelys, también ví el tutorial de @kattycrochet. Espero algún día poder hacerlos con tela 😊.
Hola. ¿Cuál sería la tela adecuada? Quedan muy bonitos. Y realmente se hacen muy rápido. Cómo dijo @kattycrochet son adictivos 🤭 quiero hacer de varios colores. Y también en tela.
Debería ser una tela un poco gruesa para que sea firme. Tengo un retazo de tela de polar, podría hacerlo con esa...
Tengo una más o menos dura. Luego lo intentaré. ¡Gracias!
Hola amiga, que gusto que te animaras a tejer el conejito, se ve demasiado tierno así de pequeñito como lo hiciste. Gracias por la mención en tu post.
Me encantó tu versión del tutorial.
Hola.
Espero que estés muy bien.
Deseaba mucho hacerlo.
Me gustó la experiencia. Gracias por compartir tus lindas creaciones.
Estoy por practicar haciendo otros más grandecitos.
¡Saludos!