Making Corn Bread from Scratch with YouTube Recipe - Worth my time?
Hello everyone! I hope all of you are doing well during the season of Social Distancing and partial lock-downs!
As for me, I have been busier than usual in this period when the test of being a remote support tech totally takes its toll.
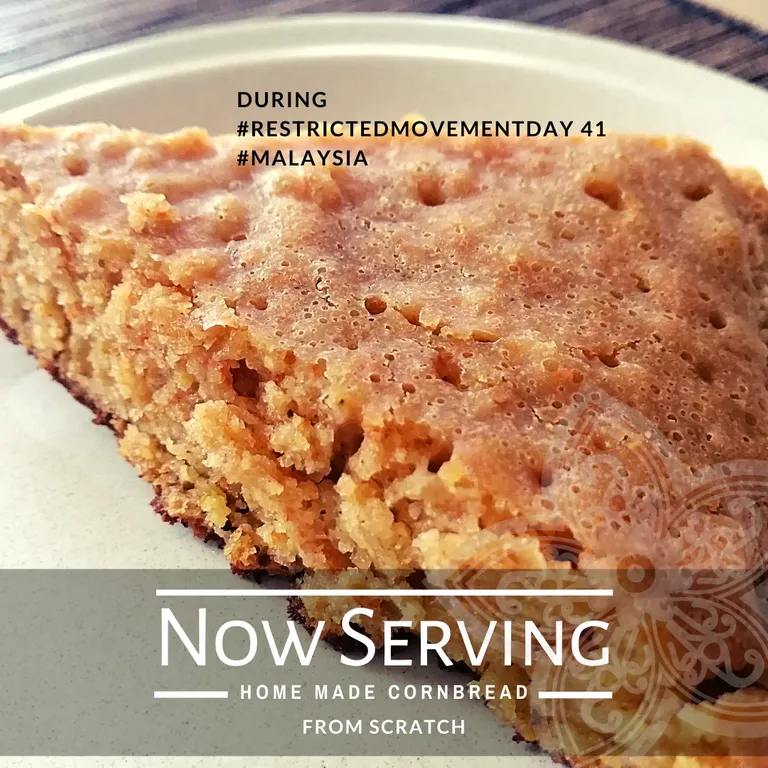
Nevertheless, during some days, like day 41 when I finally got a short break and I decided to give a go on making corn bread the very first time!
Yes, the very first time, so don't expect a professional chef output, haha.
I have friends who do not own an oven; so when I came across this traditional corn bread making on a stove top, I was super excited. I skimmed it through and jotted down the ingredients... but I had 2 challenges, corn-mill and unsalted butter.
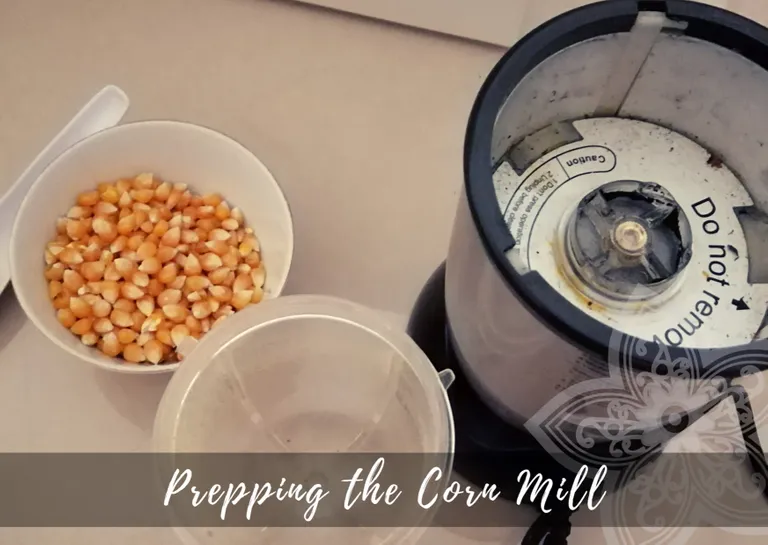
I couldn't do anything for the unsalted butter (maybe I should have used oil instead but I forgot), so I stick to salted butter and cut off half of the salt portion; while skimming through other YouTube videos to find out how corn-meal is made because it is just too expensive to buy off the shelf from where I stay.
Apparently if you have a high speed blender you can do so, and I decided to get some dried corns (which I used for pop corns) and try it out instead.
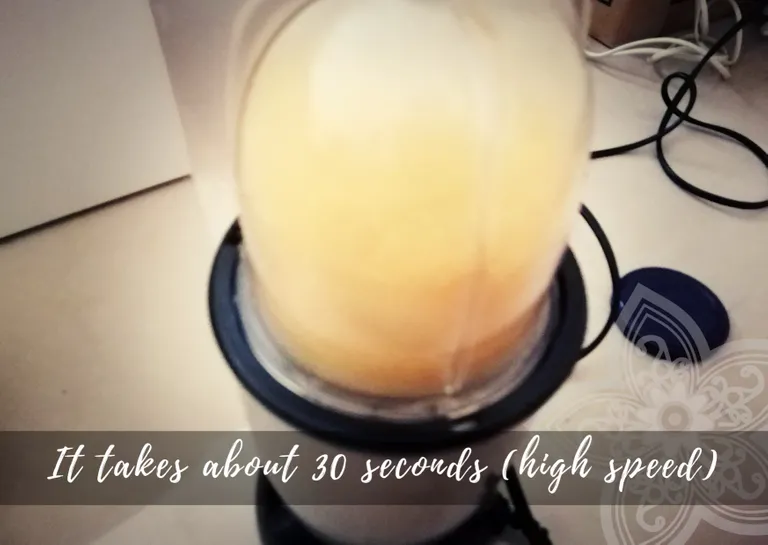
It really depends what kind of high speed blender; and I had an aged Magic Bullet with me. It does pretty well for a 30 seconds blending; but don't put too much as the noise is extremely high and at the same time you will feel that the cover can crack anytime. So I tried with a teaspoon each time; and it didn't take too much time since I only needed 1 cup of corn meal.
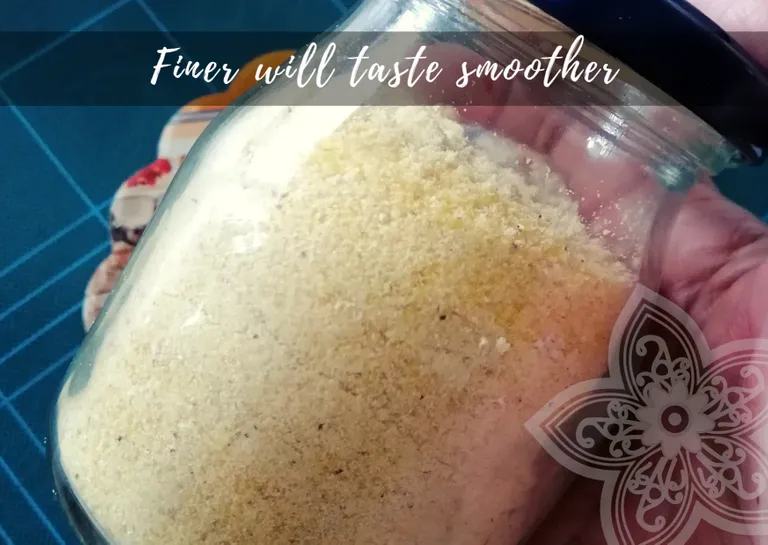
I didn't have much left so I decided to grind all of them, and this is about a little over 1 cup of corn-meal.
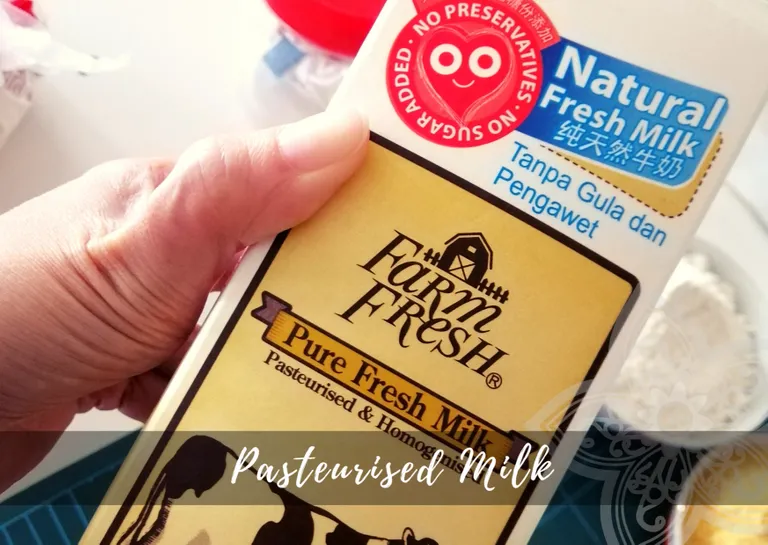
I wanted to try making butter milk, and apparently for the best outcome is to use pasteurized milk if one does not have a gallon of full cream milk (that is not UHT) available easily. And fortunately, there's a local industry that produce milk from local farm nowadays in Malaysia.
In such pandemic, supporting local industry especially agriculture is very important and cost effective.
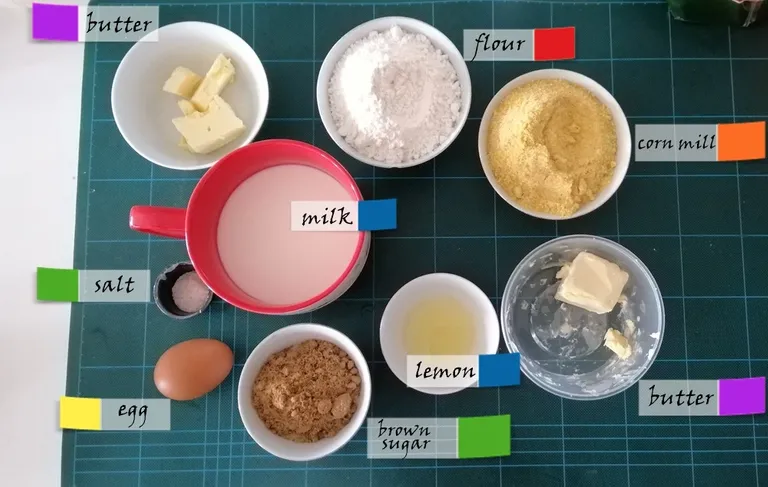
In this end, I managed to gather all the ingredients together first before I start. You will notice that lemon and milk are tagged with the same colour because they are meant to be mixed together to churn out butter milk.
1. Making the Butter Milk
(well, sort of, in a way...)
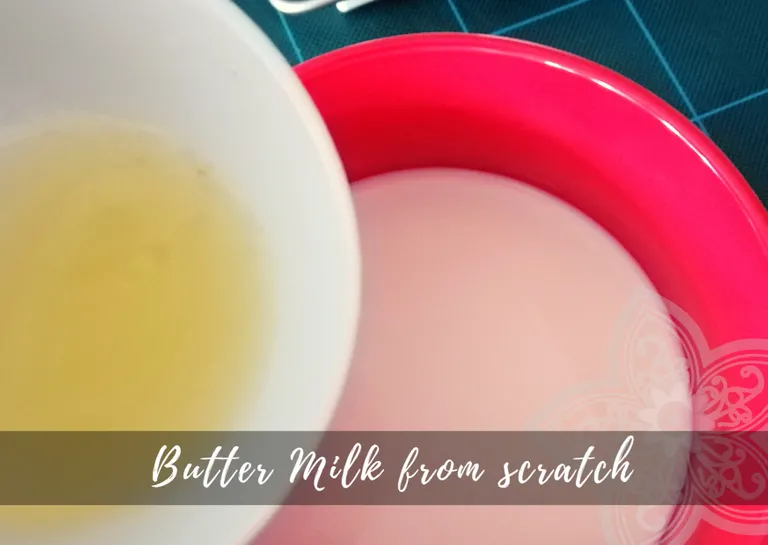
Buttermilk actually requires some technique and days, but you can create a "kinda quick fix" version with milk and lemon juice. Just pour in 2 tablespoon of fresh lemon juice on 1 cup of milk and let it set for around 10 - 15 minutes and see it turns into something thicker than just milk.
And it worked!
2. Preparing wet ingredients
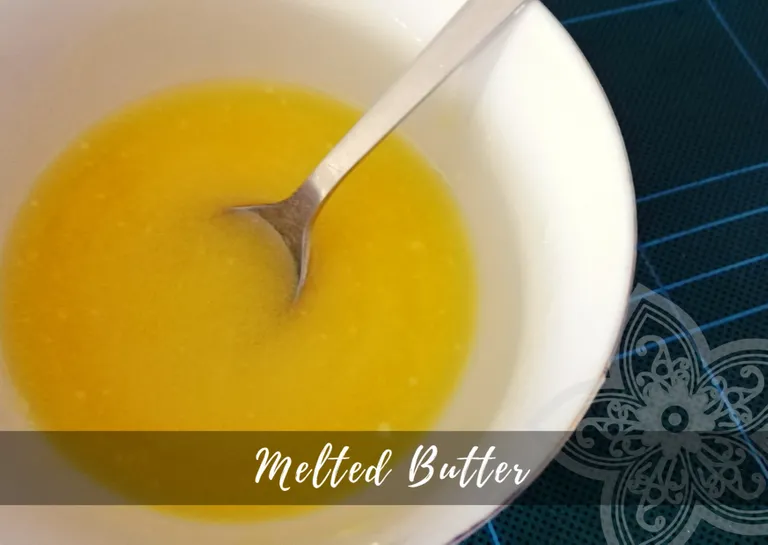
While I waited for my milk turn into buttermilk, I went to melt my butter. And as I have mentioned before because I didn't have unsalted butter I had to lessen the ration of salt a little by cutting the salt portion into half in order to balance the taste.
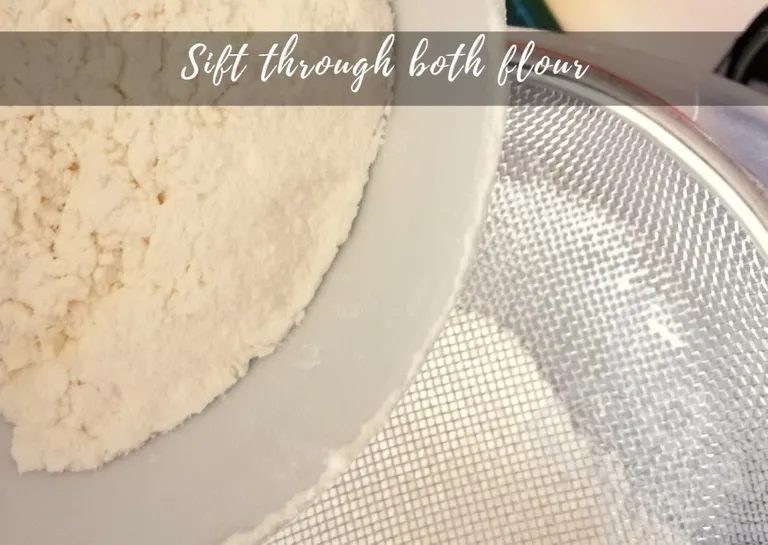
3. Sifting the flour for a smoother texture
Having a sifted through flour always makes the mixing a lot easier than to see any clumps formed; and this time is no different either.
4. Prep the rising agent - Baking Powder / Baking Soda
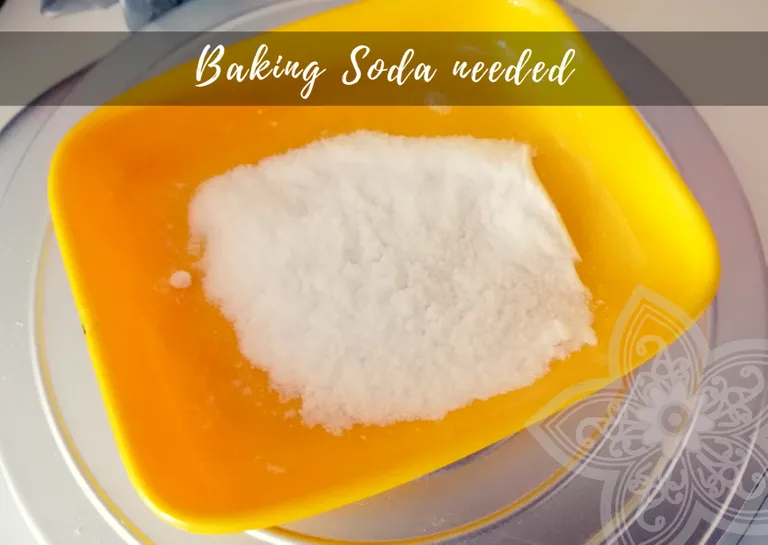
This is where I got slightly wrong, apparently Baking Soda's ration with Baking Powder is different. Every teaspoon of baking soda is equivalent of x3 of baking powder; so if you don't have baking powder at home, you only need 1/3 of it from the recipe written.
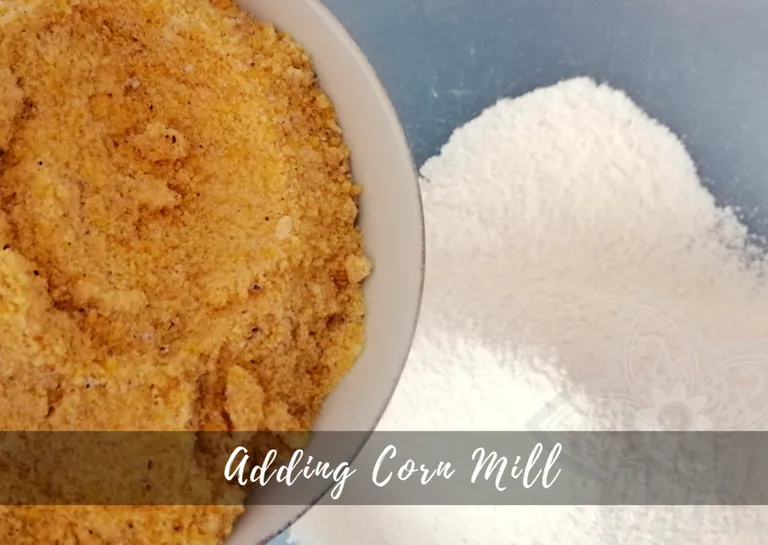
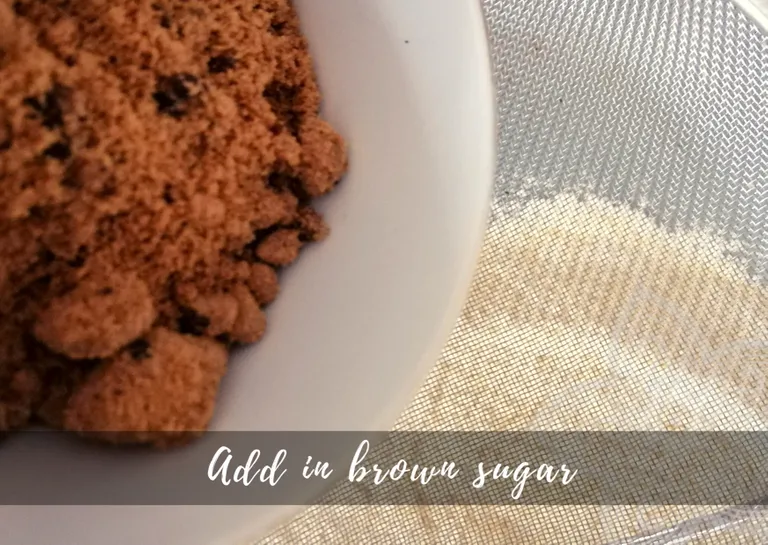
Time to mix the dry ingredients in; where I combined the salt with the sugar, corn-mill and flour together, and mix as thoroughly as possible.
After the corn-mill and flour are well mixed, then add in the sugar and the salt.
And once again. I almost forgot to add in the baking soda! haha...
4. In with the wet ingredients!
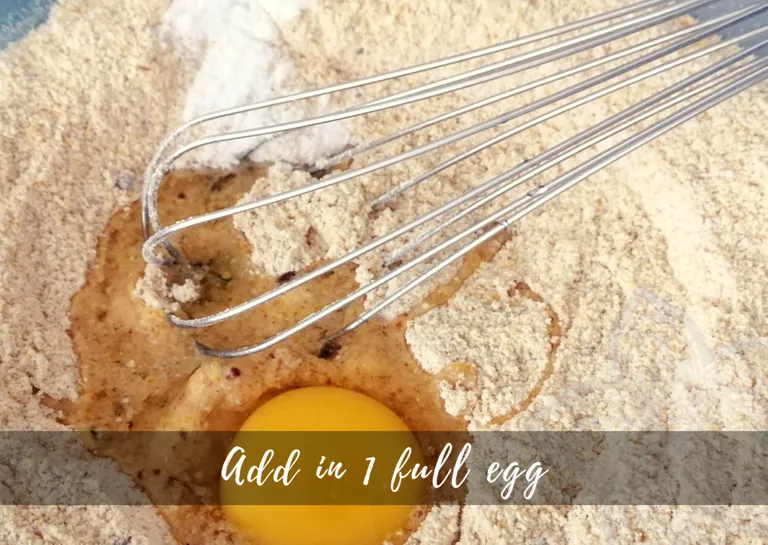
Time to add in the egg! The recipe suggested a large egg for the easiest, and I so happened to have (not super) large egg with me. Stir it a little, before adding in the other wet ingredients.
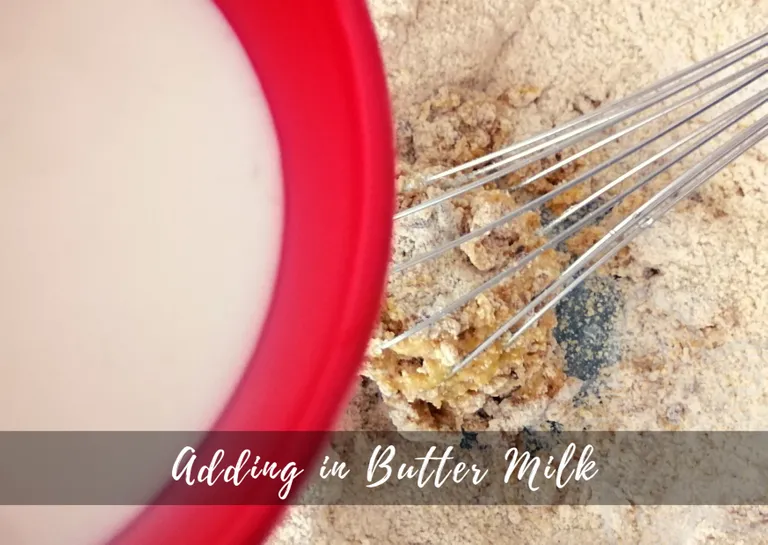
By this time, the buttermilk should be ready, and this is where I slowly pour in the buttermilk into the dry ingredients and stir until all of the initial ingredients are well incorporated.
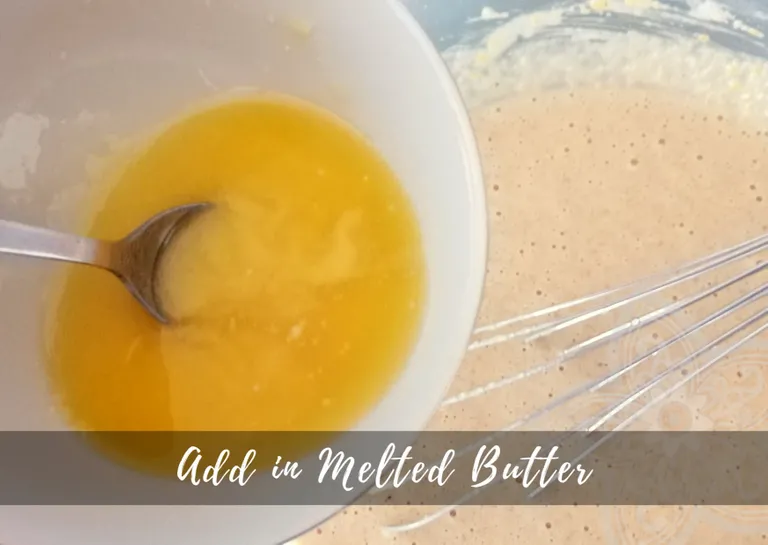
And then, it is time to add the melted butter into the mix! And you can see the distinct difference of the butter and the batter.
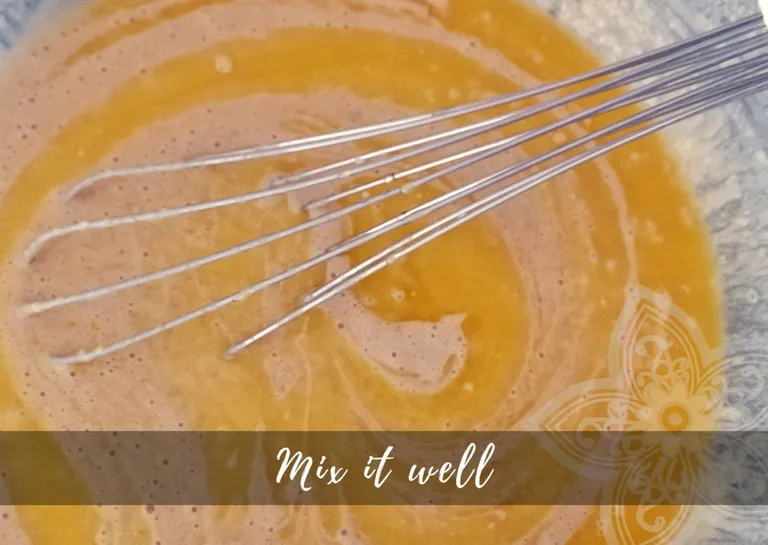
Keep stirring it until everything is well incorporated and the butter dissolves into the batter.
5. Heating the pan!

I am blessed with this electric stove top where it shows me the temperature. I placed my cast iron (type) skillet on top and let it heat up until the surface feels too hot to touch.
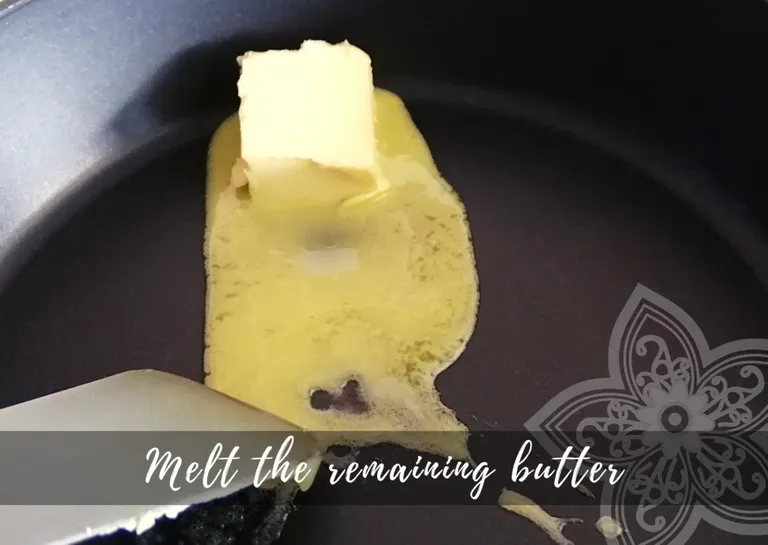
And this is where the remaining butter (on the right side of the initial photo) was placed on the skillet and let it melt just enough before it gets burnt. Be sure to cover the sides of the skillet as well.
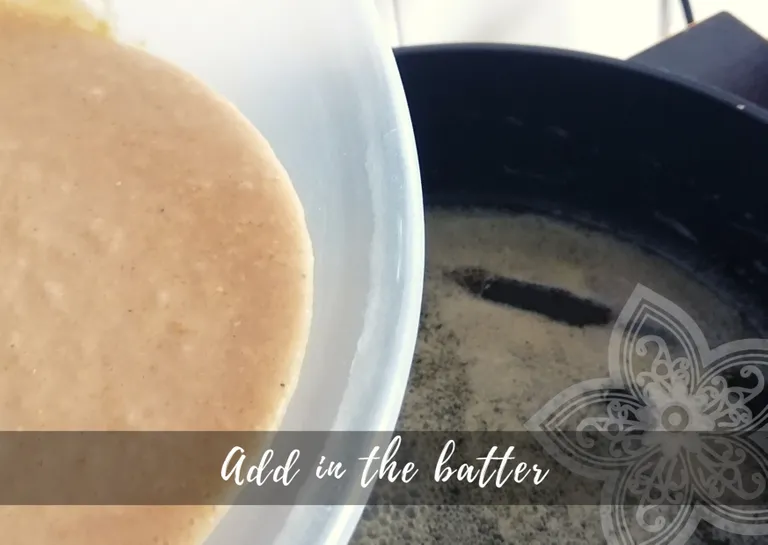
Time to pour in the batter when it has little bubbles. Don't worry, your batter won't stick on the skillet if it was well buttered.
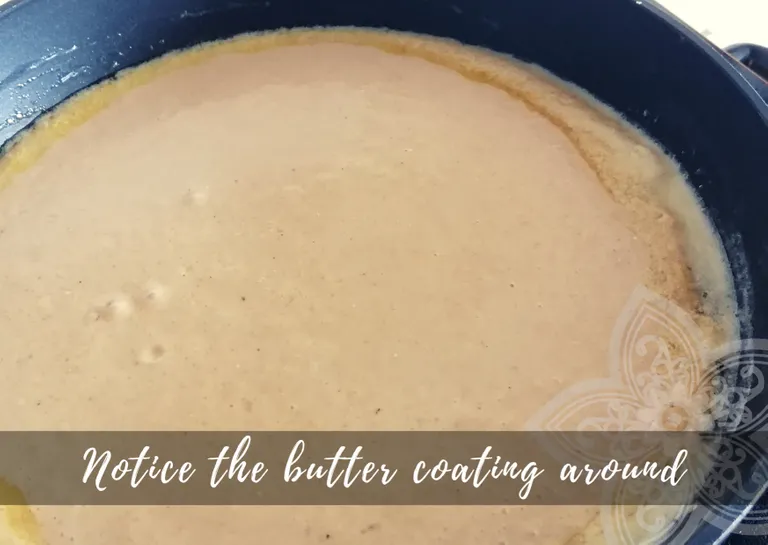
You can literally see the melted butter forms a "ring of protection" around the batter that will prevent it from getting burnt.
6. Let it bake!
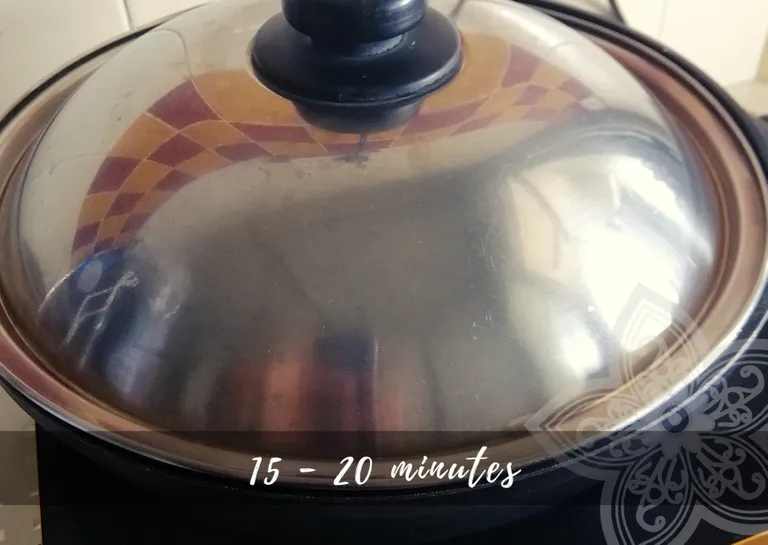
So depending on how your skillet is, it will take on an average of 15 - 20 minutes or when you stick a toothpick on the corn-bread and it turns out nice and dry when you pull it out; then you know your corn-bread is ready.
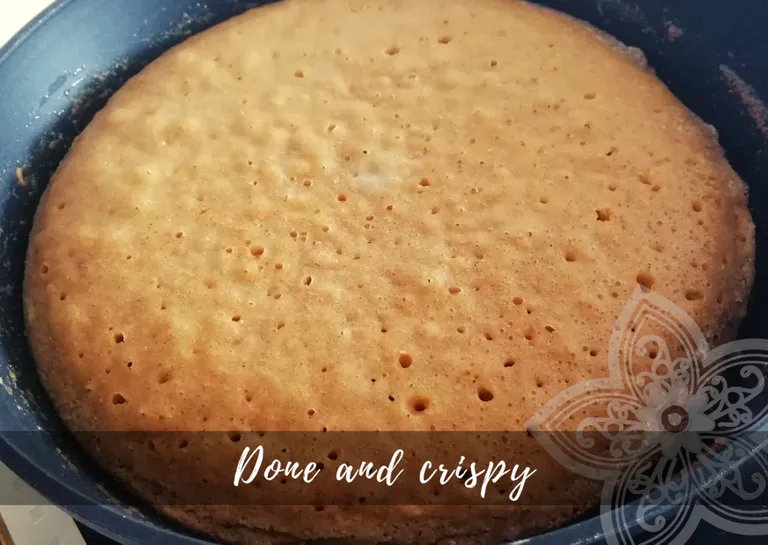
This is how mine turned out after almost 20 minutes. I should have kept it at 15 minutes but I overlooked it and it turned out slightly browner at the bottom; but because I used brown sugar, the corn-bread will not look as "brightly yellow" as the usual one.
It looks rather presentable and I think the "bigger holes" is because I had put a little over on the baking soda; but hey, it still looks presentable!
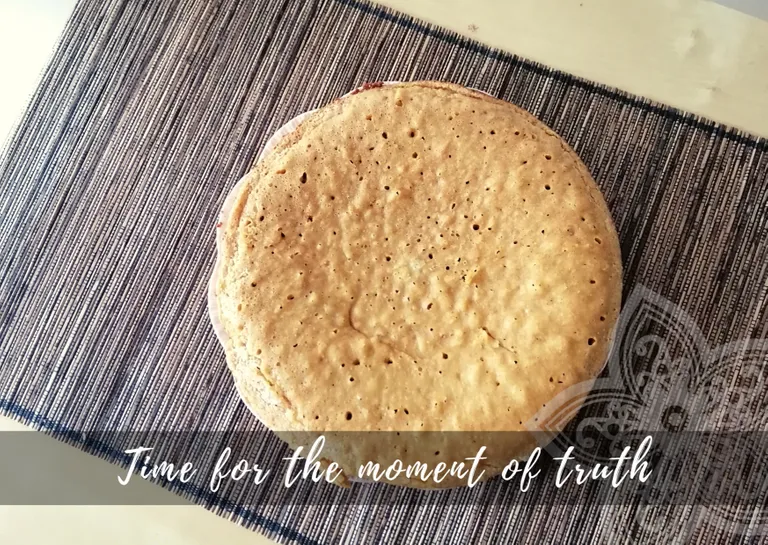
The moment of truth
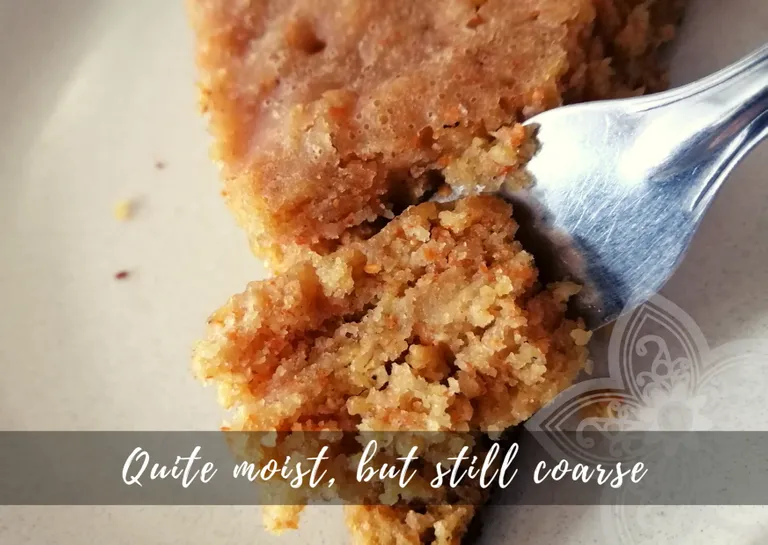
How does it taste? Moist, fluffy, a little salty (I think I need to cut off the salt totally when I use salted butter) and slightly coarse. I think I will need to grind the corn meal finer in order to make softer textured corn bread; but in the end, it still tastes super yummy in my parents' point of view as the first try.
Not to shabby, not too shabby indeed!
Not as good as a pro just yet, but practice makes perfect.
Ingredients that I used:
- 1 cup (142 g) yellow corn meal
- 1 cup (142 g) all purpose flour
- 2 tsp (6g) baking powder - if you use baking soda, divide by 3.
- 1 1/2 tsp (11 g) salt - if you use salted butter, you can omit this.
- 1/3 cup (68g) of granulated sugar (I used brown sugar, equally nice)
- 1 1/4 cups (300ml) whole milk / butter milk
- 1 large egg (room temperature)
- 3 tbspp (42.5g) melted unsalted butter (remember if you use salted butter, omit the salt)
- 5 tbsp (71g) melted unsalted butter (for the pan / cast iron skillet)
So how about you?
Would you try this out for a change if you have the time and make everything from scratch, including grinding the corn meal?
*My apologies of the spelling error of corn meal, I typed it "mill" instead. haha
I hope you have enjoyed my experiment of making corn bread as much as I have enjoyed preparing it!
Until then

Thank You for Your Time
Thank You for Your Time
1% of this post goes to null in the support of keeping HIVE alive
This post has also been shared at my new parallel platform for wider exposure, where you can also support my review for free. Time to turn that crypto review only site into something livelier!
Wow looks great, hopefully the taste would have been great.
Hey thanks so much @codingdefined! The taste was a littler saltier than expected. I'll need to either take away the salt altogether or probably cut further to only 25% of the salt content with this recipe.
Then again, different butter has different saltiness. This butter that I used just so happened to be saltier than expected.
Yes there are lot of butter which are too salty, but we usually get butter which is medium salty and we use mostly Rock salt which is less salty than the normal salt.
Thanks for sharing your creative and inspirational post on HIVE!
This post got curated and you received a 100% upvote from our non-profit curation service!
Join the official DIYHub community on HIVE and show us more of your amazing work!
Thank you @diyhub for taking notice of this post!