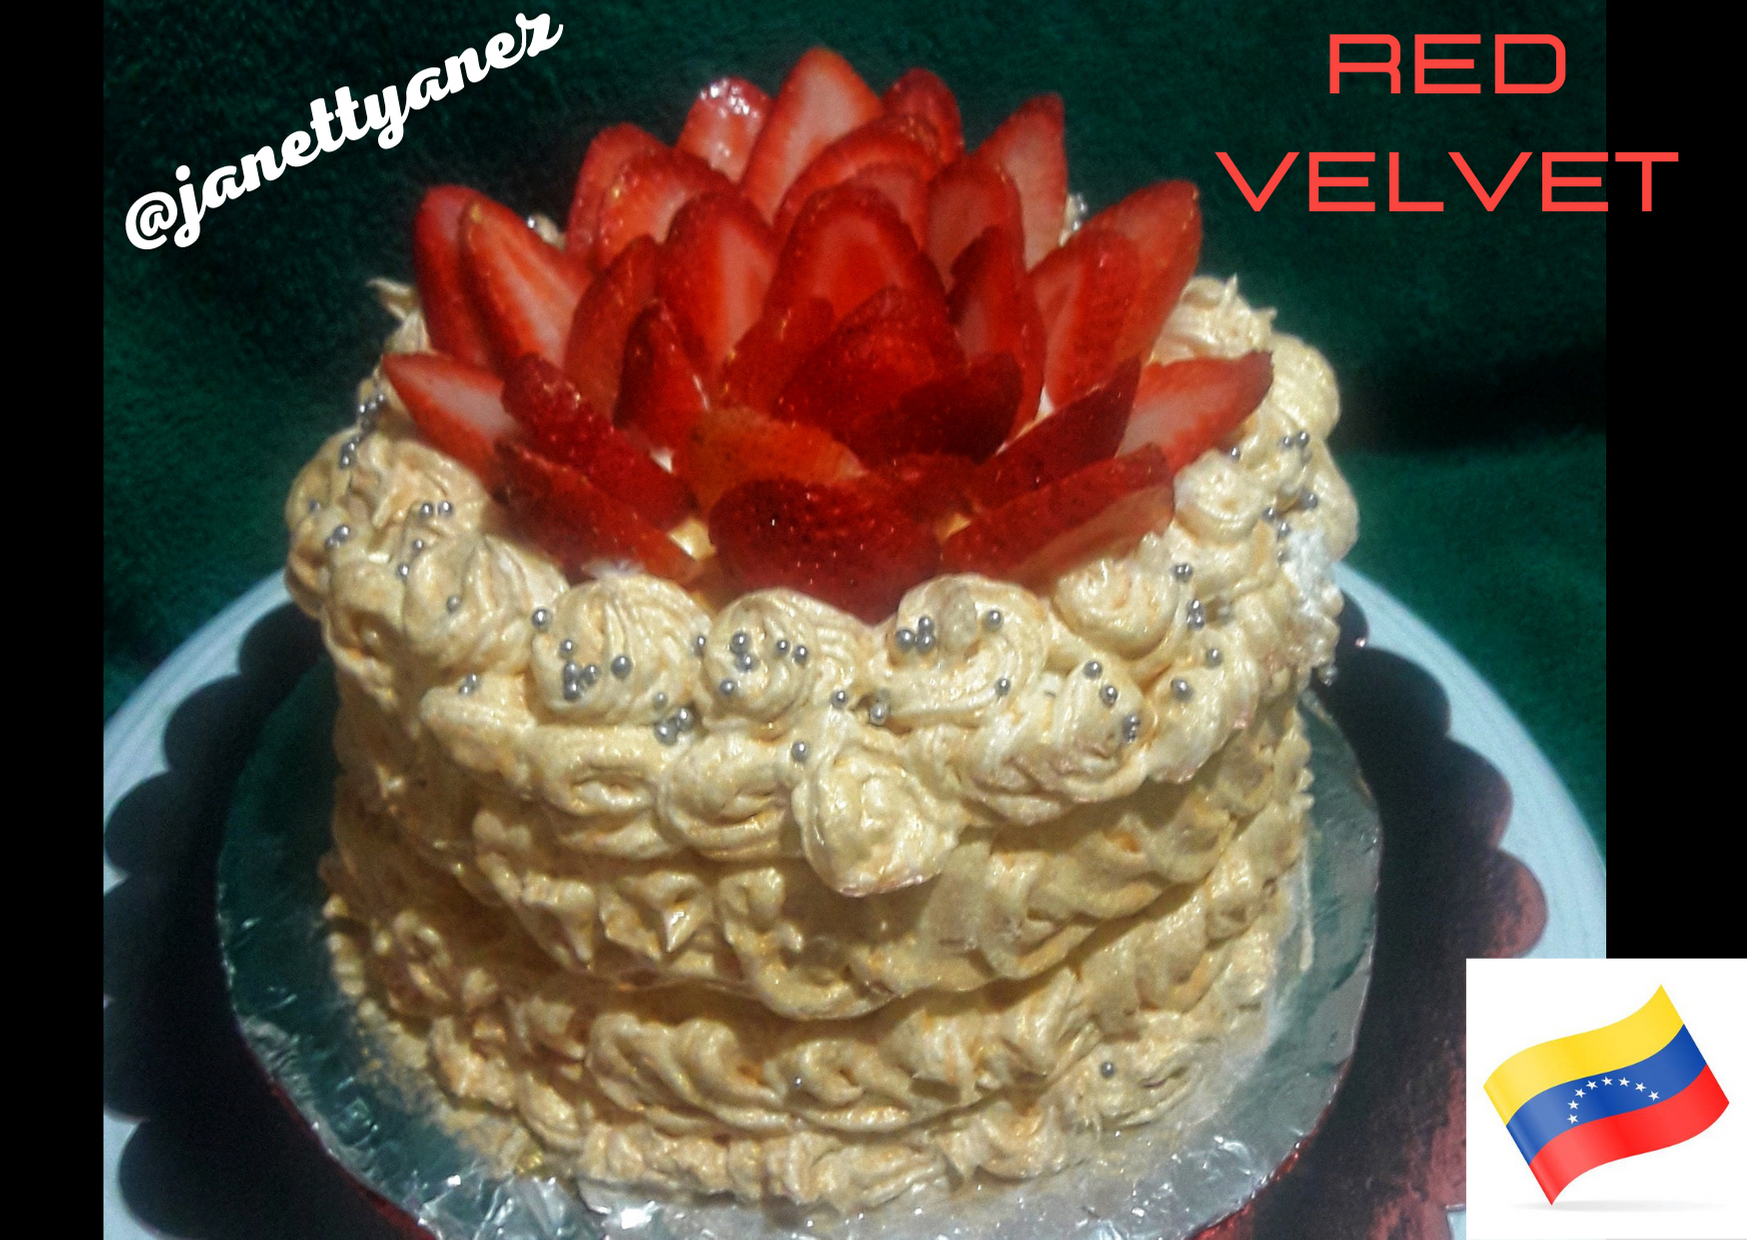
[SPA-ENG] Fácil receta de Cake Red Velvet// Easy cake Red Velvet recipe by @janettyanez
.png)
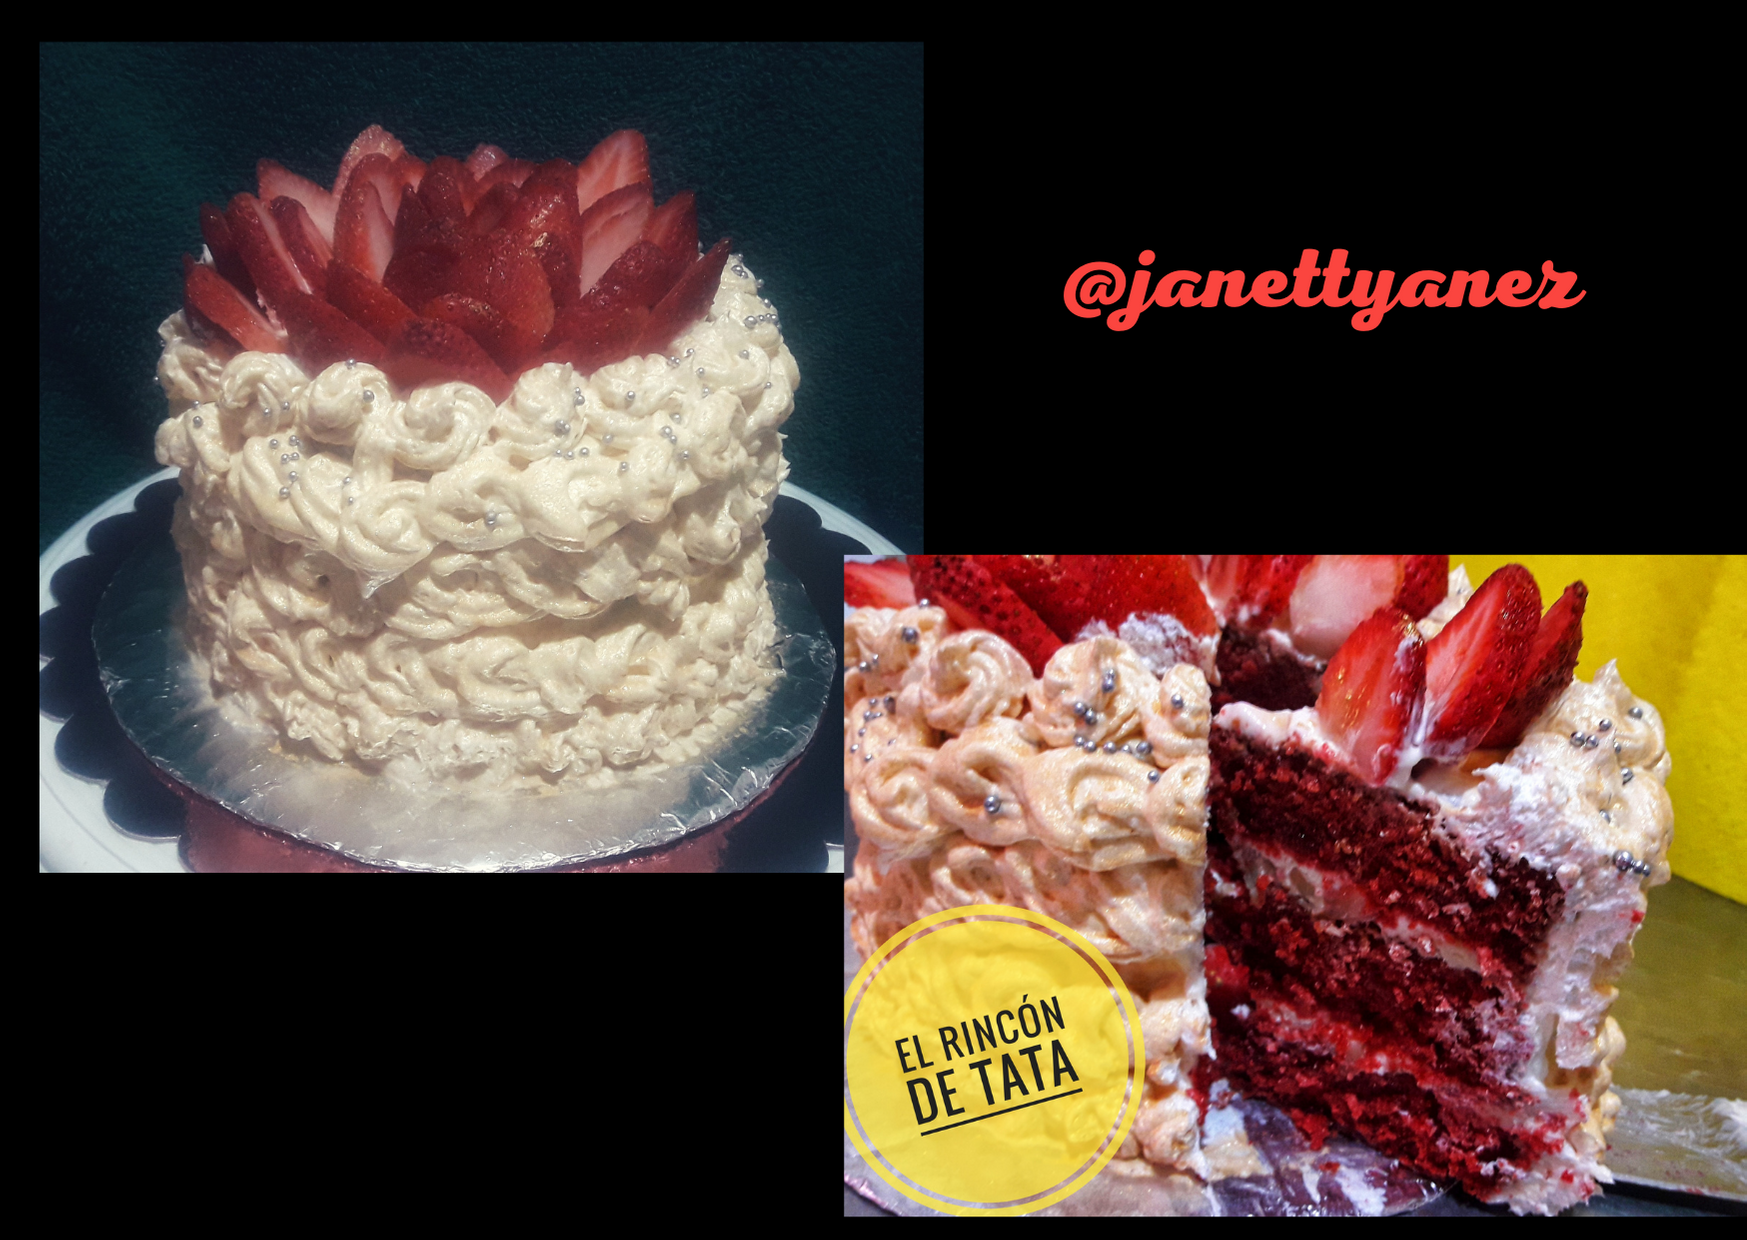
Asi como una suculenta decoración con crema Chantilly y una corona de fresas, decorada con perlas plateadas.
On this occasion I present the recipe for a Red Velvet cakes, stuffed with cream based on cream cheese, nuts and strawberries, combined with white chocolate ganache.As well as a succulent decoration with Chantilly cream and a strawberry crown, decorated with silver pearls.

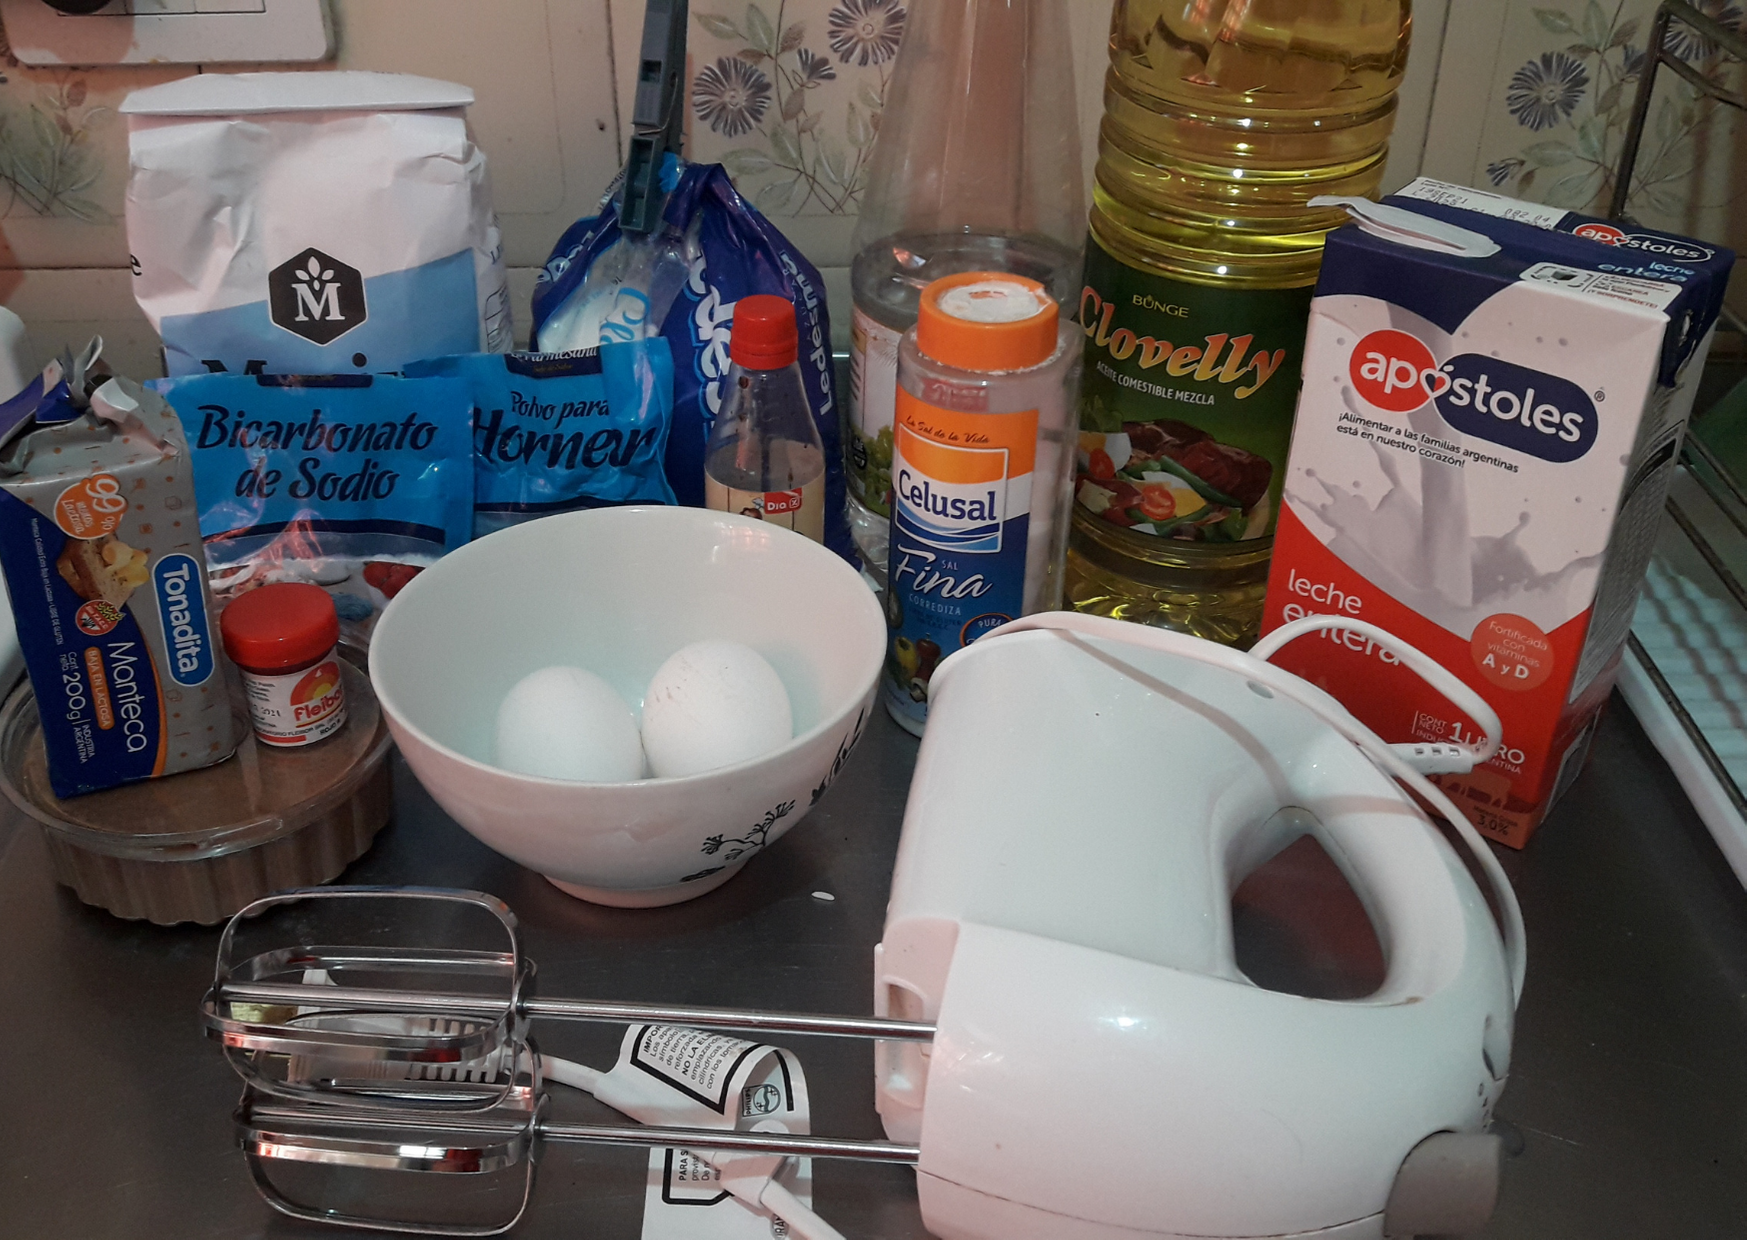
Ingredientes/ Ingredients
Biscocho
310g leuding wheat flour
2 tablespoons Cocoa Powder
1 teaspoon baking soda
1 teaspoon salt
300g sugar
240ml milk
1 cup edible oil
2 eggs
115g butter
2 teaspoons red dye.
2 teaspoons vanilla essence
Filling
200g Whipped Cream
160g sugar
160g Cream Cheese
1 teaspoon vanilla essence.
100g strawberries
100g walnuts
Cover
300g strawberries
Chantilly Cream
Biscocho
310 grs de harina de trigo leudante
2 cucharadas de Cacao en Polvo
1 cucharadita de bicarbonato de Sodio
1 cucharadita de sal
300 grs de azucar
240 ml de leche
1 taza de aceite comestible
2 huevos
115 grs de manteca
2 cucharaditas de colorante rojo.
2 cucharaditas Escencia de vainilla
Relleno
200 grs de Crema de Batir
160 grs de azucar
160 grs de Queso Crema
1 cucharadita escencia de vainilla.
100 grs de fresas
100 grs de nueces
Cubierta
300 grs de fresas
Crema Chantilly

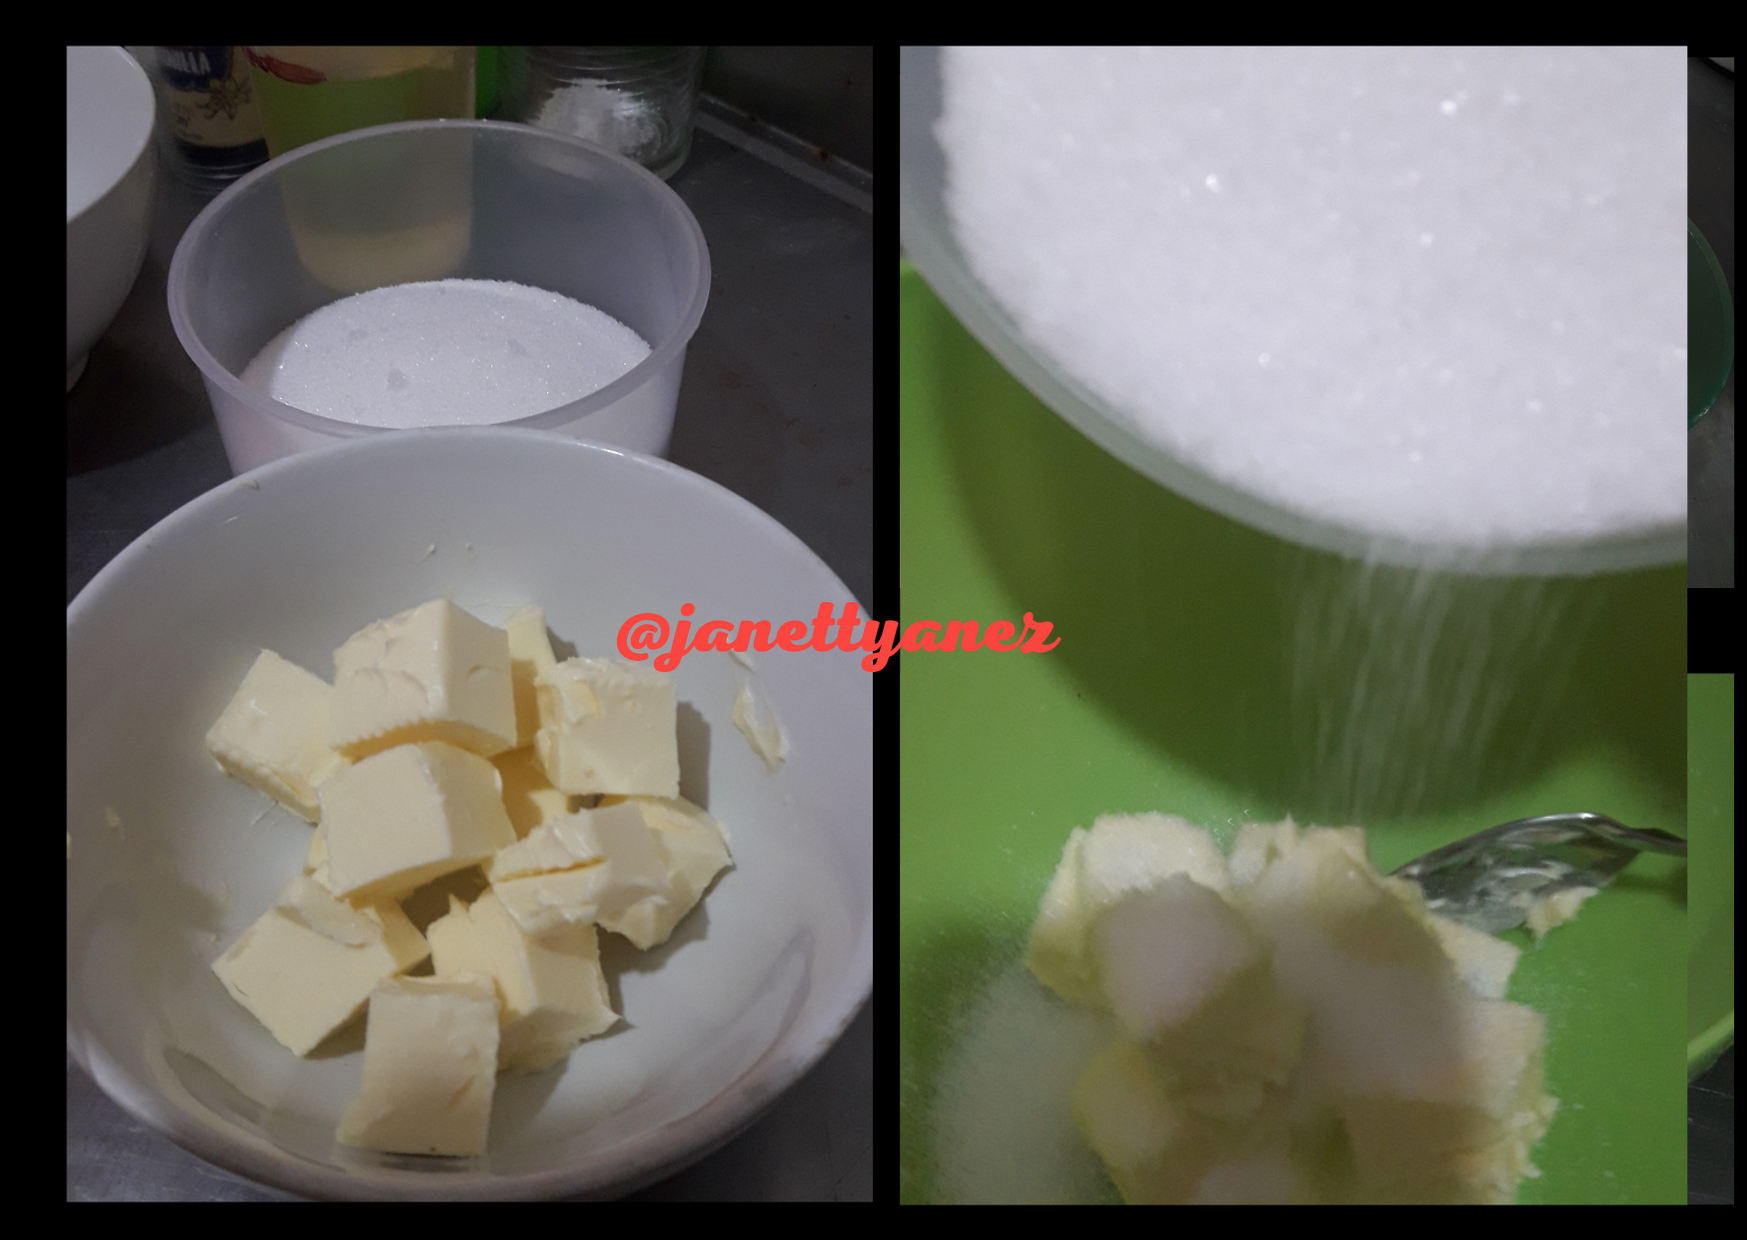
Paso 1:
Mezcla 1: se mezcla la leche con una cuharadita de vinagre y se deja reposar por 10 minutos.
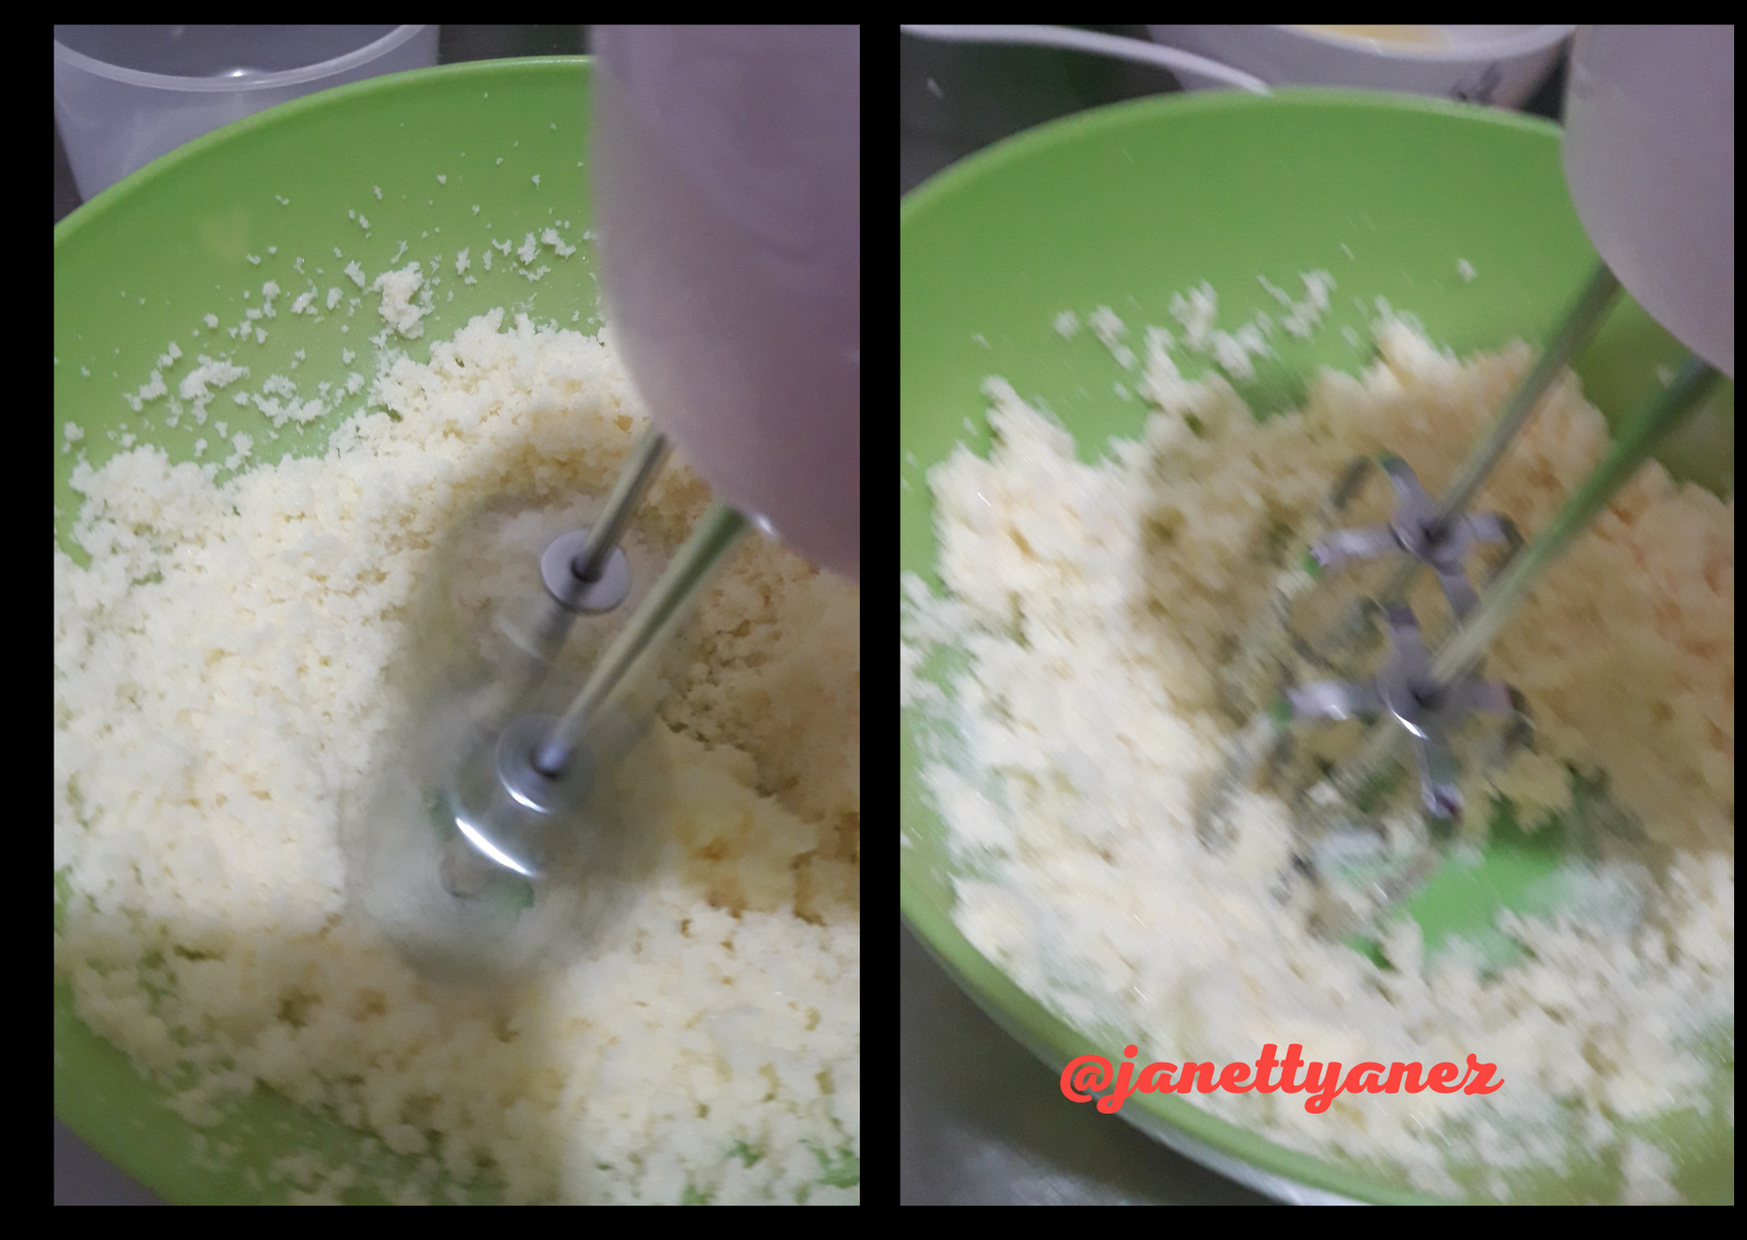
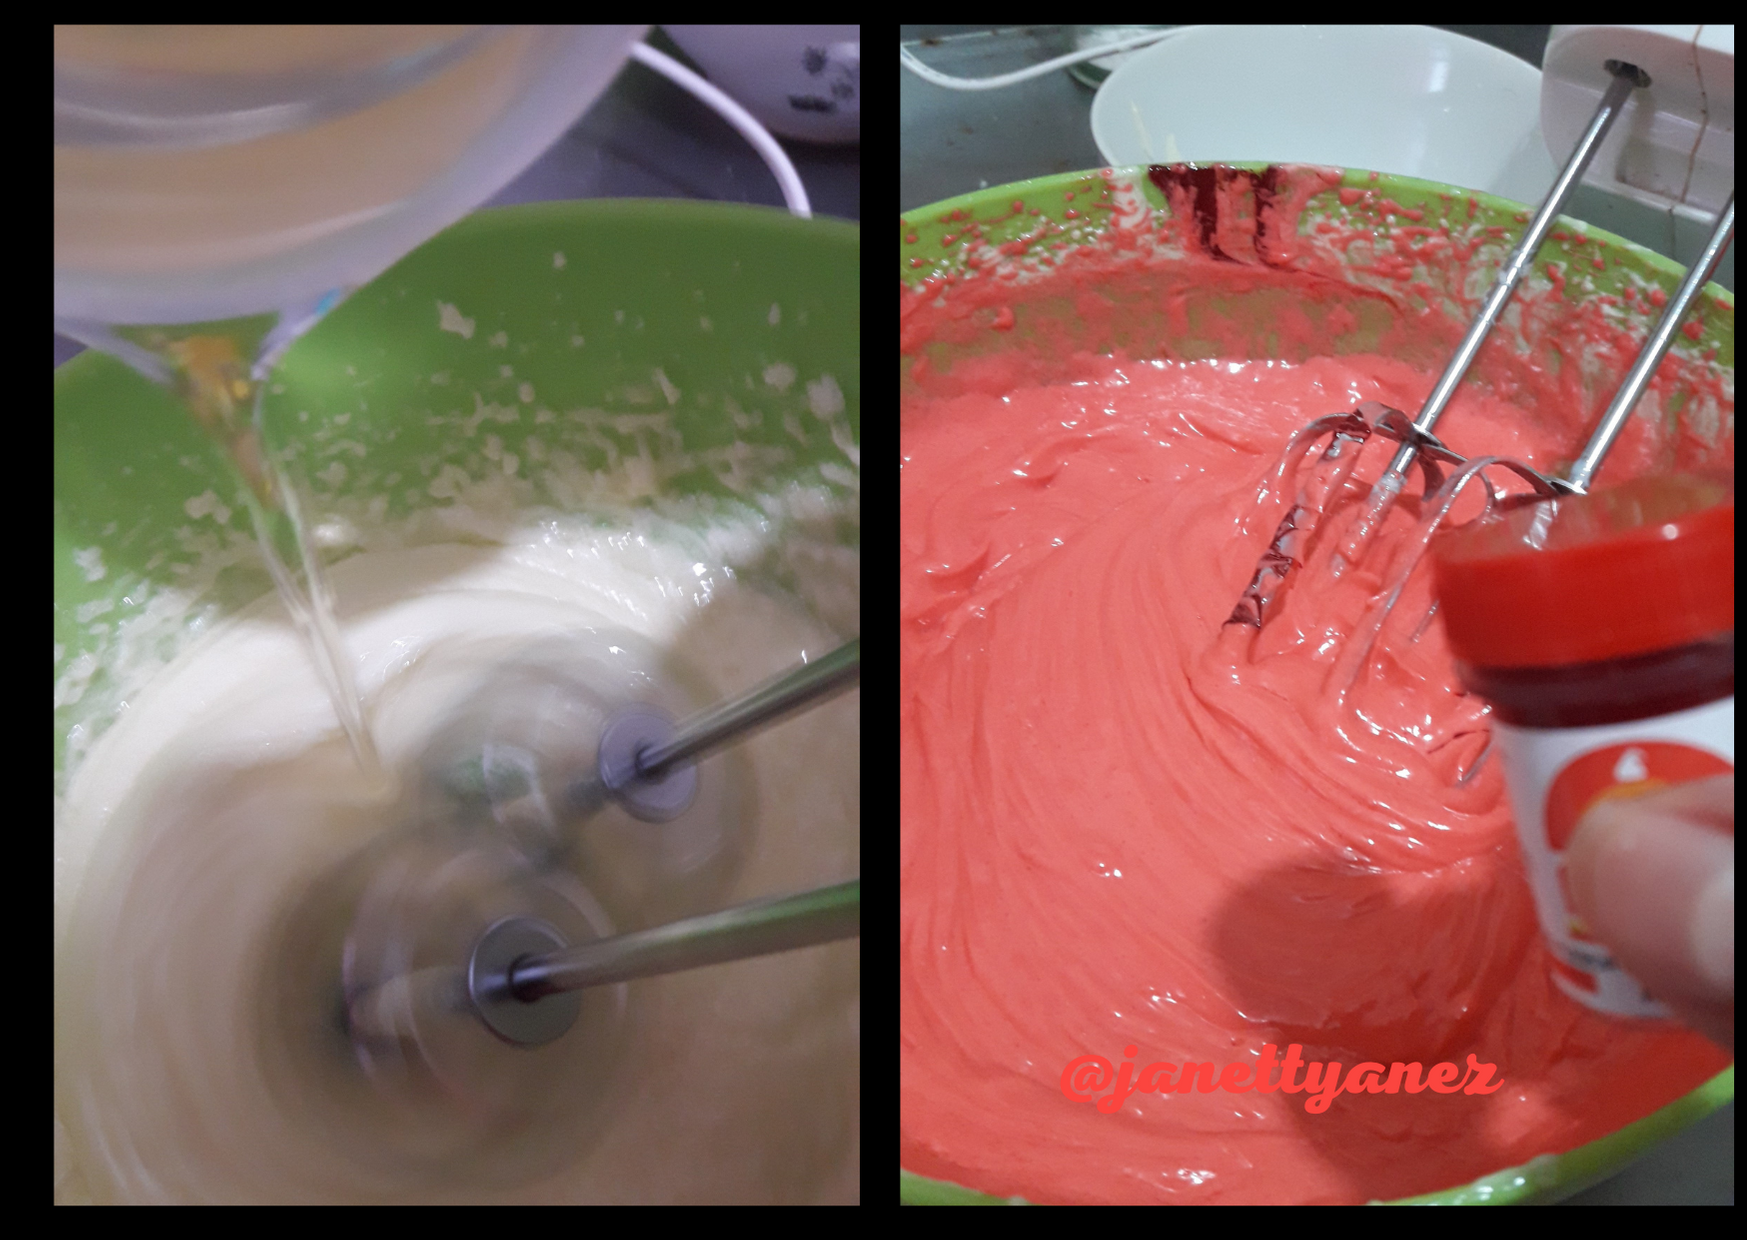
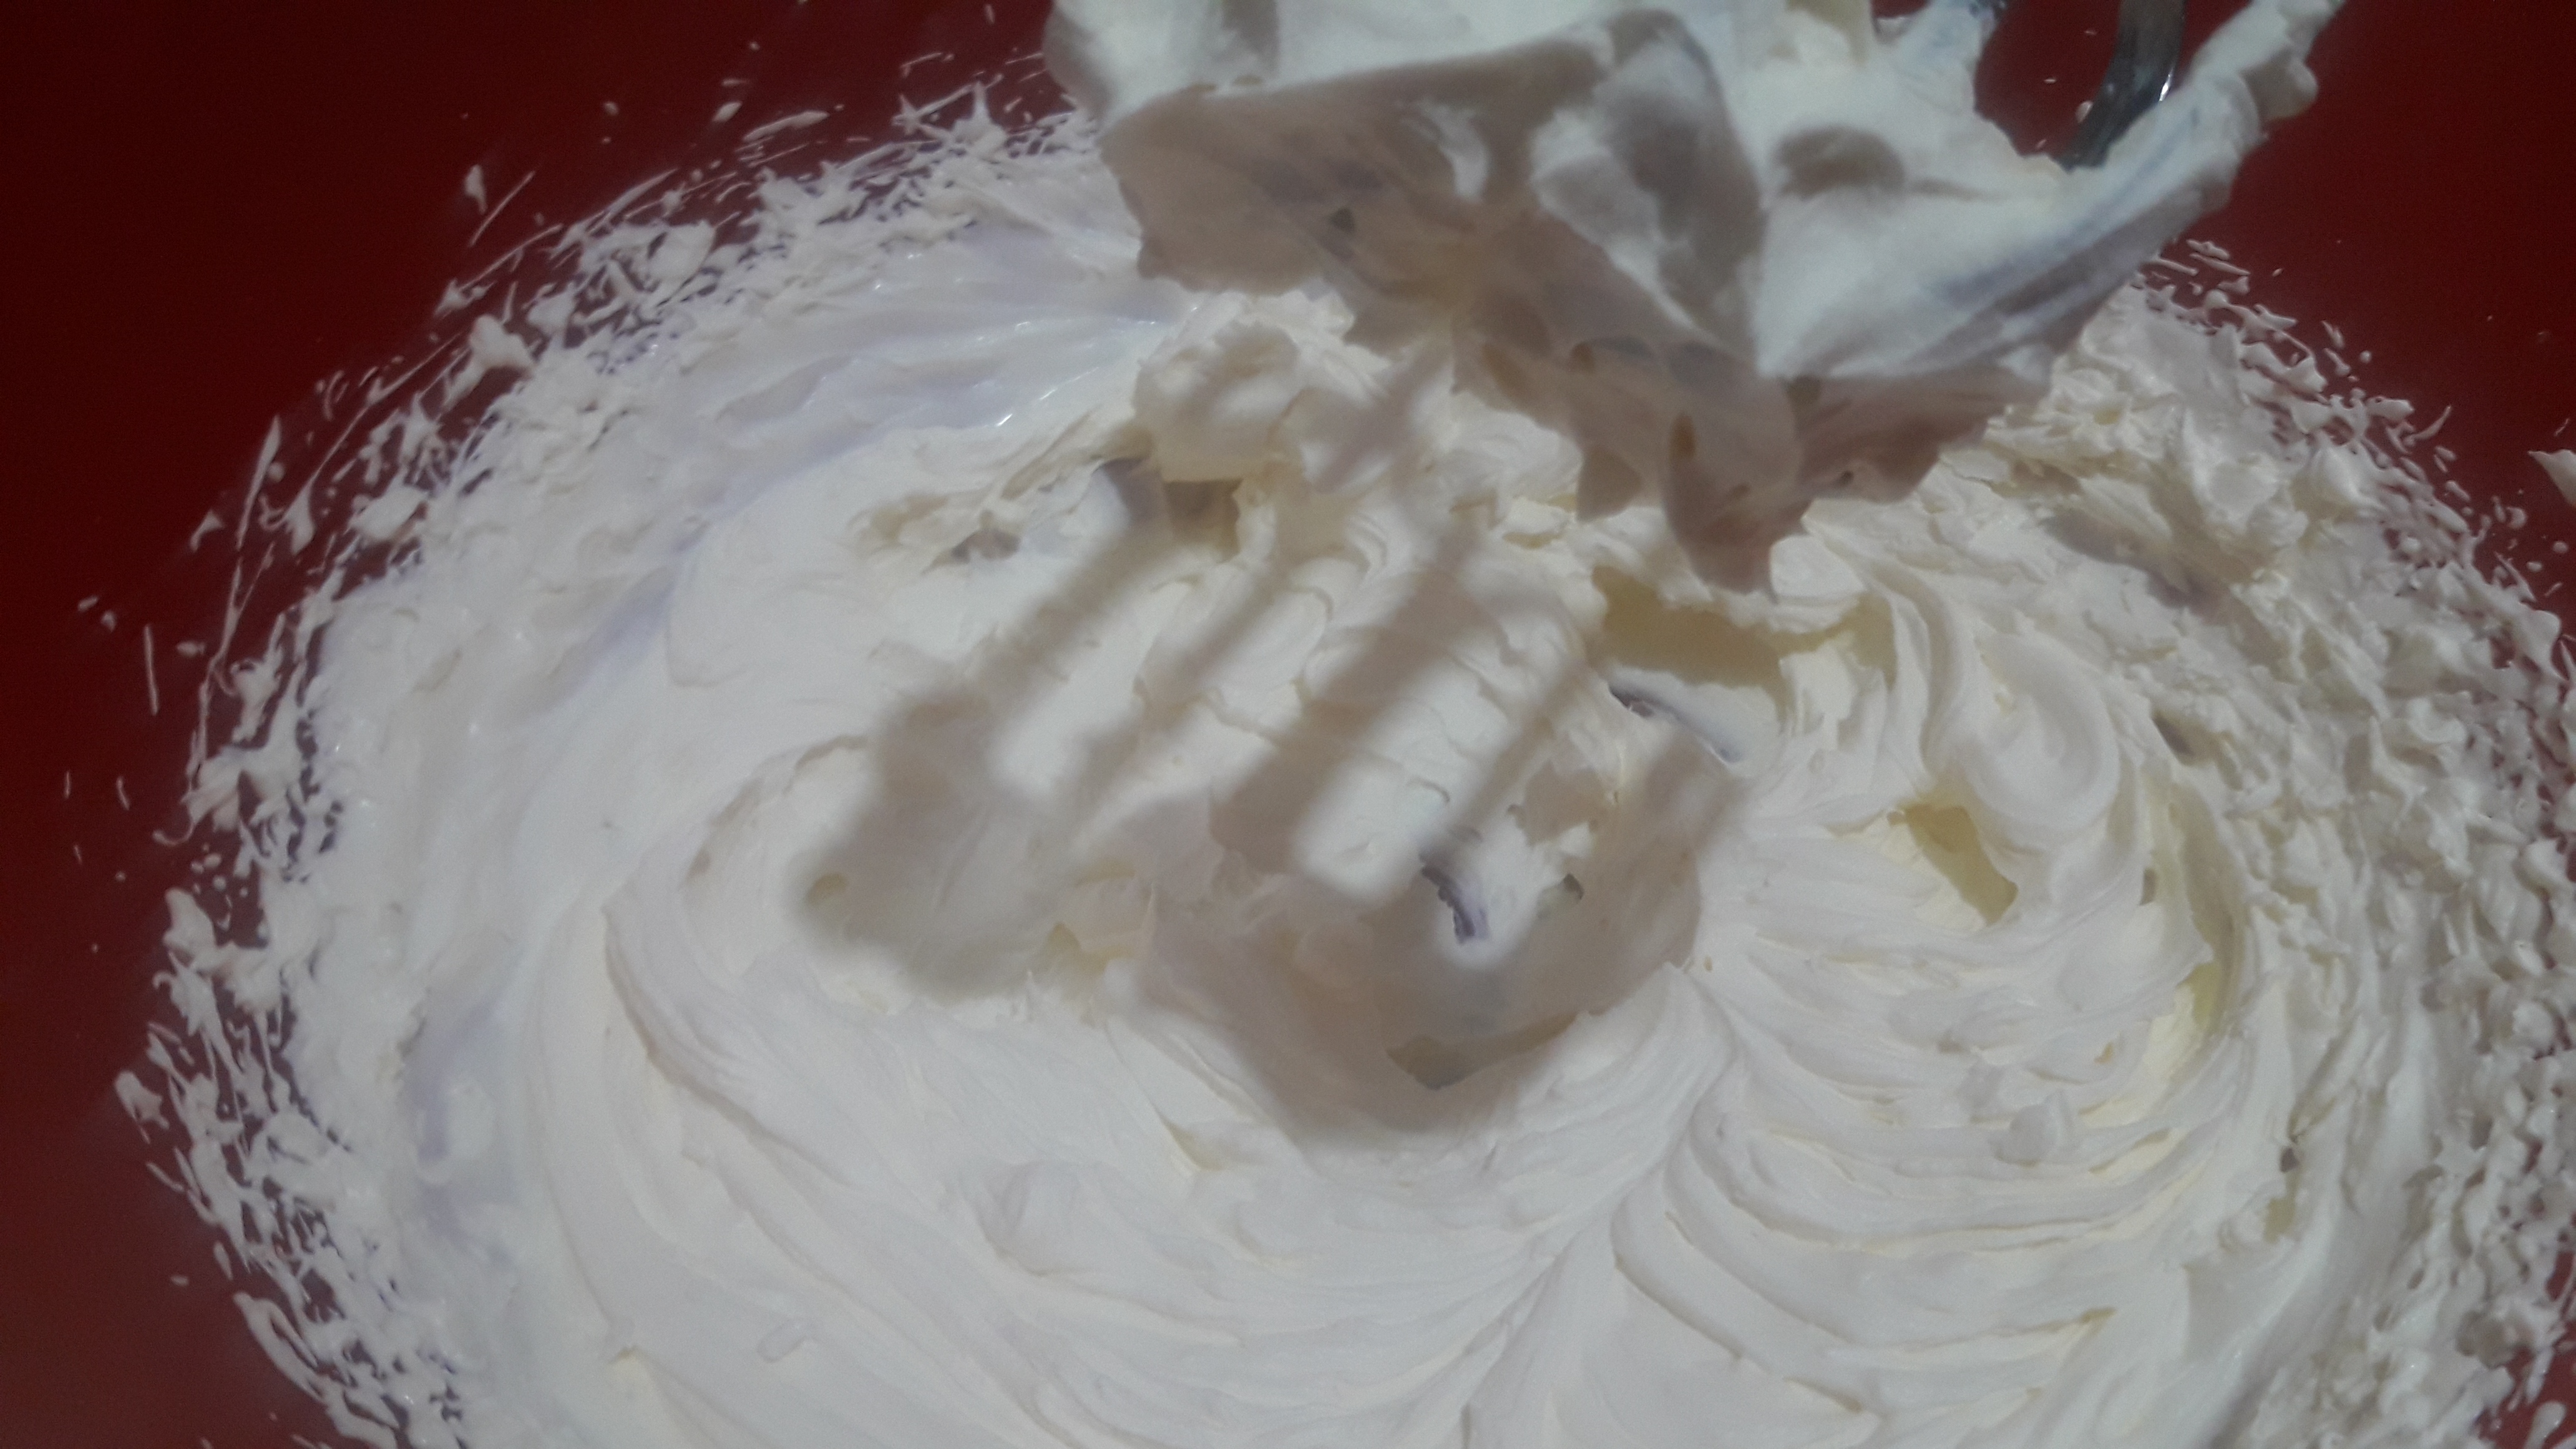
Mezcla 2: se mezcla la manteca con el azucar , el aceite y la escencia de vainilla, batiendola constantemente con la batidora hasta que este homogenea.
Step 1:
Mix 1: Mix the milk with a teaspoon of vinegar and let stand for 10 minutes.
Mix 2: Mix the butter with the sugar, oil and vanilla essence, whisking it constantly with the blender until it homogenies.
Paso 2:
Mezcla 3:A la mezcla 2 se le agregan los huevos uno a uno batiendo constantemente, cuando la mezcla este homogenea se agrega el colorante rojo y se sigue batiendo.
Step 2:
Mix 3: The eggs are added one by one constantly to mixture 2, when the mixture this homogene is added the red dye and continues to beat.
Paso 4:
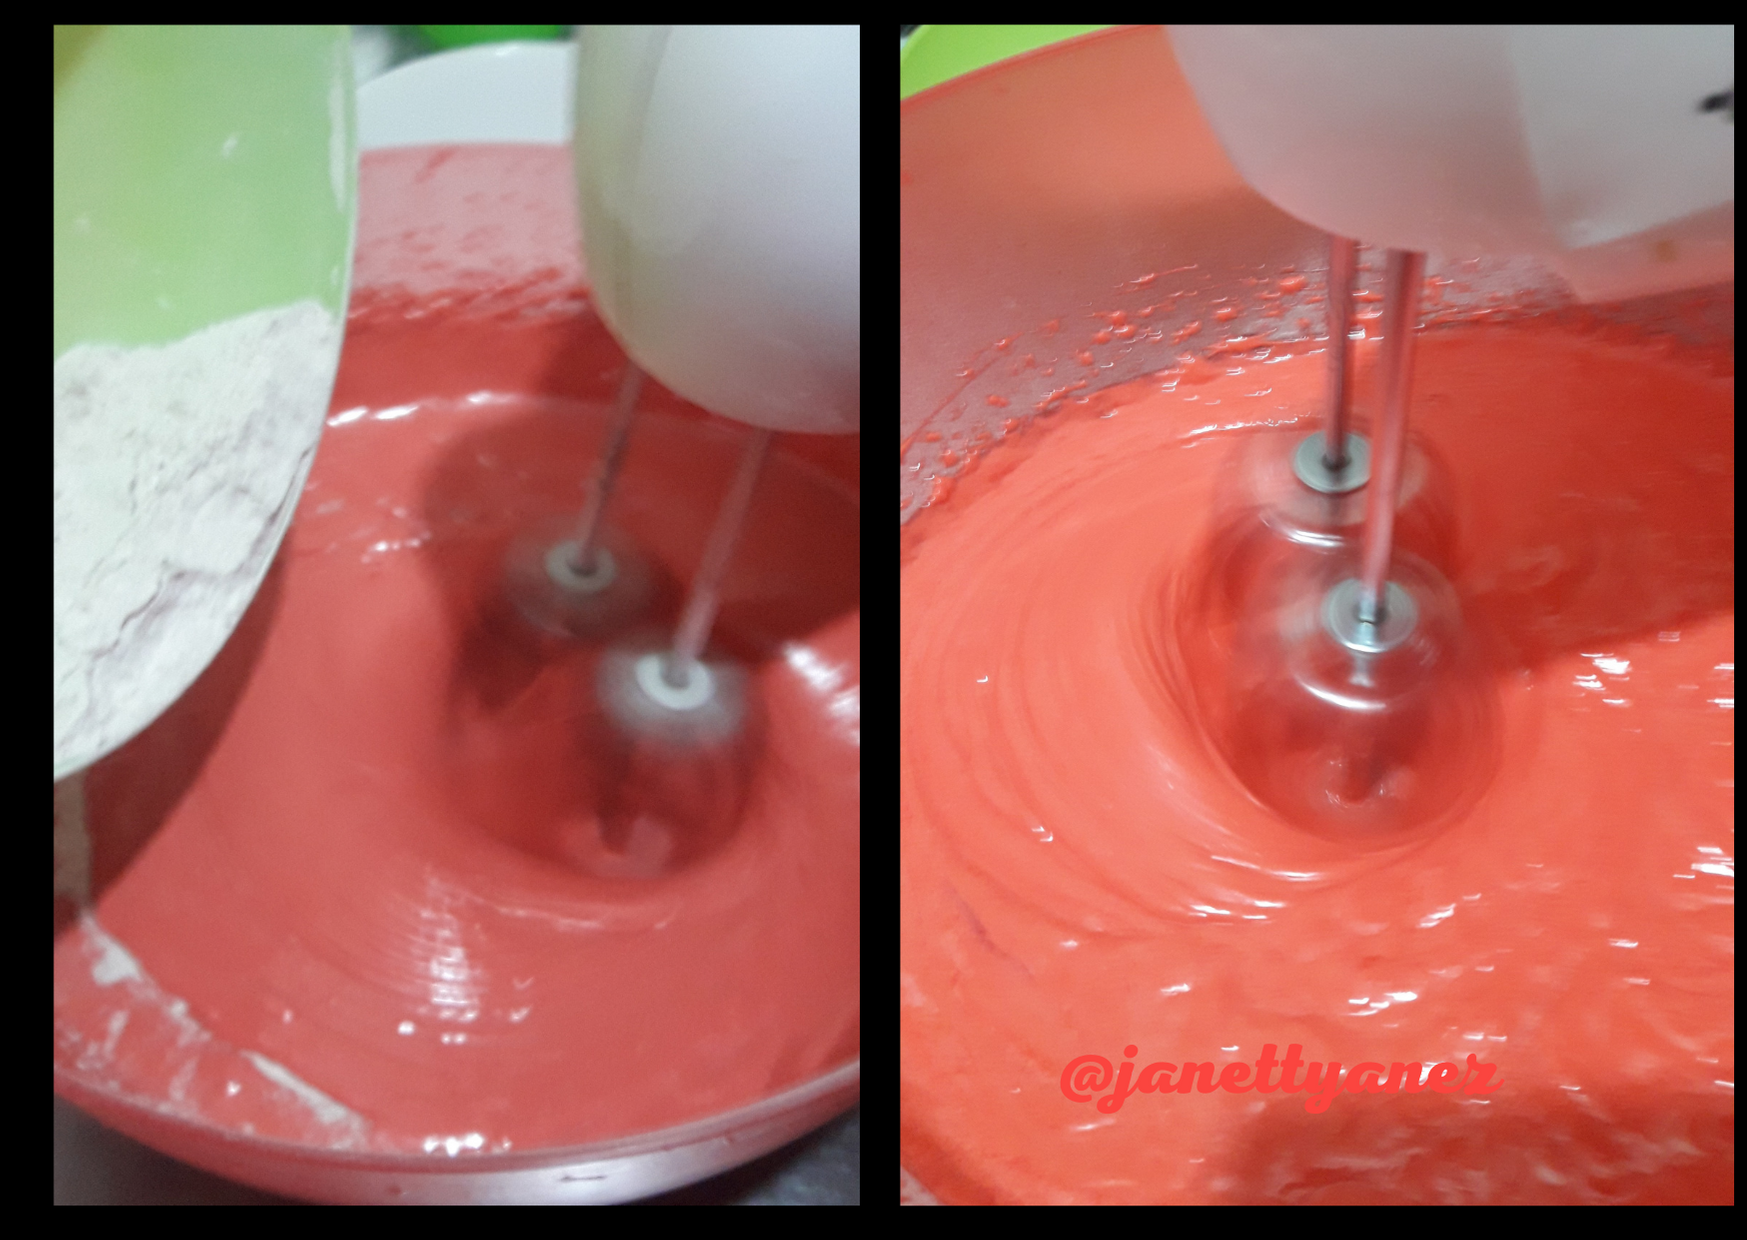
Mezcla 4: Se mezcla la harina con el cacao y se tamiza con un colador .
Luego a esta mezcla de le agrega a la mezcla 3 en forma progresiva y batiendo constantemente.
Por último se mezcla la cucharadita de bicarbontado con una cucharadita de vinagre y se agrega a la mezcla final.
Step 4:
Mix 4: Mix the flour with the cocoa and sift with a strainer.
Then to this mixture add to mixture 3 progressively and whisking constantly.Finally, mix the teaspoon of baking soda with a teaspoon of vinegar and add to the final mixture.
Paso 5:
Se preparan dos o tres moldes de 18" segun la altura de la torta a realizar y se vierte las mezcla en ellas.
Se precalienta el horno a 180°C y se dejan cocinar po 1 hora.
Luego se dejan enfriar para desmoldear.
Step 5:
Two or three 18" molds are prepared according to the height of the cake to be made and the mixture is poured into them.
Preheat oven to 180oC and let cook for 1 hour.
Then they are left to cool to unmould.

Paso 6:
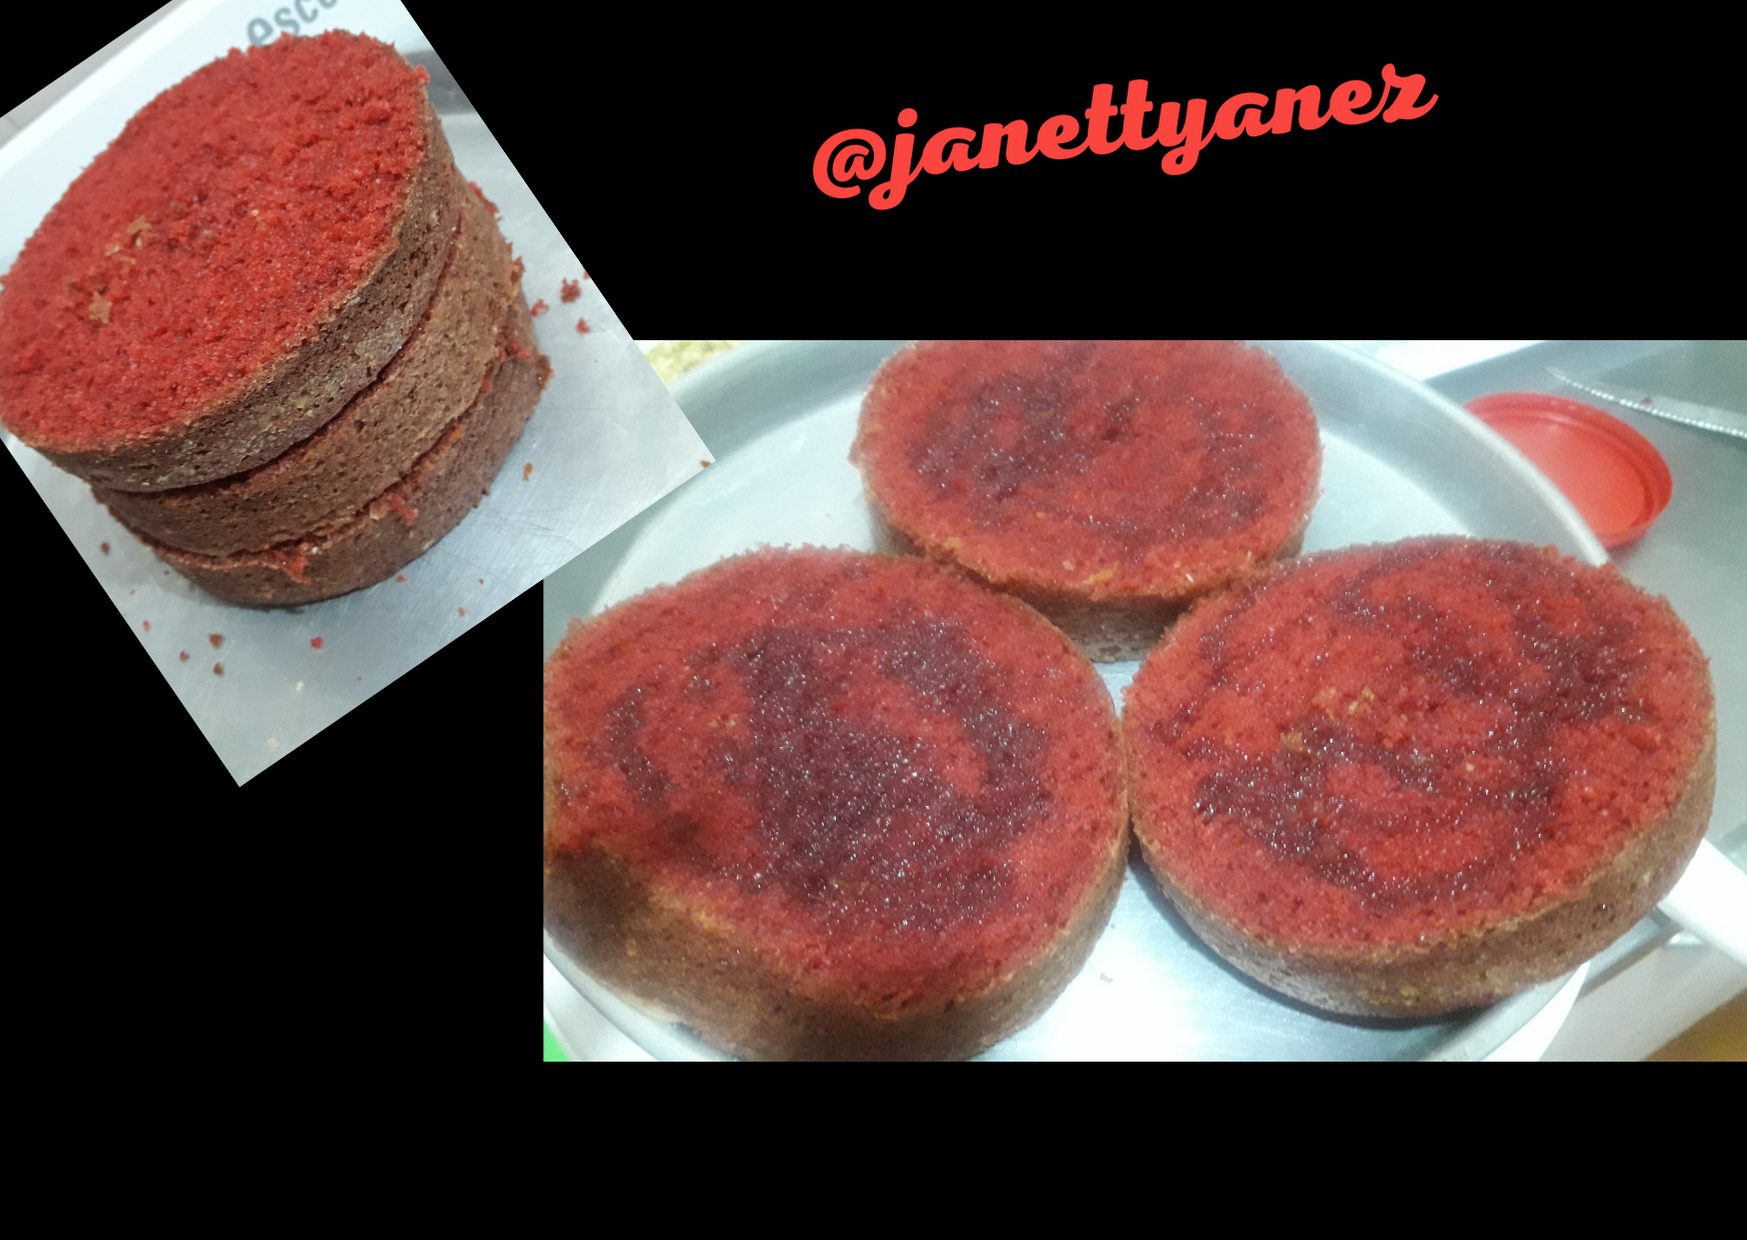
Una vez frios los biscochos se desmoldan y se cortan por la mitad, en el caso de mi torta tendrá tres pisos por lo que cortaré un solo biscocho y el otro lo usaré completo.
Luego se humedecen con almibar y se dejan por unos 10-15 minutos.
Step: 6
Once I'm cold, the biscuits are unmoulded and cut in half, in the case of my cake it will have three floors so I'll cut a single biscuit and the other will use it in full.
They are then moistened with syrup and left for about 10-15 minutes.

Relleno y Decoración:
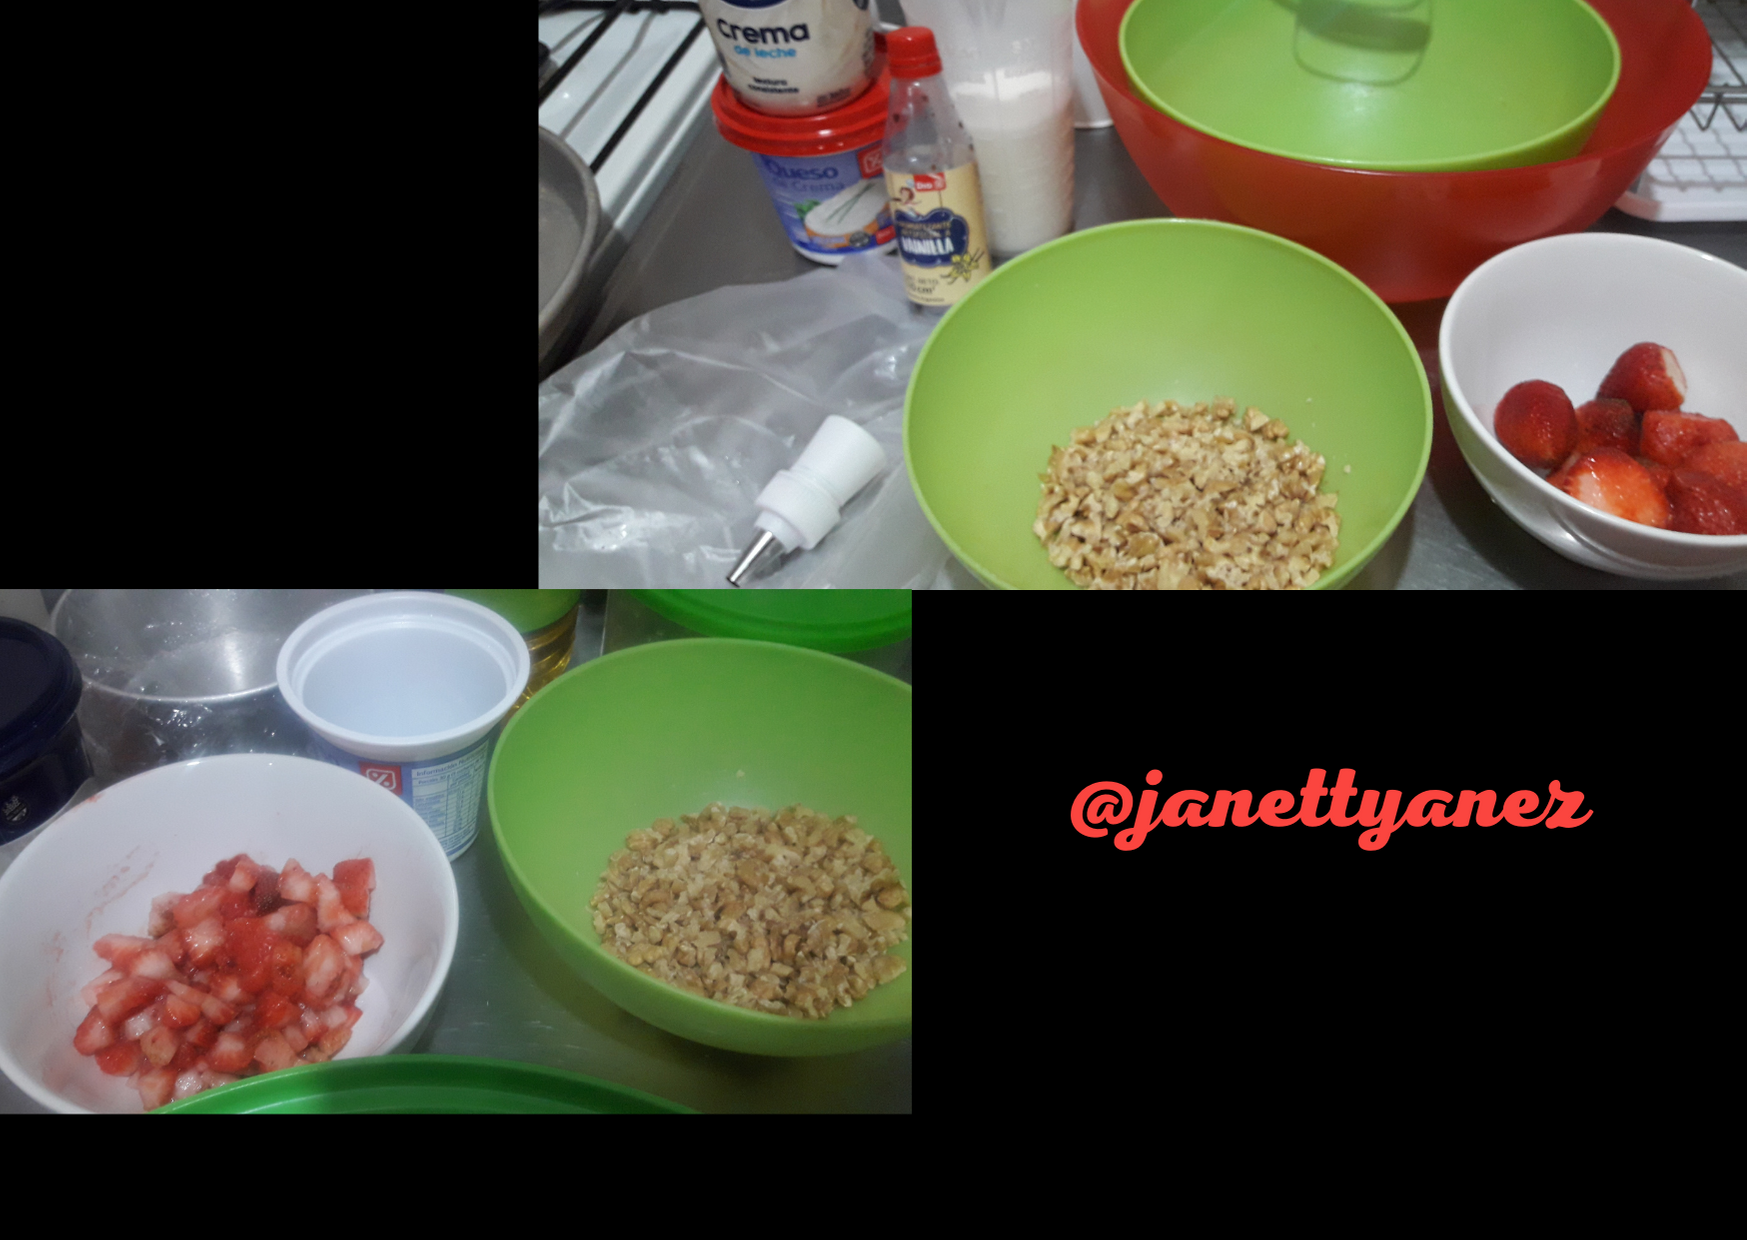
Se preparan las cremas para el relleno y la decoración: Crema de Queso Crema, crema Chantilly y el ganache de chocolate blanco.
Se cortan en trozos muy pequeños las fresas y las nueces.
Filling & Decoration:
The creams are prepared for filling and decoration: Cream Cheese Cream, Chantilly Cream and White Chocolate Ganache.
Strawberries and walnuts are cut into very small pieces.
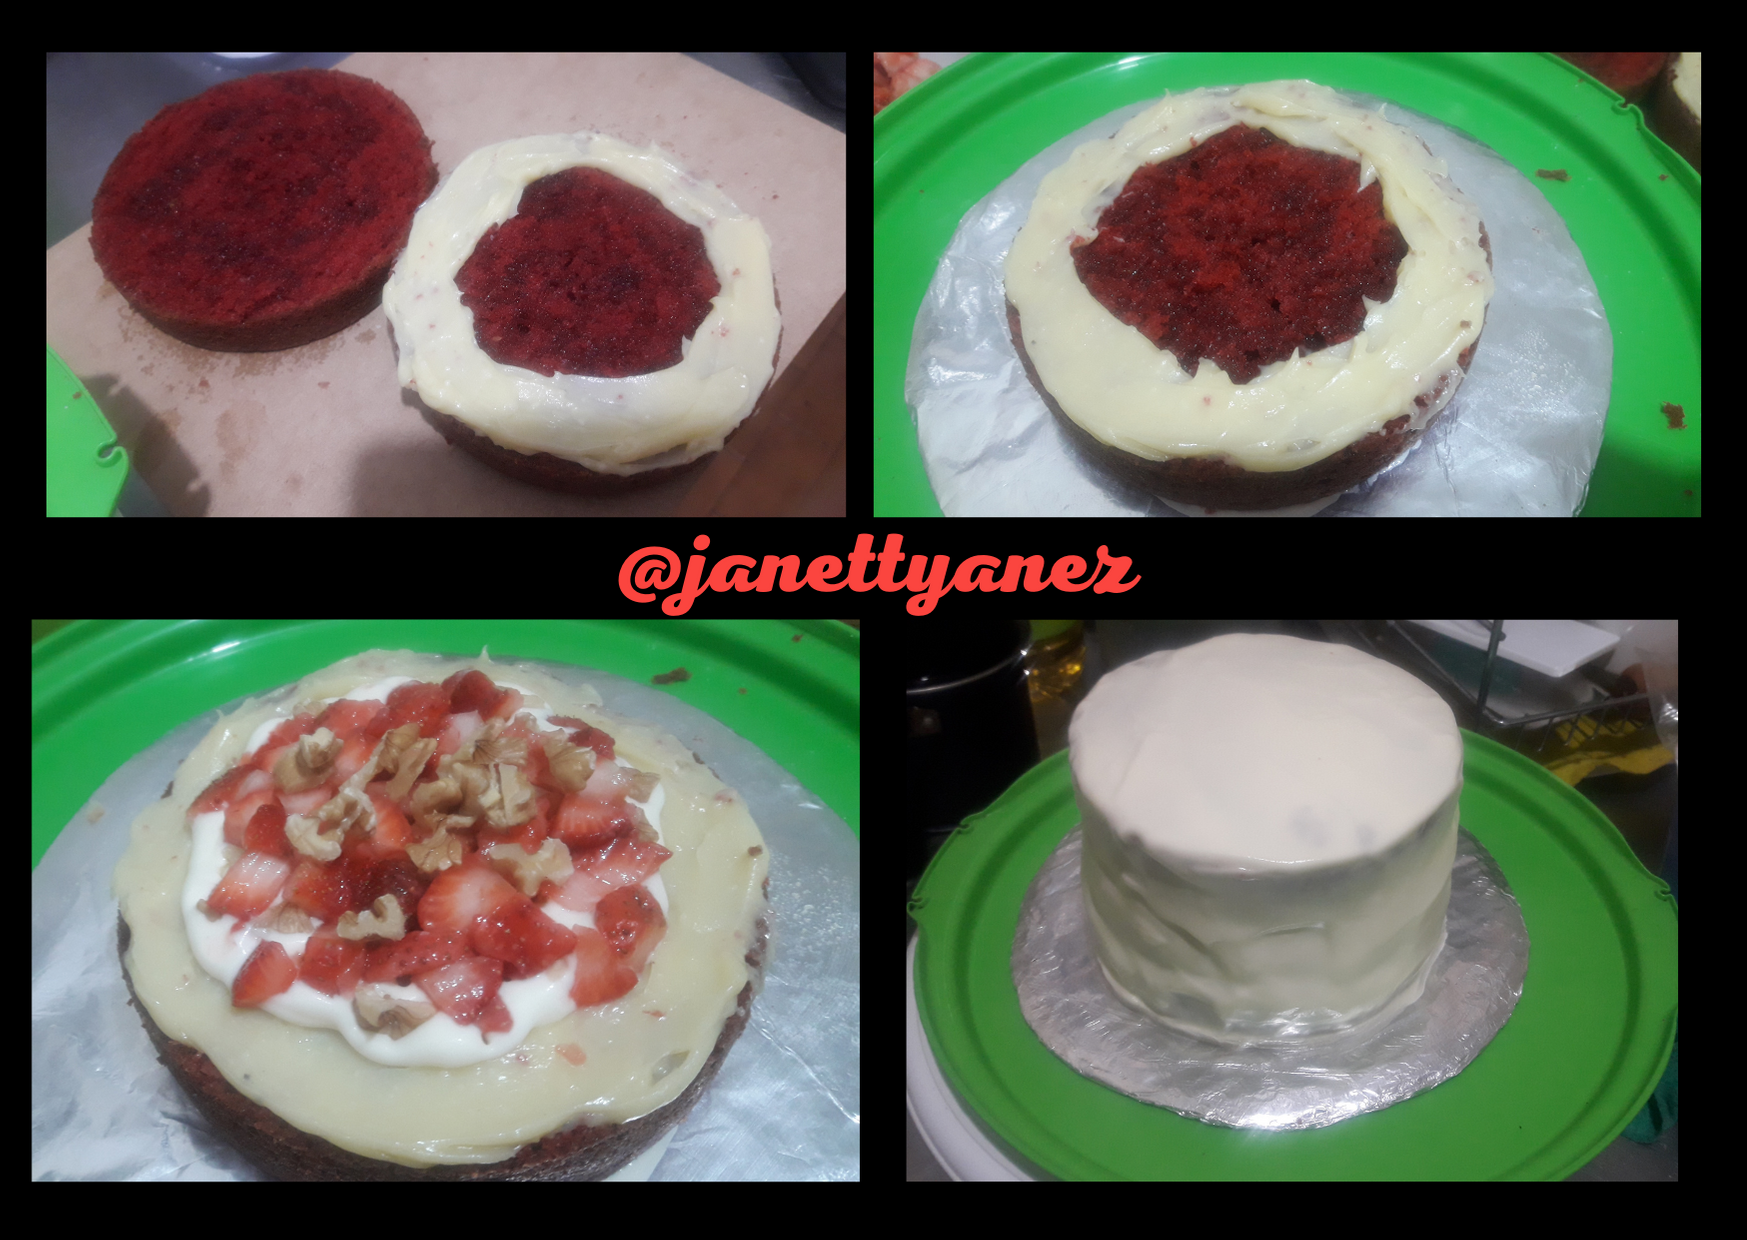
Luego se coloca un trozo de biscocho y se repite la operación hasta terminar.
Seguidamente se coloca en la nevera por 1 hora y luego se continua con la primera cubierta con crema chantilly o quitamigas, se deja en la nevera toda la noche.
Luego al dia siguiente se procedea la decoración como aparece en la imagen siguiente.
With the Ganache the barrier is placed and with the cream cheese stuffing cream in the center of the biscuit then the pieces of strawberry and walnuts are placed.
Then a piece of biscuit is placed and the operation is repeated until finished.
It is then placed in the fridge for 1 hour and then continued with the first cover with chantilly cream or removeer, left in the fridge overnight.
Then the next day the decoration proceeds as shown in the following image.
El separador 1 y el banner fueron elaborados por mi con Canva y esta es la Fuente del separador 2
All the images are my property, they are part of the album of "El Rincón de Tata" an enterprise that I carry in Buenos Aires Argentina.
Separator 1 and banner were made by me with Canva and this is the Separator Source 2

Twitter:
https://twitter.com/JANETTYANEZ/status/1391232877925437444
Congratulations, your post has been upvoted by @dsc-r2cornell, which is the curating account for @R2cornell's Discord Community.
Thank you for your support