Replacing traditional alkaline batteries with a power bank in a remote control car
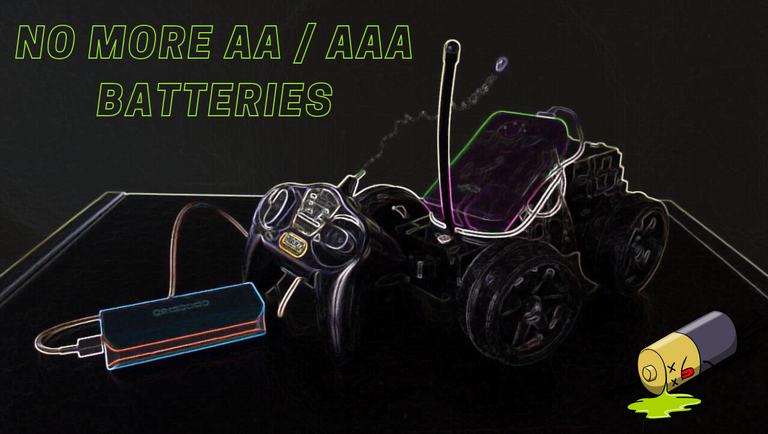

Say goodbye to alkaline batteries
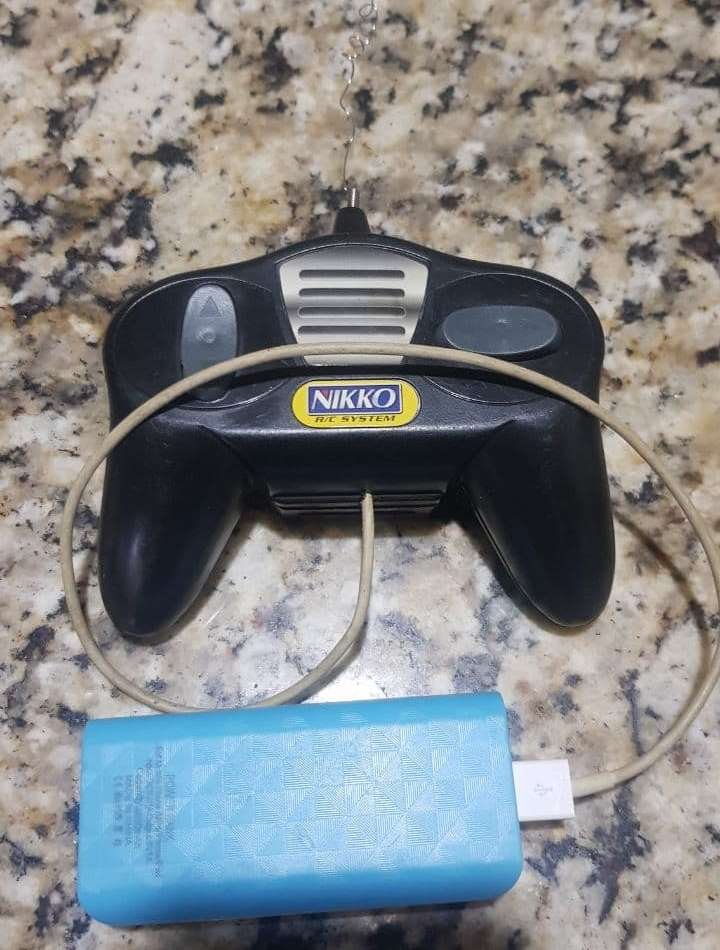
Hello friends, today I come to show you this little project to adapt a power bank to a remote control car of my son, it is something simple to do that can save us a lot of money.
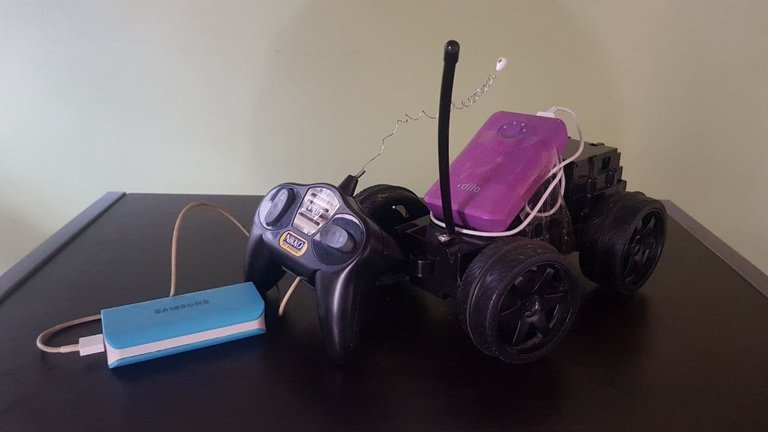
For a long time I was buying alkaline batteries for both the controller and the car itself, and these did not last more than two days, so I decided to adapt a pair of cables with USB port, one in the controller and one in the car, and here I show you the step by step ... I only needed two power bank and two old cables to charge cell phones.
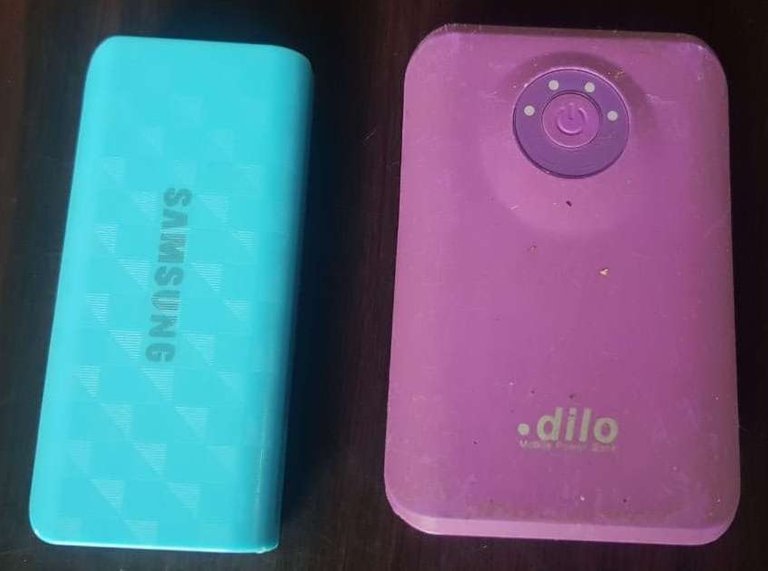
The power banks I used replace the traditional AA and AAA saline and alkaline batteries, because as you know, power banks are portable and rechargeable battery banks that are capable of storing a certain amount of energy, the amount needed to start up this project.
It should be noted that the power banks can continue to be used for other tasks, because there are not permanent, so we can disconnect them whenever we want.
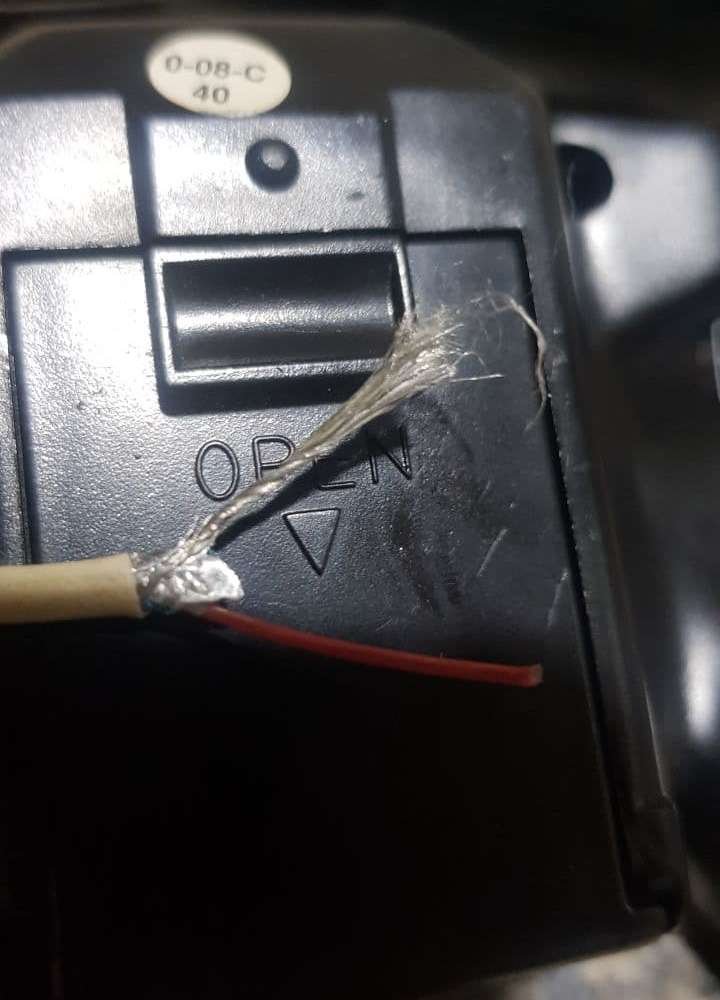
I started to disassemble the control to see what the controller board was like, it's simple, just be careful to know which is the positive and negative.
 |
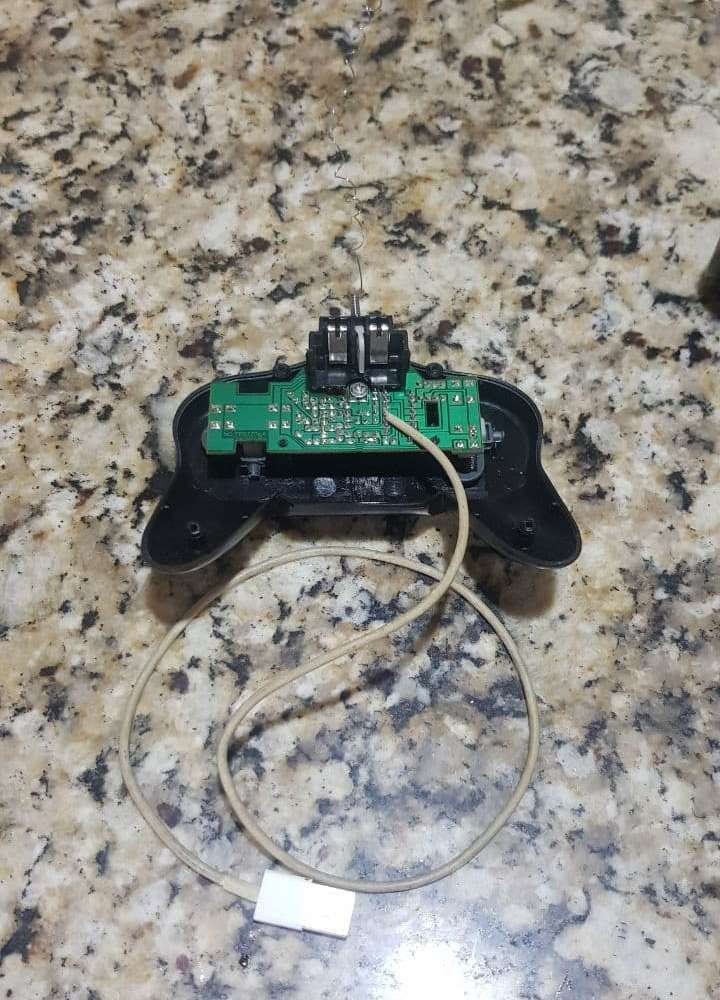 |
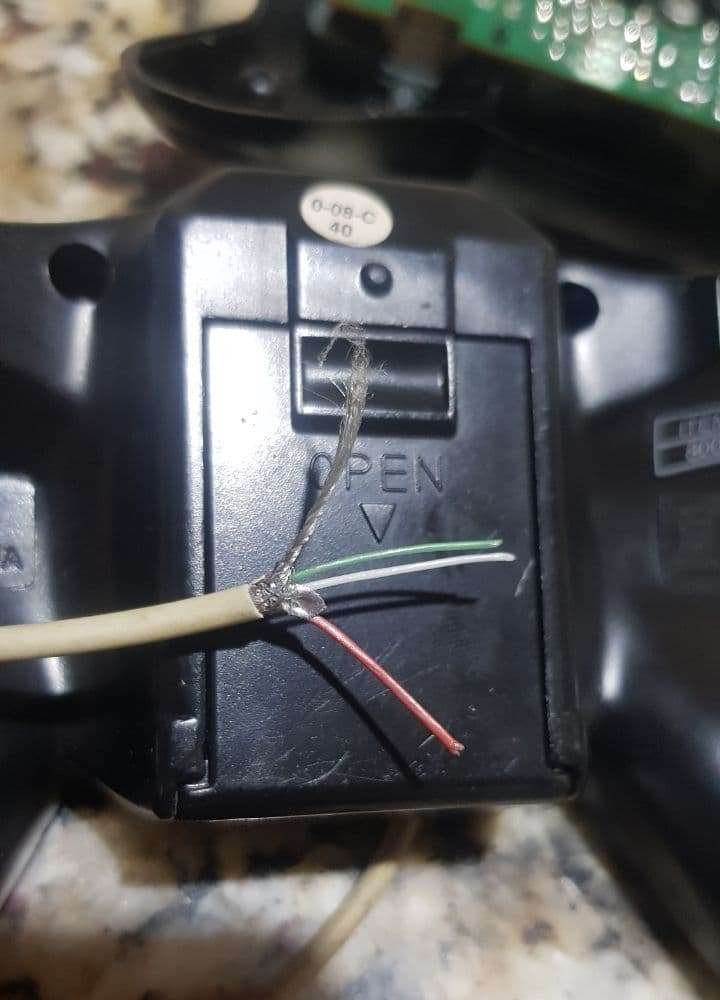
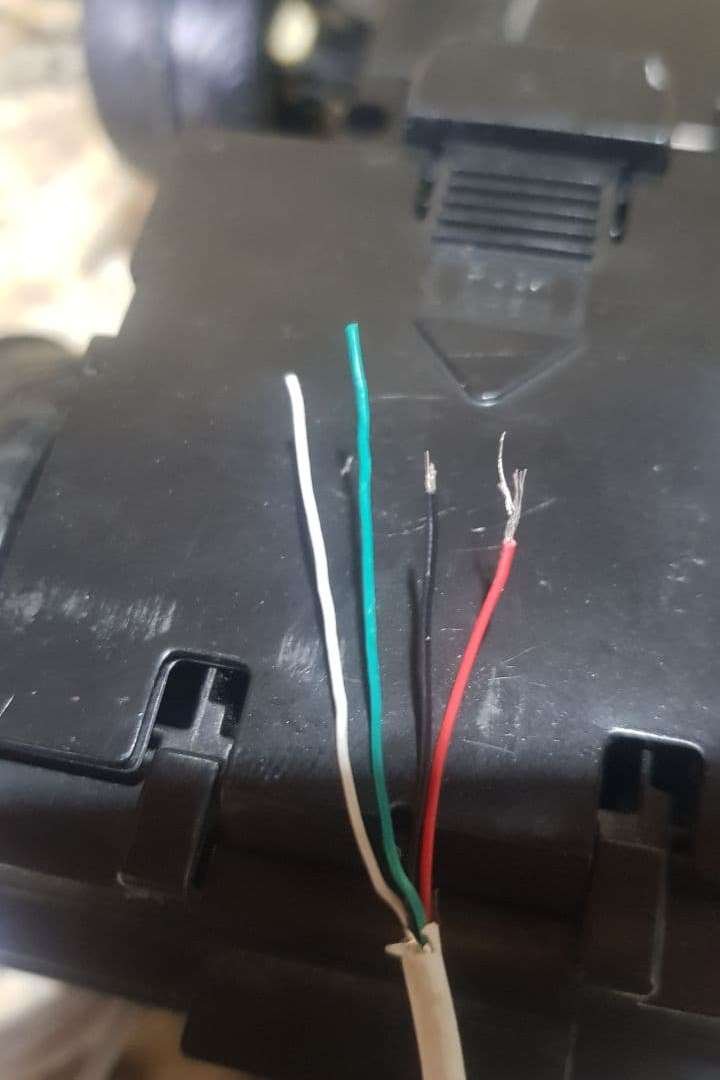
In this case, it was very easy because the control has a drawing of the polarity of each wire, in the one I am using, only the red one is identified as "positive", and the one without the cover as "negative".
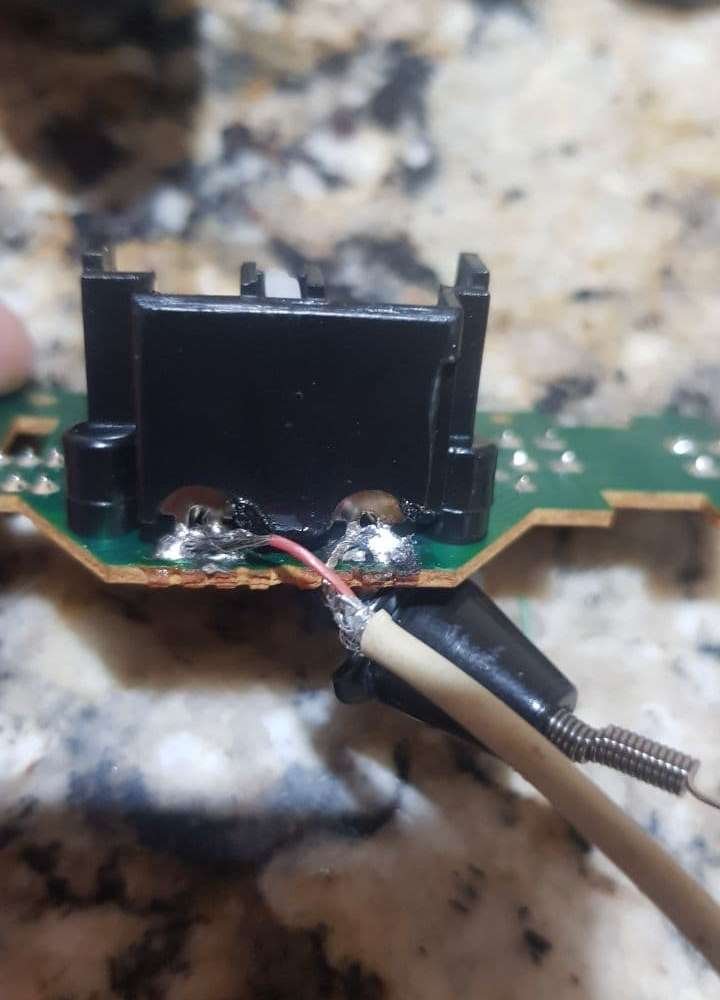
With the help of a soldering iron, I soldered each wire in its place and reassembled, for safety, I made a simple knot so that in case of pulling it, the solder would not come off.
 |
 |
 |
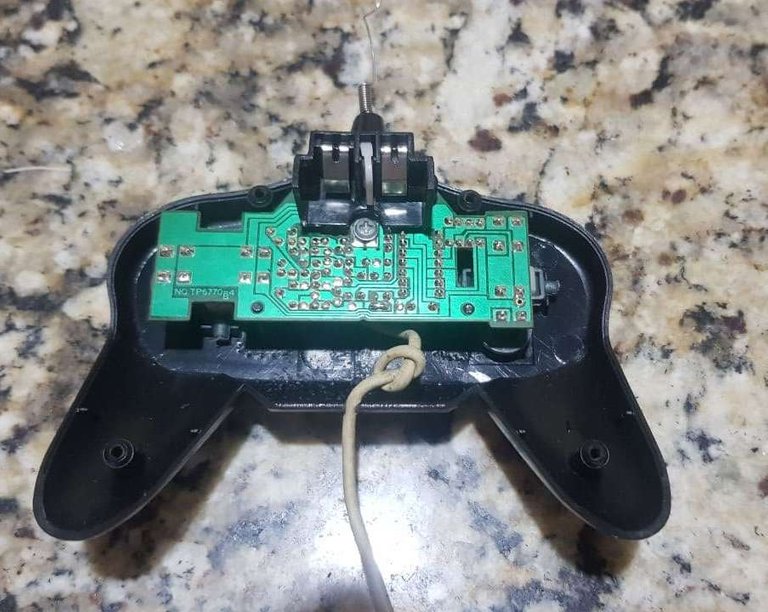
Remote control finished
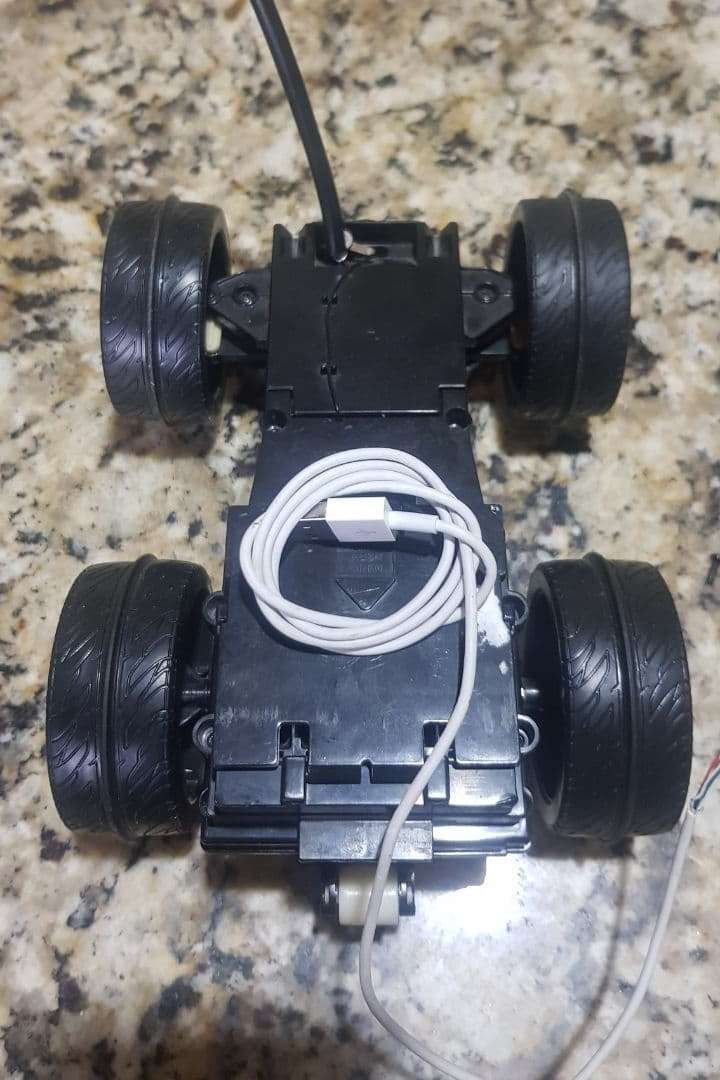
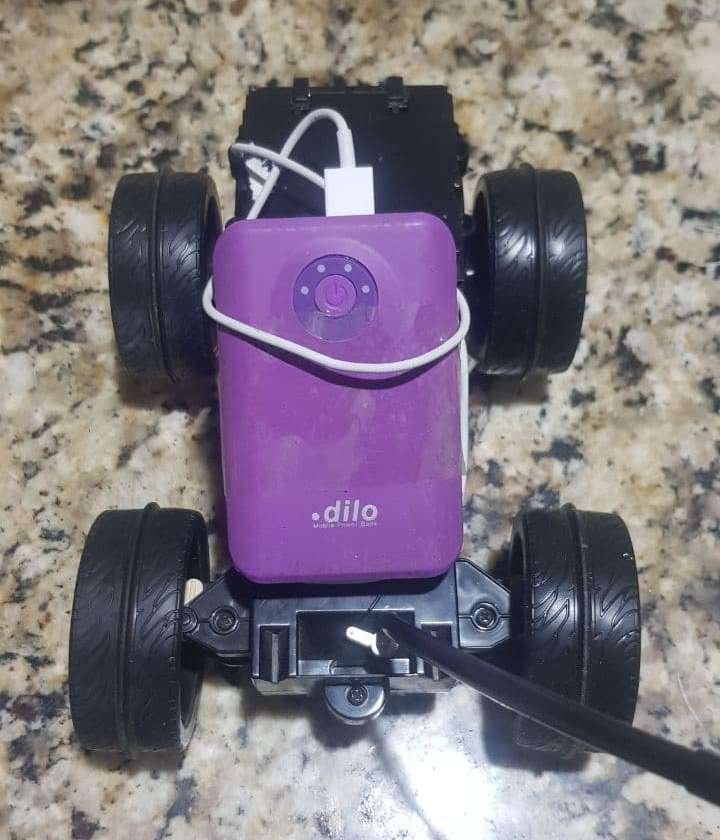
Then, I continued with the cart, I disassembled it and I could notice that the wires that feed the motherboard are red and black, so it was also very easy to distinguish each polarity, so I performed the same procedure, with the help of the soldering iron I soldered each wire in place and made a small hole in the base to introduce the wire accompanied by a small knot to secure it, then proceed to assemble again.
 |
 |
 |
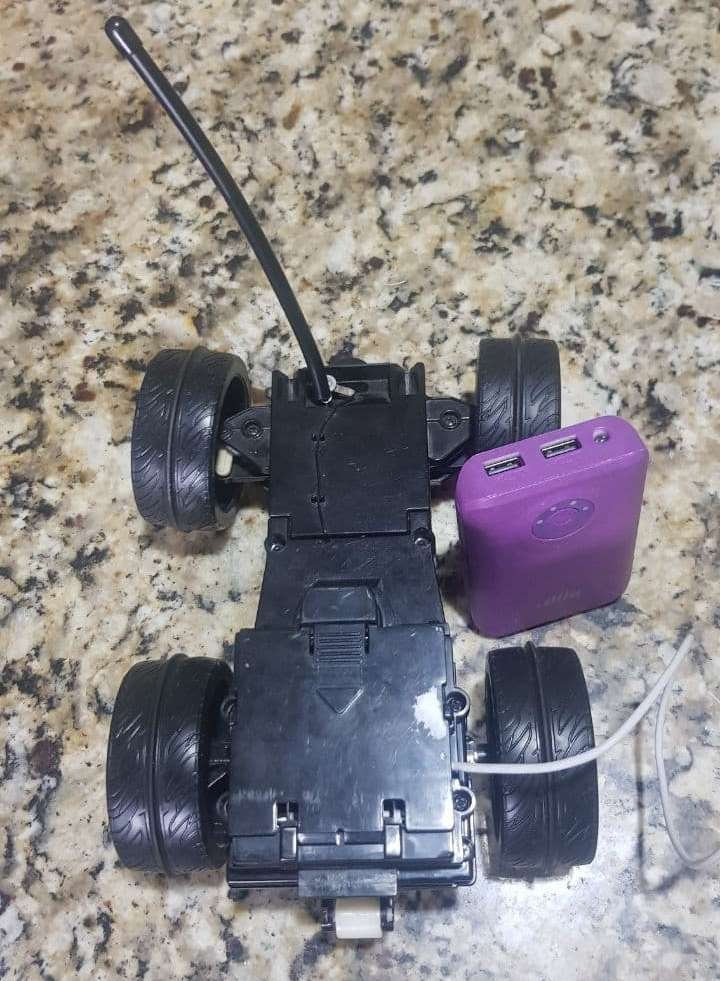
Control car ready
That's it, simple as that.
I made the necessary tests and finally I gave it to my son so he could test it, he immediately started to play and it was a lot of fun, now with each battery charge he can drive for about 20 minutes approximately. This way he has fun and I don't have to worry about having to keep buying batteries.
Here is a short video so you can see that the project has been a success.
All photographs in this post were taken by me with a Samsung S9 phone.
ESPAÑOL
Dile adiós a las baterias alcalinas
Hola amigos, hoy vengo a mostrarle este pequeño proyecto de adaptarle un power bank a un carro a control remoto de mi hijo, es algo sencillo de hacer que nos puede ahorrar mucho dinero.
Durante mucho tiempo estuve comprando baterías tanto para el control como para el propio carrito, y éstas no le duraban más de dos días, así que decidí adaptarle un par de cables con puerto USB, uno en el control y otro en el carro, y aquí les muestro el paso a paso… solo necesité dos power bank y dos cables viejos de cargar teléfonos celulares.
Los power bank que utilicé sustituyen las tradicionales pilas salinas y alcinas AA y AAA, pues como sabrán, los power bank son bancos de batería portátiles y recargables que almacenan una cantidad determinada de energía, la necesaria para poner en marcha este proyecto.
Cabe destacar, que los power bank los podremos seguir utilizando para otras tareas, porque no quedan fijos, así que podremos desconectarlos cuando queramos.
Comencé a desarmar el control para ver cómo era la tarjeta controladora, es sencillo, solo hay que tener cuidado de saber cuál es el positivo y el negativo.
|
|
En este caso, fue muy fácil porque el control trae un dibujo de la polaridad de cada cable, en el que estoy utilizando solo se identifica el rojo como “positivo”, y el que no tiene cubierta como el “negativo”.
Con ayuda de un cautín o soldadora de estaño, soldé cada cable en su lugar y armé de nuevo, por seguridad, realicé un nudo sencillo para que en caso de halarlo no se desprenda la soldadura.
|
|
|
Control remoto finalizado
Después, seguí con el carro, lo destapé y pude notar que los cables que alimentan la tarjeta madre son de color rojo y negro, así que también fue muy fácil distinguir cada polaridad, por lo que realicé el mismo procedimiento, con la ayuda del cautín soldé cada cable en su sitio y realicé un pequeño orificio en la base para introducir el cable acompañado de un pequeño nudo para asegurarlo, posteriormente procedo a armar nuevamente.
|
|
|
Carro control remoto listo
Eso es todo, así de sencillo.
Realicé las pruebas de rigor y finalmente se lo entregué a mi hijo para que hiciera lo propio y lo pusiera a prueba, de inmediato comenzó a utilizarlo y fue muy divertido, ahora con cada carga de batería él puede manejar por unos 20 minutos aproximadamente. De esta manera él se divierte y yo me despreocupó de tener que seguir comprando pilas.
Aquí les comparto un video corto para que puedan comprobar que el proyecto ha sido todo un éxito.
Todas las fotografías de esta publicación fueron tomadas por mi, con un teléfono Samsung S9.

Hola Greg, ¡Bienvenido a Hive y a esta comunidad!
La verdad es que tu invento es un gran ahorro, ademas de ingenioso, me pregunto si podré hacer eso con otras cosas que usan mis hijos a bateria.
Hola , gracias por la bienvenida, si puedes aplicarlo a cualquier juguete , tendrás buenos resultados ya lo he probado con otros y funciona.
Oye, muy ingenioso tu invento para ahorrar dinero. Cuando le compre un carrito de control remoto a mi hijo que aún es un bebé, inventare algo así, guiandome de tu ejemplo.
Gracias por tu comentario, es funcional lo puedes aplicar a cualquier juguete