[ESP-ENG] Cambio de válvulas de scooter BR 150 COBRA / [ ESP-ENG] Valve replacement of scooter BR 150 COBRA
Amigos en esta oportunidad les voy a mostrar, como cambiar y asentar las válvulas de una moto scooter 150.
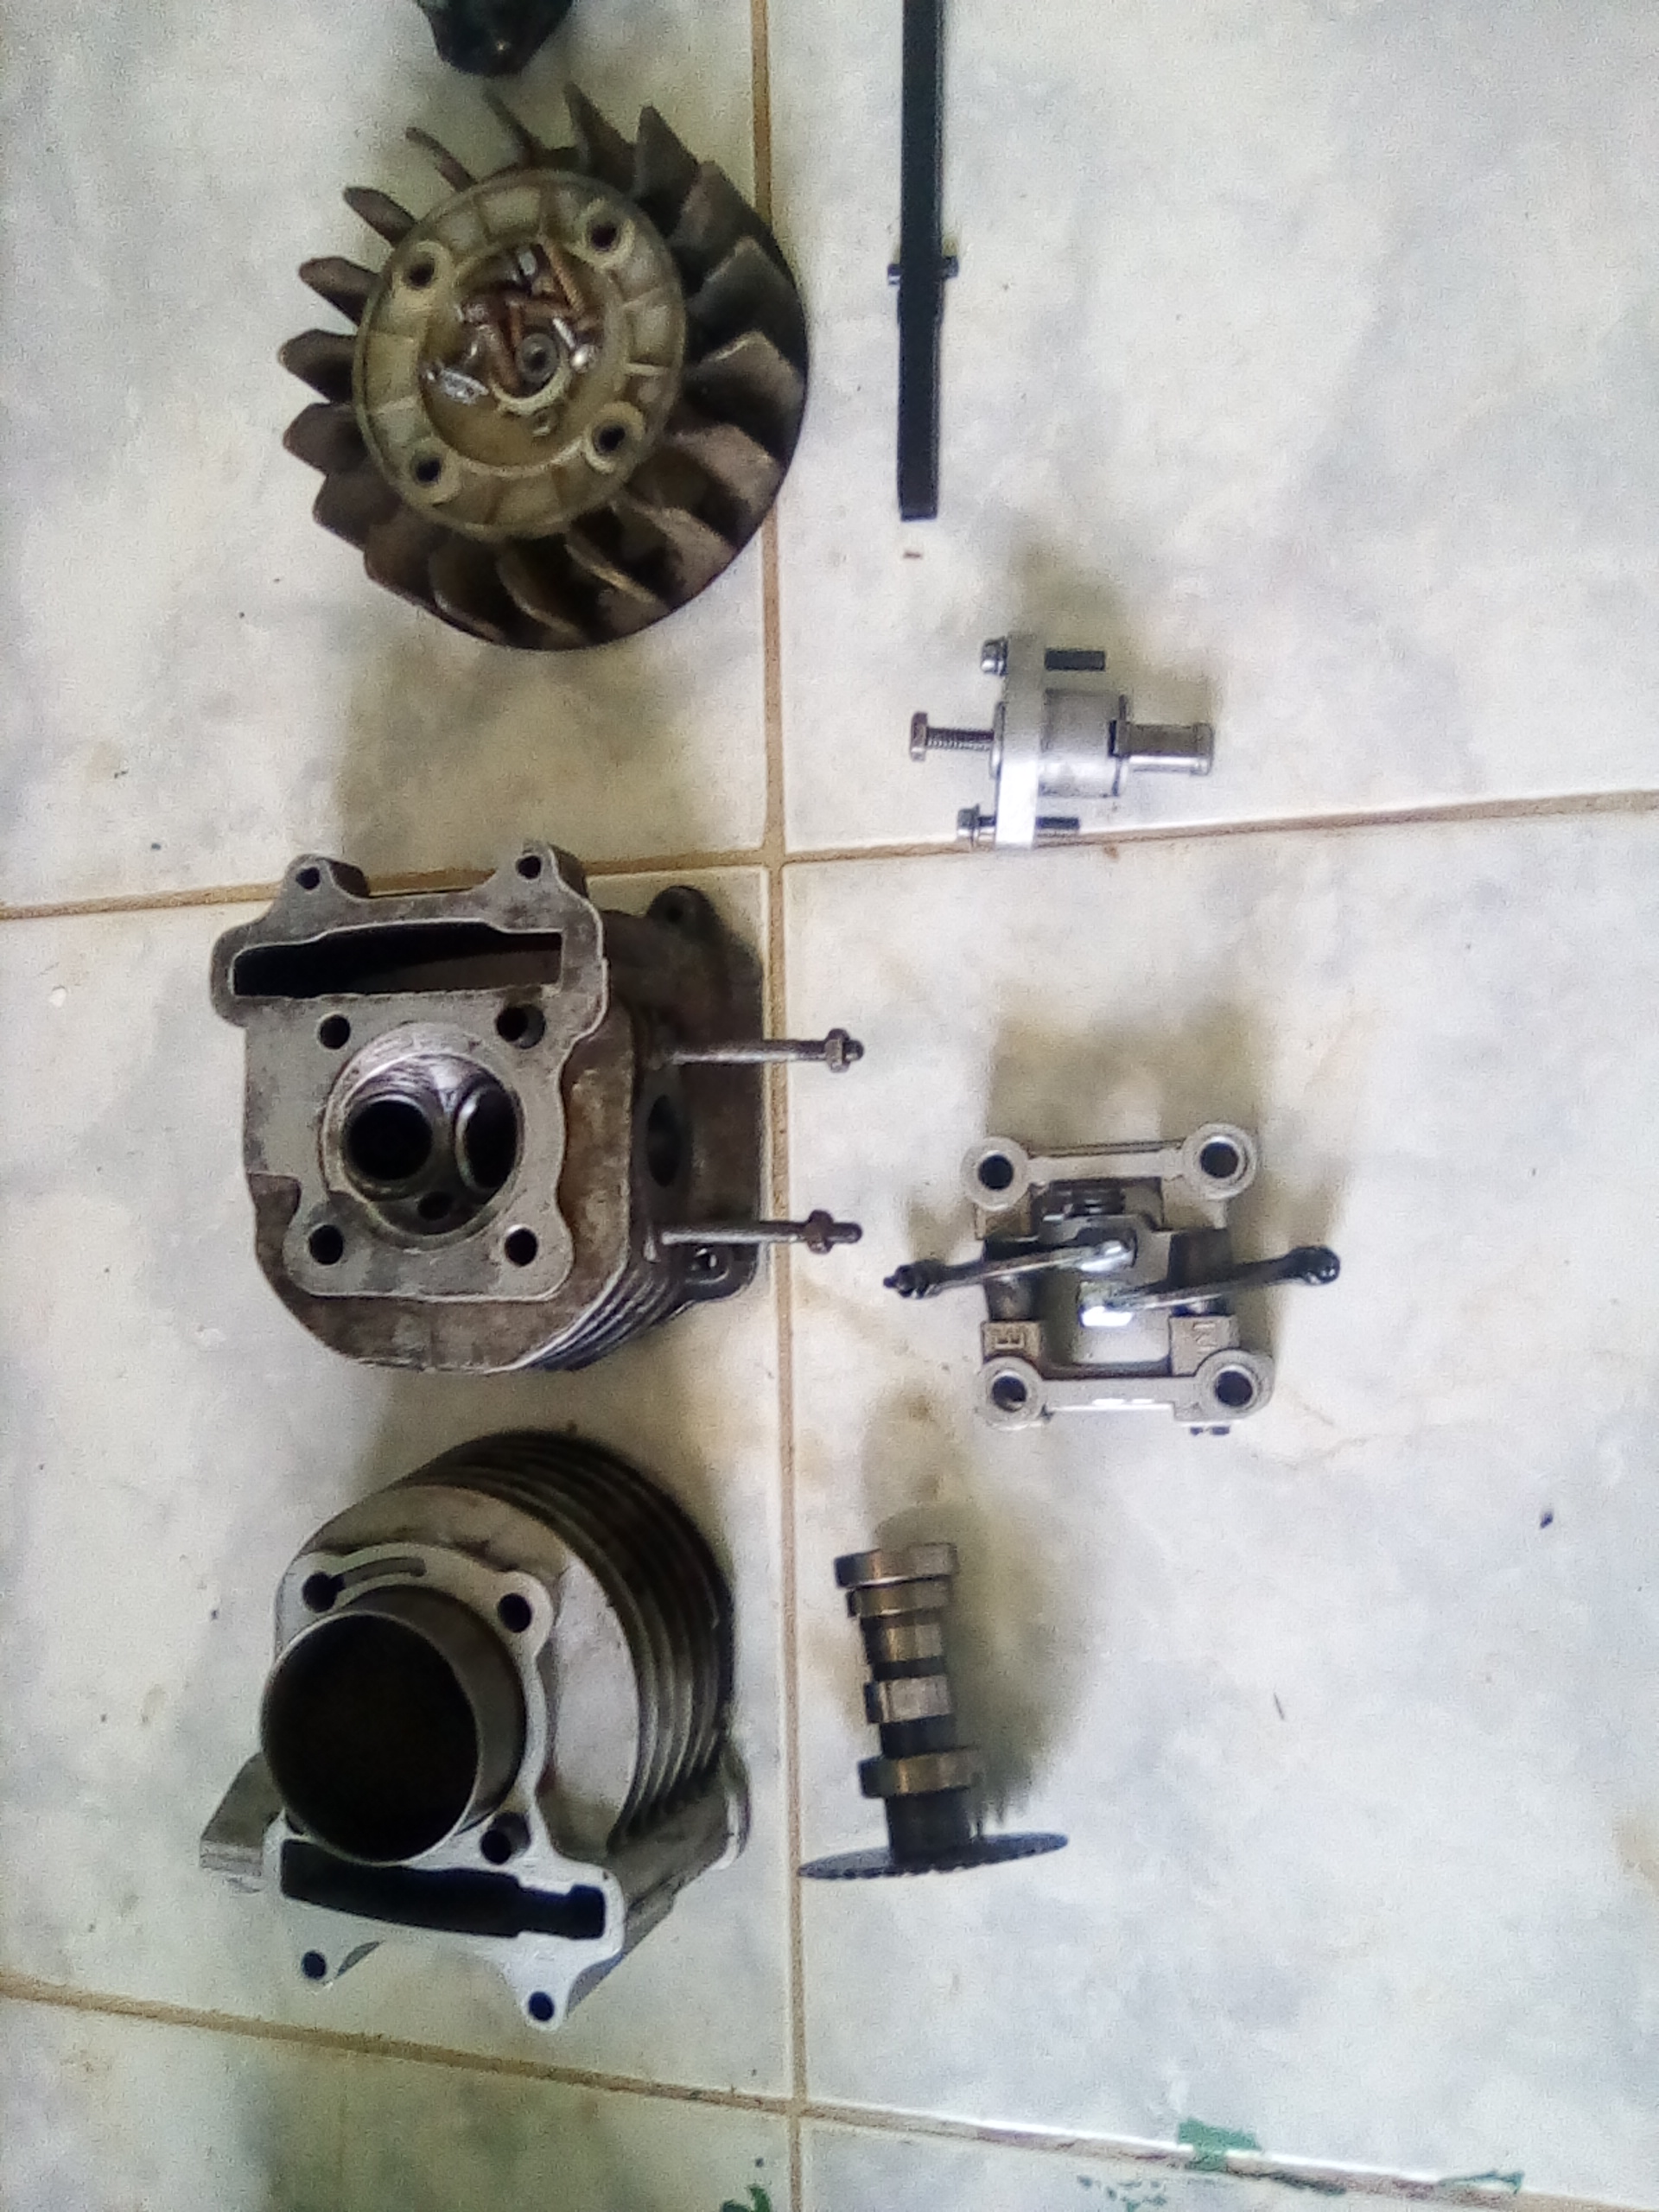
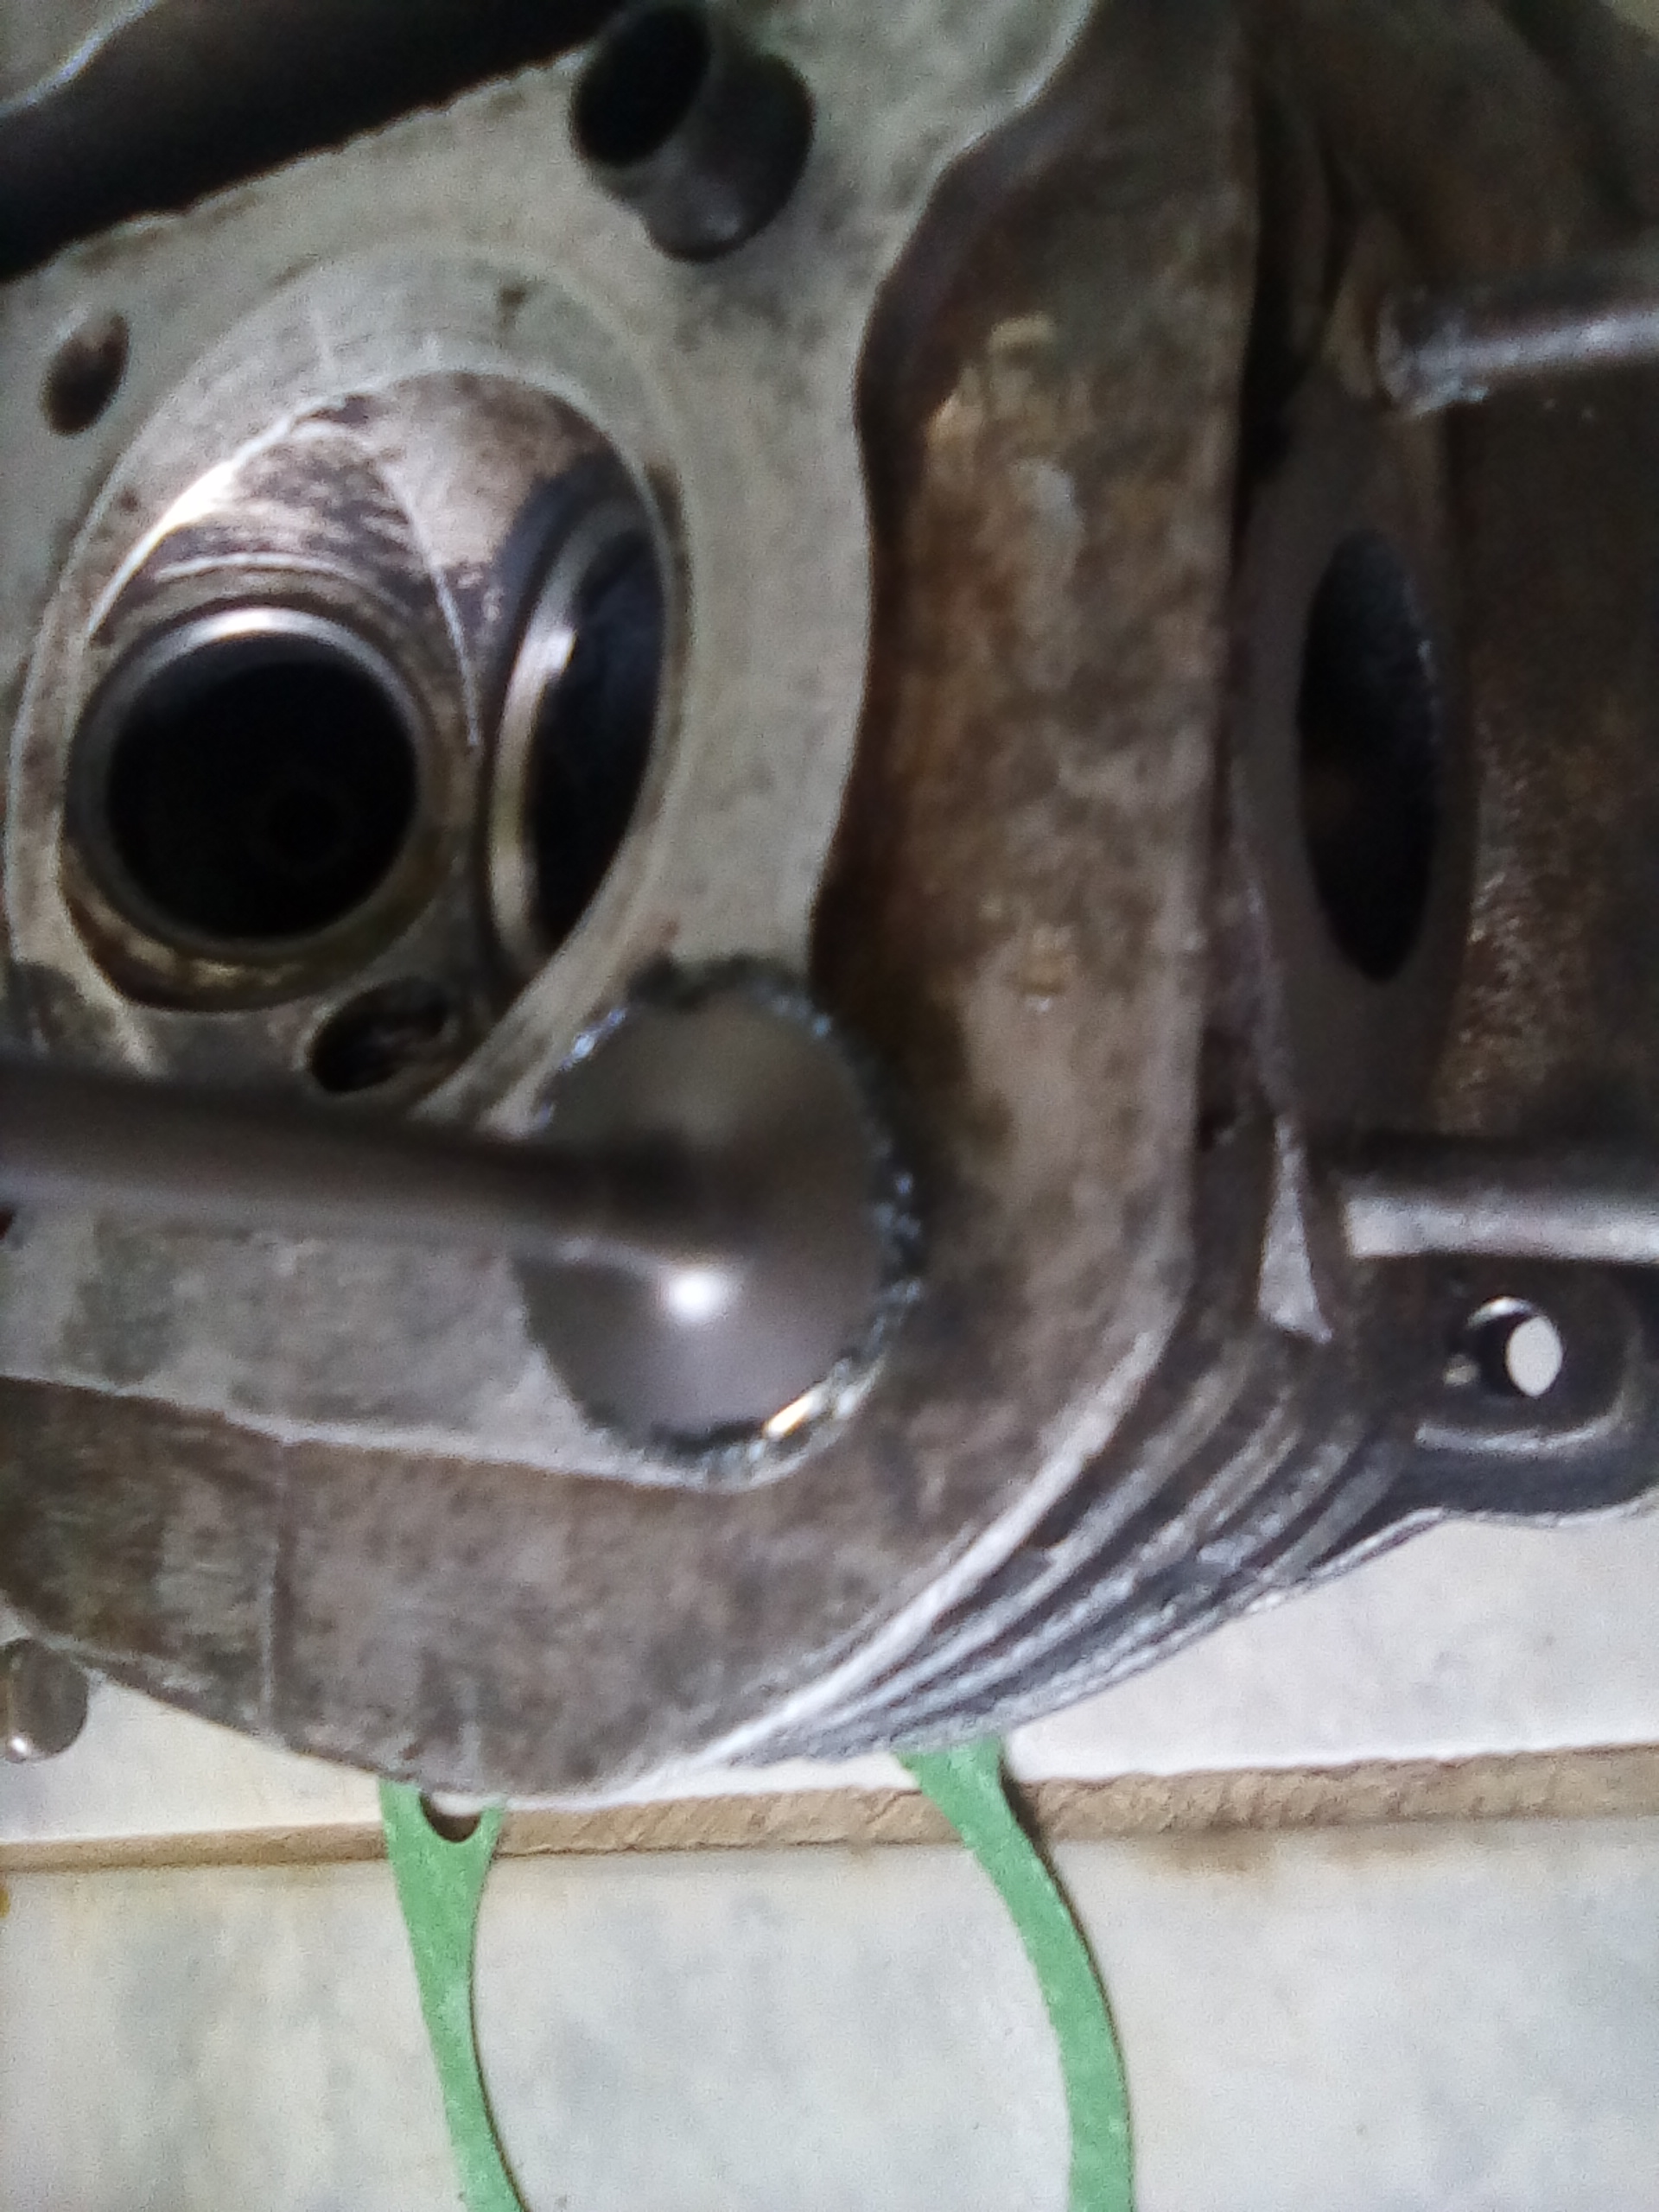
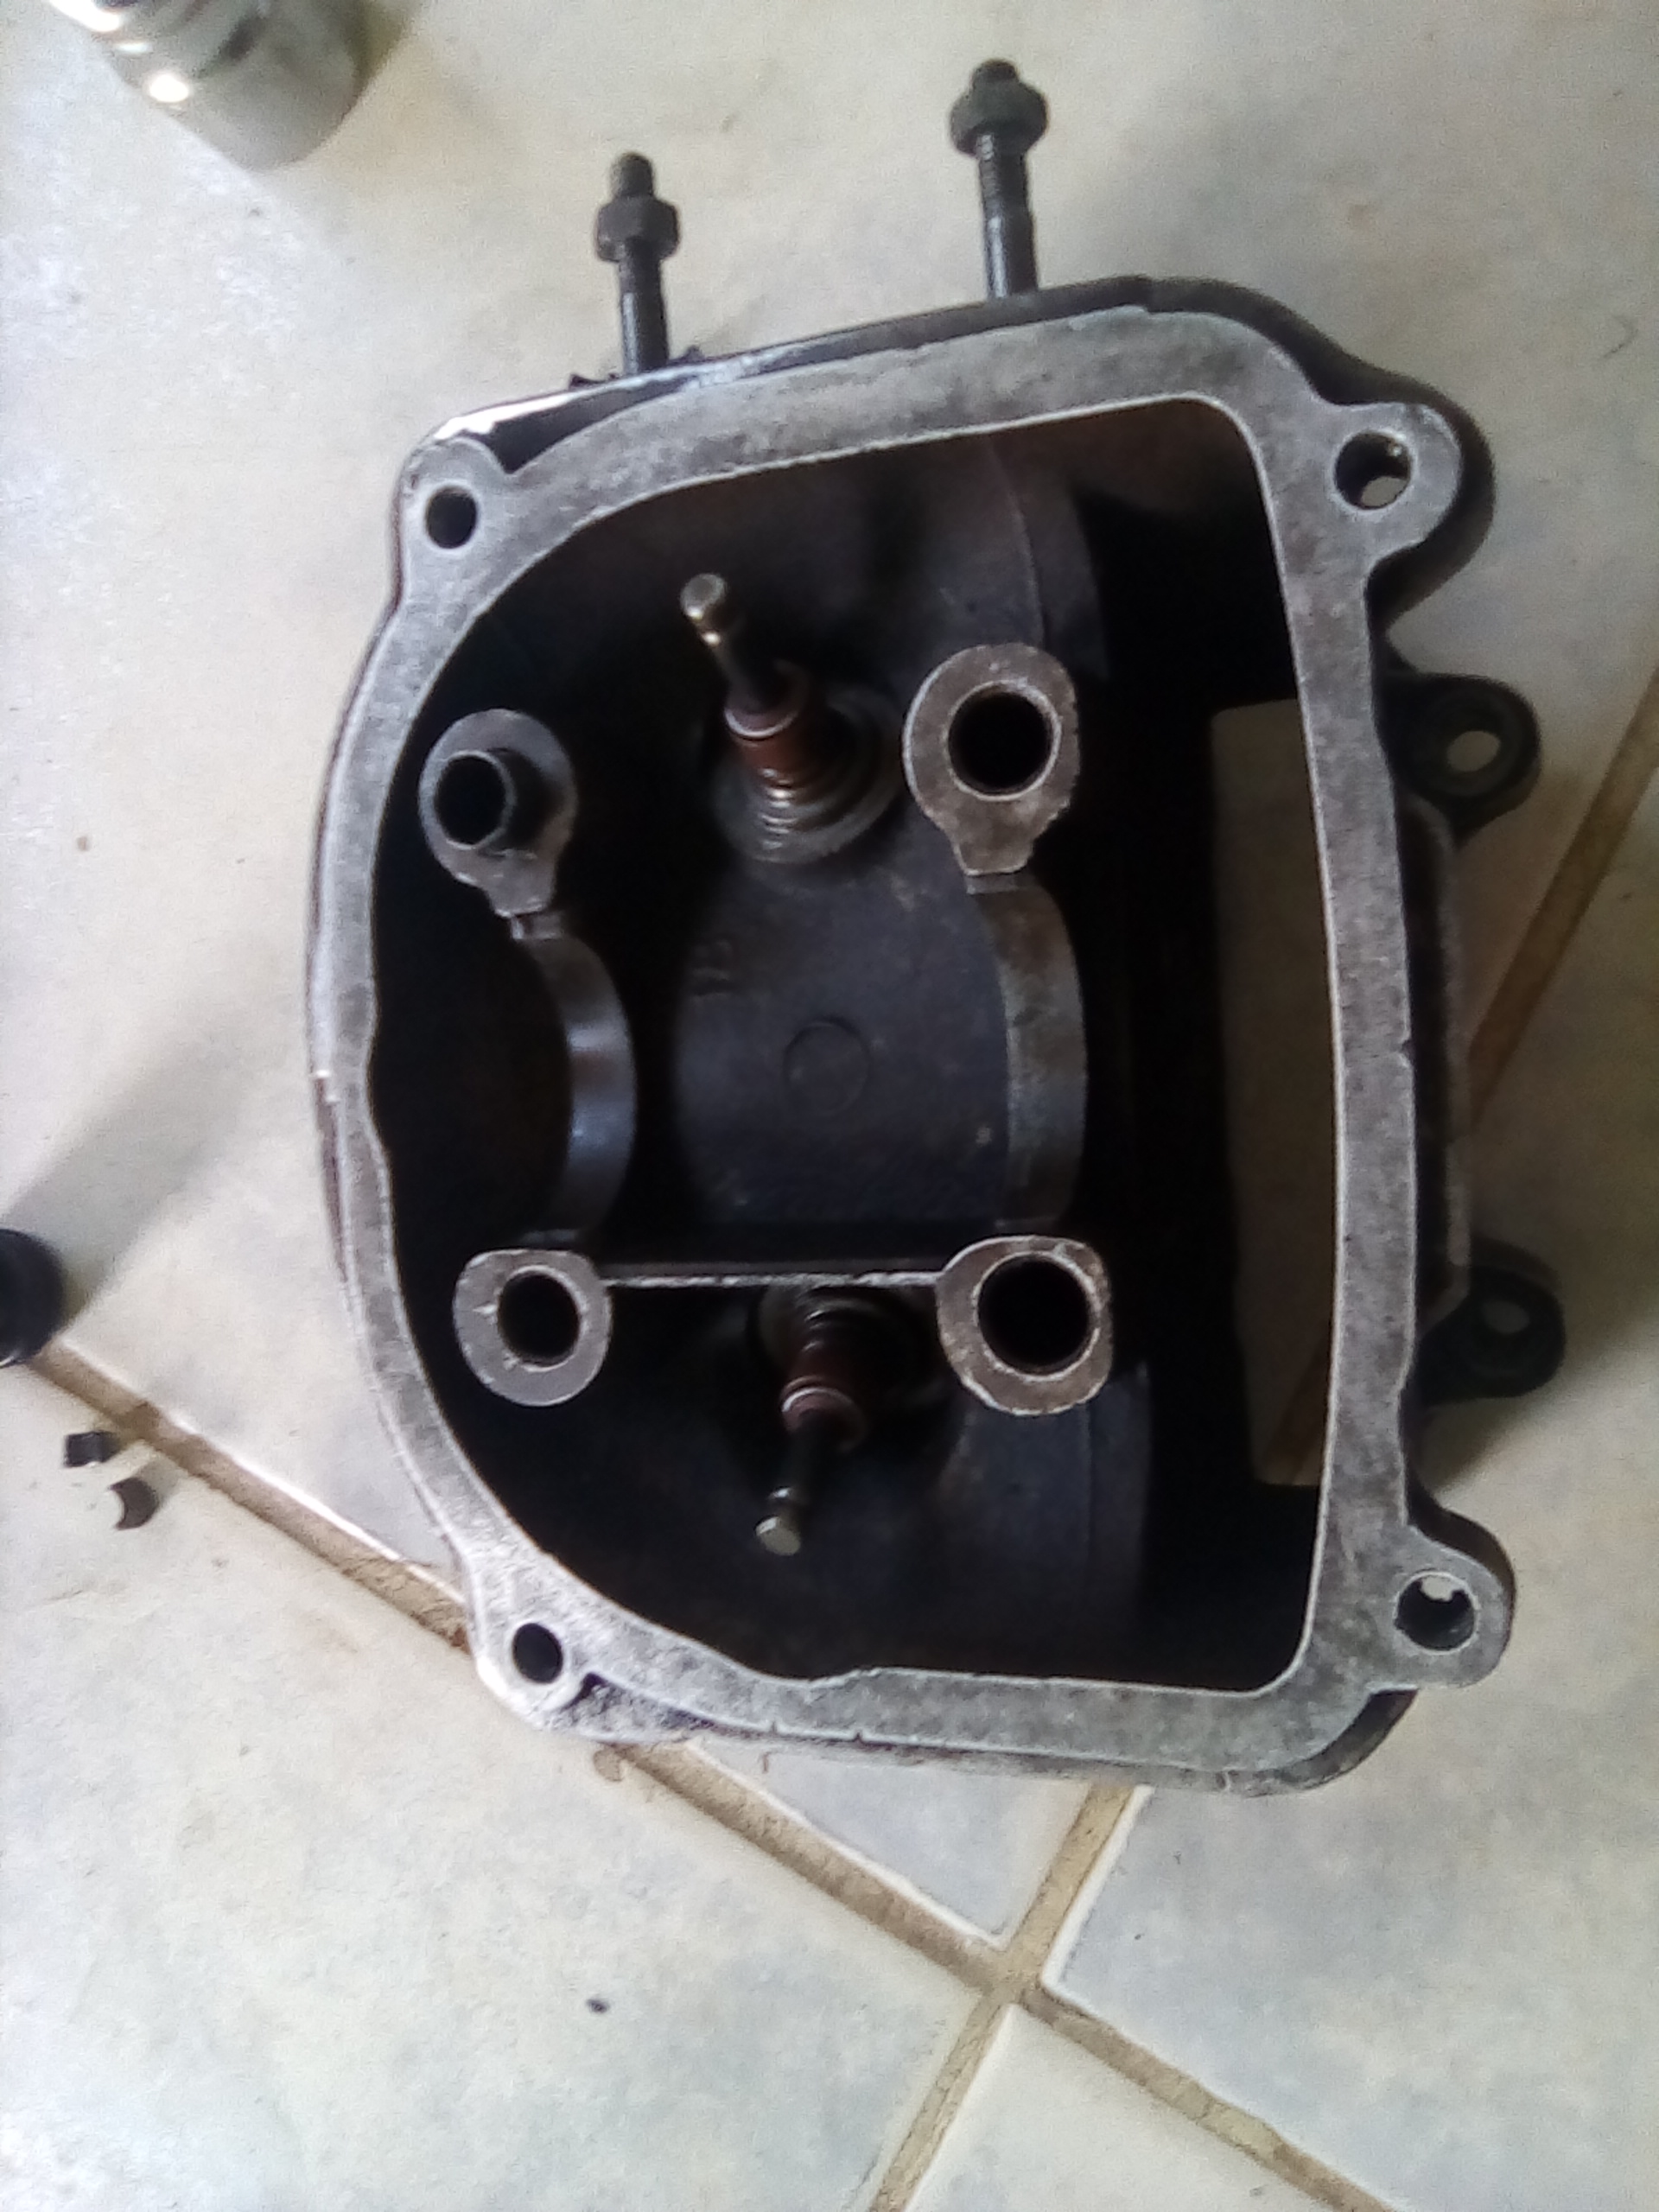
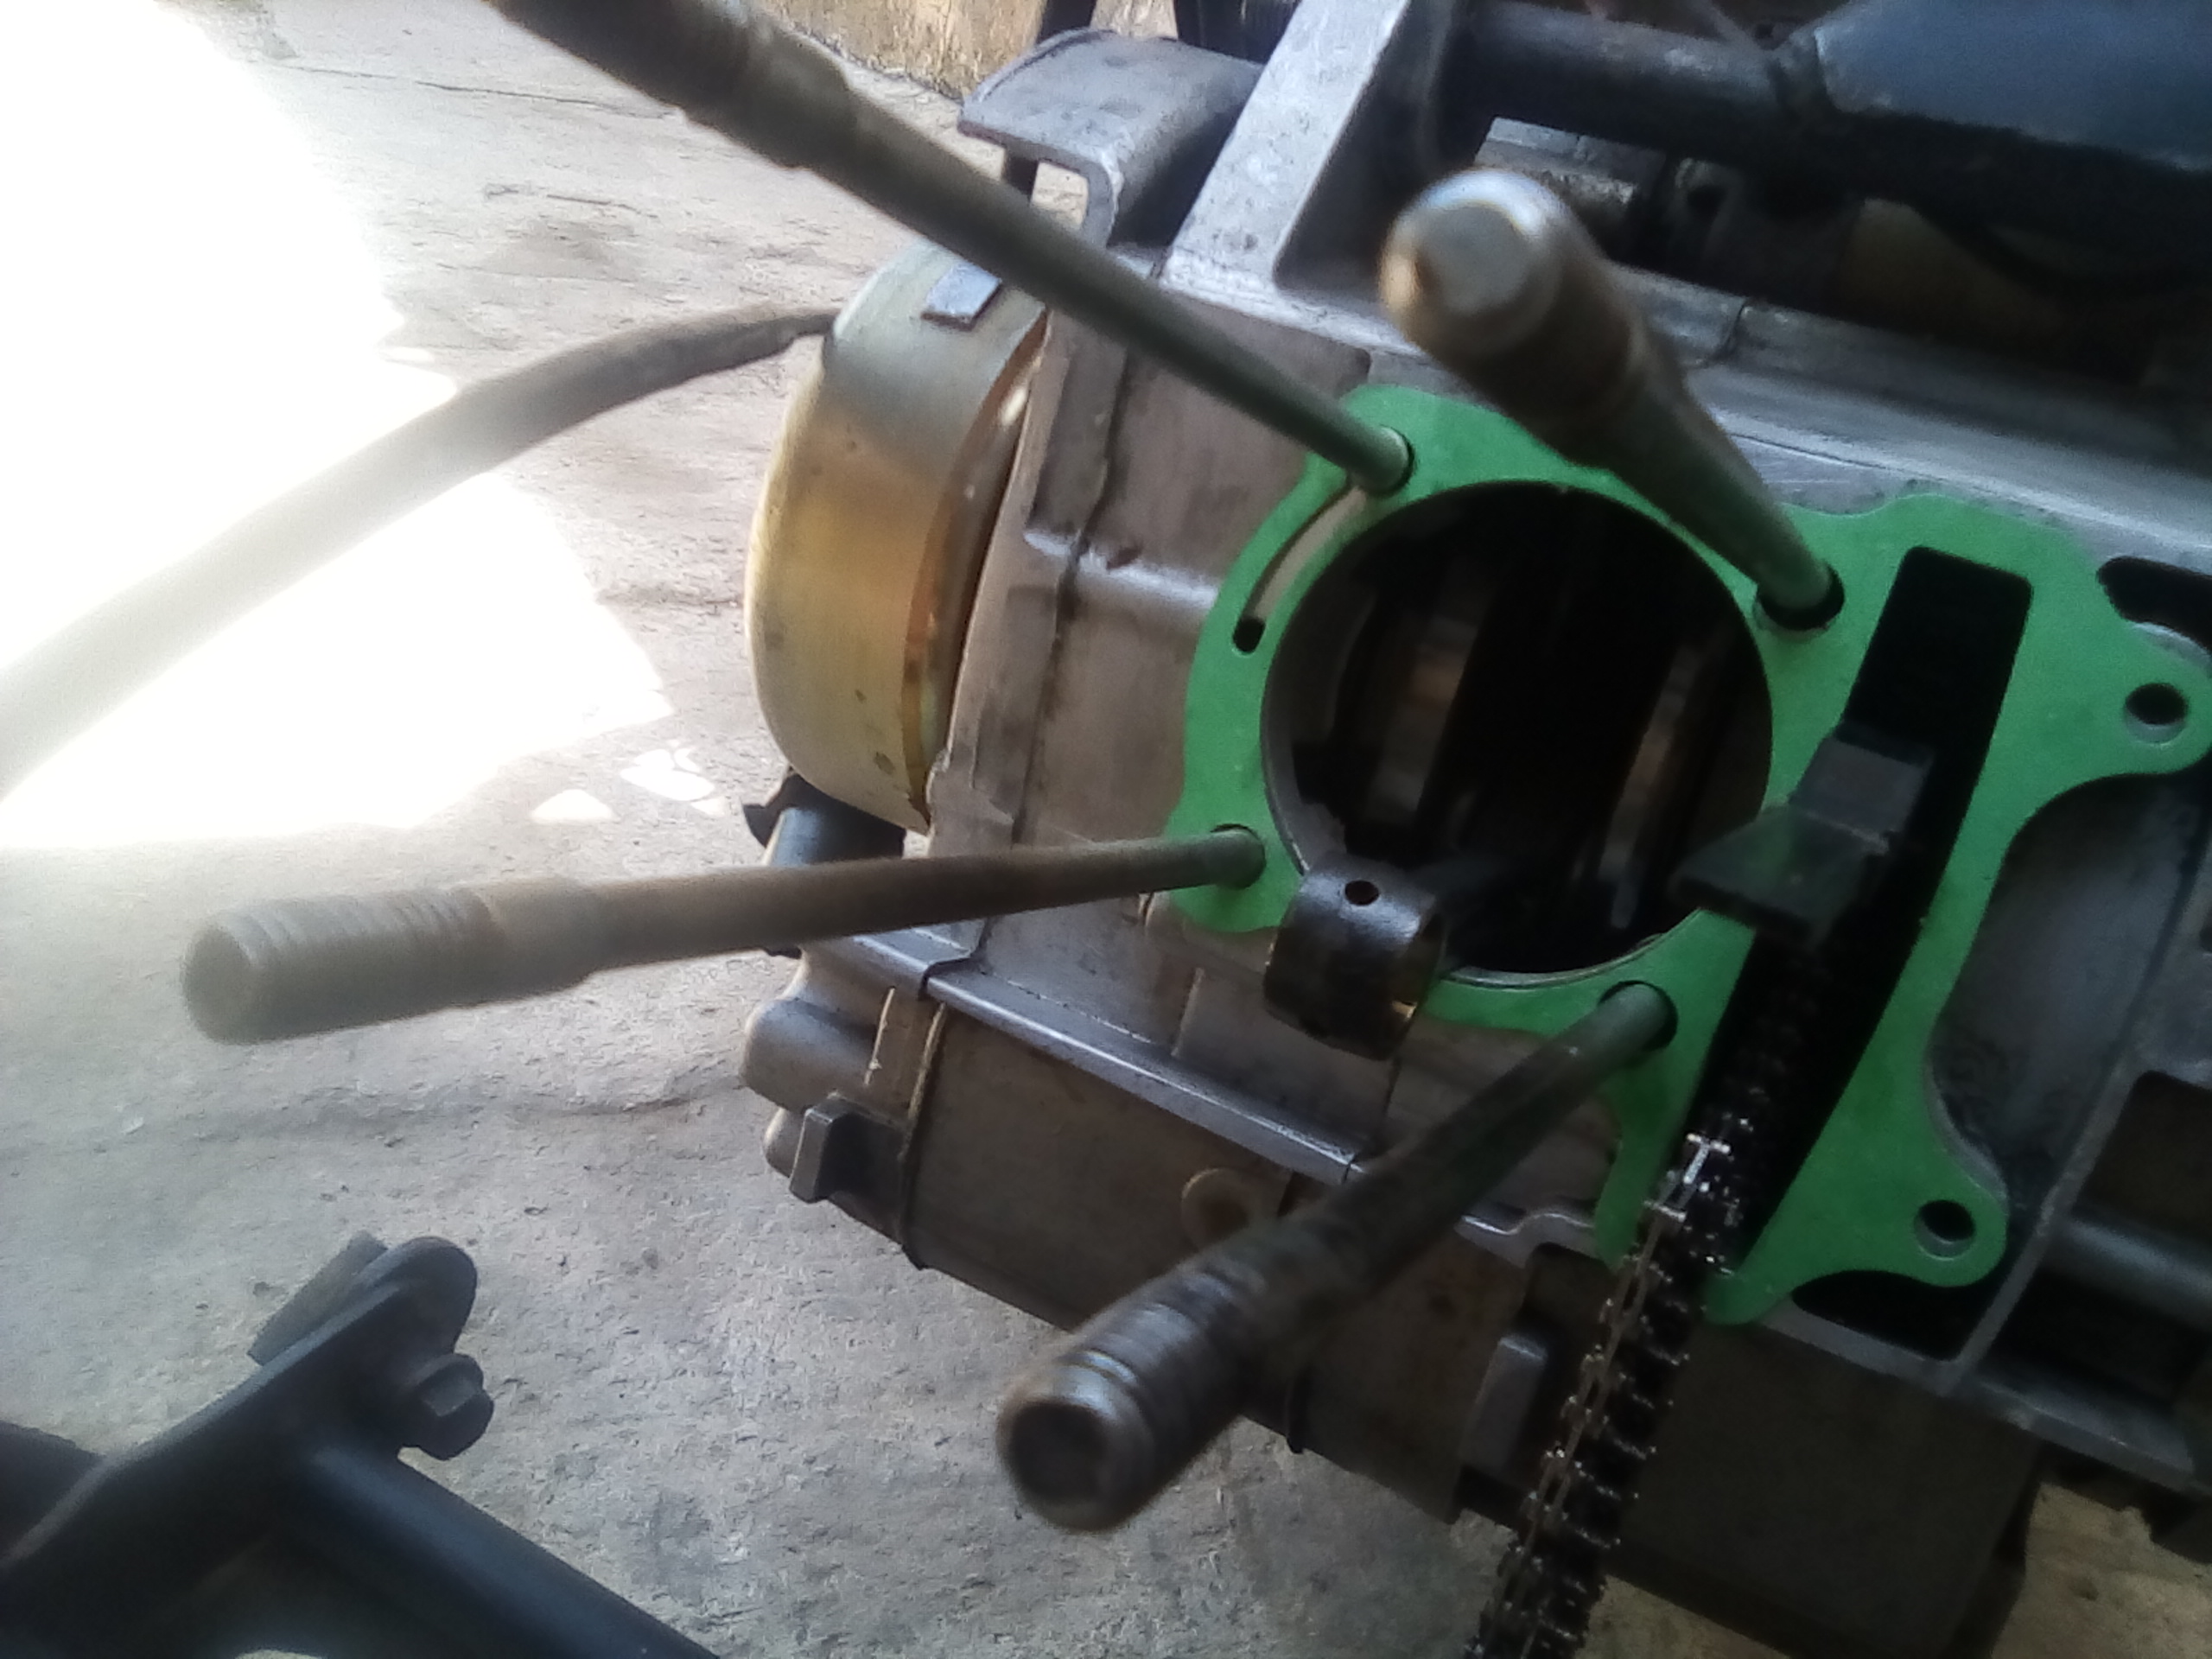
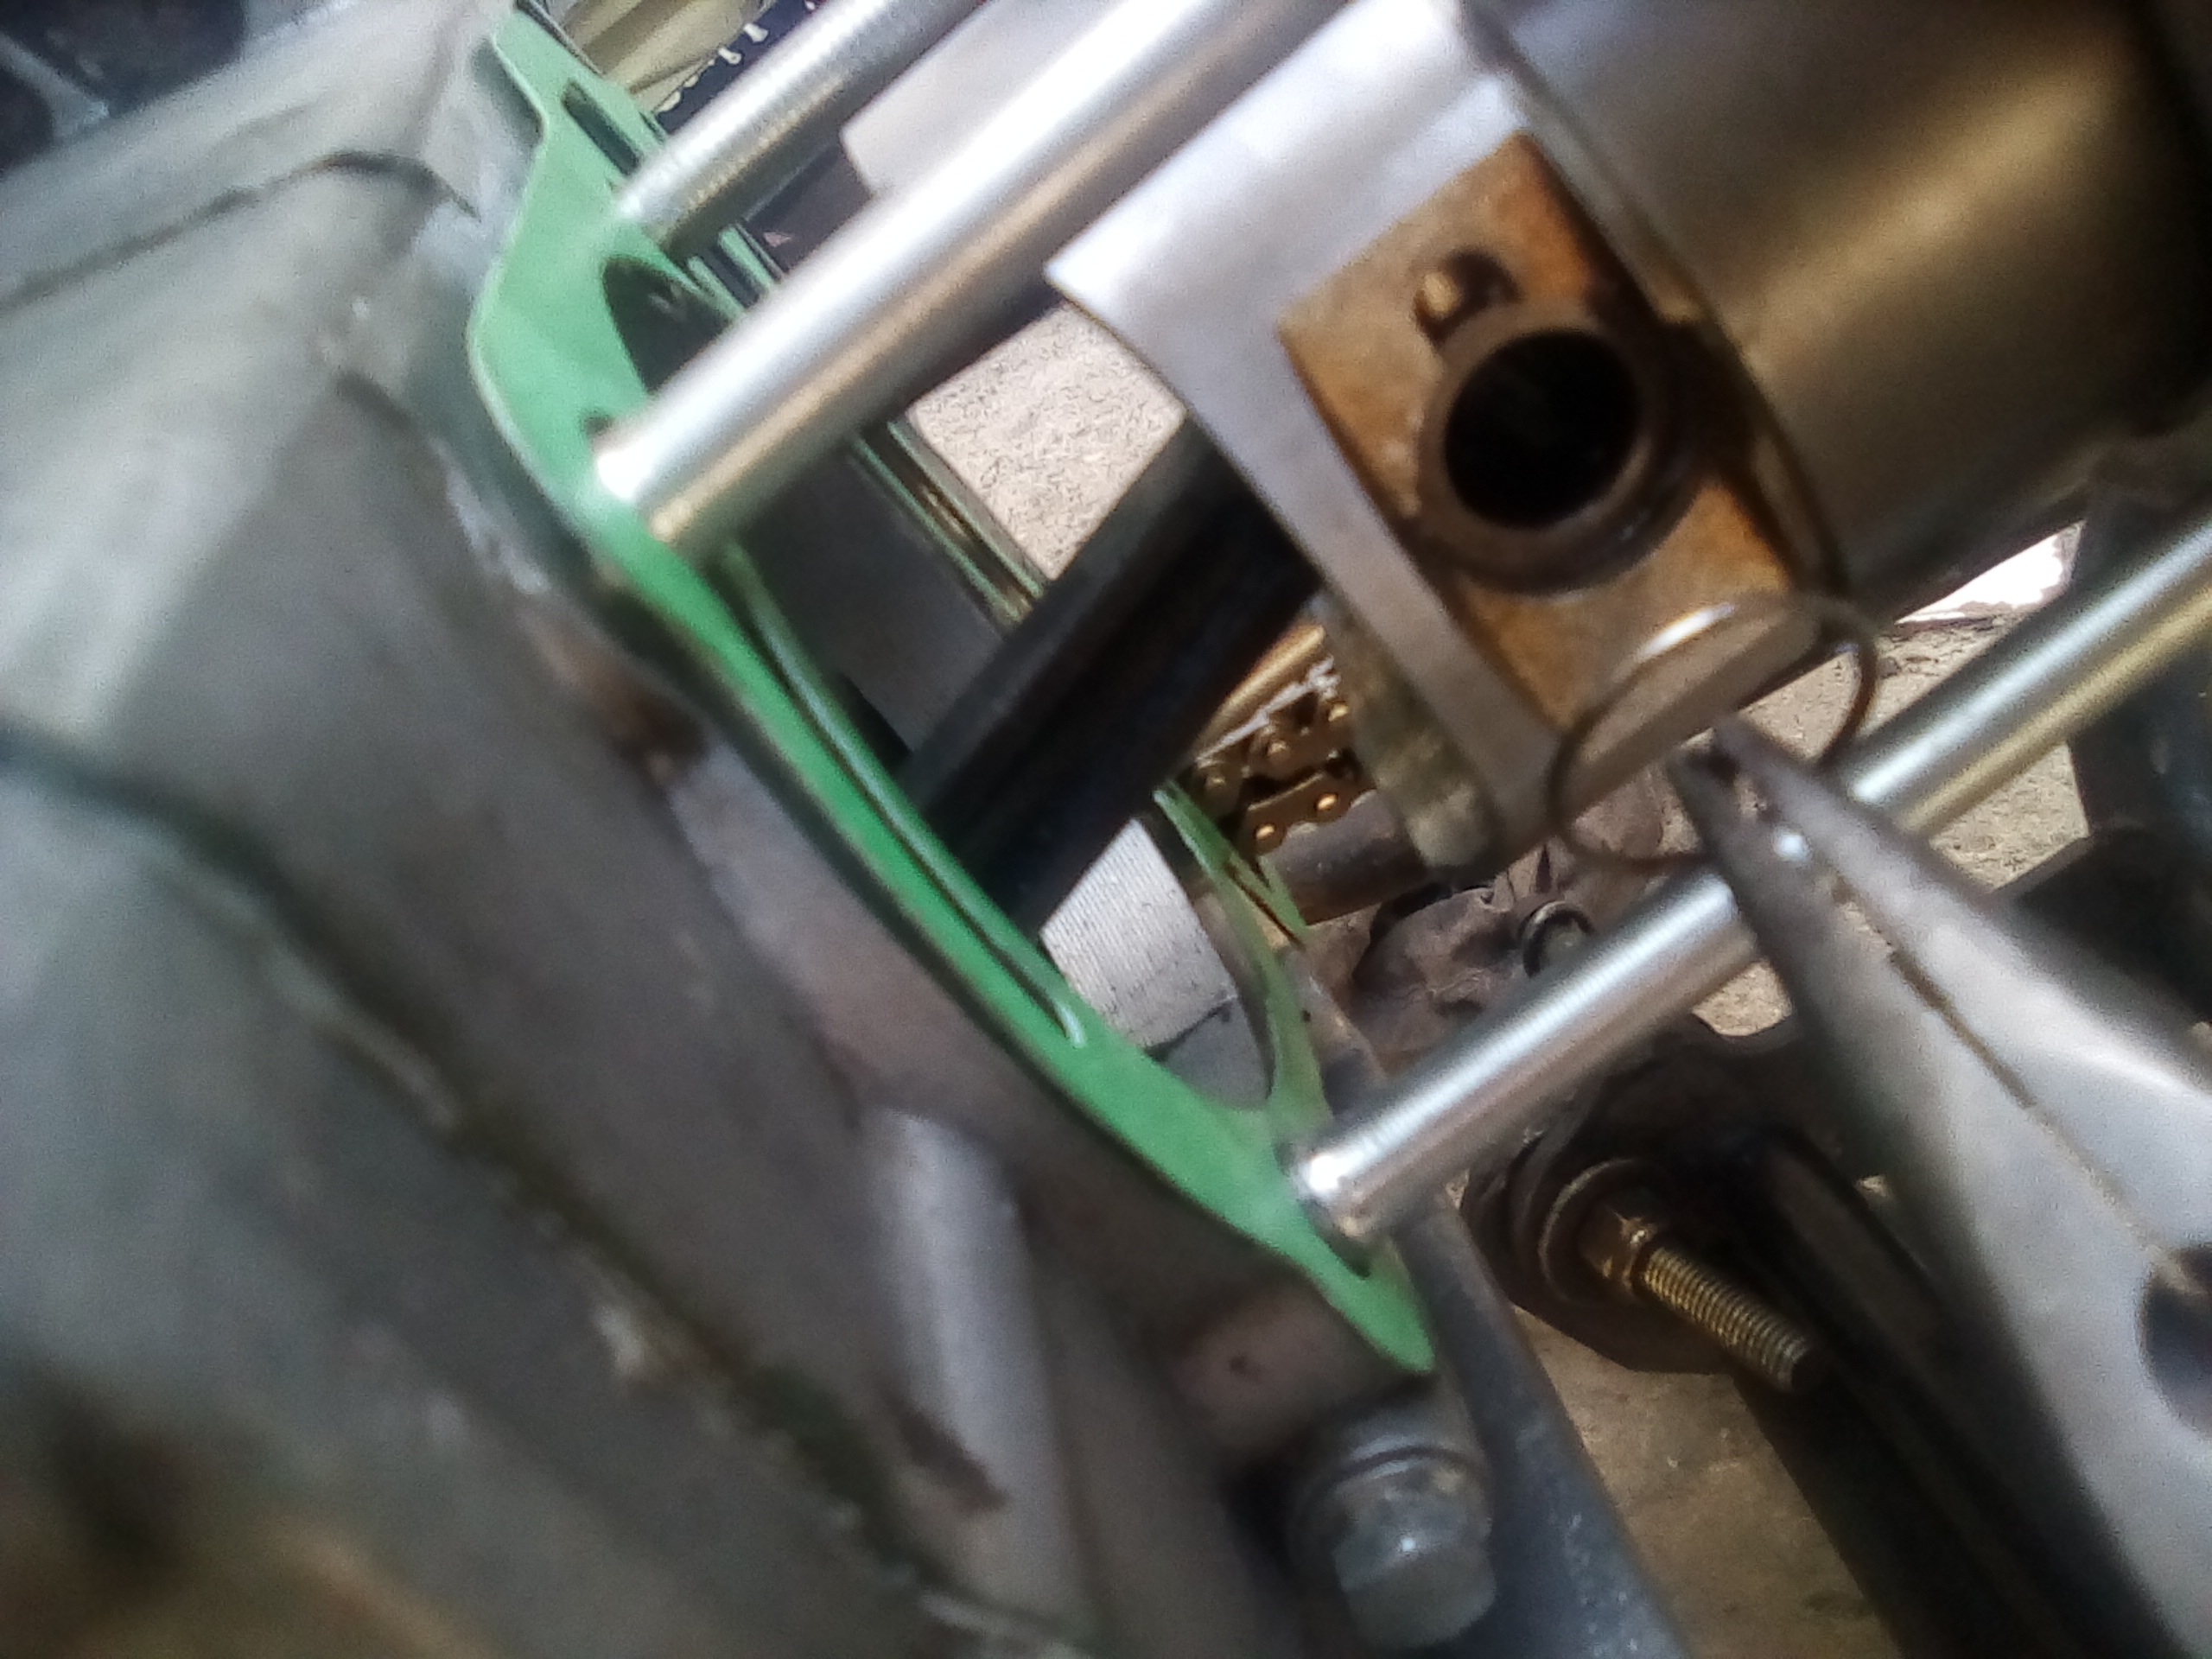
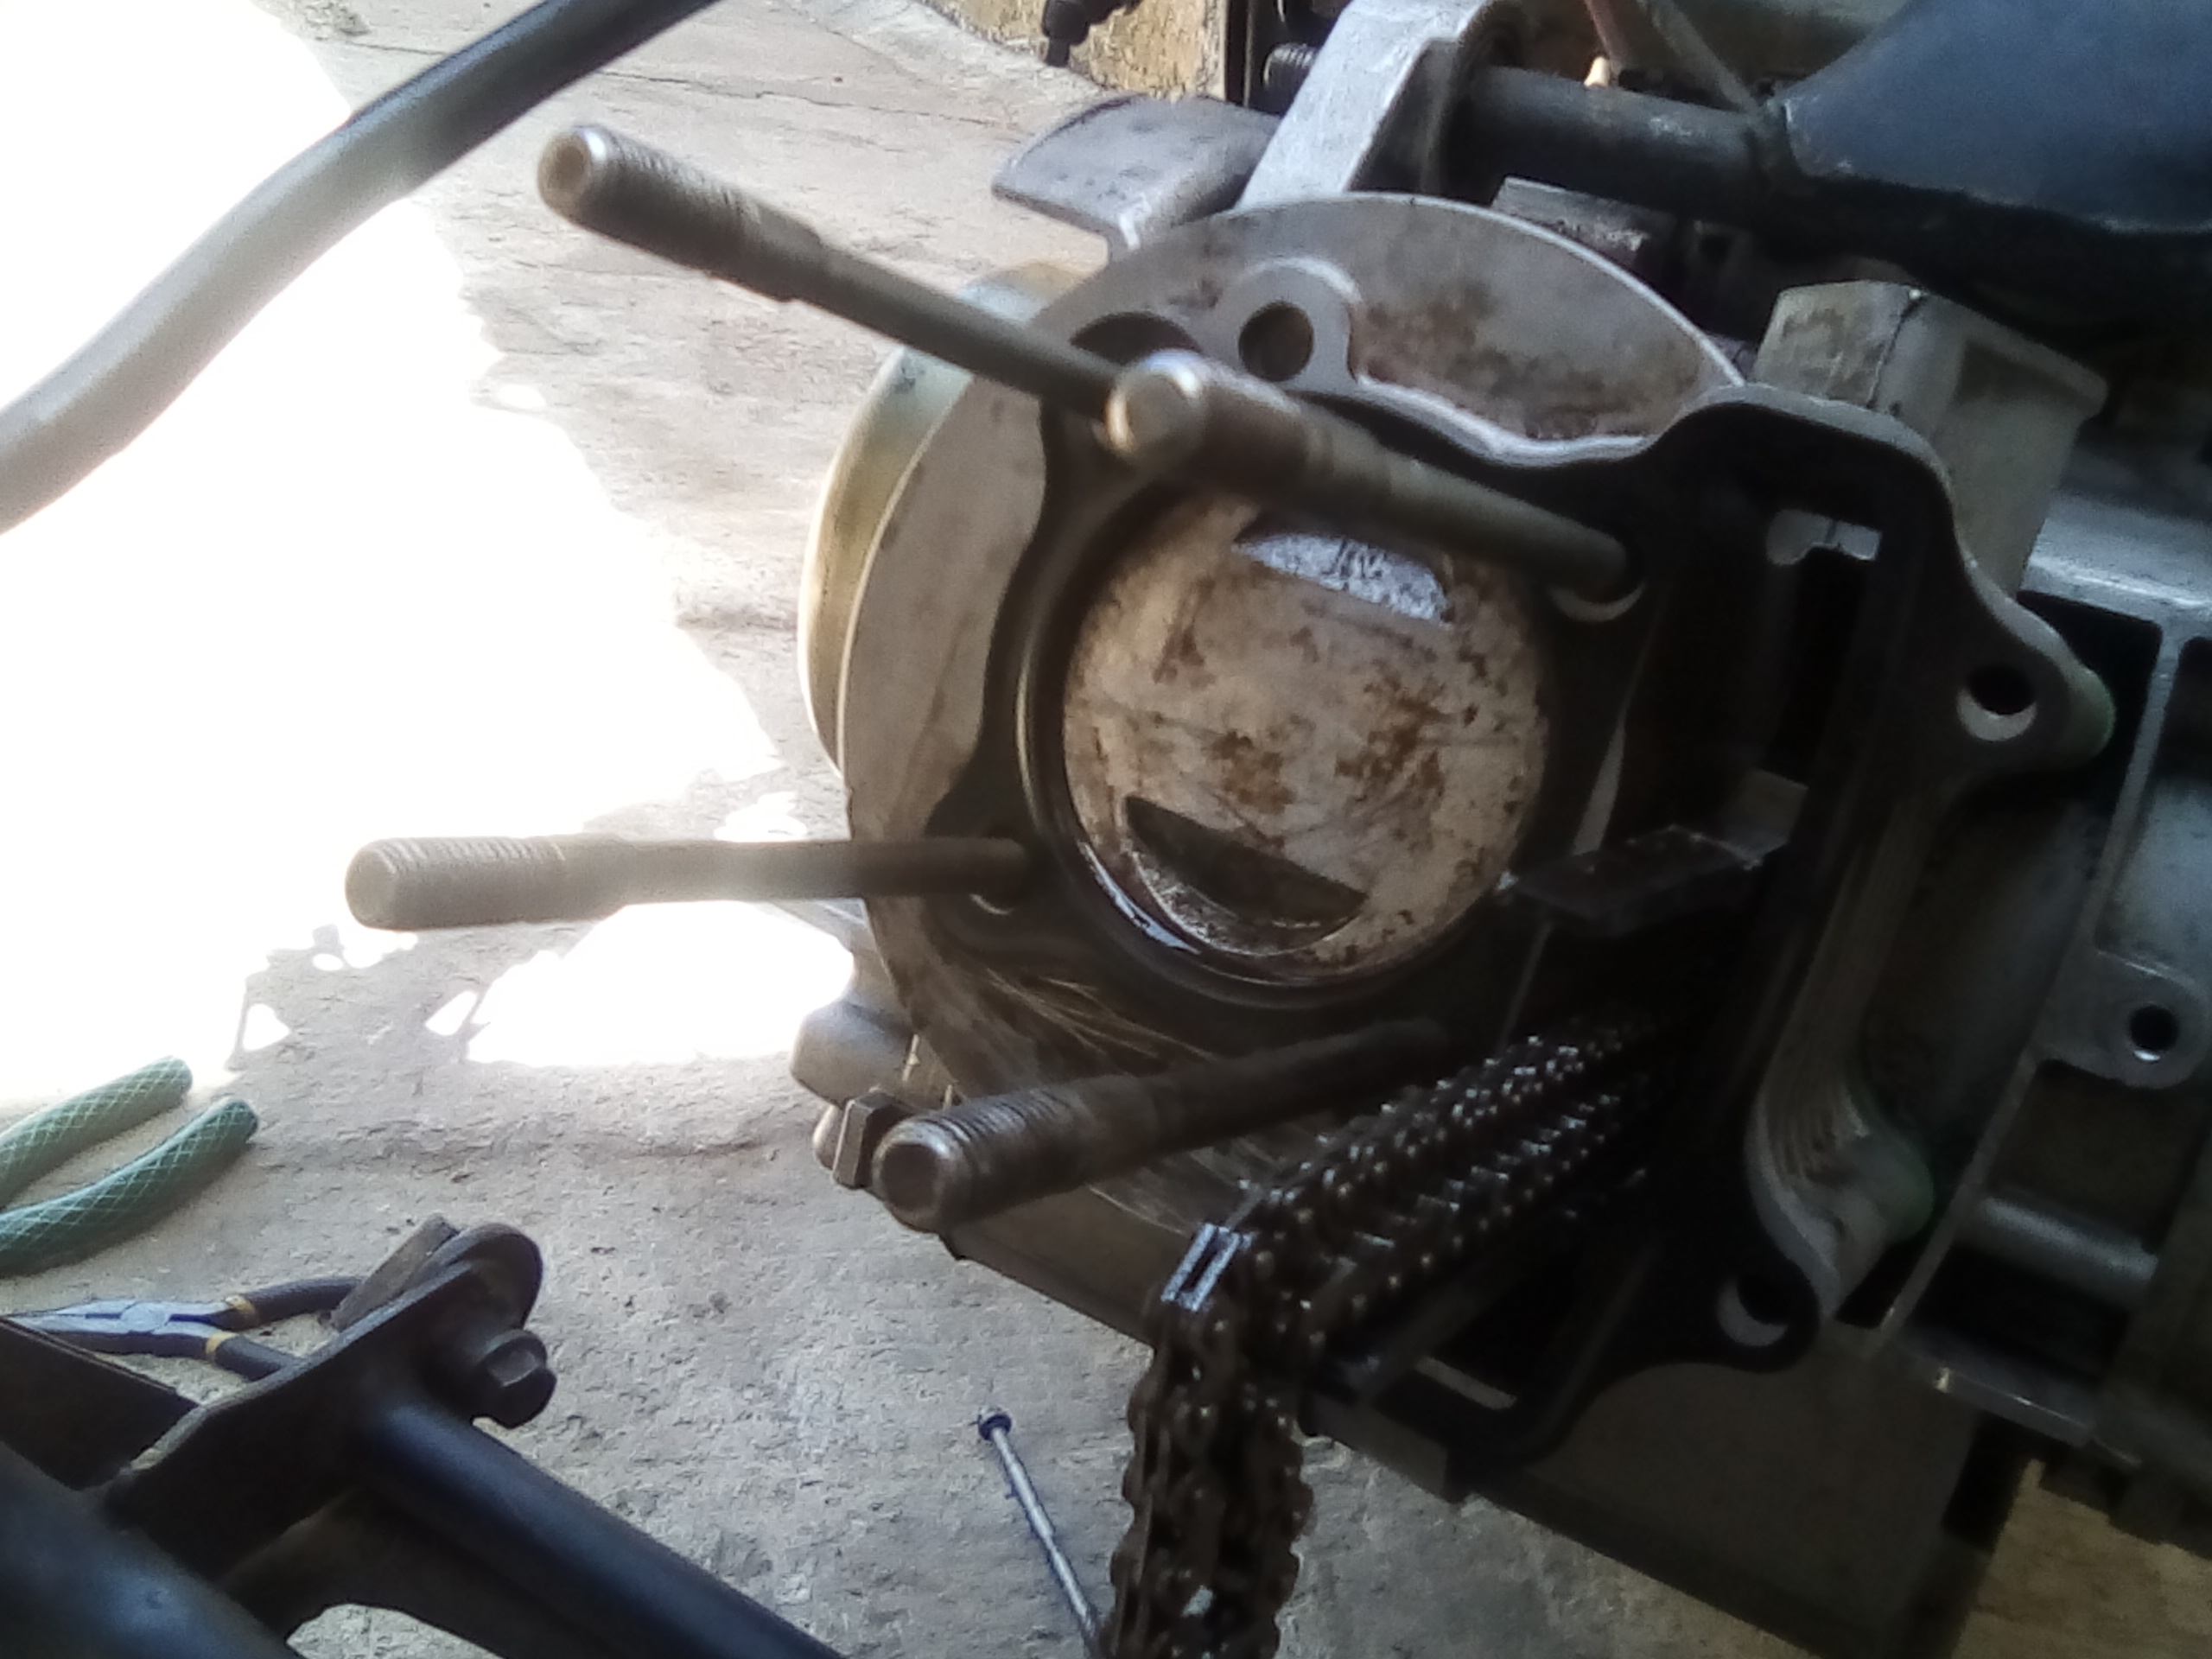
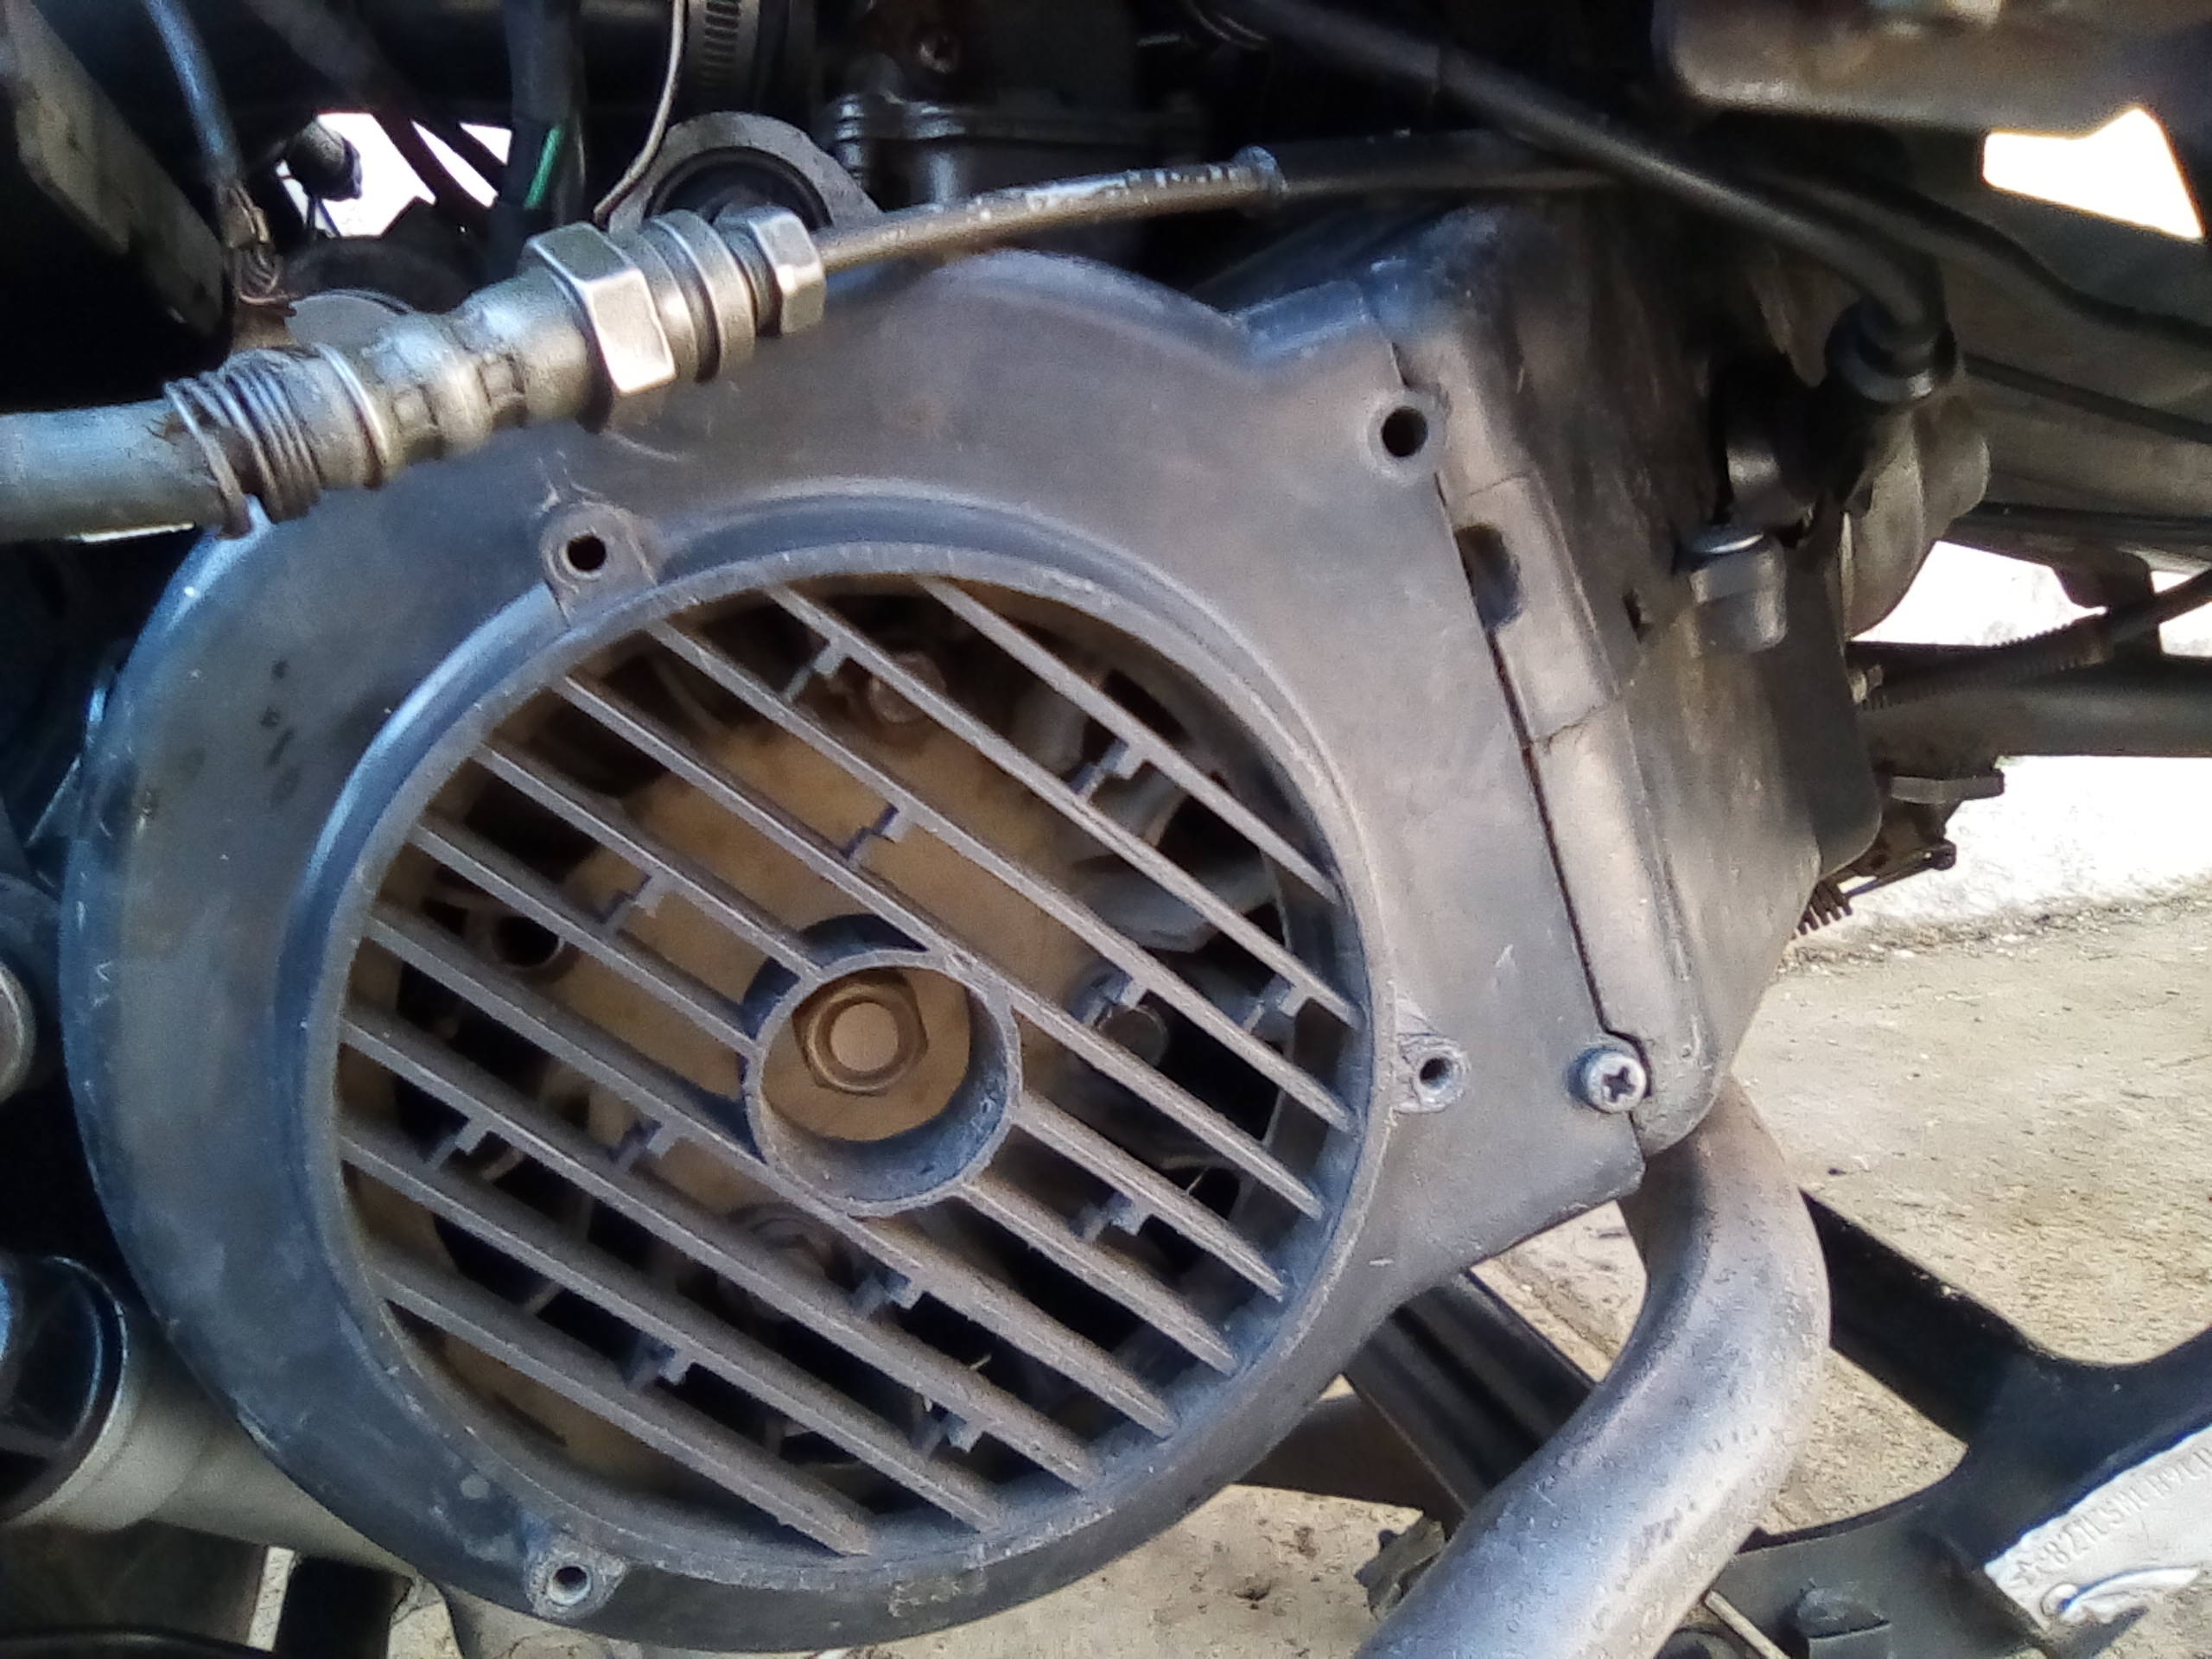
Aquí como pueden apreciar ya desarme el motor.
Friends in this opportunity I am going to show you how to change and seat the valves of a scooter 150.
Here as you can see I have already disassembled the engine.
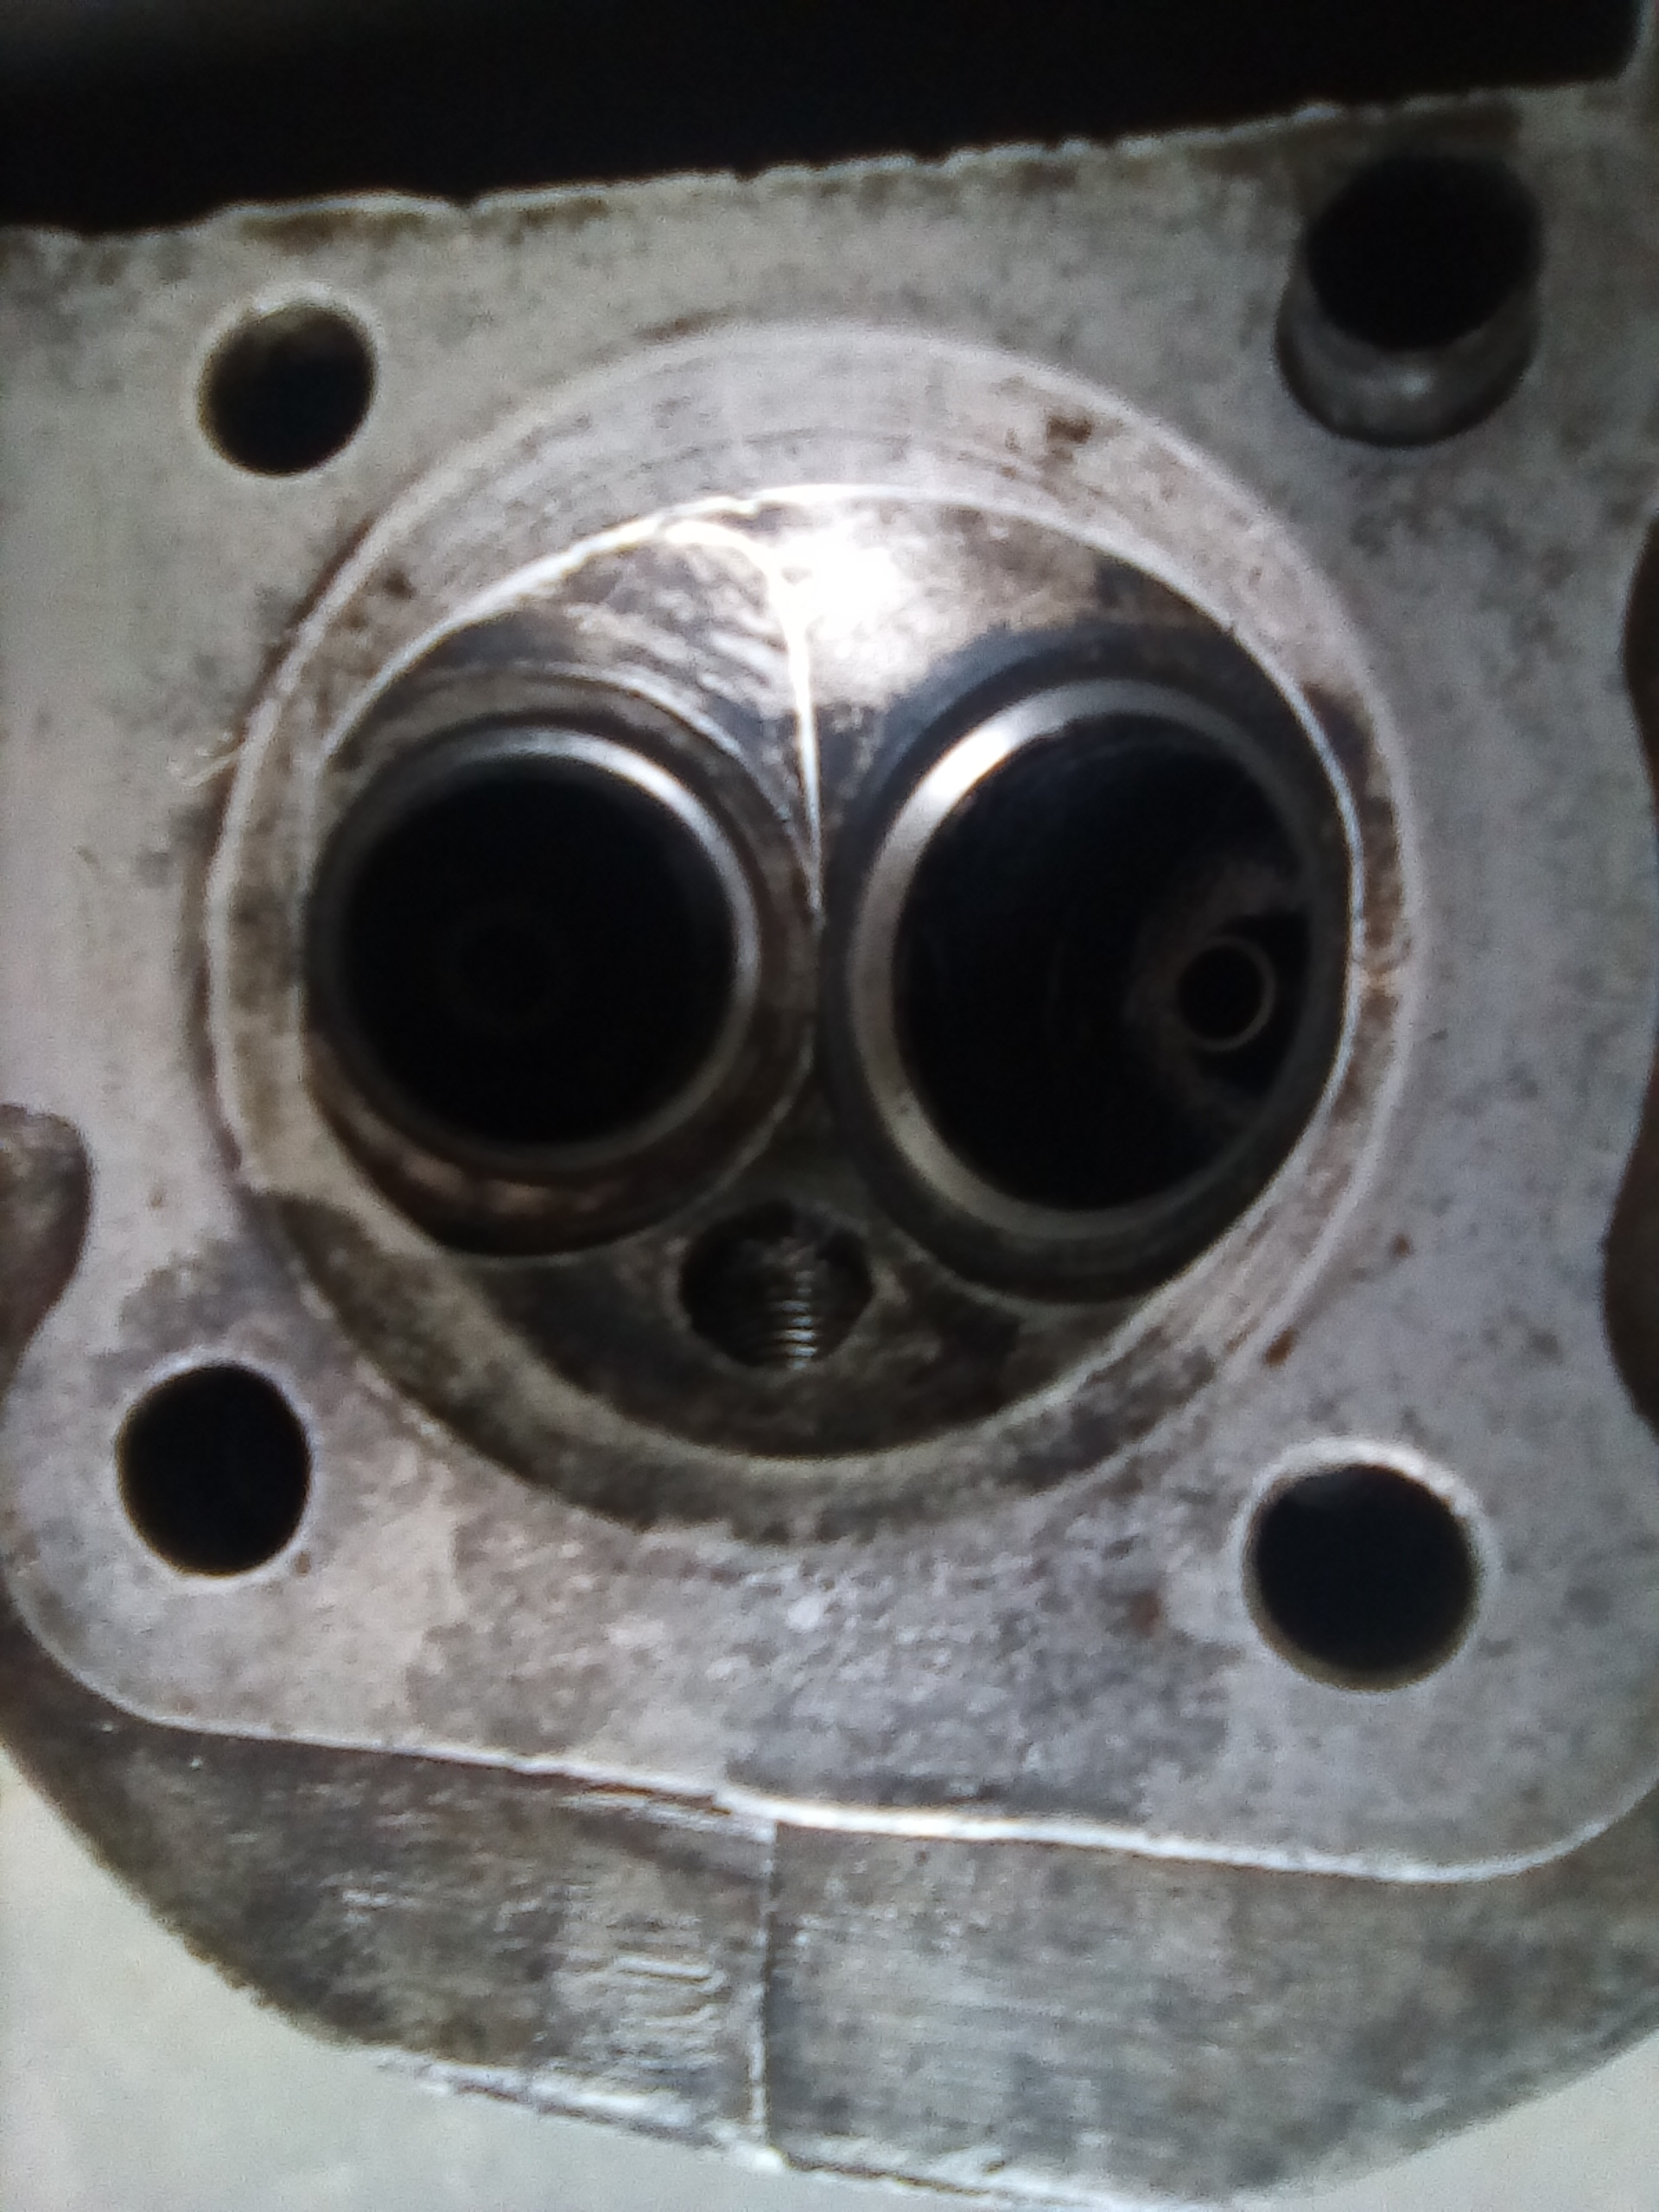
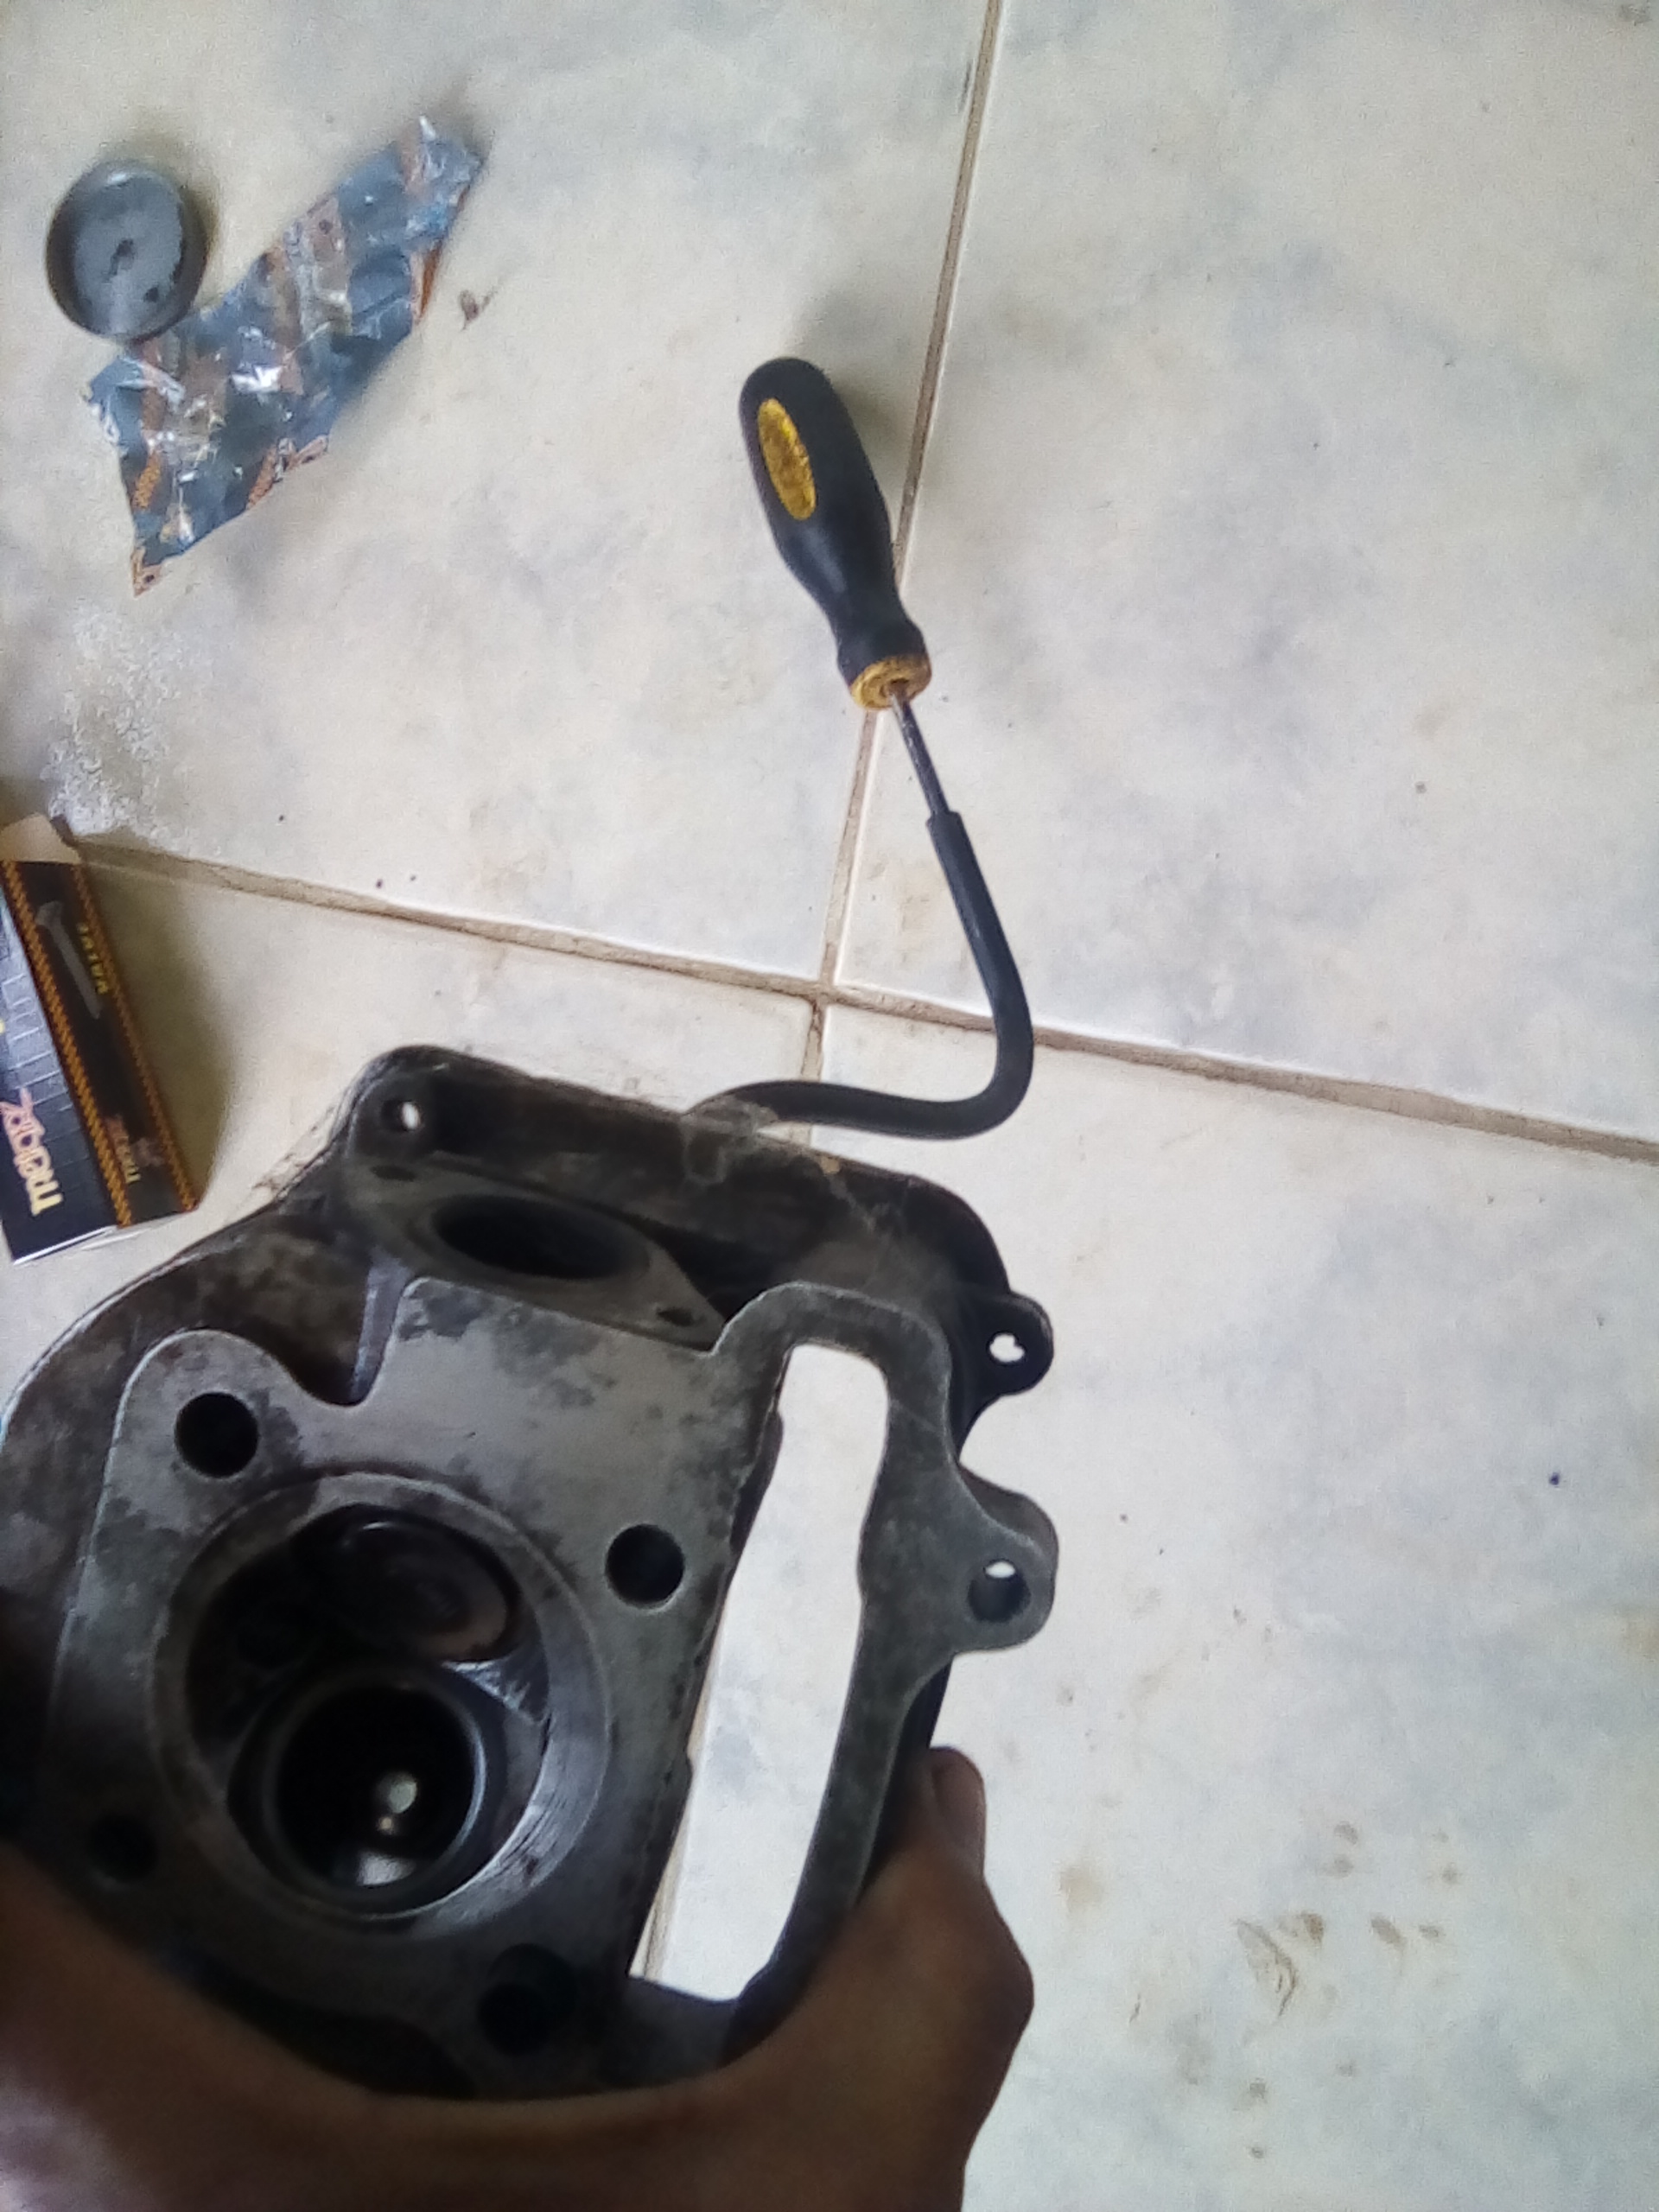
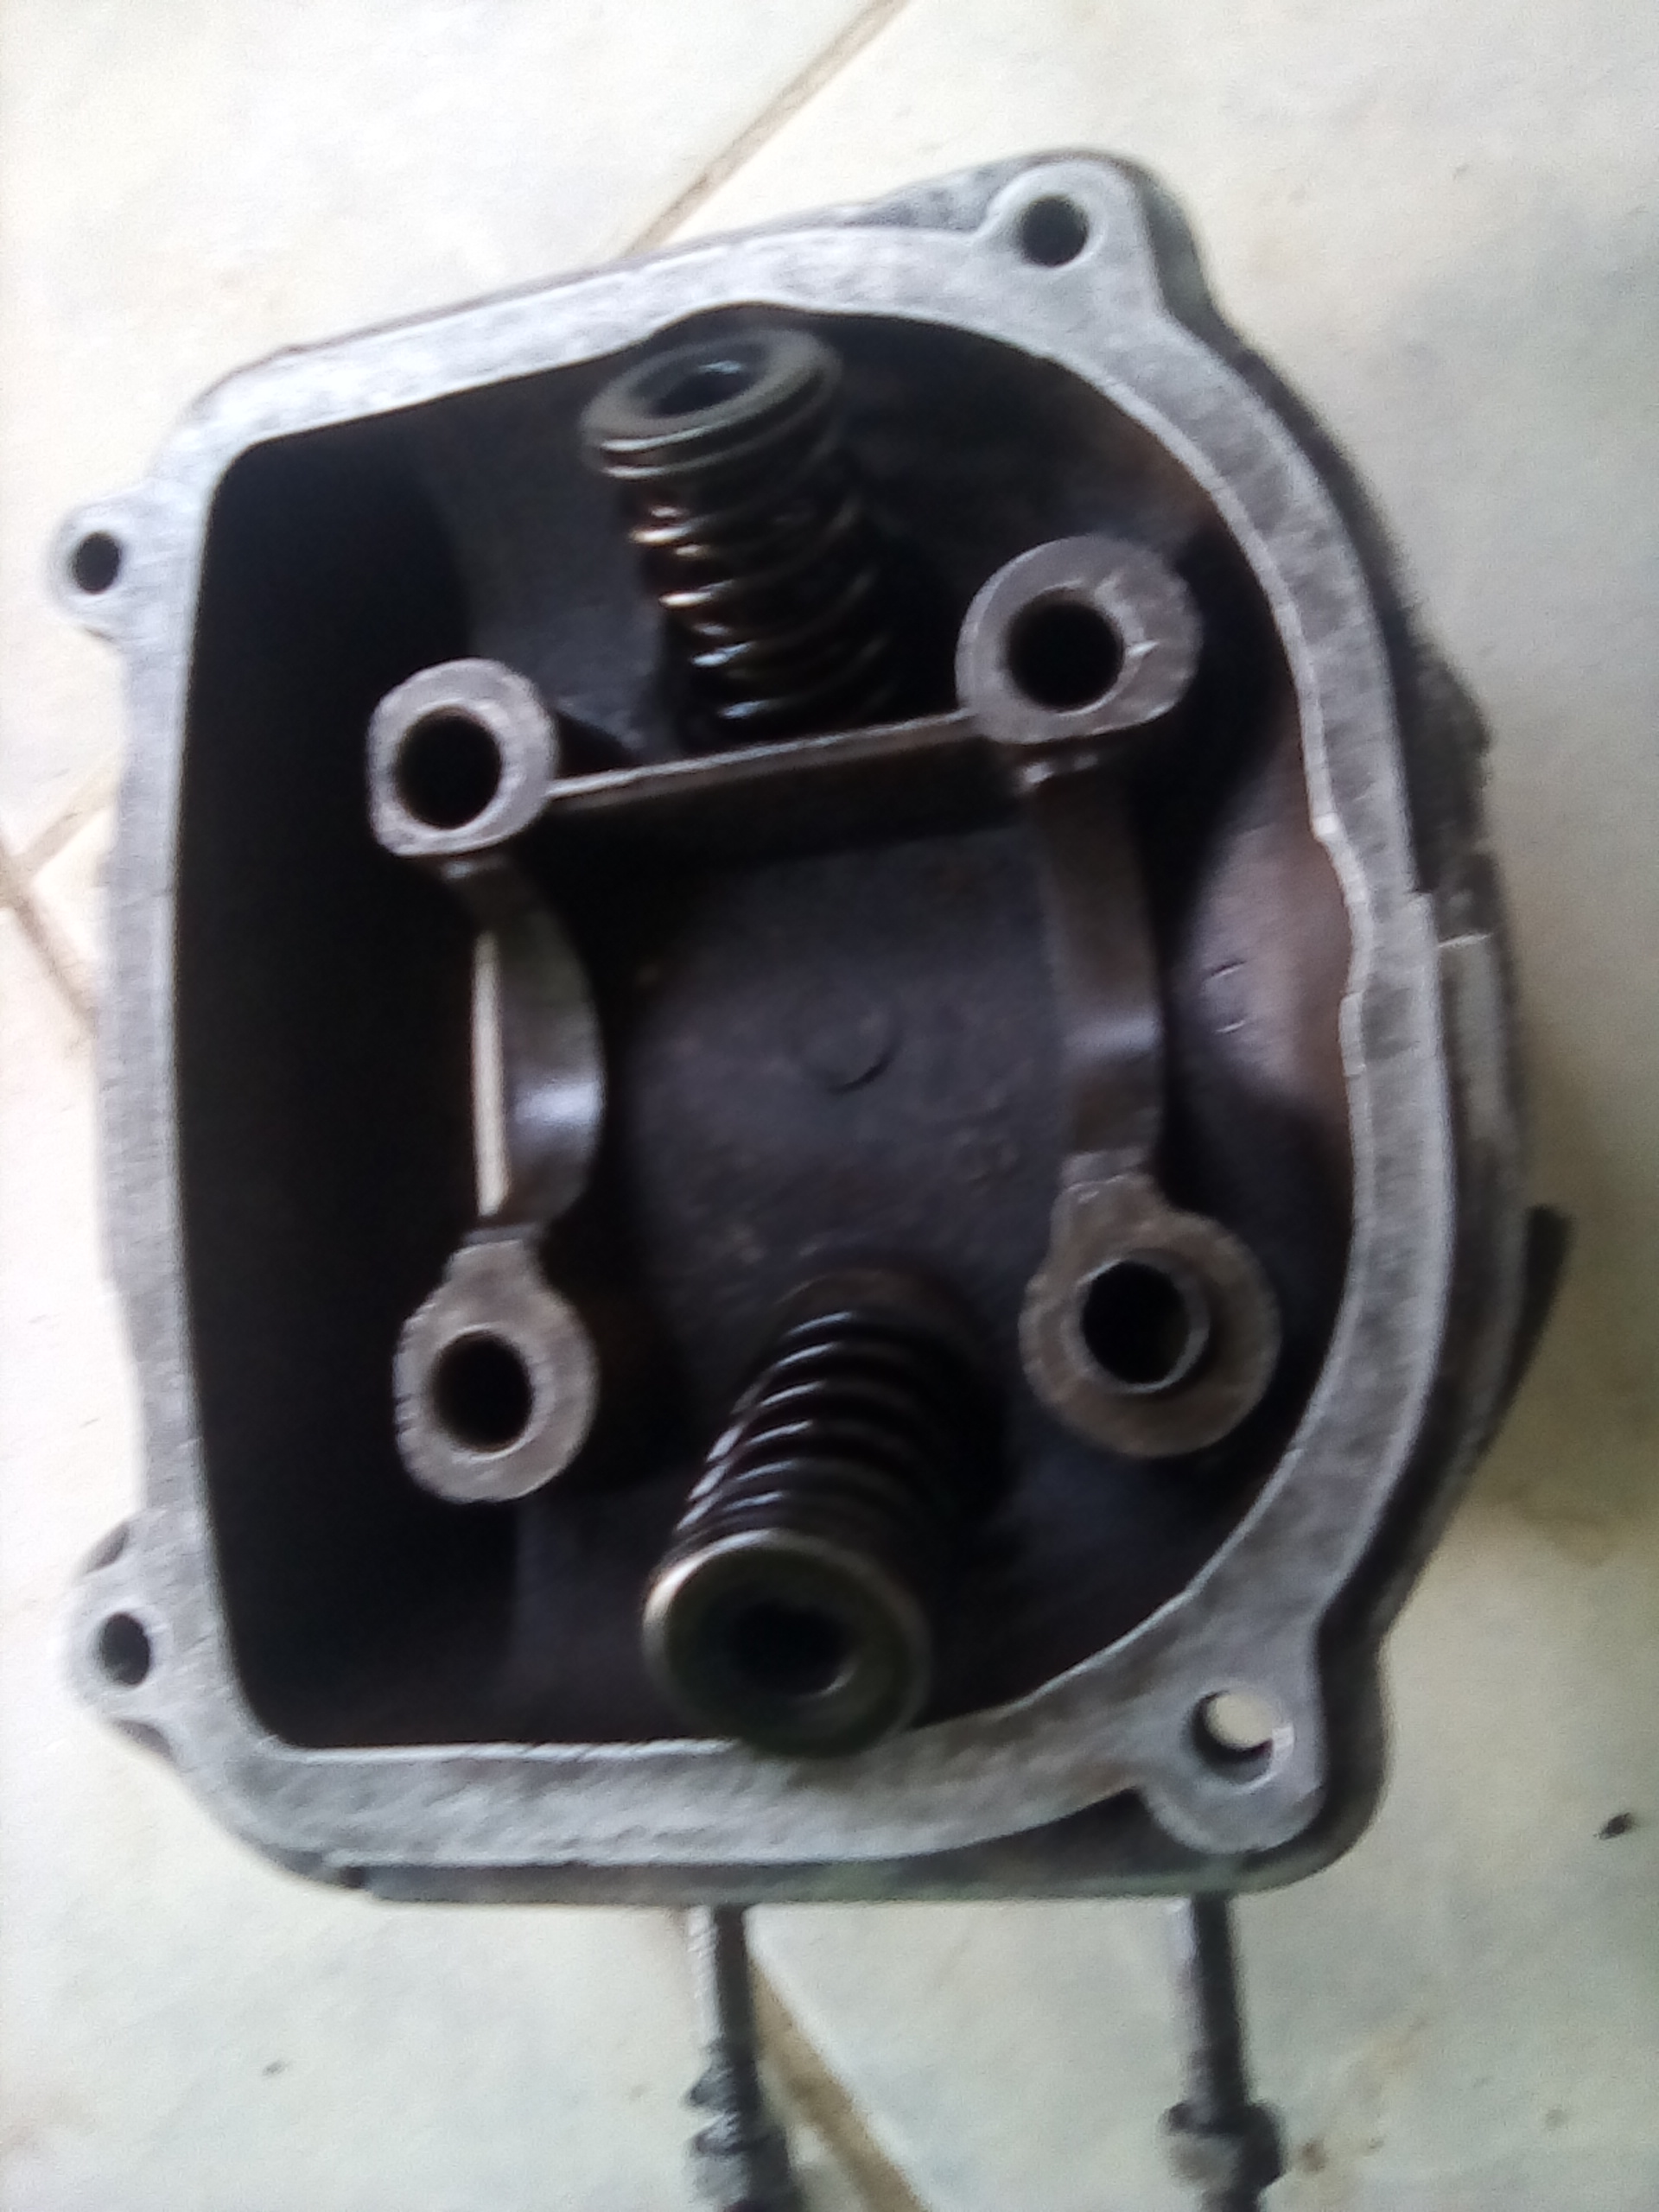
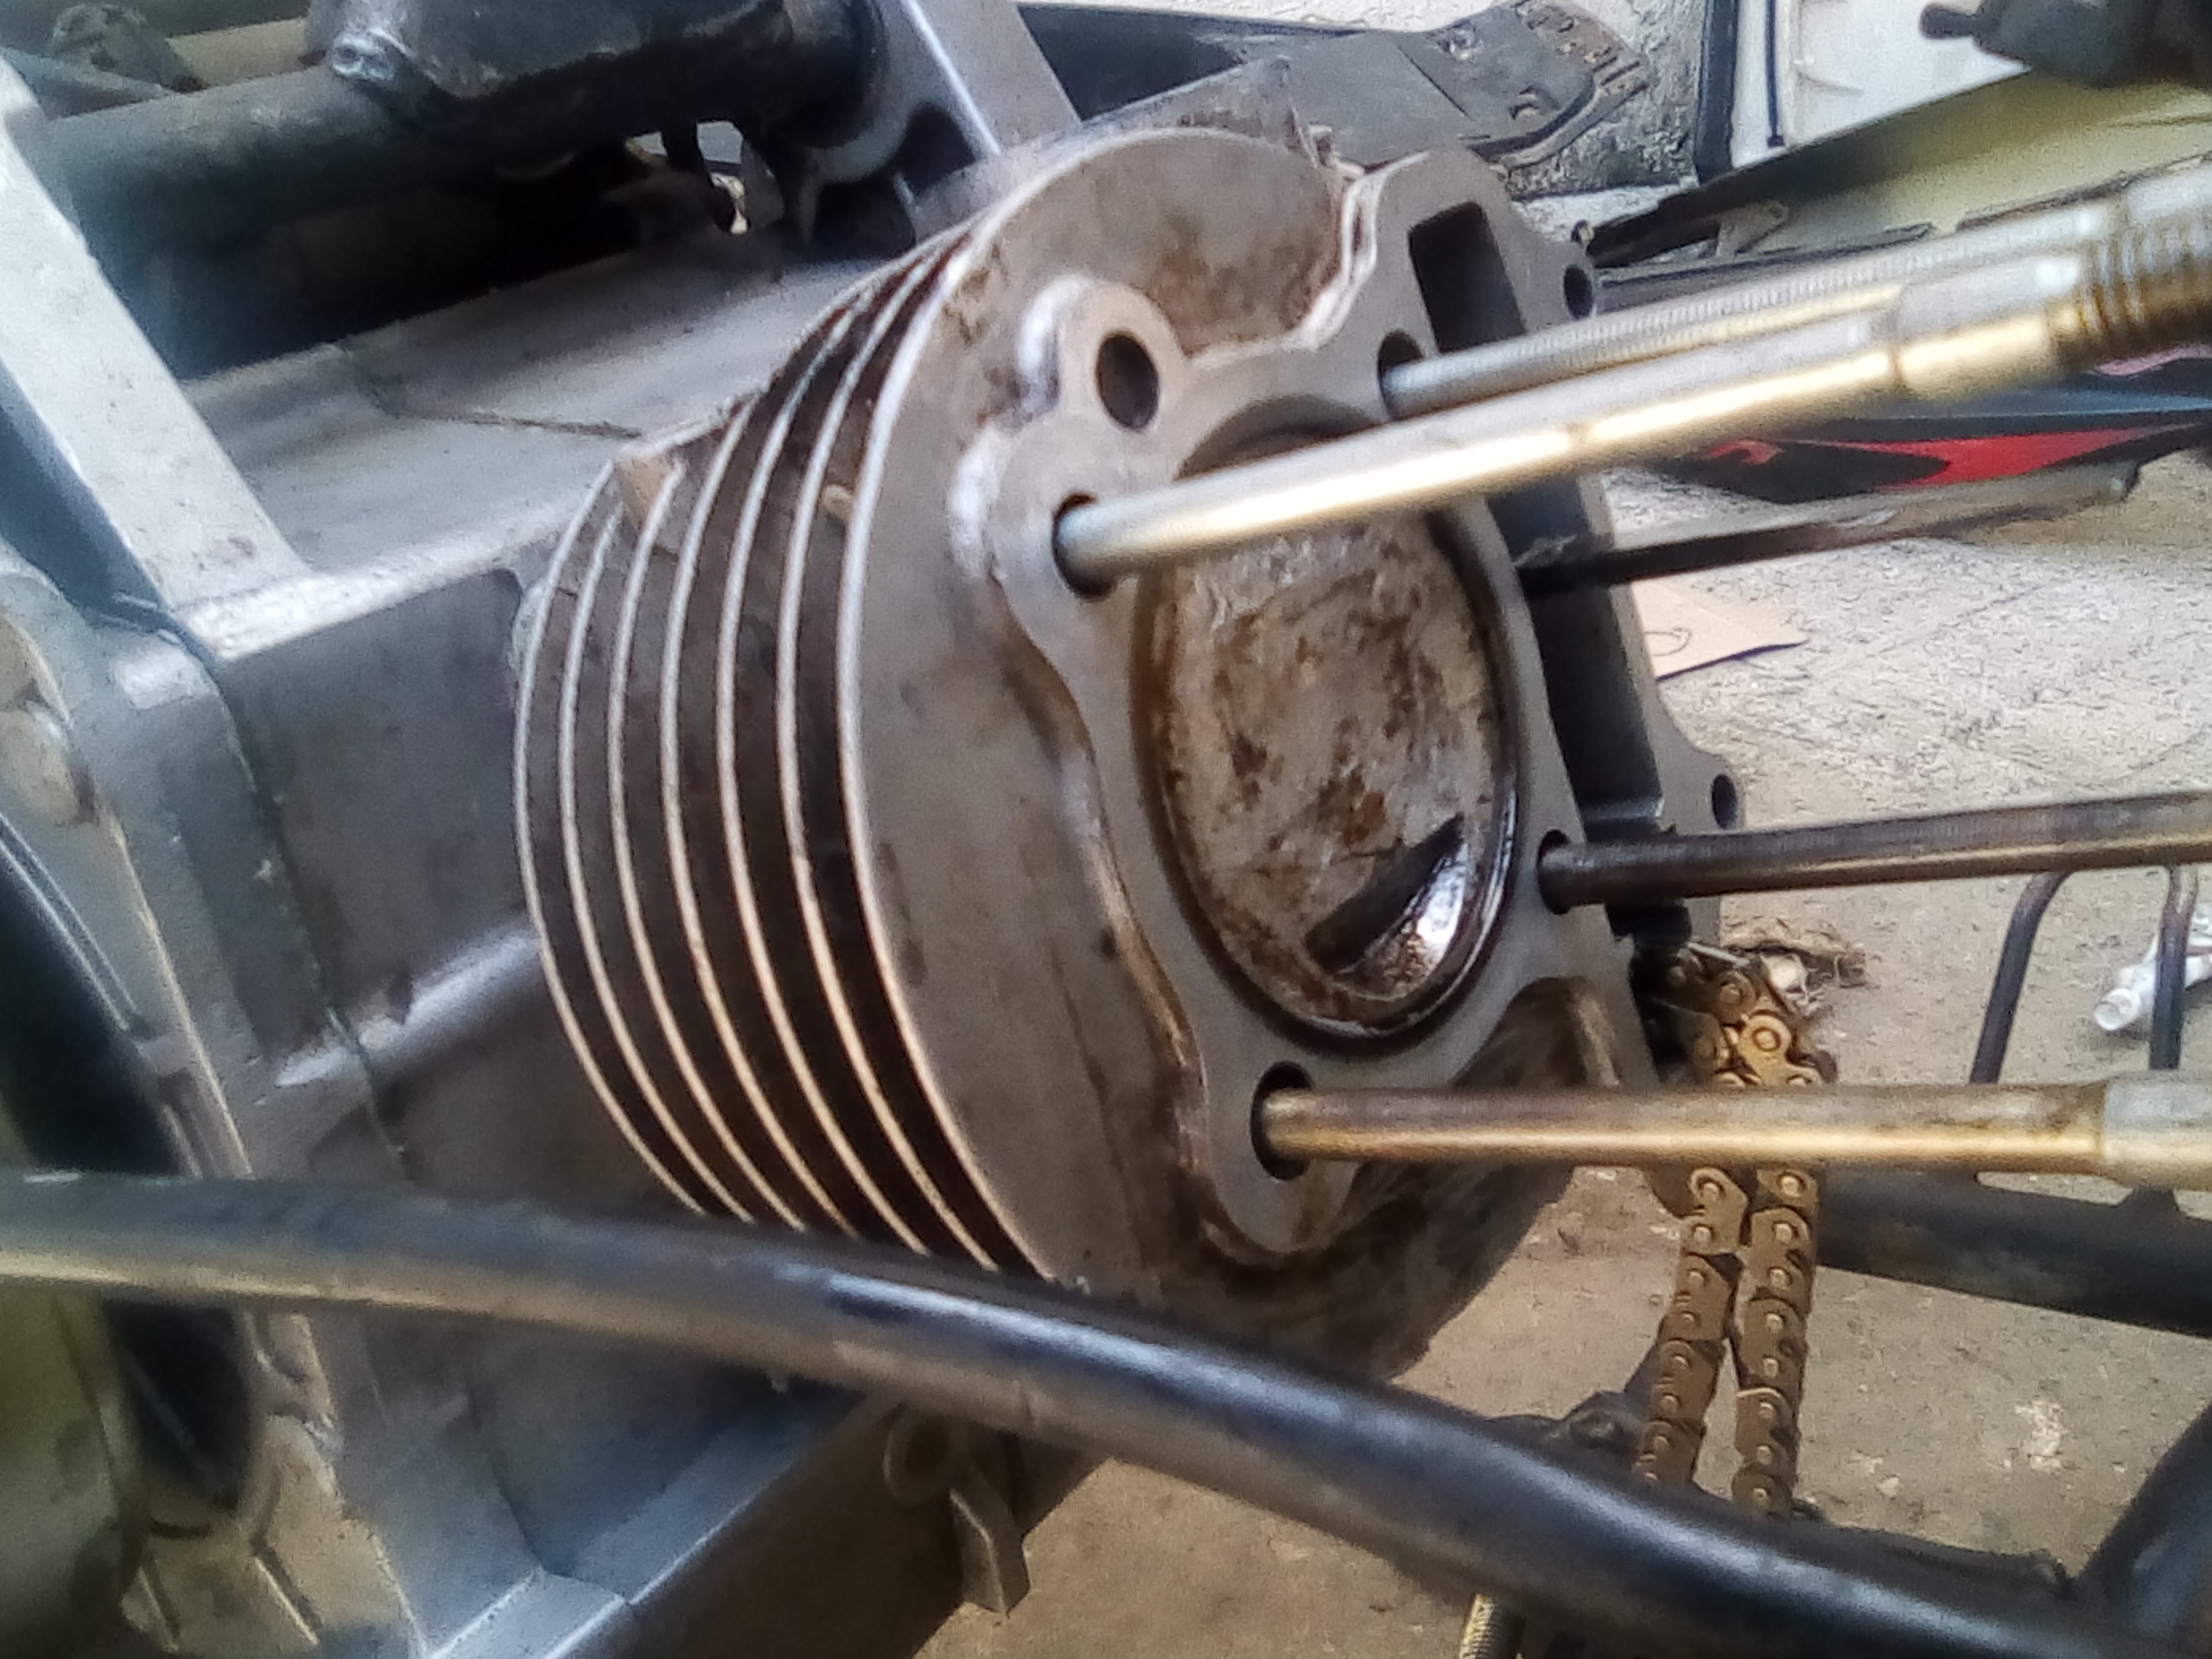
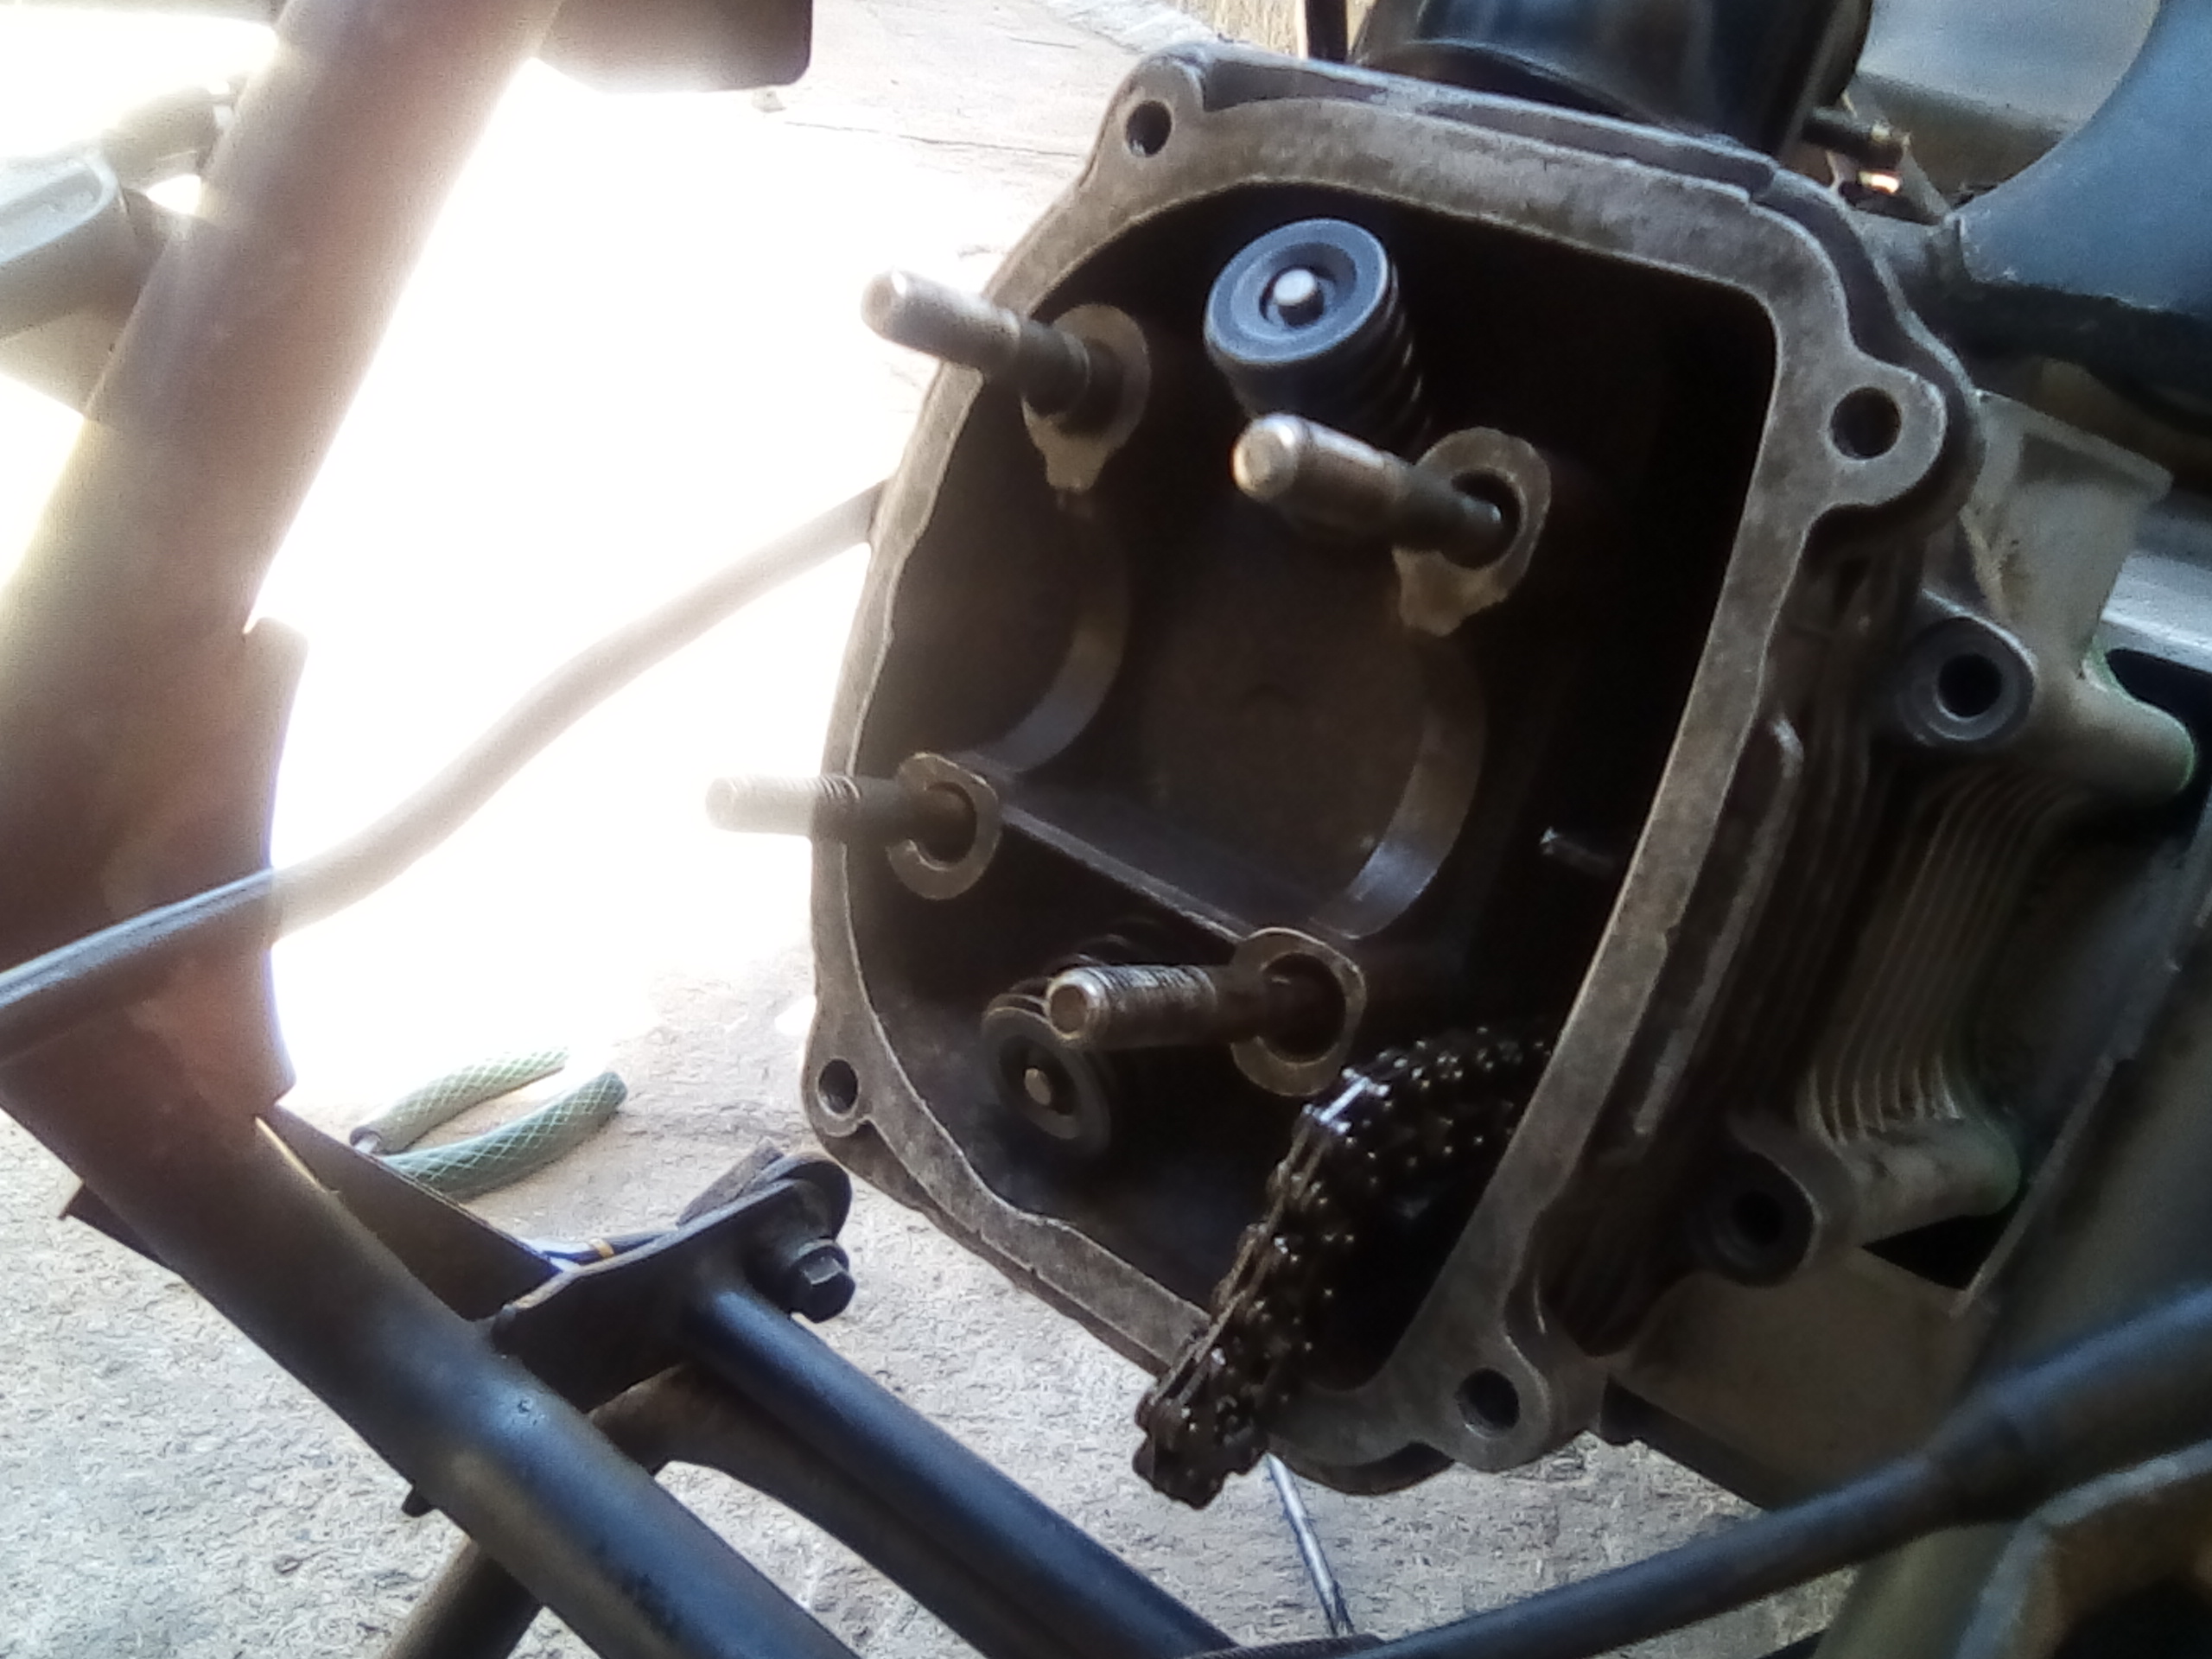
Aquí la cámara le limpie el carbón para luego proceder a sentar las válvulas.
Here the chamber is cleaned of carbon and then the valves are seated.

Las válvulas nuevas y los empaques o ajuntas.
New valves and gaskets.
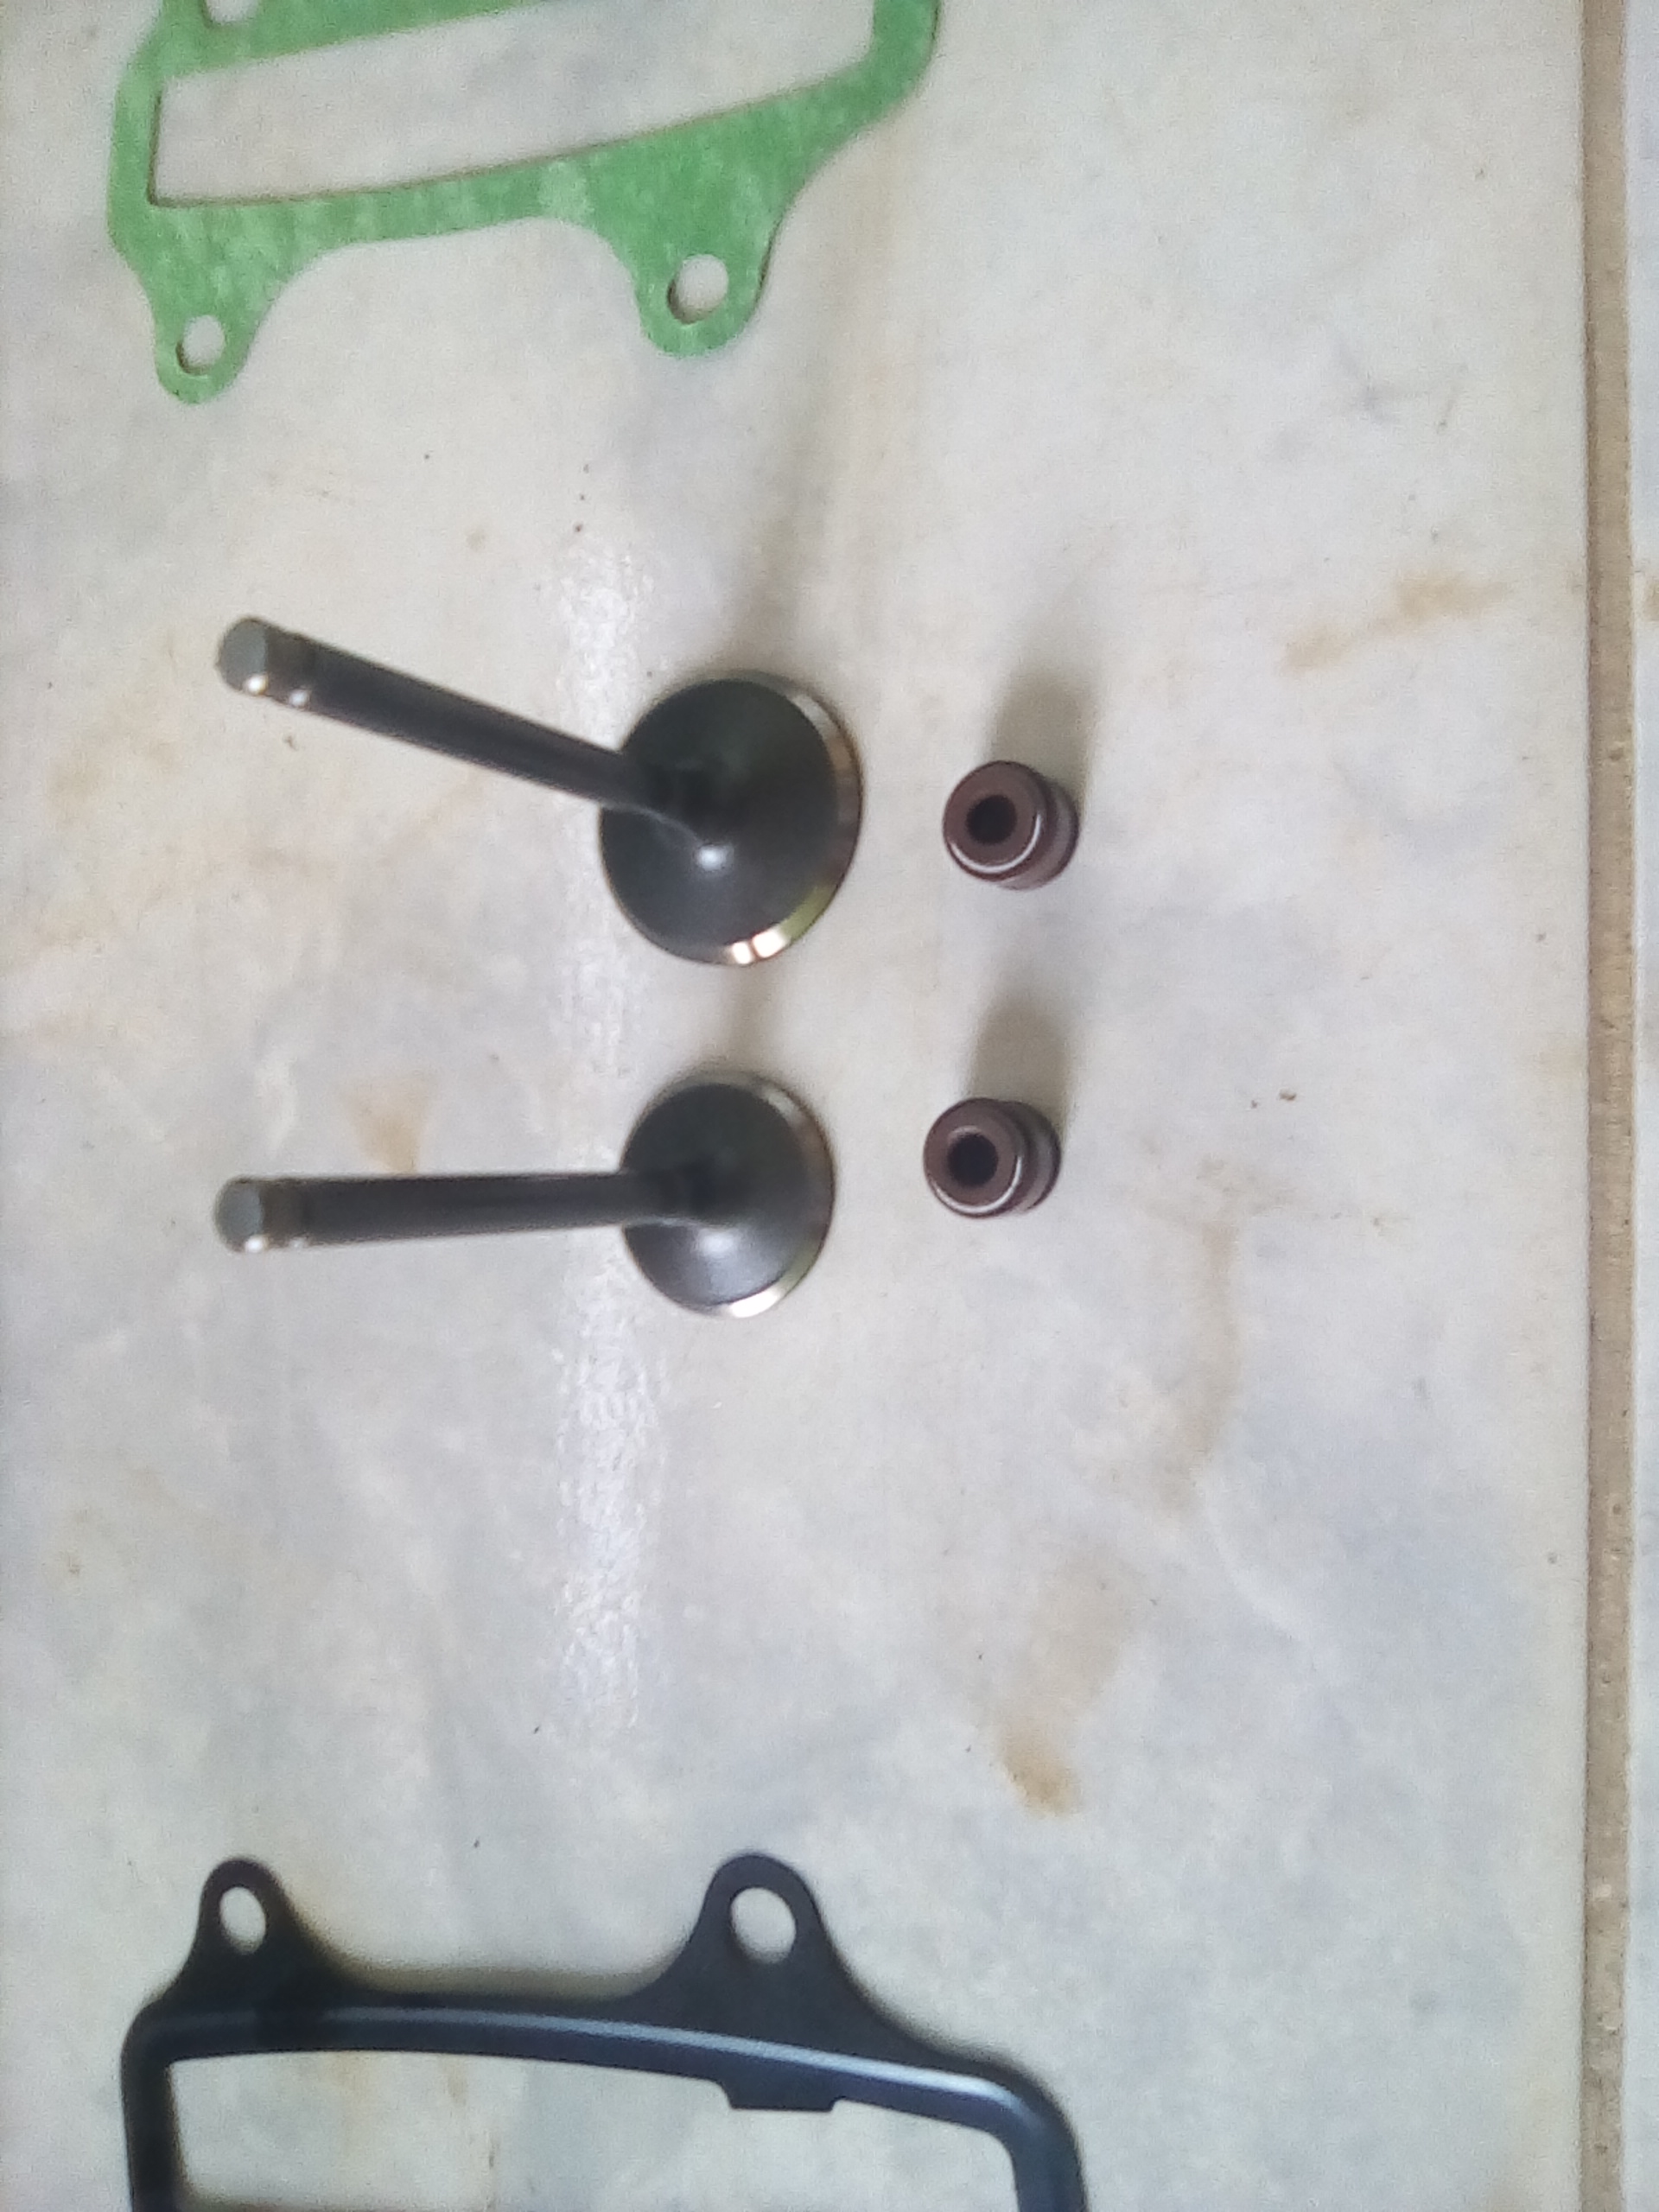
Las sello de las válvulas.
Valve seals.
Grasa para asentar las válvulas esta grasa es una gruesa y otra mas delgada.
Grease to seat the valves. This grease is one thick and one thinner.
Se aplica la grasa de esta manera y se introduce dentro de la cámara.
The grease is applied in this way and introduced into the chambe
Aquí con una manguera del grosor de la válvula y un destornillador le damos vuelta de izquierda a derecha muy suave con la grasa gruesa primero por 2 minutos y luego limpiamos, y aplicamos la delgada y hacemos el mismo procedimiento.
Here with a hose the thickness of the valve and a screwdriver we turn it from left to right very gently with the thick grease first for 2 minutes and then clean, and apply the thin grease and do the same procedure.
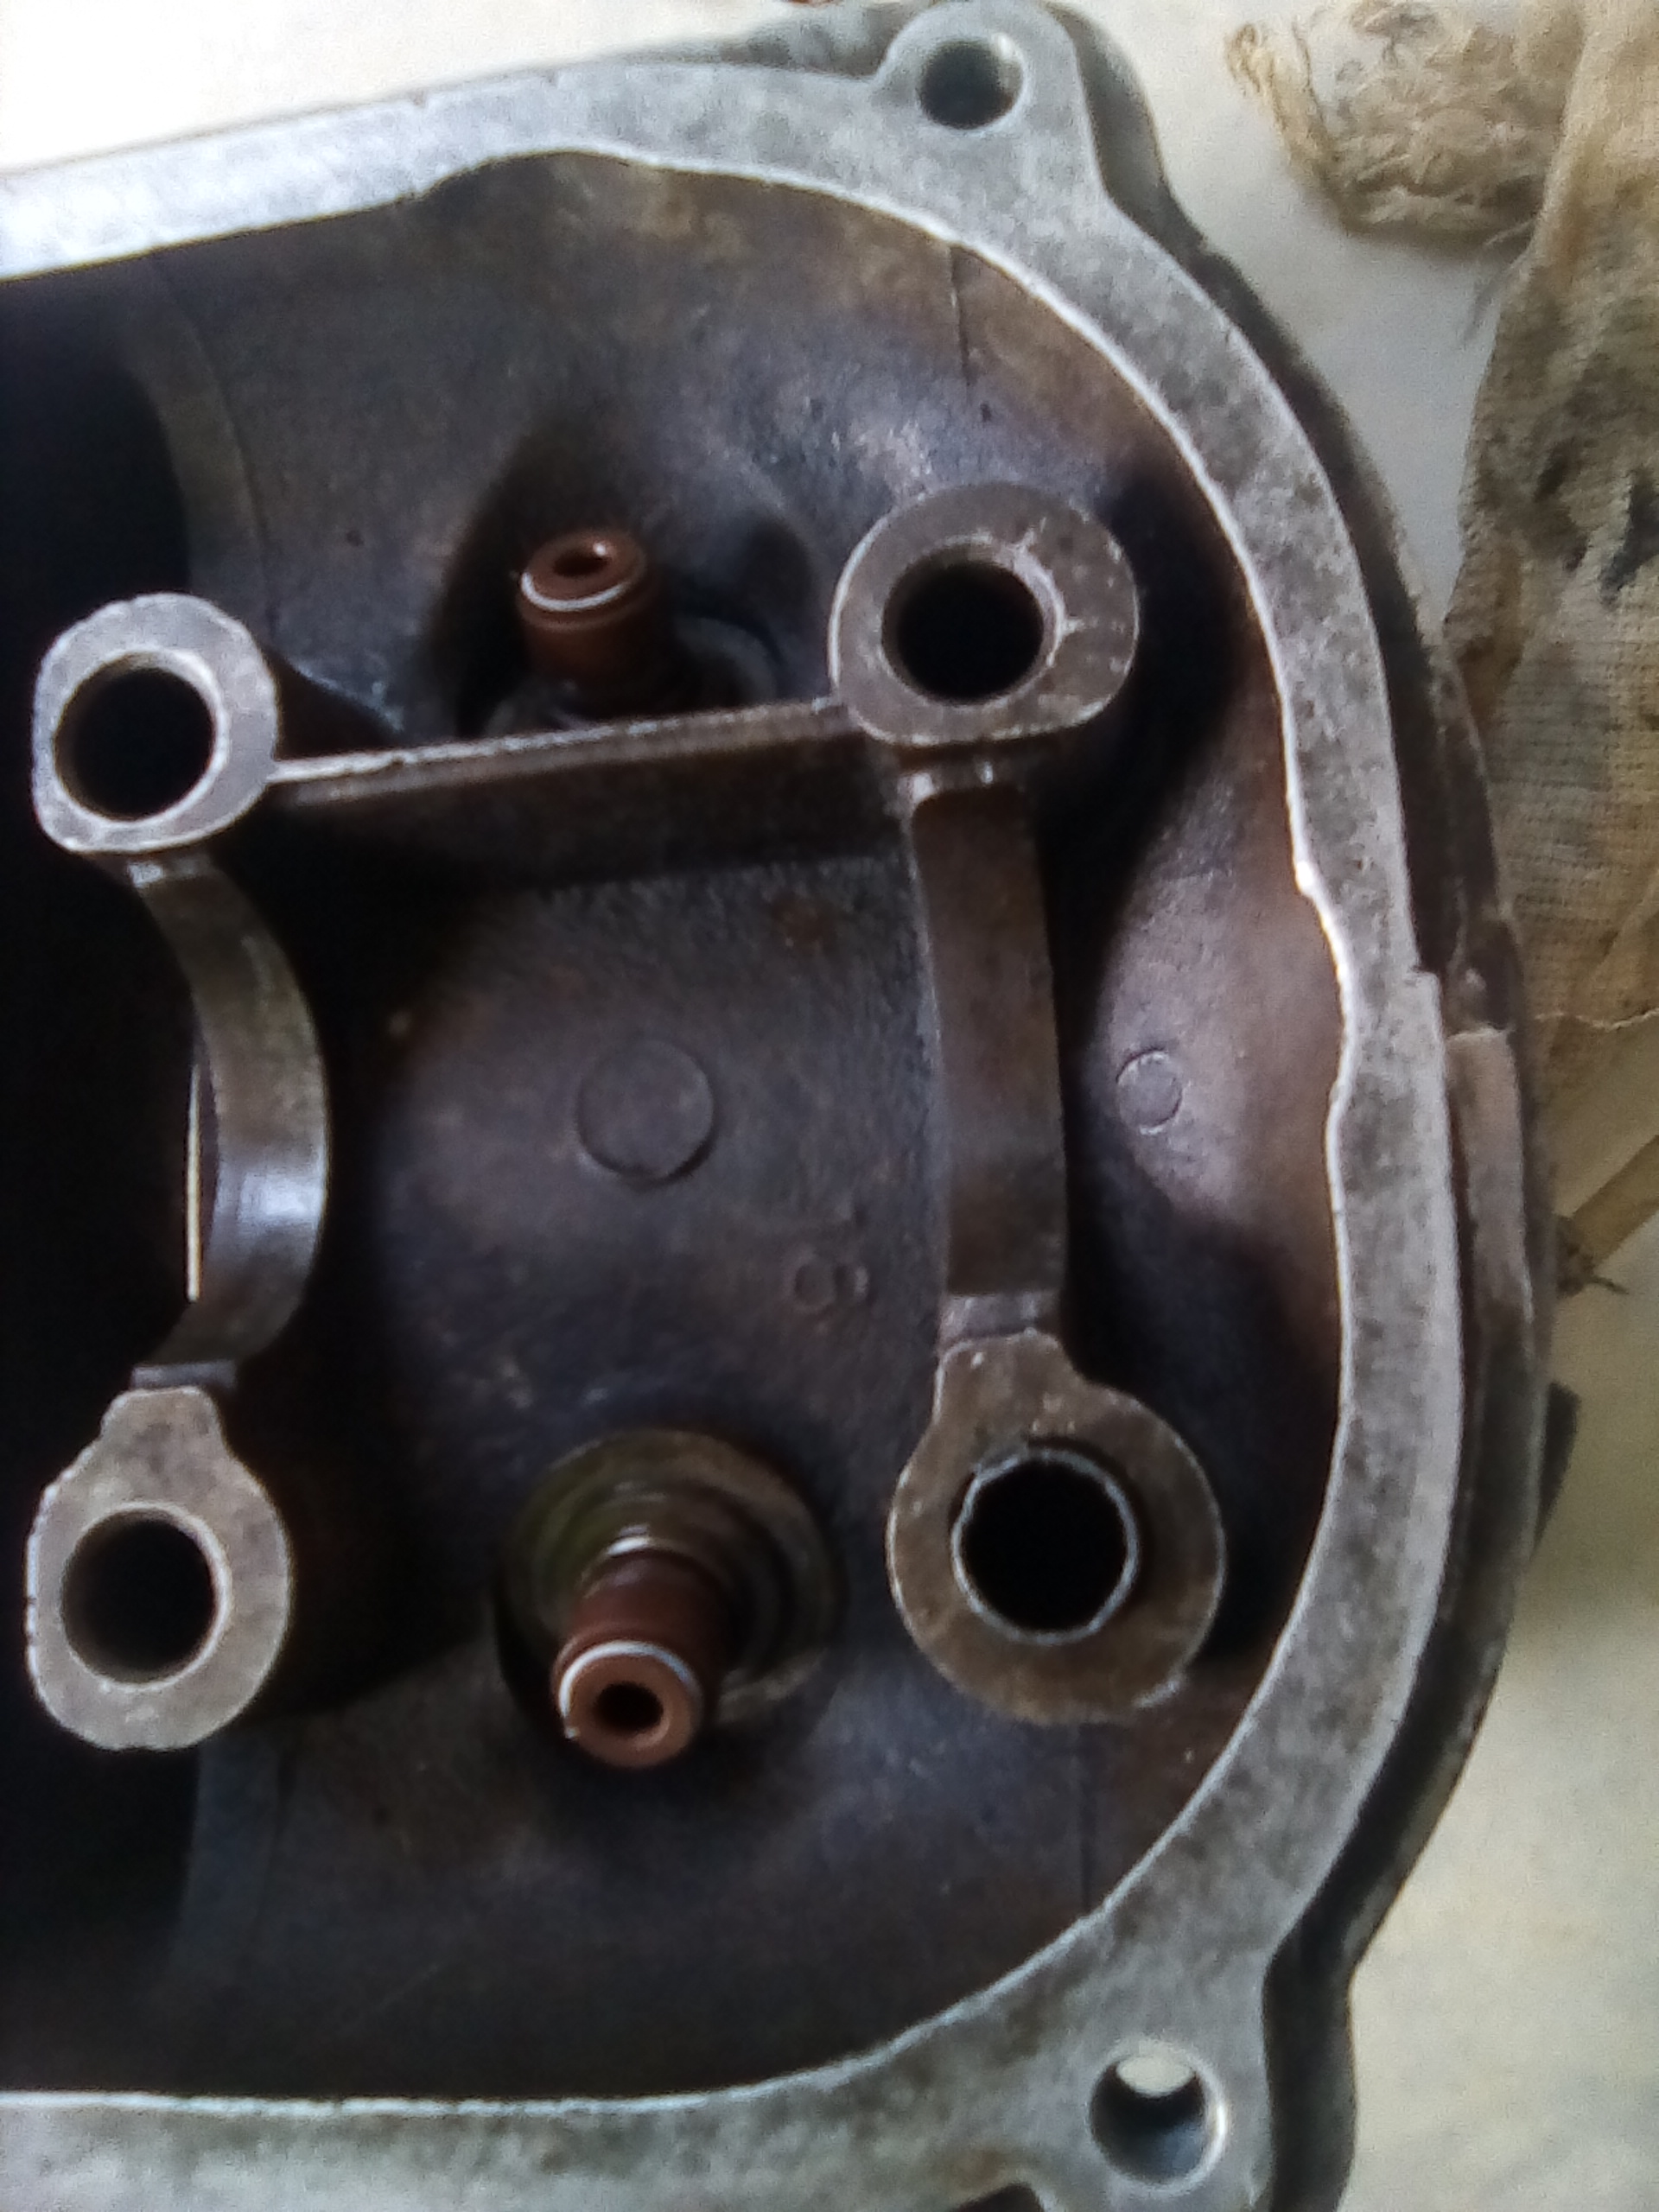
Montamos los sellos.
We mount the seals.
Colocamos las válvulas.
We place the valves.
Los resorte.
The springs.
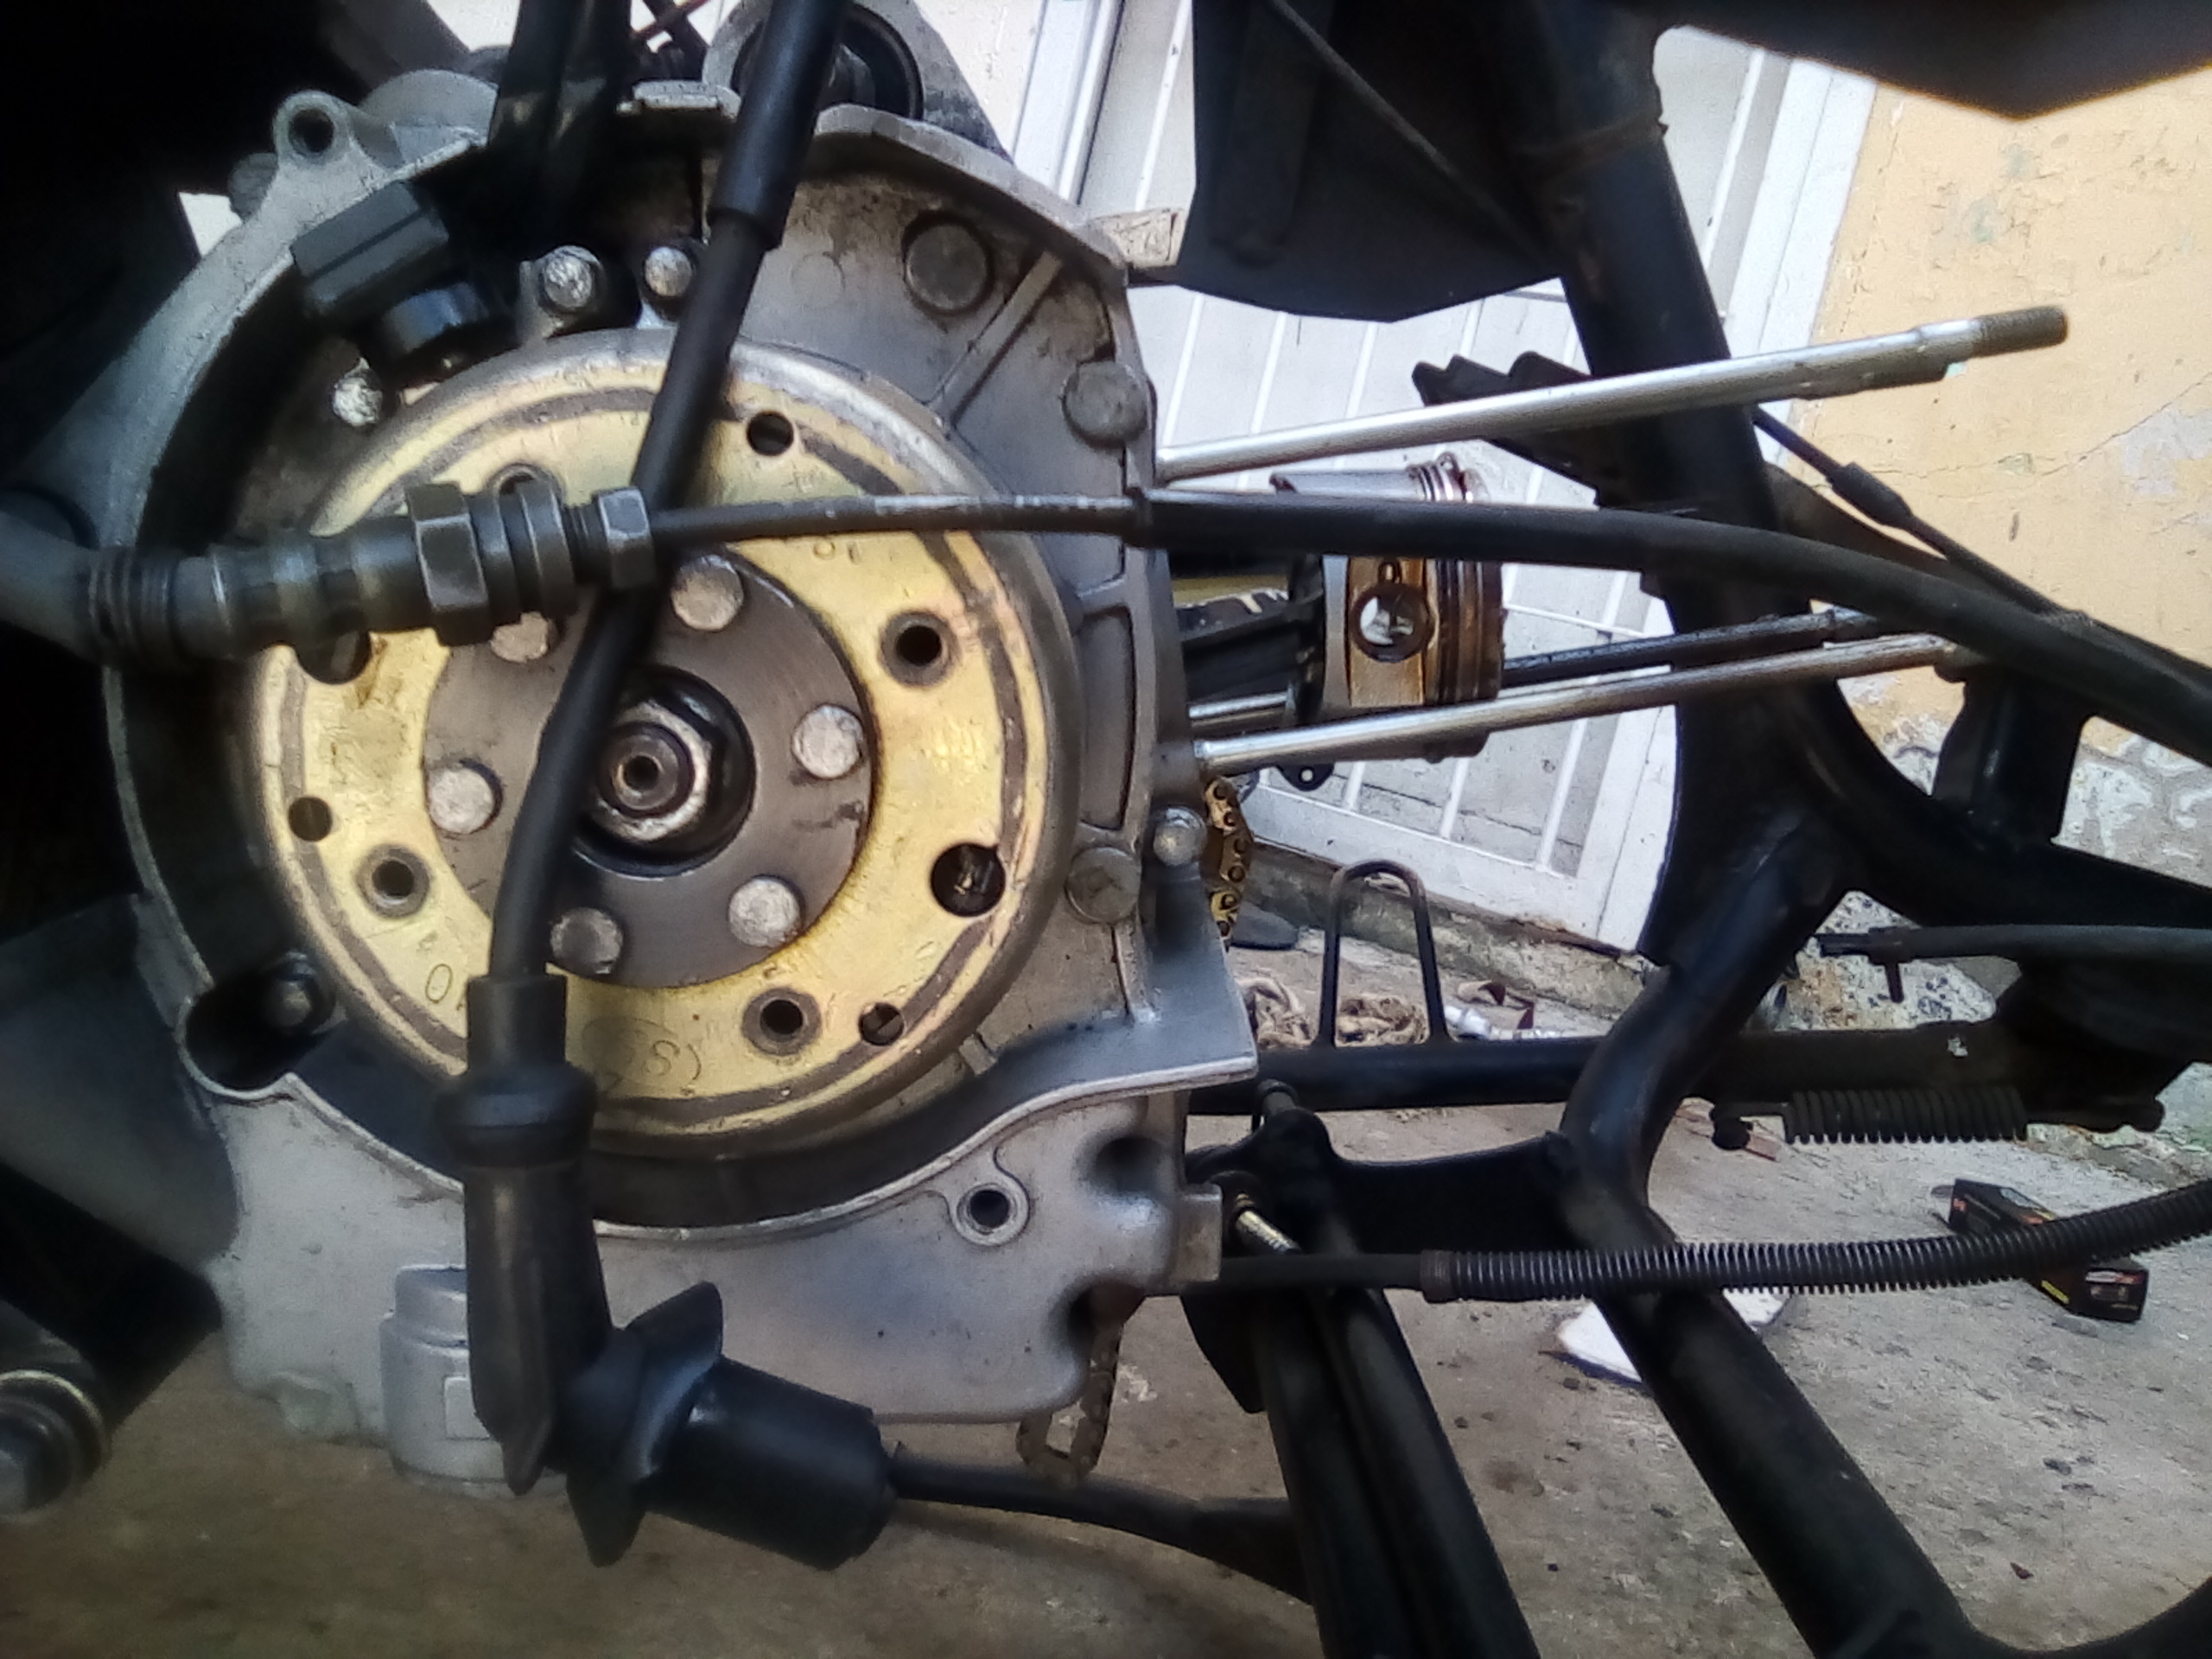
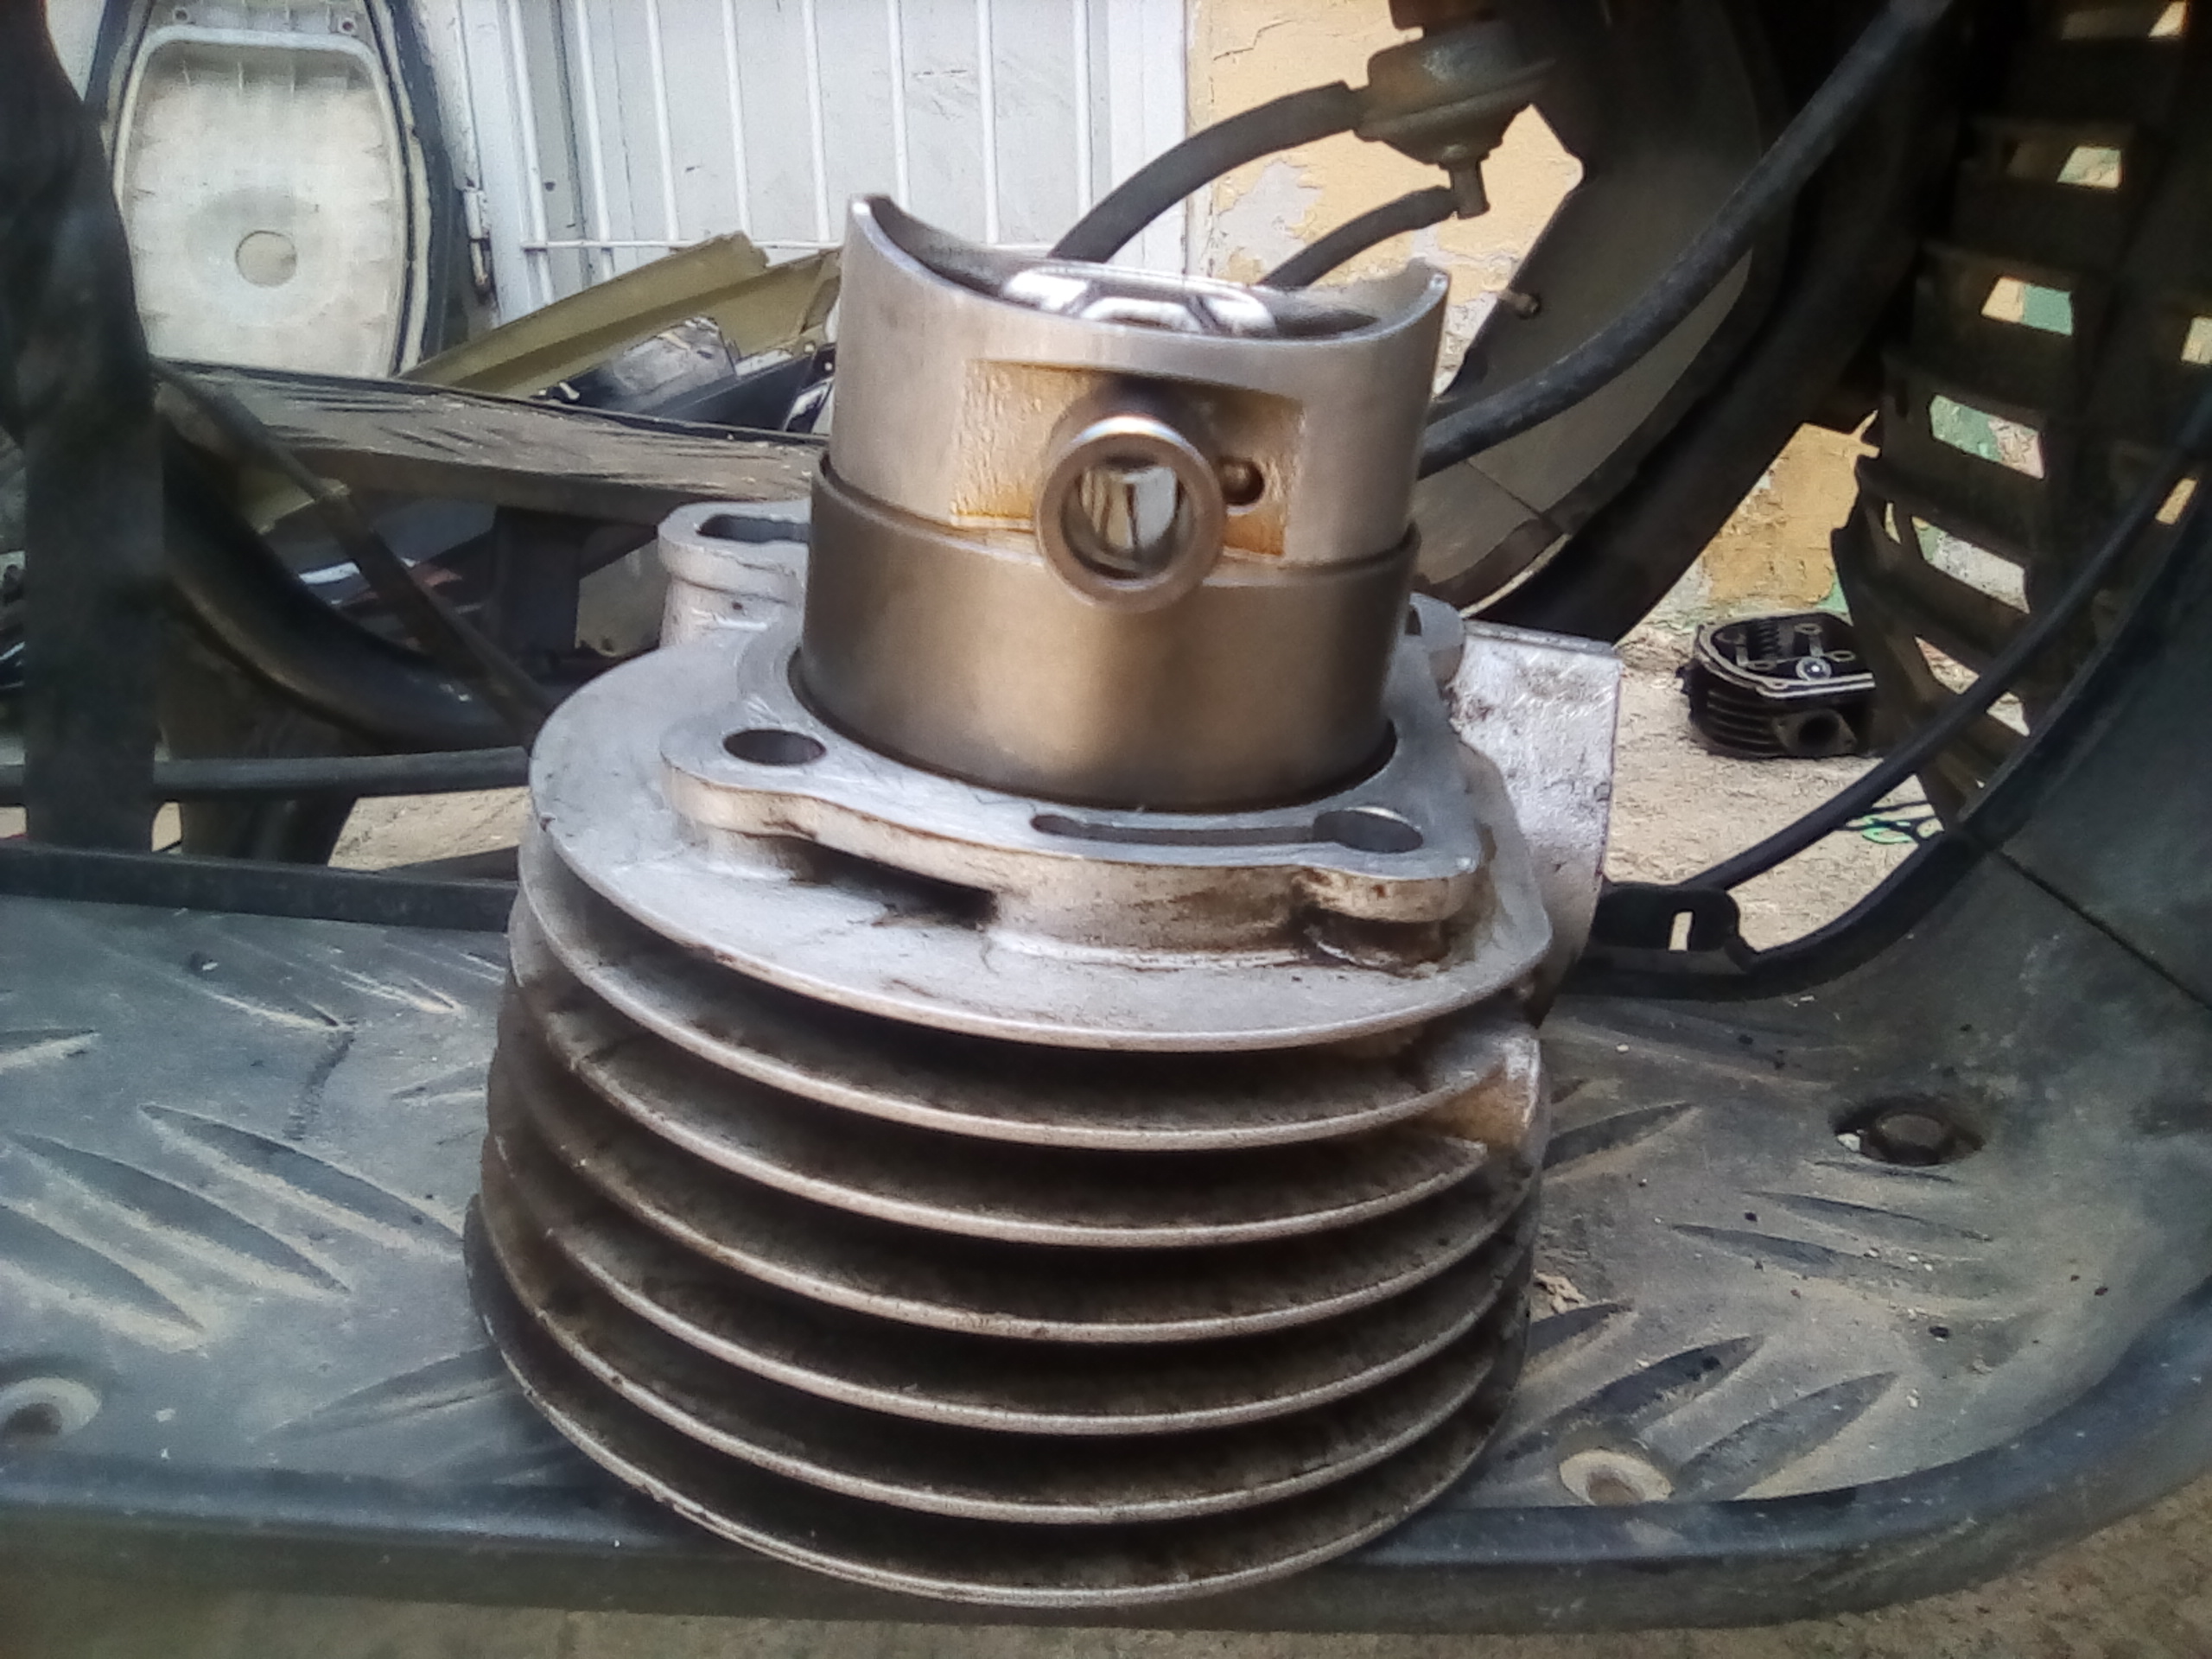
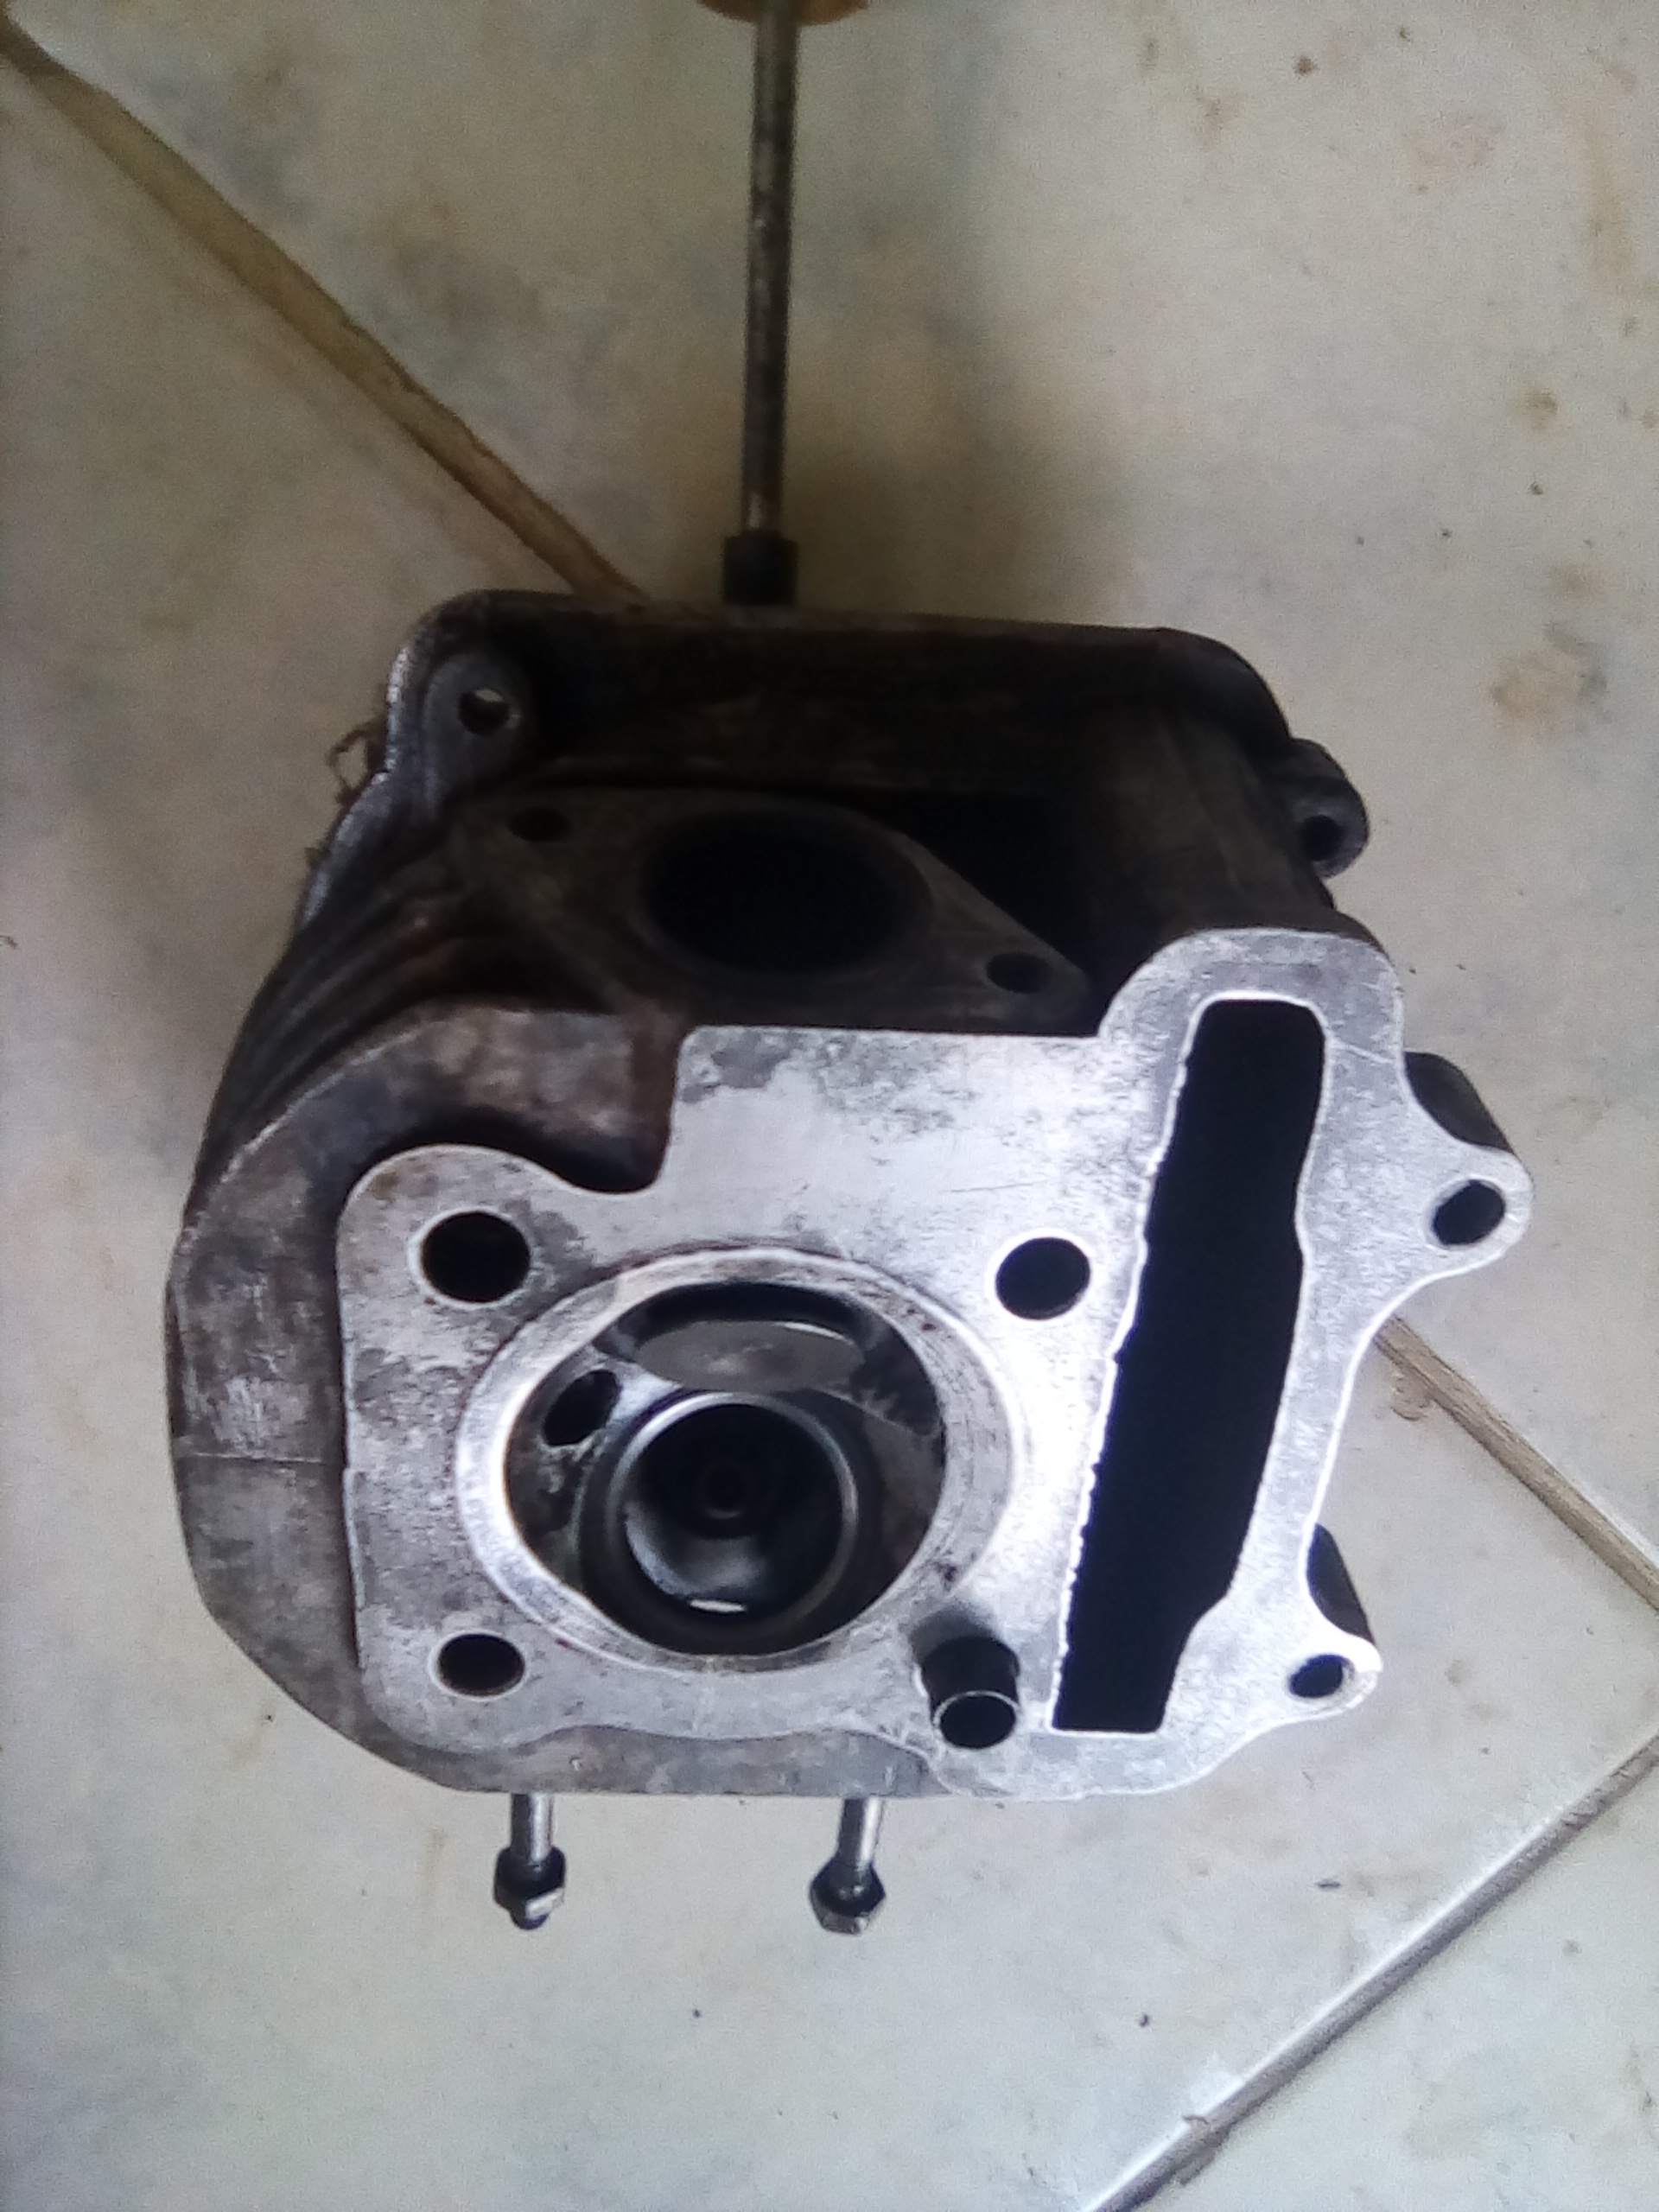
Colocamos el pistón dentro del cilindro.
We place the piston inside the cylinder.
Empaque del motor.
Packing of the engine.
Colocamos el reten del pasador del pistón.
Place the piston pin retainer.
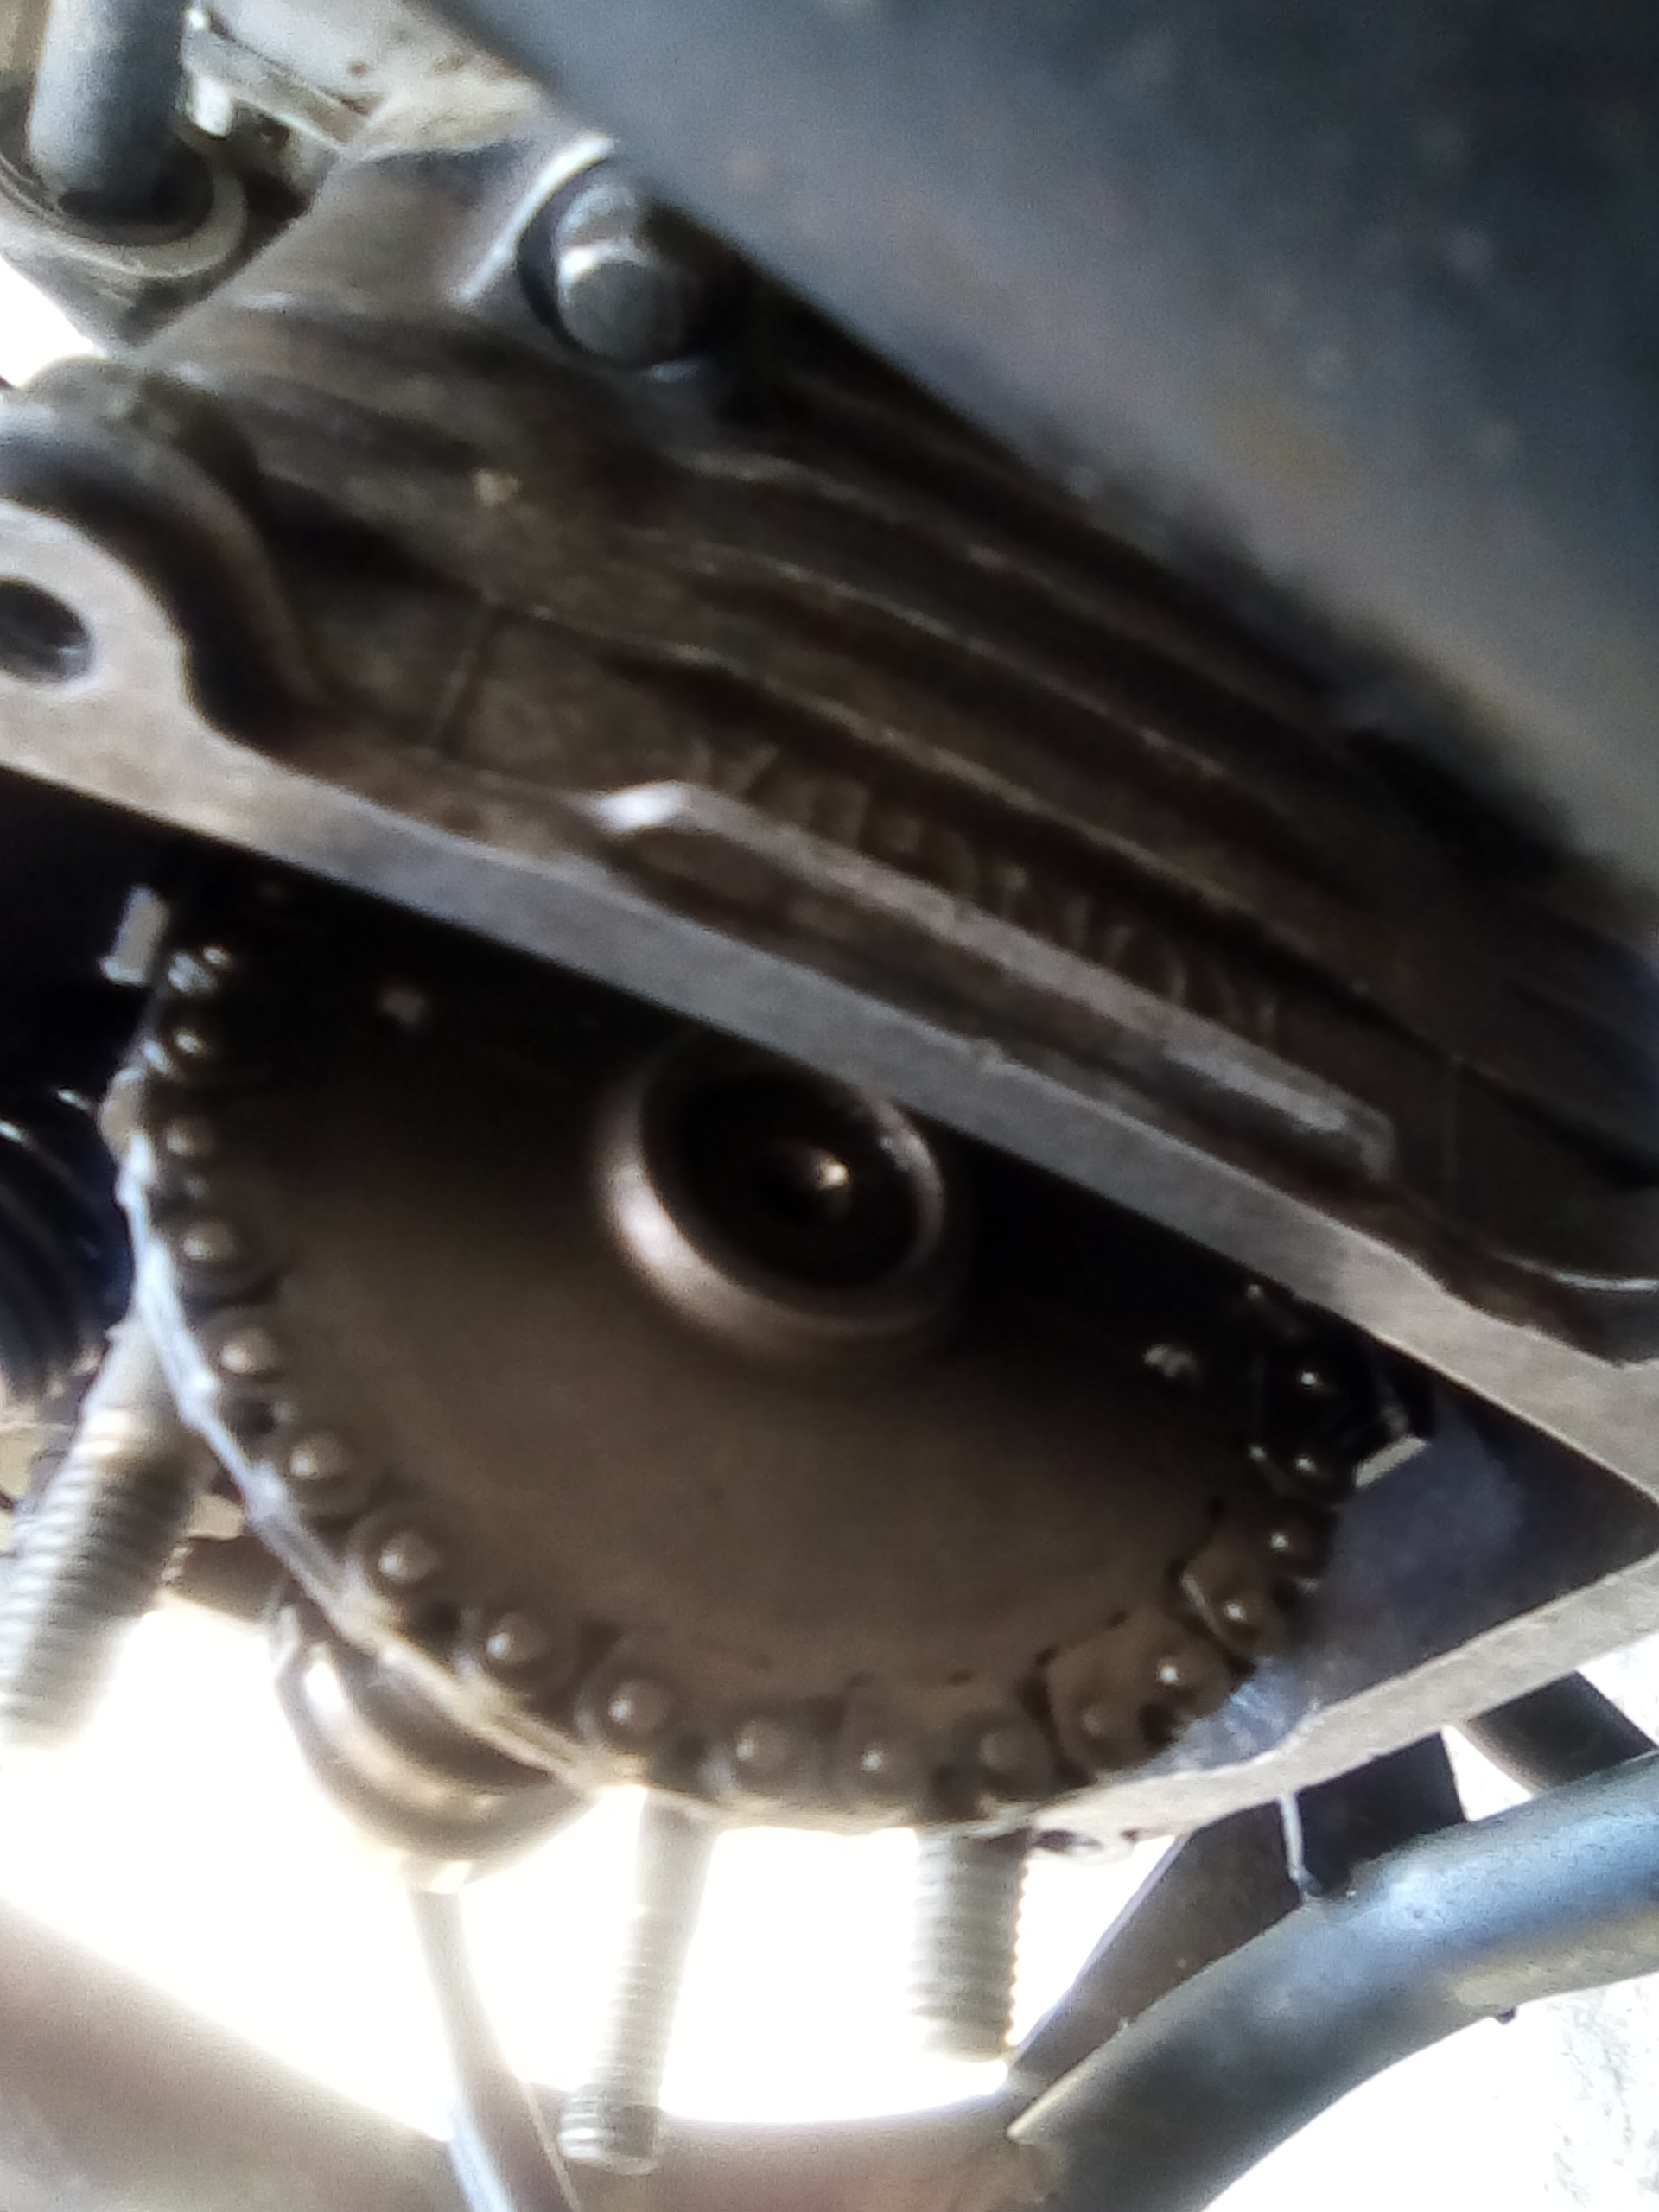
Pistón arriba y el magneto lo colocamos en la T con la guía para que quede en punto de arranque.
Piston up and the magnet is placed in the T with the guide so that it is at the starting point.
Como se aprecia en esta imagen
As shown in this picture
Empaque de la cámara y el patín de la cadena de tiempo
Packing of camera and timing chain skid
Montamos la leva esos dos huecos tienen que quedar en linea con el borde de la cámara
We mount the cam, these two holes must be in line with the edge of the cam.
Colocamos la martillea.
We place the hammer.
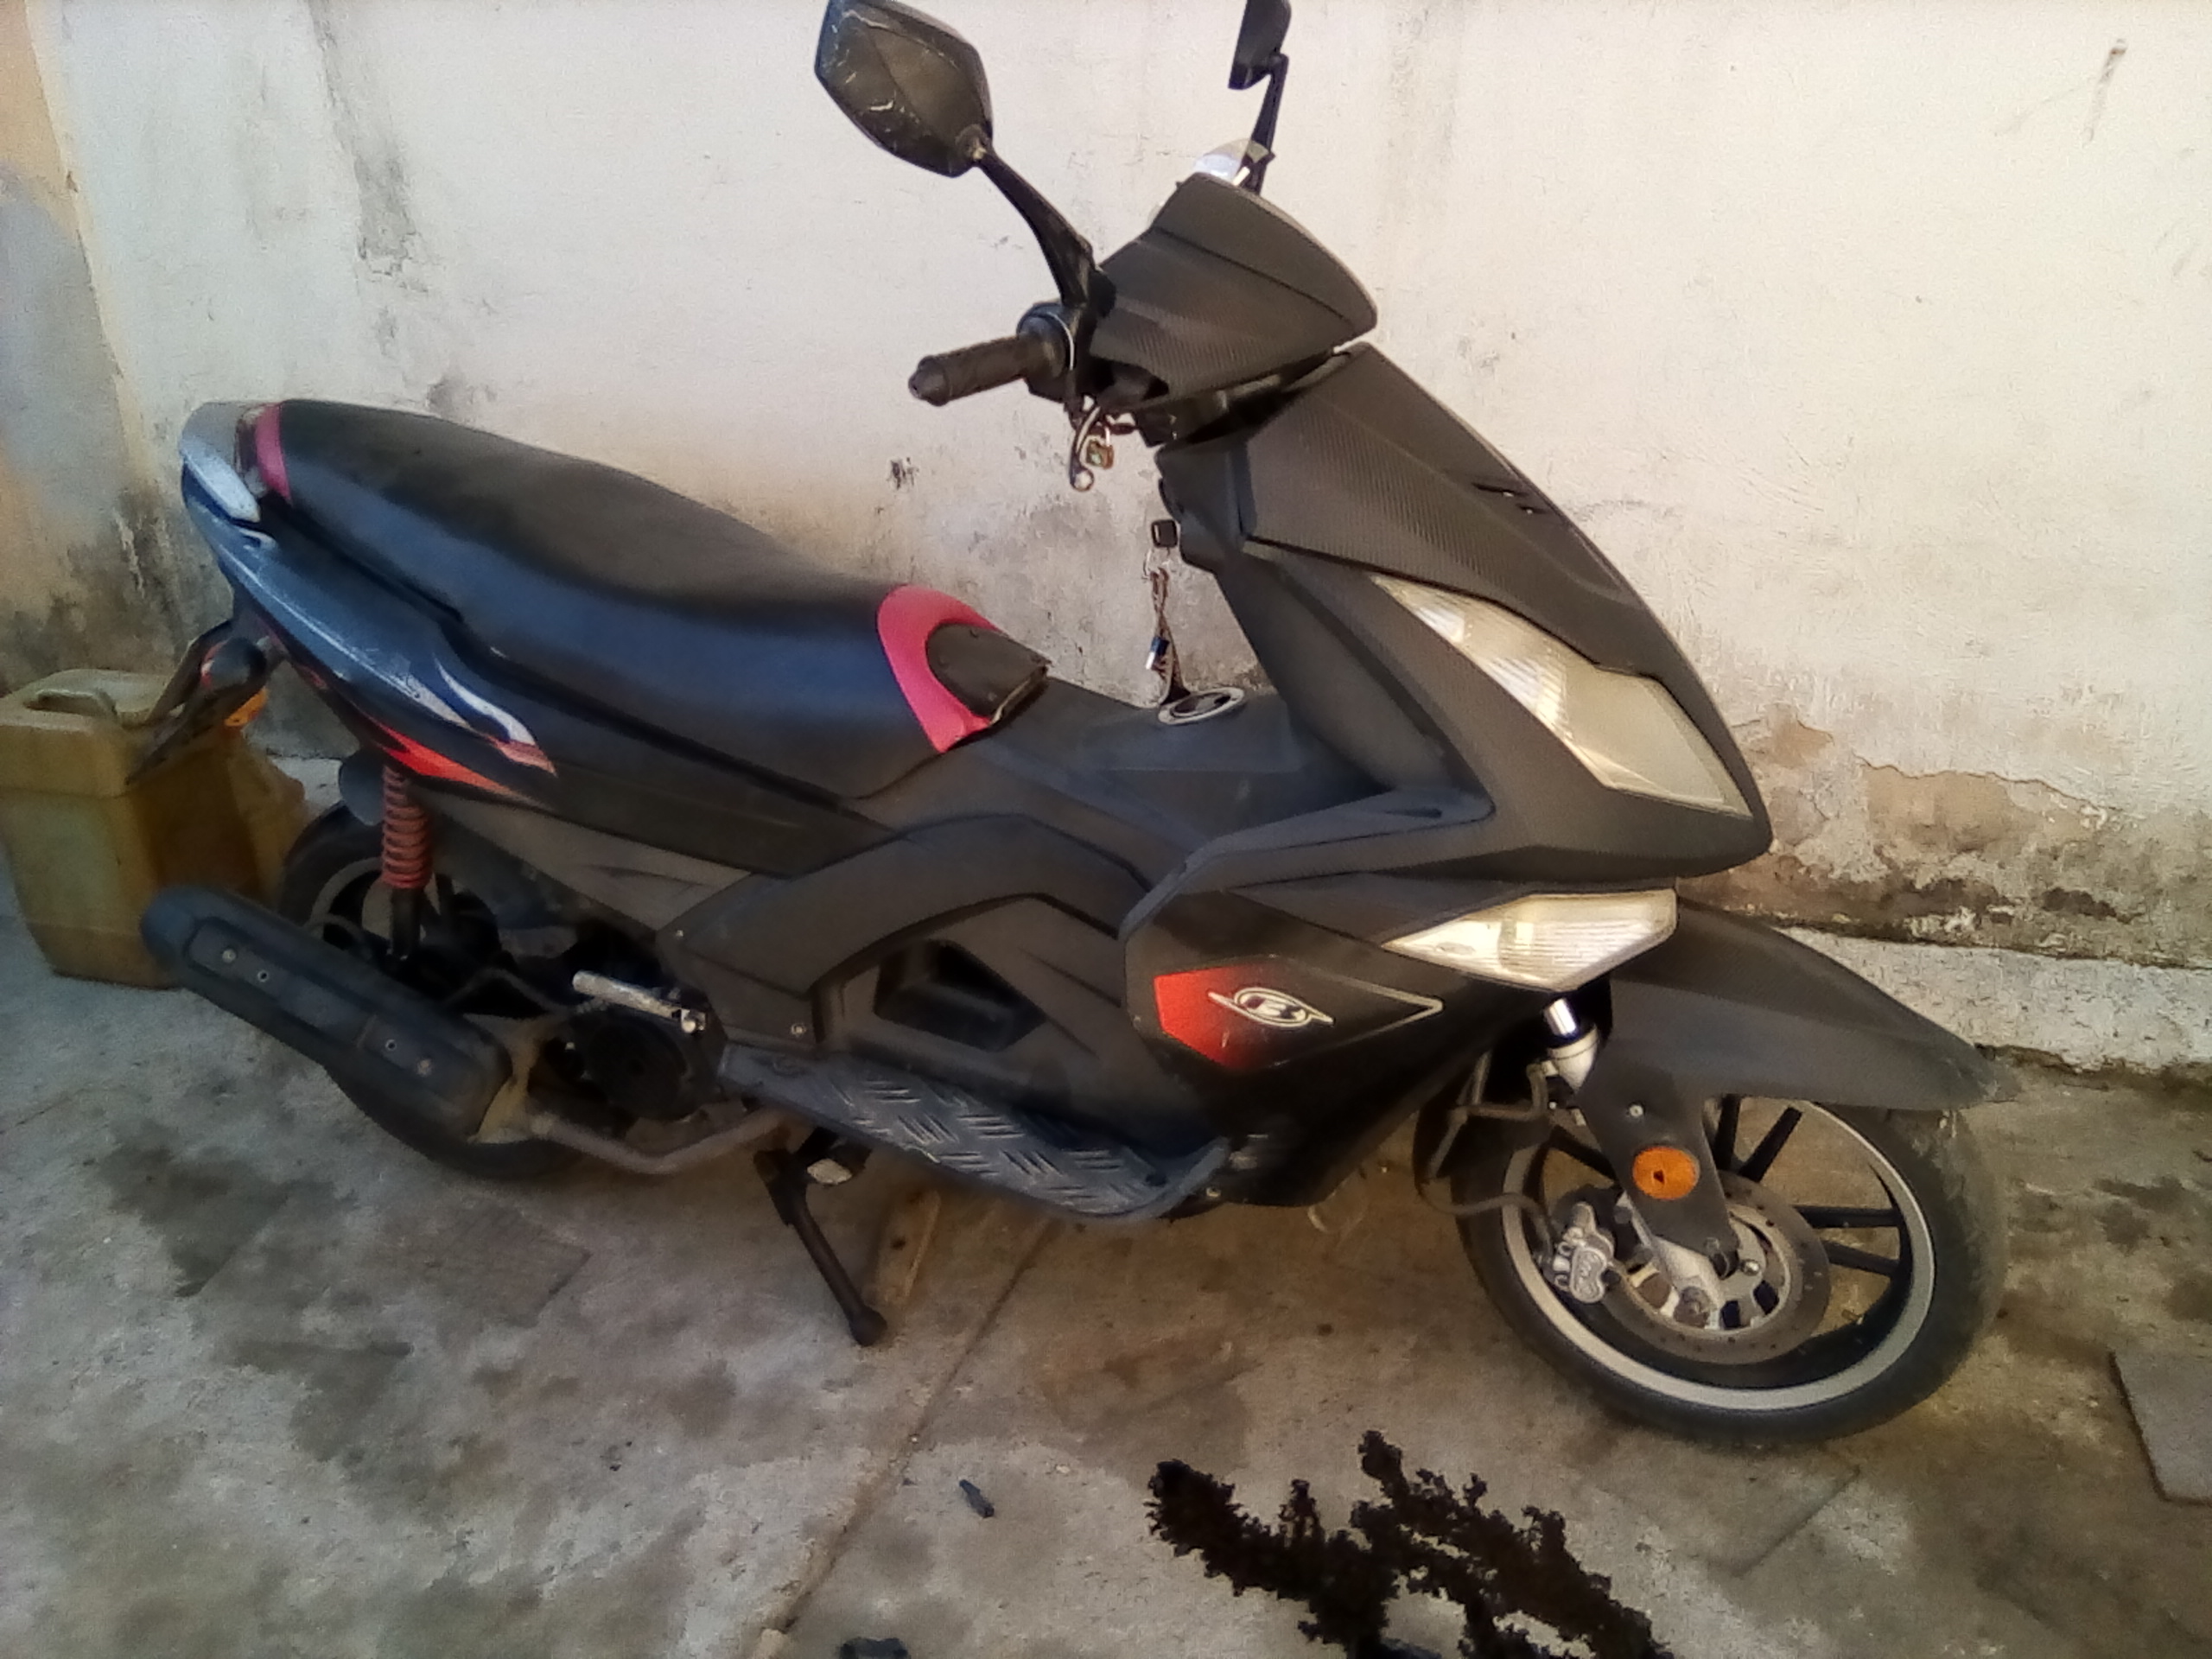
Amigos de hive ya aquí arme toda la moto para encenderla, todo esto se realizo por que la moto no prendía debido aquí la válvula de escape quedaba abierta y la moto perdía la compresión.
Friends of hive already here I put together the whole bike to start it, all this was done because the bike did not start because here the exhaust valve was open and the bike lost compression.
Buena información sobre la restauración del motor de tu moto. Saludos
saludos si cual quier inquietud me puedes preguntar por este medio