Preventive Maintenance and Replacement of the Car Brake System (Guide) [Eng-Esp] Mantenimiento Preventivo y Reemplazo en el Sistema de Freno al Carro (Guía)

Englihs Version
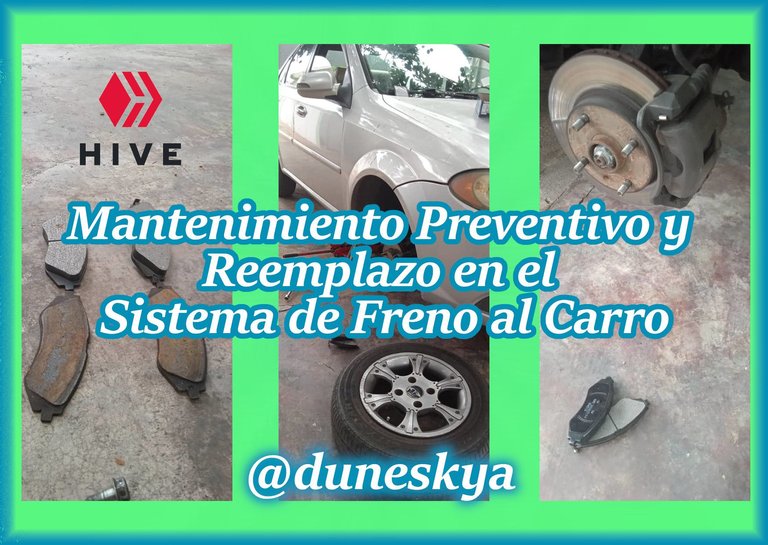
Preventive Maintenance and Replacement of the Car Brake System (Guide)
Greetings friends of hive, a pleasure to participate again in this great community, in this new post I want to share the preventive maintenance that was performed to the brake system that has the car of my family.
This preventive maintenance was performed as a precautionary measure, since it is very important to keep this system in perfect condition in order to achieve its optimum performance which is necessary to achieve the safeguard and preserve the integrity of the people who make use of the car, as well as the rest of the people who are around and in turn interact directly and indirectly with the vehicle.
Expert mechanics recommend replacing the front brake pads every 60,000 km and the rear ones every 120,000 km, but from my own experience I can tell you that the replacement time will be determined by many factors, such as, for example, the quality and brand of the pads used, the terrain traveled, the mileage traveled is another element to take into account, as well as the treatment received by the vehicle.
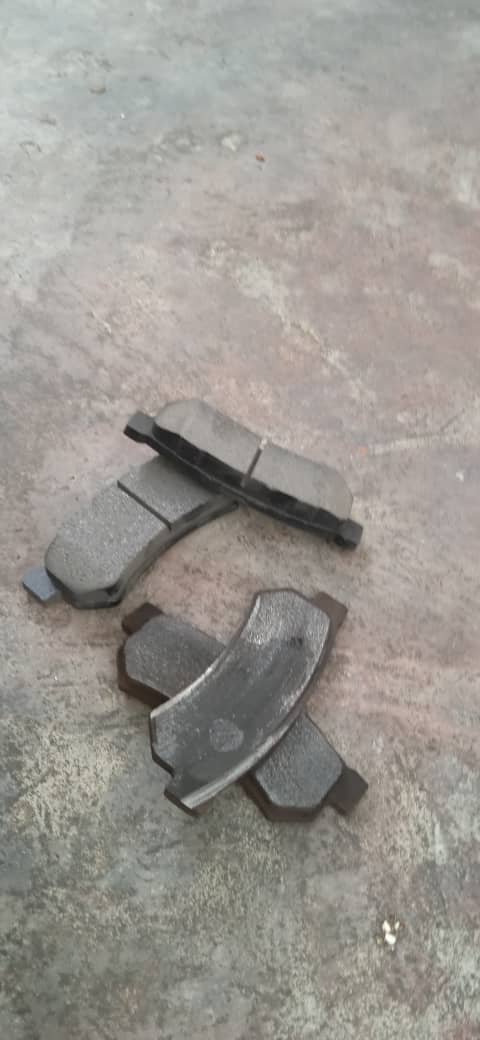
In my family we have learned that when the brake pads are already worn and they need to be replaced, at first you can hear some abnormal noises in the wheels, it is also evident that the braking quality decreases, being more irregular when you want to stop the car.
This time the replacement of the brake pads was done 06 months after the previous replacement, for this opportunity we managed to change the pads of both front wheels, as well as the two rear wheels.
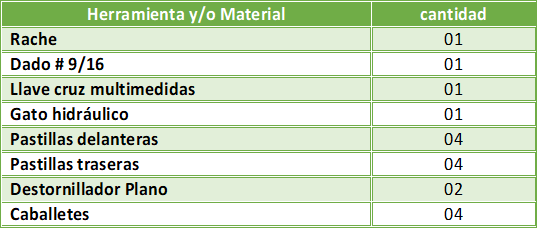
The tools and materials used were the following:
Next, I will make a summary to show you the simple way to make this replacement, which will help us to prevent accidents.
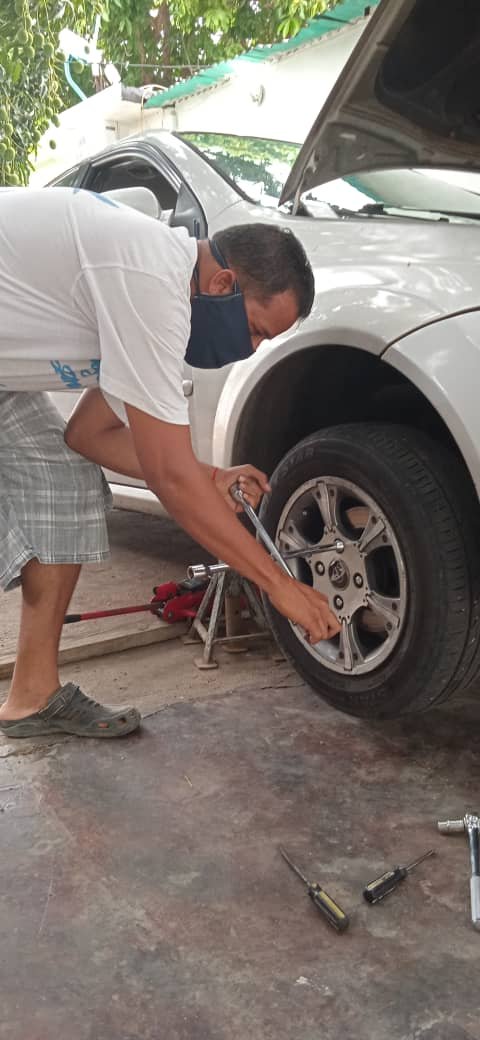
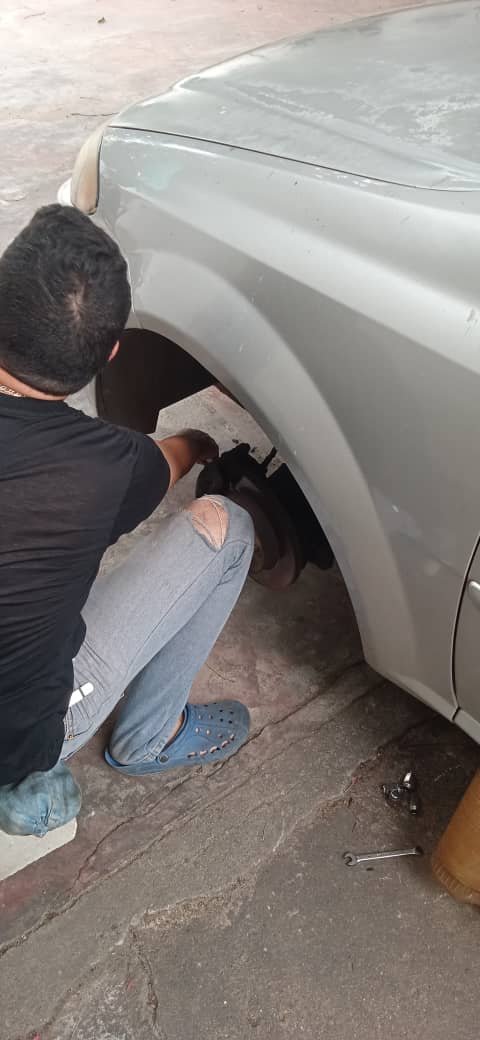
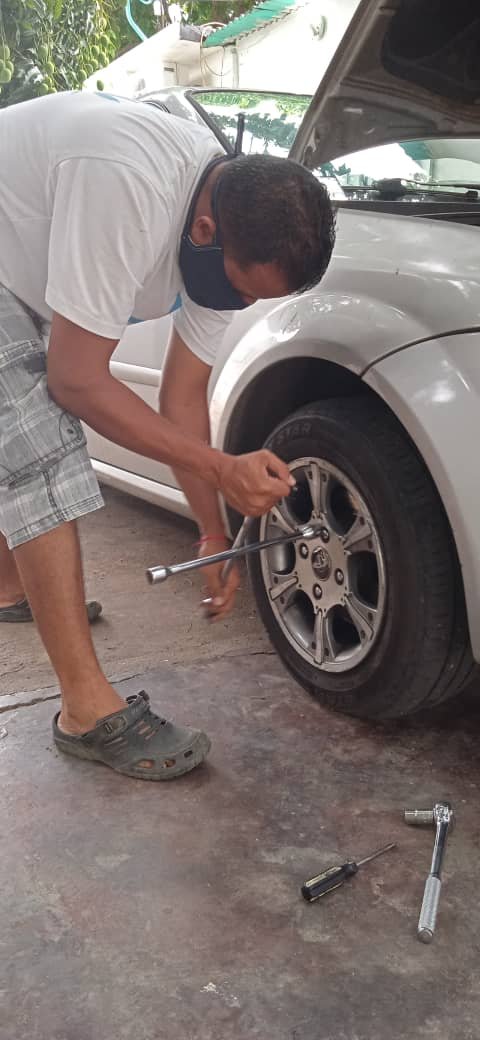
- Using the cross wrench with a multi-measuring wrench, loosen the nuts that hold the wheels, only loosen them, do not unscrew them completely.
2.With the hydraulic jack correctly positioned we raise the vehicle, commonly the cars have in the low part some sign that indicates in where the hydraulic jack must be placed.
3.We proceed to place the stand under the car so that it rests safely.
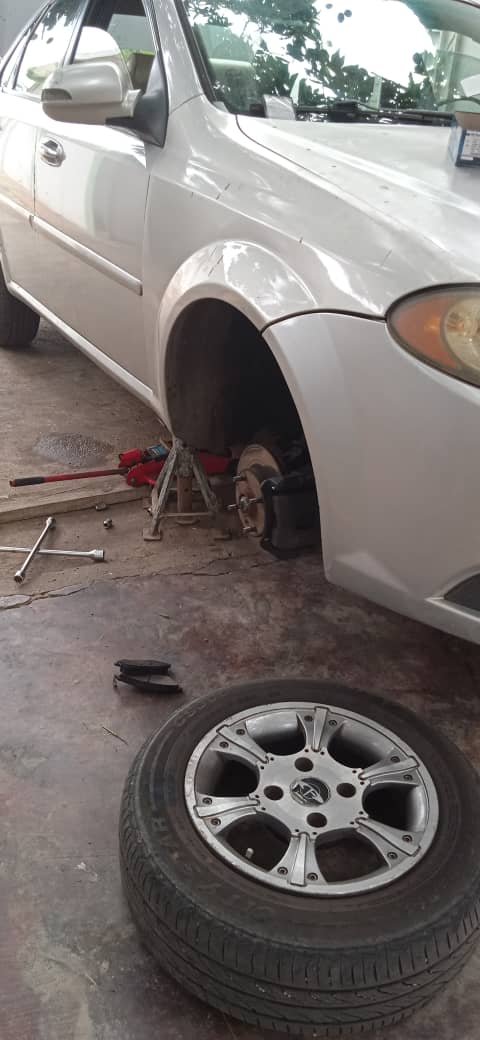
4.Once the cart is raised, the nuts are completely removed and then the wheel is extracted.
5.Using the rache in conjunction with the # 9/16 die remove the bolts that hold the clamp.
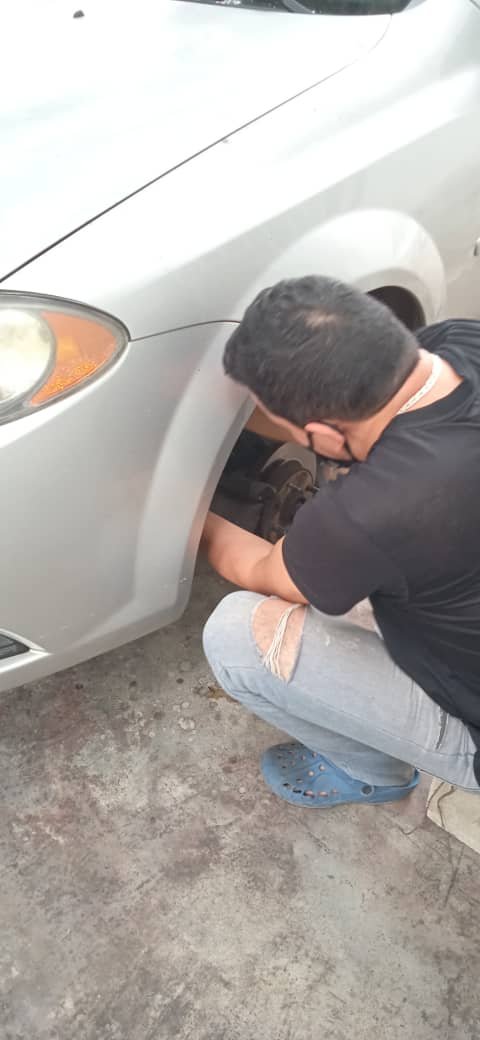
6.Once the clamp is loose, using a flat screwdriver, remove each of the pads.

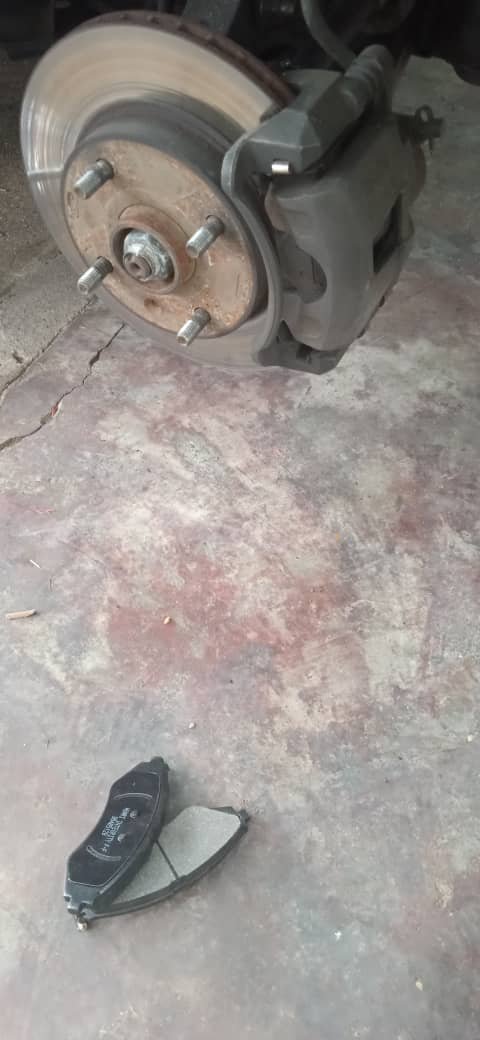
7.The new pads are placed, using the two flat screwdrivers we apply some force between both pads to open some space and facilitate the installation.
8.Install the clamp again, using the rache in conjunction with the #9/16 die, tighten the screws that hold the clamp.
9.We proceed to place the wheel, making sure that each hole fits the studs.
10.We screw the nuts with the multimeasured cross type wrench.
11.We use the hydraulic jack to raise the carriage a little.
12.Remove the stand that is located underneath the carriage.
13.We proceed to put the trolley on the ground and remove the hydraulic jack.
14.We use the multi-size cross wrench to tighten the nuts that hold the wheels.
Note: All this procedure must be done on each of the wheels in order to achieve the necessary replacement.
Remember friends of Hive that we must constantly check the condition of the brake system as this influences to avoid accidents, scares and bad experiences.
Since English is not my native language, I used the fabulous deepl.com portal.
Translated with www.DeepL.com/Translator (free version)
Versión Español
Mantenimiento Preventivo y Reemplazo en el Sistema de Freno al Carro (Guía)
Saludos amigos de hive, un placer participar nuevamente en esta gran comunidad, en este nuevo post les quiero compartir el mantenimiento preventivo que se le realizo al sistema de freno que posee el carro de mi familia.
Este mantenimiento preventivo fue realizado como medida de precaución, ya que es muy importante el mantener este sistema en perfectas condiciones para así lograr su optimo funcionamiento el cual es necesario para alcanzar el resguardo y conservar la integridad de las personas que hacen uso del carro, así como también del resto de las personas que se encuentran a su alrededor y a su vez interactúan de forma directa e indirecta con el vehículo.
Expertos mecánicos recomiendan reemplazar las pastillas de freno delanteras cada 60.000 km y las traseras cada 120.000 km., pero por experiencia propia les puedo decir que el tiempo de reemplazo va a estar determinado por muchos factores, como, por ejemplo, la calidad y marca de las pastillas usadas, también influye el terreno transitado, el kilometraje recorrido es otro elemento a tomar en cuenta, así como también el trato que recibe el vehículo.
En mi familia hemos aprendido que cuando las pastillas de freno ya tienen desgastes y estas ameritan un reemplazo, en un principio se puede lograr escuchar unos ruidos anormales en las ruedas, también se evidencia que la calidad del frenado disminuye, siendo mas irregular a la hora de querer detener el carro.
En esta ocasión el reemplazo de las pastillas de freno se realizo pasado ya 06 meses del reemplazo anterior, para esta oportunidad se logro cambiar las pastillas tanto de las dos ruedas delanteras, así como también de las dos ruedas traseras.
Las herramientas y materiales usadas fueron los siguientes:
A continuación, les hare un resumen para mostrarle la forma sencilla que es realizar este reemplazo, lo cual nos ayudara a prevenir accidentes.
1.Haciendo uso de la llave tipo cruz con multimedidas, se afloja las tuercas que sujetan las ruedas, solo se aflojan no se desenroscan totalmente.
2.Con el gato hidráulico correctamente posicionado elevamos el vehículo, comúnmente los carros tienen en la parte baja alguna que señal que indica en donde debe ir colocado el gato hidráulico.
3.Se procede a colocar el caballete debajo del carro para así lograr que este repose de manera segura.
4.Una vez que el carro este elevado, se retiran totalmente las tuercas y seguido se extrae la rueda.
5.Utilizando el rache en conjunto con el dado # 9/16 retiramos los tornillos que sujetan la mordaza.
6.Una vez estando la mordaza suelta utilizando un destornillador plano, retiramos cada una de las pastillas.
7.Se colocan las nuevas pastillas, utilizando los dos destornilladores planos se aplica algo de fuerza entre ambas pastillas para así abrir un poco de espacio y facilitar la instalación.
8.Se instala la mordaza nuevamente, haciendo uso del rache en conjunto con el dado # 9/16 se aprietan los tornillos que sujetan la mordaza.
9.Procedemos a colocar la rueda, asesorándonos que cada hueco calce en los espárragos.
10.Con la llave tipo cruz multimedidas se enroscan las tuercas.
11.Utilizamos el gato hidráulico para elevar un poco el carro.
12.Se retira el caballete que esta situado debajo del carro.
13.Se procede poner el carro en el suelo y retirar el gato hidráulico.
14.Utilizamos la llave tipo cruz multimedidas para apretar fuertemente las tuercas que sujetan las ruedas.
Nota: Todo este procedimiento se debe hacer en cada una de las ruedas para así lograr el reemplazo necesario.
Recuerden amigos de Hive que debemos chequear constantemente el estado en el se encuentra el sistema de freno ya que este influye para evitar accidentes, sustos y malas experiencias.
greetings from my mechanic from aceh
hola amiga, muy buena información sobre este tipo de mantenimiento.
saludos