EN - ES🔧😎🛵DIY : Giving love to the engine of our "Gloria" motorcycle.🛵😎🔧
Hi hivers - Hola hivers
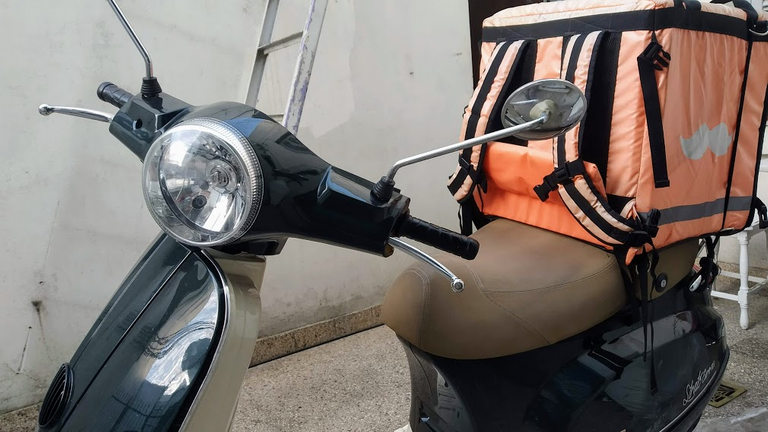
How is my beloved Hive community doing? I hope everything is very good for you, this is my first post in this community @hivemotors and I am really excited to show you a step by step on how to change the motor oil in a motorcycle, in this case a motomel brand, strato euro model However, the process is similar on other motorcycles.
.
Although in this case it is not me who is doing the process, having a boyfriend who likes mechanics a lot has helped me learn many things about it, which is a very positive aspect because I feel capable of solving almost any situation if I am alone with the motorcycle.
¿Cómo se encuentra mi querida comunidad de Hive? espero que todo este muy bien para ustedes, esta es mi primera publicación en esta comunidad @hivemotors y estoy realmente emocionada por mostrarles un paso a paso de como cambiar el aceite de motor en una moto, en este caso una marca motomel, modelo strato euro, sin embargo el proceso es similar en otras motos.
Aunque en este caso no soy yo quien esta haciendo el proceso, tener un novio que le gusta mucho la mecánica me ha ayudado a aprender muchas cosas al respecto, lo cual es un aspecto muy positivo porque me siento capaz de resolver casi cualquier situación si estoy sola con la moto.
Materiales:
LLave Criket
un envase plastico de refresco
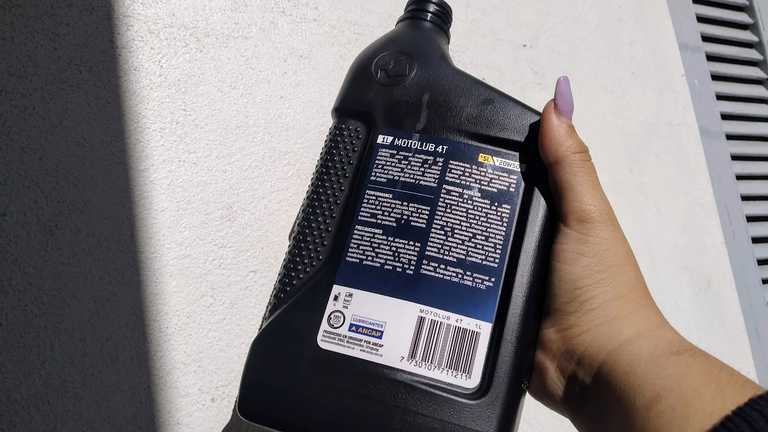
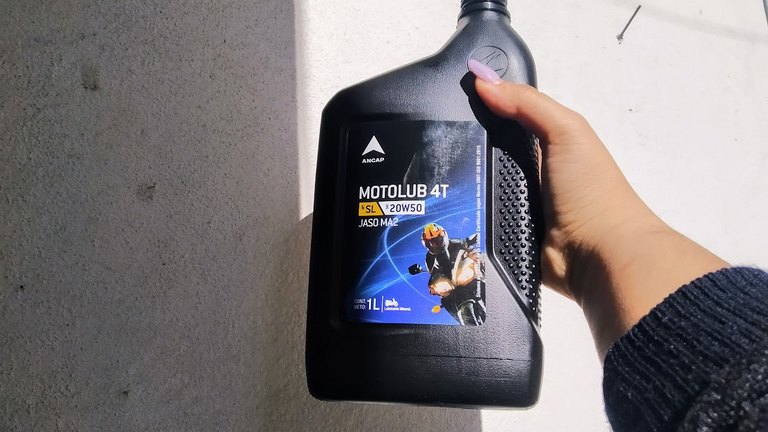
1 litro de aceite de motor (en este caso 20w50)
un embudo
un pañito para limpiar
Opcional: carton y plastico
Materials:
Key Criket
a plastic container of soda
1 liter of motor oil (in this case 20w50)
a funnel
a cloth to clean
Optional: cardboard and plastic
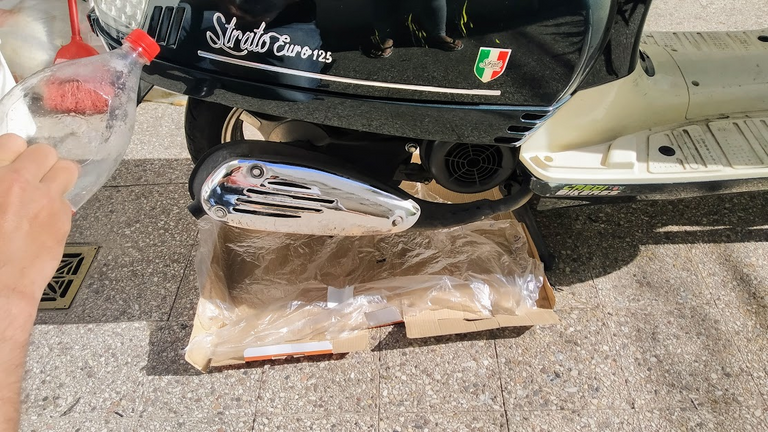
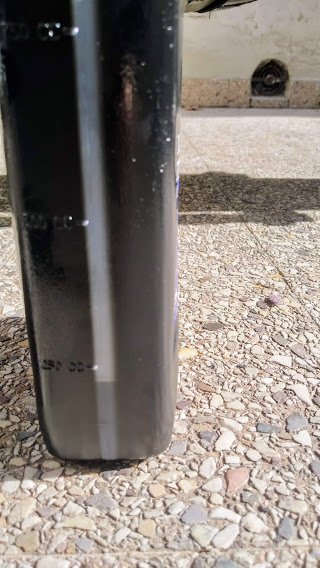
The first step to change the oil is to use the central support or the donkey of the motorcycle so that it is straight and gives it a little more height to be able to maneuver under it, then I recommend placing a cardboard or plastic under the motorcycle to avoid staining the floor with any excess old oil that may spill.
El primer paso para hacer el cambio de aceite es utilizar el soporte central o el burro de la moto para que quede derecha y le de un poco mas de altura para poder maniobrar bajo de ella, luego recomiendo colocar un cartón o un plástico bajo la moto para evitar manchar el piso con cualquier excedente de aceite viejo que se pueda derramar.
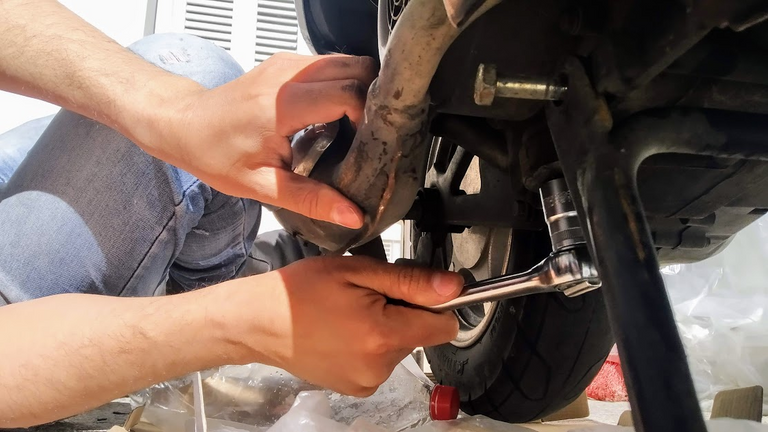
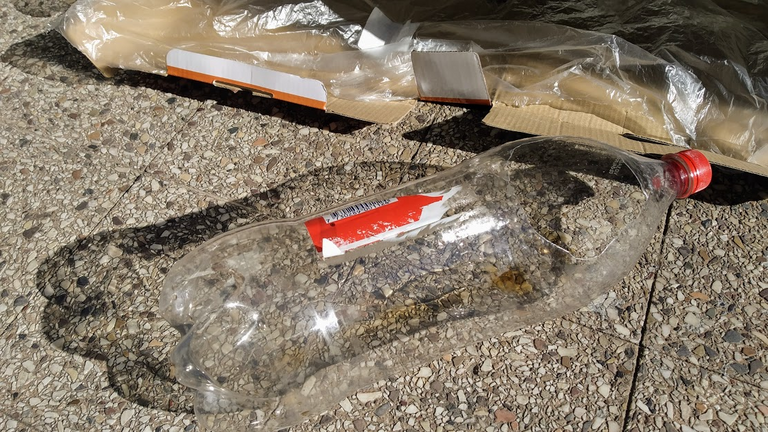
The second step is to open the plastic container on one side making a medium circle, when it is ready, we continue using the cricket wrench to loosen the engine oil drain screw, there we place the container underneath at the same height as the screw and We finish loosening by hand by removing the three pieces that are in that area.
El segundo paso es abrir por un costado el envase de plástico haciendo un círculo mediano, cuando este quede listo, continuamos usando la llave cricket para aflojar en tornillo del drenaje del aceite del motor, allí colocamos el envase debajo a la misma altura del tornillo y terminamos de aflojar con la mano retirando las tres piezas que se encuentran en esa área.
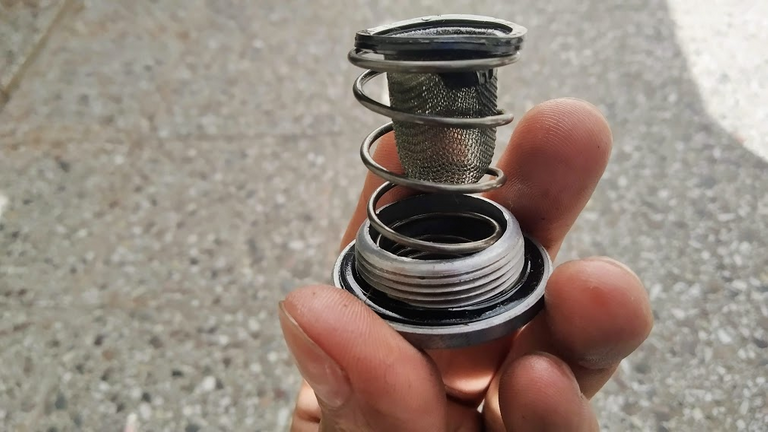
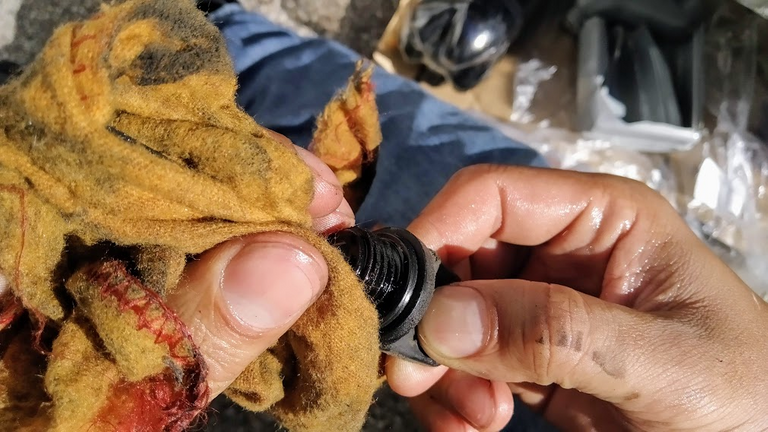
The third step consists of cleaning the three pieces that would have excess burned oil, and through the hole where the oil is poured (the one with the oil dipstick) we pour in a little new oil to drain the excess burned oil. that may have fallen by the wayside.
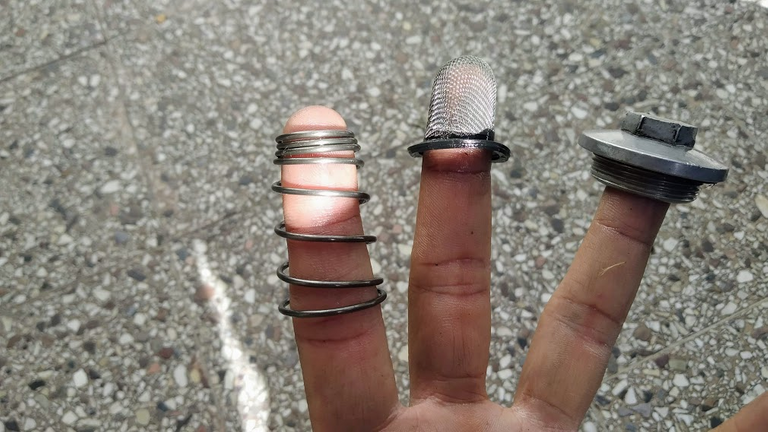
Then we organize the three previously cleaned pieces that would be the screw, the filter and the spring in the order that you see in the photo that would be the spring on the inside of the screw and the filter on the top.
El tercer paso consiste en limpiar las tres piezas que tendrian excedentes de aceite quemado, y por el orificio donde se vierte el aceite (el que tiene la varilla de medir el aceite) vertemos un poco de aceite nuevo para que drene el excedente de aceite quemado que pueda haber quedado en el camino.
Luego organizamos las tres piezas previamente limpiadas que serian el tornillo, el filtro y el resorte en el orden que se ve en la foto que seria el resorte en la parte interna del tornillo y el filtro en el tope.
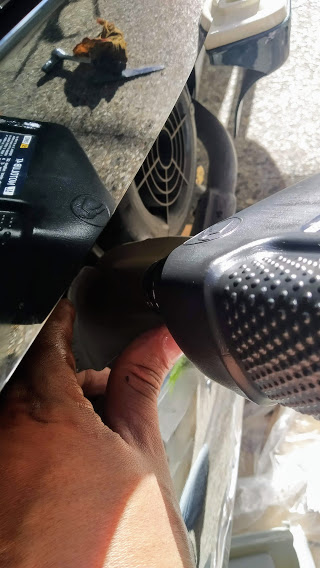
The fourth step consists of placing the pieces in the drain only when it has finished draining and with the cricket wrench, which would be used in the opposite direction, tighten the screw well so that it does not leak or worse, it can loosen with vibrations. from the streets.
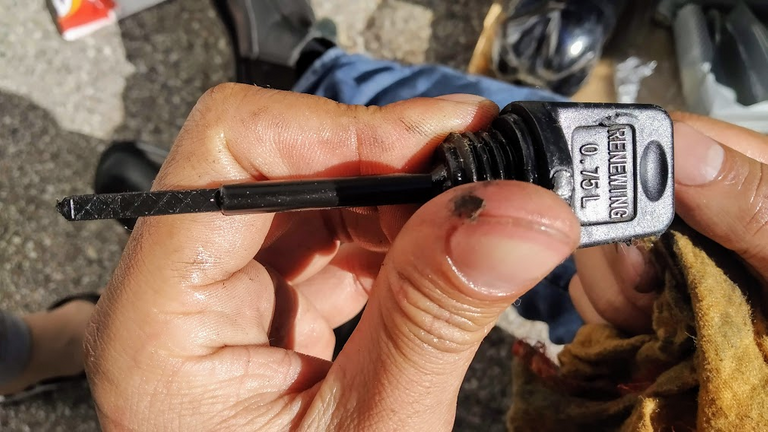
In the cap of the oil dipstick, your motorcycle must indicate the amount necessary for your motorcycle, but in our case it is 750 ml, again with the help of the pipe (ours is made at home) we pour that amount, and then when this settles with the help of the measuring rod that everything has been correct.
El cuarto paso consiste en colocar las piezas en el drenaje solo cuando ya haya terminado de drenar y con la llave cricket, que se usaria en es sentido contrario apretar bien el tornillo para que no quede con fugas o peor aun se pueda aflojar con las vibraciones de las calles.
En el tapon del la varilla del aceite su moto debe indicarle cual es la cantidad necesaria para su moto, pero en nuestro caso se trata de 750 ml, nuevamente con la ayuda del enbudo (el de nosotros es hecho en casa) vertemos dicha cantidad, y luego cuando este se asiente con la ayuda de la varilla medimos que haya quedado todo correcto.
We seal the oil gauge and that's it, our motorcycle will be very happy to have clean oil, so we prevent the previous burned from sticking to the walls of the engine and we maintain a beautiful and healthy motorcycle!
Please do not mix the burned engine oil with the water or dispose of it through the pipes because it is highly polluting, the plastic container can be wrapped in cardboard and the protective plastic placed in a bag and thrown in the garbage container.
Sellamos el medidor de aceite y listo nuestra moto estará muy feliz de tener aceite limpio, asi evitamos que el anterior quemado se quede pegado a las paredes del motor y mantenemos una moto linda y saludable!
No mezcles por favor el aceite quemado del motor con el agua ni lo deseches por las tuberias porque es altamente contaminante, el envase plastico puedes envolverlo en el carton y el plastico protector colocarlo en una bolsa y tirarlo en el contenedor de basura.
🔧😎🛵 HASTA LA VISTA BABY 🛵😎🔧
Esto ha sido todo por hoy, si te gusta lo que hago, siente libertad de ayudarme a seguir
This has been all for today, if you like what I do, feel free to help me continue
Δ
https://www.paypal.me/carlagonz
Δ
El ingles no es mi idioma natal, me ayudo de traductores para realizar estos post
Todas las fotos son de mi propiedad tomadas con Xiaomi redmi 7
English it is not my native language, I help myself with translators to make these posts
All photos are my property taken with Xiaomi redmi 7

Muchas gracias por leer
Ten un bonito y feliz día
Con amor Carla Gonzalez Venezolana en Uruguay
Thanks so much for reading
Have a nice and happy day
With love Carla Gonzalez Venezolana in Uruguay
 ❤️
❤️ ❤️
❤️ ❤️
❤️ ❤️
❤️

@tipu curate
Upvoted 👌 (Mana: 11/22) Liquid rewards.
Thanks for read My post ✌️🛵
🤗
Oye es bastante interesante tu post. Aunque yo no sepa mucho sobre motores 😅
pues aquí puedes aprender siempre es bueno saber este tipo de cosas, saludos !!
Hola bienvenida a la comunidad, está muy bien detallado tú publicación, a pesar de que es un cambio de aceite que es un trabajo rápido hicieron muy bien el paso a paso, para que así otros puedan aprender.
es cierto es un trabajo super rápido pero trate de no perder ningún detalle, es increíble que la gente pague por esto siendo algo tan sencillo, saludos!!
Así es, todos deberían aprenderlo, pero le quitaríamos el trabajo a otros jeje
buen punto
¡Welcome to Hive Motors!
Thanks !!🛵✌️