Building a guitar body, part 4
Hello, and welcome to my page!
After having put this project to the side for a while due to a lack of time for it, I finally got back to work on this guitar body project in September. The last post I wrote about this project was roughly 2 months ago. The link for that post is here.
https://steemit.com/guitar/@amberyooper/building-a-guitar-body-part-3
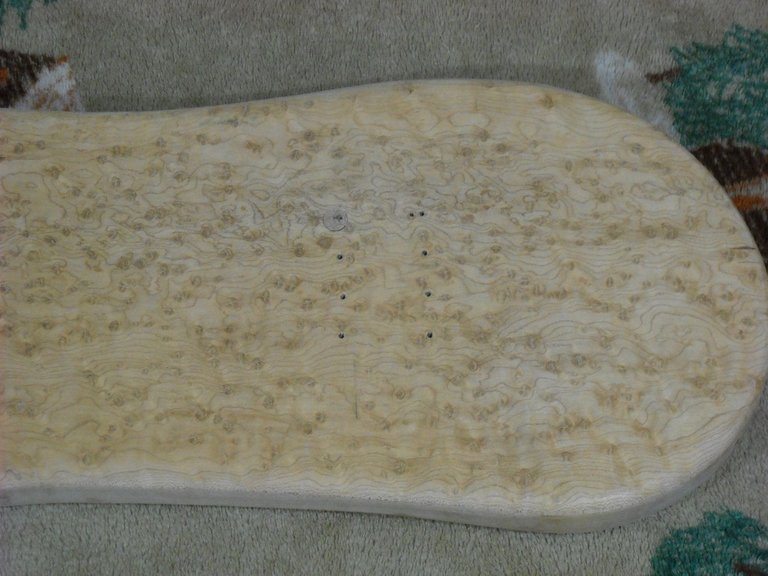
At that time, I had gotten the router work done for the pocket for the neck to fit into. It sat that way for a while because of other things that I needed to take care of. When I got back to the project, the first thing that I needed to do was to figure out how to drill the holes through the body for the neck screws. The neck already had the screw holes in it, so I had to find a way to drill holes in the body that would match the holes in the neck. I decided to make a template for the holes using a piece of stiff paperboard and tracing out the hole positions on the neck. Using that pattern, I drilled the holes through the body using my drill press to try to get the holes straight through instead of tilted from using a hand drill.
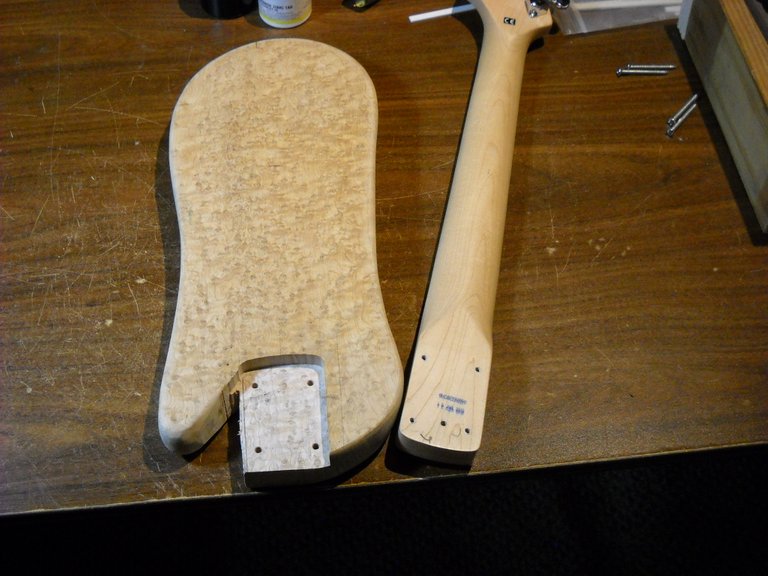
That worked out pretty well, I had to enlarge the holes slightly so the screws would fit through better, and I had to enlarge 1 hole slightly more because it was slightly out of position. The end result was that I was able to mount the neck on the body using a standard Fender guitar neck mounting plate for the Stratocaster type guitars.
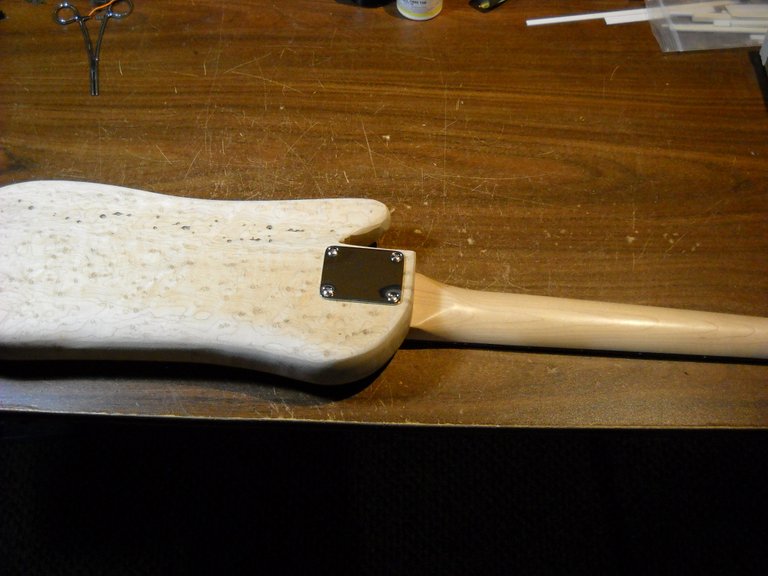
T still need to do some shaping work in the cutaway area next to the neck to remove the extra wood and smooth out the cutaway area. I'll do that as part of the finishing work on the body
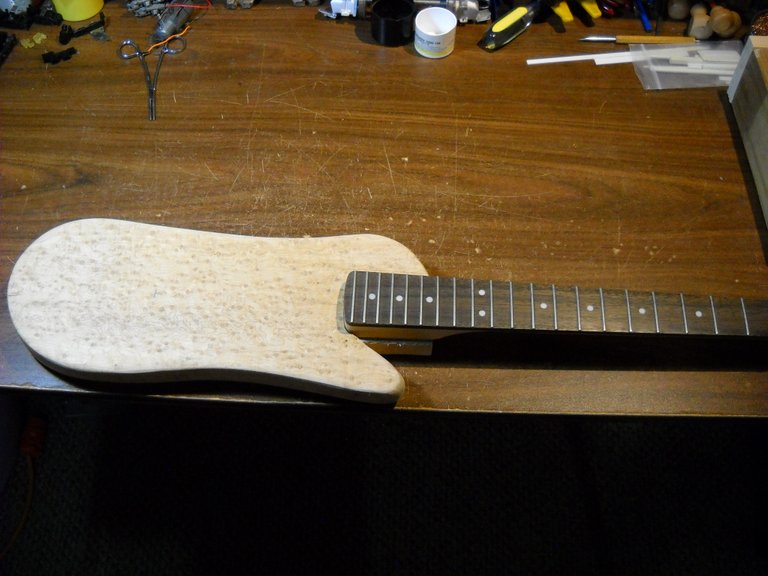
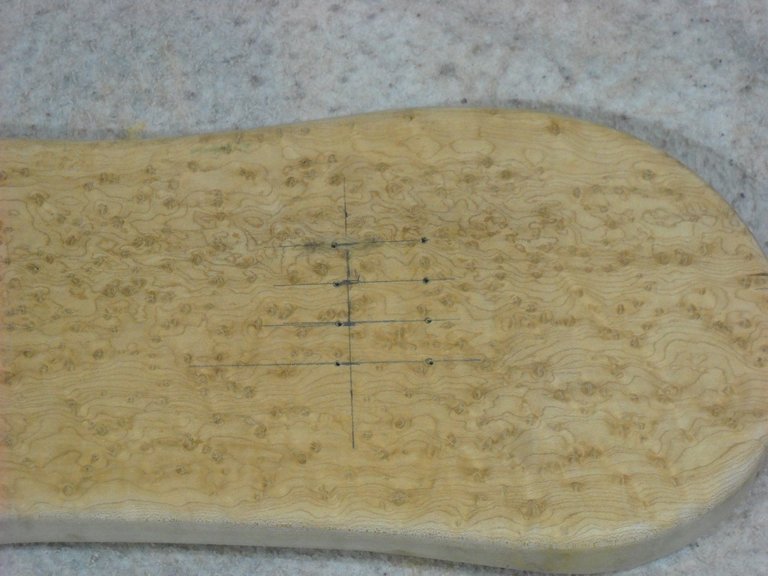
The next thing to do after mounting the neck is to figure out where to mount the bridge for the strings. A quick search on the internet told me that the distance from the neck nut to the 12th fret on the neck is the same as the distance from the 12th fret to where the strings rest on the bridge for proper fine tuning of the bridge. I had ordered 4 individual bridge pieces so that I could set the spacing between the strings the way that I wanted them. The strings on a baritone ukulele, or 4 string guitar, are further apart than on a 6 string guitar, so I couldn't use a standard guitar bridge. Also, the string spacing on a bass guitar is too wide for the 4 string guitar, so the individual bridge pieces were the best way to set up the string spacing. I did a basic measurement for the position of the bridge, and sat the bridge pieces on the body to see what it looked like.
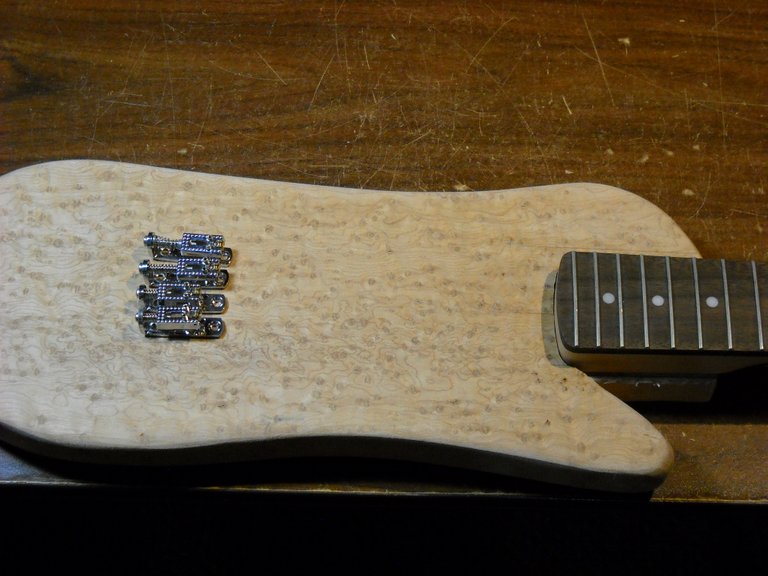
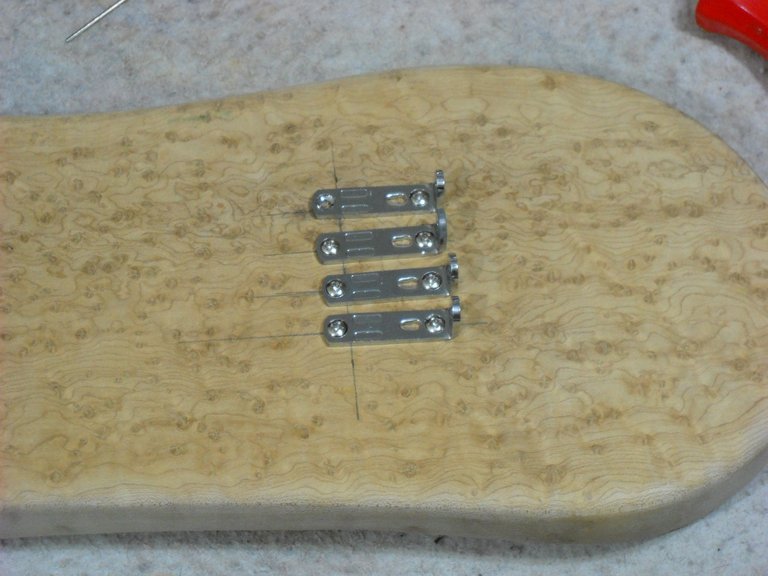
After taking a look at the basic setup, I used a metal yardstick to mark out the positions of the bridge pieces to prepare for marking the holes for the mounting screws. I took the bridge pieces apart so that I could use them to mark the mounting holes, and then drilled the holes. The line across all 4 hole sets is where the strings will sit on the bridge pieces.
Once that was done, I mounted the bridge piece frames. While mounting the 4th bridge piece, I hit an extra hard spot in the wood and broke off the screw right at the surface of the wood.
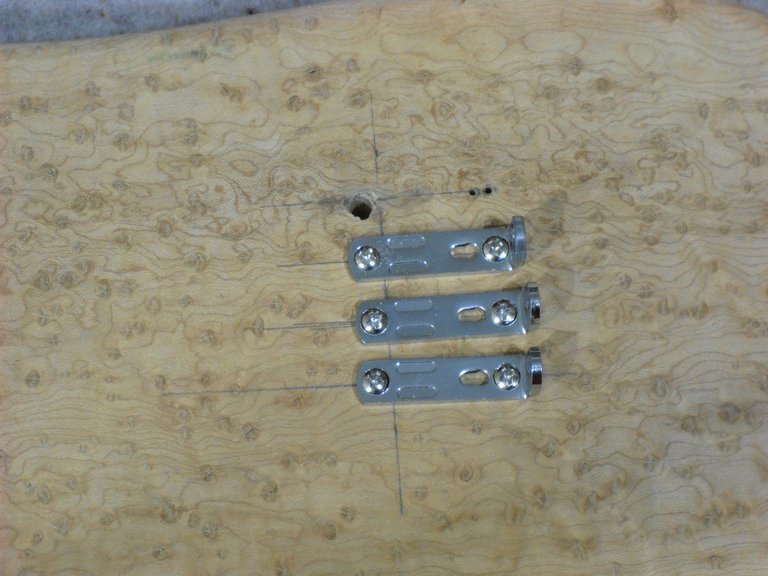
I tried to move the bridge position slightly forward by drilling new holes, but I broke a second screw in the same area. That screw broke off with enough sticking out of the wood that I was able to remove it with the pliers. The other screw was still in the body because I had no way to grab it to remove it. I finally had to drill 3 holes next to the broken screw so that I could push it sideways just enough to loosen it up, and then I was able to use 2 of the holes to grab the screw with needle nose pliers and work it out. Of course, this left a larger hole that had to be repaired before I would be able to mount the 4th bridge piece.
I repaired the hole by drilling it out to the proper size for a hardwood dowel that I had, marking the dowel for the depth of the hole, cutting off the dowel, and gluing it into the hole with Titebond 2, a good quality wood glue.
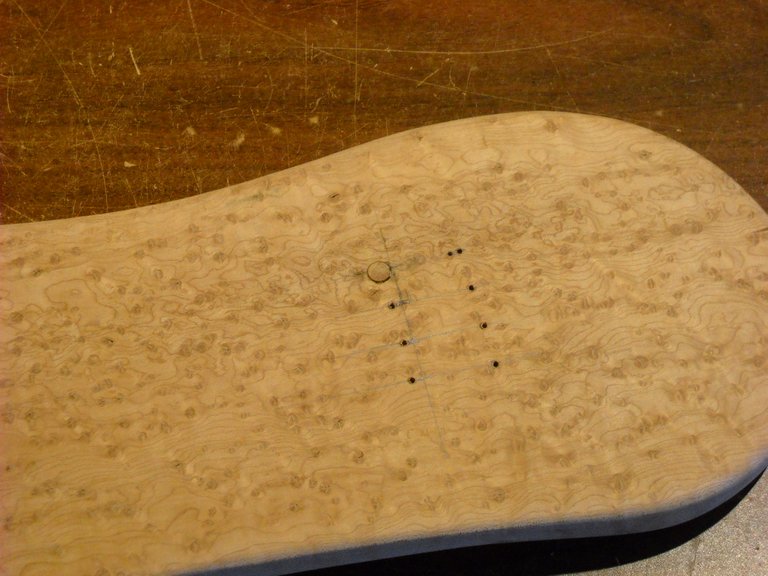
The next thing to do was to sand the dowel down to level with the top of the body. I also cleaned up the pencil marks with the orbital sander. Then I used the bridge piece to mark the location of the hole that I had to drill into the dowel to fasten the bridge piece down.
The repair job isn't perfect, but it was the best way that I could come up with to solve the problem of the broken screw, and it's removal. I test fitted the bridge piece to make sure that the screw hole was in the proper place, and then removed it again. I'll need to have the bridge pieces not on the body for the next step in this process, which will be using the router to make the pocket for the electric pickup. I'm planning on having 1 pickup on this body, and I'll mount it about halfway between the bridge and the bottom of the neck. I also have to figure out where I'm going to mount the volume and tone controls, and the jack to plug the cord into. Hopefully I'll be able to route the pocket for the pickup when we get our next break in the weather. I have a few ideas for where to put the controls, but I haven't decided on a specific plan for that yet. Hopefully I'll have that covered in the next part of this series of posts.
That's all I have for this post, thanks for stopping by to check it out!


This post was shared in the Curation Collective Discord community for curators, and upvoted and resteemed by the @c-squared community account after manual review.
@c-squared runs a community witness. Please consider using one of your witness votes on us here
Is there no end to your talent?
Posted using Partiko Android
Well, I'm sure there is somewhere...LOL
Jack of all trades, master of none...
So what kind of pickups have you decided on? Humbuckers or going with the traditional single coils for this guitar?
Posted using Partiko Android
I have a small humbucker pickup for this project. I had originally bought the pickup to replace one of the single coils in my Squire Stratocaster, but I decided to use it for this instead. It's basically the same size as a single coil pickup, but it has 2 narrow coils in it, and bar magnets instead of pole pieces.
Manually curated by the Qurator Team. Keep up the good work!
I love how this project is coming along. Keep us posted, I can't wait to hear the finished product.
Thanks!
I'm hoping to get the router work done this coming week, we're supposed to have several days of dry weather coming up.
Cool i was wondering where this project left off. Putting 4 strings on a six stringer neck might be a bit tricky, probably need to cut a custom nut and put a string t to keep it spaced properly.
Posted using Partiko Android
I cut new slots in the nut for the 2 middle strings and I'm leaving the 2 outer strings in the outer slots for now. If that doesn't work out very well, I have a blank nut to use to reposition the strings. One thing about using this short scale neck is that I can have wider string spacing than what you have on a regular guitar. That's more typical of the baritone ukulele. I find it easier to play the ukulele because of the wider string spacing, I don't mute the string next to the one I'm holding down that way.
Are you tuning it like a uke?
Posted using Partiko Android
This will be tuned like a baritone ukulele, basically the 4 thinner strings on a guitar.
D, G, B, E
How short is the scale on the neck?
Posted using Partiko Android
The neck has 20 frets, and it's 15 and 5/8ths inches from the nut to the 20th fret.
It's about 2 inches shorter from the nut to the 20th fret on my Squire Strat neck. The Squire Strat neck has 22 frets, so it's even longer than the 2 inch difference to the 20th fret.
Its AWESOME!
That is a nice looking piece of maple. Any ideas for how you are going to finish it? Also, do you already have a pickup? Or were you planning on whipping one up as well? Good to see you are still at it, Amber. Hope you are doing well!
Hey, it's good to see you again!
I'm not sure about the finish yet, but I was thinking about a clear finish so you can see the birds eye figure. As for the pickup, I'm going to use a double coil pickup on it. Nothing too fancy, but I don't want the hum you get from a single coil.