Prepared, Transplanted, and Strung Up the Cherry Tomato Garden
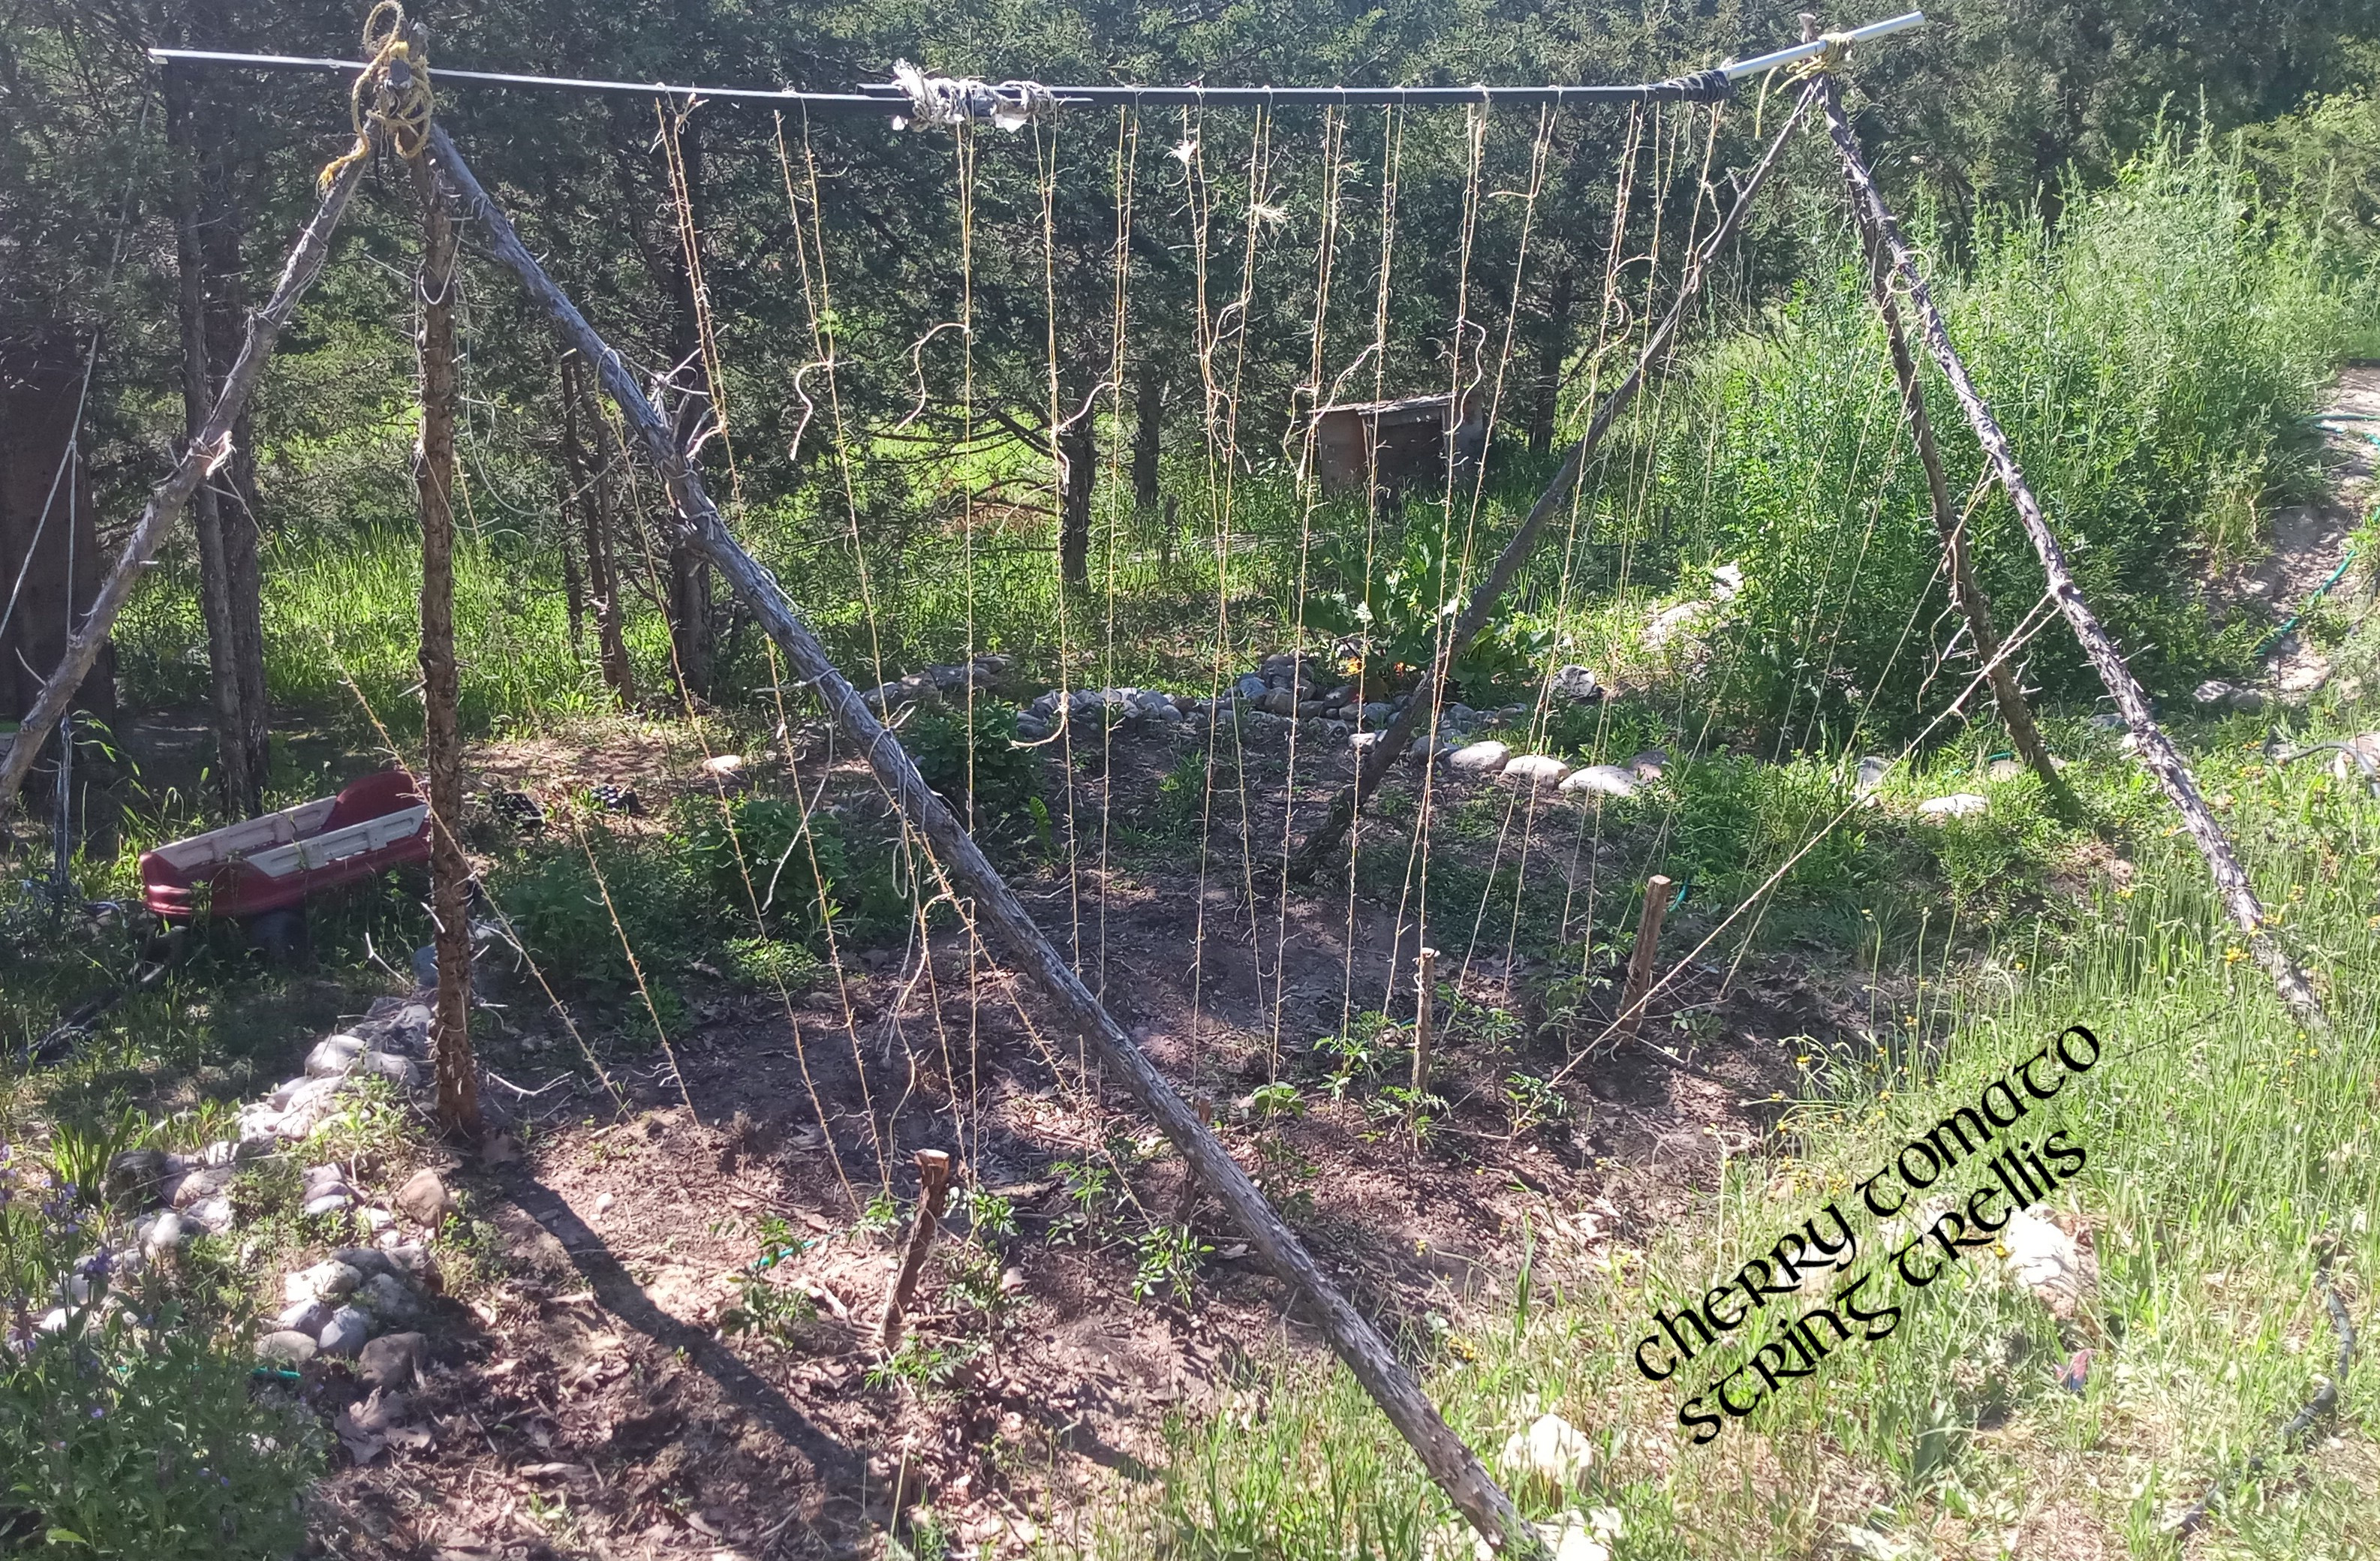
Over the past couple of weeks, I've been preparing, transplanting, pampering, and stringing up the cherry tomato garden. These cherry tomato plants will be grown up strings attached to the trellis - for maximizing the per square foot production, and for ease of harvest and maintenance.
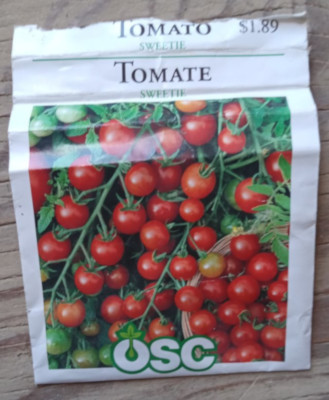
Sweetie Cherry Tomato
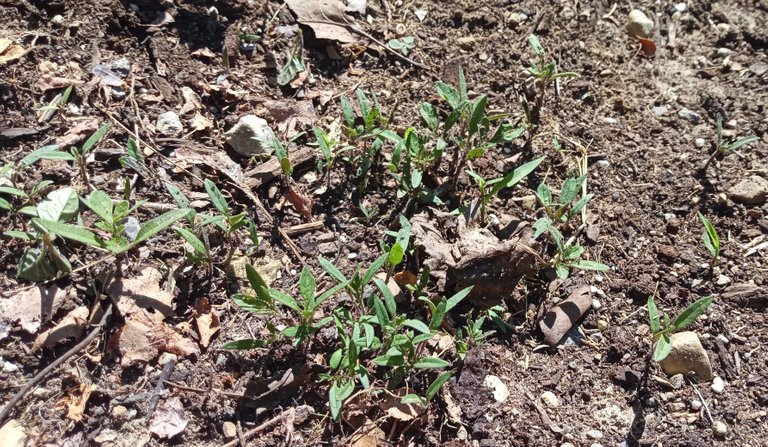
I'm growing Sweetie cherry tomatoes in this garden. I'm saving seeds from the harvest this year, for next year's garden. You can see the seedlings that I found that had popped up from a forgotten tomato.
 |  |
|---|
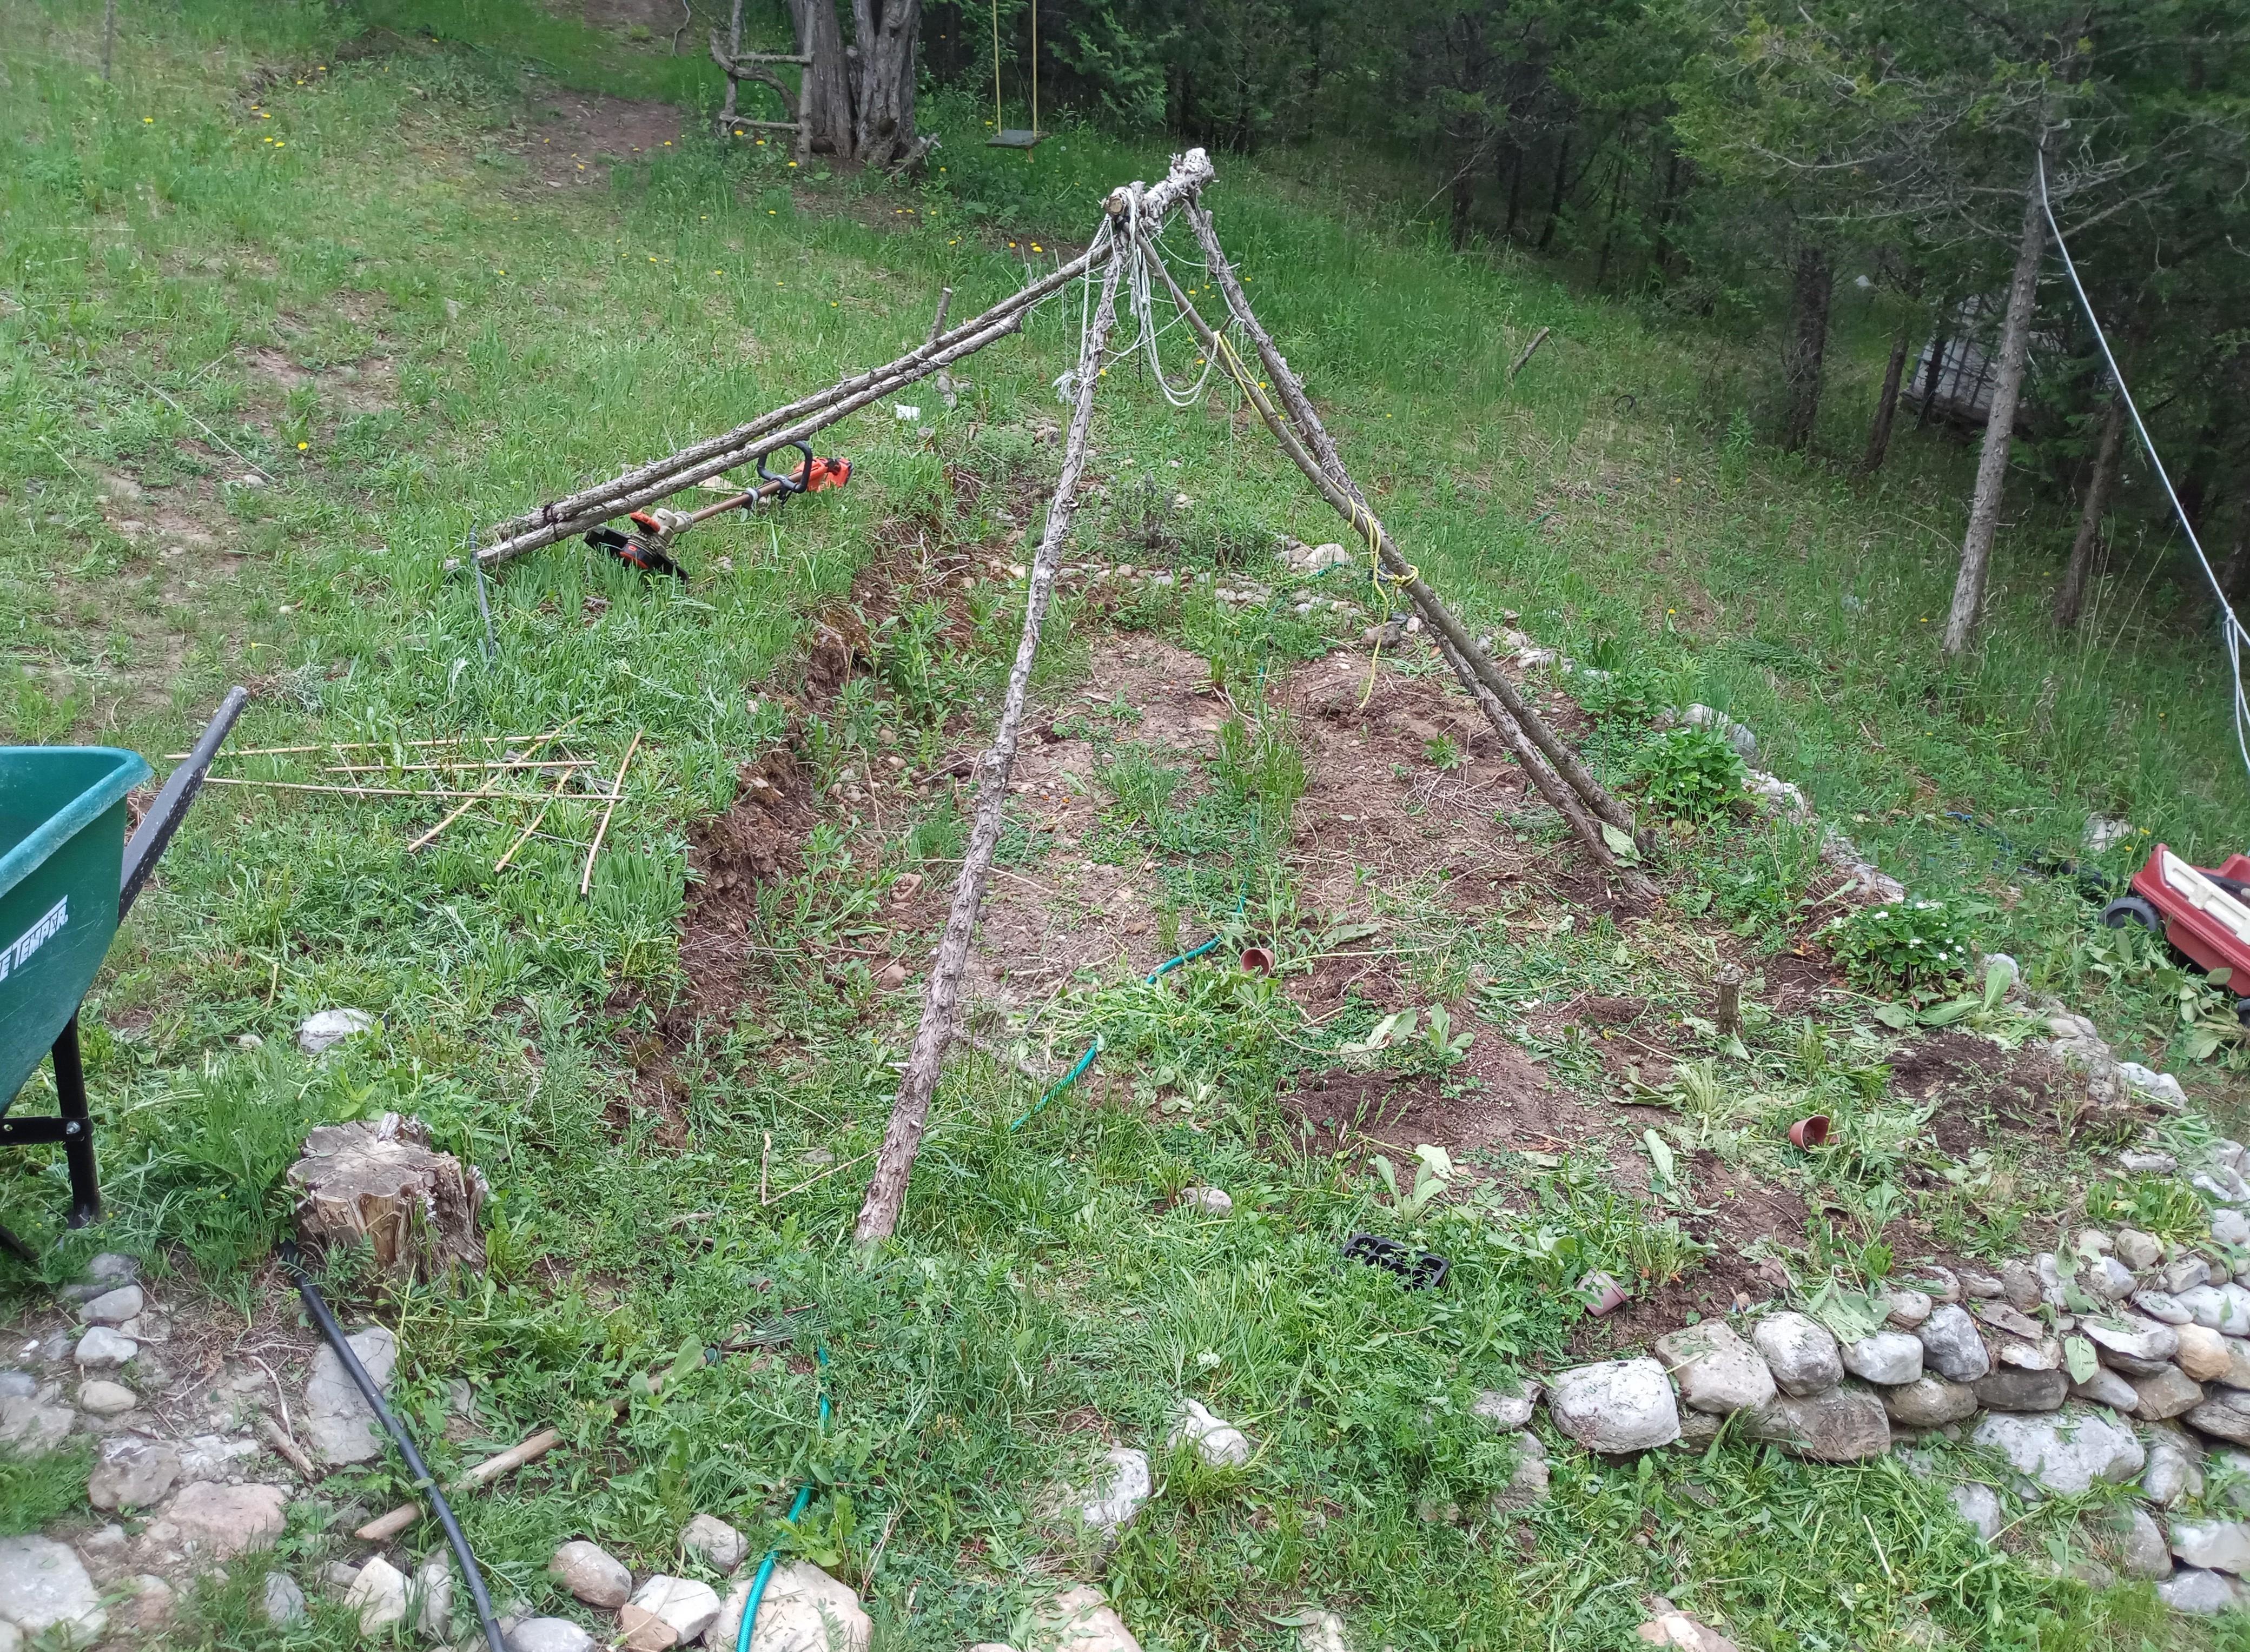
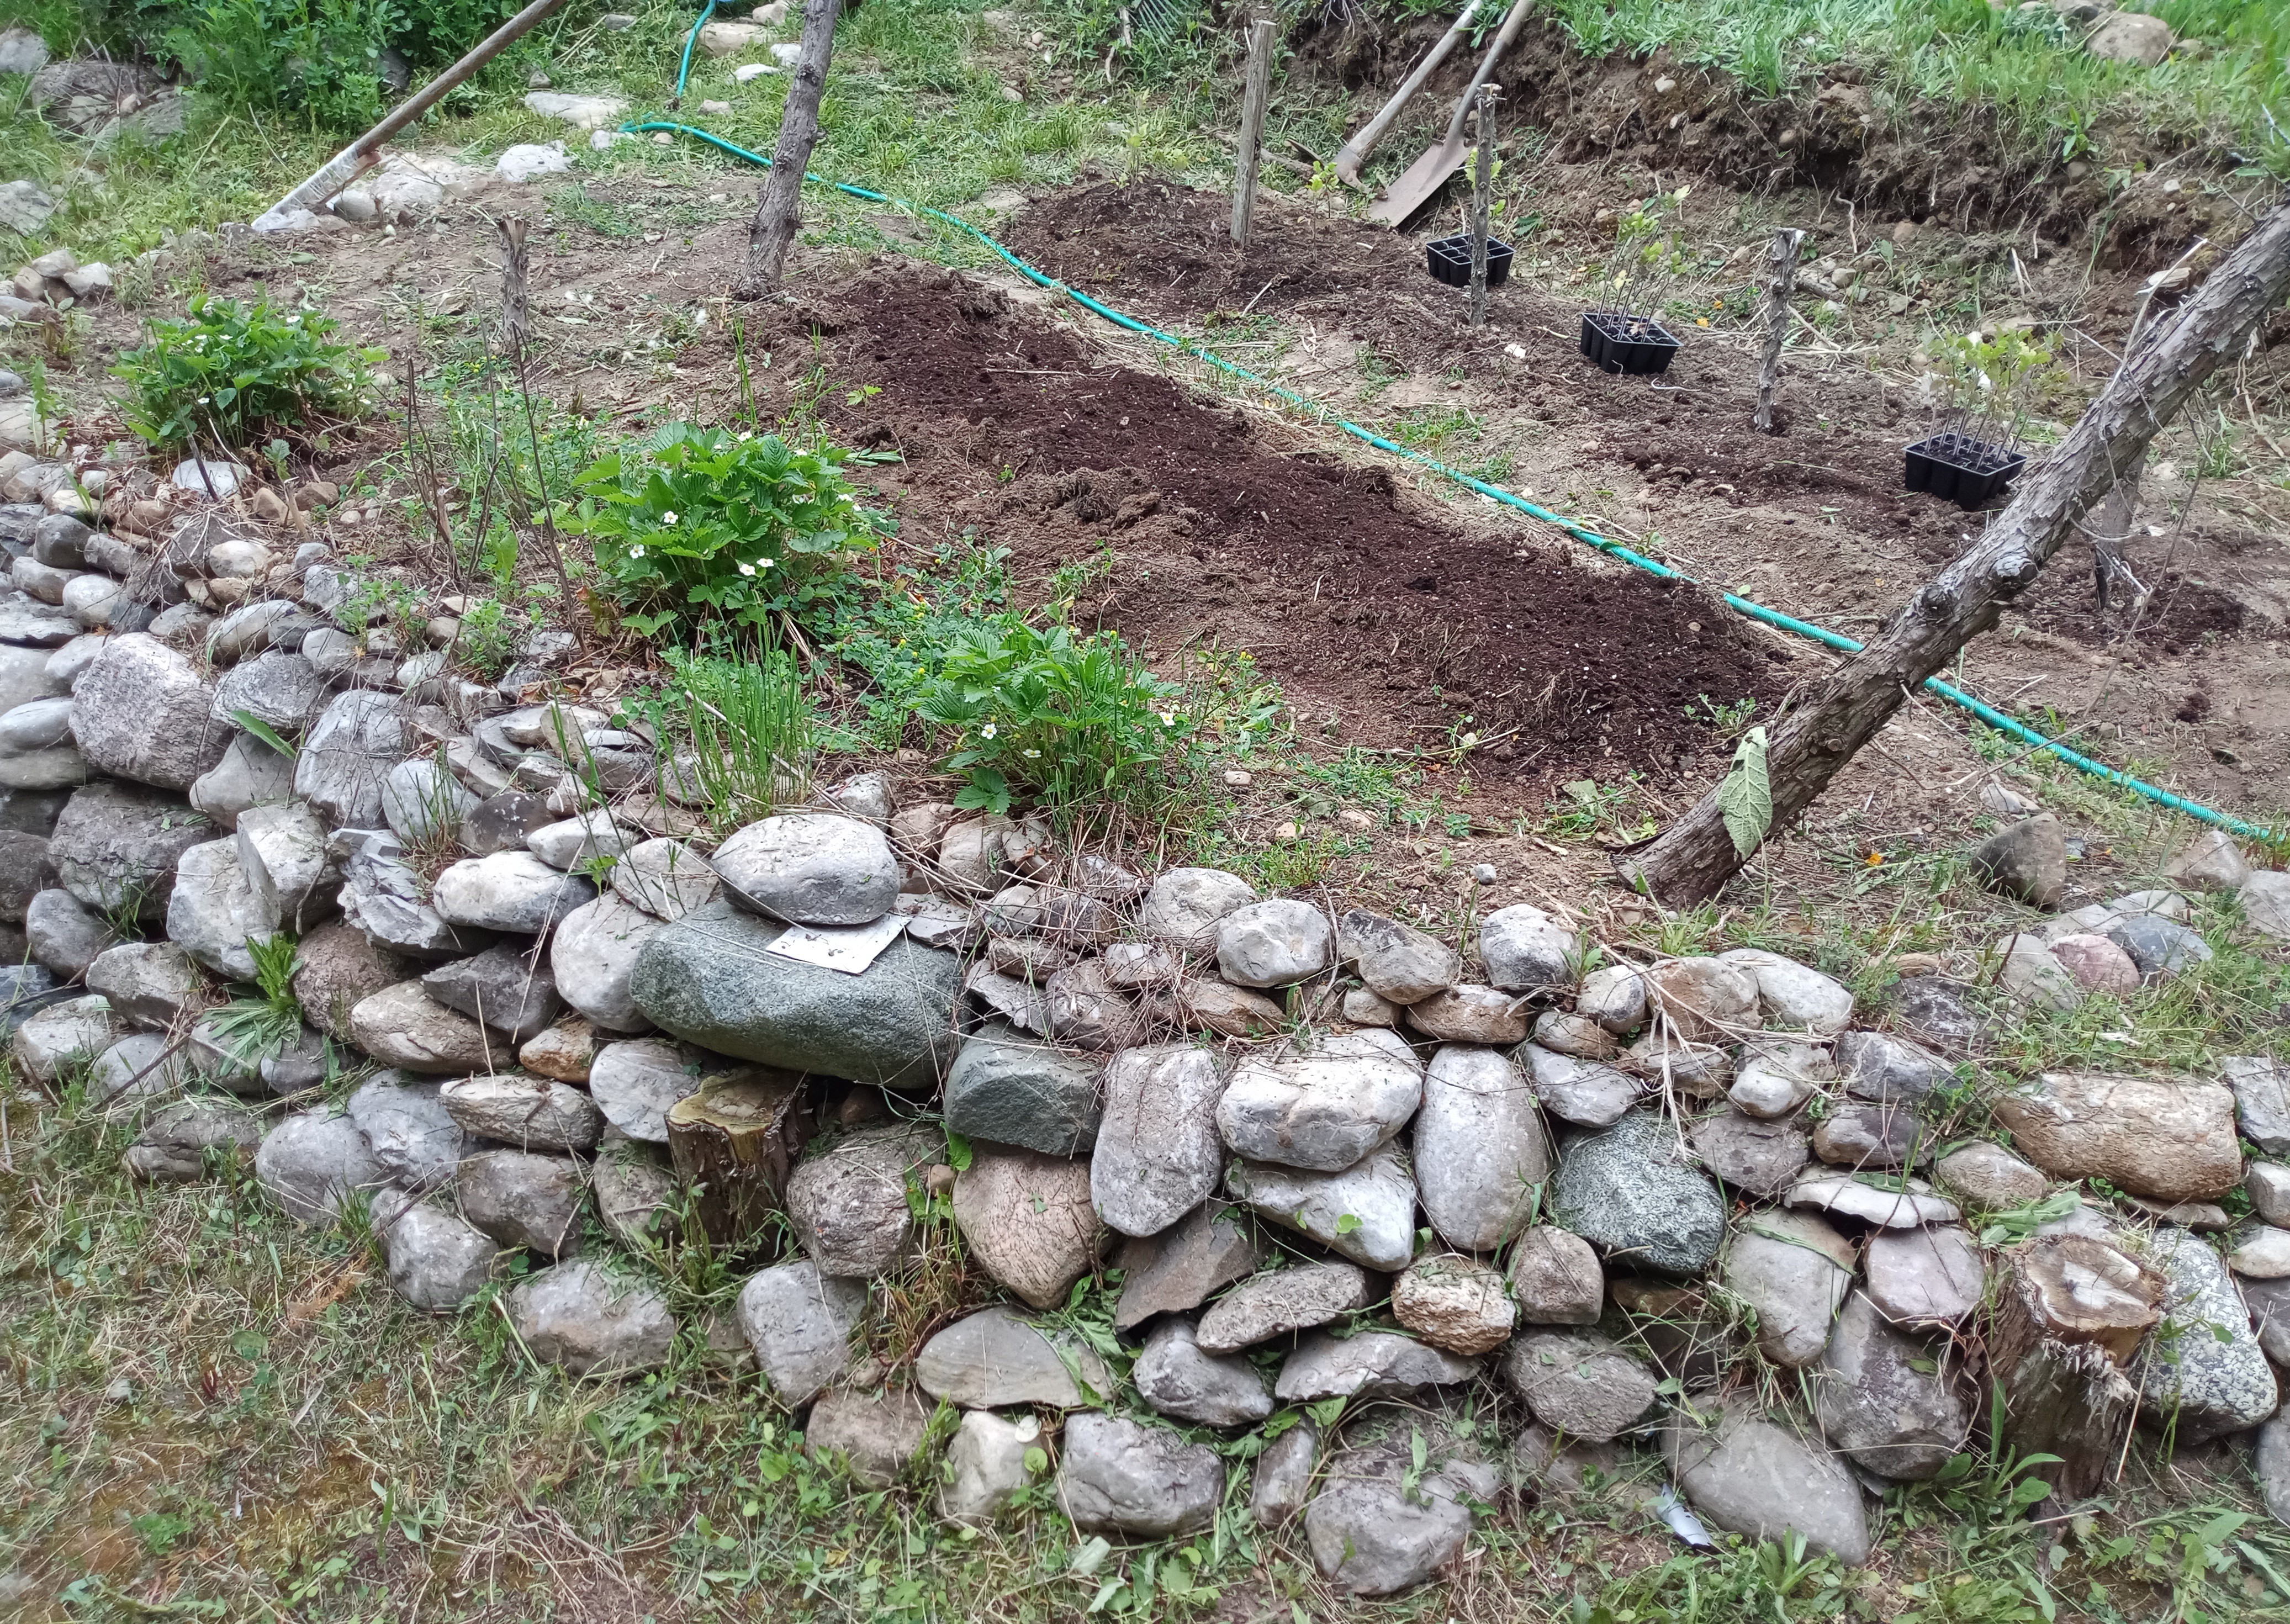
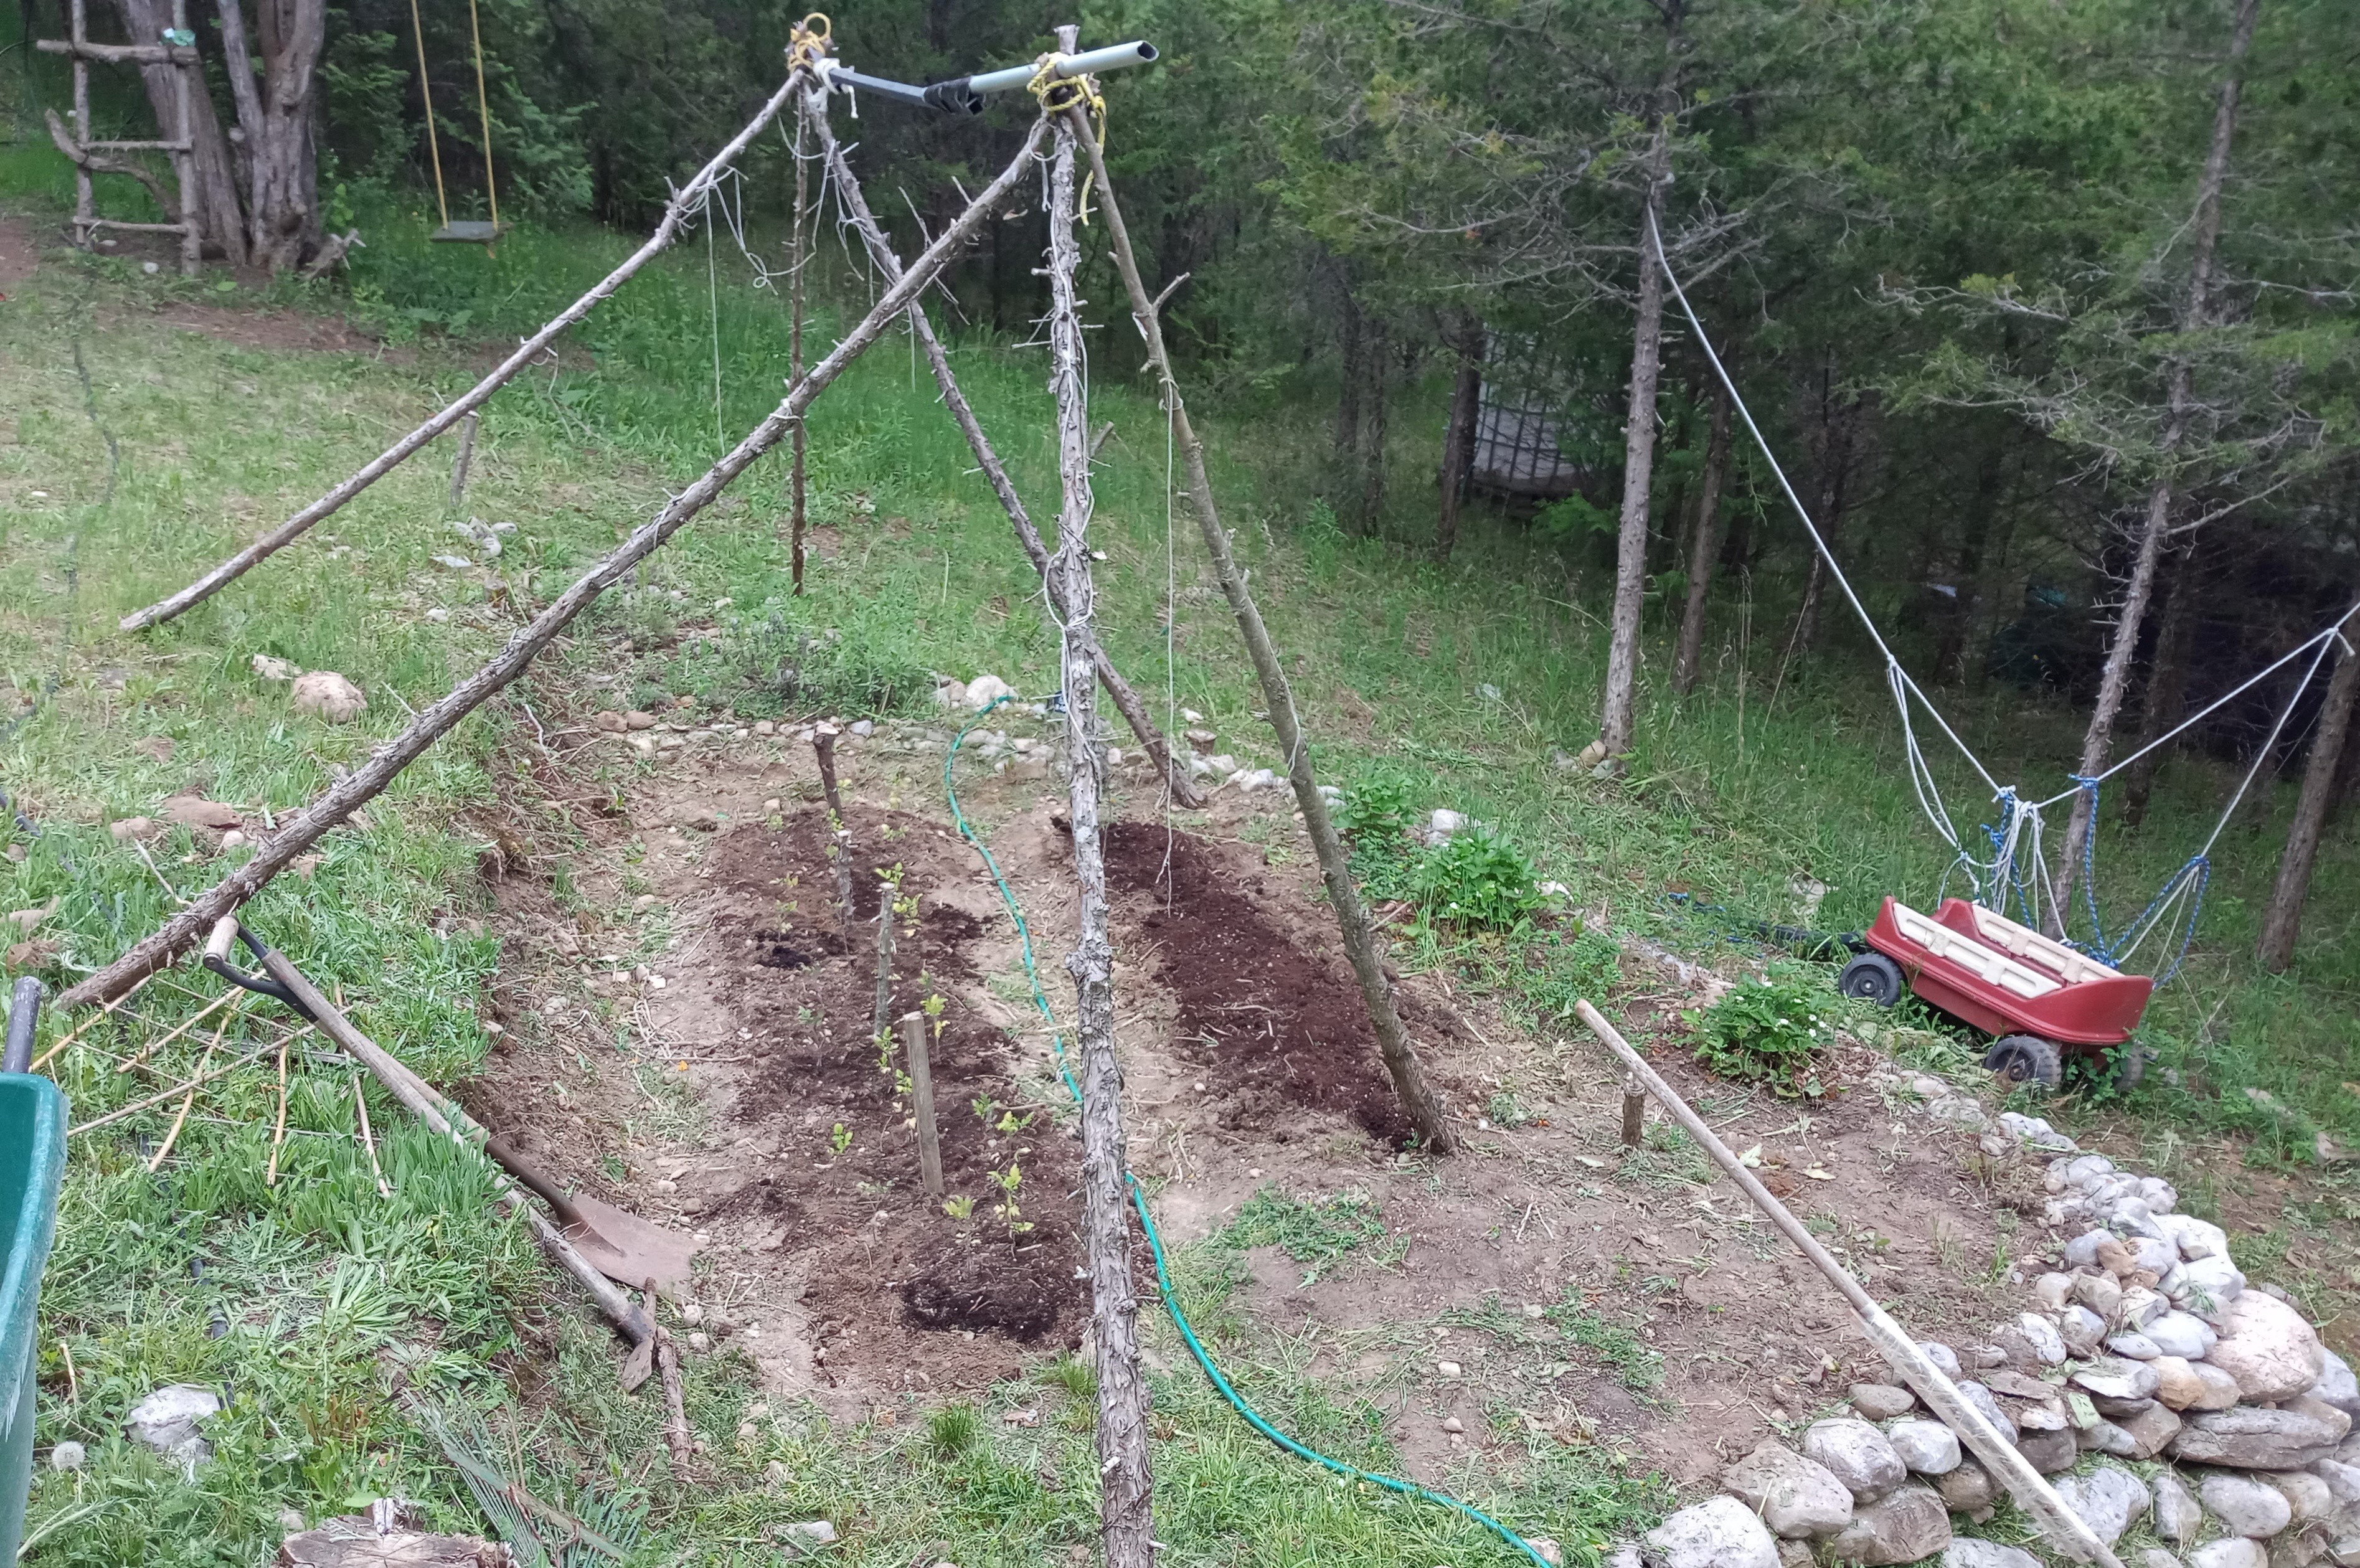
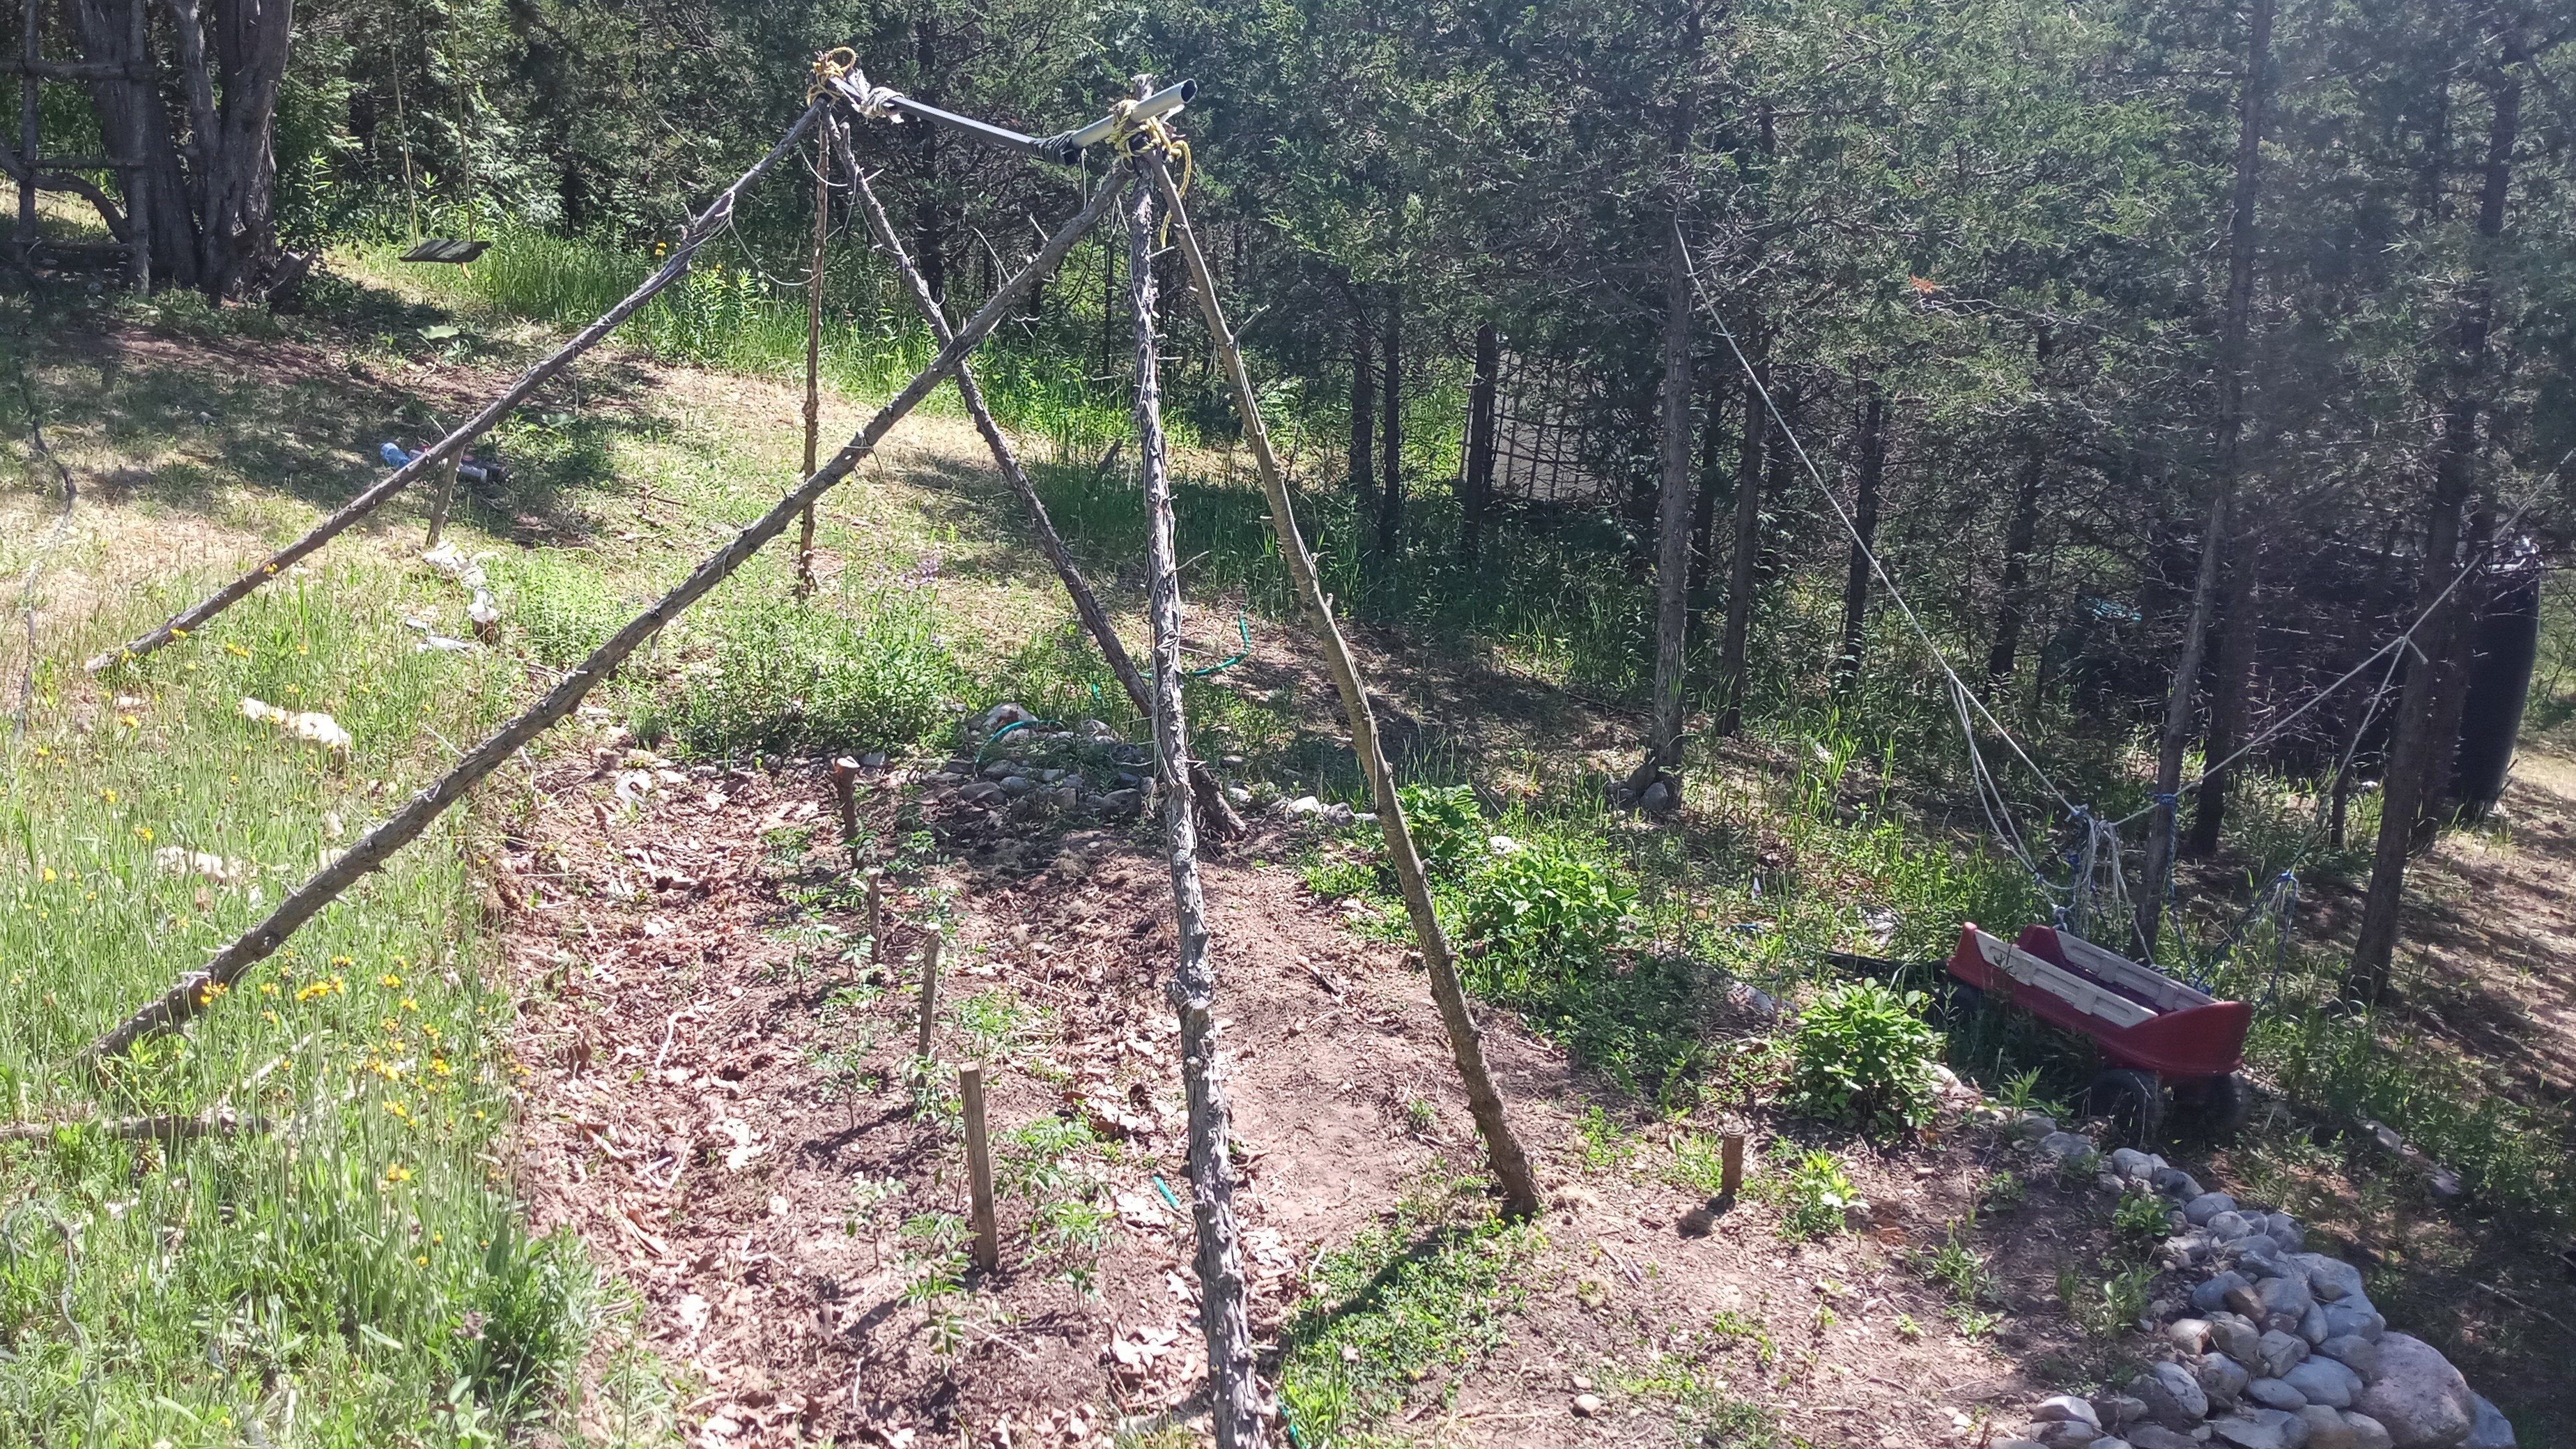
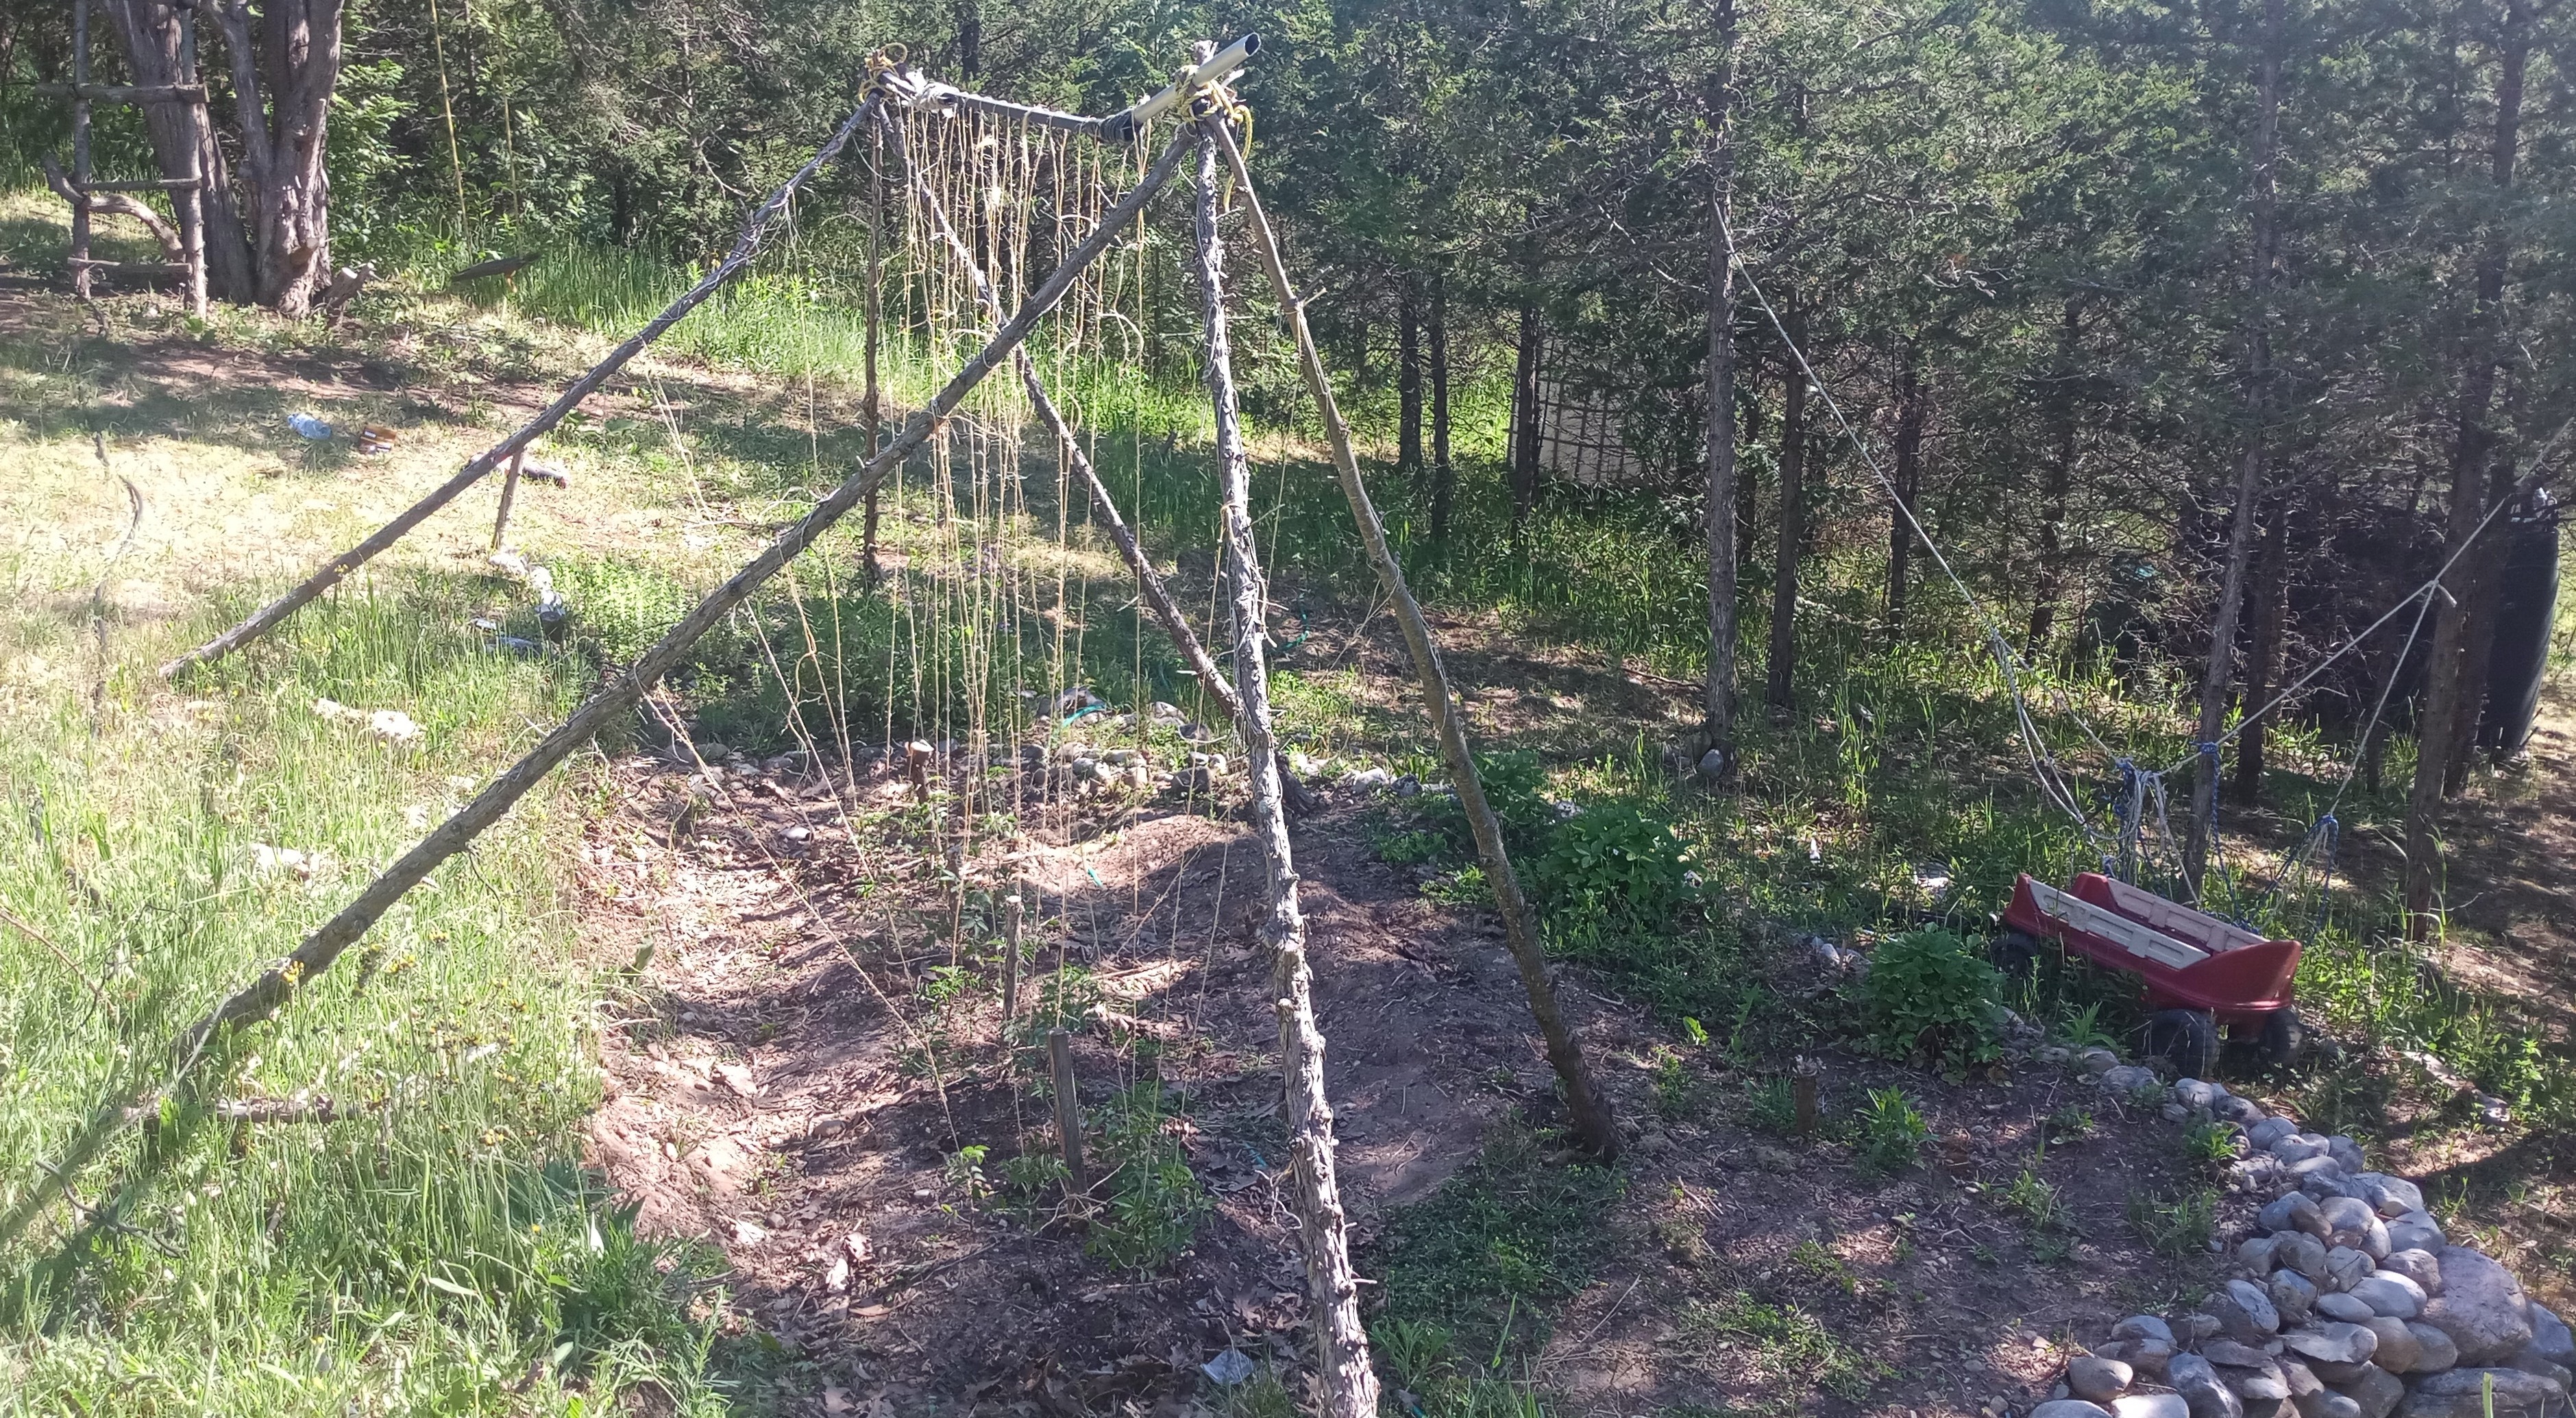
I built this terrace garden and trellis a couple years ago - to give the tomato plants more room this year, I raised the trellis higher by bringing the legs of the tripods closer together, and lengthened the cross bar between them.
 |  |
|---|
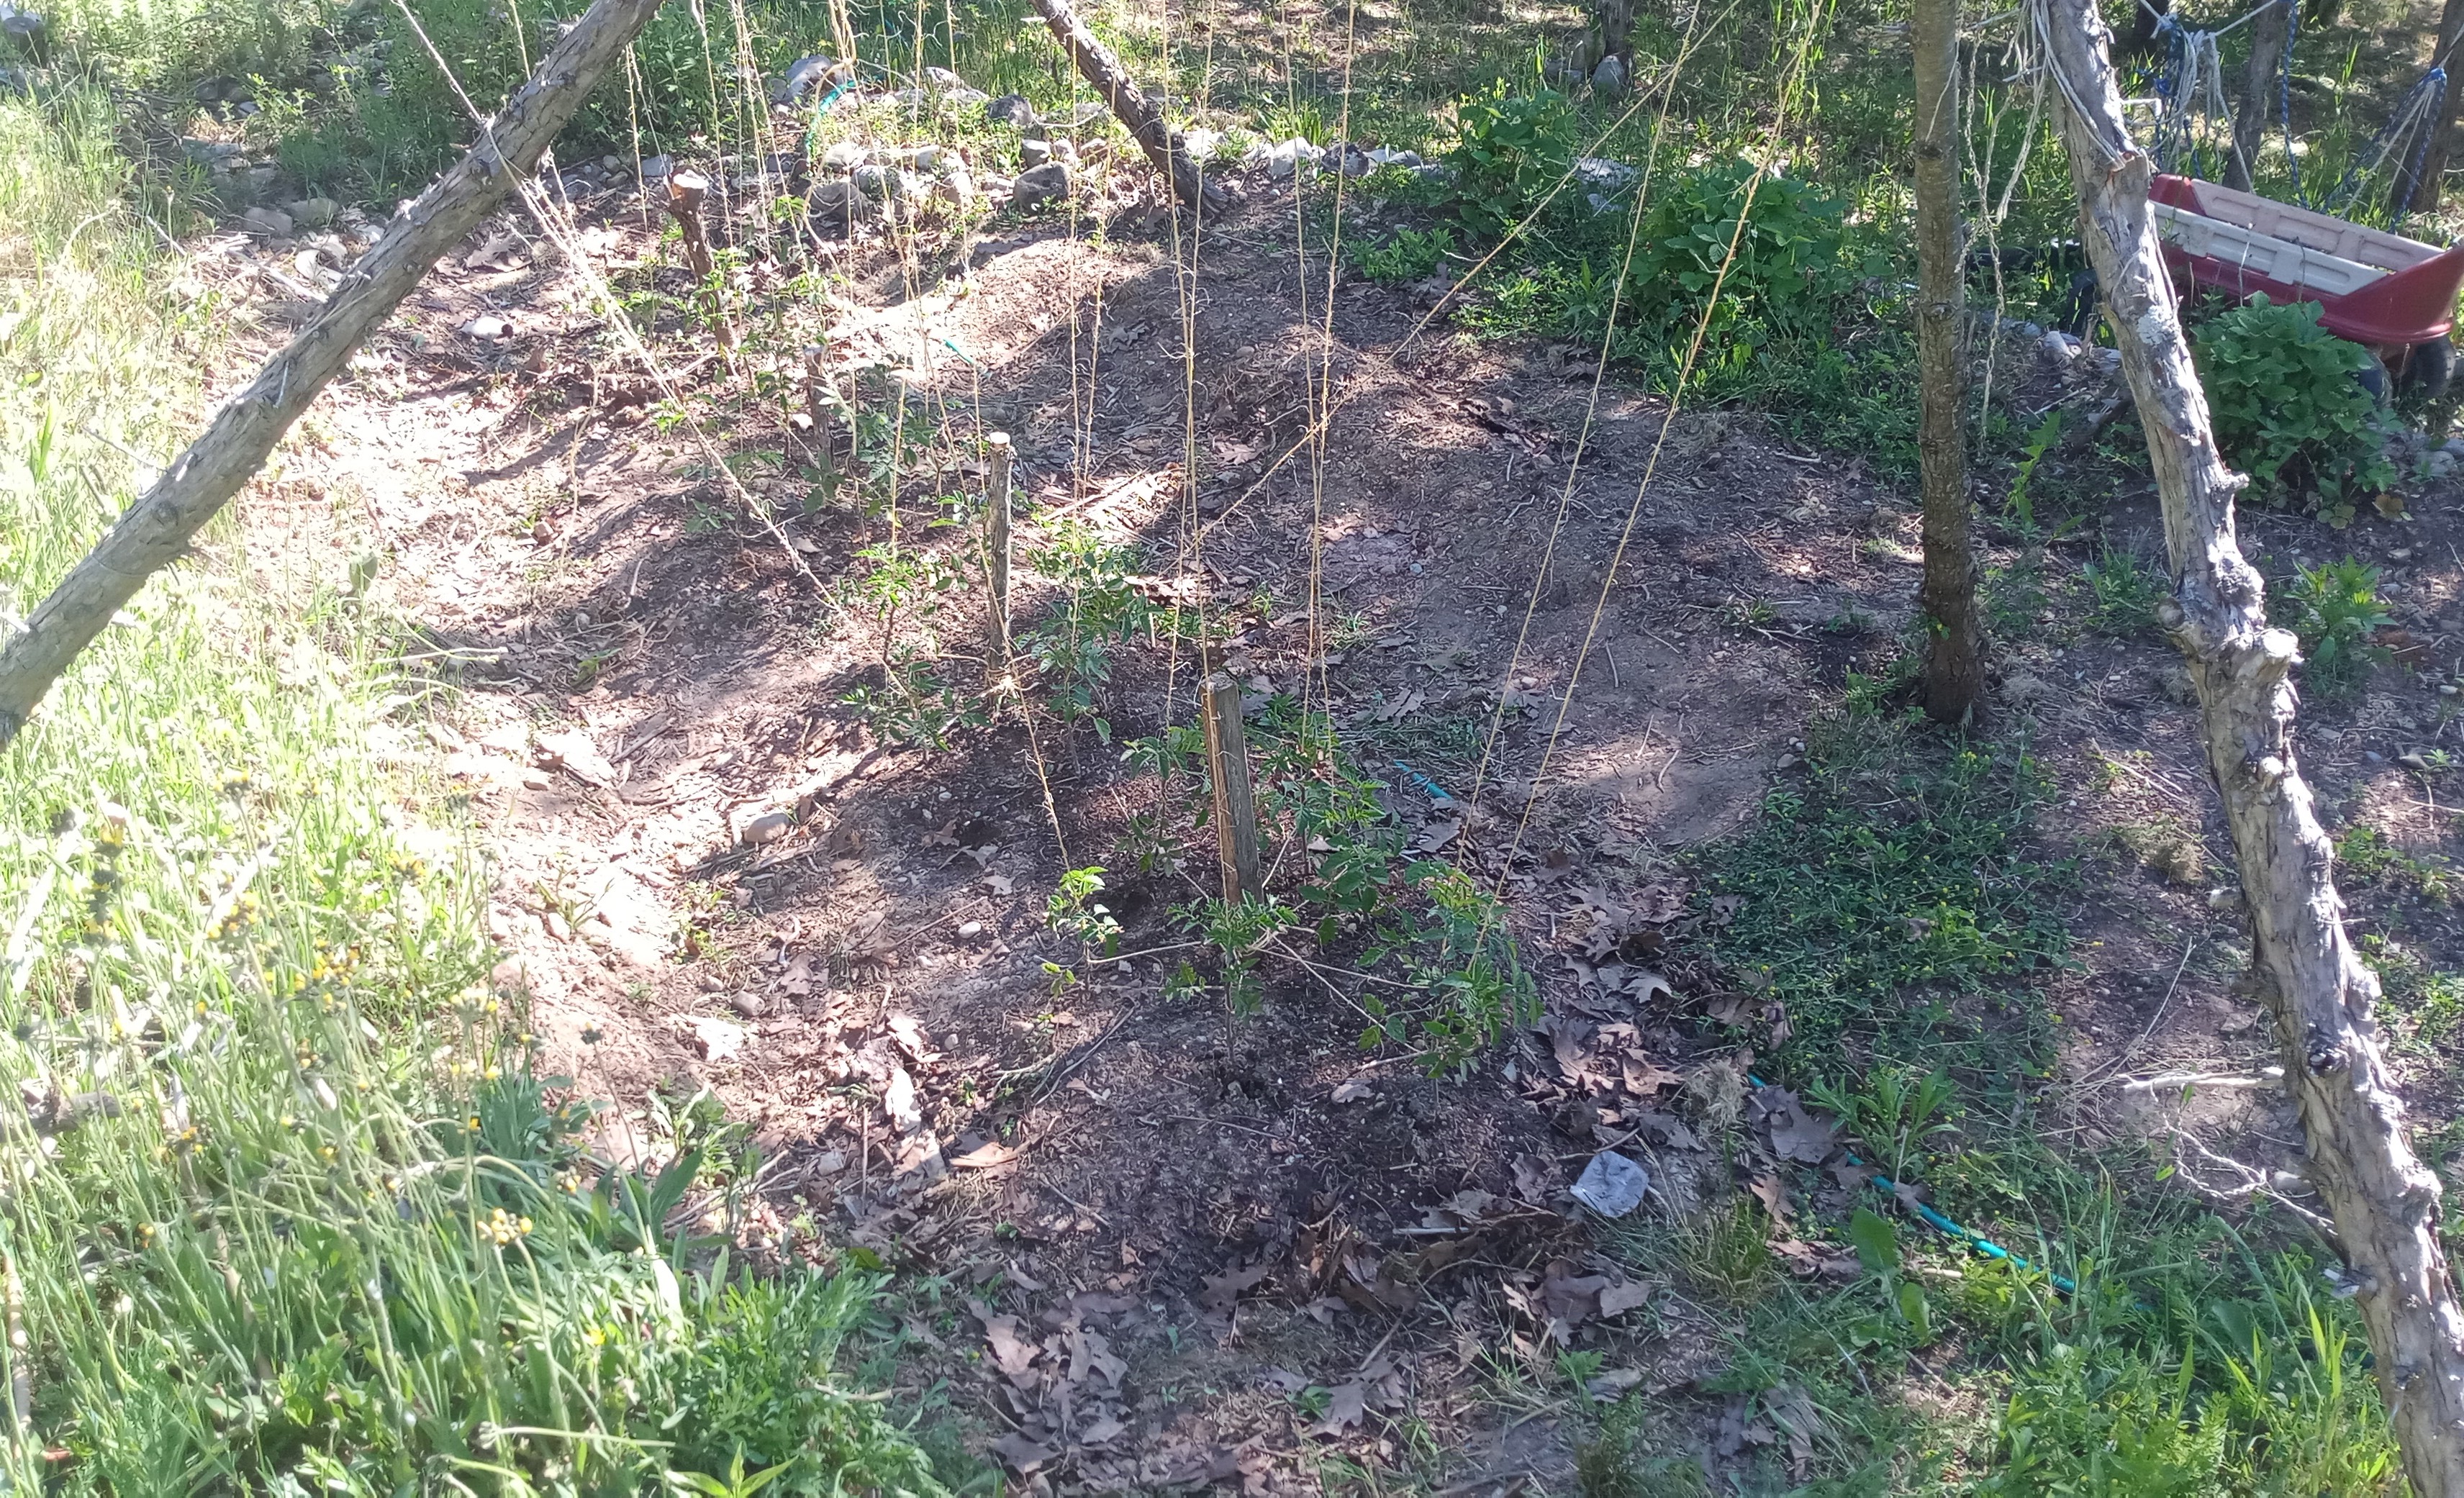
June 1st (two weeks ago)...
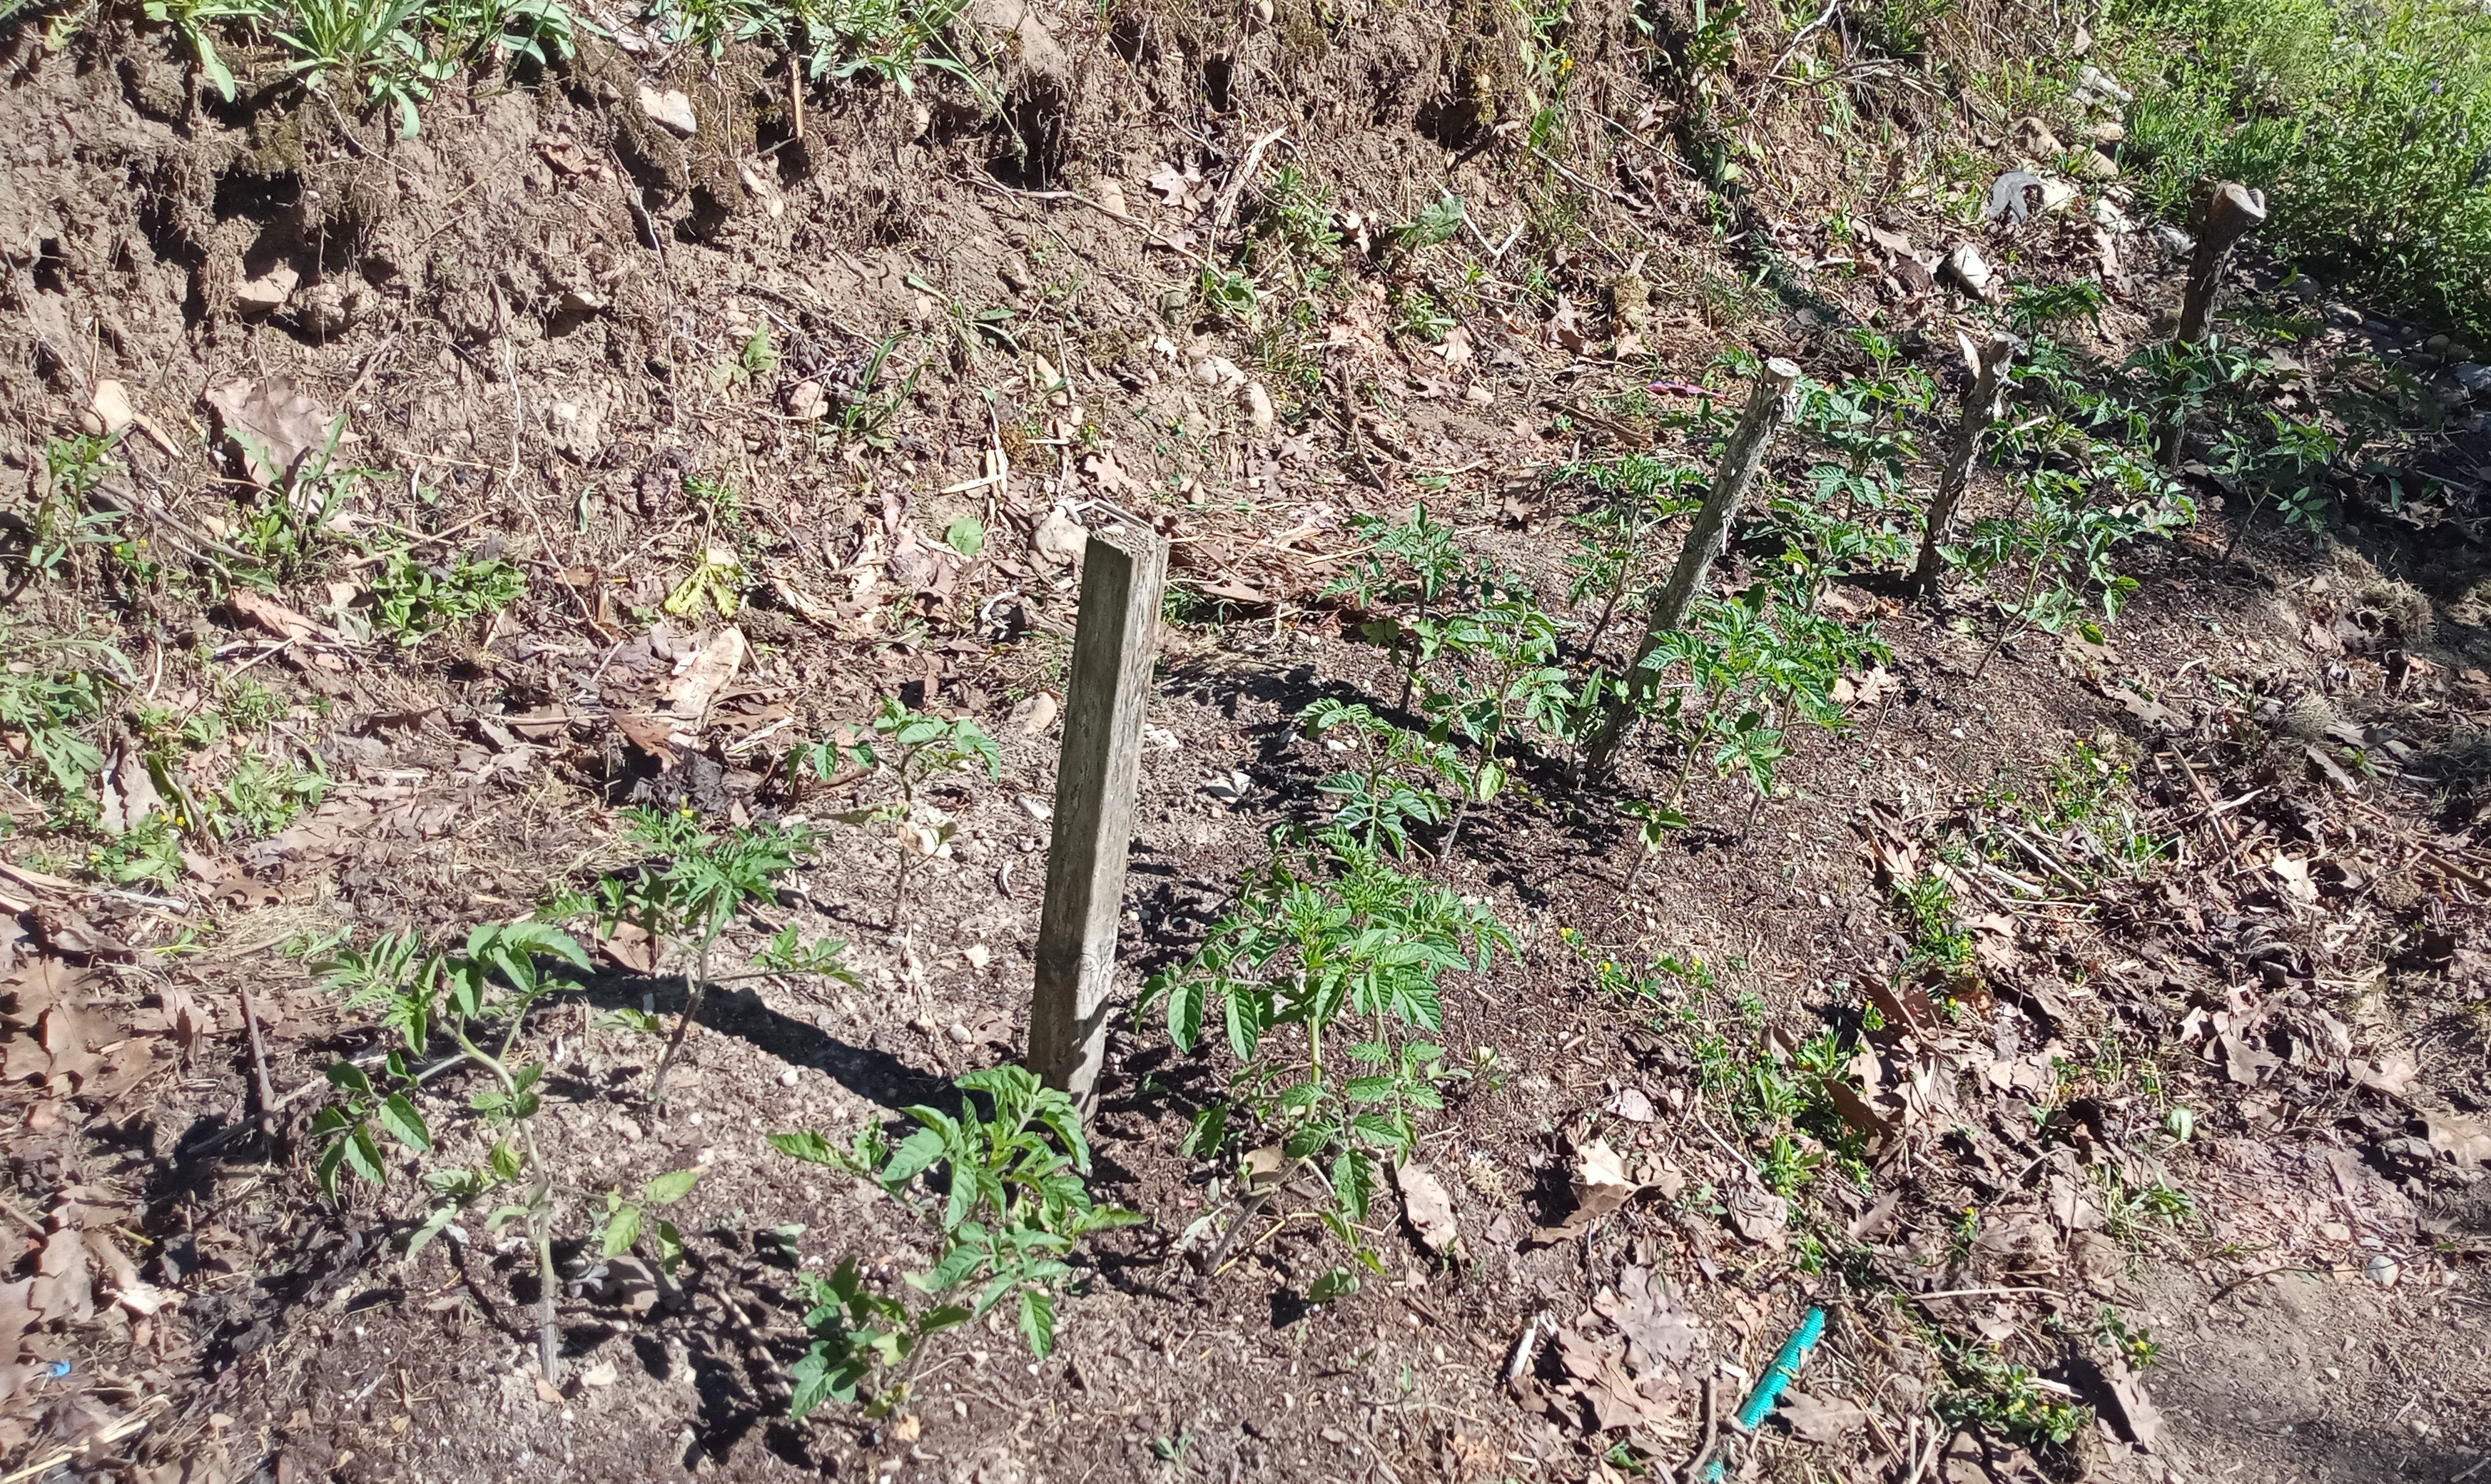
After whipper snipping, raking the rows into place, and pulling a few weeds, the garden was ready for transplanting. The tomato plants went into the back row, around the stakes, the front row has a late seeding of cucumber seeds, they'll be up soon.
Transplanted and Watered...
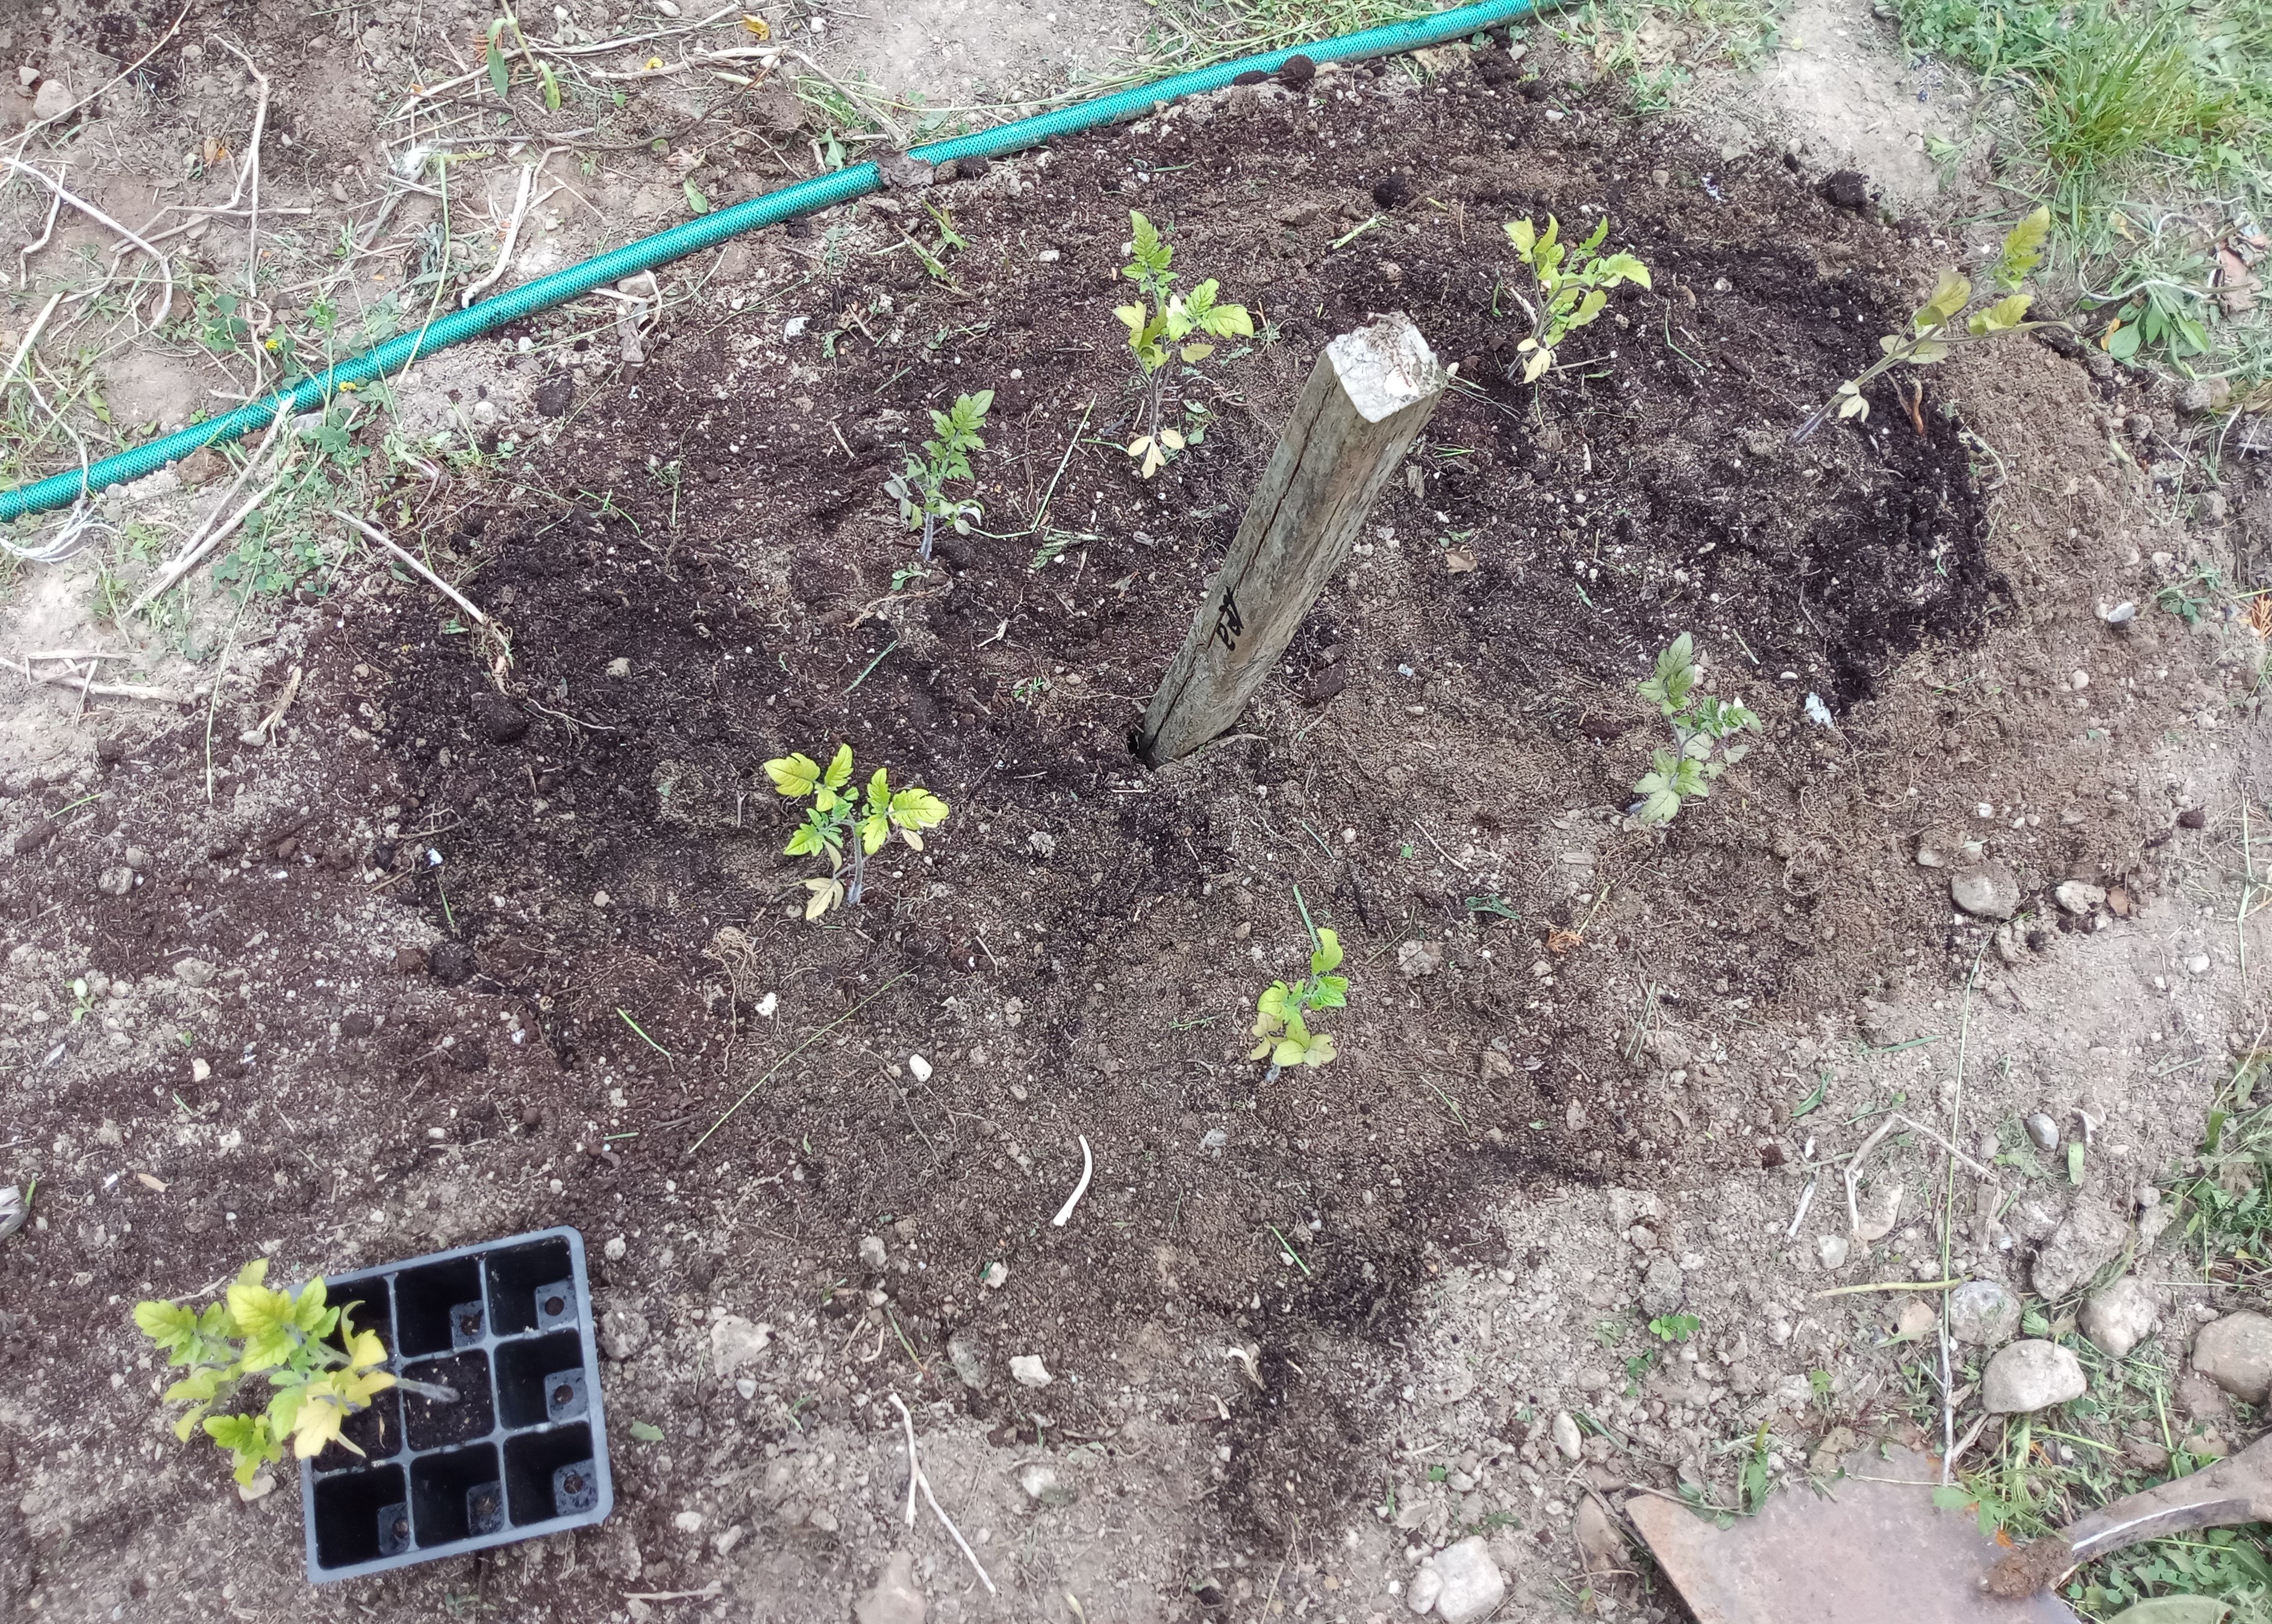
I was happy with the soil's looseness, no pick ax or shovel was needed, just the garden rake - I make a point of not stepping on the rows, just the row ditches.

June 12th (almost two weeks after transplanting)...
A couple days ago I decided to crack open the composting bin for garden row ditch cover. I had to move some boxes out of the way (I should shred those), but underneath was some partially composted yard waste - lawn clippings and leaves.
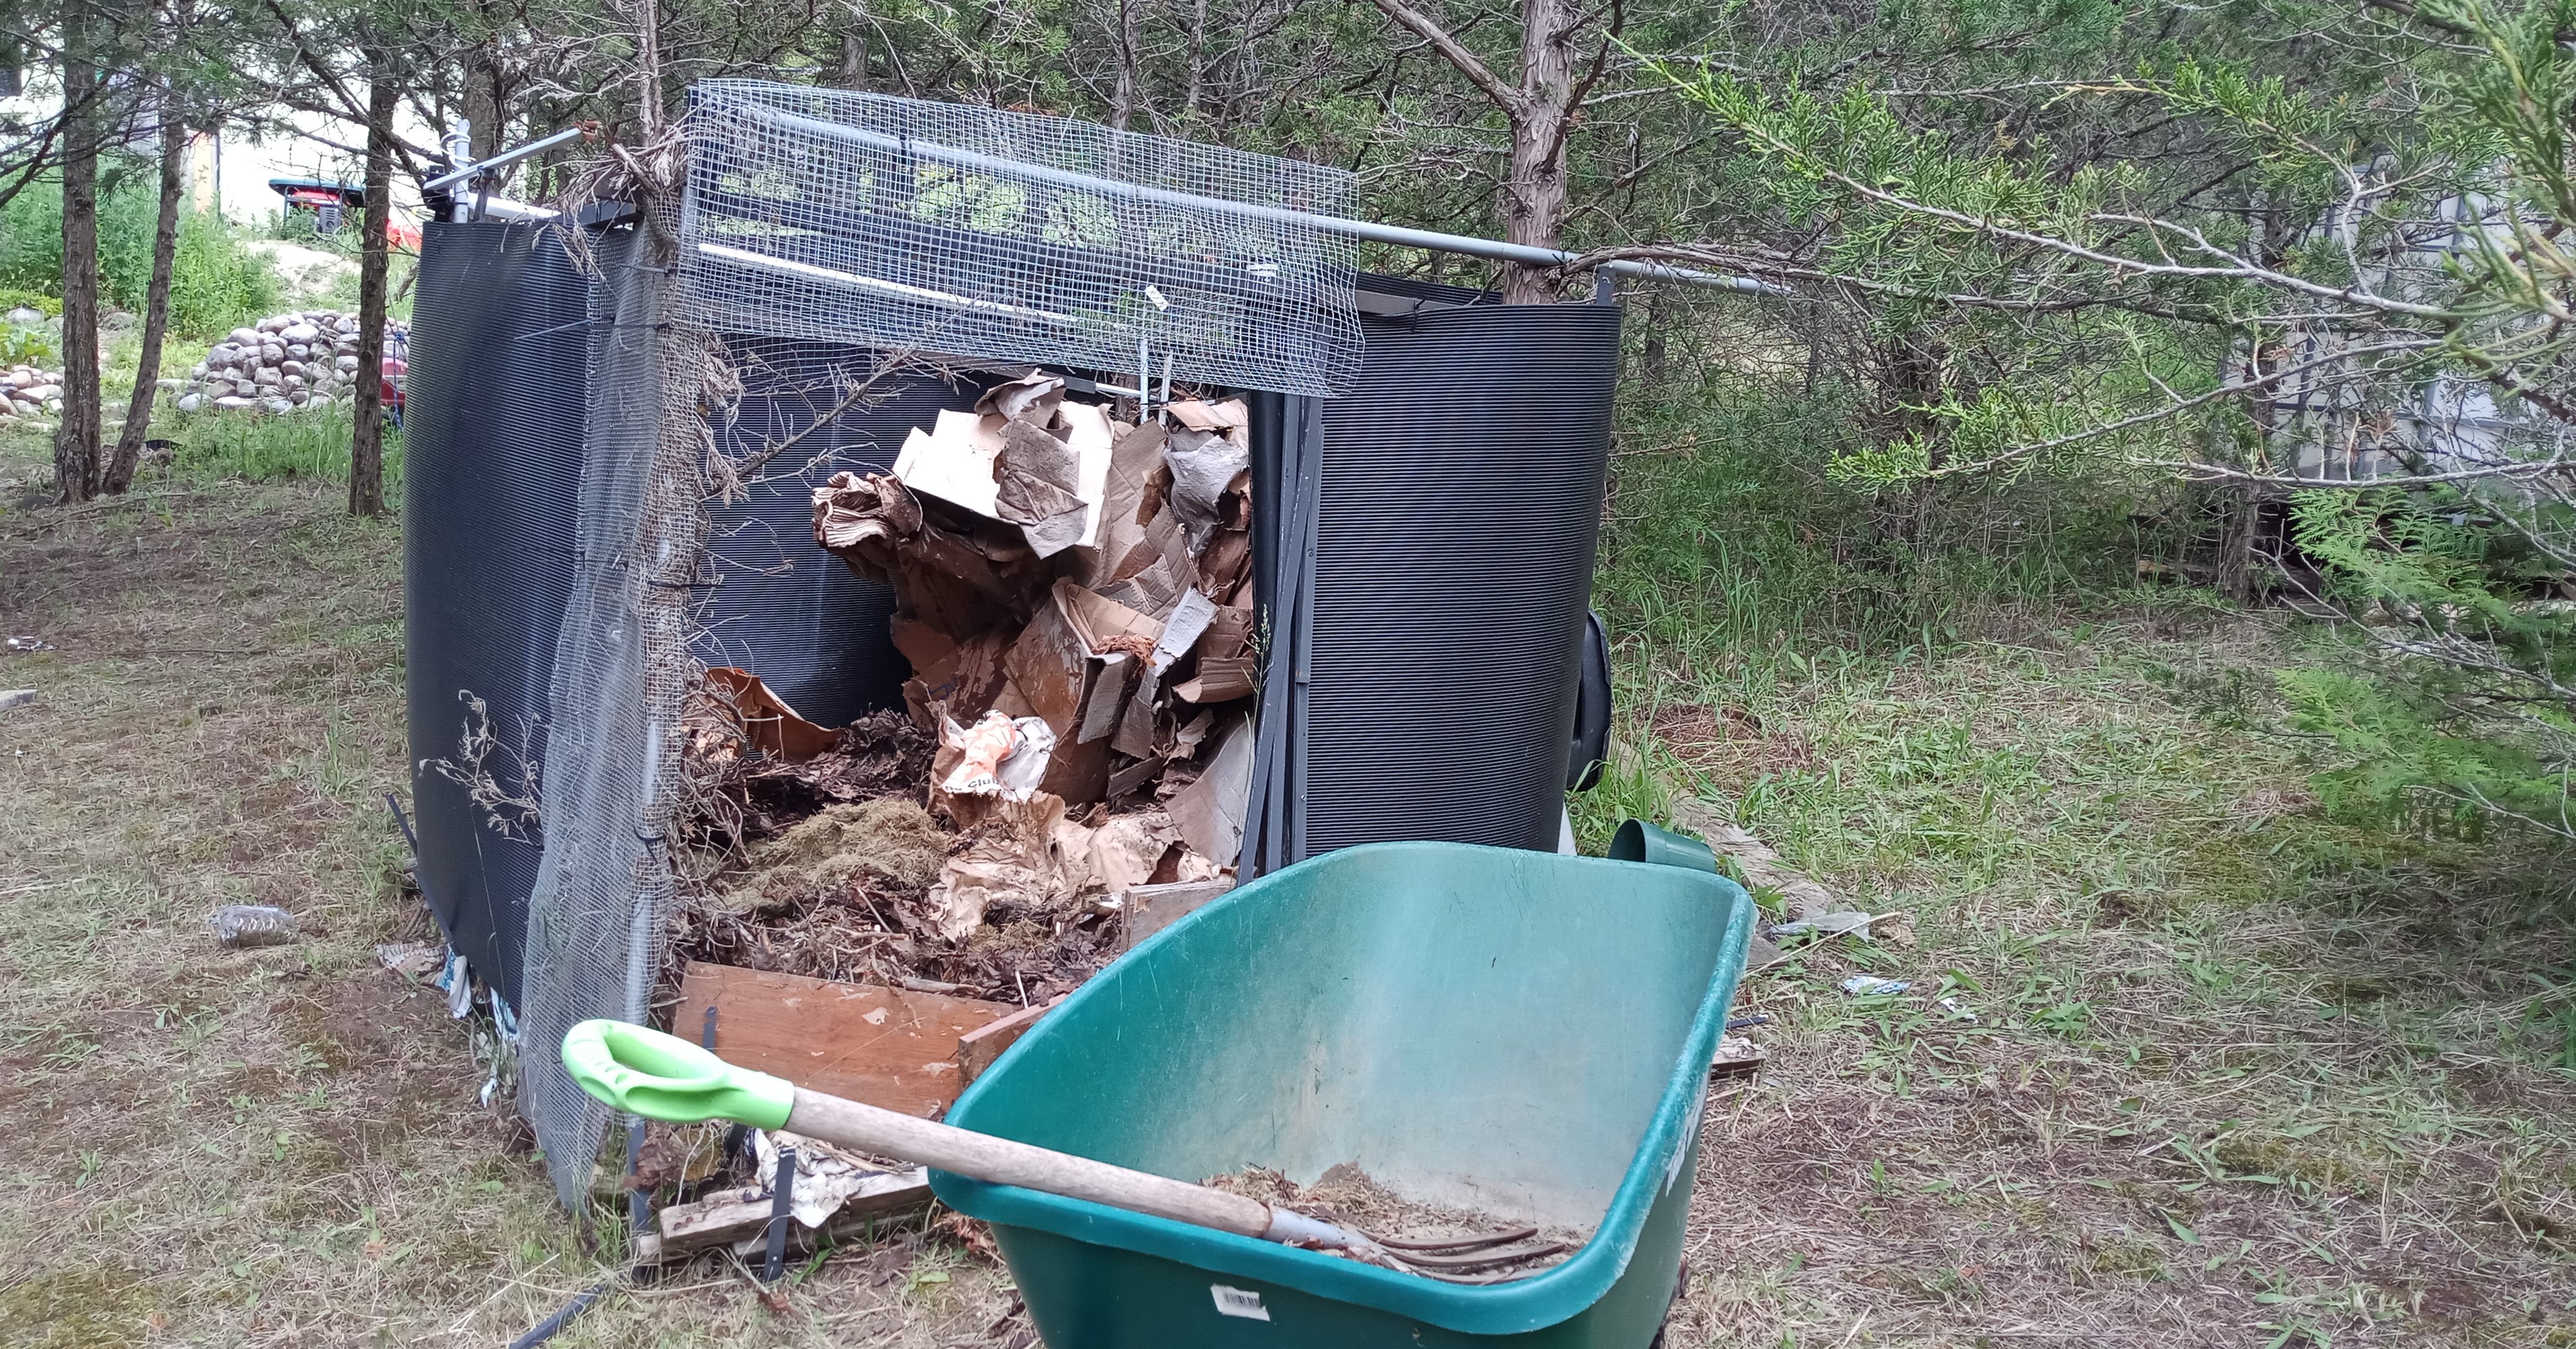
Beauty, this will do...
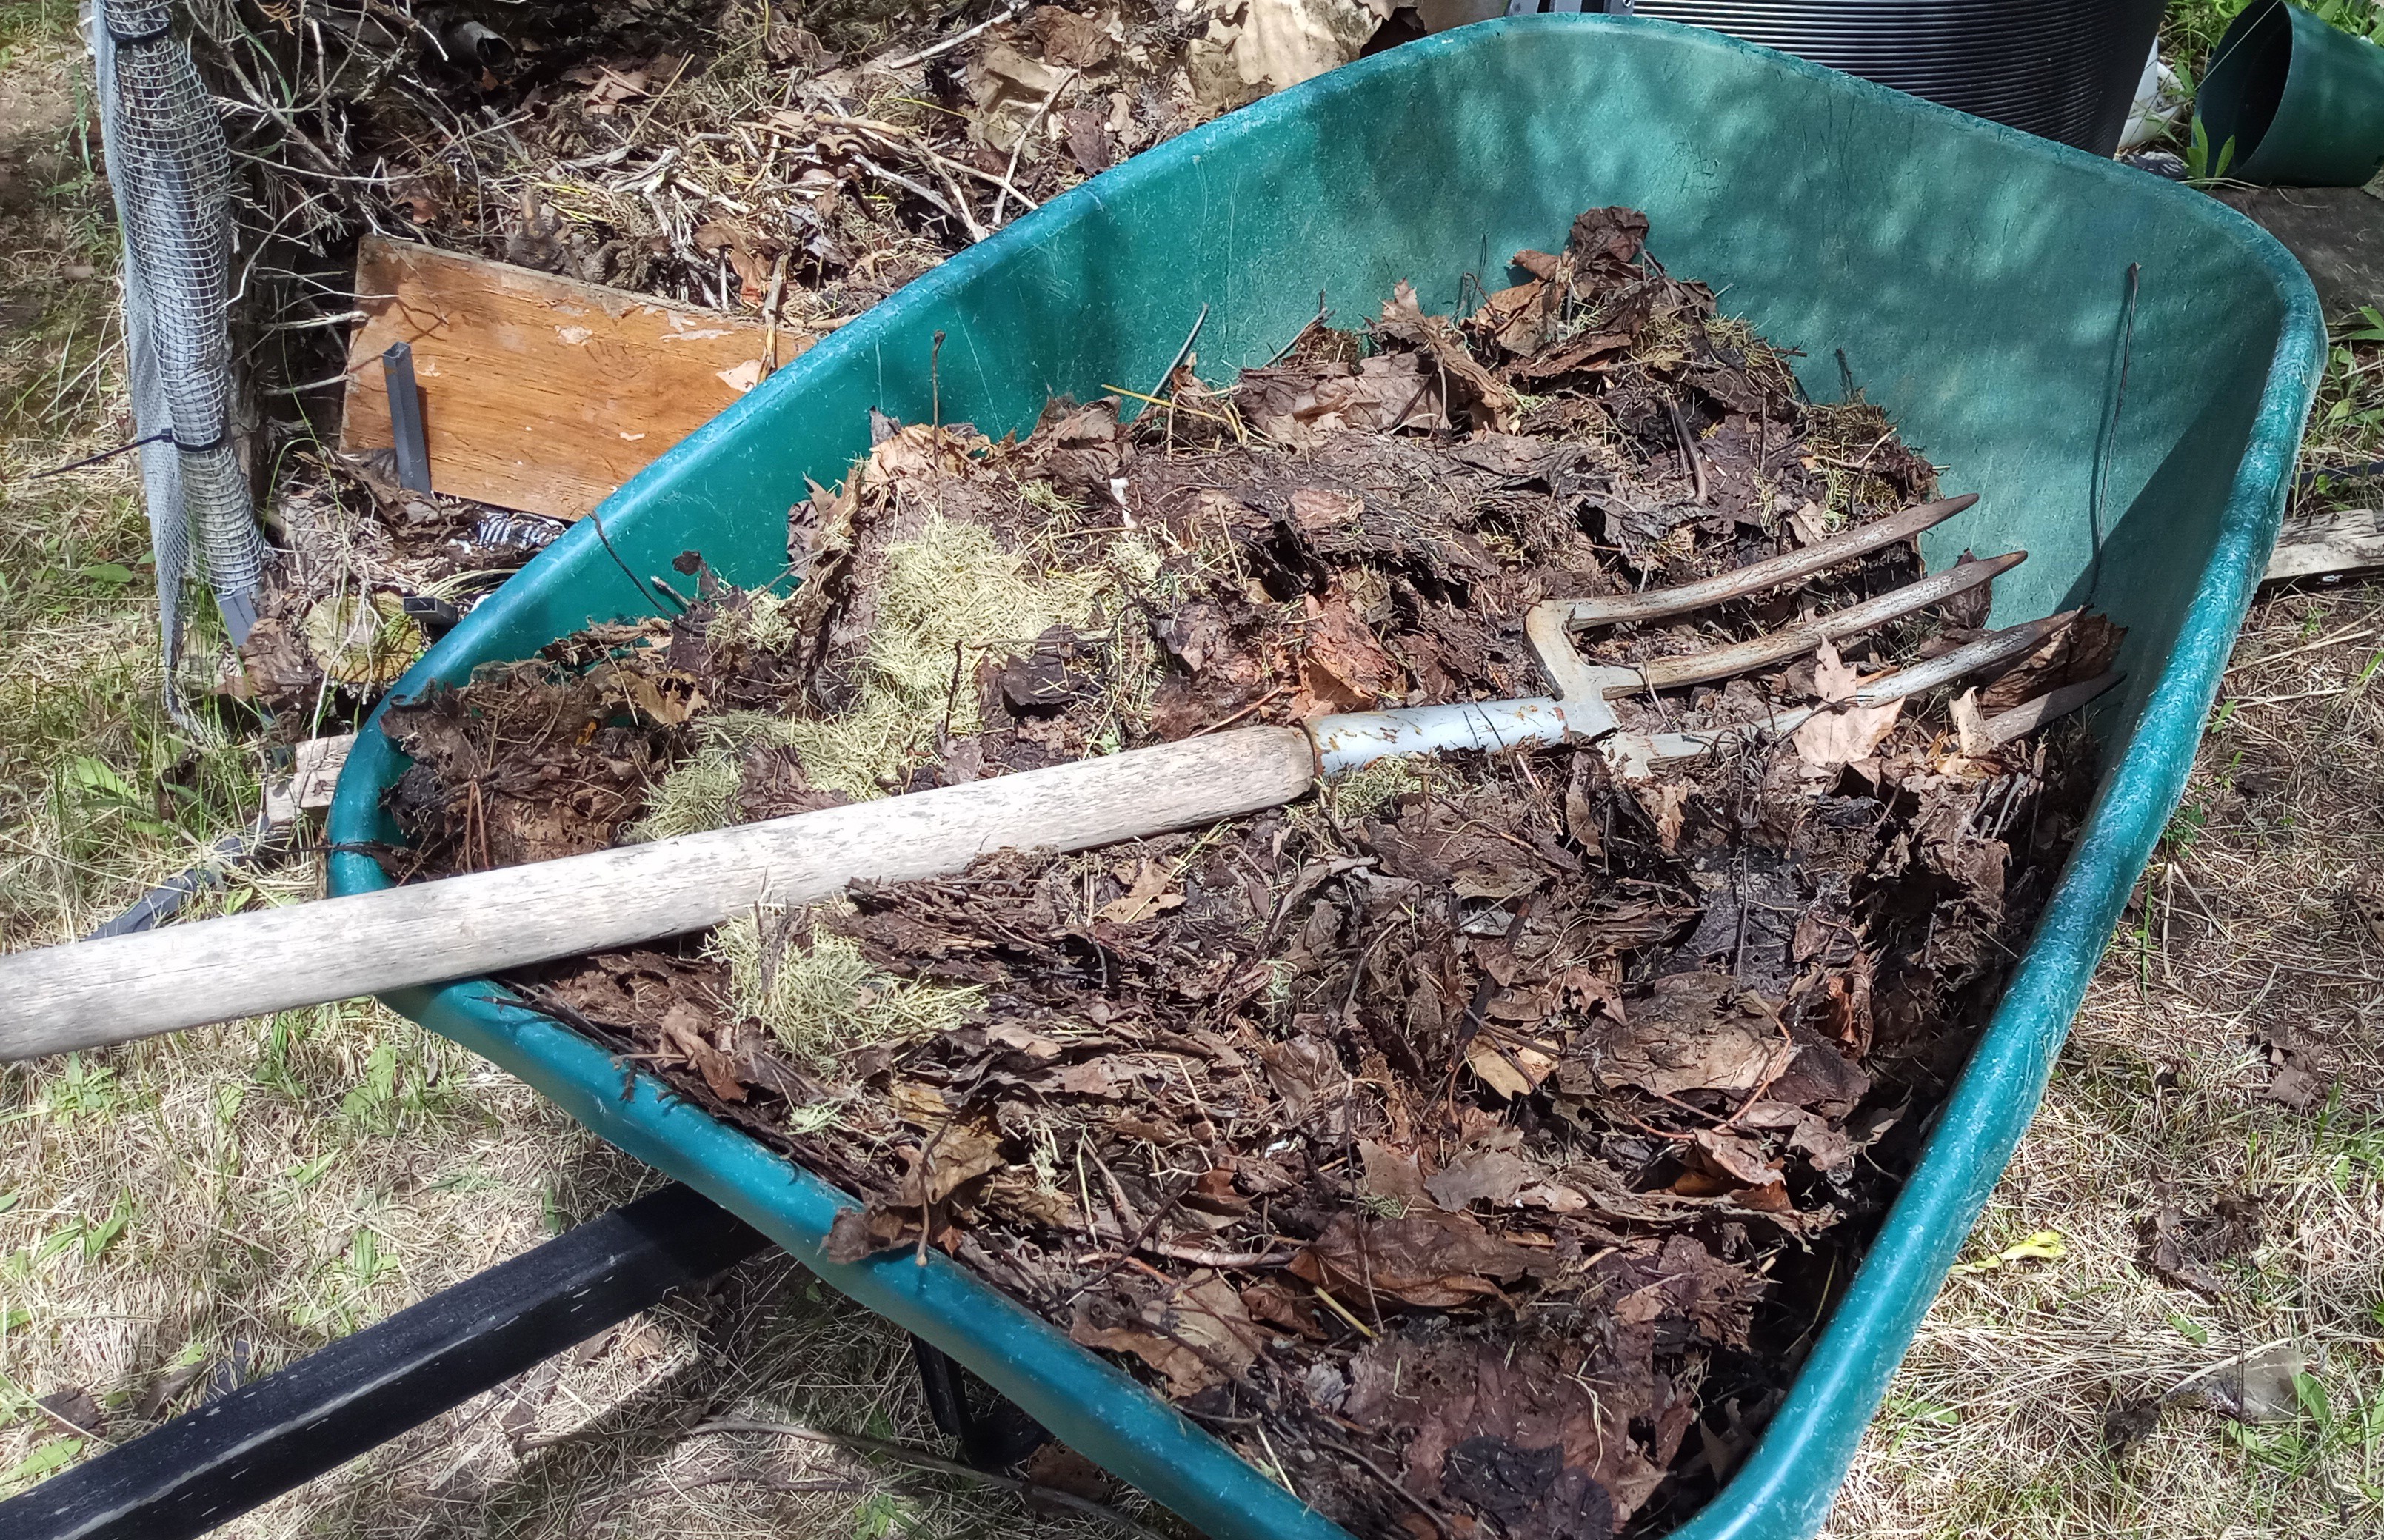
The material was added to the garden row ditches - this terraced hill side garden slows down, collects, and stores a decent supply of rain water for the plants. The added partially composted material stores moisture, prevents the sun or wind from drying out the soil, and slowly composts, leeching nutrients into the soil for the plants. After the winter I rake the composted material from the ditches up onto the rows.
 |  |
|---|
June 13th (~two weeks after transplanting)...
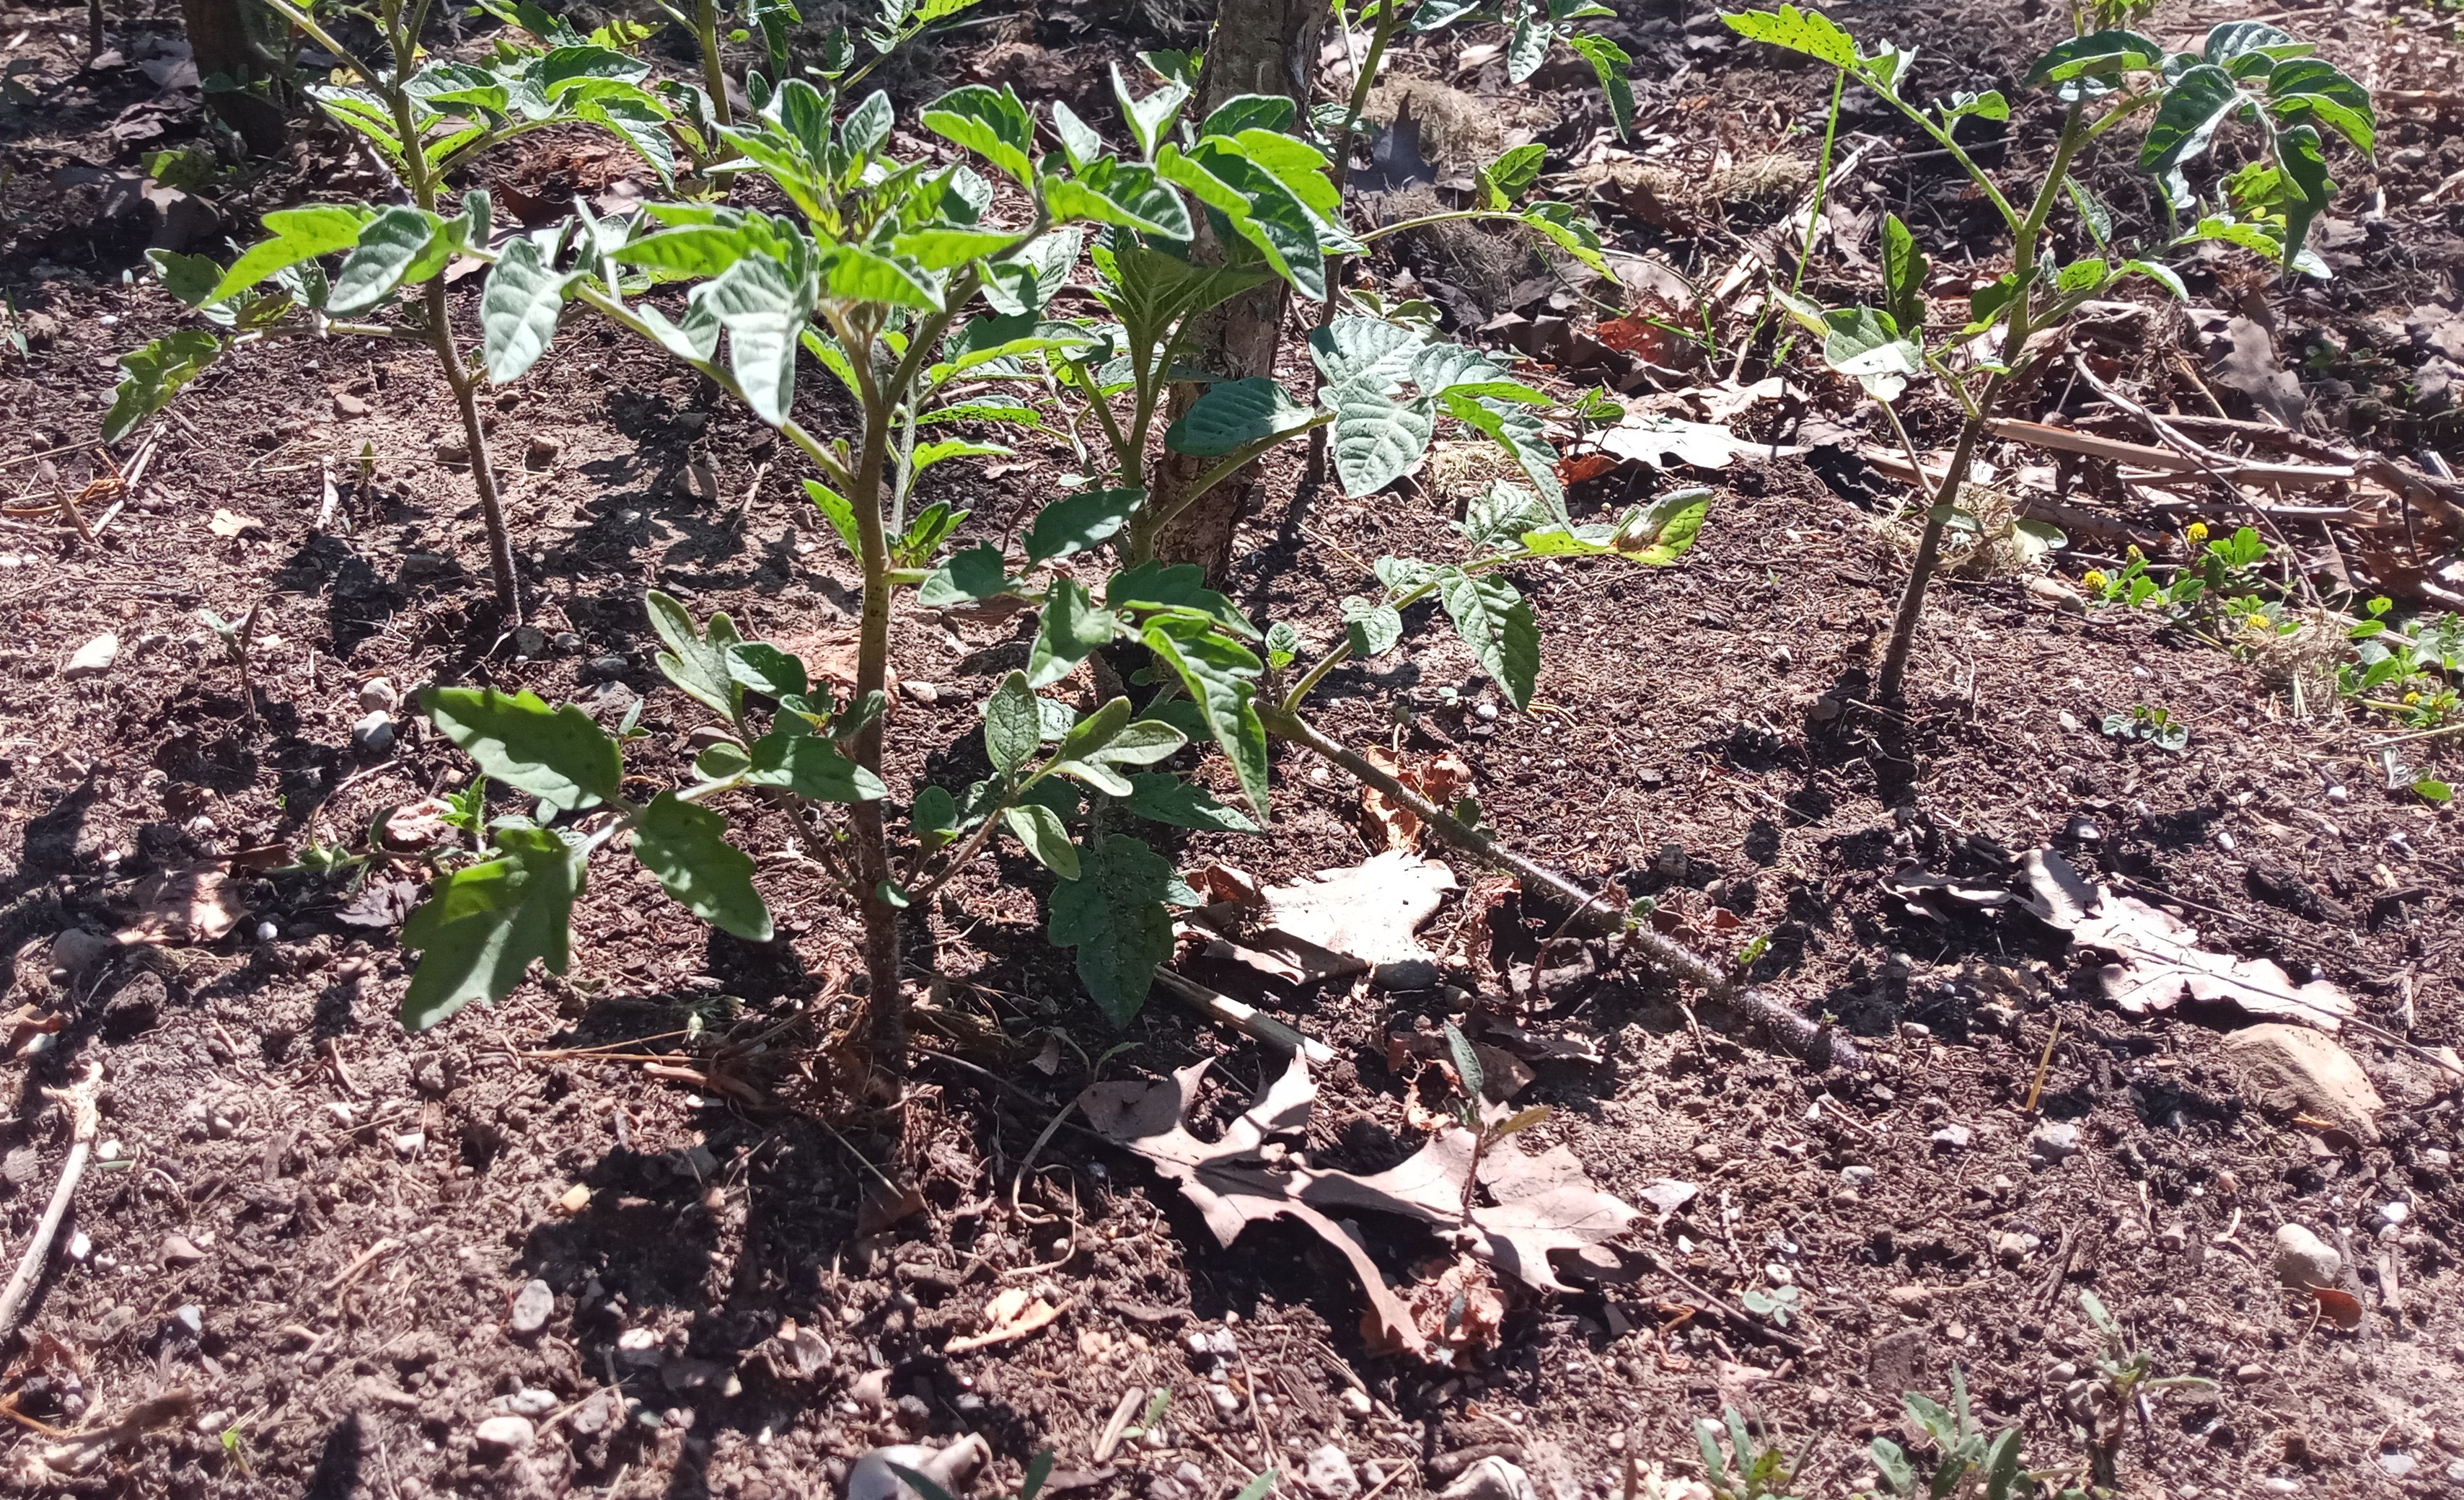
Some of the plants were starting to lean over, and branches had started to grow - time to prune the branches and string up the plants.
You can see the large tomato plant fan leaves that grow out of the main stem first - on the top side of where the fan leaf stem meets the main stem is where a new branch grows. For this tomato stringing method, I'm planting the tomato plants close together, and plucking the branches so the plant rows long and tall up the string like a vine - the large and easier harvest with this method is worth the extra work for me to string up and prune the tomato plants.
 |  |
|---|
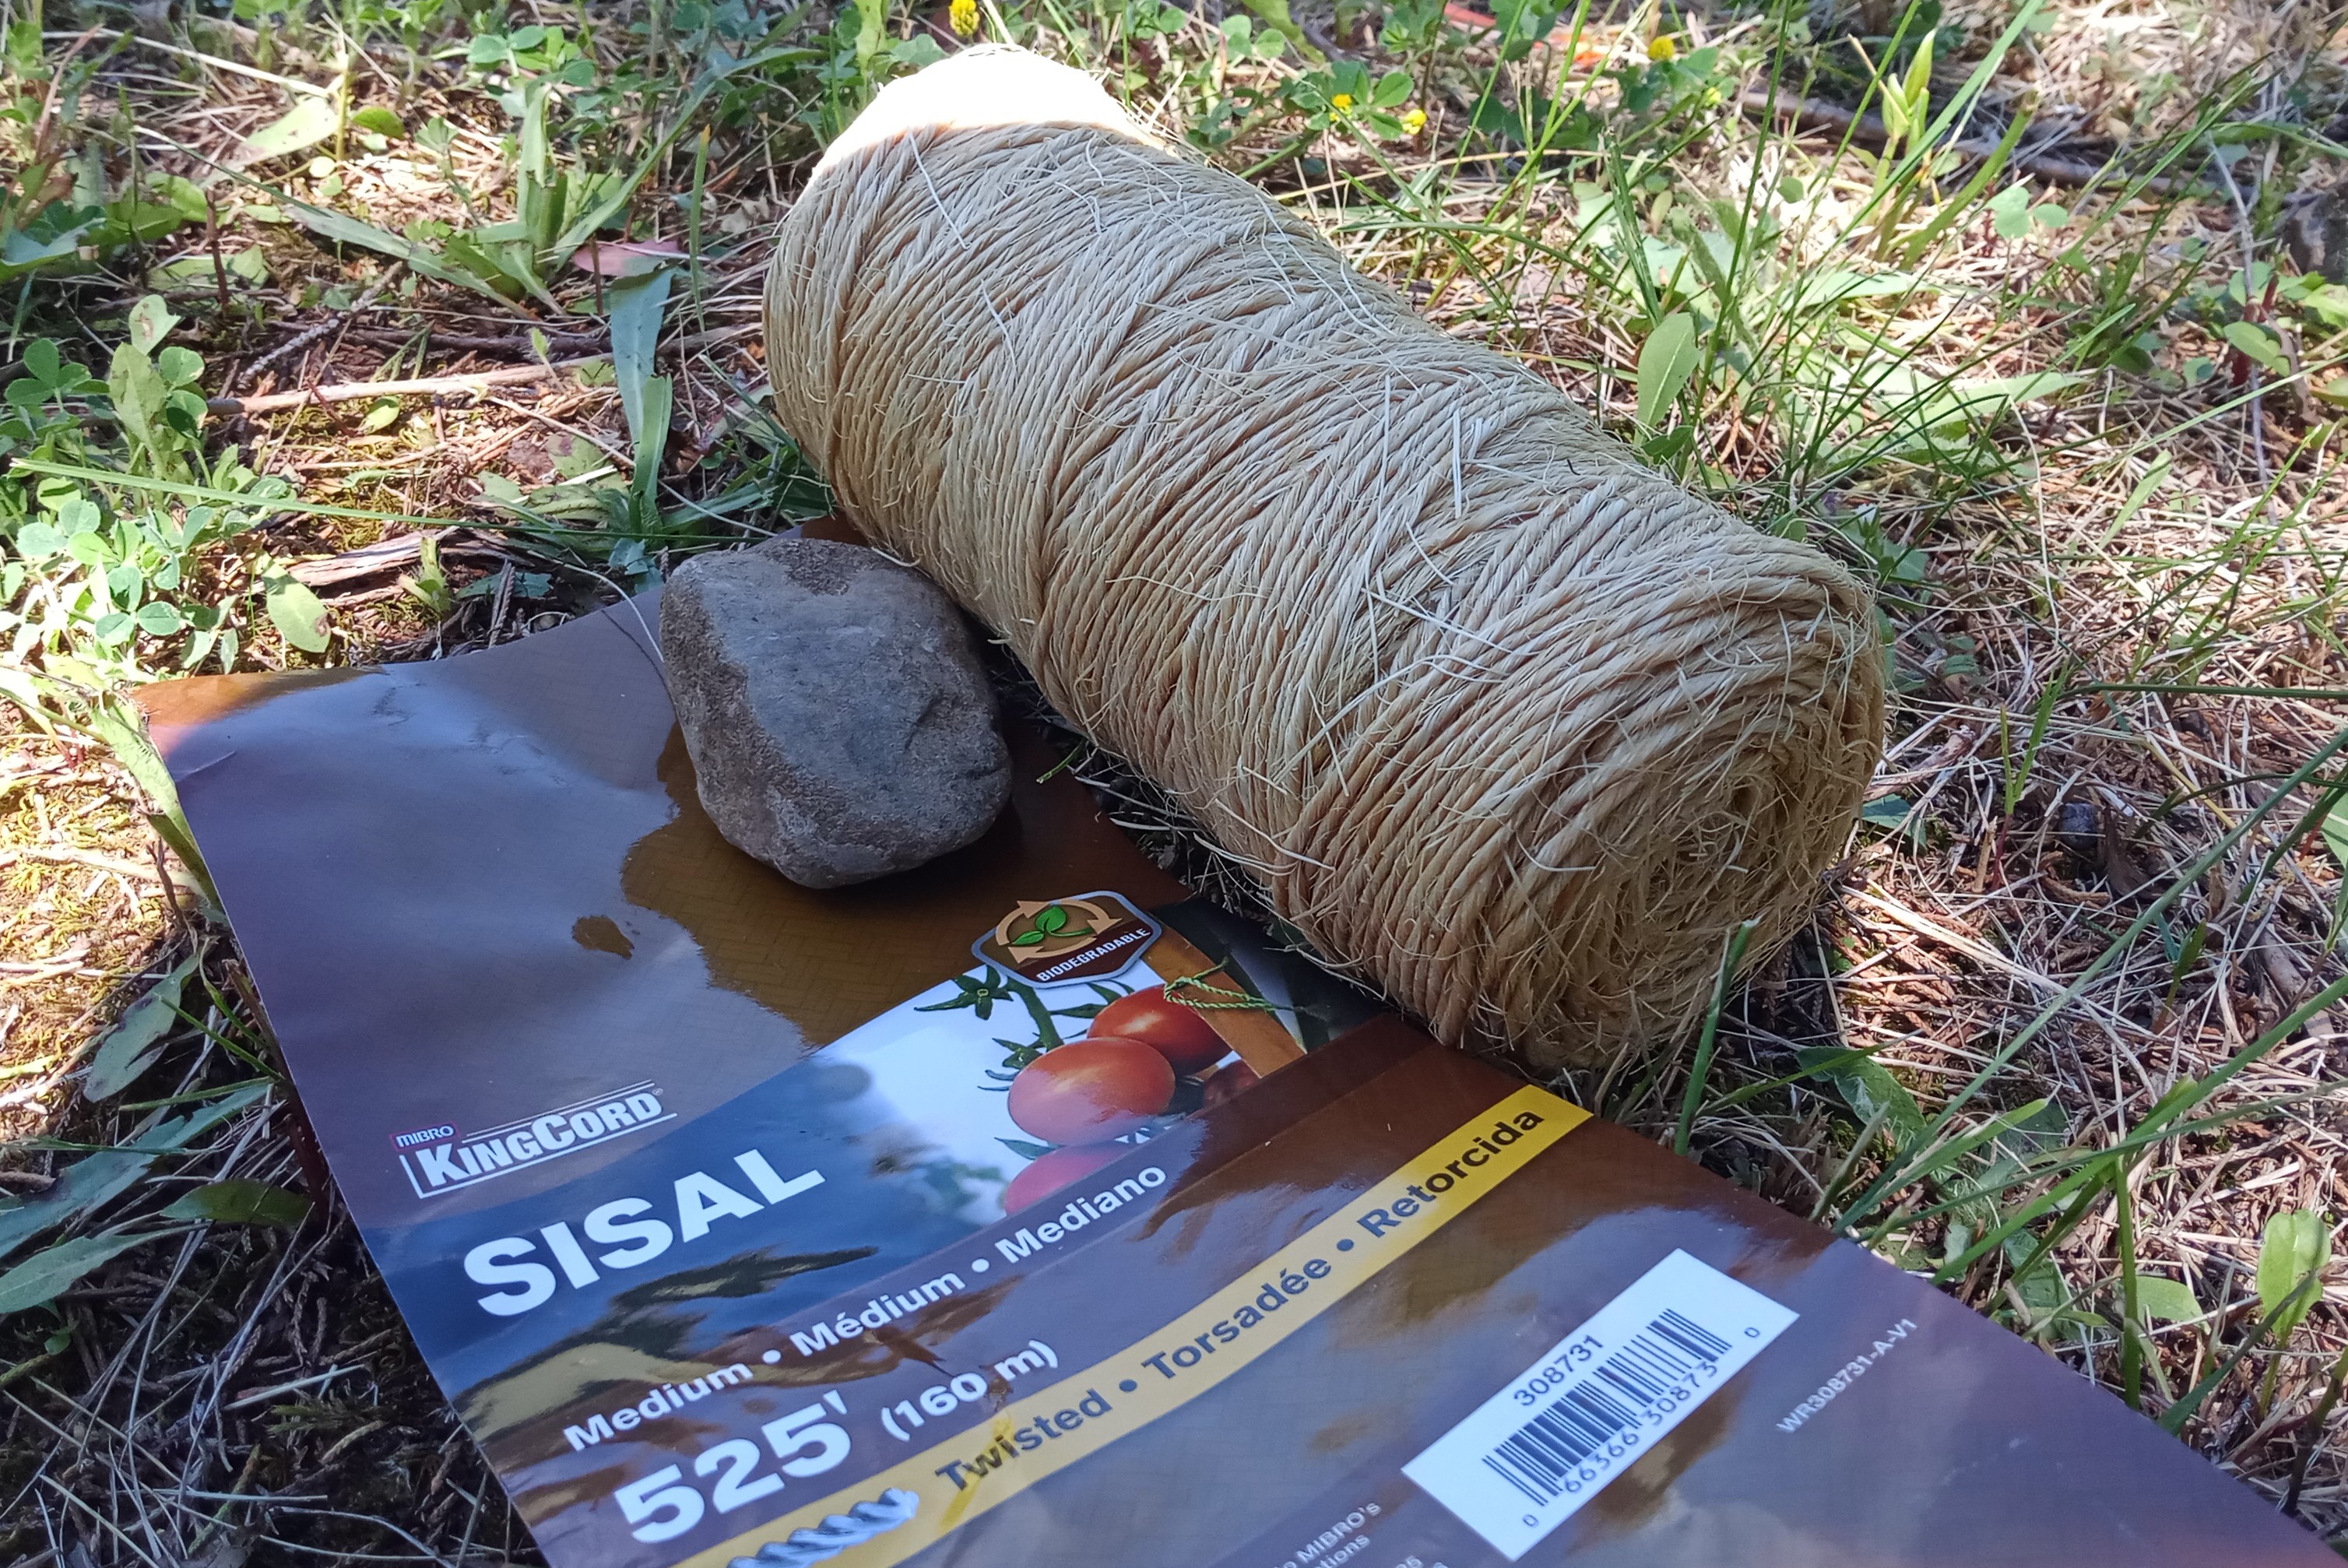
Strung Up with Twine
I'm using twine to string up these tomato plants. The trellis is about 6 feet tall, so each string is about 8 feet long - with 25 tomato plants, that's 200 feet of twine required for this trellis. This standard twine roll from the hardware store is 525 feet long - plenty for this garden, I should have enough for the other tomato garden too.
 |  |
|---|
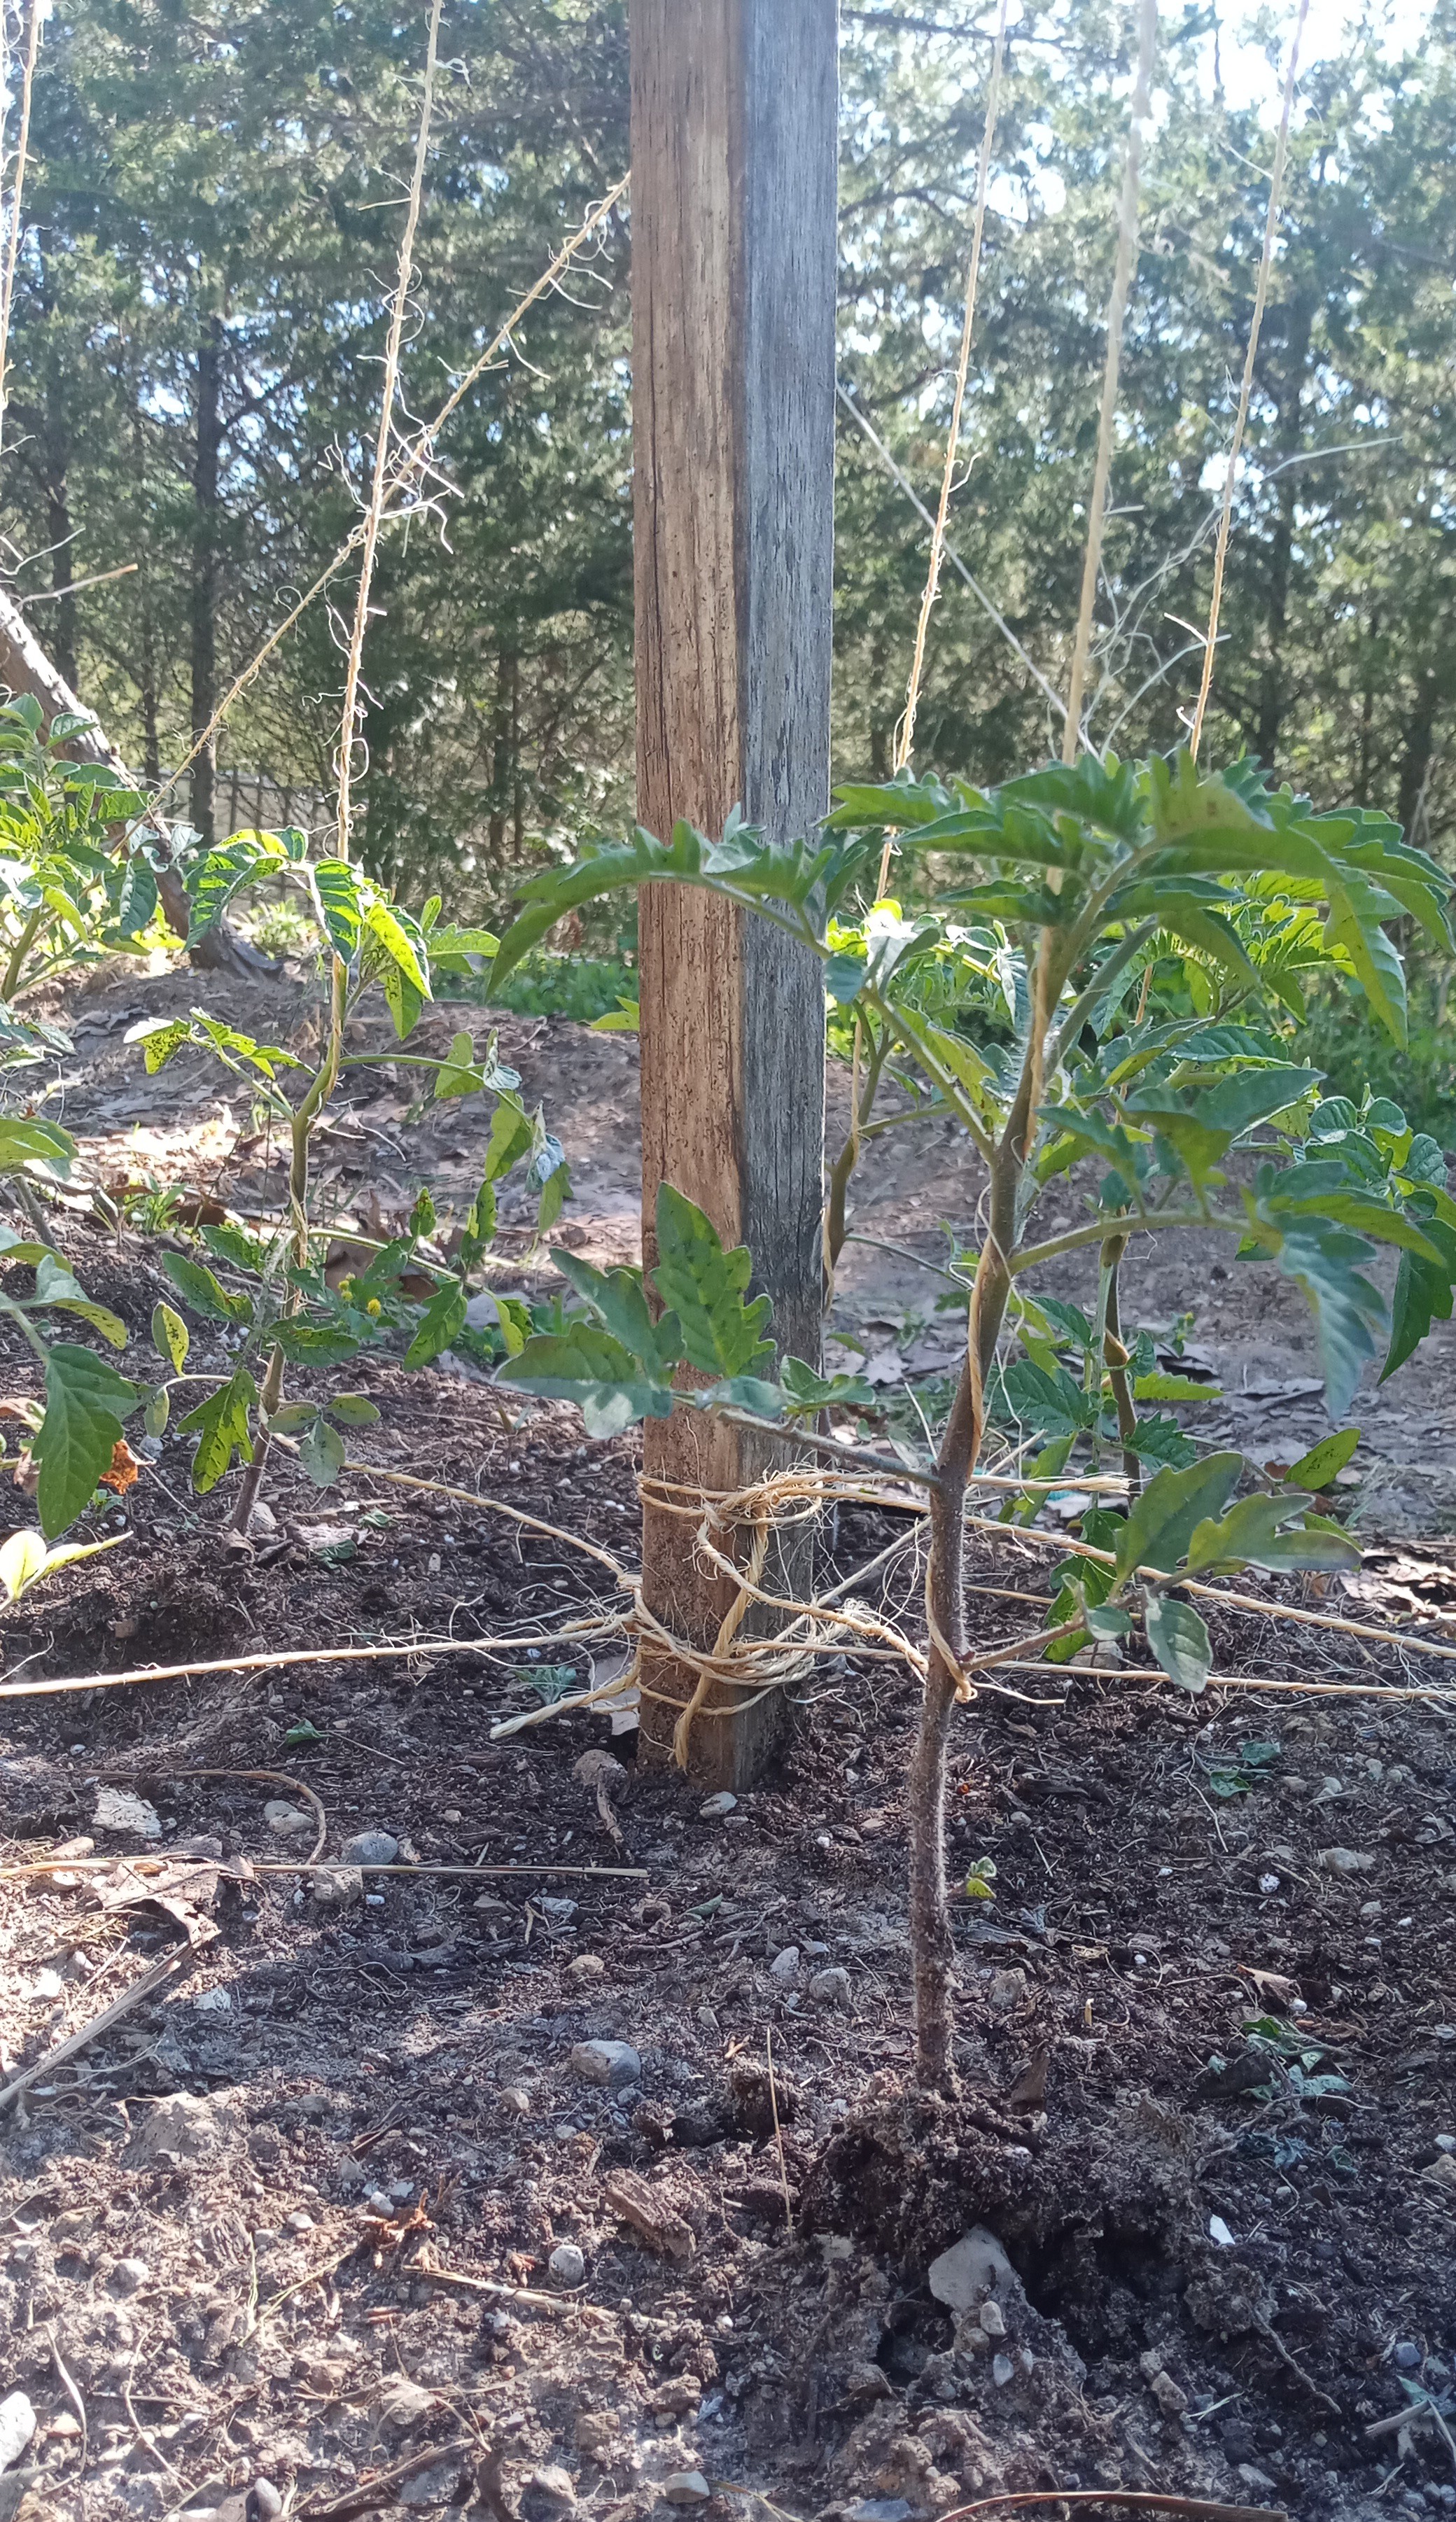
To string up the tomato plant...
First, I tie the string to the stake in the ground, then pull the string over to the just above the bottom of the plant and wrap the string around the plant every branch or so, then pull the string up to the trellis and tie it to it with a taught-line hitch knot, so it can be easily tightened or loosened. I like to make the string tight enough to not have slack, but not so tight that it could be strummed.
I'll keep pinching off the branches (suckers) and wrapping the tomato plants around the strings as they grow.
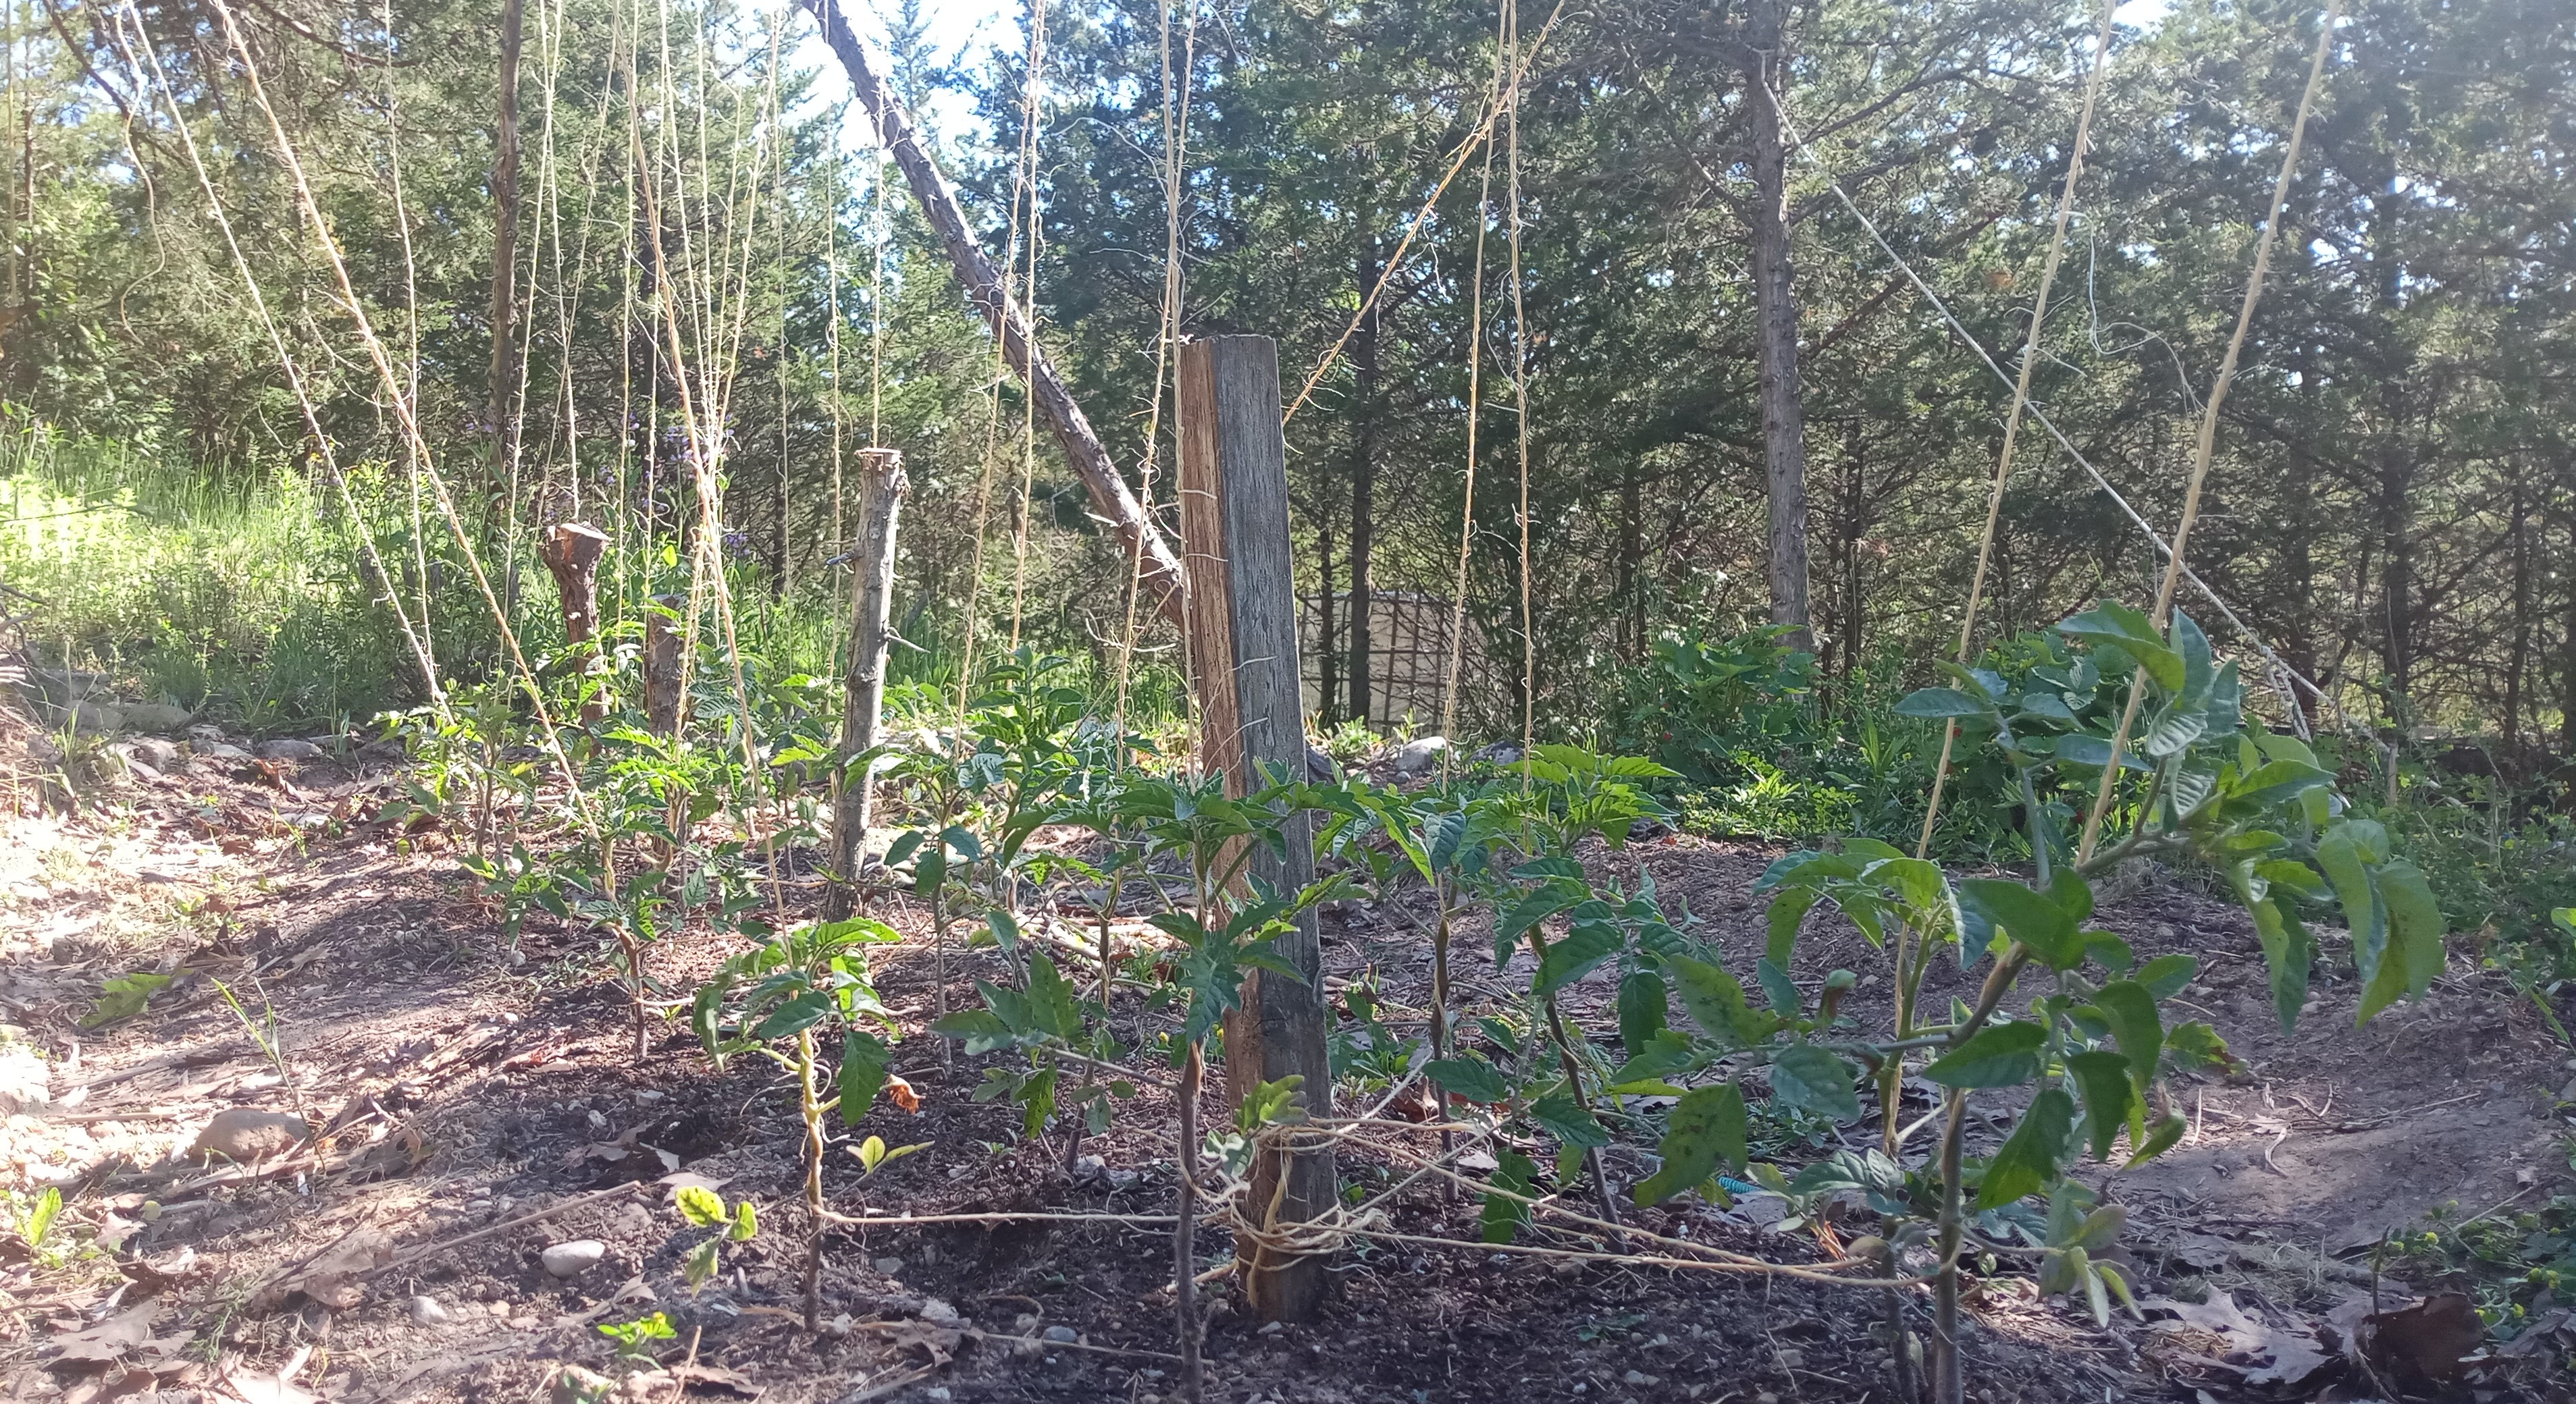
When stringing up the tomato plants, I was sure to spread them out evenly, keeping room to grow, sun exposure, ease of maintenance, and ease of harvest in mind.
 |  |
|---|
The weather forecast here in Southern Ontario shows no rain for 7 days - in a few days I'll give the garden a good soaking with the water from the rain collection barrel. There'll be rapid growth with all the sunshine - soon enough I'll start seeing flowers, and then tomatoes.
!discovery 30
This post was shared and voted inside the discord by the curators team of discovery-it
Join our community! hive-193212
Discovery-it is also a Witness, vote for us here
NOICE!
@tipu curate
Thanks, this is my favorite way to grow tomatoes, it keeps them tidy and off the ground :)
yeah man! nice skills! :)
Hi Jack... nice to see your yard full of those nice goodies. You´ve done a great job. You´re lucky you have the cherry tomatoes on the ground. I could only plant mine in containers. Long time no see on Smoke. I could only post there once in a while, have been too busy moving to a new flat. Keep it up, I just followed you and will be anxious to see how your tomatoes are growing. Cheers!
Thanks, they were happy to get out of those cups and into the soil. I've mostly been on hive and weedcash lately, I'll be sure to post when they start producing tomatoes :)
Nice DIY setup, and more beautiful and natural than tomato cages.