Grow Logs 2019 - Moringa Oleifera
For me, one of the undervalued leafy vegetables is Moringa (Scientific name: Moringa Oleifera). It is actually a tree and in other parts of the world, it is widely known as a drumstick tree, probably because it produces long pods about the length of a drumstick. In the Philippines, it is called malunggay. It is widely cultivated in Asia particularly in India, Thailand, and the Philippines.
It is claimed that the tree is so nutritious it is comparable to other vegetables. In fact, some of its nutritional content are much better than other vegetables or food known to be rich in those nutrients. It was claimed that it contains more potassium than bananas, more Vitamin C than oranges, and three times more calcium than milk.
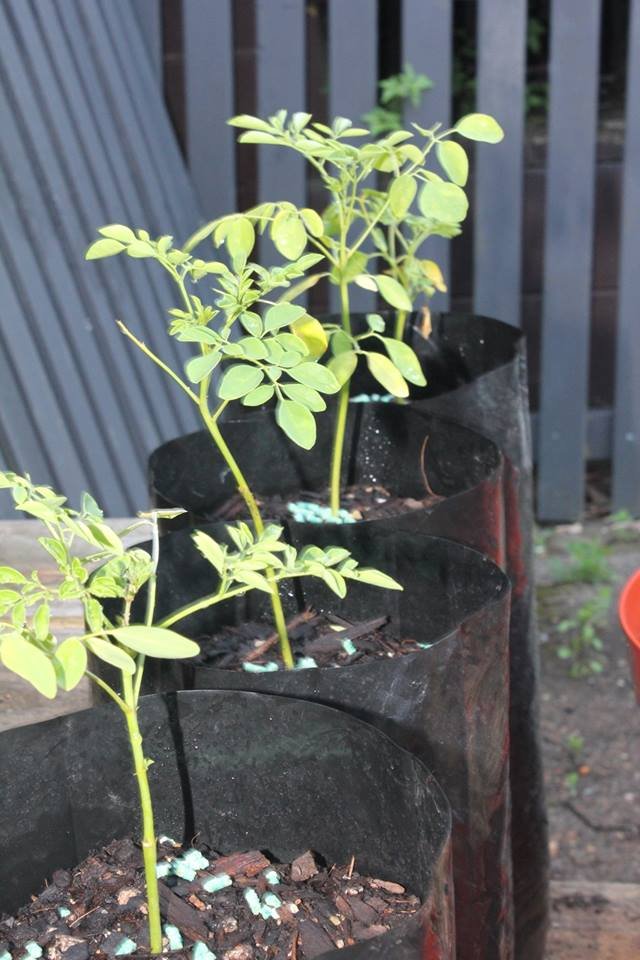
Every year, I usually start germinating my seeds and growing it in the middle of winter (around July), placing my seedlings alongside the fireplace for really hot temperatures. This year however, I started very late. It is already October and I am just on the initial steps in growing it. Hence, I am writing this grow log to show my methods on growing Moringa. I need to confess though, that this grow log might not go beyond having a full blown tree because I sell my Moringa plants (I call them plants this time because they are still small) when they are about two feet in height.
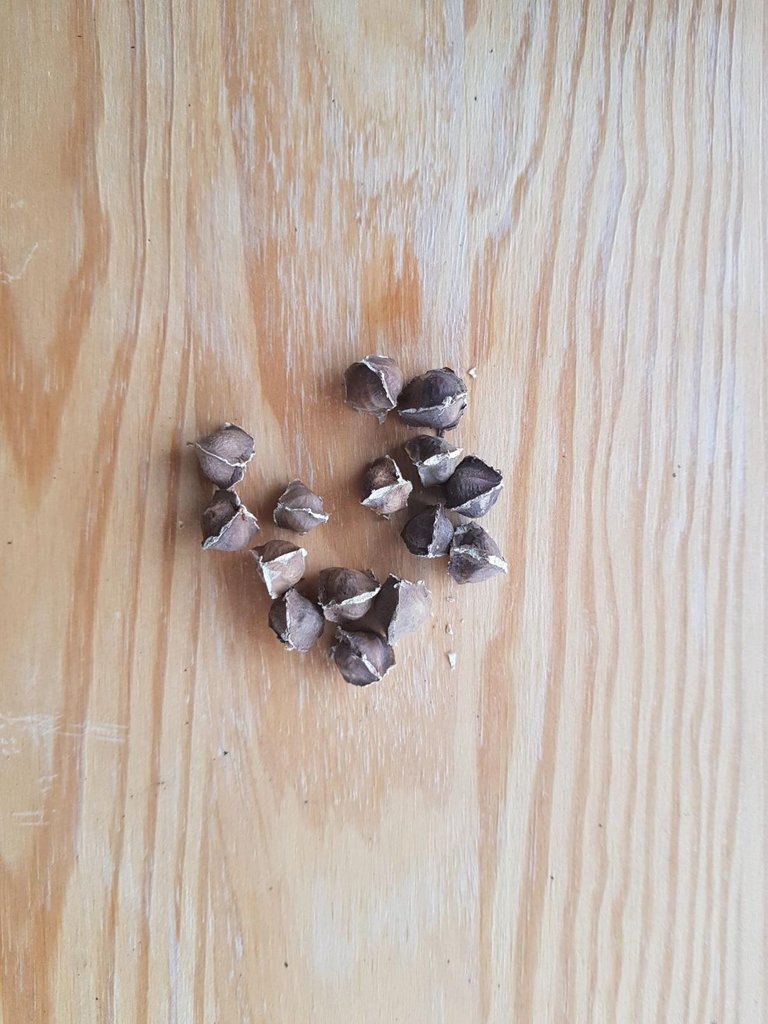
Let’s proceed. The initial step for growing Moringa is to germinate the seeds. Some people plant the seeds directly on the ground. Even in the Philippines, Moringa just sprouts everywhere as birds scatter the seeds. I myself use the paper towel method. So here are what you need: your seeds of course, water spray bottle, a small bowl, a microwave-able container with lid, and paper towel.
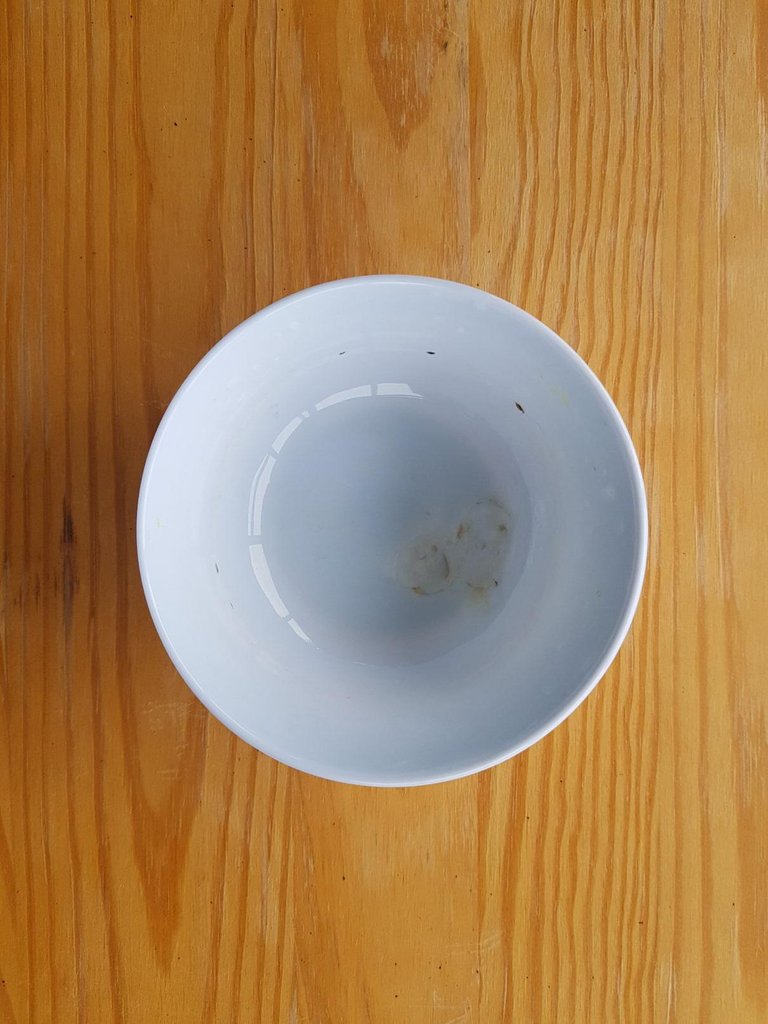
First thing you do is to soak the seeds on a bowl of water overnight. This is to “hydrate” the seeds and keep them moist inside.
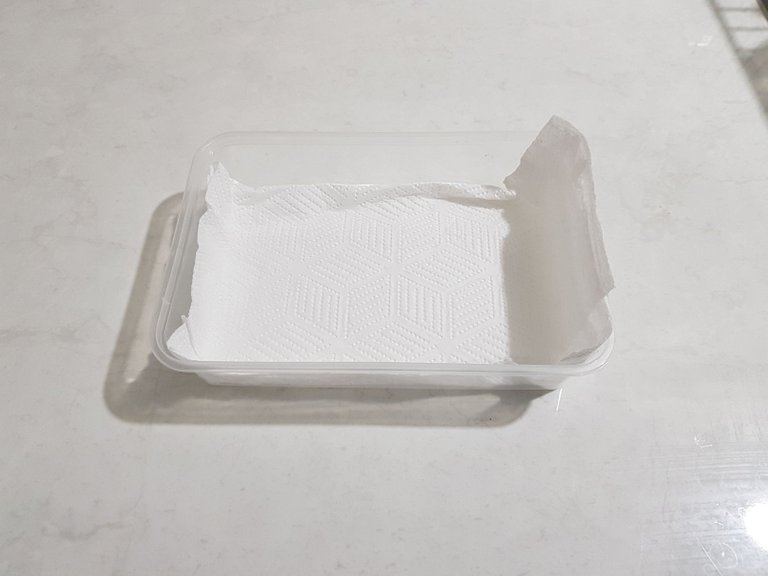
Then on the following day, place your paper towel on your container. You can put two sheets if you want but one will be just fine. Spray it with water to moisten it, but not dripping wet.
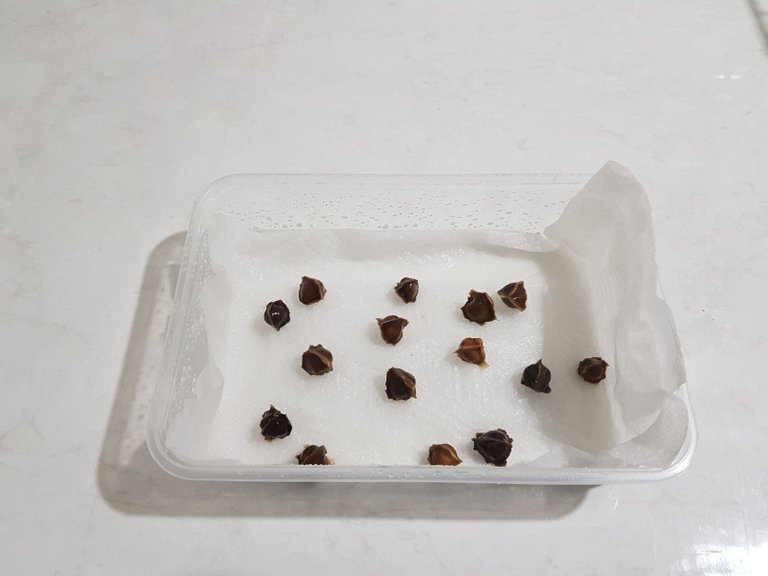
Put your seeds with a bit of spacing inside the container.
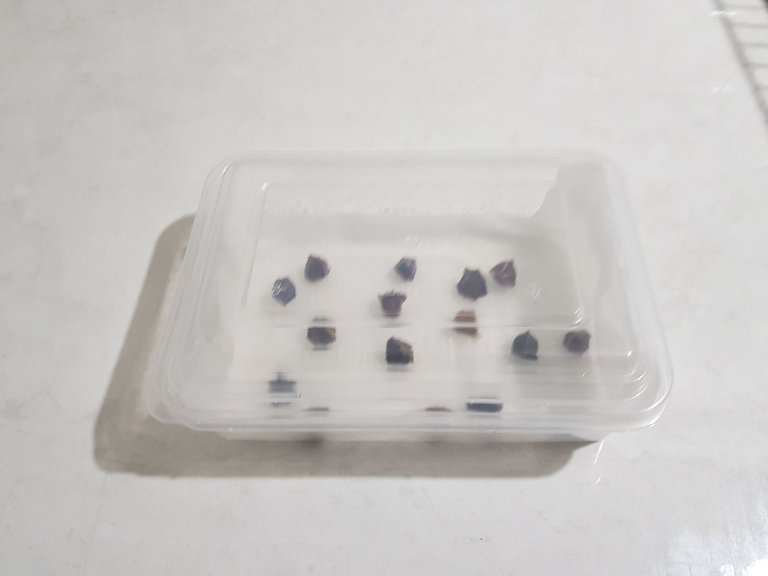
Cover the container with a lid but not air-tight. Make sure that air can still circulate in and out of the container. The purpose of the lid is to make it humid inside the container.
Then put the container inside a cabinet at room temperature. For me, I put them inside the cupboard where my hot water cylinder is, it is a bit warmer in that location which helps in the germination of the seeds. Wait for the seeds to germinate. It helps to check it every day to make sure that there are no molds developing inside the container. If you see signs of molds development, just gently wash the seeds and sanitize the container, replace it with a new paper towel and bring it back to where you store it. If you notice that the towel has become dry after a day or two, just spray it again with water to moisten it.
The next step is to wait until the shell starts to break and germination begin. So that’s all for now folks, I will update this series once our seeds show signs of progress.
Thank you and I appreciate your comments.
A Little About Me
Please feel free to follow my account if you like my post.

Congratulations, your post has been manually curated by @engrave team. Keep up the good work!
What is Engrave | Create a blog with custom domain | Support Us
Thank you for curating my post!
Congratulations @leoneil! Your post was featured on our daily build newsletter! We set you as a %15 beneficiary of our newsletter rewards.
Keep sharing your awesome DIY and How-to tutorials together with the recommended tags.
Thank you for curating and featuring my post!
You've been visited by @minismallholding from Homesteaders Co-op.
I’ve featured your post in the Homesteaders – Living Naturally newsletter.
A community marketplace of ethical, handmade and sustainable products available for STEEM, SBD (and USD): https://homesteaderscoop.com
follow: @homesteaderscoop
Thank you for curating and featuring my post!
This article has been selected and voted by @omnesplantae Content Curator. You have received 1 OmnesPlantae Token (OP)
Visit the discord server for a 360 ° travel experience! https://discord.gg/zd7vFSz
Thanks for sharing:)