The Procrastinator's Guide to Installing a Pool Safety Cover
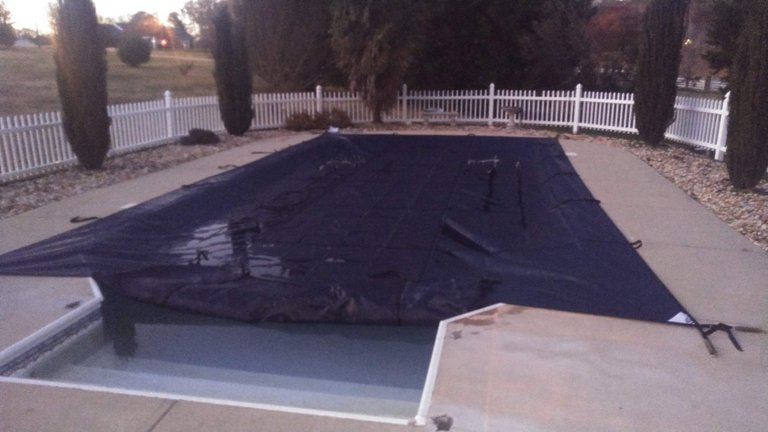
It's that time of year, er, maybe a little past, when you should close your pool. Lucky for us we live in the Southern US, so we've gotten a little reprieve from the cold weather for now. This gives us time to close our pool properly and keep the pipes from freezing up solid when the sustained cold hits later in the season. In addition to some other issues we'll run into, we didn't have a cover for this thing when we moved in. We wanted to have a safety cover on there in case, got forbid, the kiddos decide they want to hop the fence and jump in the pool, so that's what this post will be about, installing the safety cover on our pool.
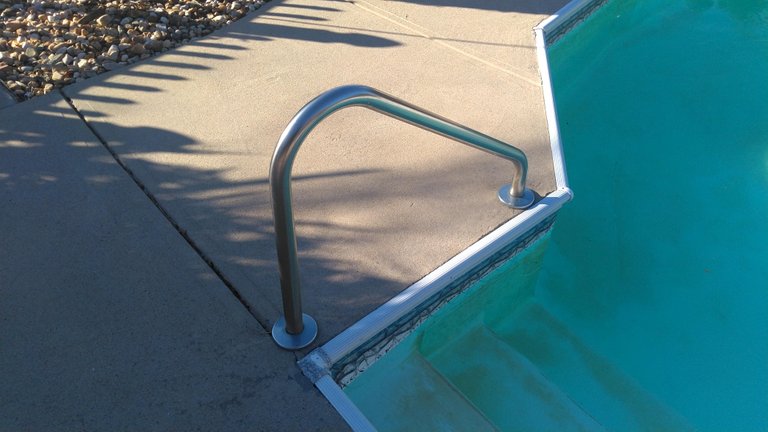
First order of business is getting these railings and the ladder out of the ground since they're in the way. Easier said than done. The mounts used to hold these in have a bolt that pulls up a tapered nut to clamp the tube, and theoretically loosening the bolt should allow the stainless tubing to pull out of it.

However, these mounts are made out of aluminum. While aluminum is resistant to most forms of corrosion, alkaline solutions will attack it and cause it to oxidize. It just so happens that the chlorine used to keep pools clean is one of those alkaline solutions that will oxidize aluminum, and boy did it ever!
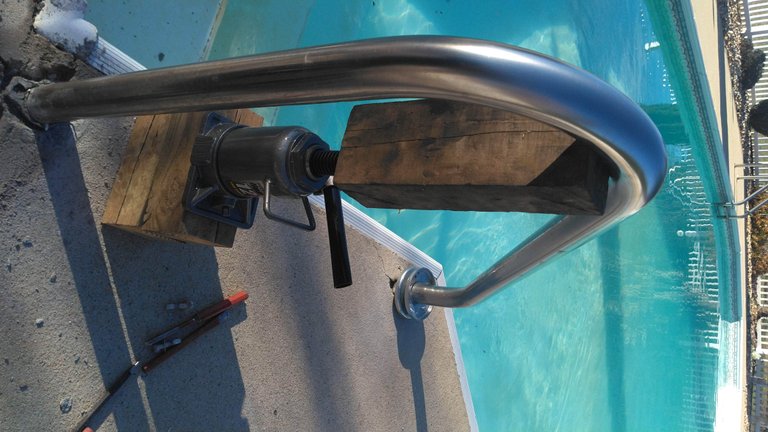
As you can see here, I couldn't even get the railing to come out even while pushing up on it with this bottle jack and working the railing back and forth repeatedly. It was just frozen in solid. I didn't want to push too hard and risk damaging the railing.
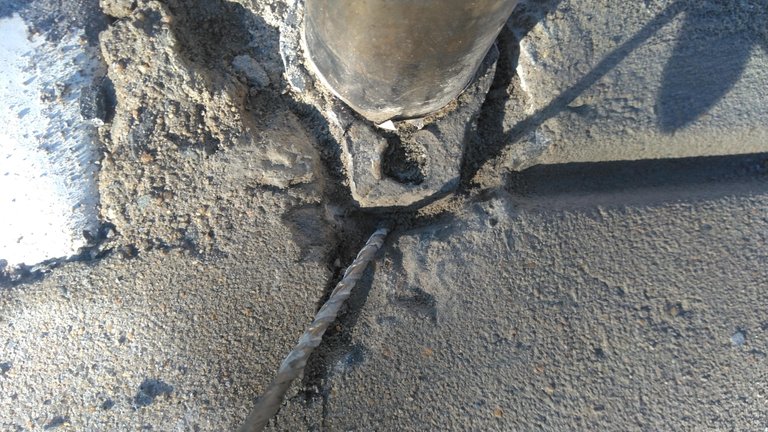
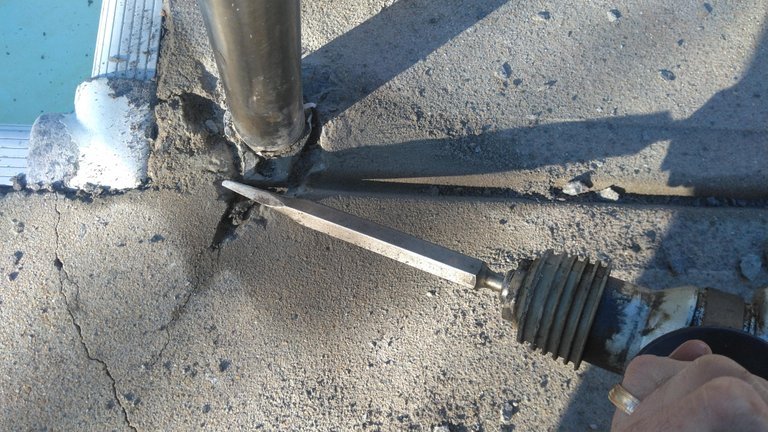
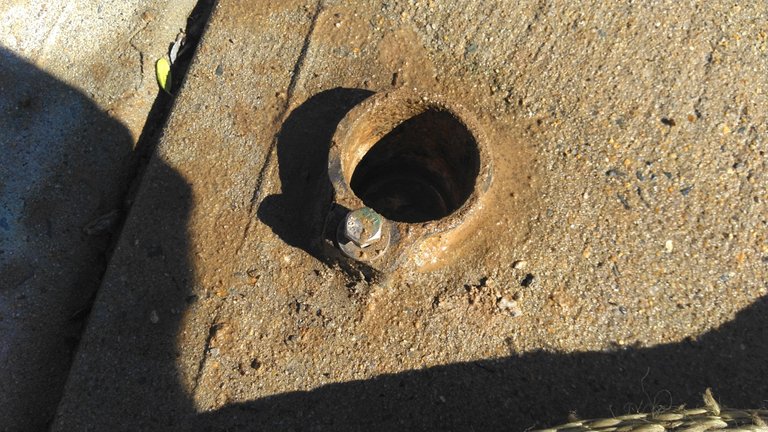
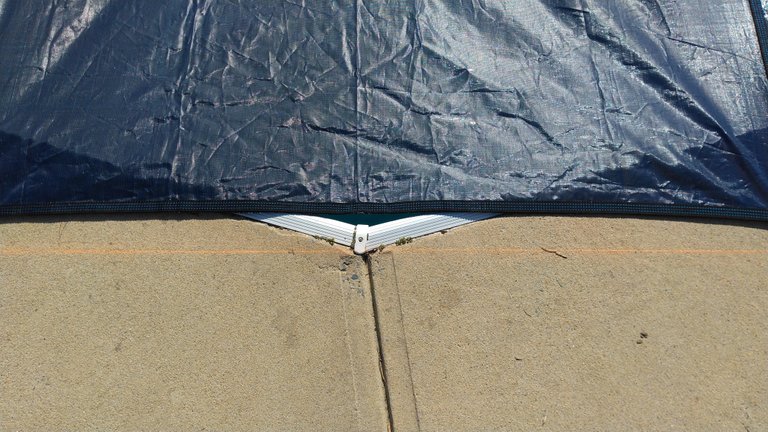
So I decided to remove the whole mount from the concrete. I'll just replace these ones with stainless mounts and cement them in next spring. I went out and got a quarter inch bit for my rotary hammer to drill holes around the mount, then I followed it up with just a chisel to break up the concrete in between the holes. The goal here is to destroy as little of the concrete as possible while removing these so that the repair can be mostly hidden under the little trim piece that goes over the base.
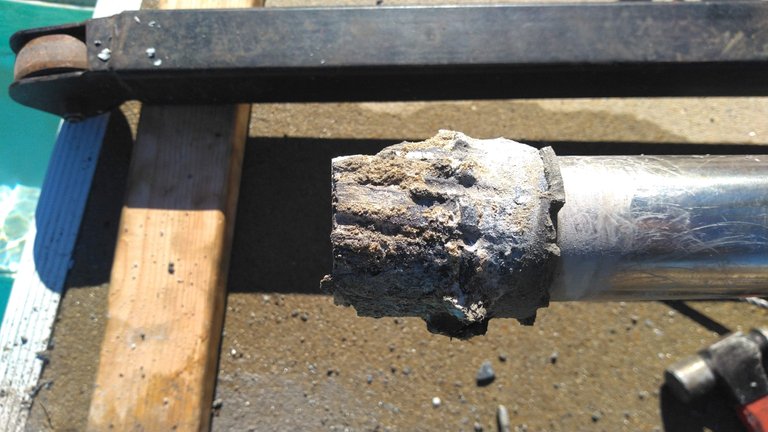
Here's what one of them looked like. I tried to remove every one without doing this, but three of the six needed to be drilled out like this one.
This is the only mount on the handrails that I was able to work the railing out of. You can see why the other ones stuck though. The whole inside of this one was just packed with aluminum oxide.
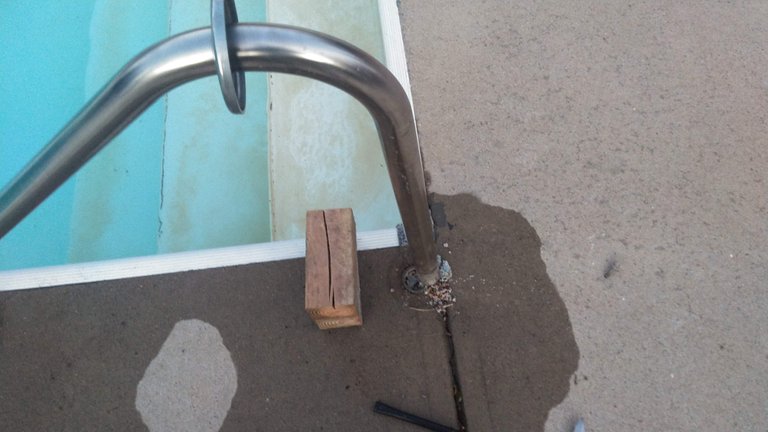
About halfway through this job I came up with a better way of lifting up on the stainless tubing that the hand rails are made out of. This puts more pressure straight up on the rail and doesn't bind as much. This particular mount still needed drilling to get it free. I used the same method on the ladder, which must have been installed more recently because both sides came out without the old hack and slash into the concrete.
There wasn't really any build up of corrosion in those ones either. This is pretty much what it looked like when the ladder came out, although I might still remove these since it required a literal ton of upward force combined with a decent amount of sweat working the ladder back and forth to get these to come out. I don't want to have to deal with that problem again next year. All told, what should have taken less than a half hour took me about a day's work, so it's probably a good idea.
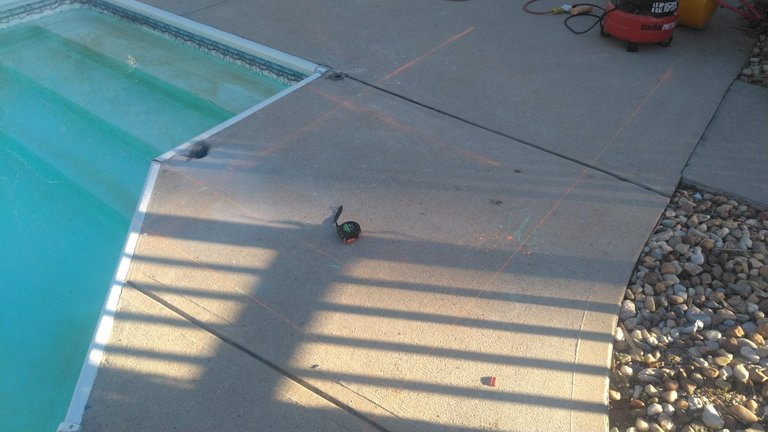
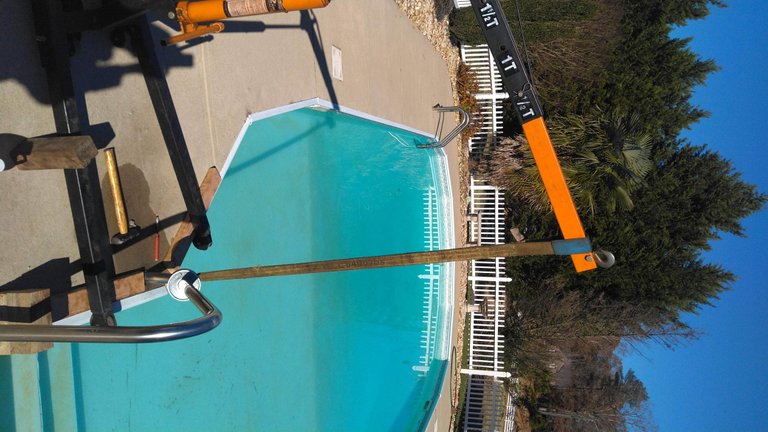
With that stuff out of the way, now for the actual install of the cover. We started by laying the cover out on the ground and taking its measurements. Here you can see the chalk lines I had my wife help me lay out on the concrete to determine where the mounting holes should be drilled.
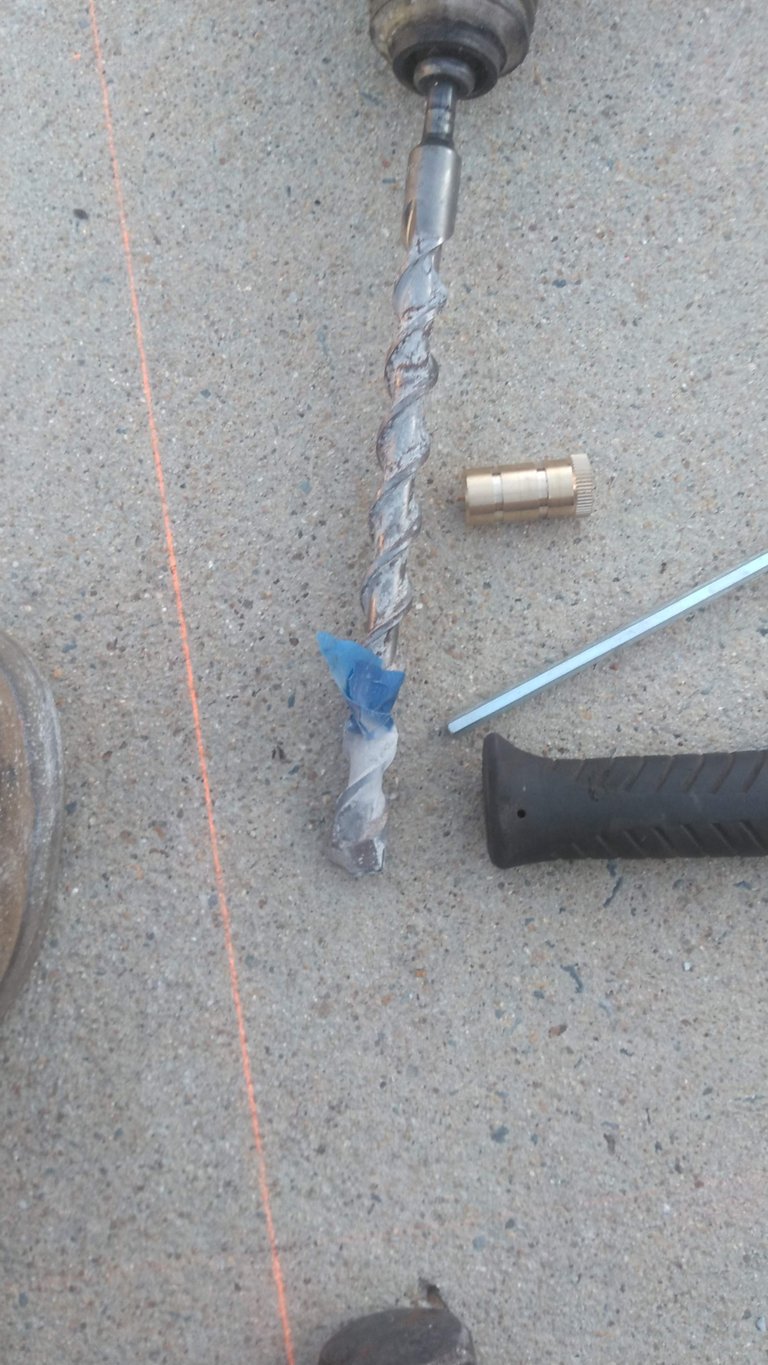
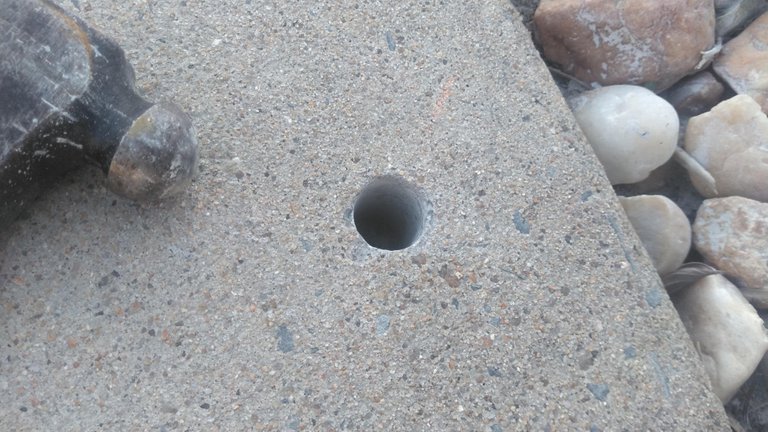
I already had this 3/4" bit from the lift install. I used the old tape depth gauge technique. The instructions said not to drill them too deep, but with the shoulder on the anchor, I don't think it's possible to sink them much deeper than flush unless you're really trying to. The little portable compressor Frankenstein thing I did last week came in handy here. I was able to just carry the whole setup outside and plop it next to where I was working to blow away all the dust in the holes that I drilled. Very handy.
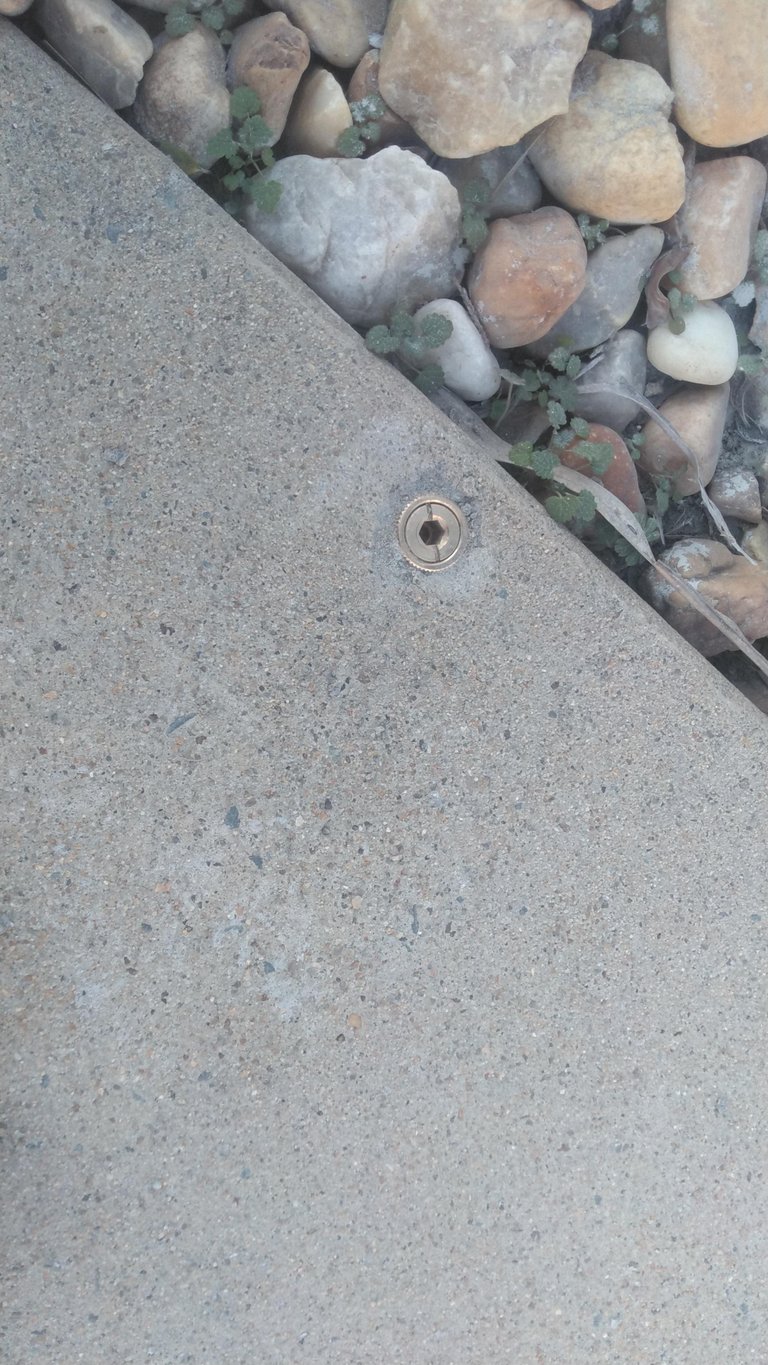
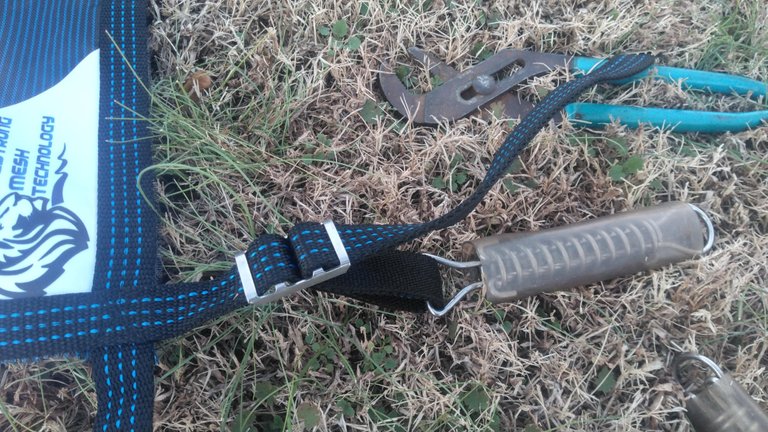
Here's the first anchor driven into the hole. The instructions said a block of wood could be used here, but I didn't find that to work very well. The anchor still stuck proud of the hole when I hammered it in with a block of hardwood. I found the best technique was to drive it most of the way with the wood so as not to mar up the brass, then put the face of a hammer on the top of the anchor and hit that with a second hammer. It seemed to work pretty well without damaging the anchor. I repeated this eight times to be able to mount all four corners.
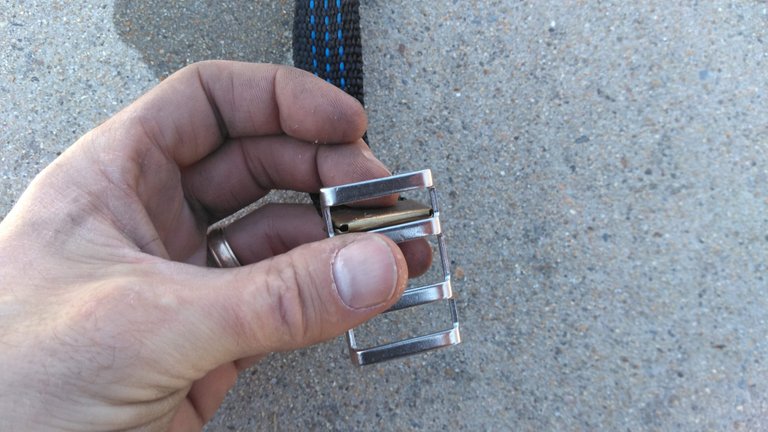
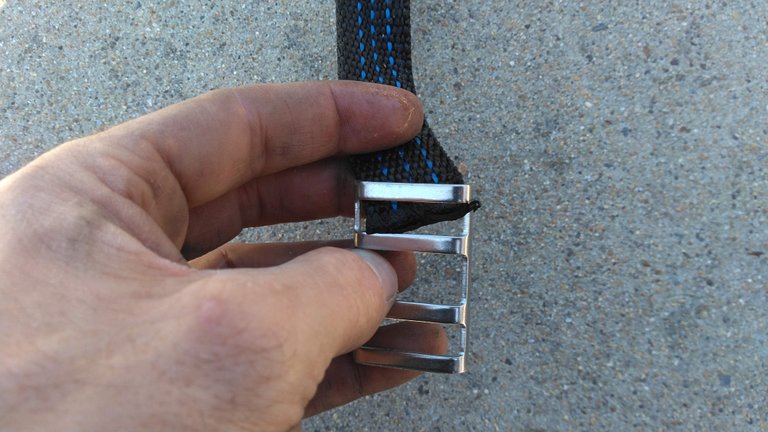
When I went to install the mounting springs on the cover straps, I found that these brass keepers were too wide to fit through the buckles. After playing around for a bit trying to narrow them with a pair of channel locks, I found the quickest technique was to just remove the keepers, thread the strap through then put the keeper back on to avoid fraying of the straps.
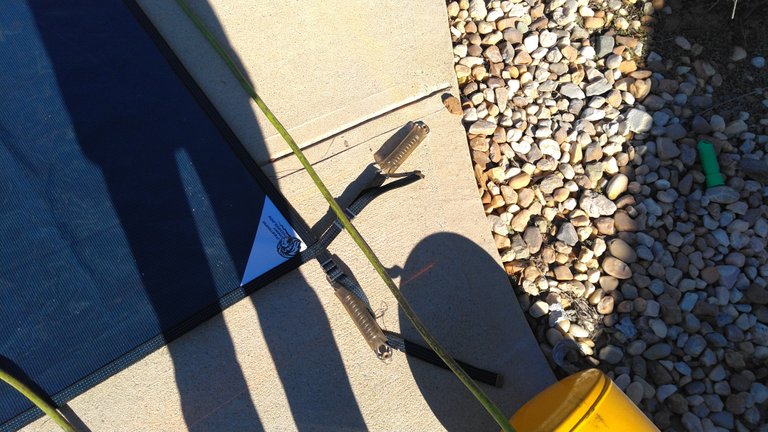
As you can see in the top pic I was a little off on my length because of how much the cover ended up stretching compared to when it was laying on the ground. This worked out good though because I had measured wrong by a couple feet when we were ordering the tarp, and without this stretch we were about a foot shy from end-to-end.

I did the rest of the end straps first just to make sure my side straps weren't so far off like on that one corner. With everything stretched as far as I could get it, this is how little my room for error was. They design these covers to go over the edges by two feet, so lucky for me my error was only this exact amount because otherwise a gap would have been there for garbage to fall in over the winter, partially defeating the purpose of the cover. Whew, close one!
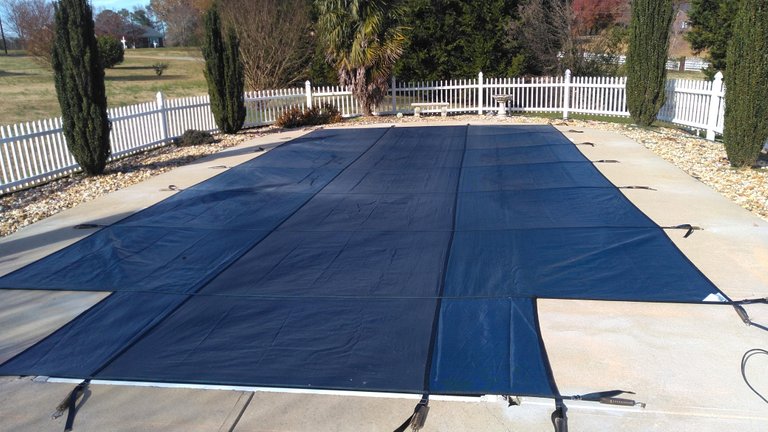
Done! With the ends all stretched out, I drilled the rest of the holes and installed the side anchors and springs. This is the final result and I'm happy with it. I wish I had gotten this done sooner but better late than never. Next step will be to get the water properly treated, partially drain the pool and get the water out of the pipes to the pump and filter so nothing explodes from freezing. Until then, Steem on!
Looking at your pictures and reading the text makes me feel totally confident I could so this myself...I don't have a pool, but if I did I'be be set! 😁
Good post, keep it up!
Twitter link I made to this post https://twitter.com/RandR10/status/1199476409019850752?s=20 #posh