Getting Mowed Down
In principle, an internal combustion engine from a lawnmower, an automobile, a motorcycle or heavy equipment is roughly the same, right? While this may be true, there are significantly different manufacturing standards and practices between all of them. I've spent quite a bit of time working on cars, pickup trucks, tractors,and even recently medium duty trucks. One area that I have very little expertise in though is small engine repair. There are mechanics out there that this is all they do, since small engines are their own little niche, and manufacturers kind of do their own thing.
Well, this story is about me stepping outside my comfort zone a little bit and working on the small engine on my lawnmower, and the shit show that followed. I usually like to blog about my DIY projects that are successful, but I thought since I was out of my comfort zone already, I'd share this little debacle so that people can see what DIYing is really about. It's not all peaches and cream, and it's not for the faint of heart. You will make mistakes if you DIY. Sometimes you'll make big enough mistakes that it would have been less expensive to hire someone to do the work for you. You really do have to enjoy this kind of work and the learning experience that comes along with it. Over the long haul, it may save you quite a bit of money, but it will cost you just as much time, and so you must love it in order for all of this to be worth it. Here's an example of one of those times that it goes wrong.
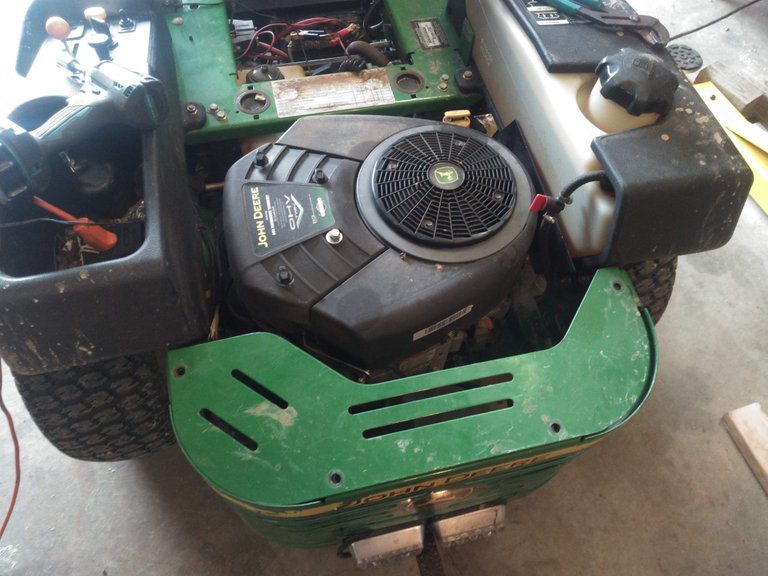
The problem I was having with this mower is that it wasn't charging. I did some basic stuff like check the fuse and use a multimeter to check that it wasn't charging as opposed to a bad battery. That all checked out, and since I didn't know where all of the components were, I looked them up and found that they mount an alternator coil underneath the flywheel on this type of engine, so I started to take the machine apart to get to that.
This meant removing the air cleaner.
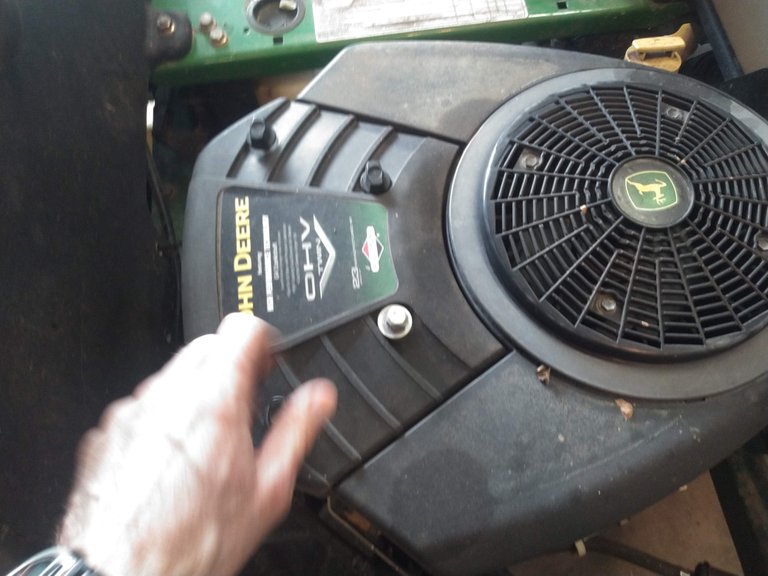
This access shield.
And the shrouds.
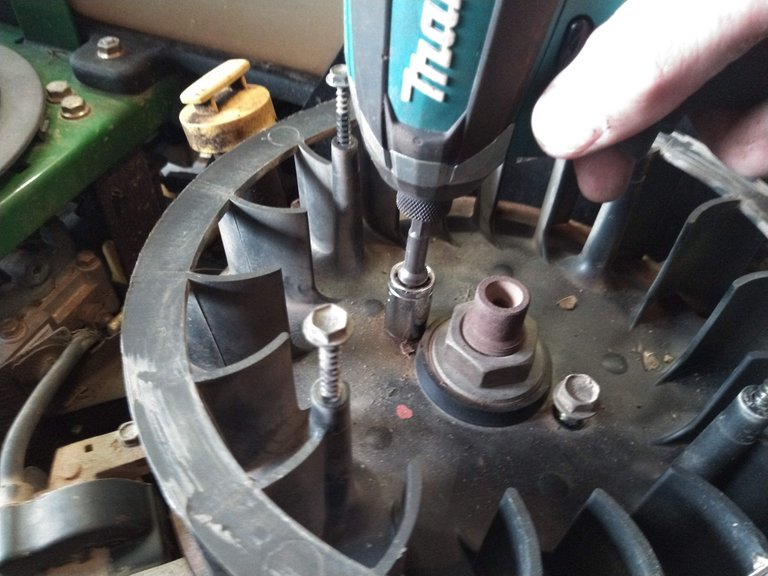
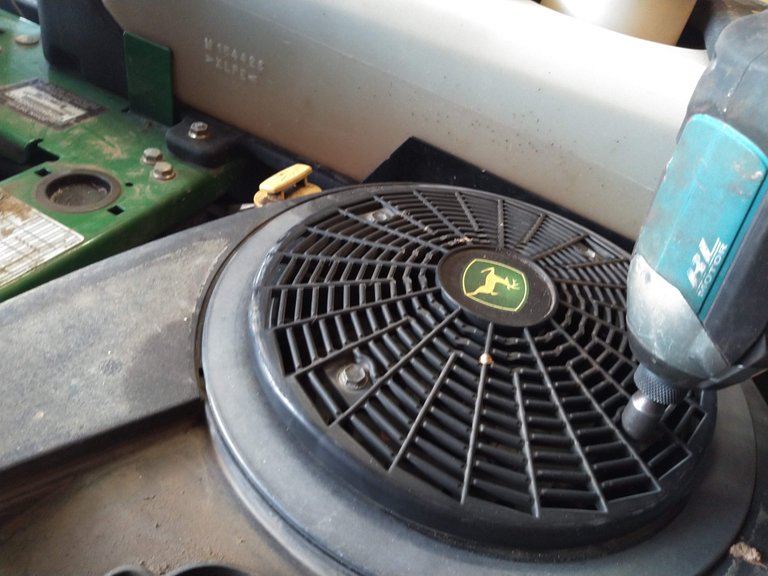
Then there's this cooling fan mounted to the top of the flywheel.
And the flywheel itself. Everything was going swimmingly at this point.
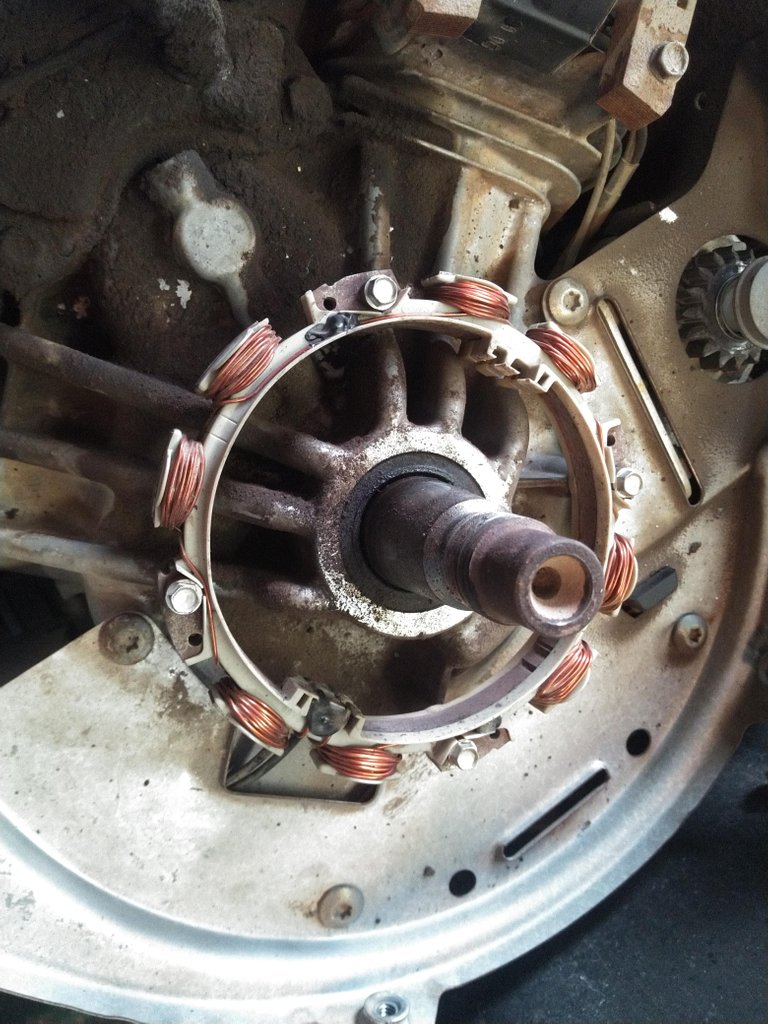
The coil you see there around the crankshaft is actually the alternator. I pulled it off and took a look at it. With my limited knowledge of electric motors, I deduce that if those coiled up wires are all intact and the connections to the output wires are in good shape, then this thing should still work. Other than some dirt the coil looked like new, so I figured, okay, I'd better test it directly.
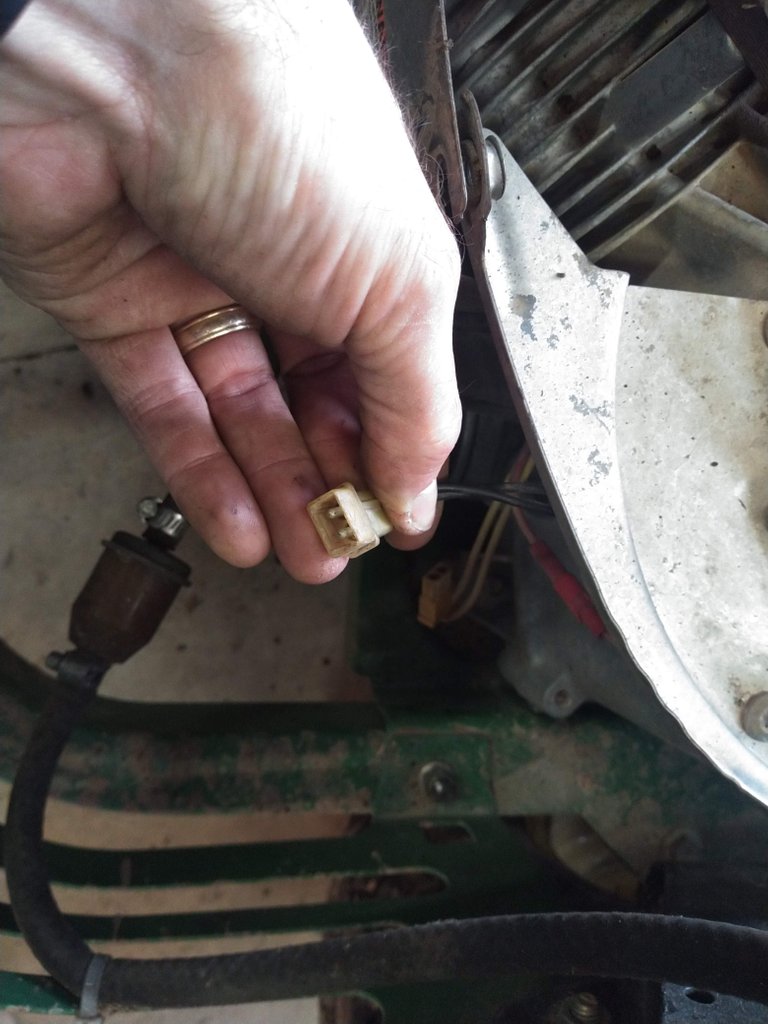
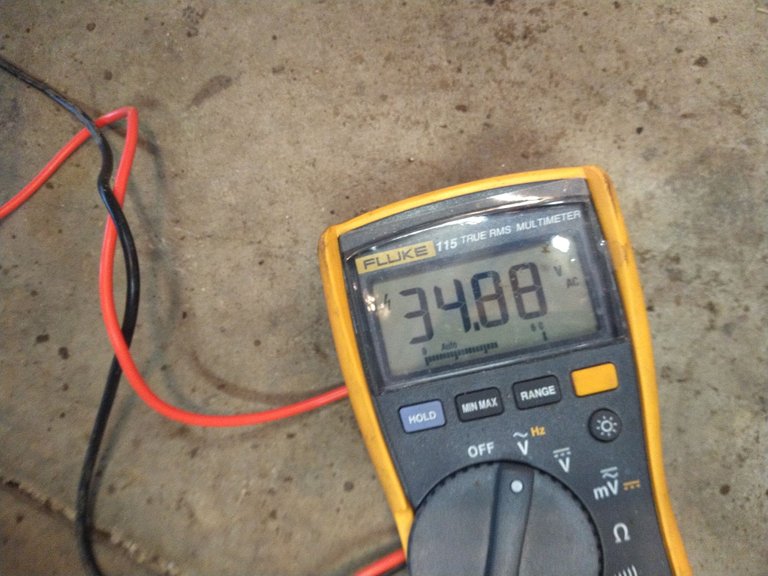
This is the output from the alternator coil, and some further research told me that this was an externally regulated alternator like on the old Fords and many tractors I've worked on, and that it should put out 30+ volts AC when tested at these leads.
Okay, so that was a waste of time. I was thinking bad voltage regulator at this point because I've got good AC voltage. I snapped the connector back together and hooked up my meter set to DC and checked the output on the voltage regulator. Only 1.5 volts. Should be more like 14 volts Must be a bad regulator I thought, and went and ordered another voltage regulator online. While I was testing this though, I noticed another problem. The engine was running really rough and only seemed to be firing on one cylinder. After further inspection I noticed that the key on the flywheel sheared after I assembled it and the flywheel rotated enough that it was way out of time on the ignition. The ignition on these engines is essentially a permanent magnet on the flywheel passing by a coil which in turn energizes the coil with high voltage that can then be transmitted to the spark plug to spark ignition. If the flywheel is clocked wrong on the crank, the engine can't fire at the appropriate time. My flywheel was about 20 degrees out of time, so I'm surprised it ran at all.
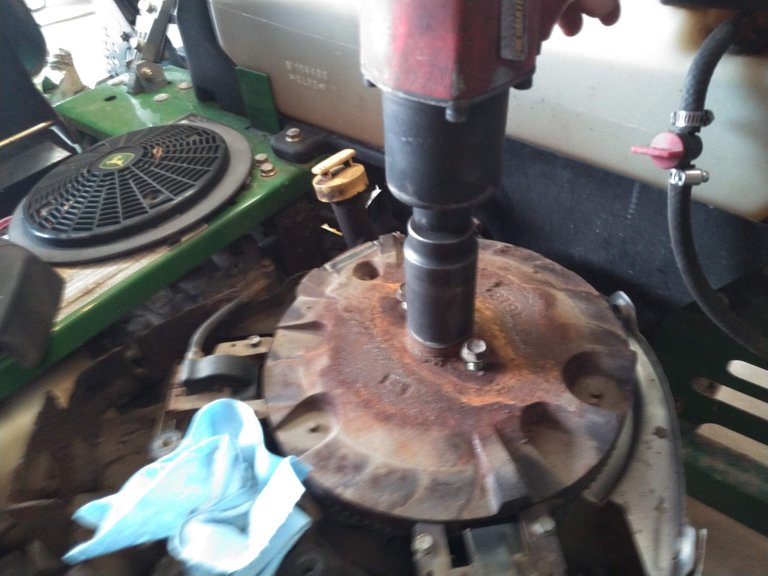
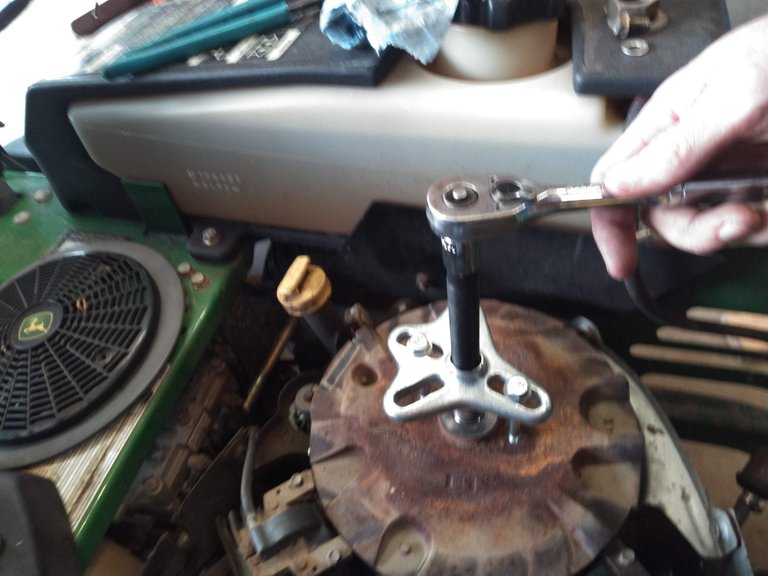
So, when I saw that it had a sheared key, under the assumption that the key was a standard square key like you would see on an electric motor, I got out my key stock and made one to the same length as the sheared one. When I put it together however, I found that the flywheel didn't want to tighten down easily. Instead of stopping and cautiously checking everything, my bright idea was to torque it down full ugga duggas with the impact wrench. This was a very bad idea.
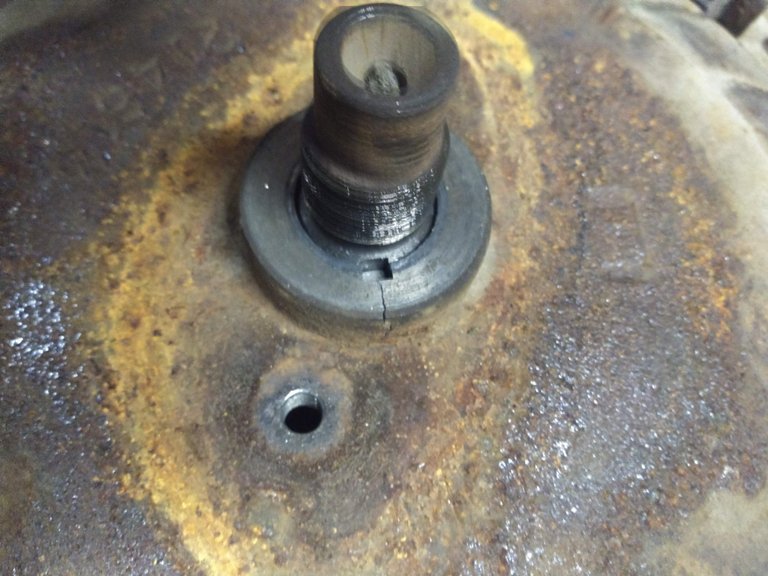
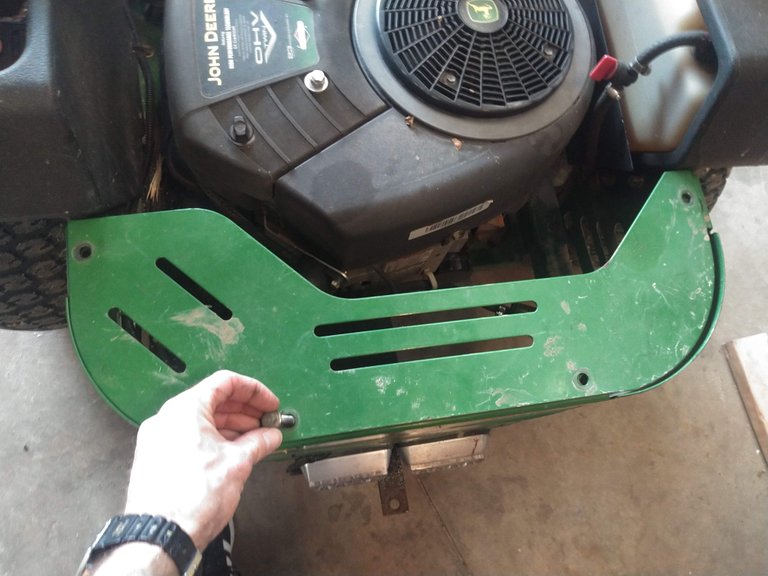
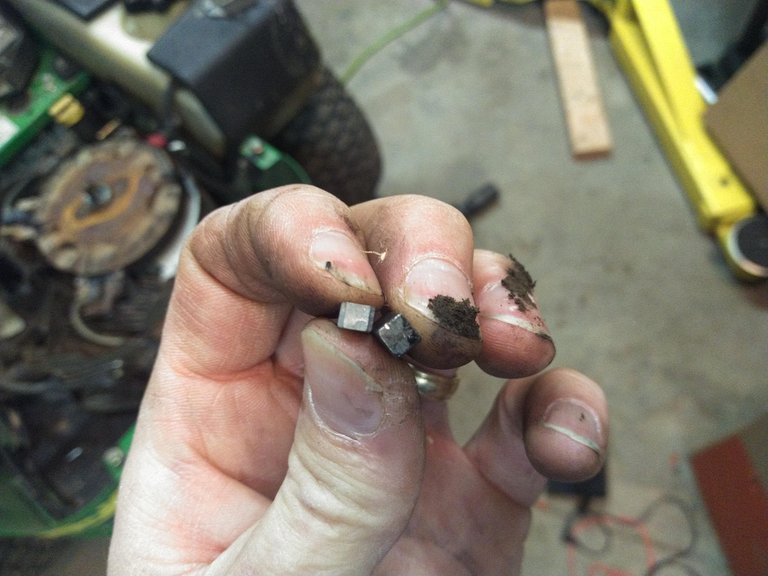
There was something inside of me that told me I had just made a horrible mistake, and so I pulled the nut back off to see what was amiss. That's when I found this. Notice that little hairline crack there? Yup, I cracked the shoulder of this flywheel casting putting it together. I went inside, did some research, and found that they don't use square key stock on these small engines. They use key stock with a rectangular profile that's specific to this application (see the two keys side-by-side in my hand below). So, that evening I went inside and ordered some new keys, not just one, because apparently these are designed to shear if you hit a root with the mower and stop the engine dead. It saves the crank from being bent or cracked by the inertia, so I wanted to have some spares on hand if this ever repeats itself. I also started hunting down part numbers and I was luckily able to find a flywheel for only $30 on eBay. Whew! That's a $7-800 motor so I was sweating it a little until then.
So a few days later I got all my parts and slapped the new voltage regulator on there, flywheel installed with the proper key, and the mower was still not charging. Still getting 1.5 volts output from the voltage regulator. A bit more research showed me that voltage regulators don't put out proper voltage unless they're under load, so since I had the wire disconnected from the battery, I wasn't getting voltage. Since I had verified that the fuse was good, I figured it must be the wiring that had a break in it, so I went about tearing the entire wire harness apart to find the break in the wire. I couldn't find any problems. A continuity test showed that there was no break in the wire all the way up to the fuse block. I was getting pretty frustrated at this point because even the fuse tested good. Since everything was apart anyway, I went back to the fuse block and completely removed it from the chassis for inspection.
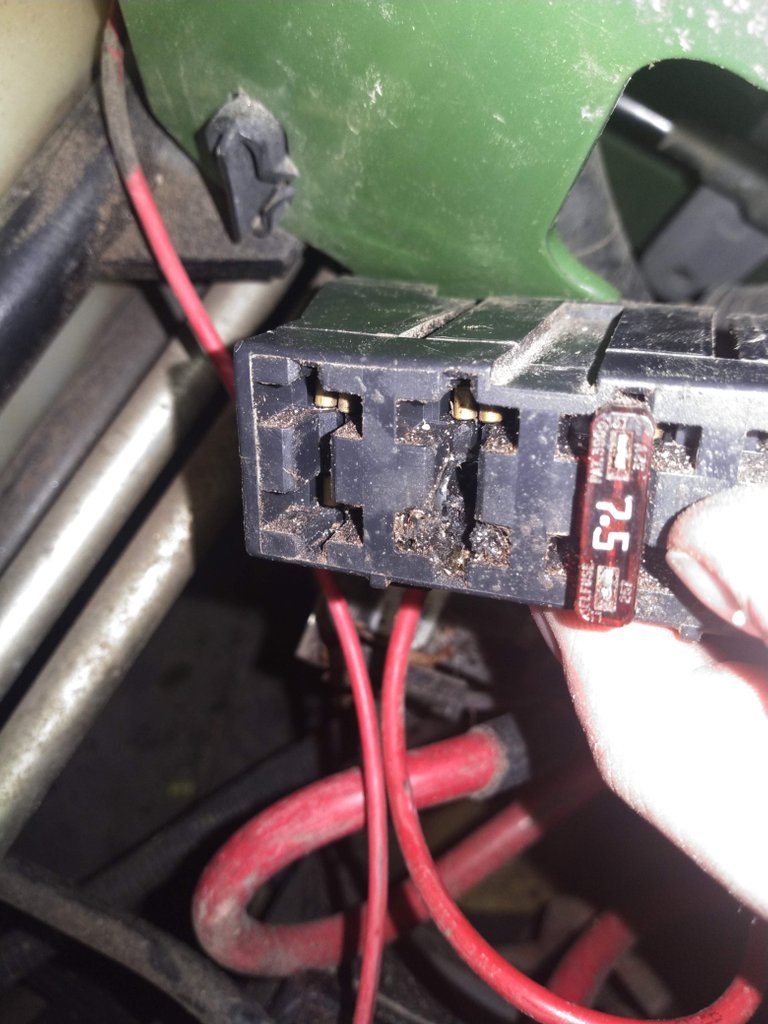
Here's what I found. That second fuse position from the left is the one for the alternator charging lead. Down in the lower side of that hole you can see there's a bunch of schmoo in there. It looks almost like somebody gooped gorilla glue in to hold the fuse in place. This also coated the blades on the fuse and stopped them from making good contact with the terminal, so turns out I was just dealing with a dirty fuse the whole time. In fact I could have just scraped away the glue and not even used another fuse. I stuck a new fuse in with some clean blades and voila! The mower charges perfect now. $50+ later I've finally figured out my 10 cent problem!
This is why I say that this kind of work is not for the faint of heart. You're going to make mistakes along the way. You're going to break stuff. You're going to sometimes cost yourself more than the original problem would have taken a professional in pay to fix it for you. You have to love doing this, and I know I certainly do. I take these moments as learning experiences, which is the most valuable part of my DIY ventures. As I've been reminding myself a lot lately, if you're not making mistakes, you're not trying anything new, and so with that said, I wish you all the best in your DIY projects. I hope you learn as much from and enjoy them as much as I do. Until the next one, Steem On!
Questo post è stato condiviso e votato all'interno del discord del team curatori di discovery-it Entra nella nostra community! hive-193212
This post was shared and voted inside the discord by the curators team of discovery-it. Join our community! hive-193212
Hello!
This post has been manually curated, resteemed
and gifted with some virtually delicious cake
from the @helpiecake curation team!
Much love to you from all of us at @helpie!
Keep up the great work!
Manually curated by @phage93.
@helpie is a Community Witness.
Manually curated by the Qurator Team in partnership with @discovery-blog.
Keep up the good work!