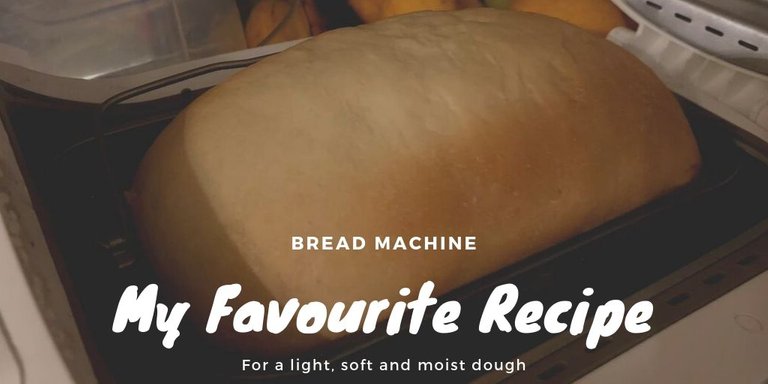
My favourite bread machine recipe
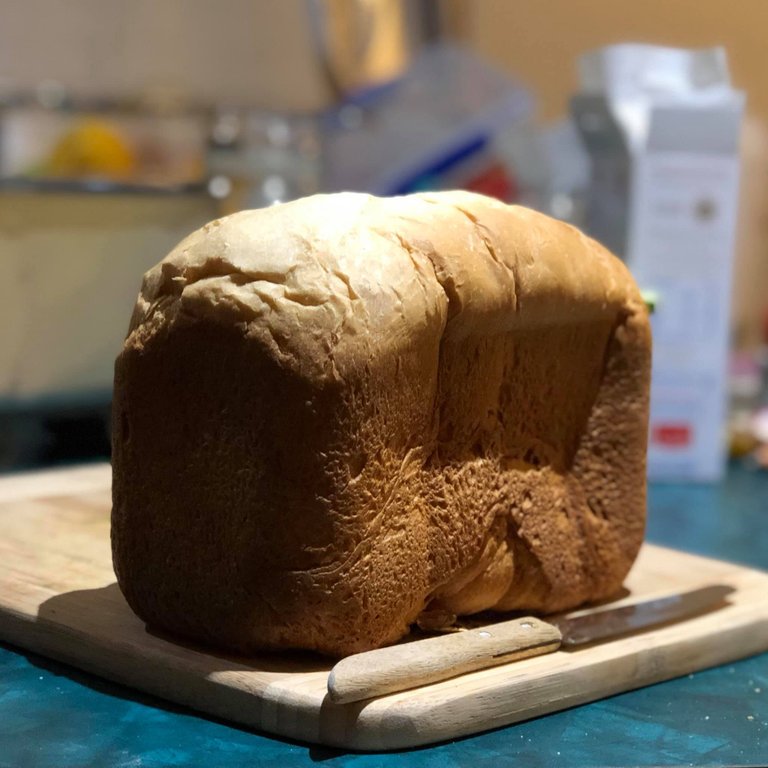
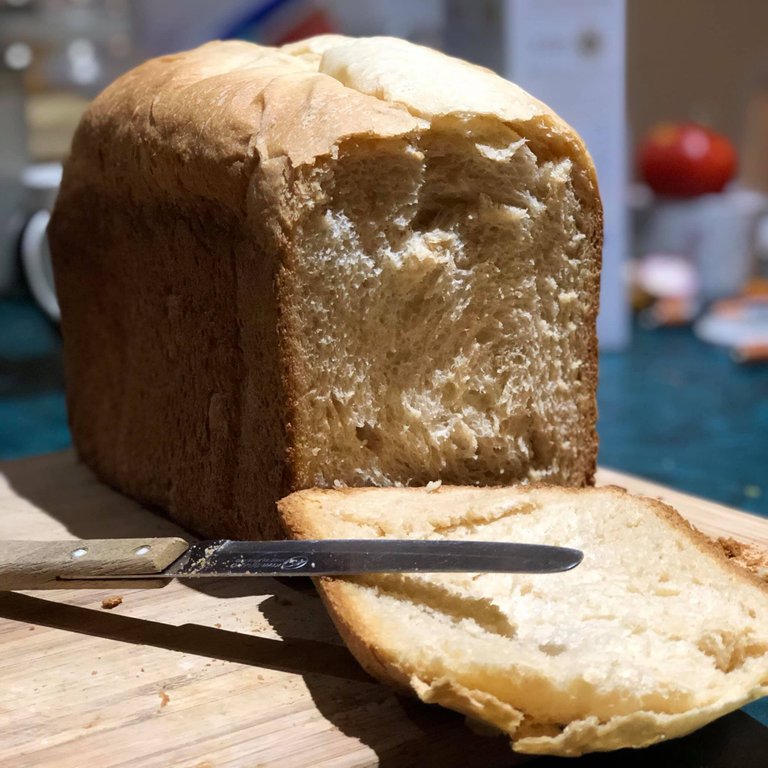
Several years ago, we bought a cheap Lumina bread machine from a local Aldi store. My wife attempted to make bread with it several times and always failed, the bread wouldn't raise or would get hard very quickly after cooling down. I tried to help and also failed three times trying three different recipes including the one that come with the user manual. So she left the machine in the laundry storage cupboard for a year or two until I noticed it one day while looking for something else. I thought, I'd give it another try, it can't be such a bad machine can it? After scouring the Internet for a while, I finally found a recipe that kind of work well but the result wasn't always consistent and I didn't know why. After making bread for a week or two, the machine went to the storage again. Couple of months ago, my son asked me if I could make some bread again as he remembered that he loved it and preferred it to the one we buy in Coles. I didn't need to be asked twice, however, I couldn't remember which recipe I used by luckily I found another one that worked even better. When just out of the machine, it had a crunchy crust and super soft dough but again the results wasn't always consistent although a bit more stable. It took me another couple of weeks to work out how to consistently get a great bread and I wanted to share the method with you today.
Credits
First of all, I wanted to credit this recipe to TKDLVR on food.com
Ingredients
- 1 cup of hot water
- 2 teaspoons (or a sachet of 7g) of dry yeast
- 3 tablespoons of sugar
- 1⁄4 cup of vegetable oil
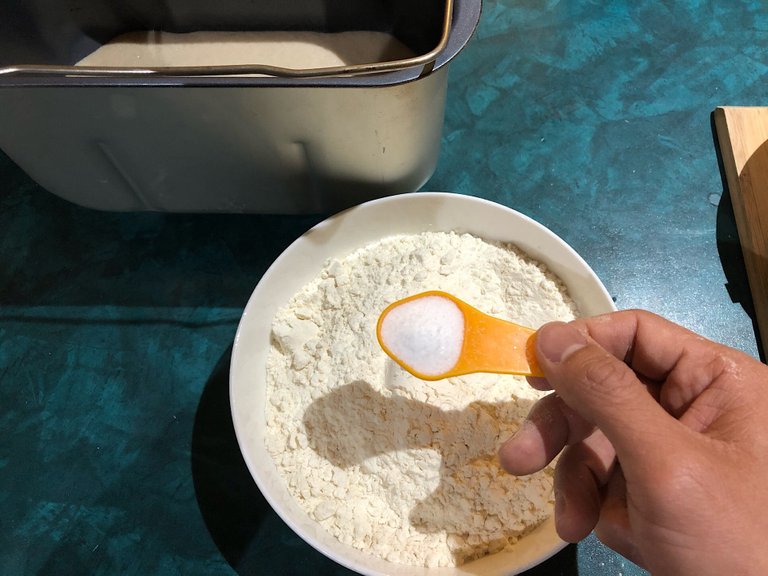
- 1 teaspoon of salt
- 3 cups of white flour
- 1 + 1⁄2 teaspoon of bread improver (not in the original recipe, optional though, try without first)
Instructions
Activating the yeast
As I'm using dry yeast, I first need to activate it with hot water and sugar. To do this, I add the sugar into the baking pan and add the hot water in it.
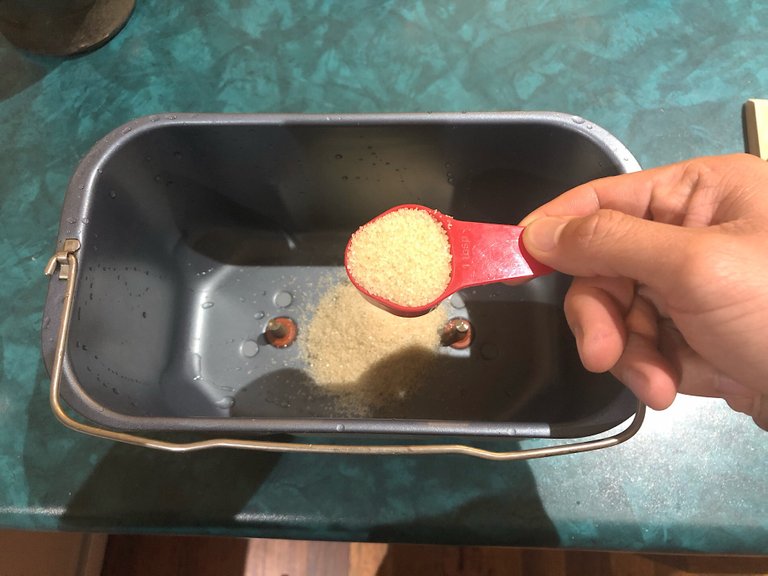
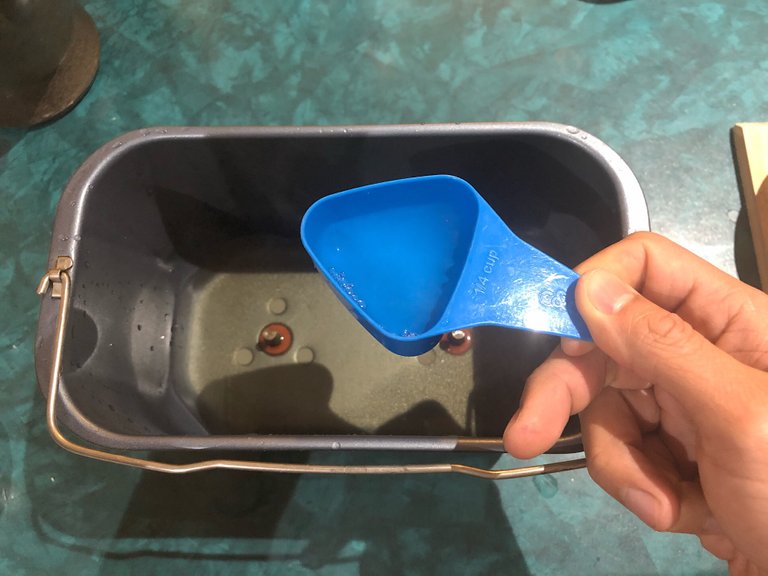
I'm using here a 1⁄4 cup measuring spoon so for 1 cup of water I need to measure 4 times 😄. Gently shake the baking pan to move the water around and dissolve the sugar.
I'm not sure about the water temperature and should probably use a thermometer of some kind but so far so good and I've always been successful until now. What I do is just stick a finger in the water and feel the water, it should feel warm at first and then progressively feels hotter to almost burning you. I start with boiling water so it usually cools down to the right temperature while I get my stuffs ready and an additional cooling occurs when adding the hot water into the cold baking pan and swirling the water to dissolve the sugar.

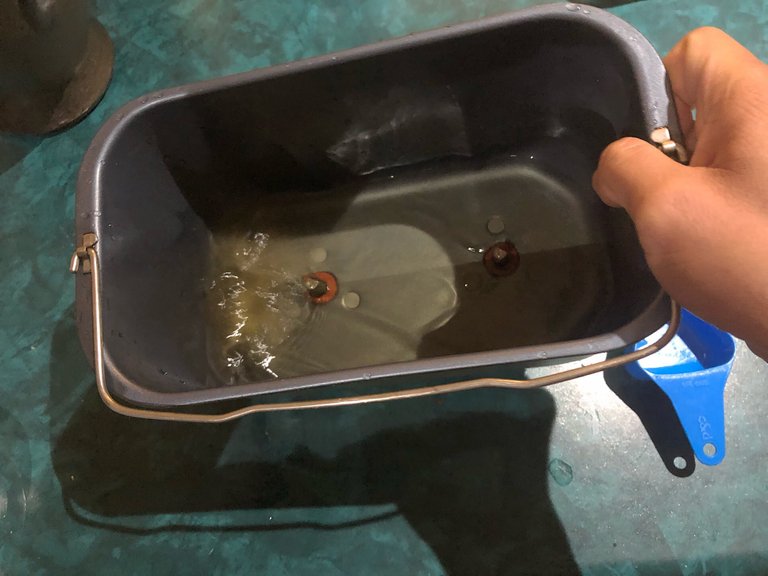
Next step is to empty the sachet of dry yeast on the surface of the water, I usually spread it all over the surface.
Very quickly, you should see the dry yeast sinking to the bottom of the baking pan.
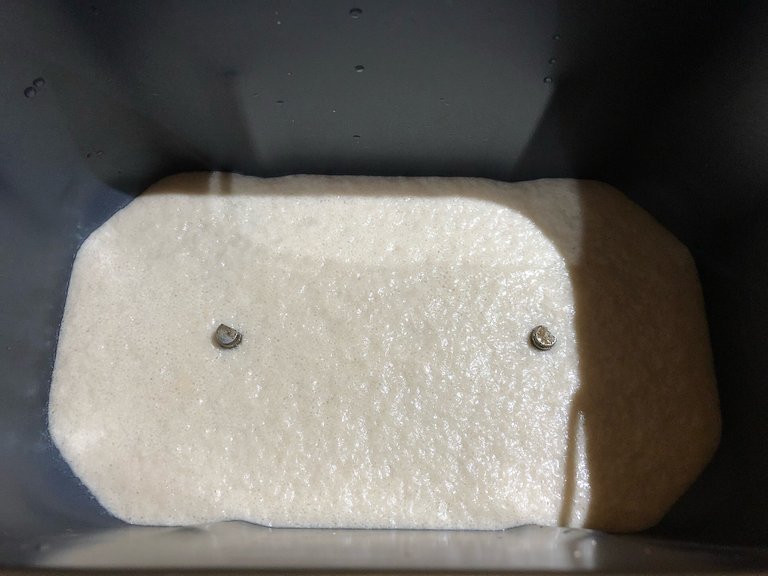
After one or two minutes, something cool will happen, you will see one little blob of yeast starting to raise and float to the surface, it is very quickly followed by many more blobs and then the whole yeast is covering the surface of the water.
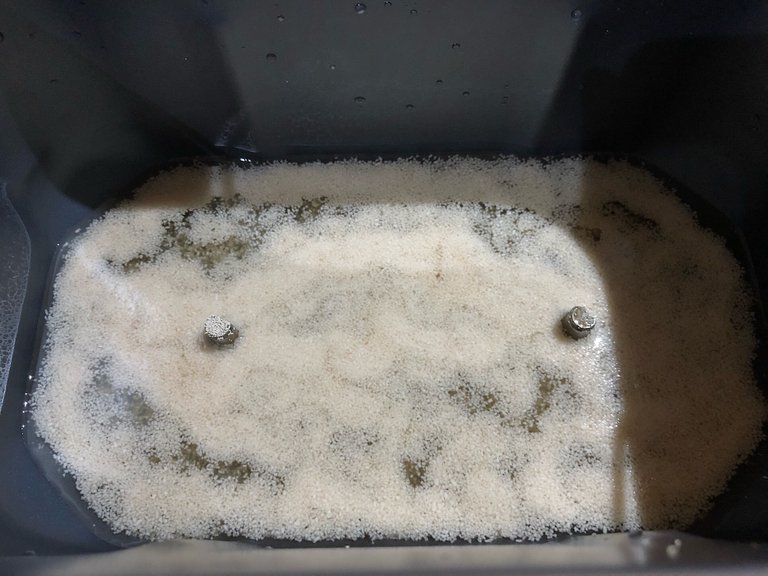
At that point or a few minutes later, you should be able to hear the yeast fizzing in the water and creating small bubbles.

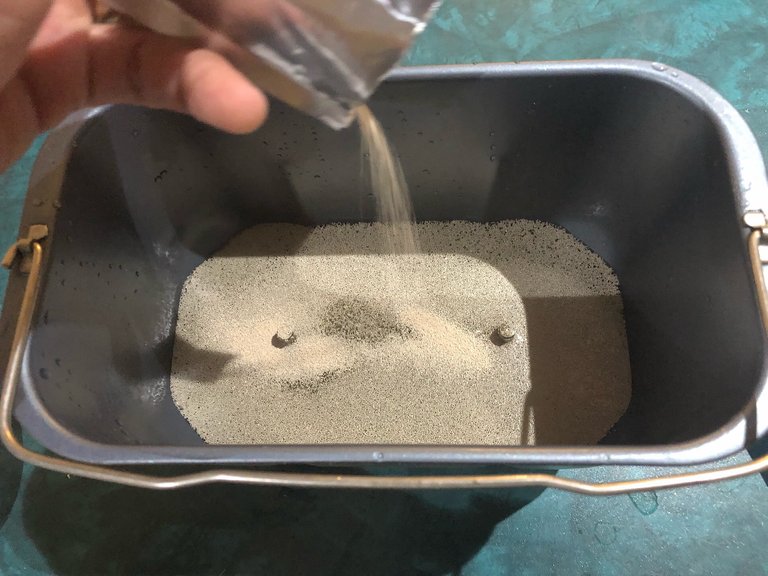
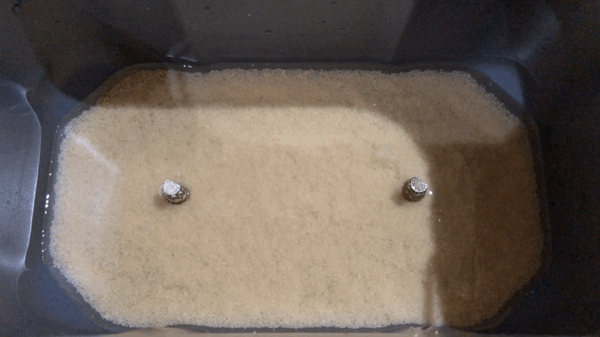
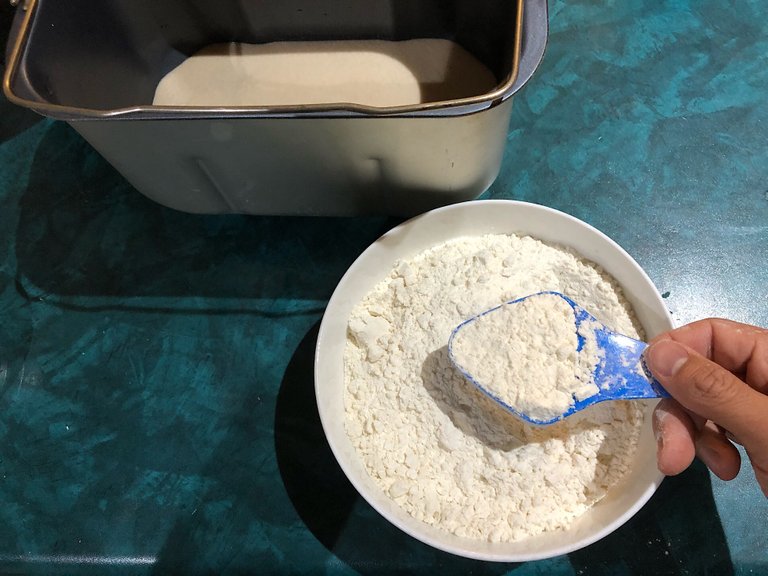
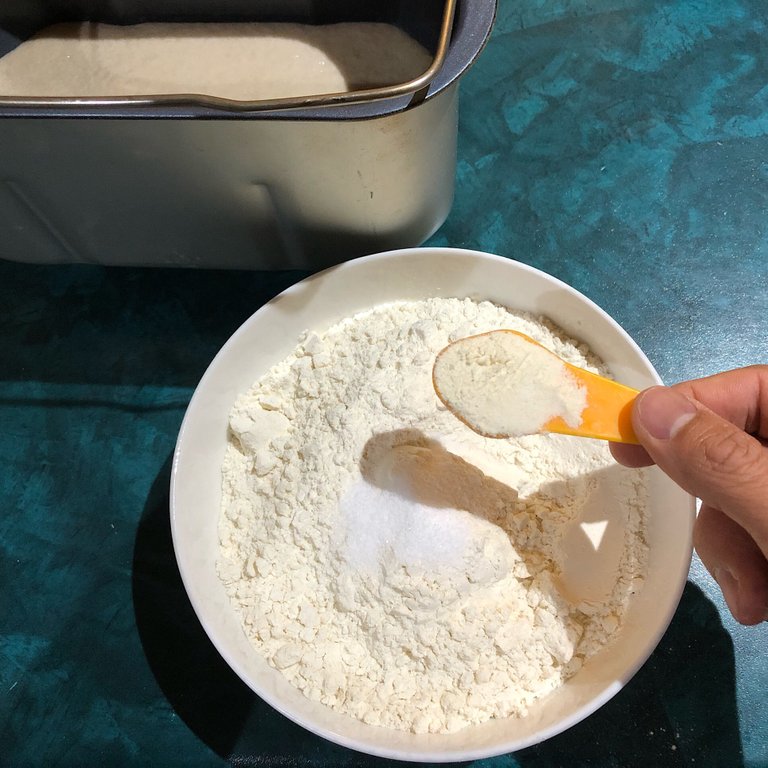
Now leave the yeast alone for another 8 minutes for a total of 10 minutes from the moment you added it to the water. In the meantime, add the flour to a large bowl followed by the salt and the bread improver.
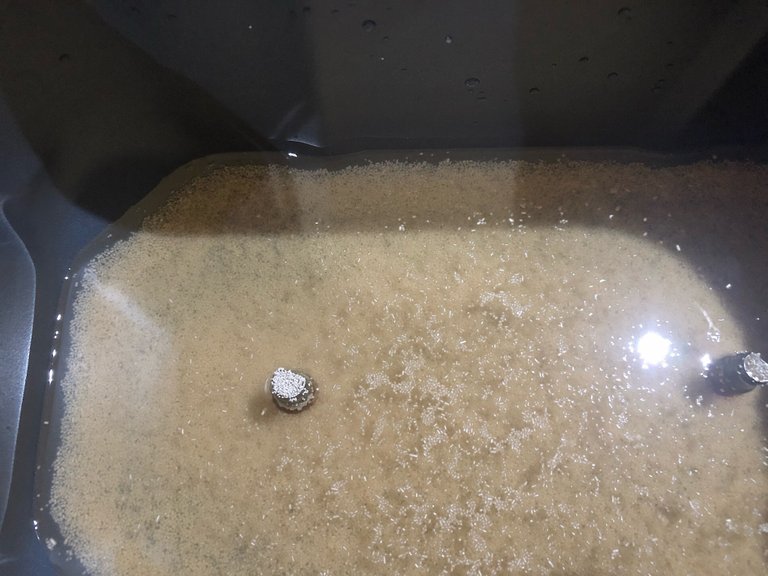
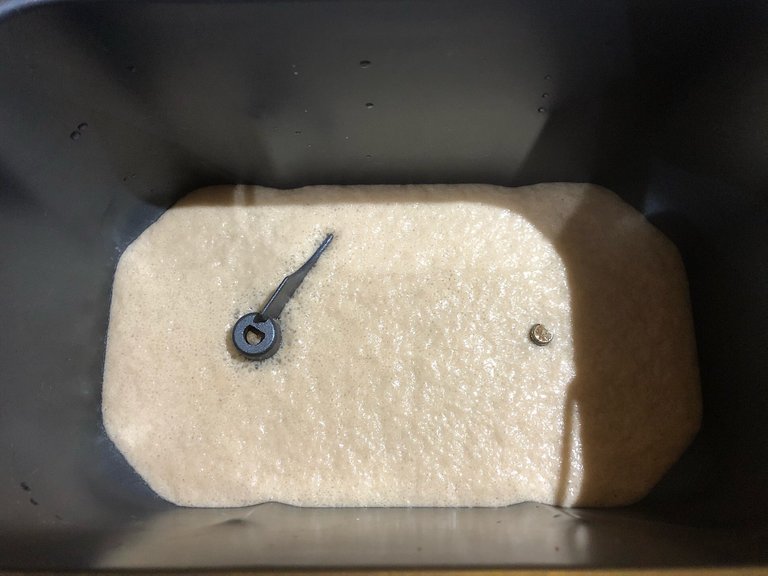
After 10 minutes has passed, the yeast should now have formed a thick creamy looking foam floating on the water inside the baking pan. If you look closer, you should see some bubbles too. It's also about time to remember to put the two mixing paddles back into the baking pan or else you will end up with some messy fingers if you do that after adding the flour (I'm talking by experience 🤦♂️).
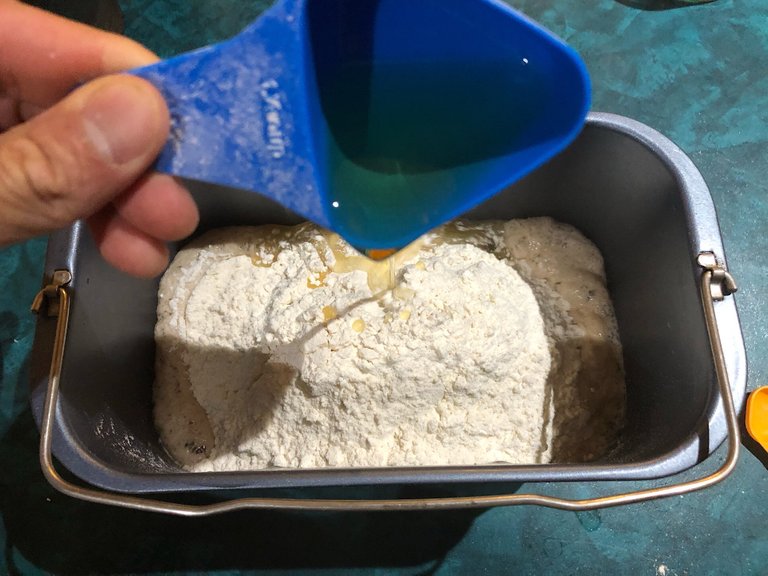
Once the paddles installed, add flour / salt / improver into the baking pan.
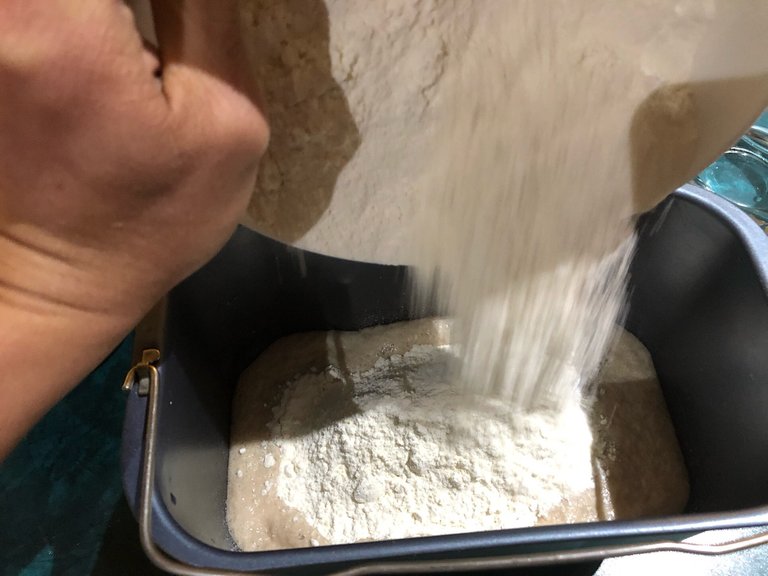
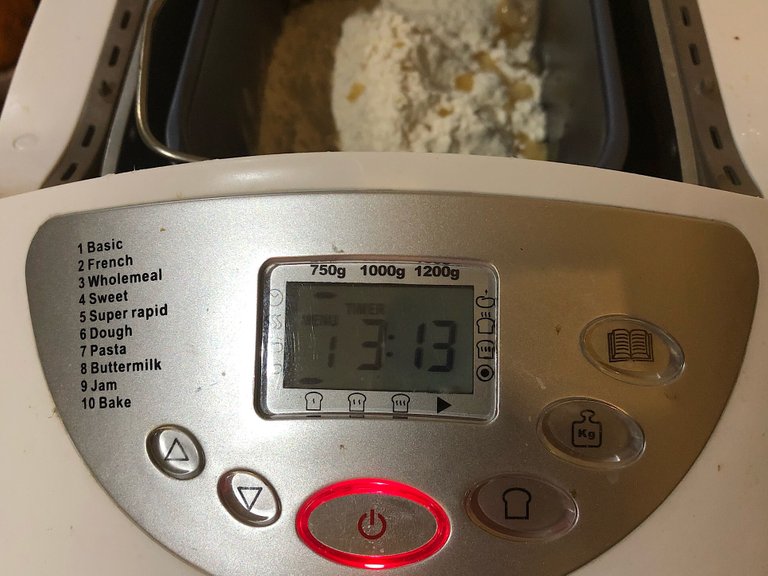
Add the oil on top of everything and setup the bread machine.
My Lumina bread machine is set to Mode 1 (Basic), 750g loaf, Temperature 1 (for a softer and thiner crust). It should take 3 hours and 13 minutes to complete the baking.
The machine will start a very slow stop/start mixing of the ingredient and it will look quite messy at first. It will take a lot of breaks between mixing sessions to let the dough sit and raise.
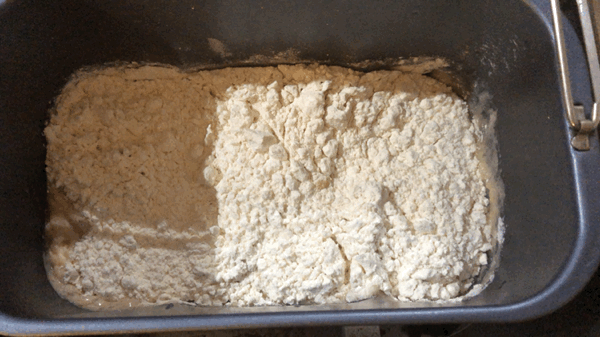
After the third mixing session, you should see a nice dough forming and the machine will work that dough.
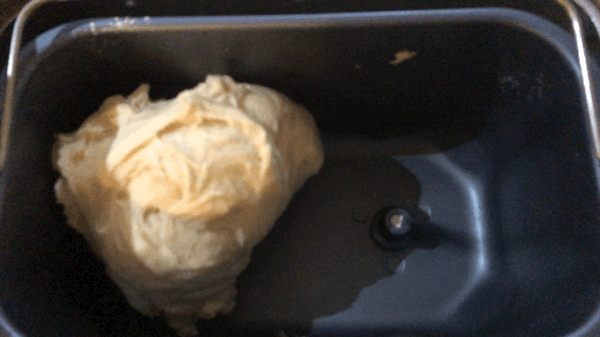
At one point, the bread machine will beep and activate the heating, you should not open the lid from that point onwards. There will be long breaks. Near the end of the baking you will have a delicious bread smell in your kitchen. I usually do it a night and the bread is ready for breakfast.
Previously on my blog:
- Spring gardening
- Small yield of black turmeric (Curcuma caesia) and orange turmeric (Curcuma longa) in Gosford.
- Qigong retreat weekend in Kulnura
Vote for my witness

On Steem, Witnesses are playing the important role of providing a performant and safe network for all of us. You have the power to choose 30 trusty witnesses to package transactions and sign the blocks that will go in the Steem blockchain. Vote for me via SteemConnect to help me do more useful projects for the communities.
| I'm a member of | these communities |
|---|---|
 |  |
 |  |
 |  |
 |  |
 |
Credits
- The image at the top has been generated with the Canva app using my own photo.
Banner by @josephlacsamana
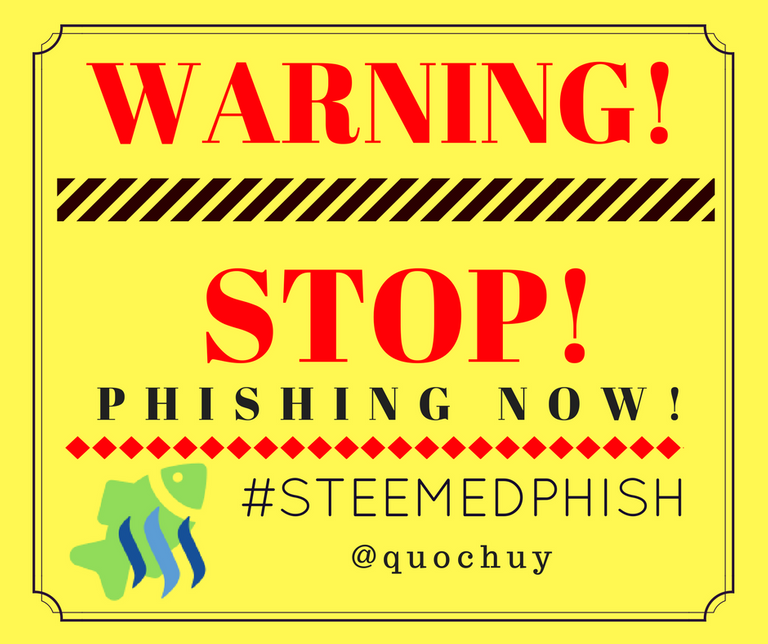
Protect your money against Phishing Scam!
Cryptos accounts are the target of international scammers because they want your hard earned money!
Those people are very clever and in a moment of inattention, you've given them your login and password!
I've created a Chrome extension that can help you detecting scam links!
Install Steemed Phish Chrome desktop browser extension now!
Password and Private Keys security
You all know that your Steem password is the access to all your STEEM, SBD, posting, transferring, everything... right?
So, please, follow these simple steps and keep yourself safe:
- Apart from the initial setup of your account, NEVER use your password ANYWHERE, if stolen, it will give full control to your Steem account.
- Backup your password and keep it somewhere safe. Use a password manager like Lastpass, print it on paper and put it in a safe (no kidding). If you forget your password, no one can help you out.
- To login for creating content and curating, use your Private Posting Key
- To make transfers and account operations, use your Private Active Key
- To encrypt and decrypt memos, use your Private Memo Key
I need to get our bread machine and give it another go.
What is the 'bread improver' you mention? Not seen that here in the UK.
"Bread improver is a blend of ingredients that activate the gluten and help produce gas which assists and improves the processes of dough kneading and fermentation" (https://www.laucke.com.au/FAQRetrieve.aspx?ID=53185)
You need to check the ingredients as different brand uses different stuffs that are not all healthy/safe. I'm considering testing without it to see how it goes. I'm still using this because it seemed to have made a difference in the past but now that I have found a good way to activate the yeast I might not need it anymore.
Found this interesting article...
It suggests using a little orange juice to help the gluten form. I might try that.
Yes, most improvers use Vitamine C and other type of flours including corn and soy flours
Posted using Partiko iOS
Let me know how it goes if you try without the flour improver.
Hi, @quochuy!
You just got a 1.16% upvote from SteemPlus!
To get higher upvotes, earn more SteemPlus Points (SPP). On your Steemit wallet, check your SPP balance and click on "How to earn SPP?" to find out all the ways to earn.
If you're not using SteemPlus yet, please check our last posts in here to see the many ways in which SteemPlus can improve your Steem experience on Steemit and Busy.
Wonderful post! I especially loved seeing the picture of you listening to the yeast!
As for temperature of the water - it's always better to be too cool than too hot (which will kill the yeast.)
Generally, if you dab a bit of the water on the inside of your wrist (like where you would feel your pulse), it should feel comfortably hot.
Hahahaha
Thanks for the tip :-D
Ah... you listening to the fizz is the best pic I have seen on Steemit all day. All week! Month! Plus the gifs.. a really nicely put together post.
I had one of those machines.. sold it. Maybe I wouldnt have if I had have followed these instructions! Nice work.
Must get back onto my sourdough...
I knew the photo would make few people smile/laugh 😂, it’s making a recipe post less boring too hehehe
I need to taste sourdough. I know the ones in France are very sour but I have been told it’s milder here in Aussie.
Posted using Partiko iOS
Hi, @quochuy!
Thank you for using the #diy tag. This post has been rewarded with BUILD tokens in the form of an upvote.
Build-it is a new tribe on the steem blockchain that serves as a central hub for DIY and How-to's contents on steemit. The recommended tags required when creating a DIY artcle are #diy, #build-it. #how-to, or #doityourself. You'll get rewarded with BUILD tokens, which can also be exchanged for steem on steem-engine when you use any of the recommended tags as well as posting via our website.
We encourage steemians to post their DIY articles via our website. Have a question? Join us on Discord and telegram
This project is run and supported by our witness @gulfwaves.net. If you like what we do, vote for us as a witness on the steem blockchain.
Congratulations @quochuy! You have completed the following achievement on the Steem blockchain and have been rewarded with new badge(s) :
You can view your badges on your Steem Board and compare to others on the Steem Ranking
If you no longer want to receive notifications, reply to this comment with the word
STOPDo not miss the last post from @steemitboard:
Vote for @Steemitboard as a witness to get one more award and increased upvotes!
That's so nice. I'll gonna try this one.