DIY Bathroom floor under washer/dryer
Hi fellow Steemians / DIY enthusiasts,
Back at it with one of the latest editions of my DIY projects, the last part besides the finish trim is finally complete. Only a year later! Let’s get into it:
Tools Needed
First things first, you need to have the right tools for the job!

The 4 foot level was important for getting a nice long, straight edge to draw.
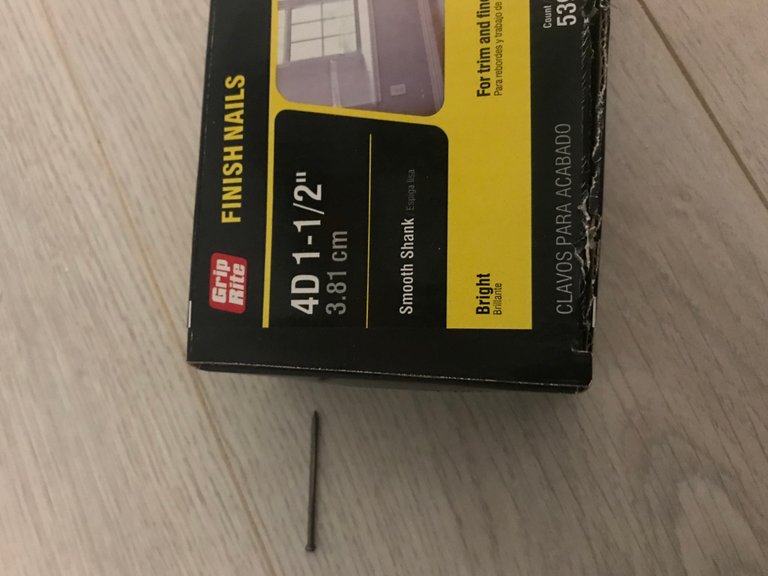
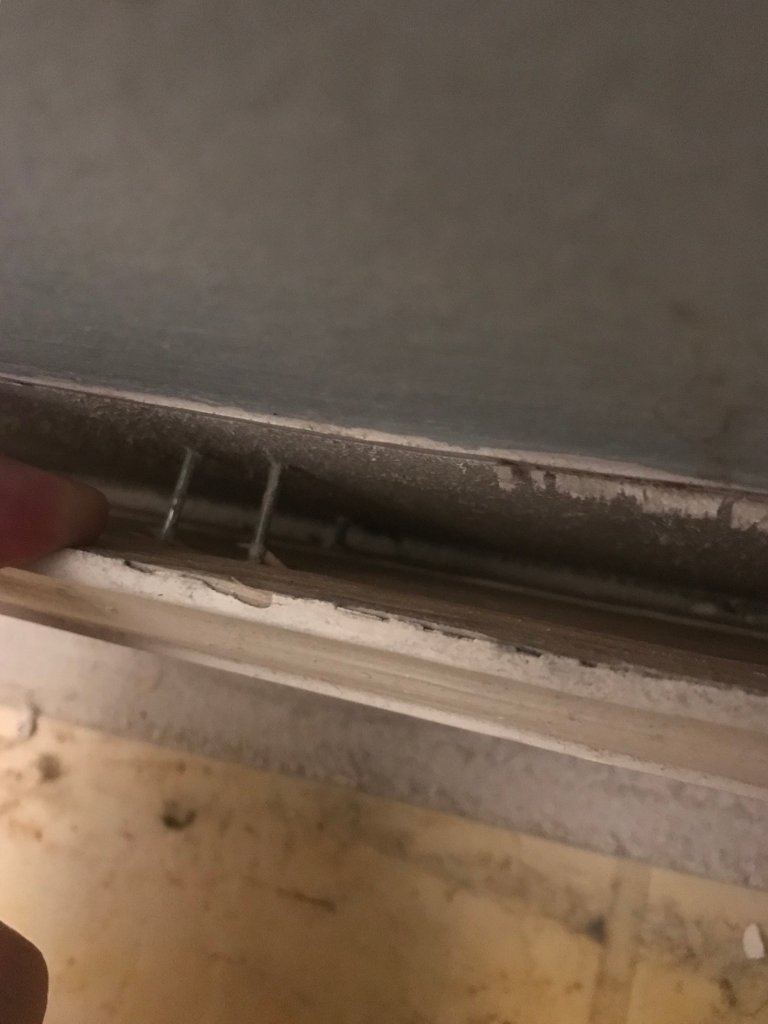
These are the finish nails I used to additionally secure the trim to the wall. I reused the nails from the boards that were there but it wasn’t as secure as when I added these nails.
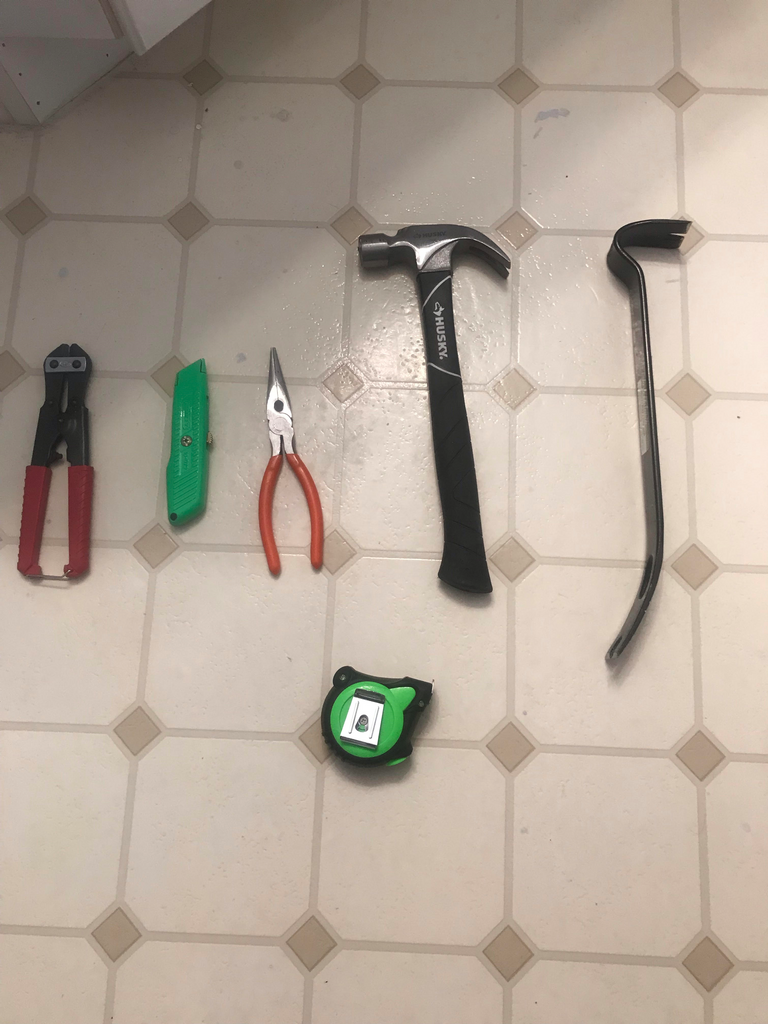
The other tools I used are from left to right: metal cutters, razor knife, needle-nose pliers, hammer, prybar and a tape measure.

You also need a good square and pencil. Those are vital for accurate measurements!
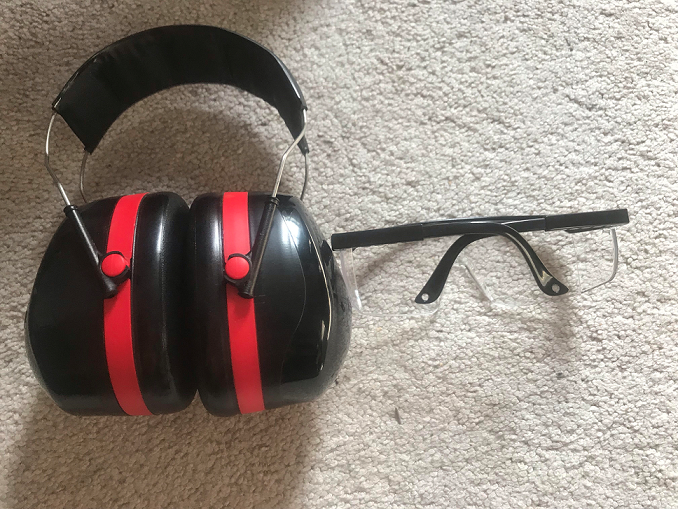
One of the important things to remember is safety when you are working with any tools. A good pair of ear muffs and safety glasses are one of the most important things to own.
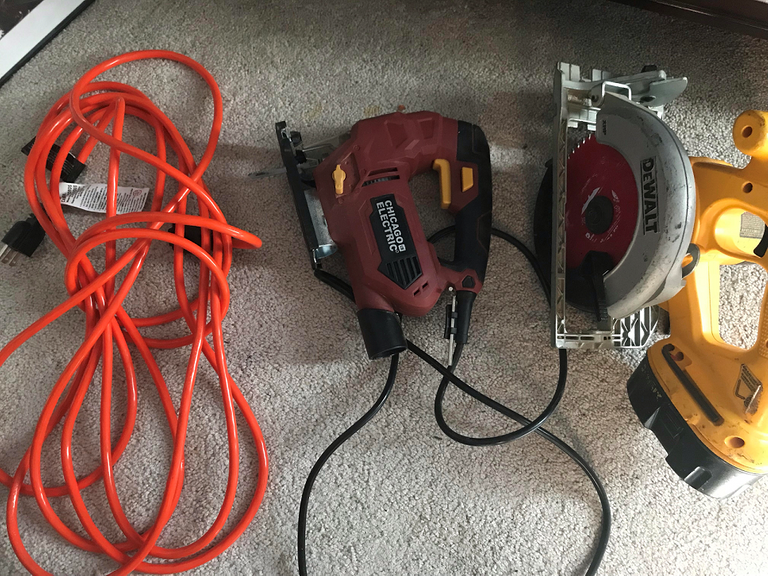
A good circular saw and jig saw are one of the best tips for successfully finishing laminate floors.

The solid plastic tapping block is a key part of this build as well, would highly recommend it if you are doing laminate click/lock floors!
Prepping the space
With this part of the job, it's incredibly important to prep the area, when you see the pictures below you will understand! The linoleum floors underneath it were utterly destroyed.
Before you can prep the area, you need to get the washer and dryer out of the way. They are pretty heavy but with the washing machine, that's a hell of a lot heavier than the dryer so I used some little cheat to get it out of the way faster and easier.

As you can see, I just tucked some towels under the front legs of the washer. This allowed it to slide forward easily without a lot of trouble. Really saved my back and kept me from getting injured trying to move it!
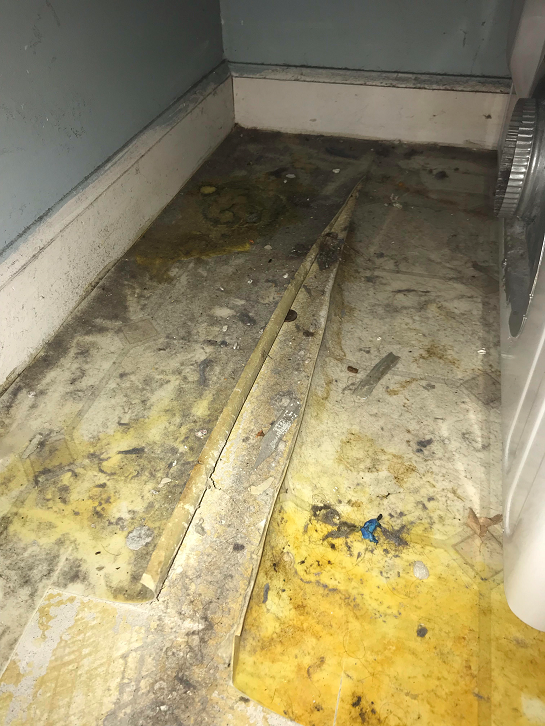
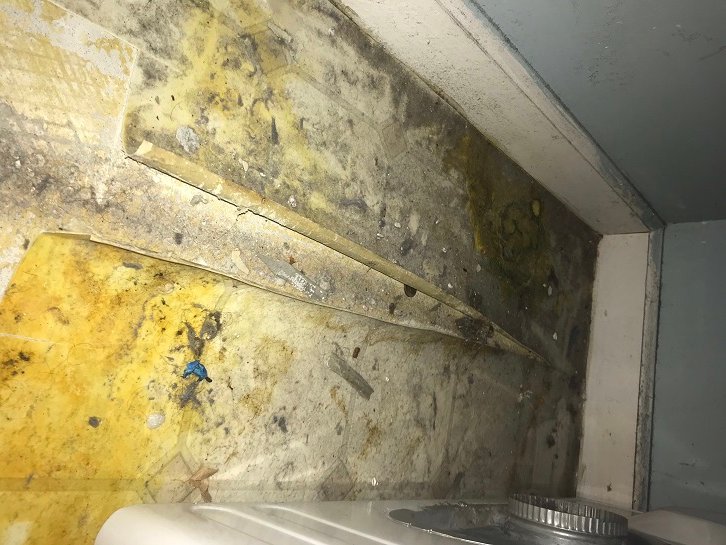
I had to use the razor knife and remove the junk linoleum floor pieces and cleaned up the tons of debris that accumulated on the ground.
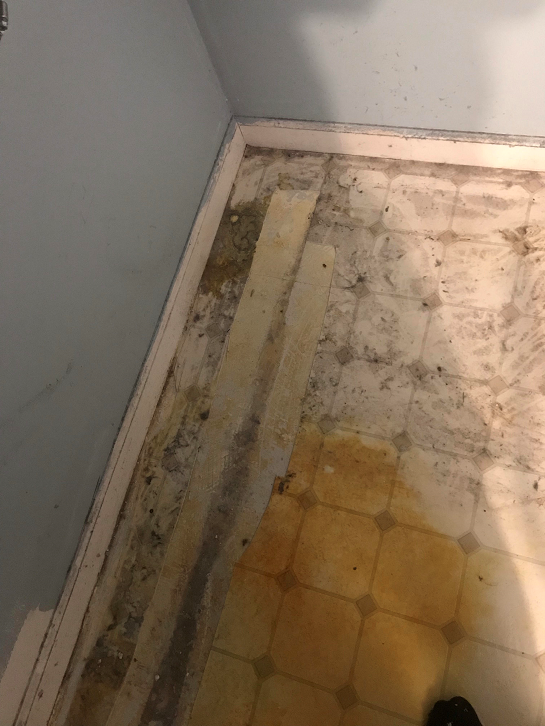
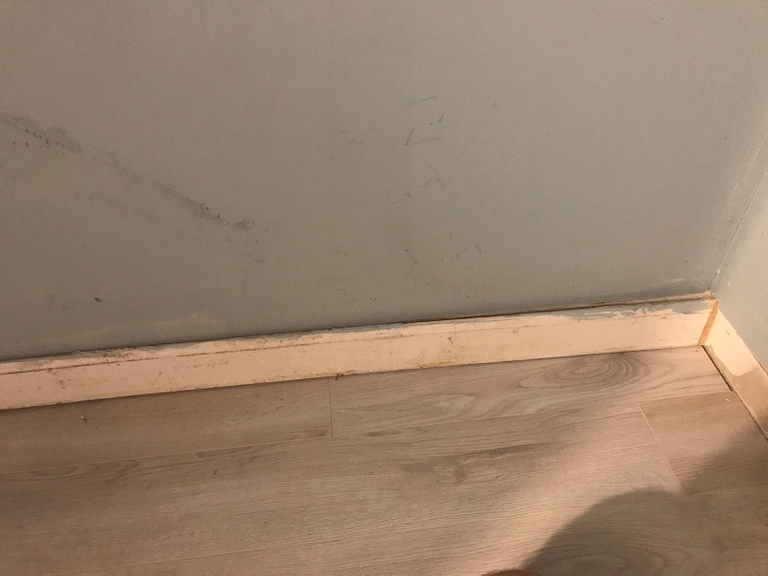
Once that was taken care of, I then cut the caulking on the top and bottom of all the trim boards to separate it from the wall so I could remove it easily and not break it. I certainly planned on putting the trim boards back, being in this tucked away area that doesn't get a lot of visibility, I wasn't too concerned with the quality or look of the trim as long as it was actually there.
You can kind of see the caulking as it sticks to the boards and does a good job on its own but makes it really difficult to remove the trim unless you cut it.
The last step is to put down the floor underlayment. This insulates the floor and reduces noise and prevents moisture from building up. This is very important to have for any laminate floor.
Getting the floor finished
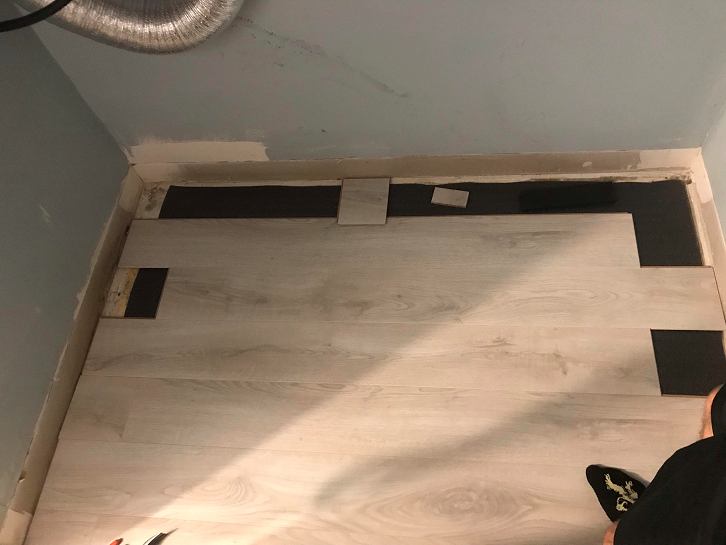
Now that the area was cleaned up, it was time to get the floor down!
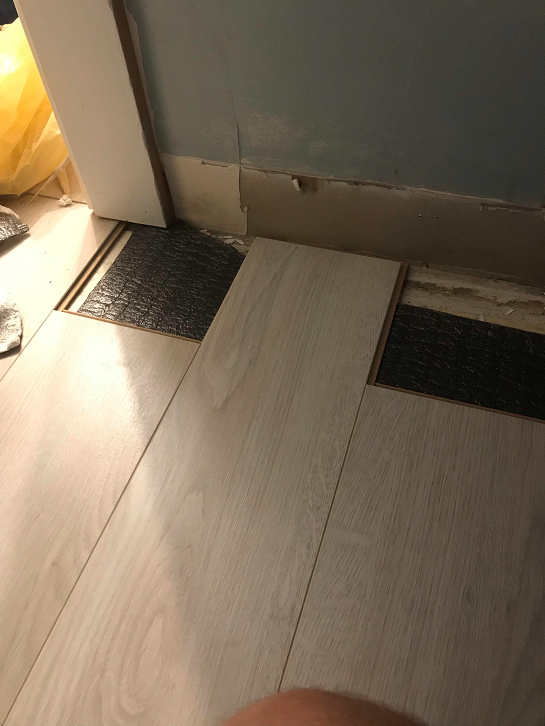
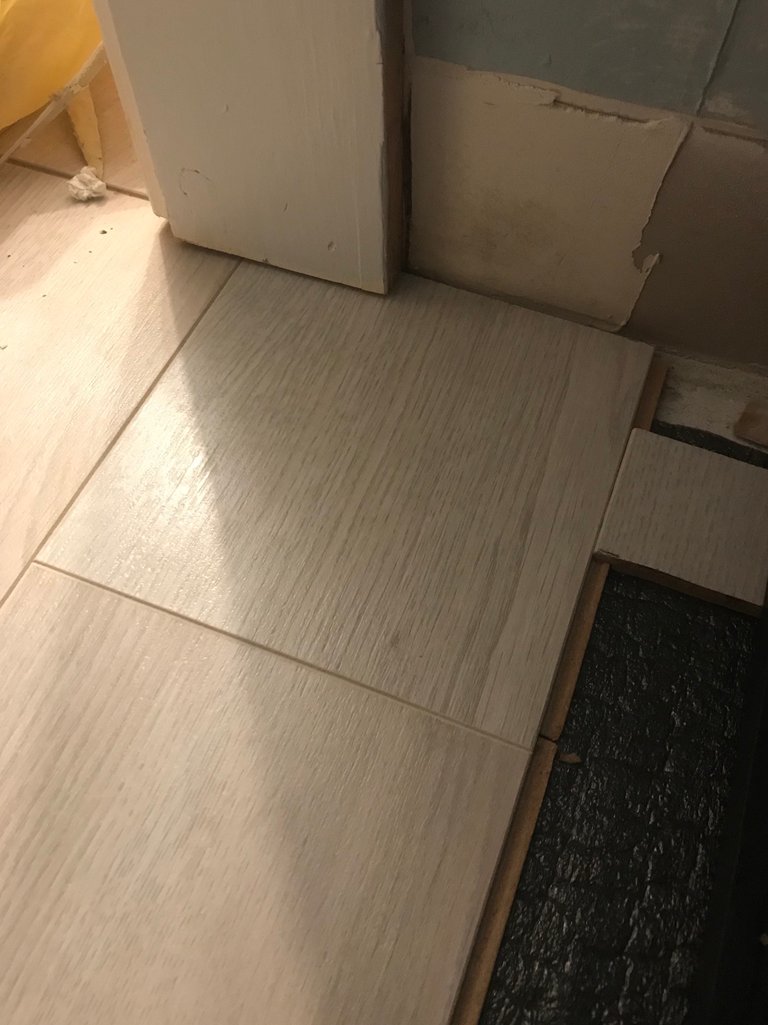
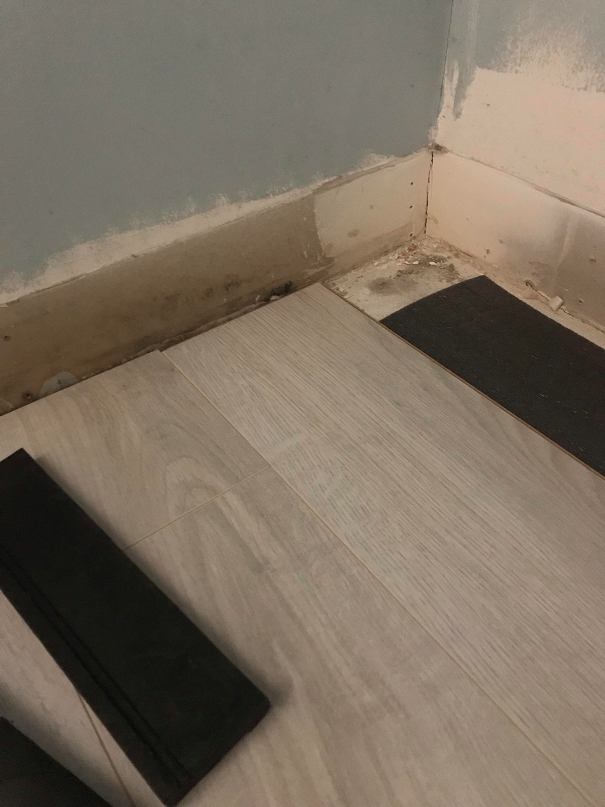
I was just trying to get a rough idea of how many boards I needed so I was placing them and estimating the amount I needed to cut. This was perhaps the easiest part of the whole job thankfully! You have to stagger the boards. This means you have one board press right against the right sided wall and the next board after that press it right up against the left wall and then cut the small pieces to fit the gaps on either side. This gives the floor a lot more strength and resists splitting. If they are all going the same way then it creates a weak point and it will most likely fall apart along that seam.
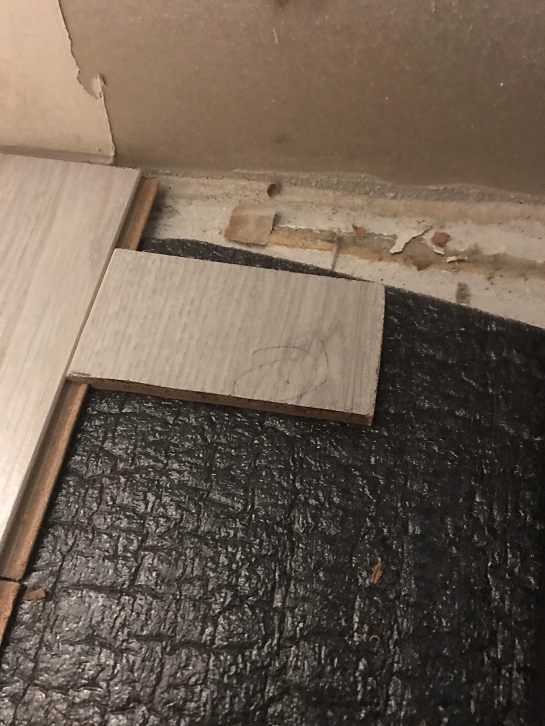
In the corner, it was important to get a small piece cut the right dimensions. I then used both the plastic tapping block as well as a piece of junk board. The combination of the two allows me to get the board into a very tight place without ruining the locking mechanism and causing issues with the other boards.
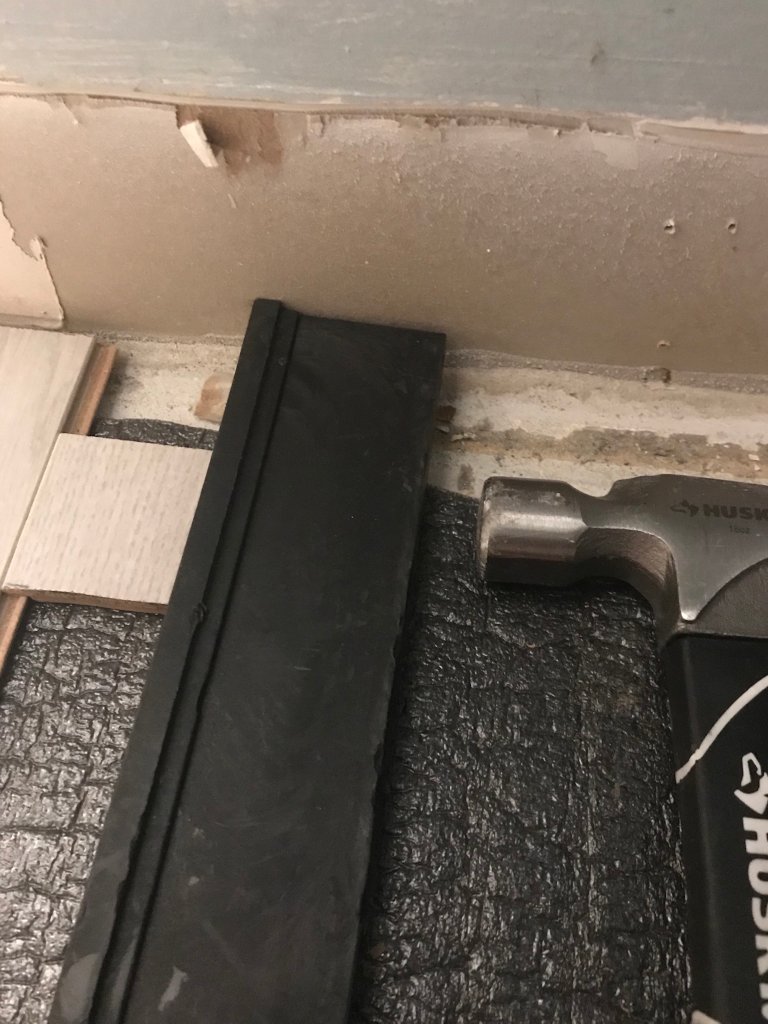
That’s how the combination of the two blocks should look like to save the floor board from being ruined.
Went forward and just back and forth, putting boards down now that the hardest parts were completed.
Once the floors were finished, I went and put the trim back into place. The after pictures are like night and day with the junk that was there before!

It felt great to get it finished so I can move onto working on getting the trim completed.
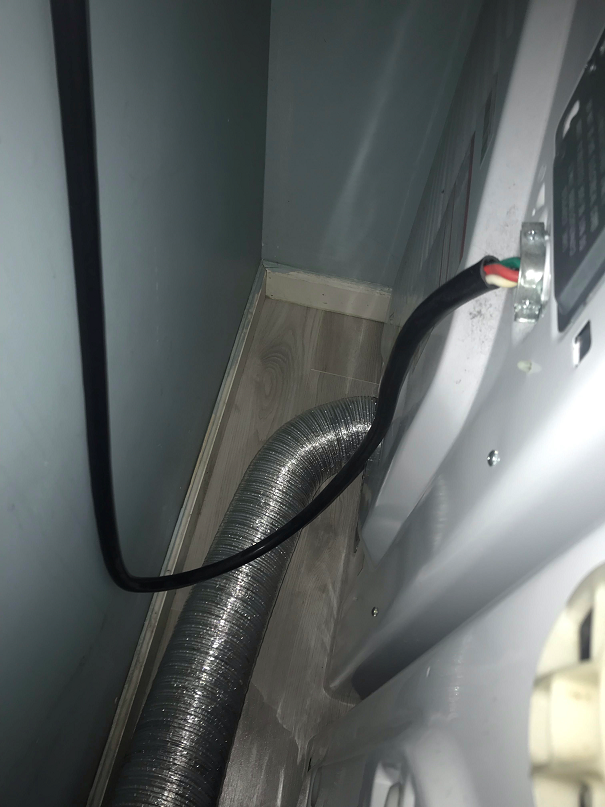
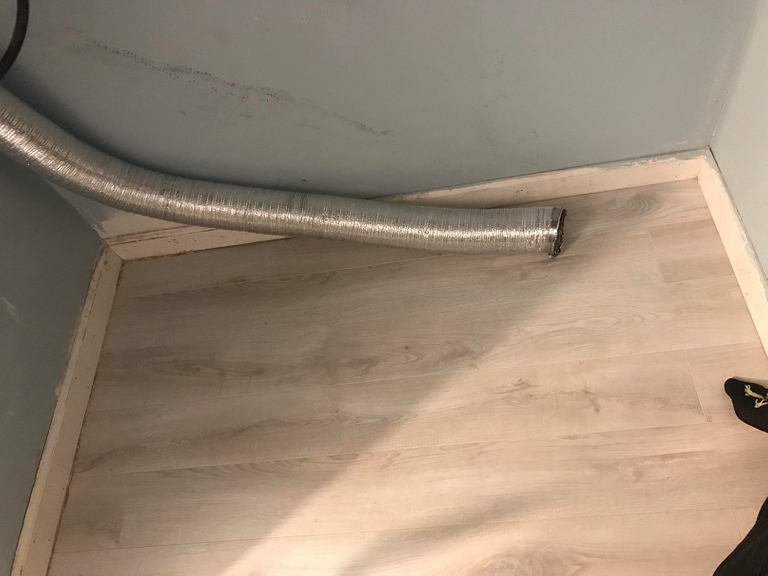
One of the last things is to get all of the hardware hooked back up. The dryer, the washer and plug things back in. Do a triple check of what you're doing before getting it all back into place and your tools away. I almost forgot to turn the water back on, so it certainly happens!
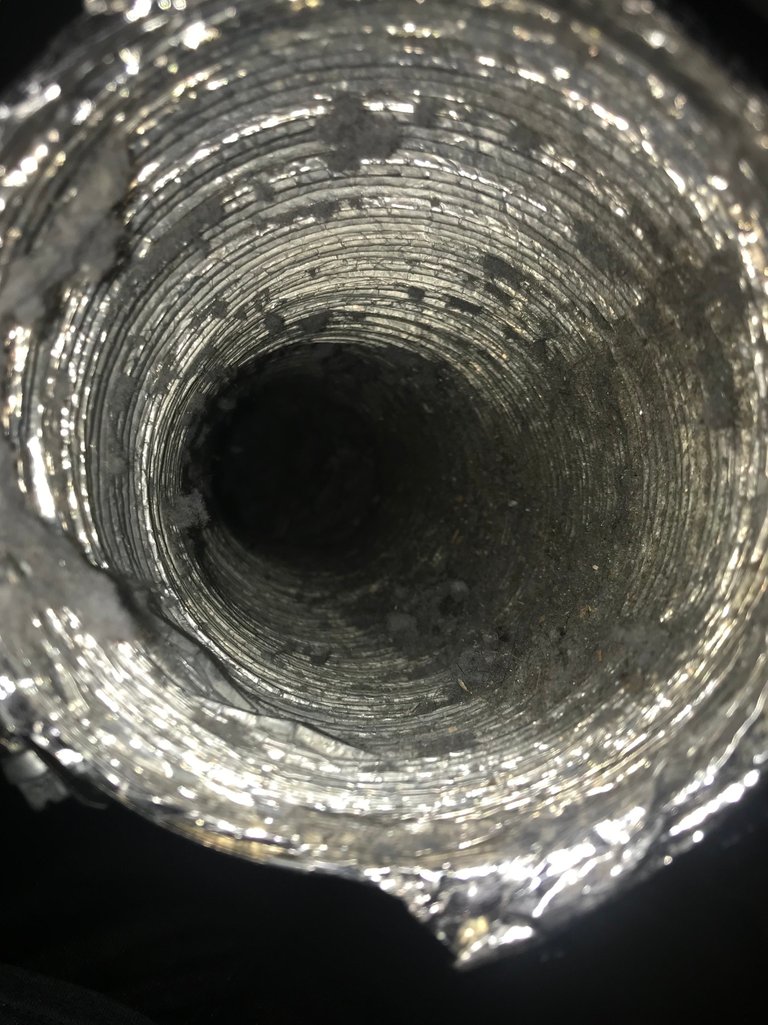
Before I hooked the dryer back up, I looked down the vent hose to make sure it was relatively clean. Boy was it dirty! I had to use a vacuum and get all the dryer lint out of it. This is a big fire hazard so I strongly suggest checking your vent pipes for it! It also makes the dryers work harder and longer to dry clothes so it’s got a few benefits when it’s clean. A clean pipe will allow good air flow out of the vent, meaning a better dry cycle.
DIY bathroom floor near a toilet
DIY 2011 Nissan Sentra spark plugs ; DIY Tomago Cages ; Securely Hanging a Cabinet ;
Joint Compound on Ceiling ; Washing Machine Drain Pump ; Bubble wrap insulation on a wall ; Finish work in the bathroom ; Bubble wrap on windows ; Laminate floors in a bathroom ; Ball joints on a car
Connect with me!
Did you enjoy this post or my other posts? Please consider following me for more! @cmplxty
Do you want to get paid, in crypto, for searching the internet? Try using and signing up for Presearch to earn some great crypto! I've currently got 598 PRE tokens, with a market value of $2.40. It doesn't sound like a lot but when you search using sites like Google you get paid $0! Join Presearch to break Google's stranglehold on the internet searches. If you'd like to sign up, use my referral link below and spread the word!
https://www.presearch.org/signup?rid=513043
Still using Steemit.com? Upgrade! Steempeak is a much better user-interface, gives loads more information at your fingertips and has some great developers behind it. Give it a try, go to www.steampeak.com and see how much easier it is. You just need to use Steem Connect, one of the most secure ways to log into other Steem frontends.


This post was shared in the Curation Collective Discord community for curators, and upvoted and resteemed by the @c-squared community account after manual review.
@c-squared runs a community witness. Please consider using one of your witness votes on us here
Thank you very much! I appreciate the attention!
Hi @cmplxty
I've been visiting your account every now and then, looking for content related to crypto and blockchain (since you're "Crypto enthusiast") and yet I couldn't find anything in a long while that would be related to those topics.
Hope you didn't get bored with crypto :)
Cheers
Piotr
Thanks for taking the time to check my blog out in your busy day my friend!
I unfortunately haven’t had spare time to get into research of this stuff. In the midst of very large work projects and home projects so I don’t have enough downtime to post, never mind actively research crypto news. 😓