A new bag design and how can I be of support to this great community during this time of crisis?
(Edited)
Good afternoon steemits, how have you all been. I know a lot has been going on these past few days and as a new member, i dont really know how or what i can do to be of help. I will be glad if i can receive advice on how to be of good impact because this place has been of great impact to me too since i joined. I really wish things come out well eventually.
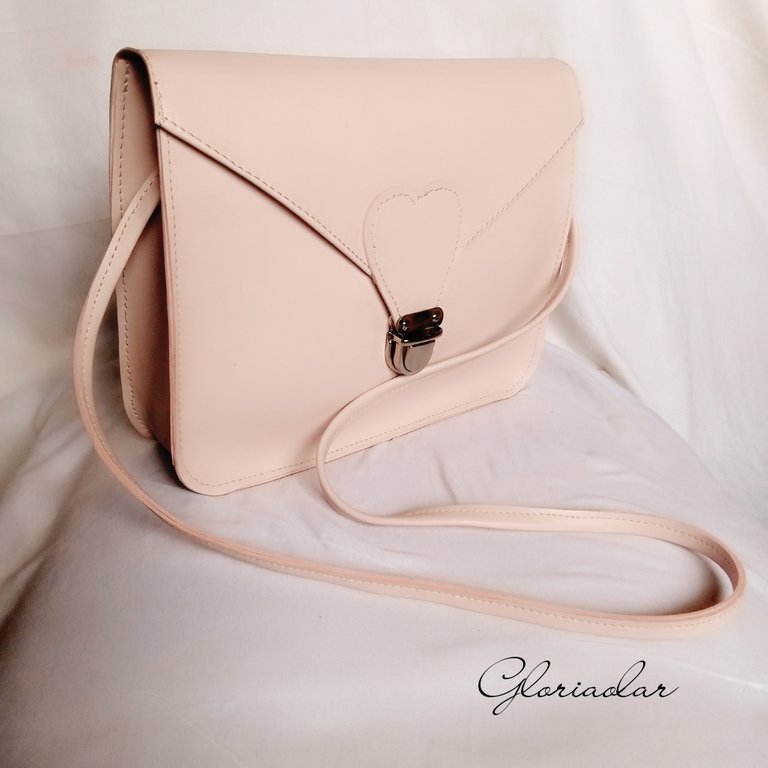
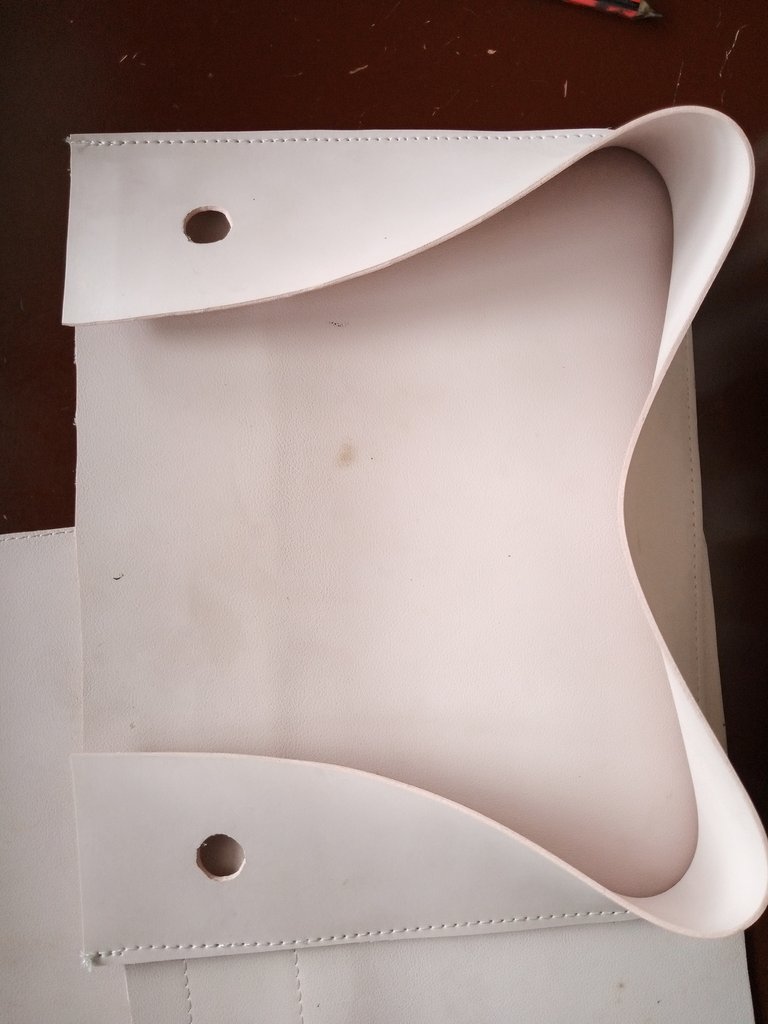
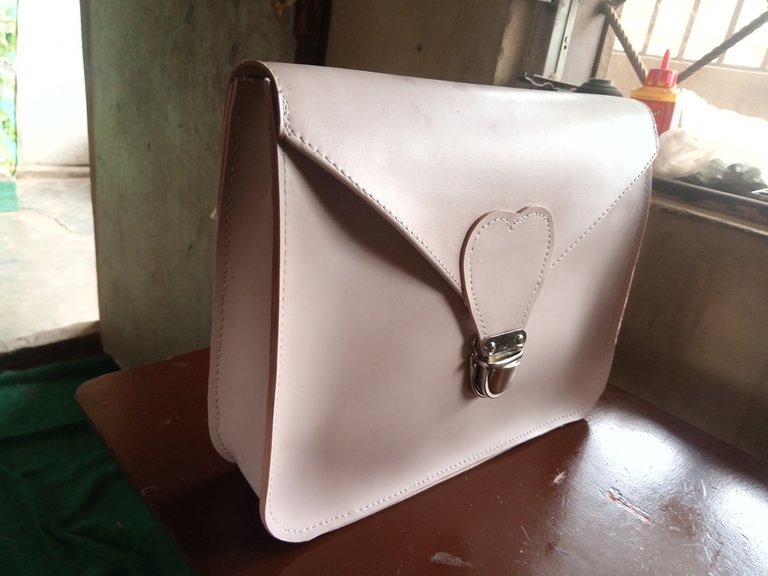
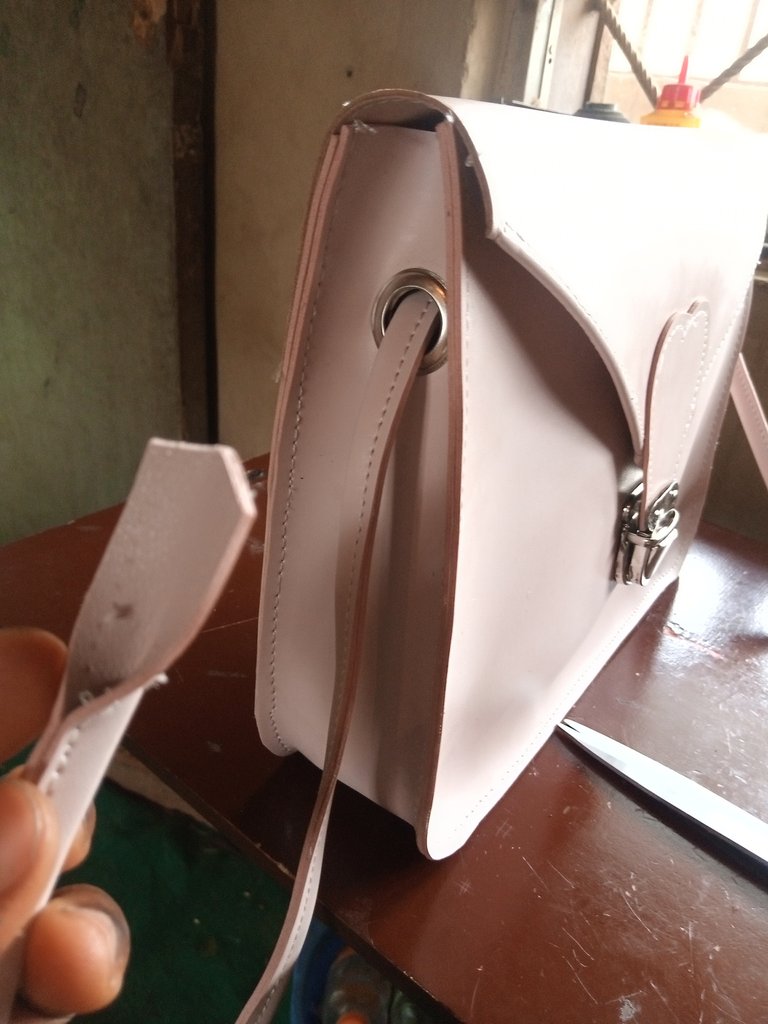
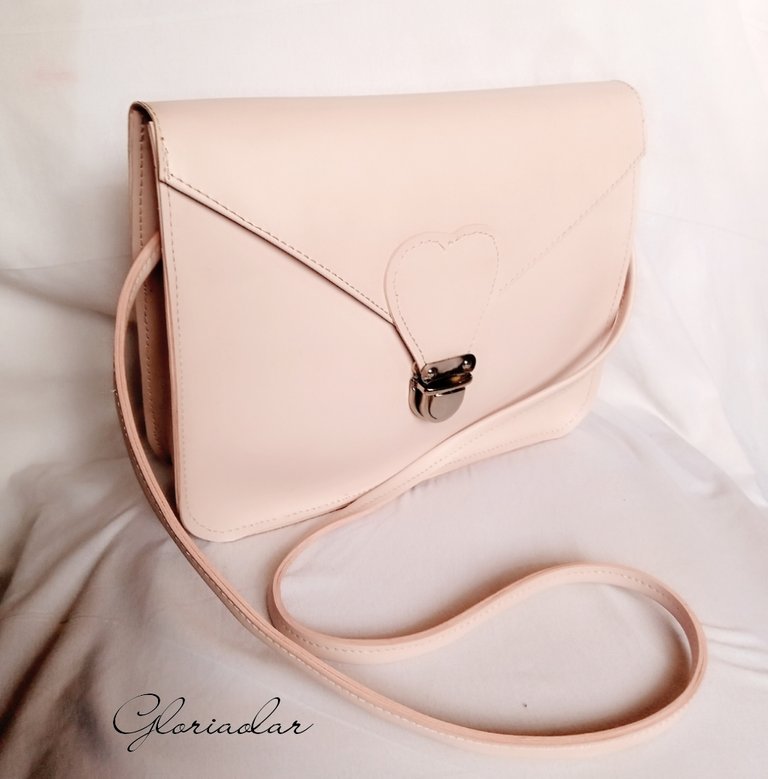
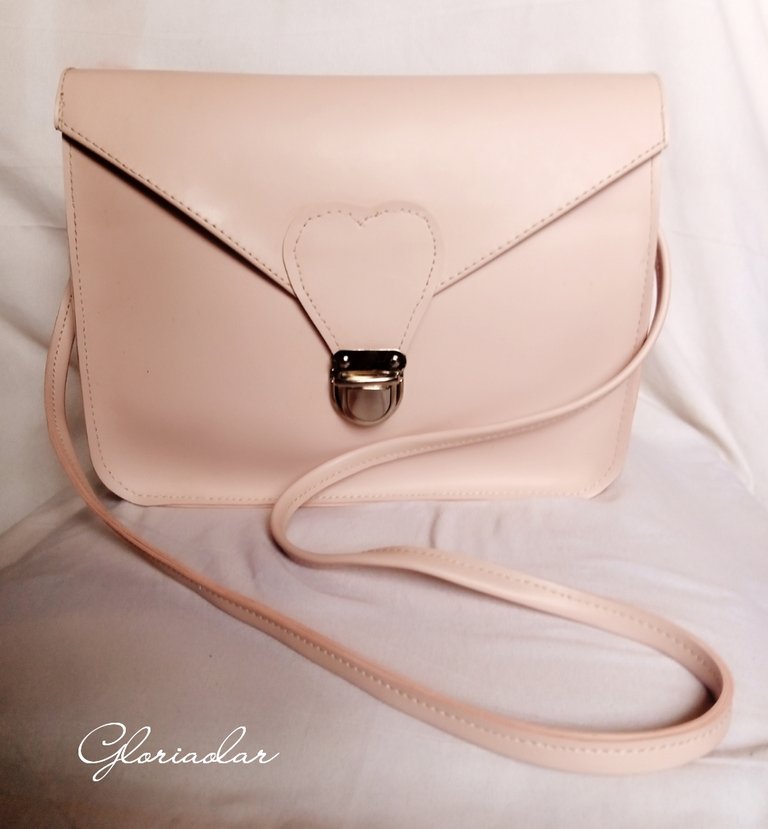
Also I bring to you a new bag design i just made. Its a portable, classy bag. I call it Sylvia. As soon as i finished making the bag and my mum came inside my workshop, she told me she's buying it. I guess I'll be making more of it. Below is a picture of the bag.
MATERIALS USED
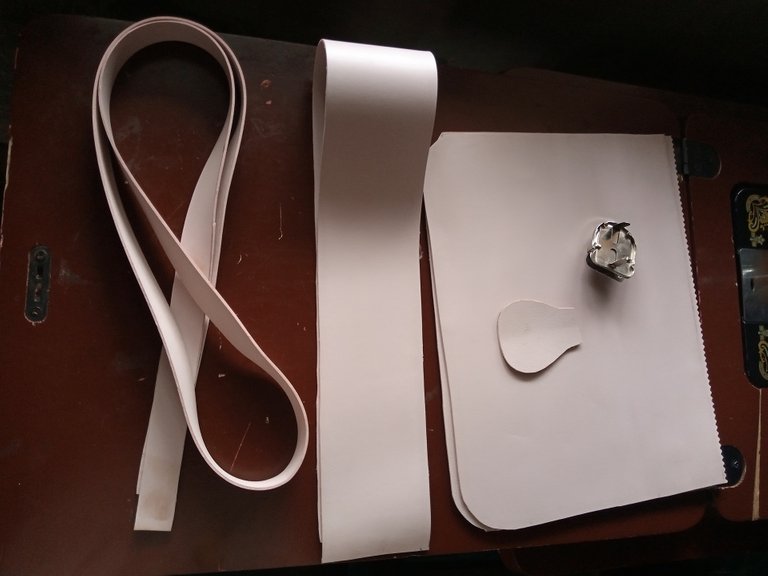
- Leather of choice
- Designer hook
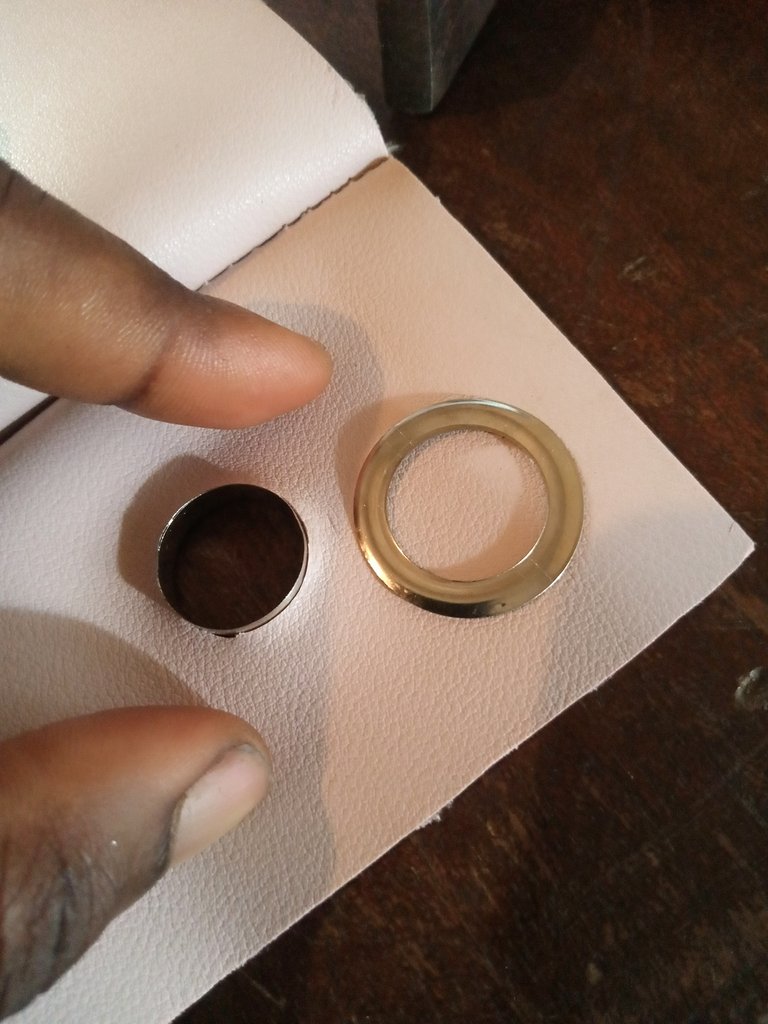
- Eyelet
PROCESS
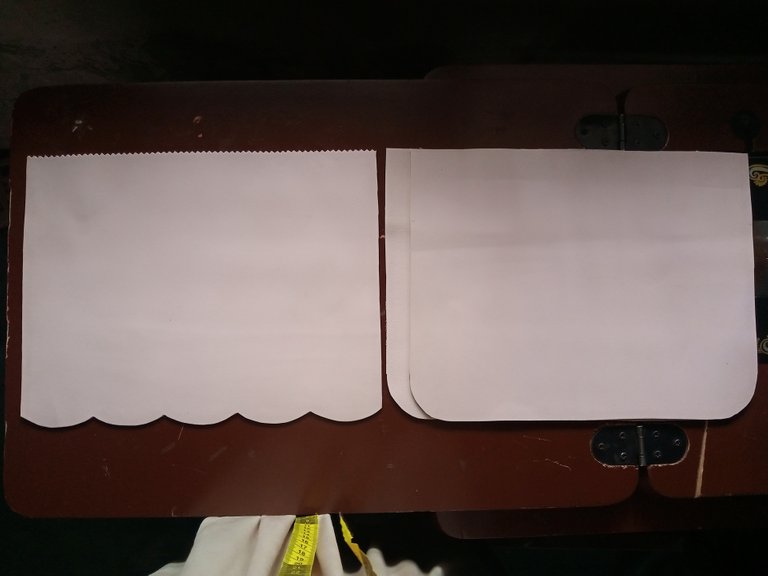
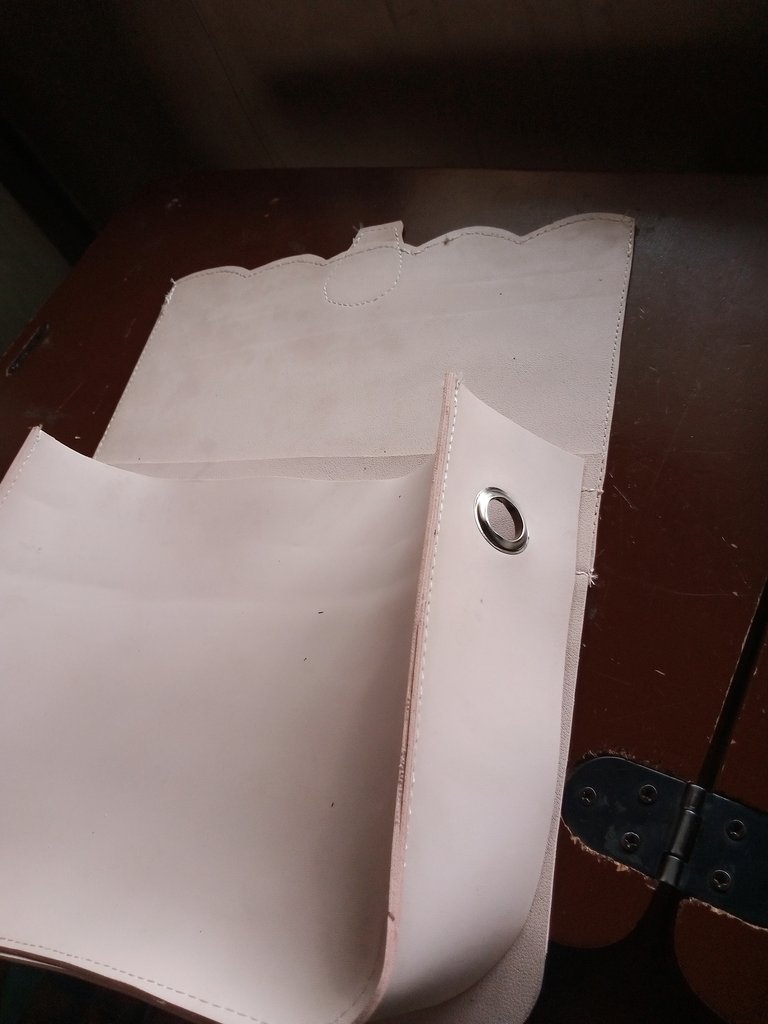
- The measurements I used are 9 by 11.5 inches in three places but one has a different design as seen below.
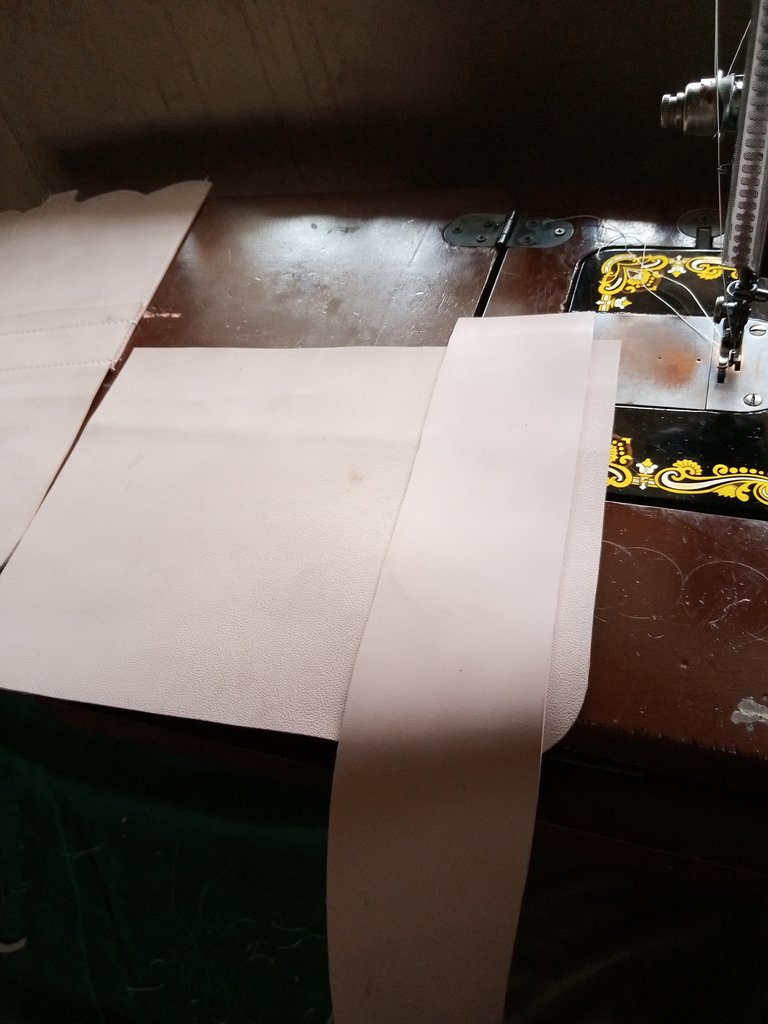
- Additional measurements are 3 by 28 inches and 1 by 45 inches.
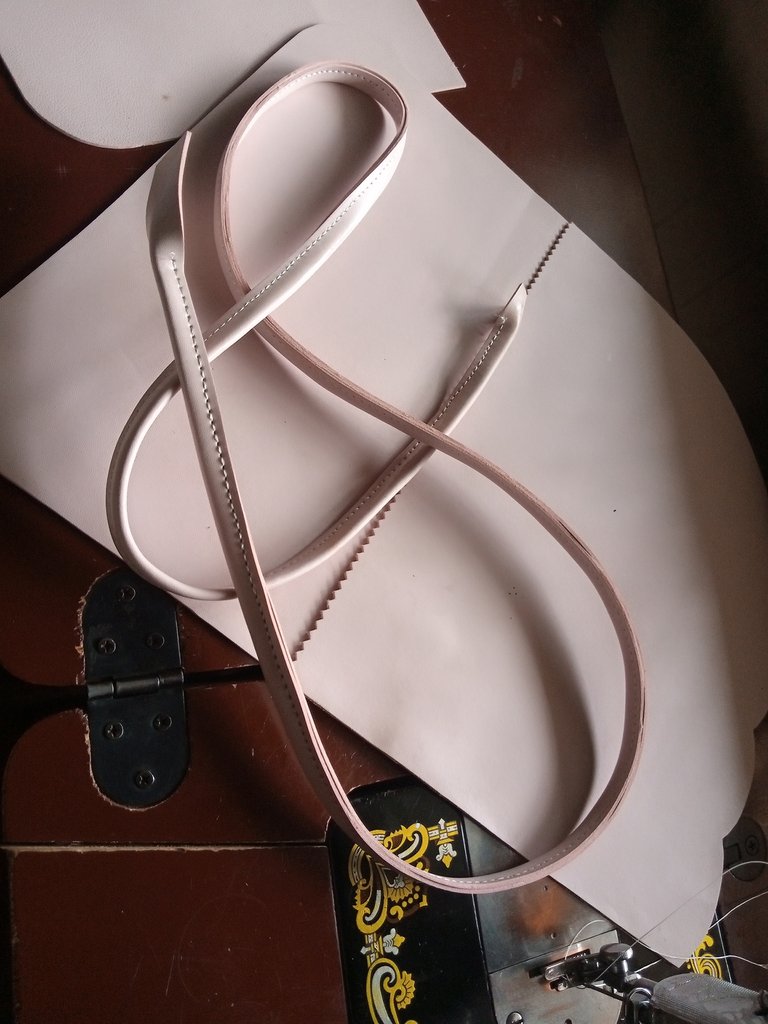
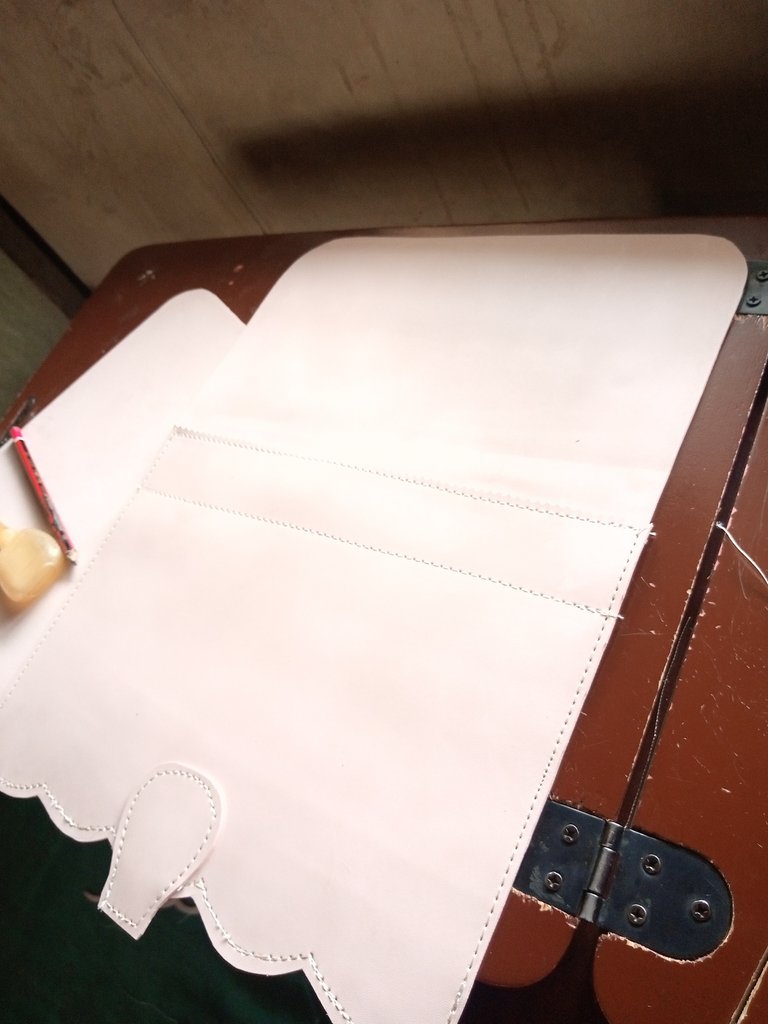
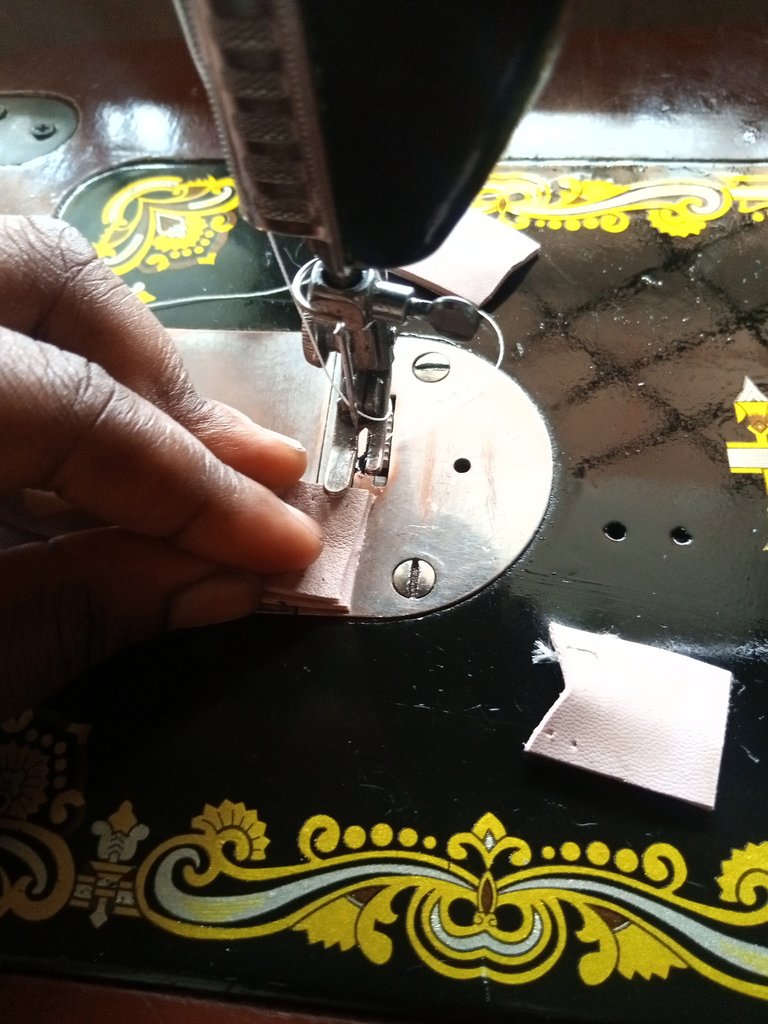
- The first thing I did was to stitch the longer rope as seen below.
- I stitch the curvy side to one of the main bag 2 inches below as seen below.
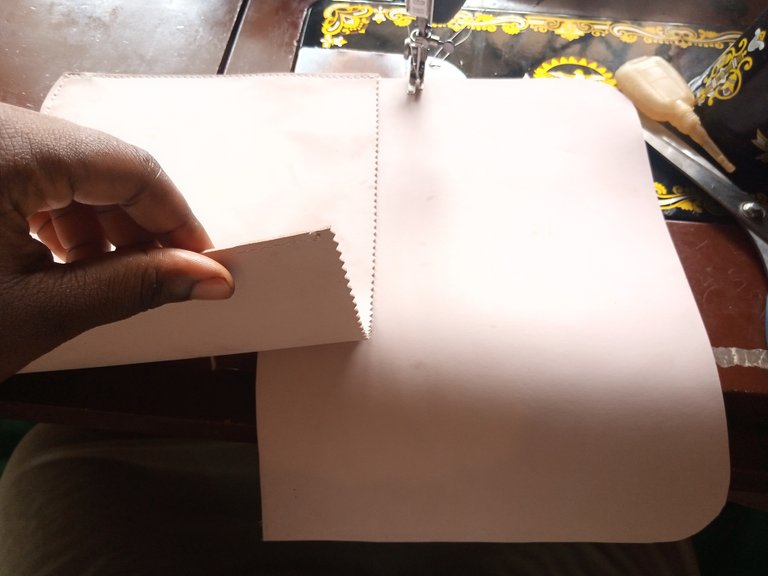
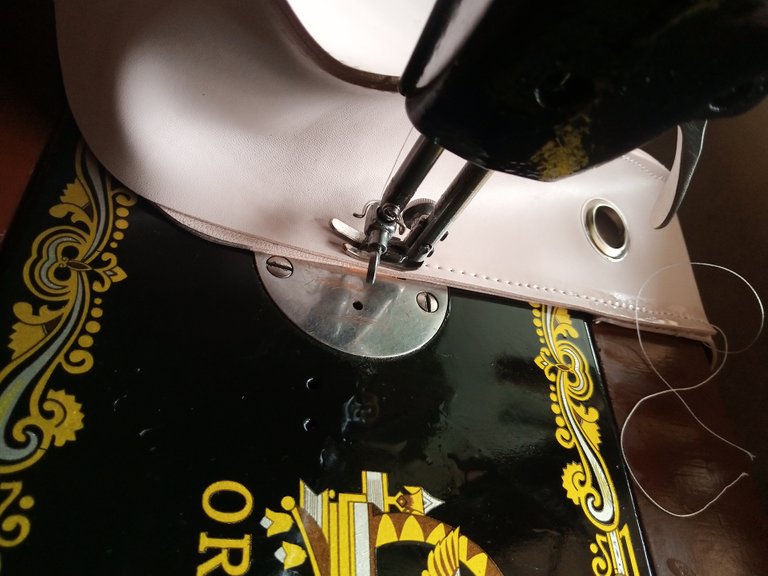
- For the curvy edge, i had to change the design because when i tried to stitch it, the machine was giving me a rough stitch so i change the design. (I'll be explaining that later)
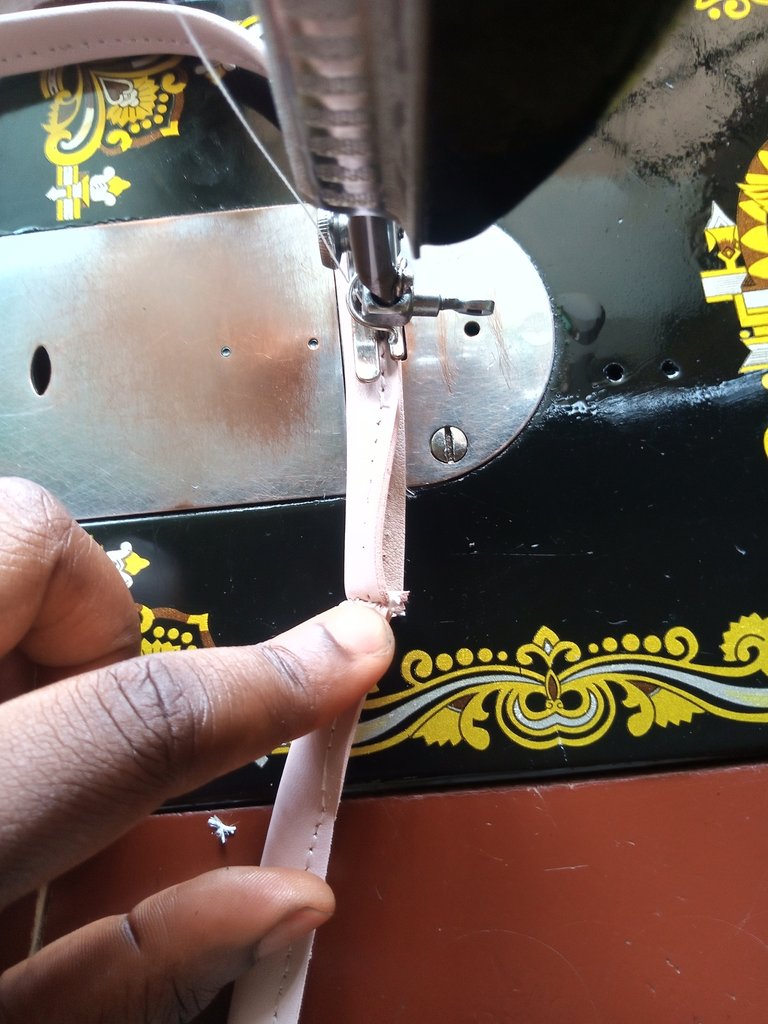
- I stitch the 3 by 28 inches side with the other main bag side as seen below.
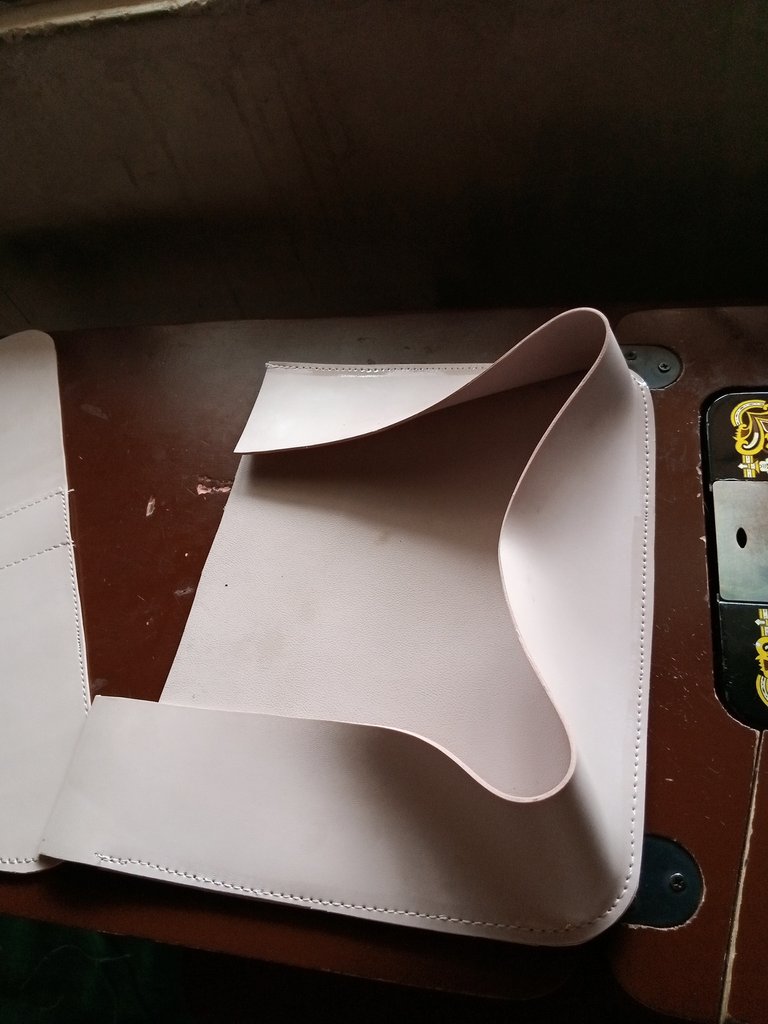
- After stitching the sides i noticed the side is in excess so i had to cut out the excess.
- I made a small hole for eyelet using 2 by 1.5 inches.
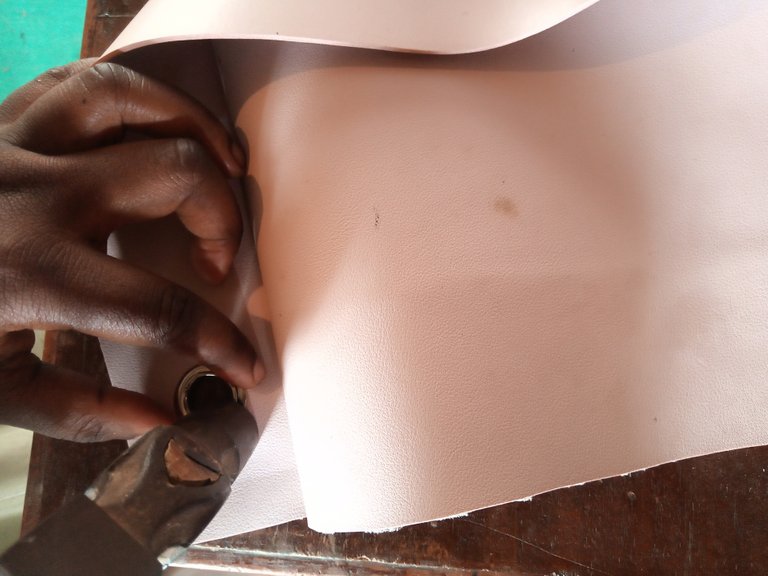
- Then i fix the eyelet as seen below.
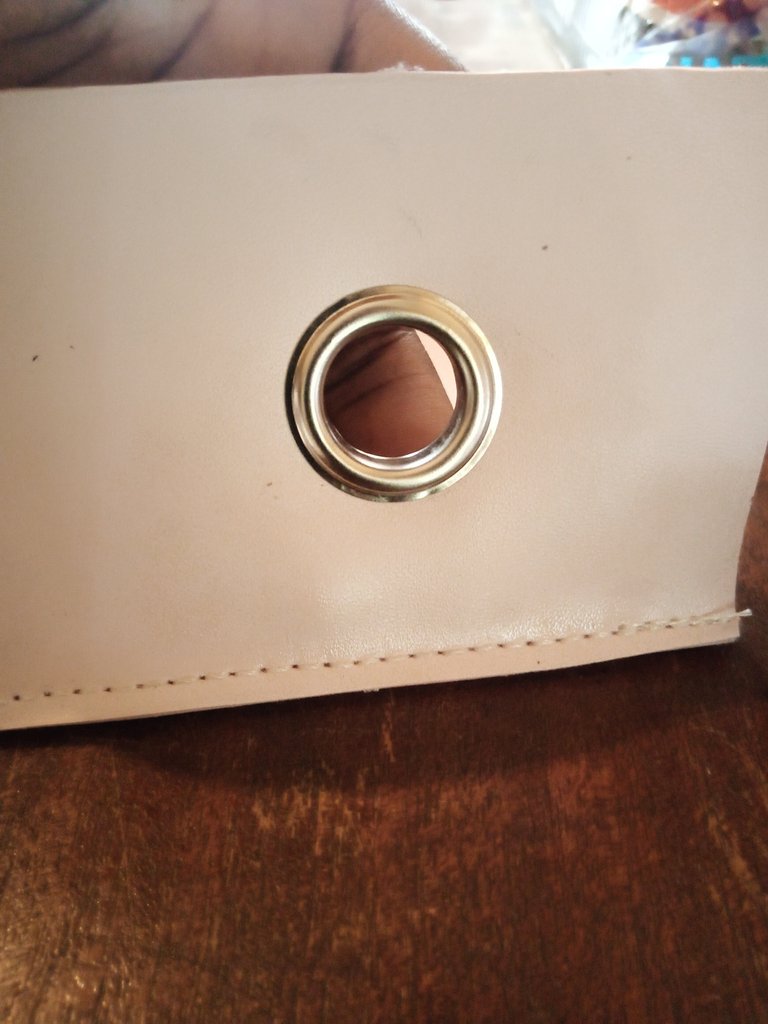
- Then I used hammer to fix them together.
- I stitch the two main bag sides together as seen below.
- Here i change the covering design and i fix the design hook as seen below.
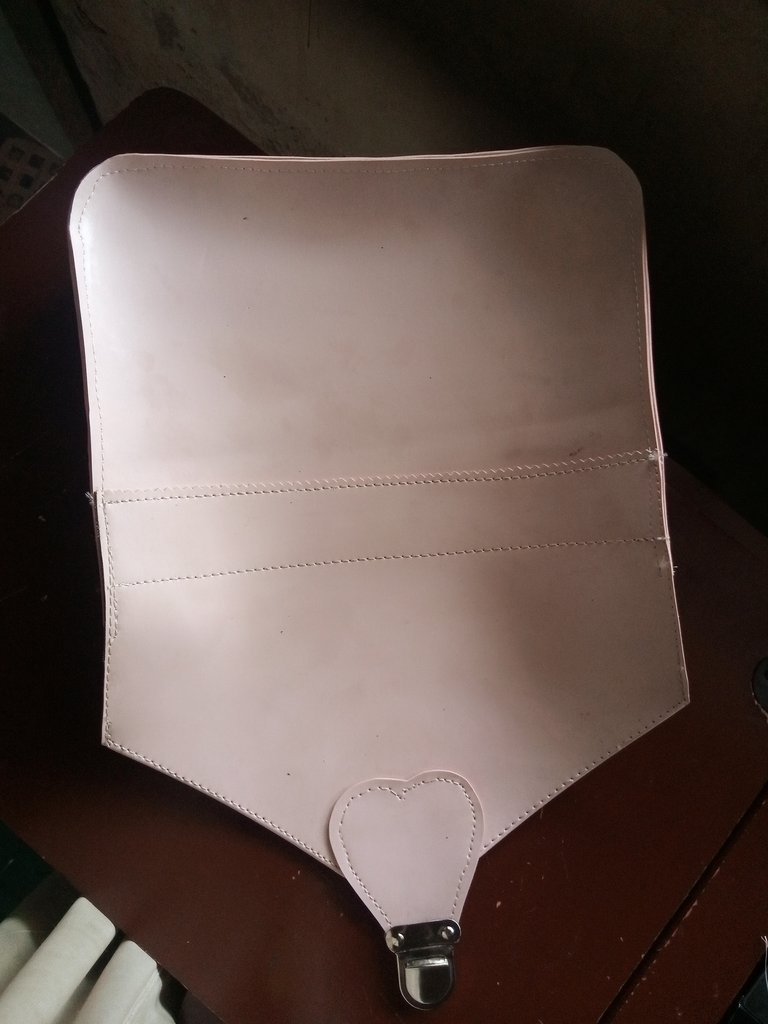
- Then i used the hook ive fixed to fix the other.
- I put the longer rope inside the eyelet hole and stitch it together.
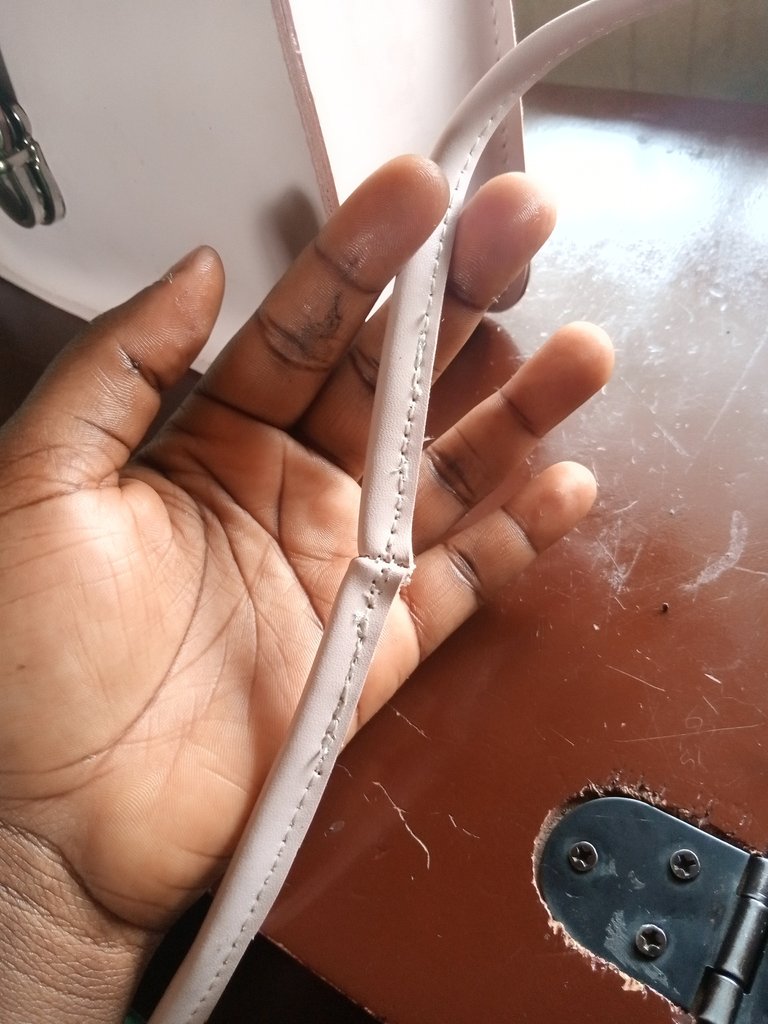
FINAL LOOK
Thanks for viewing my blog and have a wonderful day!!!
Shared on twitter
https://twitter.com/gloriaolar1/status/1235200956842864641?s=19
Posted using Partiko Android
Wow really a beauitful purse! And great post documenting the process. So cool you can make stuff like this.
@tipu curate 3
Upvoted 👌 (Mana: 20/35 - need recharge?)
Thank you @tipu
Posted using Partiko Android
Thank you so much
Posted using Partiko Android
This post was shared in the Curation Collective Discord community for curators, and upvoted and resteemed by the @c-squared community account after manual review.
@c-squared runs a community witness. Please consider using one of your witness votes on us here
Thank you @c-squared
Posted using Partiko Android
Thank you for using the #. This post has been manually rewarded with BUILD tokens in the form of an upvote. You can buy, stake, and exchange our "BUILD" tokens for steem on steem engine or SteemLeo
Build-it is a central hub for DIY and How-To projects. It's an opportunity to find and share the latest in DIY, and How-To tutorials. The recommended tags required when creating a DIY article are #diy, #build-it. #how-to, or #doityourself. Please subscribe to our community here
Chat with us on our discord and telegram channels Discord, Telegram.
Congratulations @gloriaolar!
You raised your level and are now a Minnow!
Do not miss the last post from @steemitboard:
Vote for @Steemitboard as a witness to get one more award and increased upvotes!