Classic cake three milk/ Torta clásica tres leches
🍂🌸🍂
Hello hivers! I want to tell you that today I wanted to expand my knowledge a little and get into the artistic part of the culinary world. We have to explore new things and as we already know everything we do with enthusiasm and a touch of passion we can turn it into ART !!
This time I bring you a classic but delicious recipe that my friend Ana knows and shared with me. A delicious three milk cake. Who doesn’t love to delight in this classic dessert?!.
This is a moist sponge cake with a vanilla flavor, with the absorption of the three milks (condensed milk, evaporated milk and cream). Hey I hope you are not lactose intolerant and if you are, well, UP that spirit!! You can prepare it for someone special, or simply to delight your family with the afternoon dessert 😉.
There are different ways to prepare this dessert but here I bring you the way in which my friend shared it with me and it was super delicious.
Let's start with the ingredients ...
For the cake we will need: 200g of rising flour; (Flour with baking powder included) If you do not have it, do not worry, it can be all-purpose flour and then you add 1 tsp of baking powder; 150g of sugar; 5 Eggs; 100ml of Milk; Lemon zest and 2 tsp of vanilla extract.
🍂🌸🍂

Ingredients
Hola hivers! Quiero comentarles que hoy quise expandir un poco mis conocimientos y adentrarme en la parte artística referente a lo culinario. Tenemos que explorar nuevas cosas y como ya sabemos todo lo que hagamos con entusiasmo y un toque de pasión podemos convertirlo en ARTE!!
Esta vez les traigo una receta clásica pero deliciosa que mi amiga Ana conoce y me compartió. Una deliciosa torta tres leches. ¡¿Quién no ama deleitarse con este clásico postre?!.
Este se trata de un bizcocho húmedo con un sabor de vainilla, con la absorción de las tres leches (leche condensada, leche evaporada y crema de leche). Hey! Espero no seas intolerante a la lactosa y si lo eres pues, arriba esos ánimos!! Puedes prepararla para alguien especial, o simplemente para deleitar a tu familia con el postre de la tarde 😉 .
Hay diferentes maneras de preparar este postre pero aquí les traigo la manera en la que mi amiga me lo compartió y quedó super rica.
Comencemos con los ingredientes…
Para el bizcocho vamos a necesitar: 200g de Harina leudante; (Harina con polvos de hornear incluido) si no tienes, no te preocupes, puede ser Harina todo uso y luego le agregas 1cdta de Polvo de hornear; 150g de Azucar; 5 unid de Huevos; 100ml de Leche; Ralladura de limón y 2 cdtas de Extracto de vainilla.
🍂🌸🍂

🍂🌸Process/Proceso🌸🍂
🍂🌸🍂
We are going to start by separating the whites and the yolks from the eggs, a tip that I can give you so that this doesn’t become a catastrophic event with the yolks and scrambled whites is that you very carefully tap the entire upper circumference of the egg thing that you are left with a kind of cap so that you can retain the yolk when you take out the white. Have a Bowl underneath when you do this and a cup to set the yolks aside. After this you will beat the whites at high speed for 5 minutes until you have the whites half assembled. (If you do not have a mixer you can do it by hand, of course, it will take a little more.) After 5 minutes you will gradually add half the sugar. When you have finished beating and incorporating the sugar, you should have the whites either firm or "snow point." Reserves and we continue ...
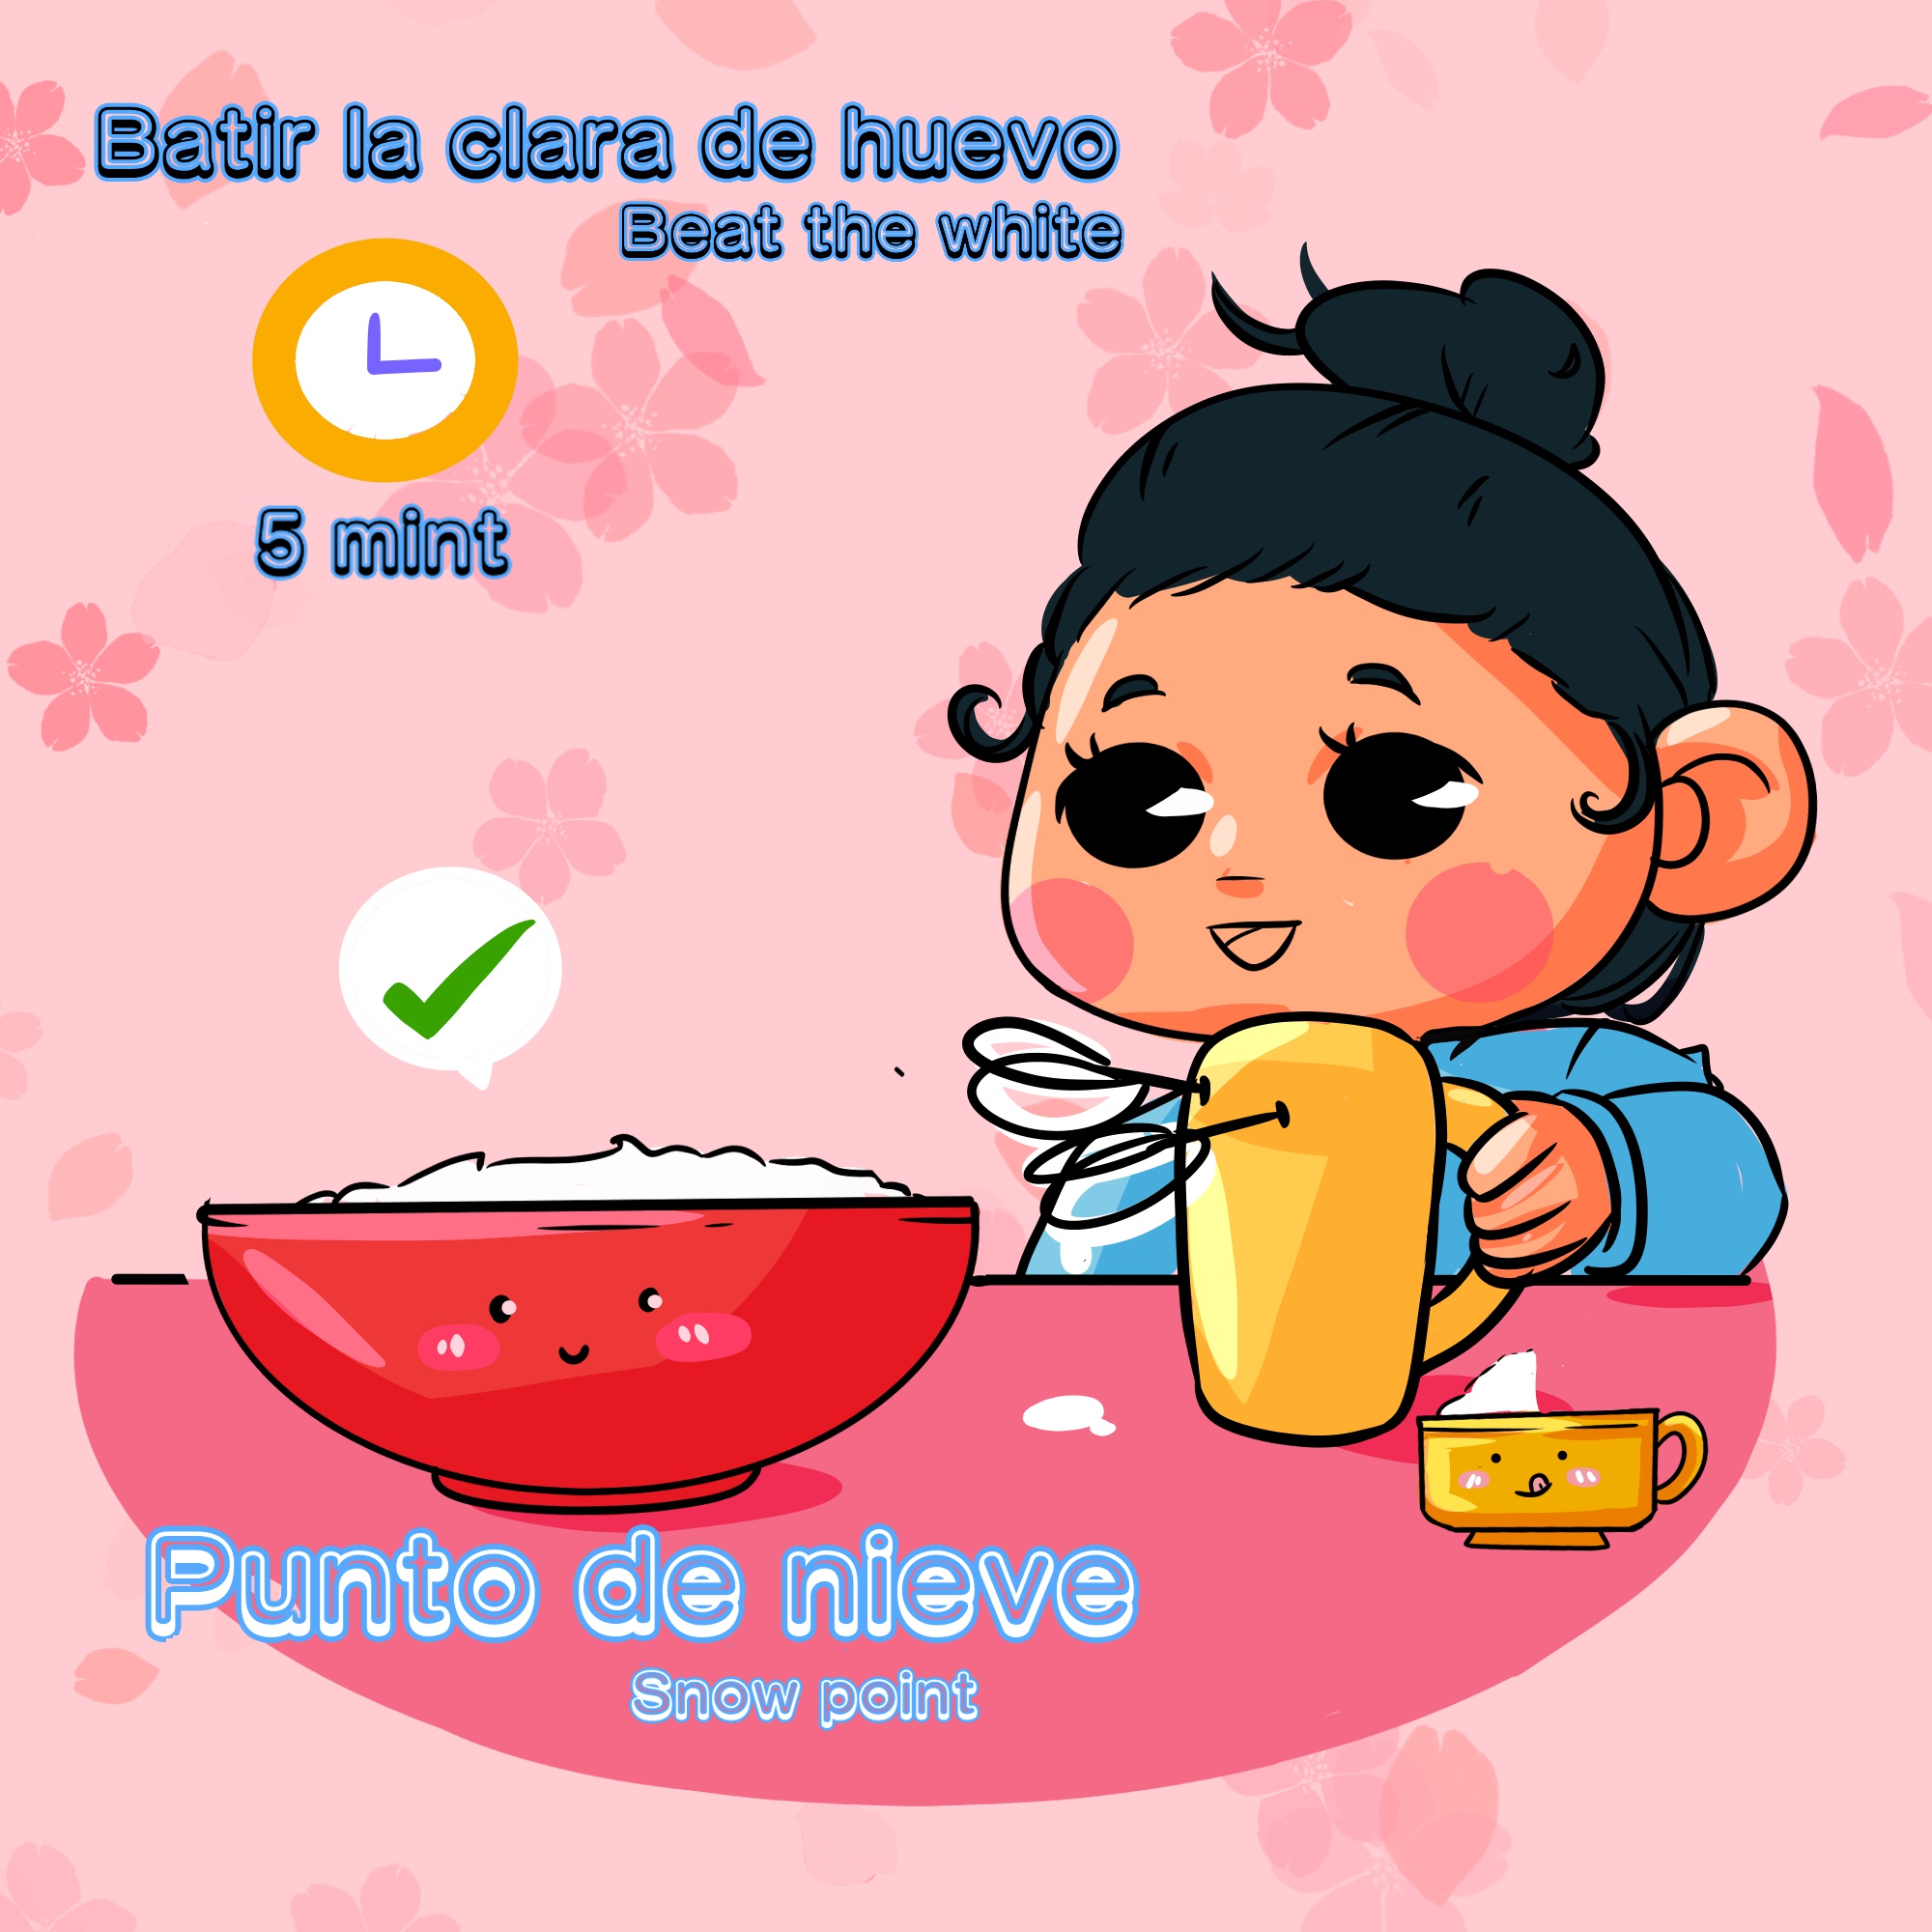
Vamos a comenzar separando las claras y las yemas de los huevos, un tip que te puedo dar para que esto no se convierta en un evento catastrófico con las yemas y claras revueltas es que con mucho cuidado le des golpecitos por toda la circunferencia superior del huevo cosa de que quedes con una especie de tapita para que puedas retener la yema al momento de sacar la clara. Ten un Bowl debajo cuando hagas esto y una taza para colocar de lado las yemas. Luego de esto vas a batir las claras a velocidad alta por 5 minutos hasta lograr tener las claras a medio montar. (Si no tienes batidora puedes hacerlo a mano, claro, vas a tardar un poquiiito más.)
Luego de los 5 minutos vas a ir agregando por partes la mitad del azúcar. Cuando hayas terminado de batir y de incorporar el azúcar deberías de tener las claras ya bien firmes o a “punto de nieve.” Las reservas y seguimos…
🍂🌸🍂
In another bowl you are going to place the yolks and start to beat again on high speed for 1 or 2 minutes, then you are going to add the rest of the sugar and continue beating until you achieve a creamy consistency and rinse the yolks a little, Next, you are going to add the teaspoons of vanilla and the lemon zest to the mixture, we continue to beat and add the 100ml of whole or skim milk, we continue to beat for about 5 minutes...
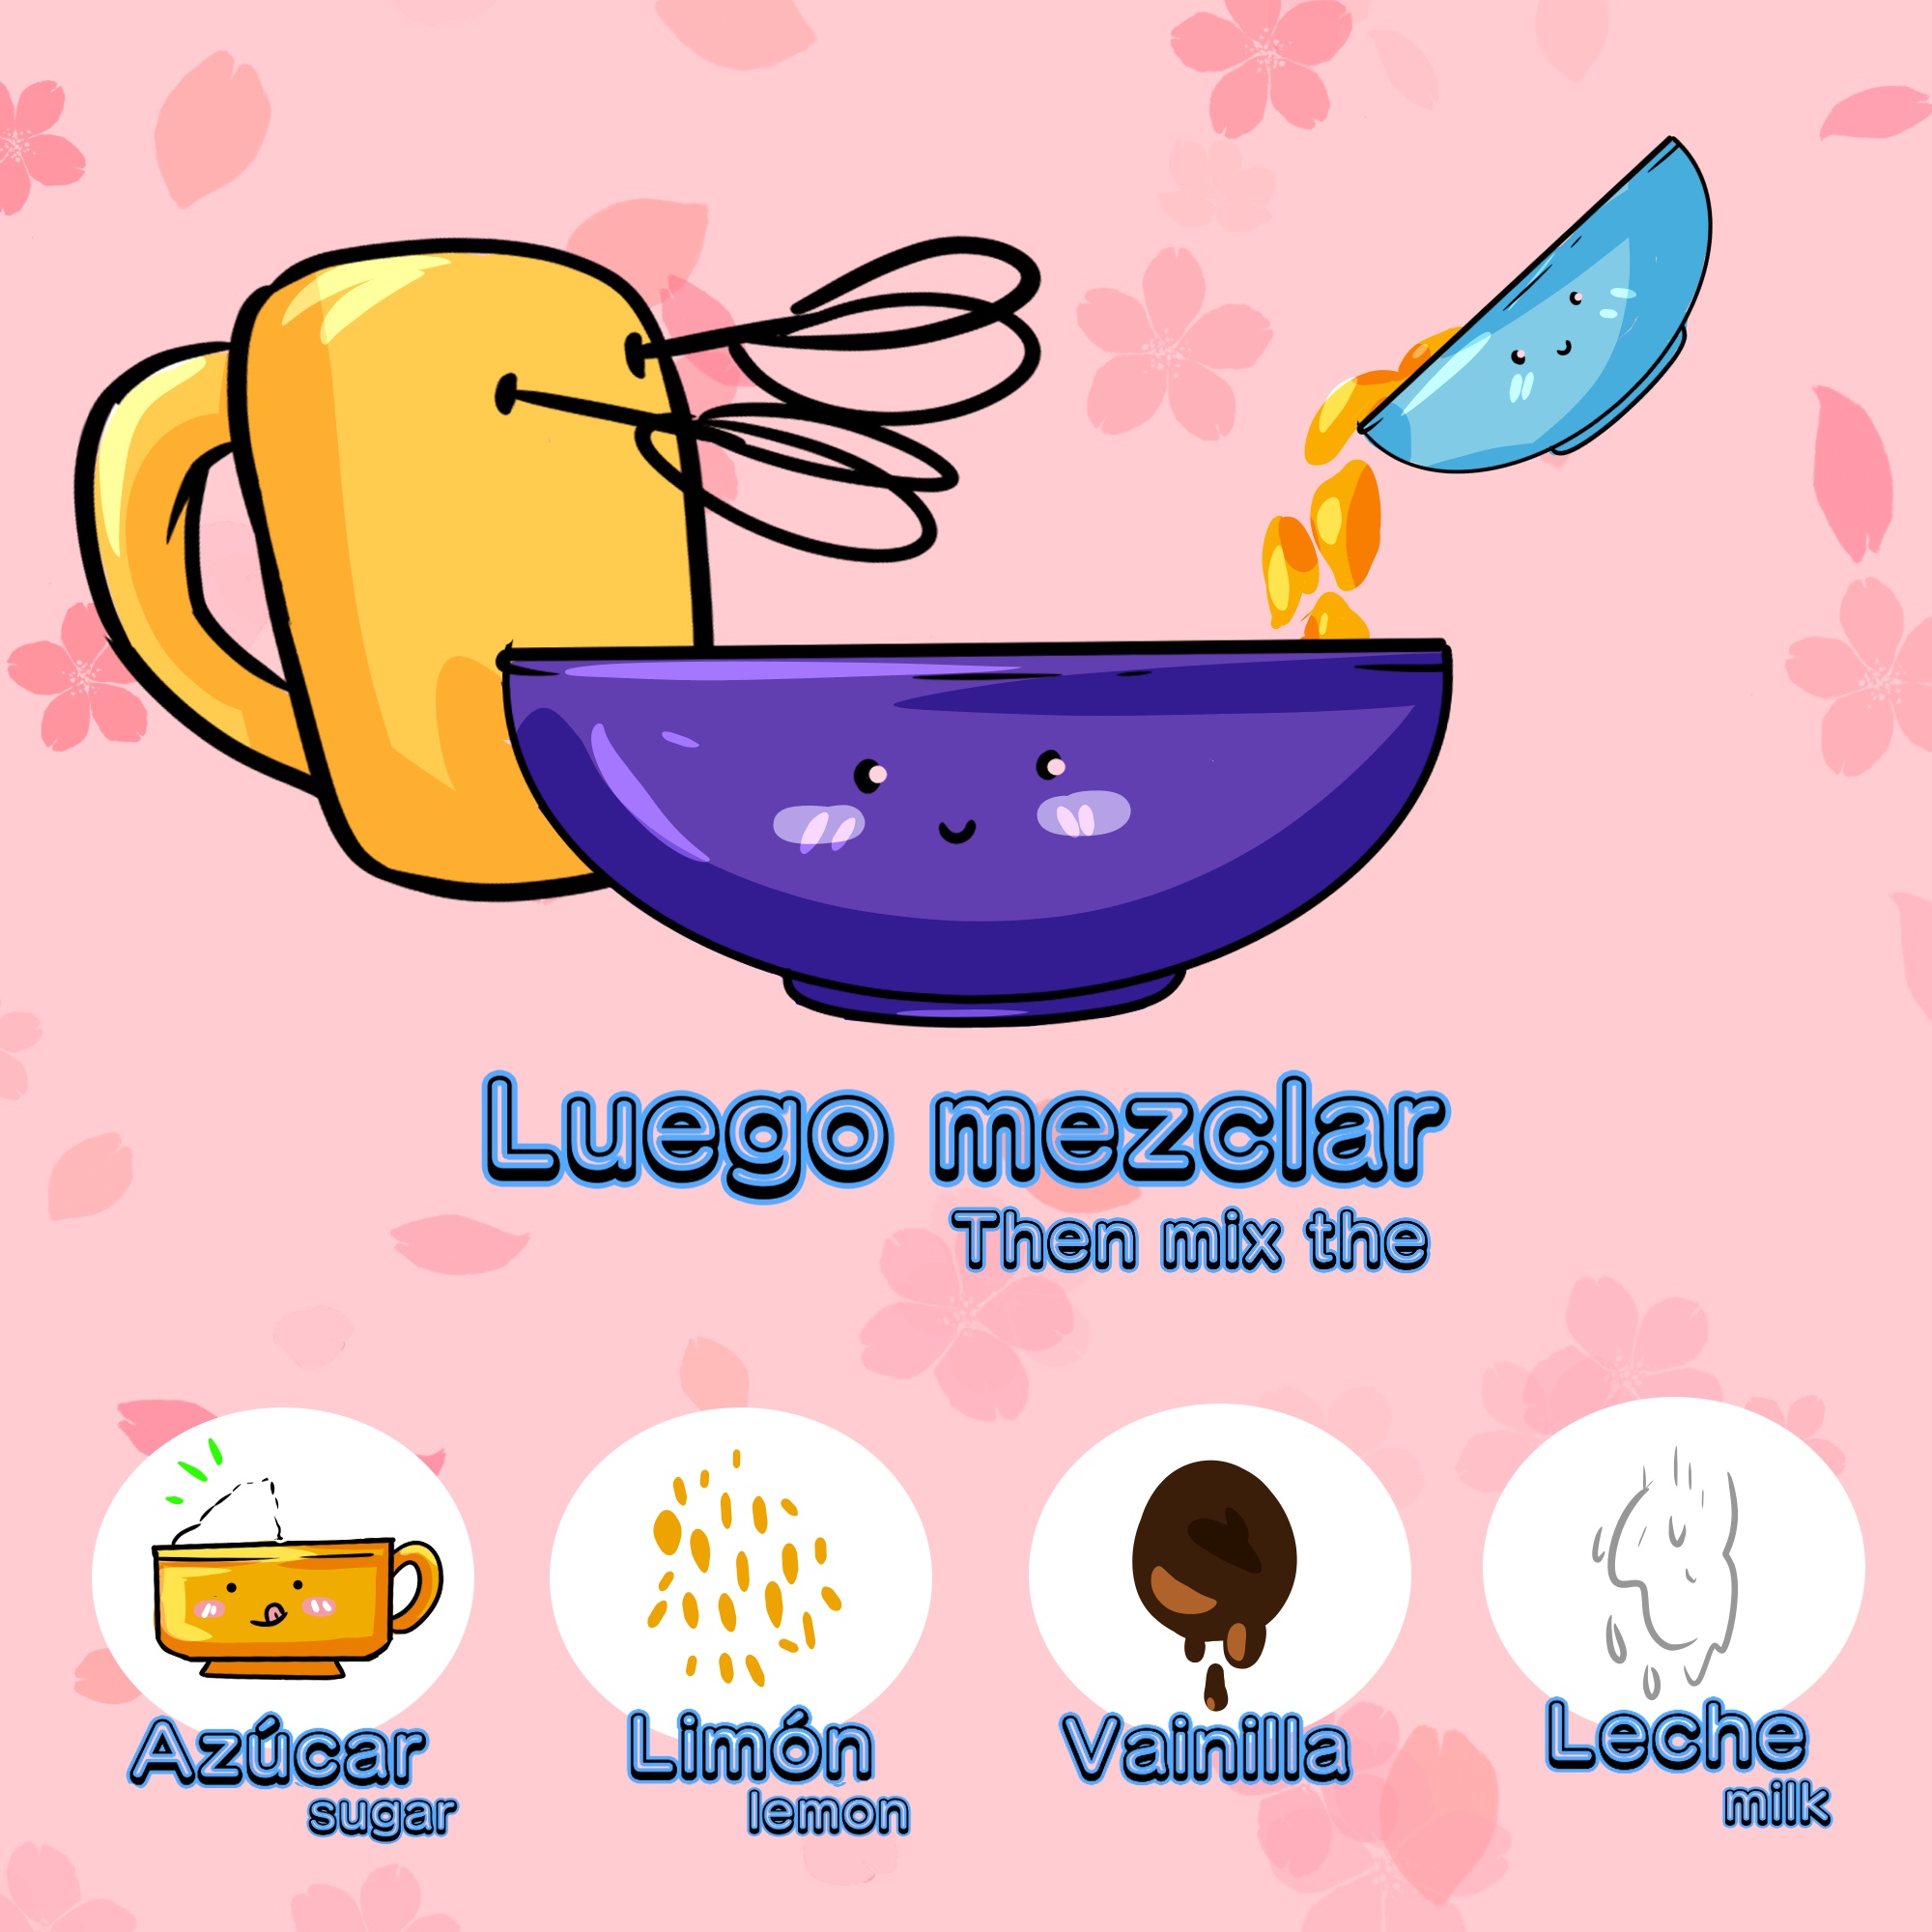
Mix, mix, mix!!
En otro bowl vas a colocar las yemas y comienzas nuevamente a batir a velocidad alta por 1 o 2 minutos, luego vas a incorporar el resto del azúcar y seguir batiendo hasta lograr una consistencia cremosa y aclarar un poco las yemas, seguido, vas a agregar a la mezcla las cucharaditas de vainilla y la ralladura de limón, seguimos batiendo y agregamos los 100ml de leche entera o descremada, seguimos batiendo por unos 5 minutos...
🍂🌸🍂
When we have our mixture ready, we are going to incorporate with enveloping movements the mounted whites. (This is done in this way to achieve after cooking the texture of a sponge cake that can then quickly and easily absorb the three milks.)
After having our mixture, it’s time to incorporate the flour through a strainer to sift it and thus avoid lumps.
Initially we are going to stir with the mixer turned off so as not to make the flour fly, then we turn on our mixer and beat until all our flour is well incorporated !!
Congratulations!! If you got to this point, it means that you have already managed to have our cake mixture ready and it’s time to add it to our mold (previously greased with a little butter and sprinkled with a little flour so that our cake does not stick.)
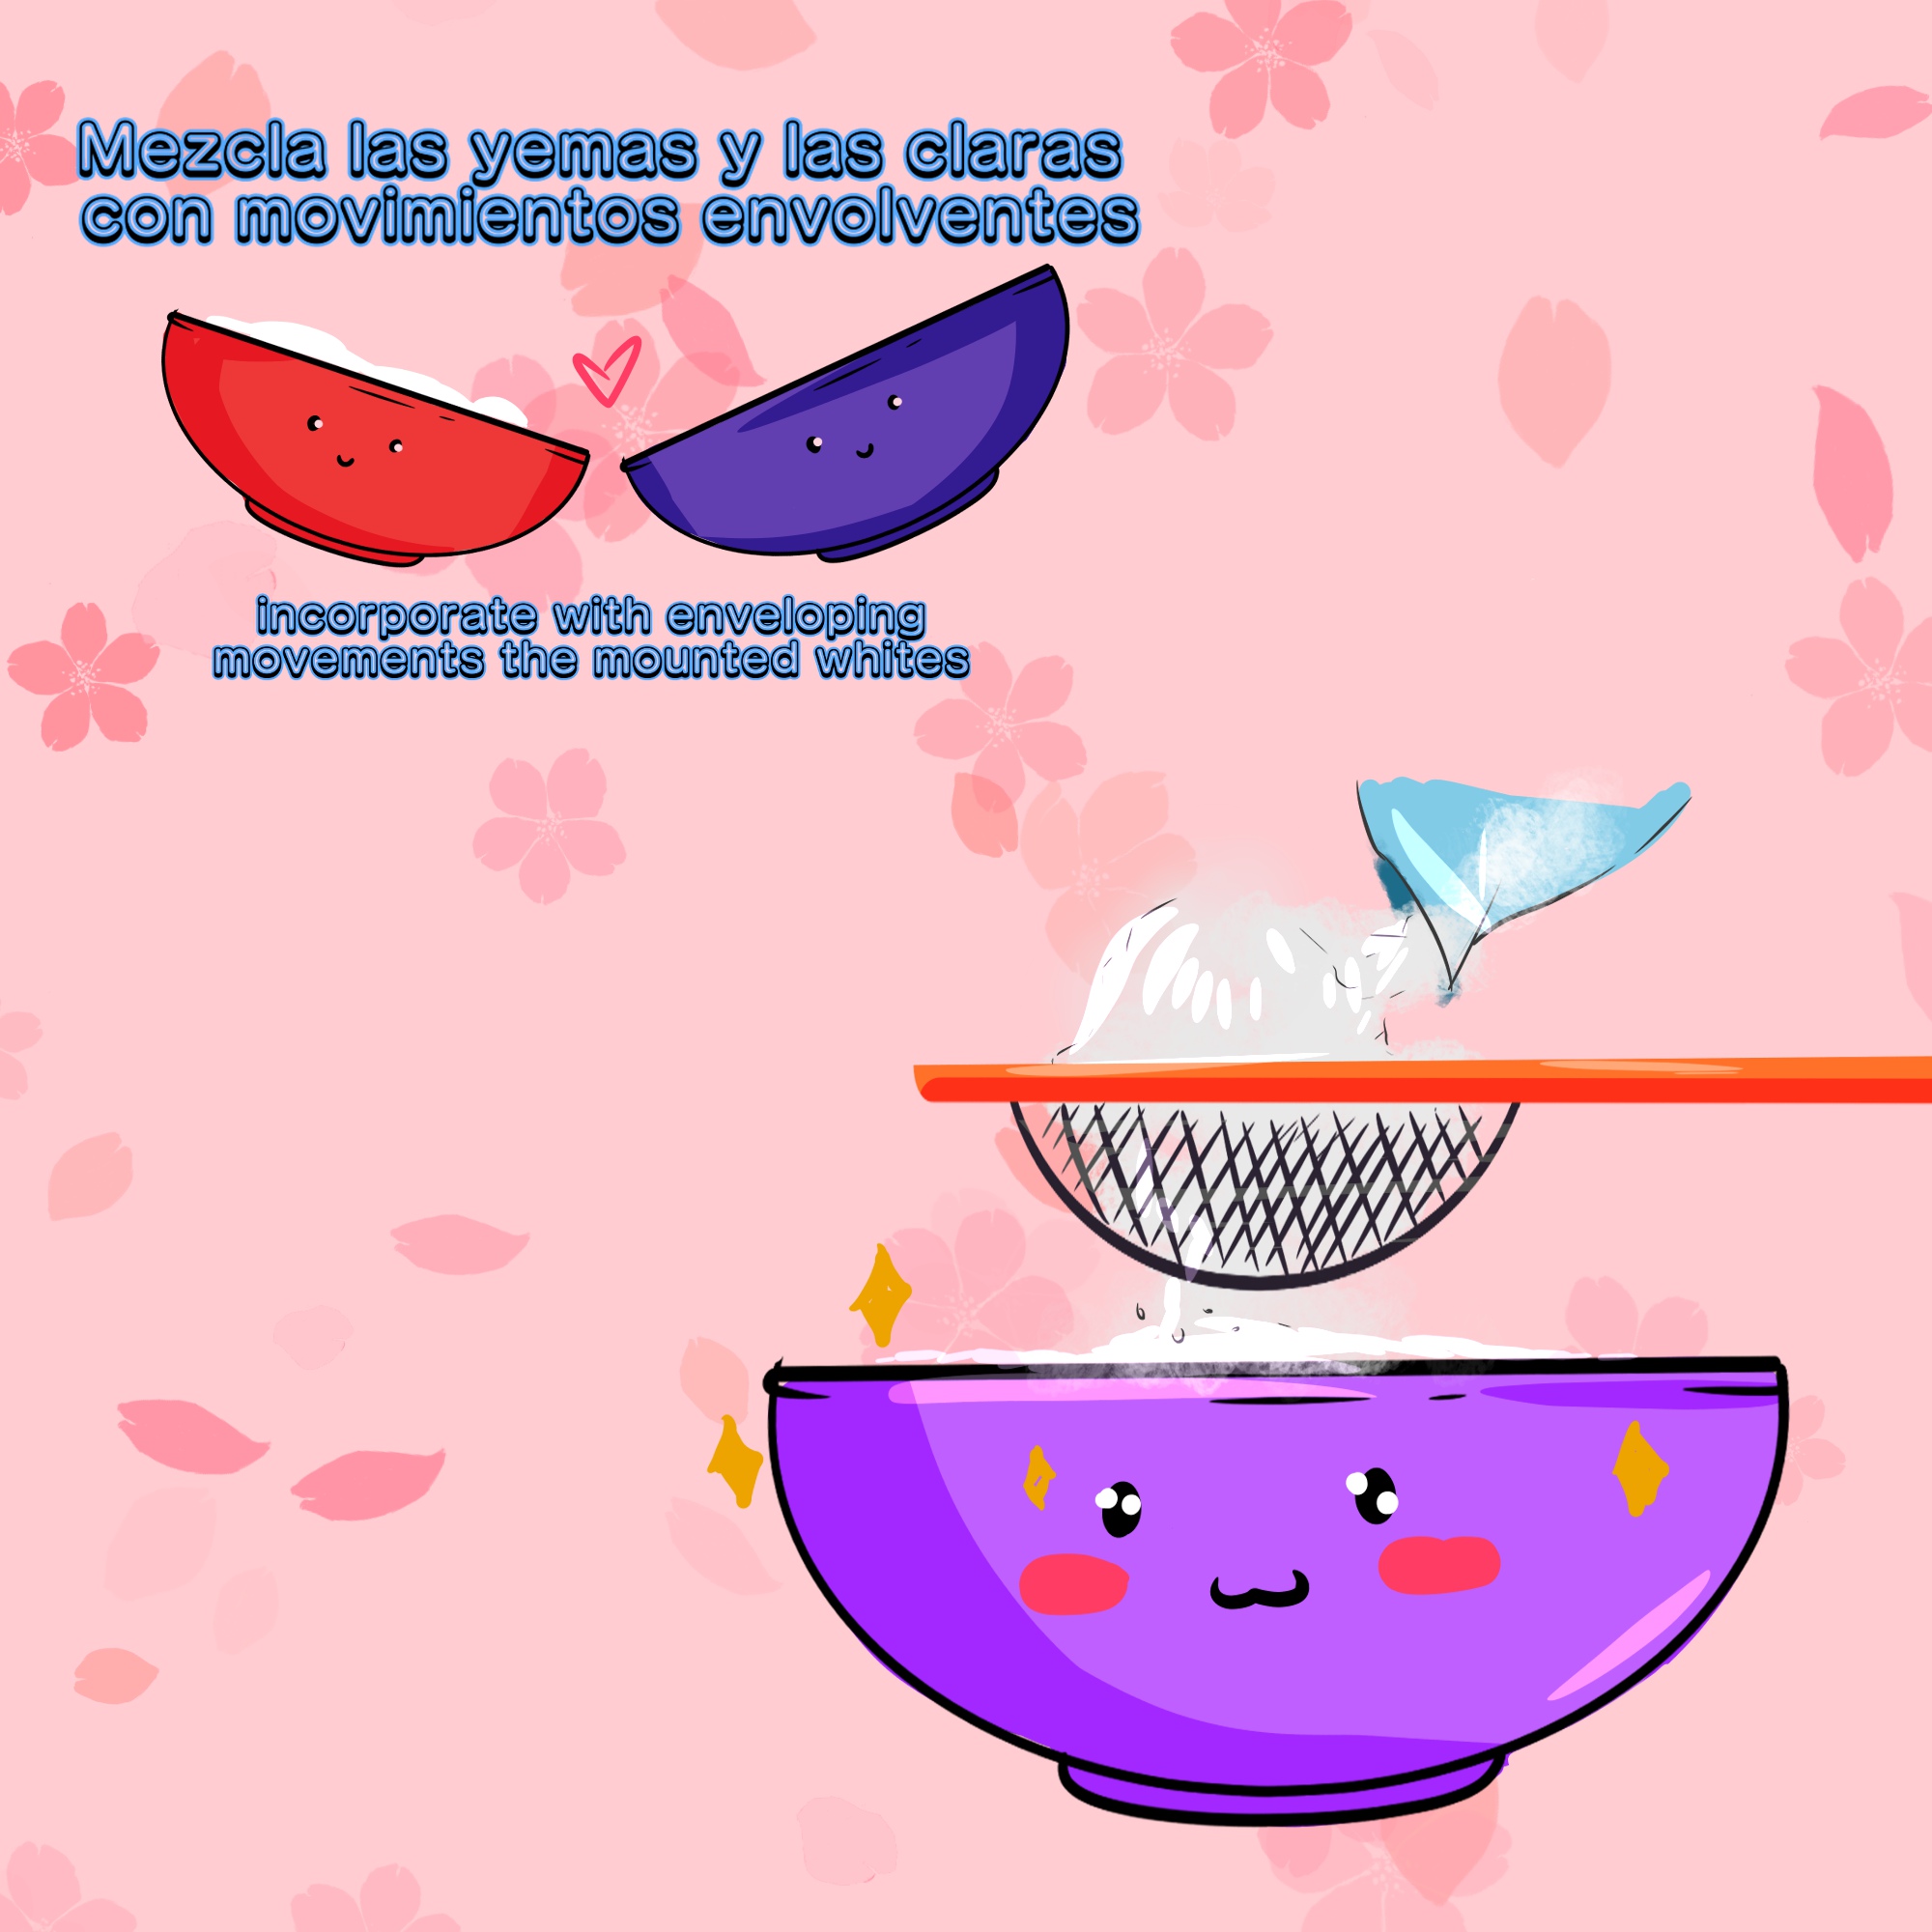
Cuando ya tengamos nuestra mezcla lista, vamos a incorporar con movimientos envolventes las claras montadas. (Esto se realiza de esta manera para lograr tener luego de la cocción la textura de un bizcocho esponjoso que luego pueda absorber con facilidad y a rapidez las tres leches.)
Seguido de tener nuestra mezcla, llegó la hora de incorporar la harina a través de un colador para tamizarla y así evitar los grumos. Inicialmente vamos a revolver con la batidora apagada para no hacer volar la harina, luego si encendemos nuestra batidora y a batir hasta que toda nuestra harina esté bien incorporada!!
¡¡Felicidades!! Si llegaste hasta este punto, quiere decir que ya lograste tener nuestra mezcla de bizcocho lista y llegó el momento de agregarla a nuestro molde (previamente engrasado con un poco de mantequilla y espolvoreado con un poco de harina para que no se pegue nuestra torta.)
🍂🌸🍂
Meanwhile, we are going to prepare our three milks:
250g of condensed milk, 300g of evaporated milk, 250g of milk cream. Or if it seems easier and you don't want to leave leftovers in the fridge ... 1 can of condensed milk, 1 can of evaporated milk and 1 small can of whipping cream. 😉

In a few minuts our cake will be ready
🍂🌸🍂
Ponemos la torta en el horno, en mi caso, yo la dejé en el horno por unos 50 minutos a 150º C. Claro que todo depende de cada horno y de su manera de calentar, así que te recomiendo que estés pendiente de la torta insertando un palillo en el centro y cuando este te salga seco (es decir, sin restos de torta) quiere decir que nuestro bizcocho está listo!!
Una vez listo, lo dejamos reposar por unos 10 minutos para que enfríe.
Mientras, vamos a preparar nuestras tres leches:
250g de leche condensada, 300g de leche evaporada, 250g de crema de leche. O si te parece más fácil y no quieres dejar sobras en la nevera… 1 Lata de leche condensada, 1 lata de leche evaporada y 1 lata pequeña de crema para batir. 😉
🍂🌸🍂
Now we are going to proceed to carry out an act “non grato” for our delicious sponge cake and I say this because with a toothpick or a fork we are going to make many, many holes in the sponge cake, absolutely everywhere. (This, to achieve greater absorption.)
When our cake is ready, with its thousands of holes, we are going to add the three milks with a spoon for soups, one of those large ones.
We start at the corners of the cake and then in the center. Our cake will absorb everything very quickly. We are going to put half of the mixture and the rest we reserve for the next day.

Ahora vamos a proceder a realizar un acto “non grato” para nuestro rico bizcochito y digo esto porque con un palillo o un tenedor vamos a realizarle muchos, muchísimos huequitos al bizcocho, por absolutamente todos lados. (Esto para lograr mayor absorción.) Cuando nuestro bizcocho esté listo, con sus miles de huecos, vamos a agregar las tres leches con una cuchara para sopas, de esas grandes.
Empezamos por las esquinas de la torta y luego en el centro. Nuestro bizcocho va a absorber muy rápido todo. Vamos a poner la mitad de la mezcla y el resto la reservamos para el día siguiente.
🍂🌸🍂
Then we take our cake to the refrigerator for preferably 24hrs.
After 24 hours, we wet our cake again with the three milk sauce so that it is perfectly soaked... and READY, our cake is ready to delight.
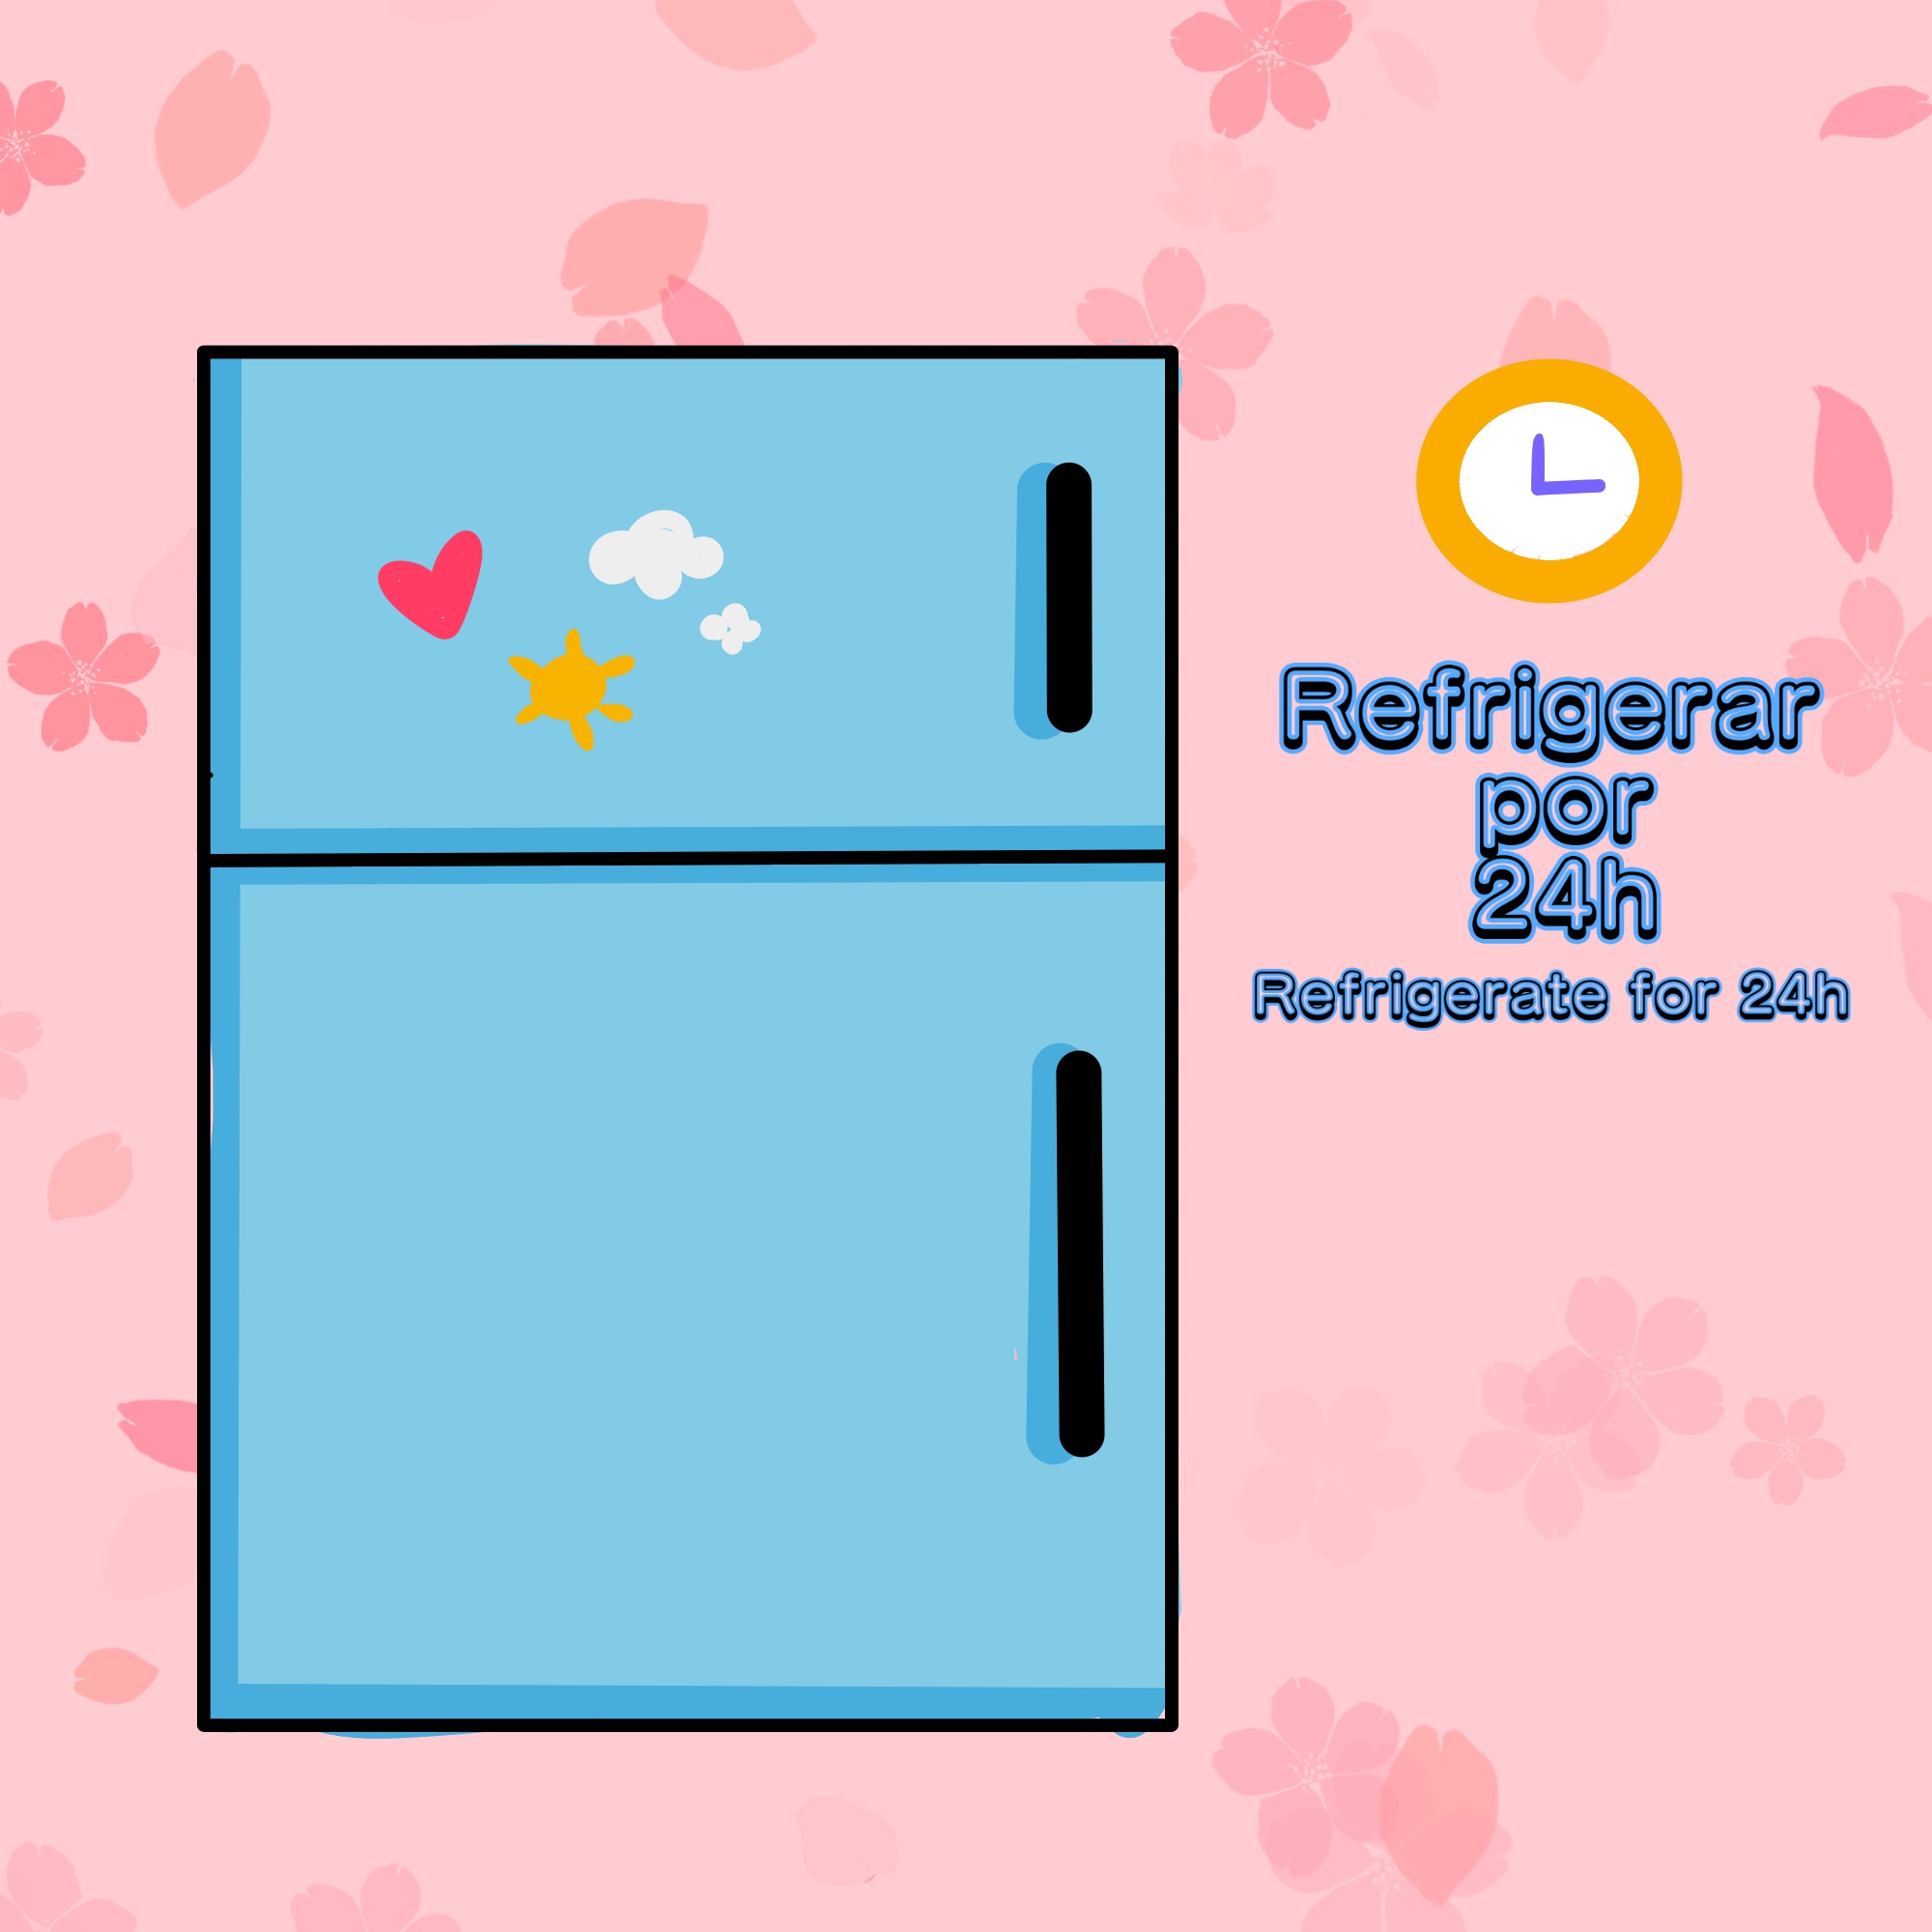
Luego llevamos nuestra torta al refrigerador por preferiblemente 24hrs.
Pasadas las 24hrs volvemos a mojar nuestro bizcocho con la salsa tres leches para que quede perfectamente remojado... y LISTO, nuestra torta tres leches esta lista para deleitar.
🍂🌸🍂
Now, if you prefer to decorate and achieve a better finish (this is optional) you can make an "Italian meringue" with the egg whites and when you have it ready, decorate the cake, sprinkle a little cinnamon on it and "VOILÀ" our delicious dessert will be more than ready to taste !!.
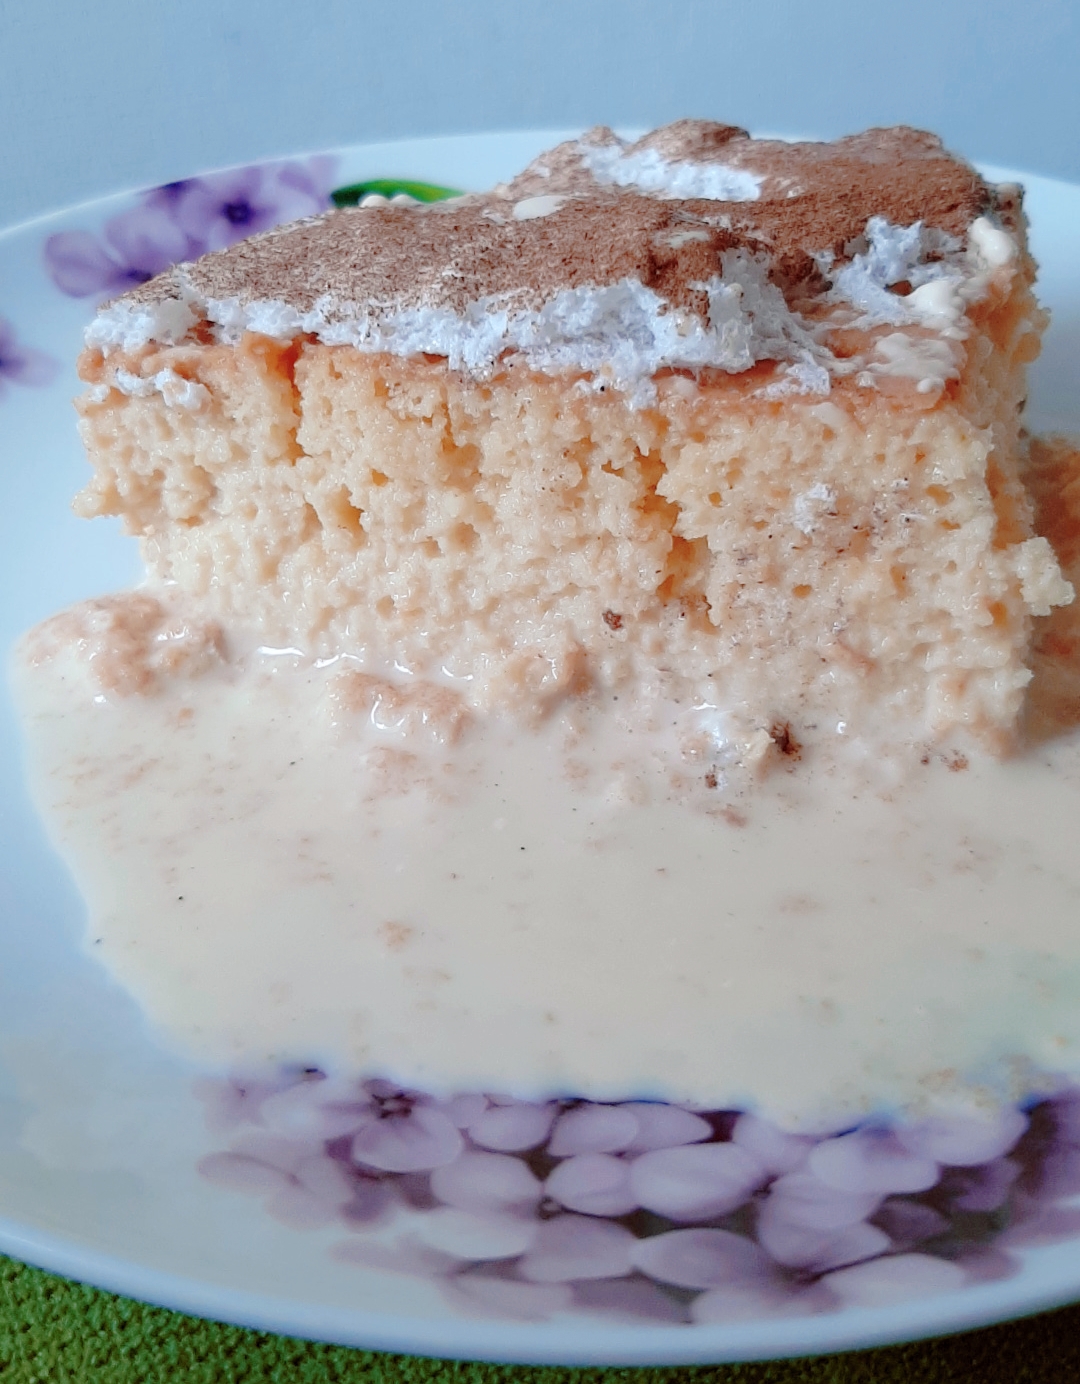
Ahora, si prefieres decorar y lograr un mejor acabado (esto es opcional) puedes realizar un “merengue italiano” con las claras de huevo y cuando lo tengas listo, decoras la torta, espolvoreas un poco de canela encima y “VOILÀ” (vualá en español) nuestro delicioso postre estará más que listo para degustar!!.
🍂🌸🍂
✨✨If you want me to make you a draw, just let me know. I am open for comission without restriction.✨✨

I hope you like it. A hug for everyone and good vibes 💖
Espero les guste. Un abrazo para todos y buena vibra 💖
🍀🍇🍀🍀🍇🍀🍀🍇🍀
Consider to follow our trail on steemauto We thanks all the support.

Also, I'm a steemmonsters player, with the same User. If you wanna challenge me, trade or send any spare card.

🍀🍇🍀
To all of you artists out here at Steemit! Hello~ If you ever are lost and lonesome, please join Steem Artists at our discord chat

We network with fellow artists here on Steemit and we help each other succeed :)
Come and say hi~ ^ __ ^ BNDW community discord channel


Excelente post, más que una receta y un paso a paso. Aplaudo el uso de tus imágenes, allí hay dedicación, esfuerzo y eso se nota y se valora.
Gracias por tus palabras!! Hago lo mejor para ustedes😄 Saludos
Exelente post, se muy especial lo que esplayaste, tratare de que me salga igual, gracias por compartir, te dejo mi voto y te sigo.
Gracias!! Si lo haces espero te salga súper 🥰
Me encanta este post, no solo porque amo este postre sino porque te quedó bellisino con todo lo que creaste. Saludos 💪😊
Muchas gracias que bueno que lo disfrutaste!! Un abrazo 😊