Canning Some Yellow Squash
Hello, and welcome to my page!
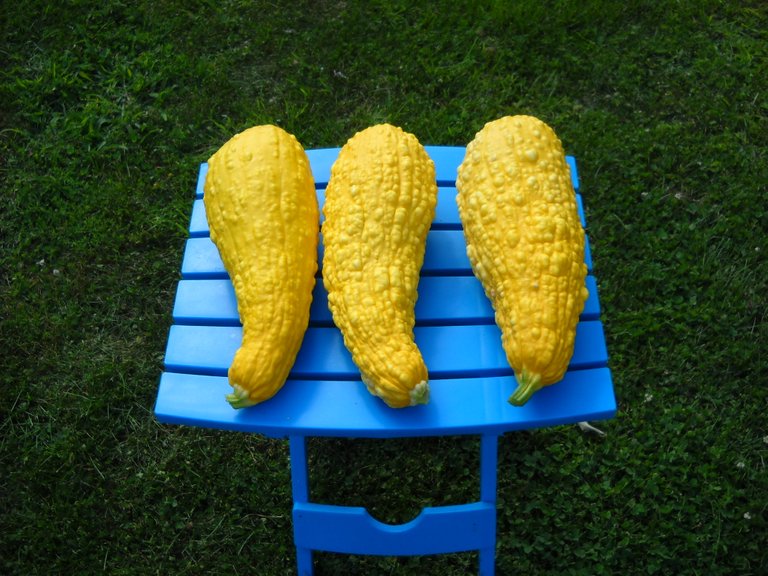
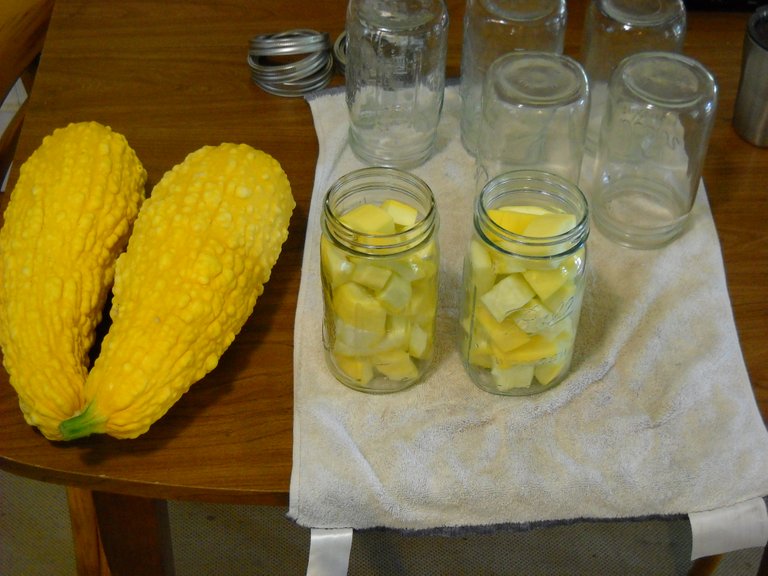
I've been growing yellow summer squash, and waiting for them to get big enough to pick and can. A few days ago seemed like a good time to start on that. I knew I had enough large ones to fill several quart jars, so I got started by picking the 3 largest ones. If you let them get this big, the skin gets lumpy, which makes them a bit more difficult to peel.
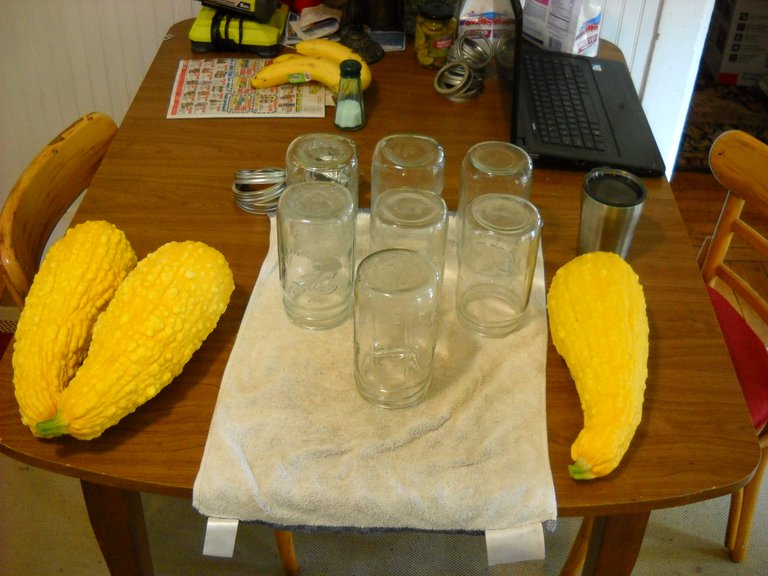
I got out 7 wide mouth quart jars and washed them. That's the most quart jars that will fit in my pressure canner at one time. I didn't know if I could fill all 7, but I wanted to be prepared in case I had enough squash.
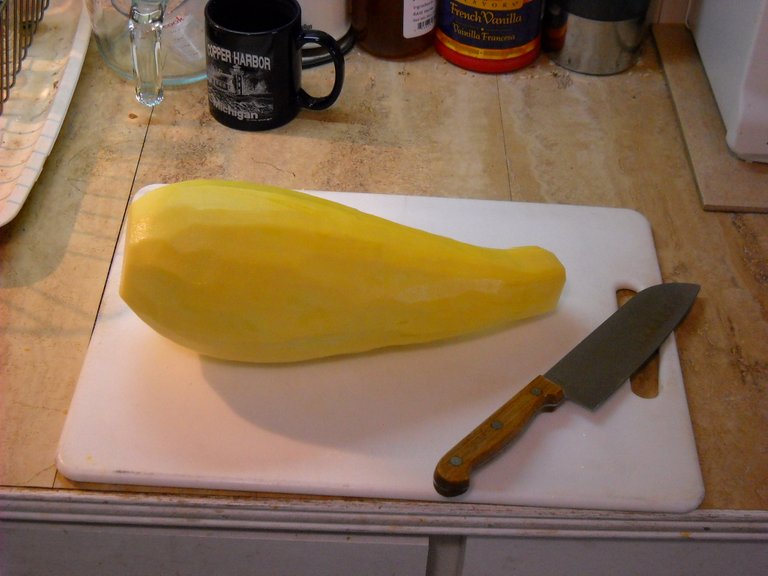
I peeled each squash with my large vegetable peeler. Once you get the lumps shaved down, the rest goes pretty easily. These squash have a fairly soft skin even at this size.
Once peeled, I cut the squash into chunks. I had to remove the seeds, they were too well formed.
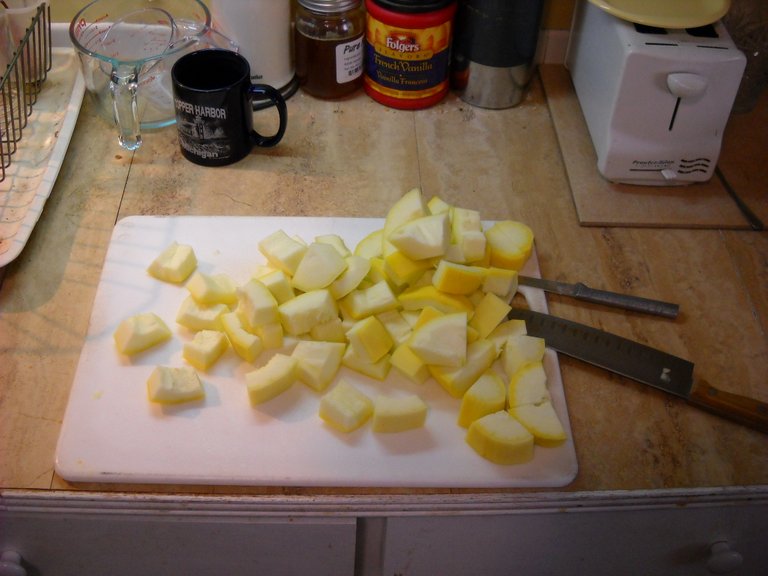
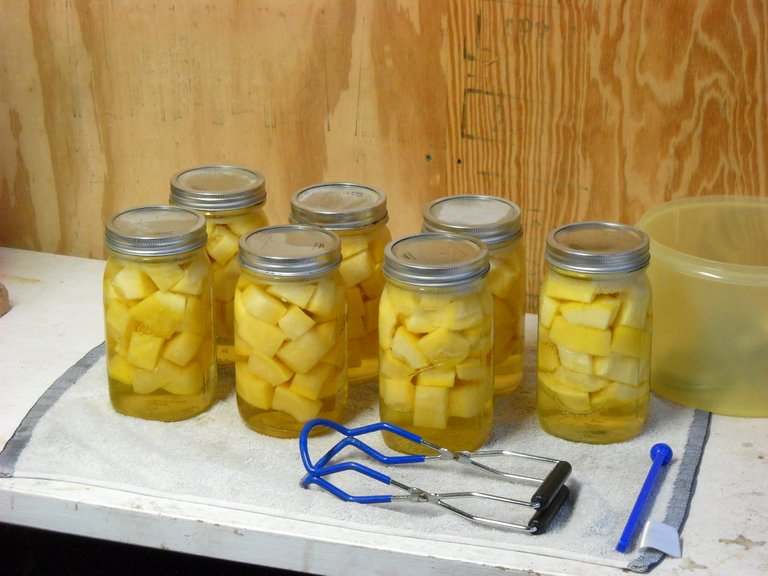
After cutting them into chunks, I filled up 2 jar with the chunks. Not bad for 1 squash.
I did the same with the other 2 squash, and ended up with about 6-1/2 jars full from them. I picked another squash to use to finish filling the last jar. Since I still had squash left, it went into the refrigerator to save for my crock pot stew.
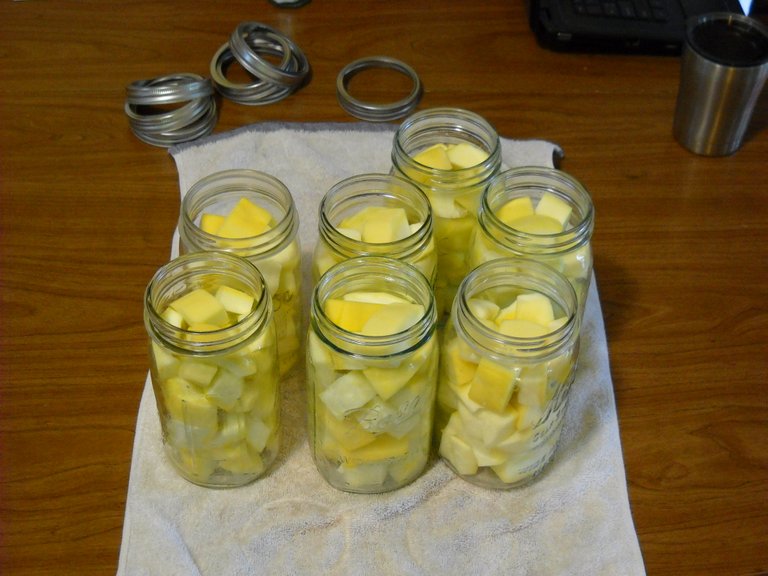
I put 1 teaspoon of salt in each jar with the squash, and then put them in my jar heating pot to prepare them for the canner. I filled each jar with hot water and started heating the jars while waiting for the water to boil in the pressure canner.
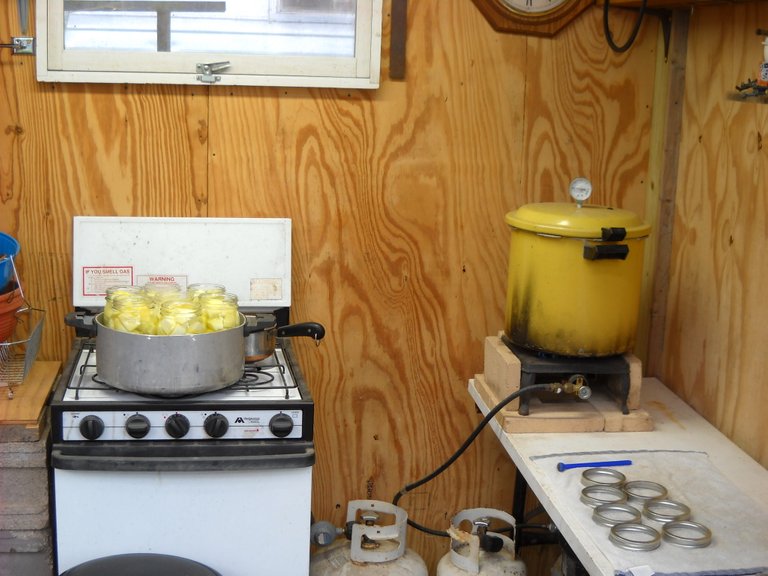
Once the water was hot enough in the canner, I put the lids on the jars and put them into the canner.

After all the jars were in the canner, I put the lid on and waited for the pressure to rise to 10 pounds. That usually takes a little while because all that volume of water and jars must be heated to the point of steaming.
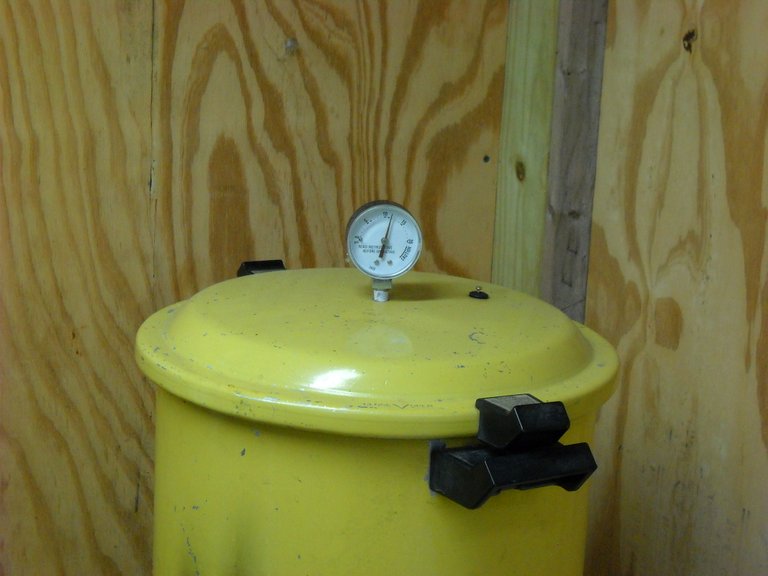
For canning summer squash, you leave the quart jars at 10 PSI for 30 minutes. The pressure can be slightly higher, but not lower, and the time can be a bit longer, but not less.
Once the time is reached, you just turn off the burner and wait for the canner to cool off and drop the pressure naturally. Once the pressure is all the way down, you take the lid of the pressure canner and wait about 5 minutes before you take the jars out. You put them on a towel with a bit of space between them to cool off. You have to use the jar tongs to handle the jars, they will be too hot to touch when you pick them out of the canner.
I let the jars cool off until the following day. Then I remove the band from the jar, without disturbing the lid. Then I wipe down the lid and the jar, and write the date of processing on the lid. That way, I'll know when it got canned, and which jars to use first.
That's my basic procedure for canning squash. I've managed to can 12 jars of yellow squash now, and I'm hoping to get a few more squash from the plants. I'm also expecting to start canning zucchini in the next couple of days. I finally have some zucchini that are about large enough.
That's all I have for this post, thanks for stopping by to check it out!

When my squash get that size, the seeds get big and tough. I noticed that you didn't seem to have seeds like that.... Did you cut them away or the squash just hadn't developed them yet?
I removed all the seeds, they were pretty well developed.
¡Wow! what an incredible job he has done from the beginning to the end, those pumpkins that you grew look beautiful and very healthy and the way to preserve them is the best. I congratulate you for your work so well prepared.