Making Filled Chocolates
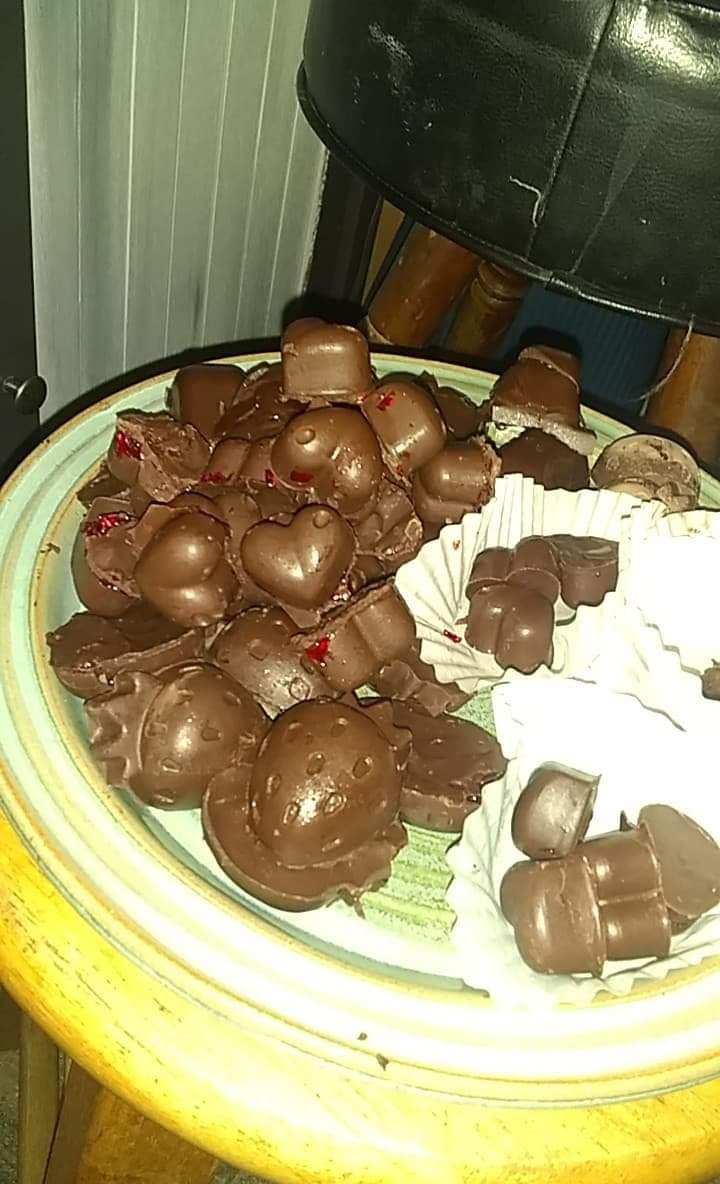
Pile of messy chocolates
Hey guys, do any of you ever just randomly want to make a specific type of food thing? Well, it happens to me all the time, and this time it was chocolates. So, I was sitting on Thursday night I think it was, and I just really wanted to make chocolates. Not really sure why, but I was determined to make them in the near future. Anyways, this weekend I made a pile of them.
First thing I needed to do was make the fillings. I made a few different types of fruit fillings that I found recipes for online (sort of). For the fillings I used homemade orange marmalade, fresh raspberry jelly, and a sauce sort of made from fresh strawberries.
The chocolate I used was specific melting chocolate, in pieces, as dark of chocolate as I could find. I had a friend give me a few tips on tempering chocolate.
I used silicone molds and tried using a regular ice tray but when I popped the chocolates out they cracked.
This is the recipe I used for the orange marmalade: https://www.monpetitfour.com/orange-marmalade-recipe/
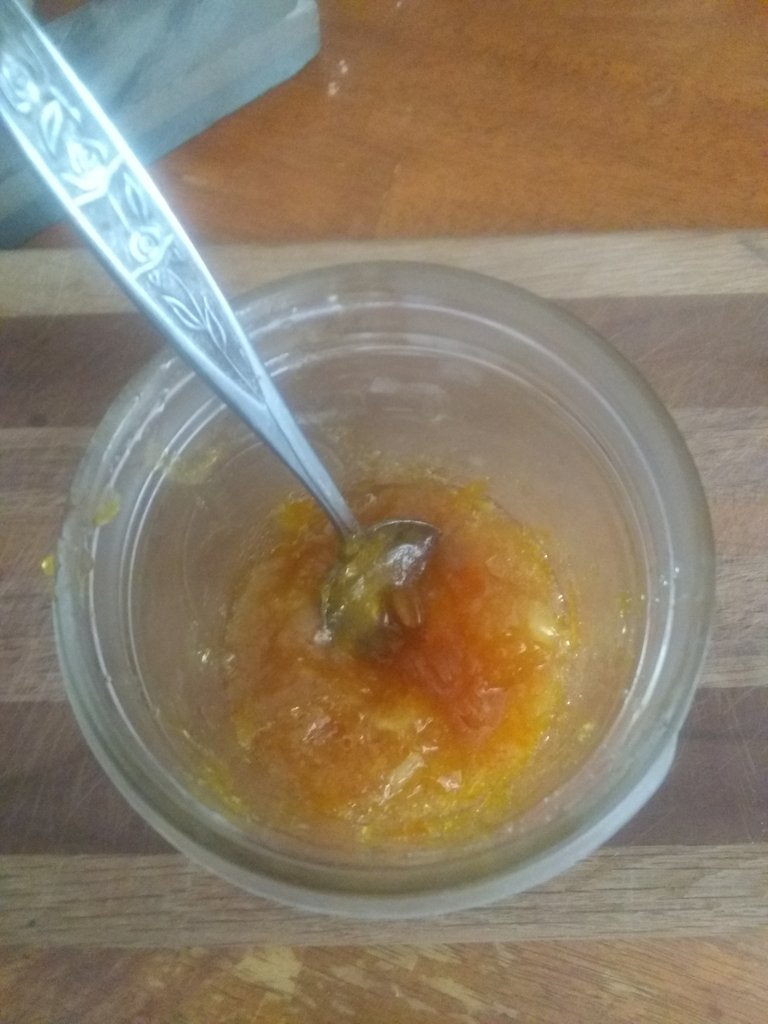
It is a great recipe, and the author really explains everything in a way that I can easily follow, being as this is the first time I have made marmalade or jelly.
I did not really follow any specific recipe for the raspberry or strawberry sauce. Berry sauces are actually really easy to make.
For raspberry sauce, just take however many raspberries you are using and put them in a sauce pan with sugar and use a spoon to mash the raspberries while cooking the mix on a medium-high heat. I used a small container of raspberries and used several spoonfuls of sugar.
For strawberries, to make sauce you have to cut them small or put them through a blender or something like that. Other than that it is the same process as the raspberry sauce. A little splash of lemon juice won't hurt any homemade berry sauce. You can use this technique to make sauce out of pretty much any berries.
Once the fillings are done, it's time to make the actual chocolates.
So, to melt the chocolate, you can use most any chocolate that is in pieces. You want to do in in a double boiler, which means put the chocolate pieces in a bowl and set the bowl on top of a pot with boiling (or just really hot) water. You don't want the bowl to be touching the water, or it will be too hot and the chocolate might burn. Also, do not let any water touch the chocolate before it has cooled fully, it will ruin it (I had molds that had the smallest amount of moisture on them and the chocolate was discolored). This includes having molds that aren't fully dry. When melting the chocolate, leave about 1/3 of it out and then mix it in after the chocolate is melted and removed from the heat. This will help temper the chocolate and it will dry harder which is exactly what you want. Since I made a ton of chocolates, I made several different batches of melted chocolate.
Once you have your melted chocolate, fill each of the molds about 1/3 of the way full and use a butter knife or spoon to smear the chocolate all around the bottom and sides of the mold. Put the mold in the freezer for around 5 minutes or until the chocolate is set enough. Now, take whatever filling you are using, and fill the mold until there is just enough room at the top to cover the filling with chocolate. Now, spread enough chocolate over the mold to have a flat layer over the filling and use something flat to scrape the excess off. You can use that in the next batch of chocolate.
Put the mold in the freezer until it is completely set and hard to the touch.
Take the mold out of the freezer and put it on a clean flat surface such as a cutting board or clean counter. If you are using a silicone mold it is easy to pop the chocolates out. If not, it can be challenging (which is why all the chocolates I made in the ice tray died when I took them out). If you are using a rigid mold, I do recommend lining it with something is coating it in powdered sugar or oil to help in not stick.
It is best to store the chocolates in a cold place.
So, those are the basics that I've learned on how to make chocolates with fruit filling. I do apologise for not taking pictures of the process, I did not think about it at the time and I was rather busy making a mess in the kitchen. I hope you guys understood all of the steps, and you might have learned a new tip or trick on chocolate, or something else. Anyways, keep being amazing and creative and have fun!!
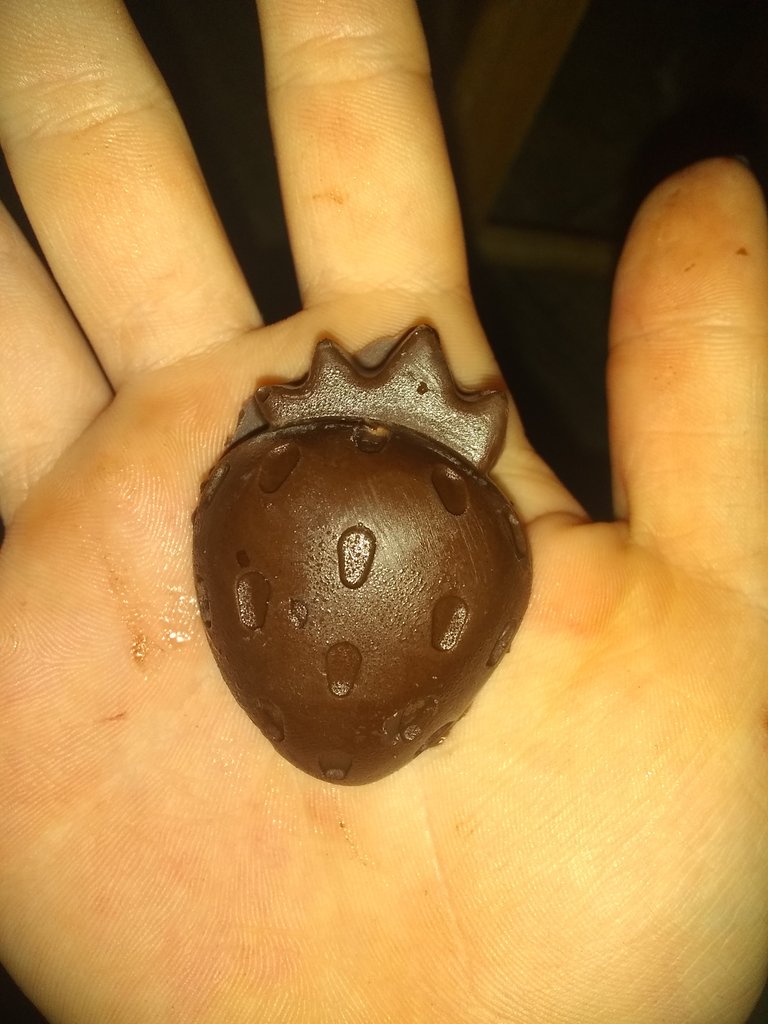
Another neat DIY post @cassidydawn! That strawberry chocolate looks so yummy!
So often I forget to the photos of the process! It's beyond me how people even think to the photos when accidents happen.
Thank you for using the recommended tag/s @cassidydawn. This post has been manually rewarded with BUILD tokens in the form of an upvote. You can buy, stake, and exchange our "BUILD" tokens for Hive Engine https://hive-engine.com/?p=market&t=BUILD
At Build-it, we welcome all sorts of DIY, How-to tutorials and projects. We want to encourage this modern society to start doing things by themselves with the exception of hiring a service provider. Please subscribe to our community and publish your post/project through there and use at least one of our tags (#diy #build #build-it #how-to #doityourself) for additional upvote support.
Are we adding value to the HIVE ecosystem? Consider delegating some of you Hive Power to us to continue curating and rewarding DIY (do it yourself) and How-to contents/projects on the Hive Ecosystem.
Follow our vote curation trial => https://hive.vote/dash.php?trail=build-it&i=1