The Bread Returns - The Great Sourdough
I was afraid that I had killed my sourdough, but luckily it stayed alive. What a wonderful time to be alive I'd say.
The base of the bread is almost the same I'm typically doing. However this time before baking, I had fed the sourdough started for tree times over the period of 2 days before starting to bake. This should affect the dough taste and make it rise better, as the baking yeast would be able to conquer some living space from the sourness causing yeasts.
But it succeeded well and I got a very well rising dough this time.
The ingredients were following:
300 grams of active sourdough (I'm using wholegrain wheat sourdough)
800 grams of wheat flours
400-500 grams of water , not sure of the final amount as I did not add all the water at once to avoid a too wet dough
20 grams of salt
A splurt of olive oil (no idea how much. Just poured from the bottle)
Mix the sourdough and flours and start adding water until it seems good. It's difficult to know what's good, but when you have baked enough you'll see it. Just don't add too much at once.
It's easier to add more water than to remove it from the dough.
Mix the sourdough, flour and water for 13 minutes, I'd recommend a machine to do the work. A KitchenAid or similar is the perfect tool for this. Use a slow speed.
Then add the salt and some oil and keep on mixing for 7 more minutes. A bit higher speed, but only a little bit. I'm using speeds 1 and 2 for this, when the machine goes up to 10.
No photos so far, as this mixing process is kind of boring. Actually I forgot to take photos
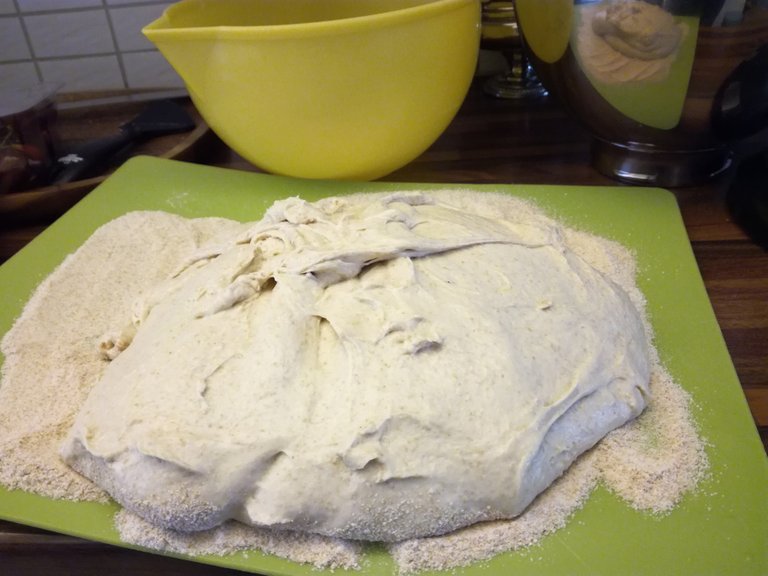
When I had been mixing/kneading the dough for the total 20 minutes, I put it on a surface with some flours. This is to prevent it from sticking everywhere.

What I'm doing is turning the dough over itself a few times. I'm not sure if this is necessary, but I'm still doing it. I could tell everyone this makes the bread so much better, but as I'm not sure if it's helping or not, I don't want to lie to you.
People do it all the time. They just do something they do due to a habit and ultimately lie to everyone that it's a mandatory step to get something done properly.
Don't believe everything told to you. You're part of the resistance now.
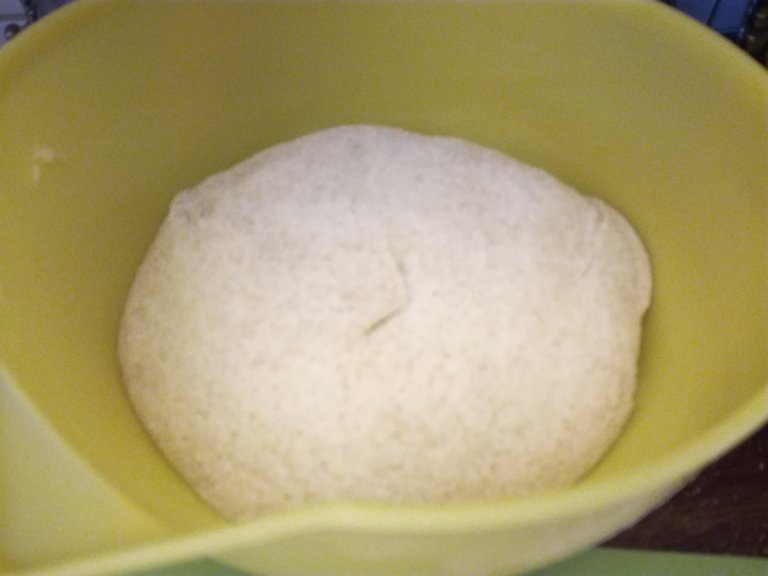
Add some butter/oil to the bowl, so the dough will not stick to it and then leave the dough to rest.
Add the butter/oil before adding the dough!
After a few hours wait, the dough has risen well enough to be baked some more.
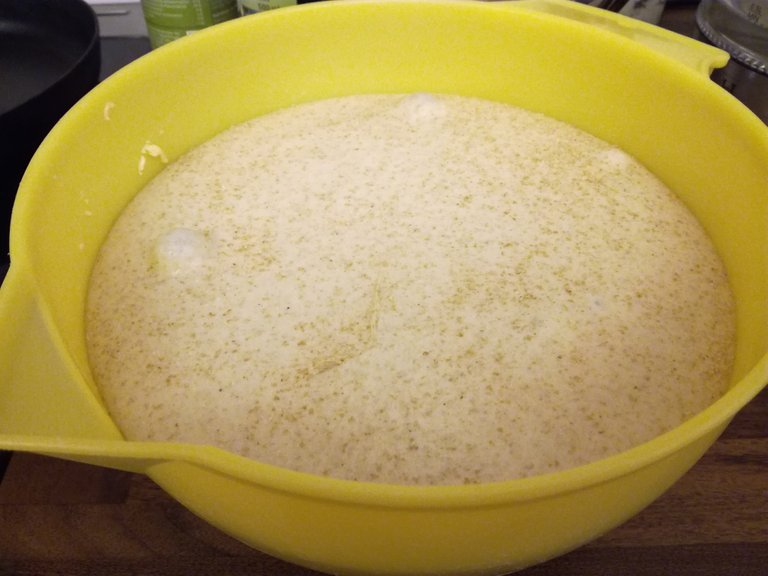
Also the dough looks like a mutant bread due to the big bubbles on the surface.
Buuubbbblesssss.
Writing about this is so boring. Big, ugly photos and I'm writing a short description in between, either what's happening or what to do. I'm just hoping this is useful for someone, as I think instructions should always be clear.
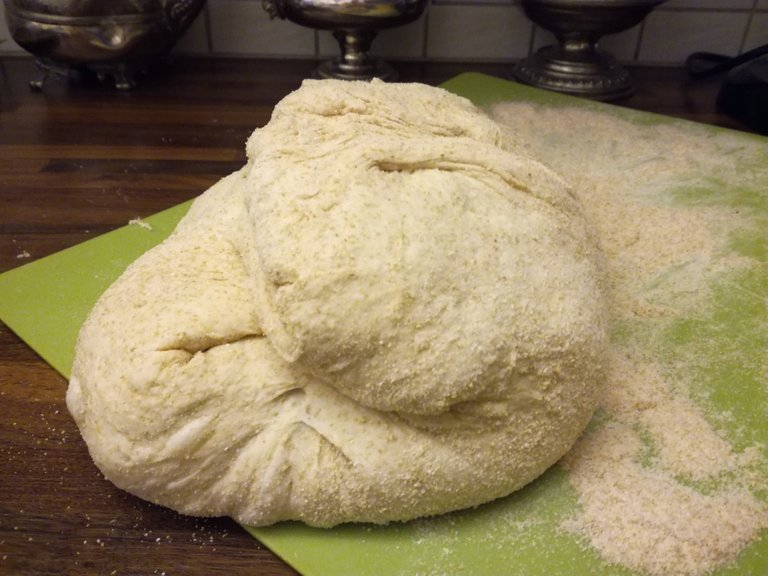
At this point, I'm taking the dough out from the bowl and softly forming it a bit to a nice ball, as I'm going to bake the bread in a pot.
Kind of a "pot bread"?
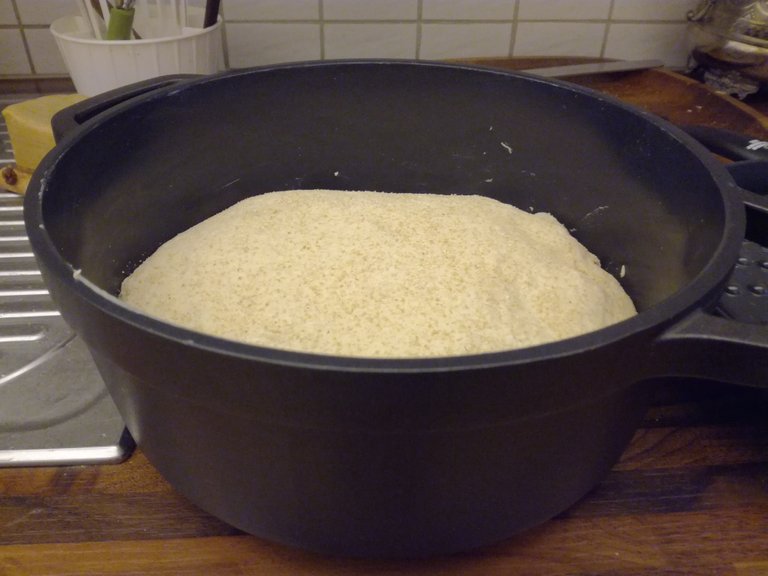
I'm using a aluminum oven pot which has a layer of teflon (or similar non-stick stuff) in it, but as I don't trust it, I applied some butter around in the pot before adding the dough.
Now as the dough is well resting in the pot, I let it be in room temperature for an hour before lifting it to the fridge. The temperature was +4 C in the fridge and I let it rest overnight.
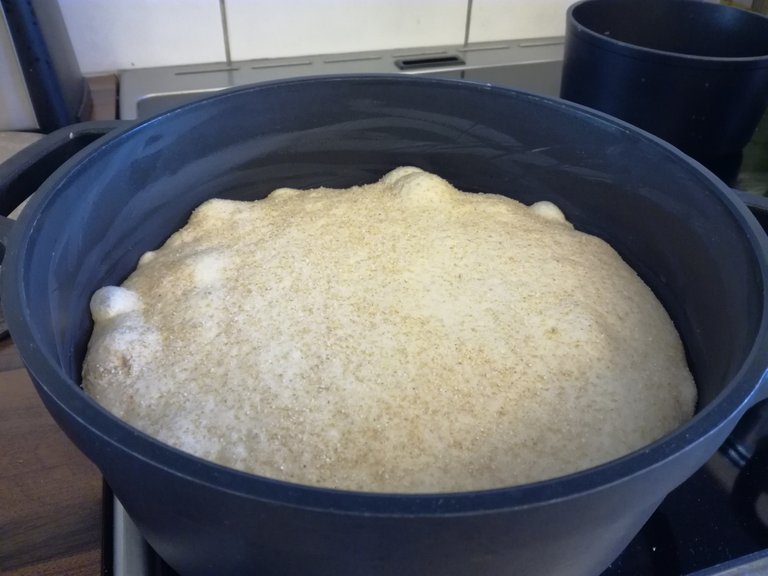
And this is the same bread in the morning. You can see the bubbles are back AND you can see the marks from the stick of butter I rubbed around the pot.
This is important: I took the bread from the fridge only when the oven was ready (approx. 225 degrees Celsius) so the bread is still cold when I'll put it in the oven. This is needed so it's easier to cut the bread a bit. If the dough is warm, it's softer and the knife won't cut it as prettily.

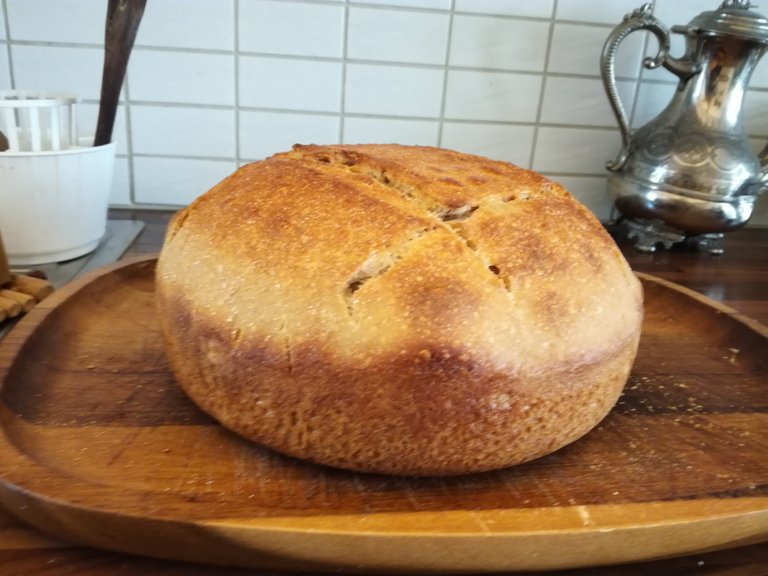
As seen above, I made a somewhat simple # on the top of the bread. A sharp knife or a razor. Some use a surgeon scalpel. I'm just using the sharpest knife I have, but I could go for the scalpel.
Spray a lot of water in the oven before adding the bread, so the air will be moist and it allows the bread to rise more in the oven!
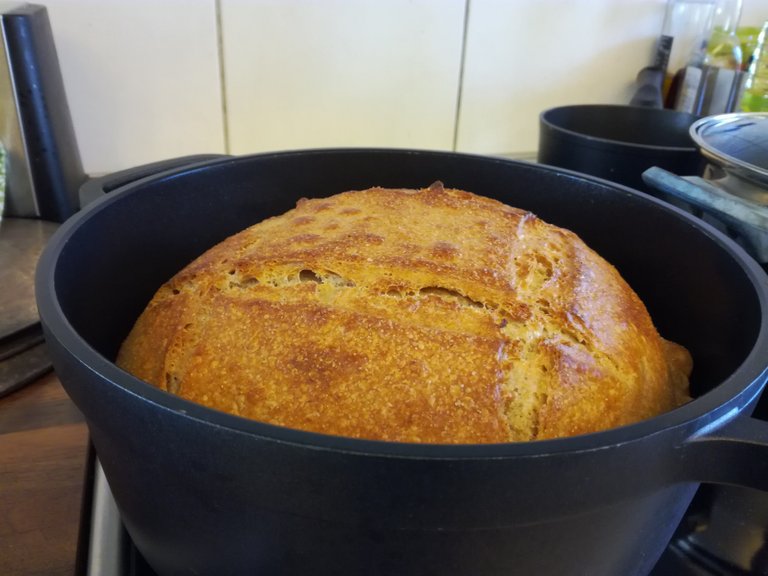
Ta-da! The bread is out from the oven. You can see the difference and how much it rose in the oven.
The reason for the cuts on the bread is to prevent the bread from ripping uncontrollably. It also can add a nice finish to the bread, but today the cuts weren't deep enough.
I am glad the fucking dough master is back! Welcome back bread ♡♡♡
Thank you, I know my fucking has been missed.
Why do I even bother? Seriously though... I demand respek! 🤦♀️😂
That's a lot of patience. I'm curious how it tastes like. ☺️
I wish I could explain it somehow, but this surely takes a lot of time. Not something you'll start to do when you crave fresh bread "Mm, I could bake some bread.. and I'll eat it after 4 days"