"How to Cut and Fold a Micro Zine" by Richard F. Yates
The purpose of this post (for folks who don't read titles) is to show you how to cut and fold an eight page micro zine out of a single sheet of paper!

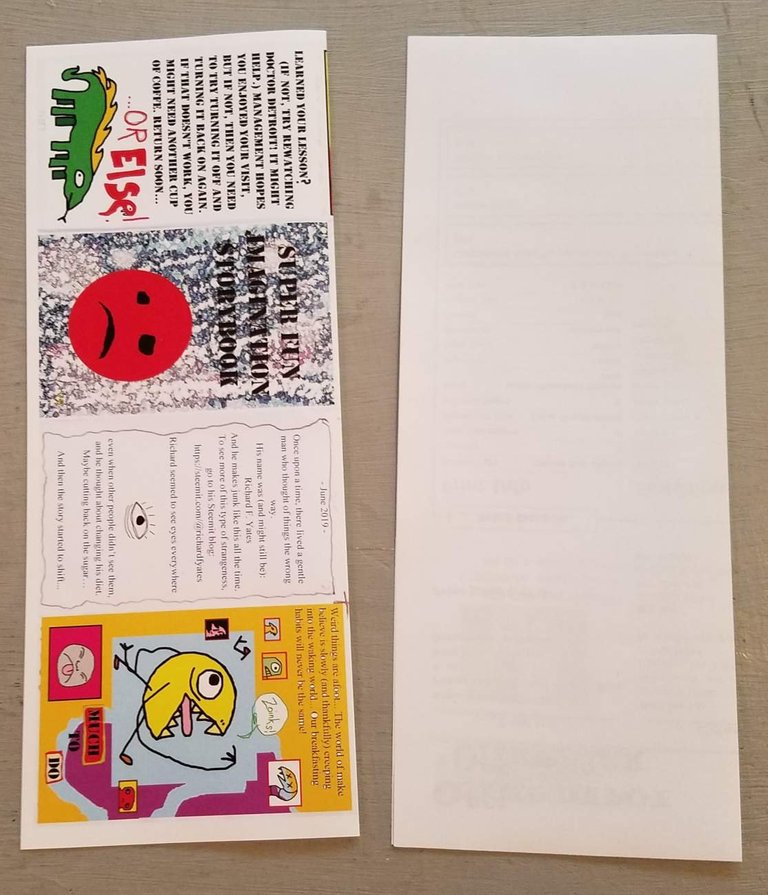
I'm including both a blank paper and a pre-printed sheet that I created in Publisher for variety. Okay? Let's go...

One. First, start with a flat sheet of paper and fold the sheet of paper long-ways. Make sure you get a very well defined crease---it comes in handy later! (It doesn't matter what size the paper is. This technique will work even on weird sizes, as long as you use a retangular sheet.)
Two. Unfold the sheet, then refold it, short-ways.
Three. Next, fold back the edge of one side of the paper towards the original center fold.
Four. Flip the sheet over and fold back the other edge of the page towards the original center fold, as you did with the other side.
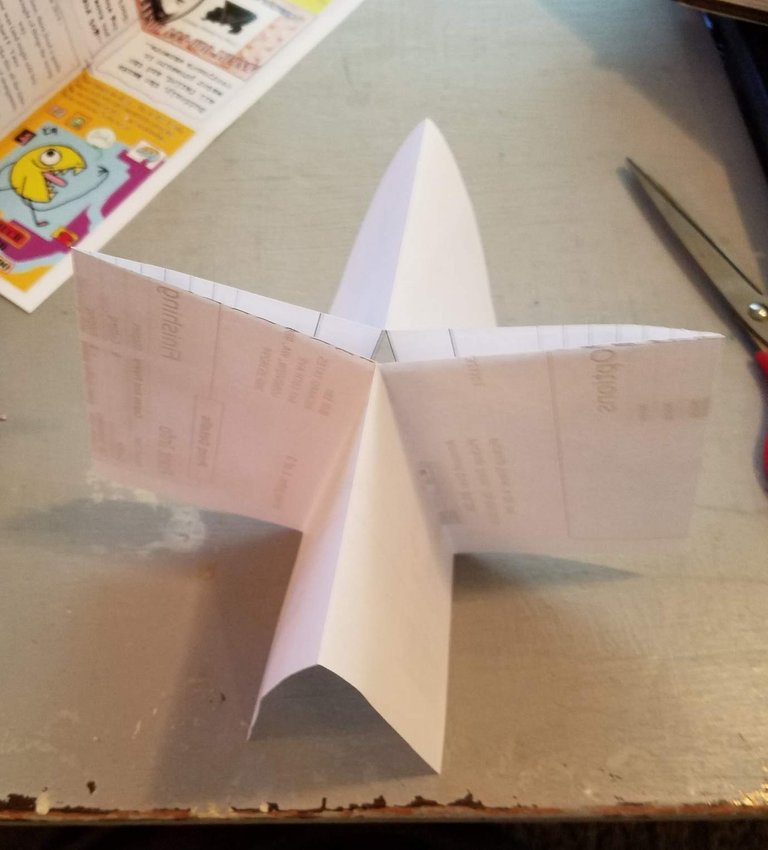
Five. This will leave you with a sheet that looks like an "M" or a "W", depending on how you look at it...
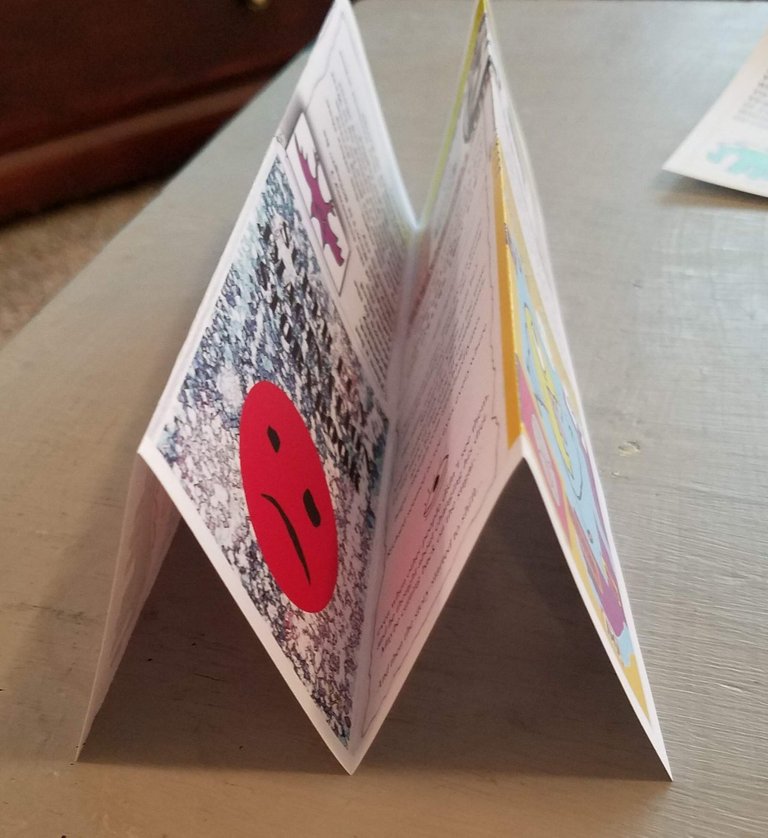
Six. If you take this "W" and push the center area together, you get un upside down "T" shape.
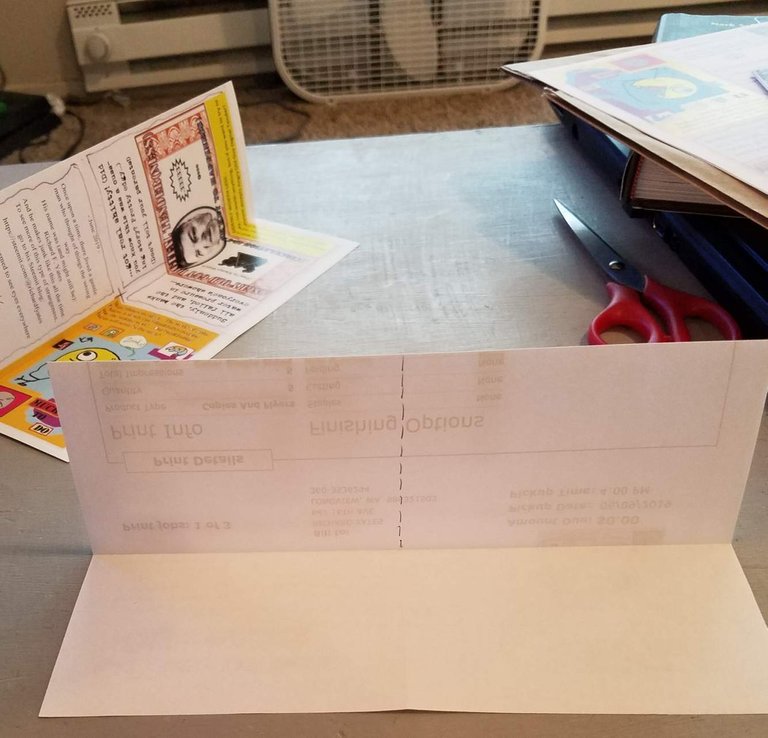
Seven. Hopefully, if you got a solid crease from that original long-ways fold, there will be a recognizable guideline in the center of the base of the "T". (I drew a dashed line to show you where I mean.) Cut along this line, stopping at the fold (where the dashed line ends.)
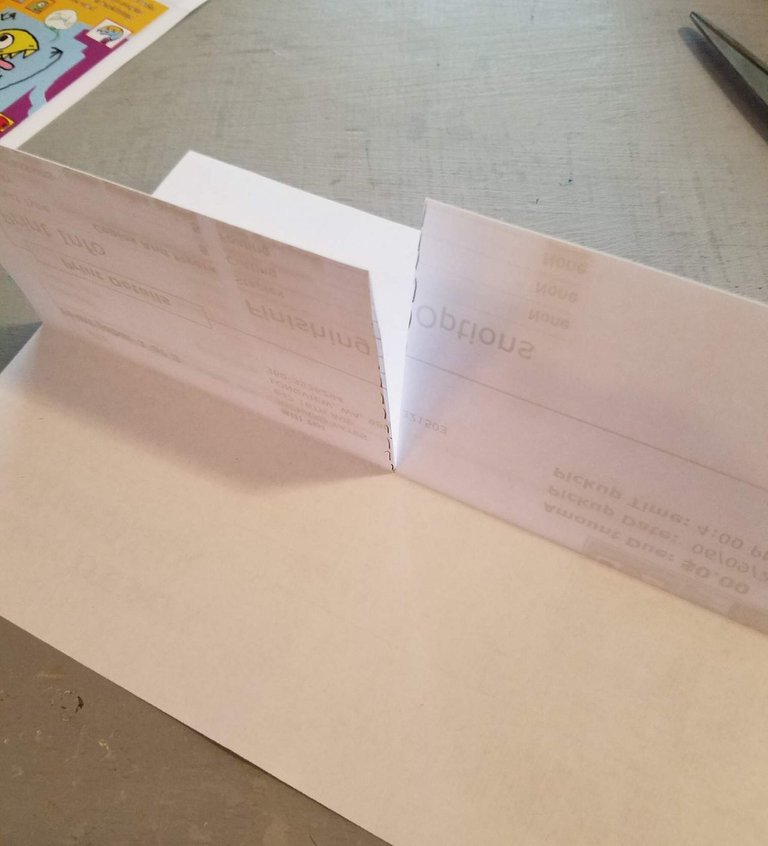
Eight. Now here's the fun part. Fold the cut outward, opening the cut like a mouth until you get a "+" shape (or an "x", if you're a superhero fan, I suppose...)


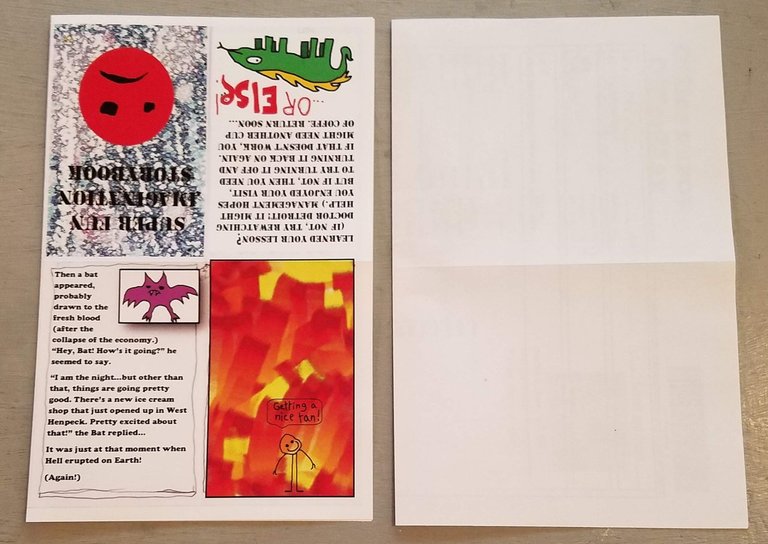
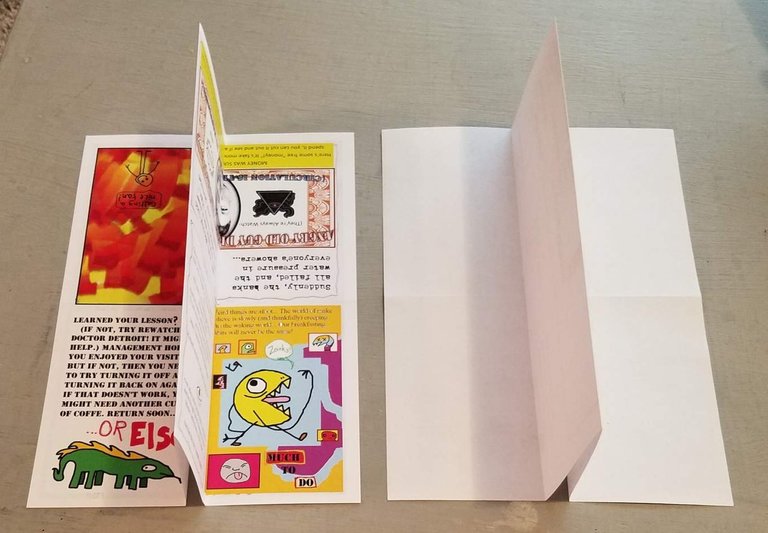
Nine. Next, you flatten the "+" until you have two "panels" showing. If you haven't written or drawn anything yet, then it really doesn't matter which spot you pick for this flattening process. The "book" will work no matter which page ends up being "page one." (For my pre-printed zine, I want page one, the front cover, to be on the right and the back cover on the left.)

Ten. Then fold the book again along the remaining crease---and that's it!
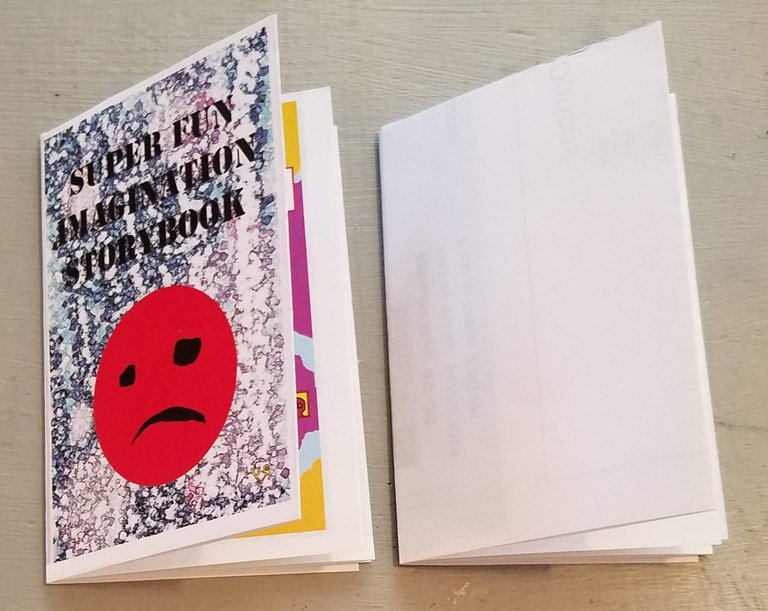
Eleven. You now have an eight page micro zine. If you haven't put any content in it yet, you can just start drawing or writing, turn the page, and keep going. It will all be in order. I usually put little page numbers and a note saying where the "top" of each panel is, then I unfold the book and start adding content. If you have access to a printer, you can type your text, print it, cut it out and tape or glue it onto the pages, or you can hand letter. (I wrote a review of a book, called Make a Zine!, that covers a lot of this.)

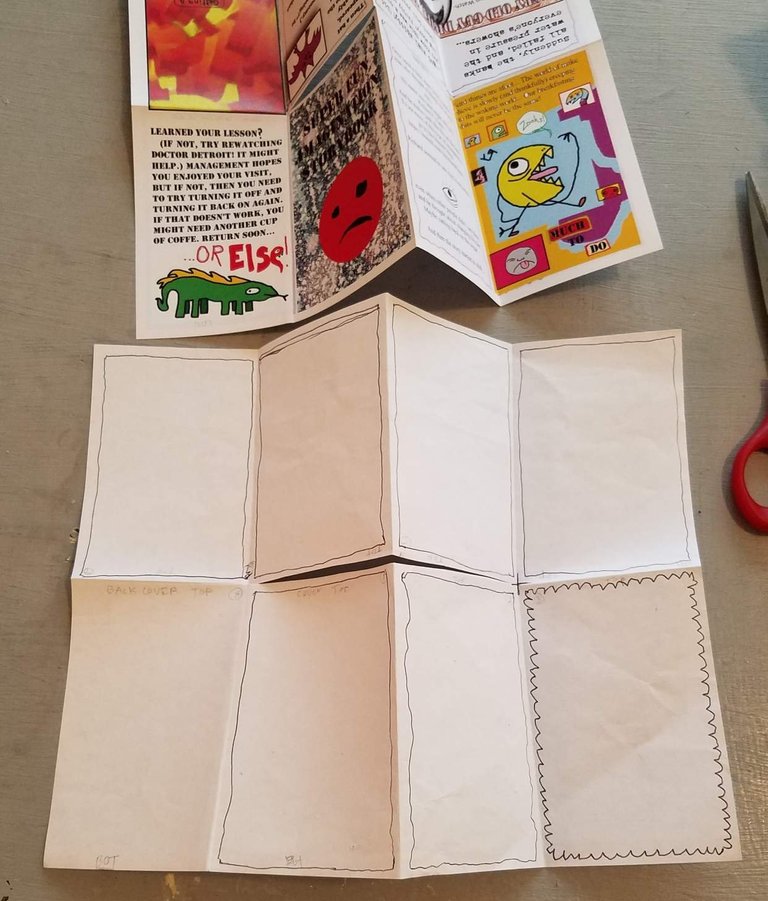
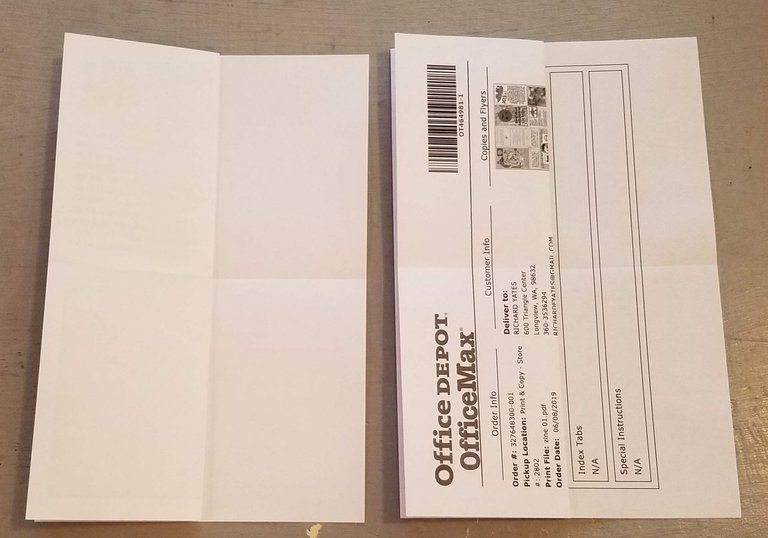
Twelve. Once you've filled all the pages with whatever content you like (a collage, a story, an article on hiking, a political rant, an epic poem---WHATEVER), you dig out whatever change you can find in your couch or the ashtray of your car, and you head to the local library or print shop---lay the single flattened sheet you've created face down on the photocopier---and print a dozen copies! Take the copies home and repeate the folding and cutting process for each new micro zine...
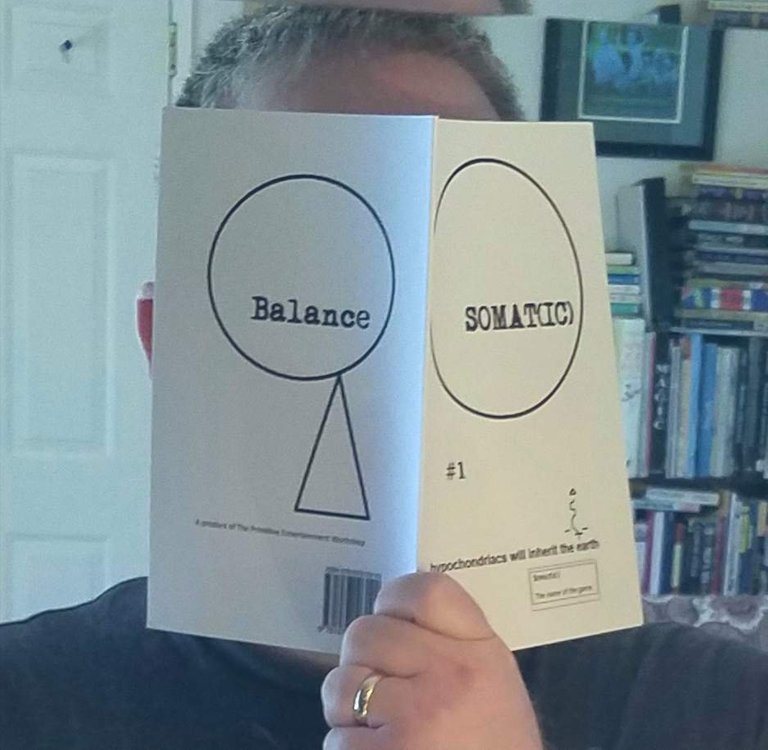
[This image has no point in this post. I just think it's funny---and it makes me look, a little bit, like I'm wearing a mask!]
Thirteen. Distribute the products of your labor to the MASSESS (usually starting with friends and family), and wait for the FAME* and FORTUNE* to flow your way!
*(Fame and fortune not guaranteed on Planet Earth...)
---Richard F. Yates (Holy Fool)
Posted using Partiko Android
Thank you so much for being an awesome Partiko user! We have just given you a free upvote!
The more Partiko Points you have, the more likely you will get a free upvote from us! You can earn 30 Partiko Points for each post made using Partiko, and you can make 10 Points per comment.
One easy way to earn Partiko Point fast is to look at posts under the #introduceyourself tag and welcome new Steem users by commenting under their posts using Partiko!
If you have questions, don't feel hesitant to reach out to us by sending us a Partiko Message, or leaving a comment under our post!