Secrets on shading - Anime character
I can't tell you this is how to shade. I can only point you towards the right direction. The thing is, there is no exact way to shade. You just have to find your own way according to the image you are shading. Some start with dark colors all through and then proceed to using light color to clear some part. I adopted this process at first, but I wasn't comfortable with it. The image turns out imperfect and too bold. I figured out I had to do it my way. The most important thing is to get your desired result or the client's result.
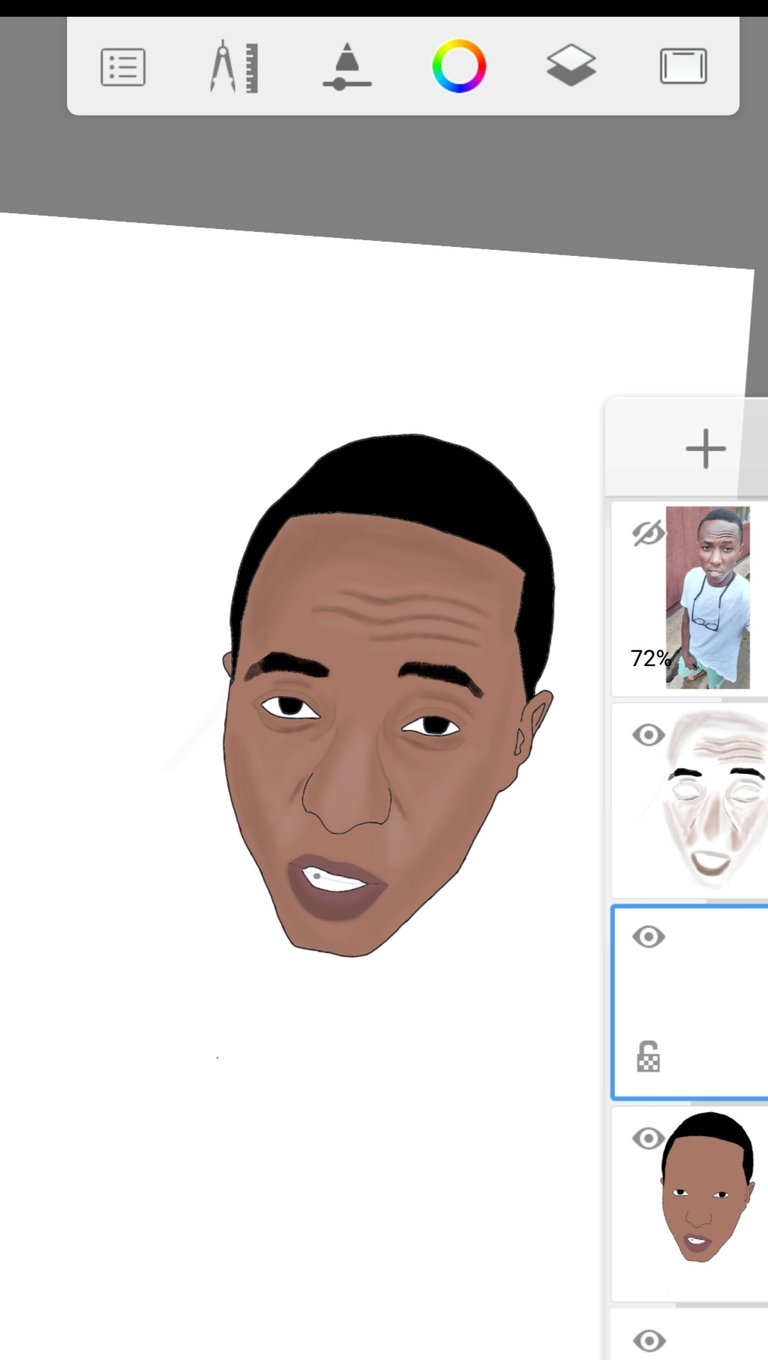
I will share you some secrets - my secrets. By now, you should know the brushes used in shading. I use hard and soft brush. Hard to draw thick lines and the soft brush to apply the shade. The task here is finding the right colors. I made a cartoon image of a friend yesterday to explain my little secret.

We will be focusing on the head region; that's where the main work lies. Without shading, you will just have a plain cartoon image. It won't look like the person you try to reproduce at all. Shading brings out the facial expressions, birth marks, grins, chin, cheeks and other attributes that makes the person different from other people. I start from the head whenever I make toons. This particular head region took me approximately two hours. Here is how it looks like without shading.
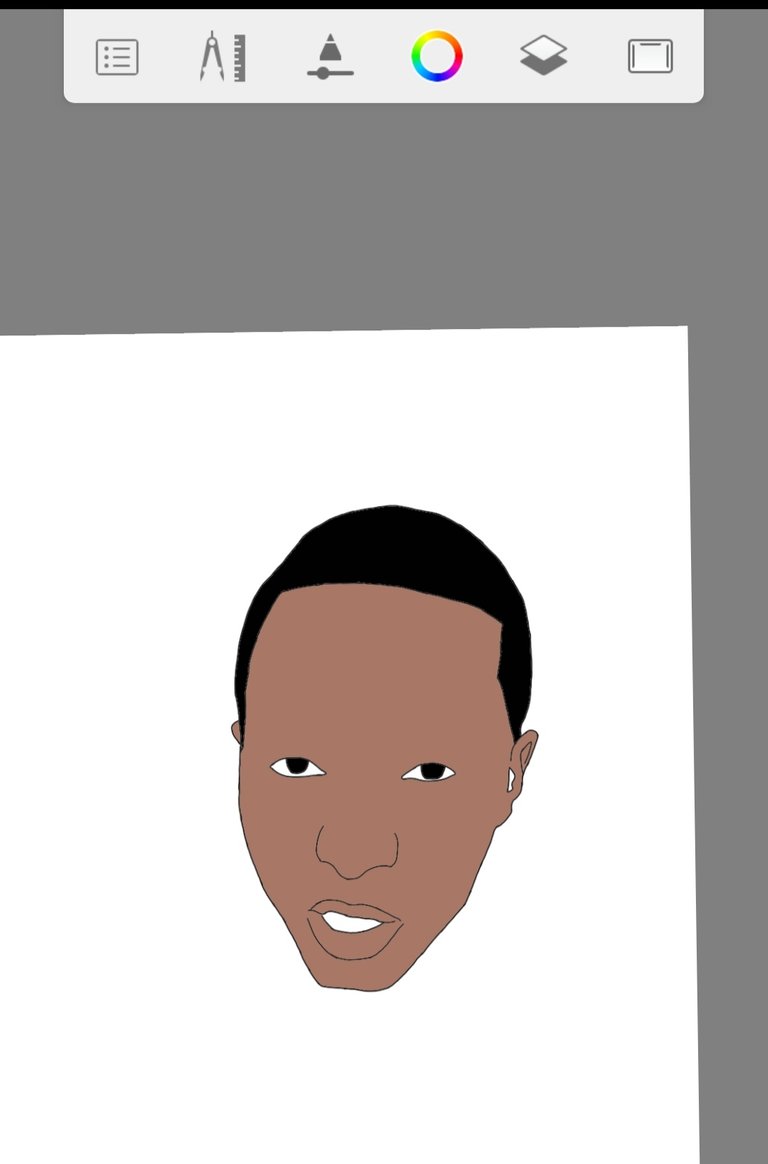
You can see how plain it looks. Even the client won't recognize himself if he sees this. That's why shading is necessary. If you can't do it, you are just someone who can trace out an image and color it. Well, I'm not perfect yet in shading, but my experience in it has taught me a lot. The first thing to work on is the eyes. After drawing the eye, the area needs to be shaded. That spot is always dark. All you need to do is use the same color of the skin and darken it. You don't need to look for colors. You can choose different variants of a color on autodesk. Select the darkest part to shade. I use three shades though; the darkest, the normal skin color and a lighter color. The light ones works for facial expressions.
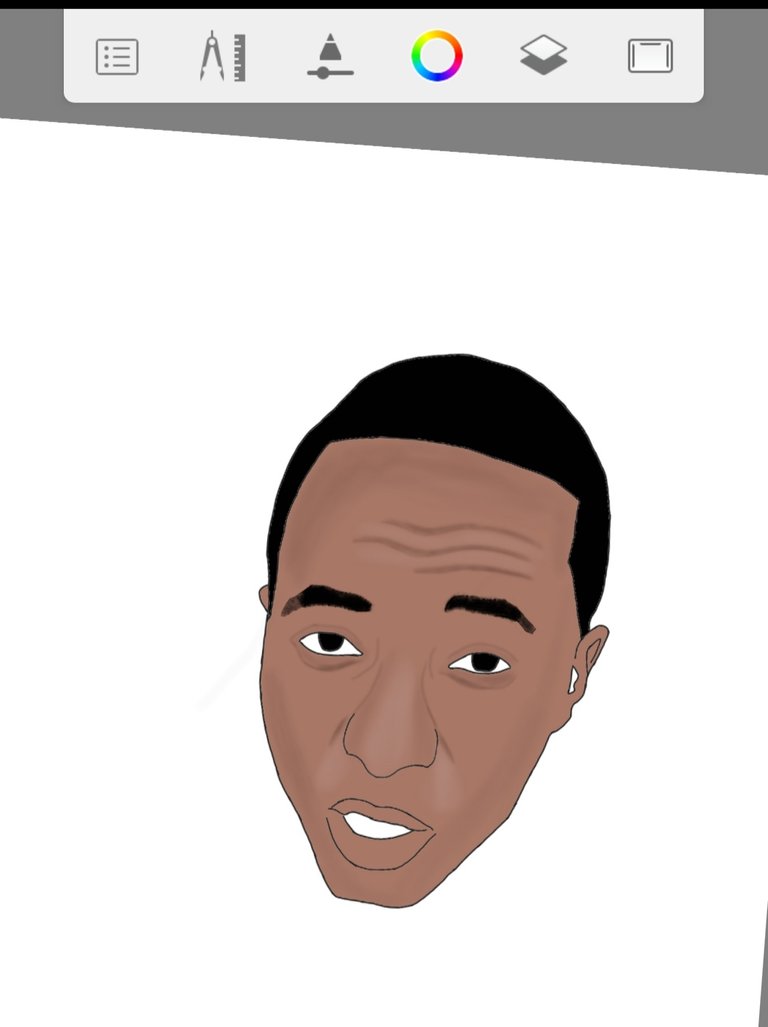
Can you see the difference now? I used a dark color all over the edge of the face. This makes the person look calm. You will notice a change when you do that. The three marks on the forehead were on the real image. It shows the person is looking upward. I used the thick brush to draw the line and used the soft brush to make it wider. Note, always ensure you lower the opacity. I applied the light color in the middle of the lines to make the facial expression come out.
I applied both the light and dark shade on the nose. Everything I did is on the right hand side. You can see the places I applied the shade. Those scattered painting breathed life to this image. The cloth, shoe and trouser is pretty easy. Just get the face and you are good to go.
Want an anime character of yourself? You can contact me on Discord, here or Twitter.
Till we meet next time.
Really cool guide. I recently installed autodesk mobile and wanting to learn more about animation on my leisure time. With your brief explanation, I think I grabbed one or two information. Ready to expect me when I need to ask for assistance 😉
No problem. I'm available.
Hello @afolwalex, thank you for sharing this creative work! We just stopped by to say that you've been upvoted by the @creativecrypto magazine. The Creative Crypto is all about art on the blockchain and learning from creatives like you. Looking forward to crossing paths again soon. Steem on!