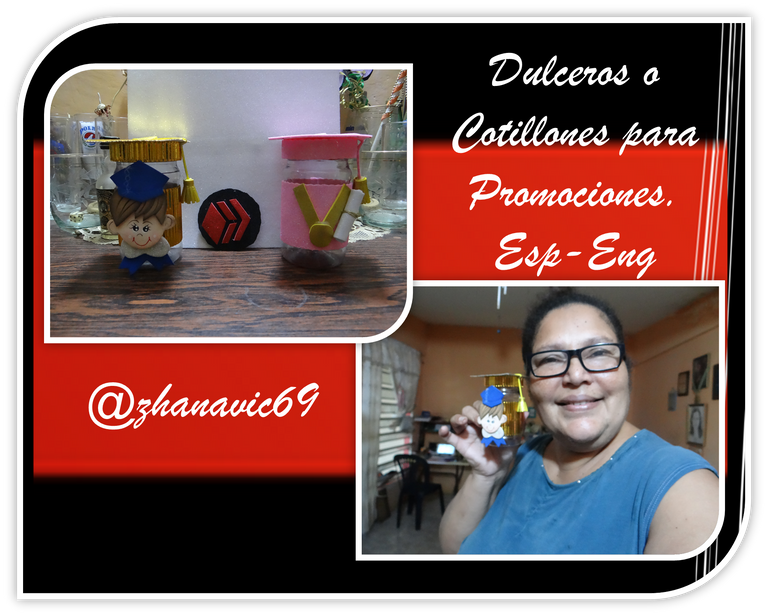
Dulceros o Cotillones para Promociones. Esp-Eng
Mis arañitas como están espero que primero de salud muy bien porque con buena salud podemos hacer muchas cosas.
Ya estamos en la recta final de las clases, que termine este año escolar al menos en Venezuela, lo que me dice que me tocaran unos trabajitos extras, por eso cree este dulcero o cotillón como muestra para las escuelas, es mas bien ideal para preescolar o 6to grado.
Es super sencillo, fácil, practico y les quedara de paso un bonito recuerdo, porque es reutilizable para guardar algunas cosas. Si son como yo que guardo de todo, no gastan mucho, use materiales recclados, ahora si me encargan debo comprar materiales.
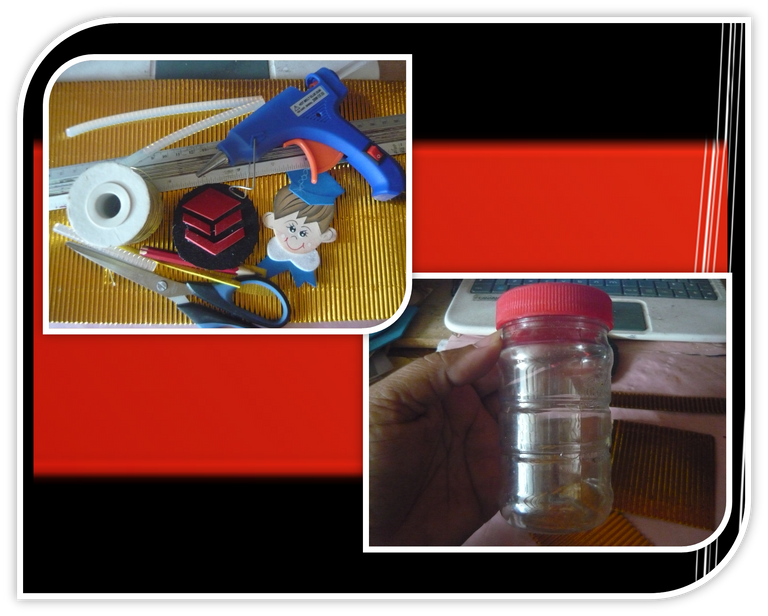
Materiales:
-1 frasco plástico pequeño de 250 grs, como el de mayonesa es el ideal, mejor plasico asi no se rompe y evitamos algún accidente.
-Carton corrugado, tena uno dorado, el color es a su preferencia.
-Foami a su gusto en color y textura,
-Pistola. barra de silicon.
-Regla, lápiz, tijera.
-Figura de graduando en foami reciclado.
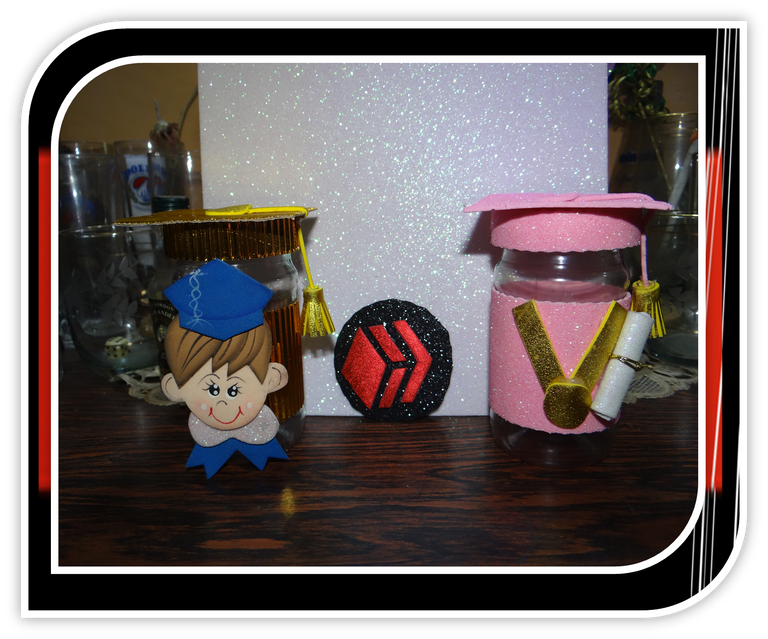
Hice dos modelos pero solo daré el paso a paso de uno de ellos.
Paso a Paso:
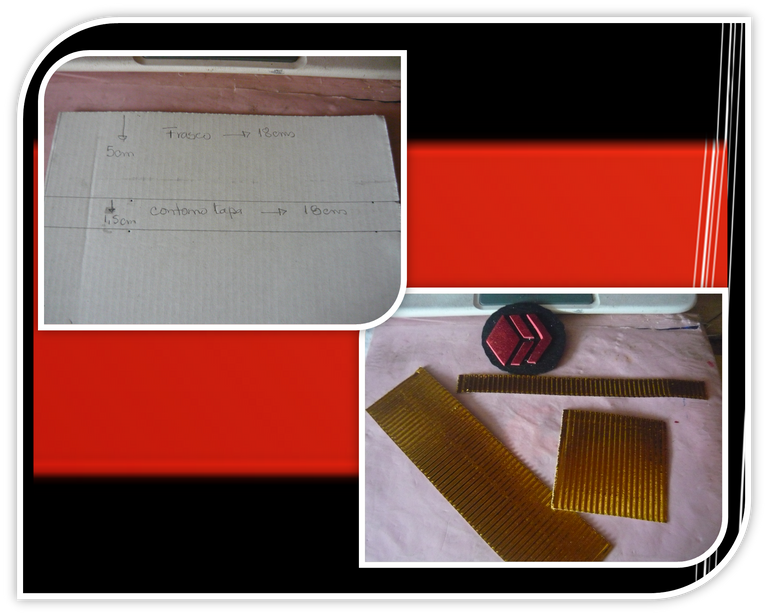
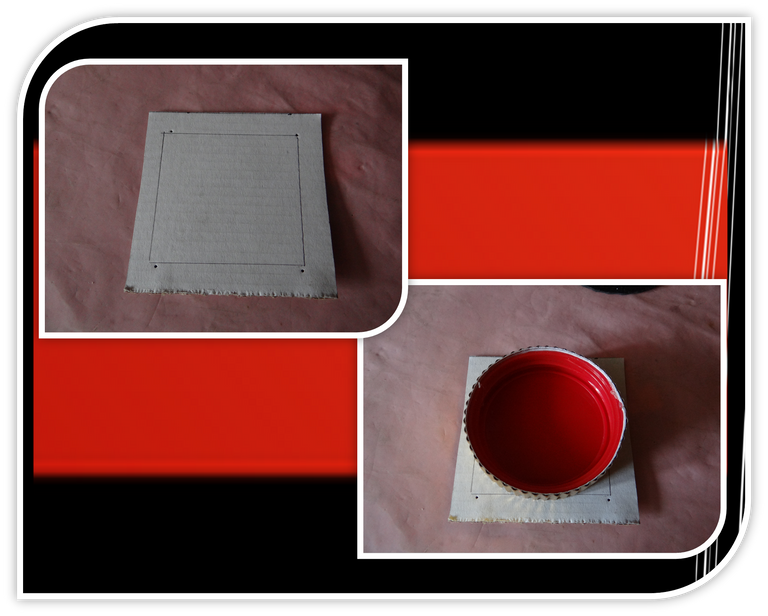
1.-En la cartulina dorada, cortar un rectángulo de 18 cms de largo por 5 cms de ancho esto es para el contorno del frasco, para el contorno de la tapa, una franja de 18 cms de largo por 1.5 cms de ancho y para la tapa un cuadro de 7cms por 7 cms.
2.-Ya marcados recortar con una tijera o exacto también puede ser.
3.-Previo a esto poner a calentar la pistola de silicon, estoy estrenando una nueva que trae hasta un botón para encendido y apagado buenísimo así no se bota tanto el silicon.
4.-Pegue todo lo que recorte, antes al rectángulo del frasco, le quite el papel solo deje el corrugado, para que sea como mas suave, menos rígido, l
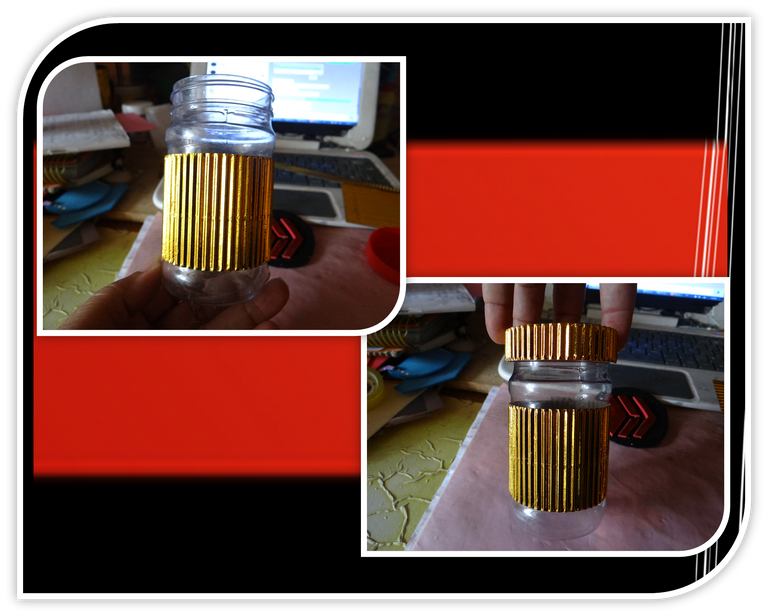
5.-Para pegar el contorno de la tapa, esta la coloque en el frasco para ver donde quedo el empate del frasco y quede en el mismo lugar el de la tapa.
6.-Y de ultimo el cuadrado que va en la tapa, por el revés, marque las medidas, para que la tapa quede bien centrada.
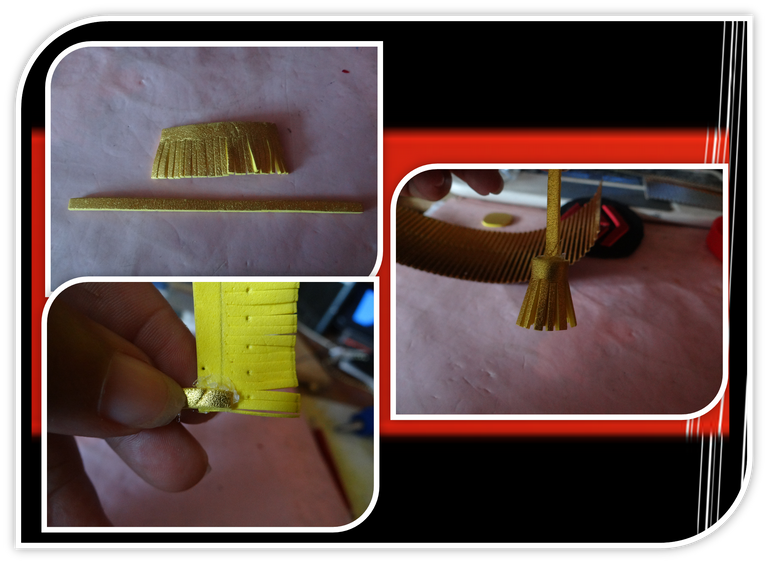
7.-Para la borla use foami dorado, corte una tira como de 0.5 milímetros y otro rectángulo de 7 cms por 2 cms, trazar una linea lo largo de 0.5 milímetros y hacer cortes finos hasta la linea. Con la tira fina pegar a la otra con silicon e ir enrollando hasta terminar y ven como se va formando la borla.
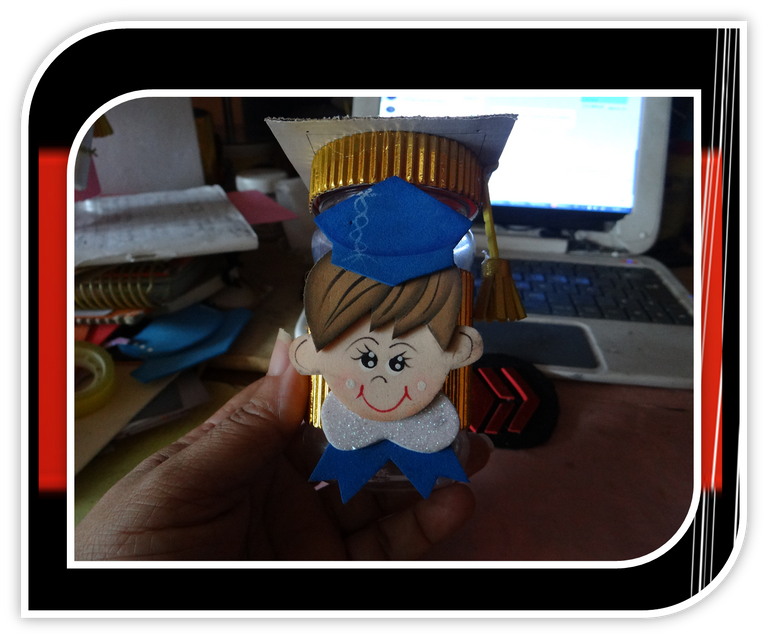
8.- Pegamos a borla en el centro del cuadrado que es birrete y tapamos con un circulo del mismo foami dorado. Y buscamos la figura de foami lista de un graduado y la pegamos
9.- Y ya terminamos, faltaría comprar los dulces. Les muestro los dos modelos.
Todas las fotos las tome con dos cámaras con la Panasonic, que se agoto la batería y busque la Sony.
Gracias a todos por su atención, espero que sea de su agrado, que lo puedan hacer, la idea ya esta la temática puede variar deprendiendo de la ocasión: cumpleaños, bautizos, comunión, especiales.

My little spiders, how are you? I hope your health is good because with good health we can do many things.
We are in the final stretch of the school year, at least in Venezuela, which tells me that I will have to do some extra work, so I created this candy box or cotillion as a sample for schools, it is rather ideal for preschool or 6th grade.
It is super simple, easy, practical and it will be a nice souvenir, because it is reusable to keep some things. If they are like me who keep everything, don't spend much, use recycled materials, now if they order me I have to buy materials.
Materials:
-1 small plastic jar of 250 grs, as the mayonnaise is ideal, better plastic so it does not break and avoid any accident.
-Corrugated cardboard, have a golden one, the color is to your preference.
-Foami to your taste in color and texture,
-Silicone gun. -Silicone stick.
-Ruler, pencil, scissors.
-Figure of graduating in recycled foami.
I made two models but I will only give the step by step of one of them.
Step by step:
1.-In the gold cardboard, cut a rectangle of 18 cm long by 5 cm wide this is for the outline of the bottle, for the outline of the lid, a strip of 18 cm long by 1.5 cm wide and for the lid a square of 7 cm by 7 cm.
2.-Already marked cut out with a scissors or exact can also be.
3.-Prior to this put to heat the silicone gun, I'm releasing a new one that brings even a button for on and off great so you do not throw both the silicone.
4.-Glue everything I cut out, before to the rectangle of the bottle, remove the paper, just leave the corrugated, so that it is softer, less rigid.
5.-To glue the outline of the lid, I placed it on the jar to see where the tie of the jar is and where the one of the lid is in the same place.
6.-And finally the square that goes on the lid, on the reverse side, mark the measures, so that the lid is well centered.
7.-For the tassel use golden foami, cut a strip of about 0.5 millimeters and another rectangle of 7 cms by 2 cms, draw a line along 0.5 millimeters and make fine cuts up to the line. With the thin strip glue to the other with silicone and go rolling up to finish and see how the tassel is forming.
8.-Glue the tassel in the center of the square that is the biretta and cover it with a circle of the same golden foami. And we look for the ready-made foami figure of a graduate and glue it.
9.-And now we are finished, we still have to buy the candies. I show you the two models.
All the photos were taken with two cameras with the Panasonic, the battery ran out and I looked for the Sony.
Thank you all for your attention, I hope you like it, I hope you can do it, the idea is already there, the theme may vary depending on the occasion: birthdays, baptisms, communion, special.

Muy bonito proyecto, es muy práctico y adecuado para el fin de curso... Saludos!
Ahi tienes pues la idea aprovechela y haga muchos ya se que en navidad voy a ofreer tengo que empezar desde ya a recoger frascos ja ja
Con el apoyo de la familia.
Trail de TopFiveFamily
¡Excelente trabajo!
Mi incansable y laboriosa amiga, siempre produciendo cosas bellas!!
Asi es mi bella para que otros tambien copien la idea y les sirva de mucha ayuda en estos tiempos de crisis debemos ser mas practicos. Gracias
♥