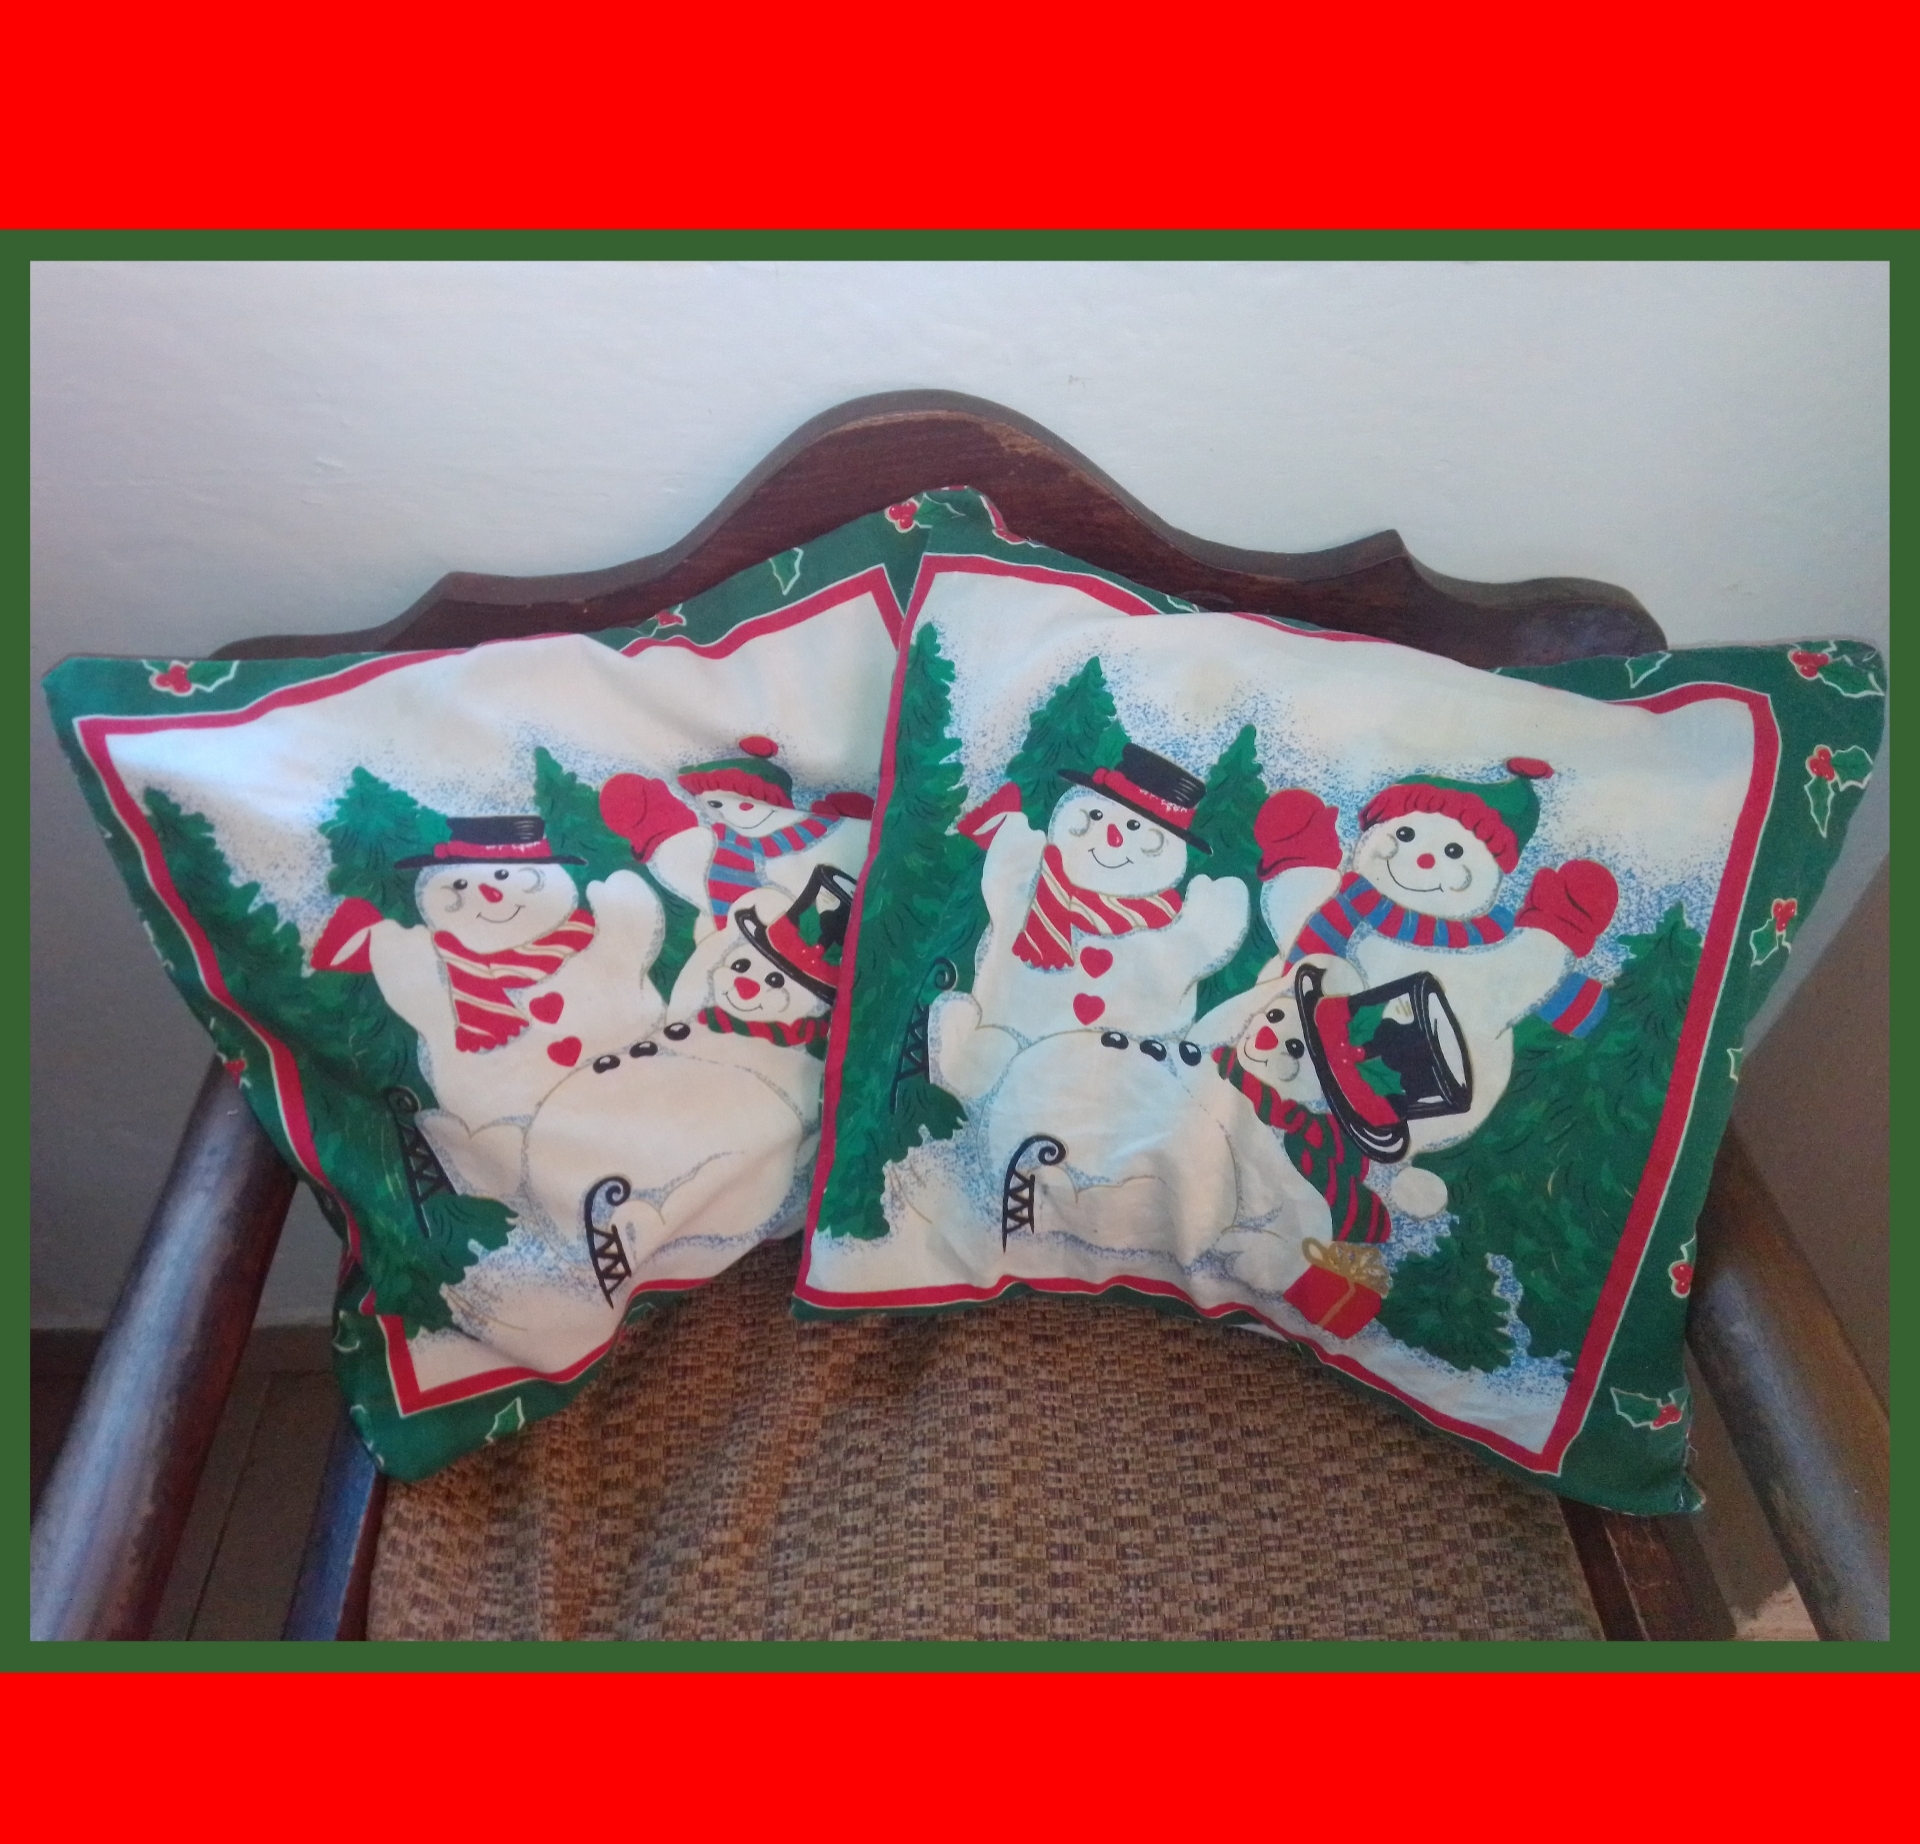
Bendiciones amigos de esta comunidad hoy quiero compartir con ustedes, la elaboración de dos forros para cojines, con material de provecho, para lo cual utilice un mantel viejo con motivos de navidad.
>Blessings friends of this community today I want to share with you, the elaboration of two cushion covers, with useful material, for which I used an old tablecloth with Christmas motifs.
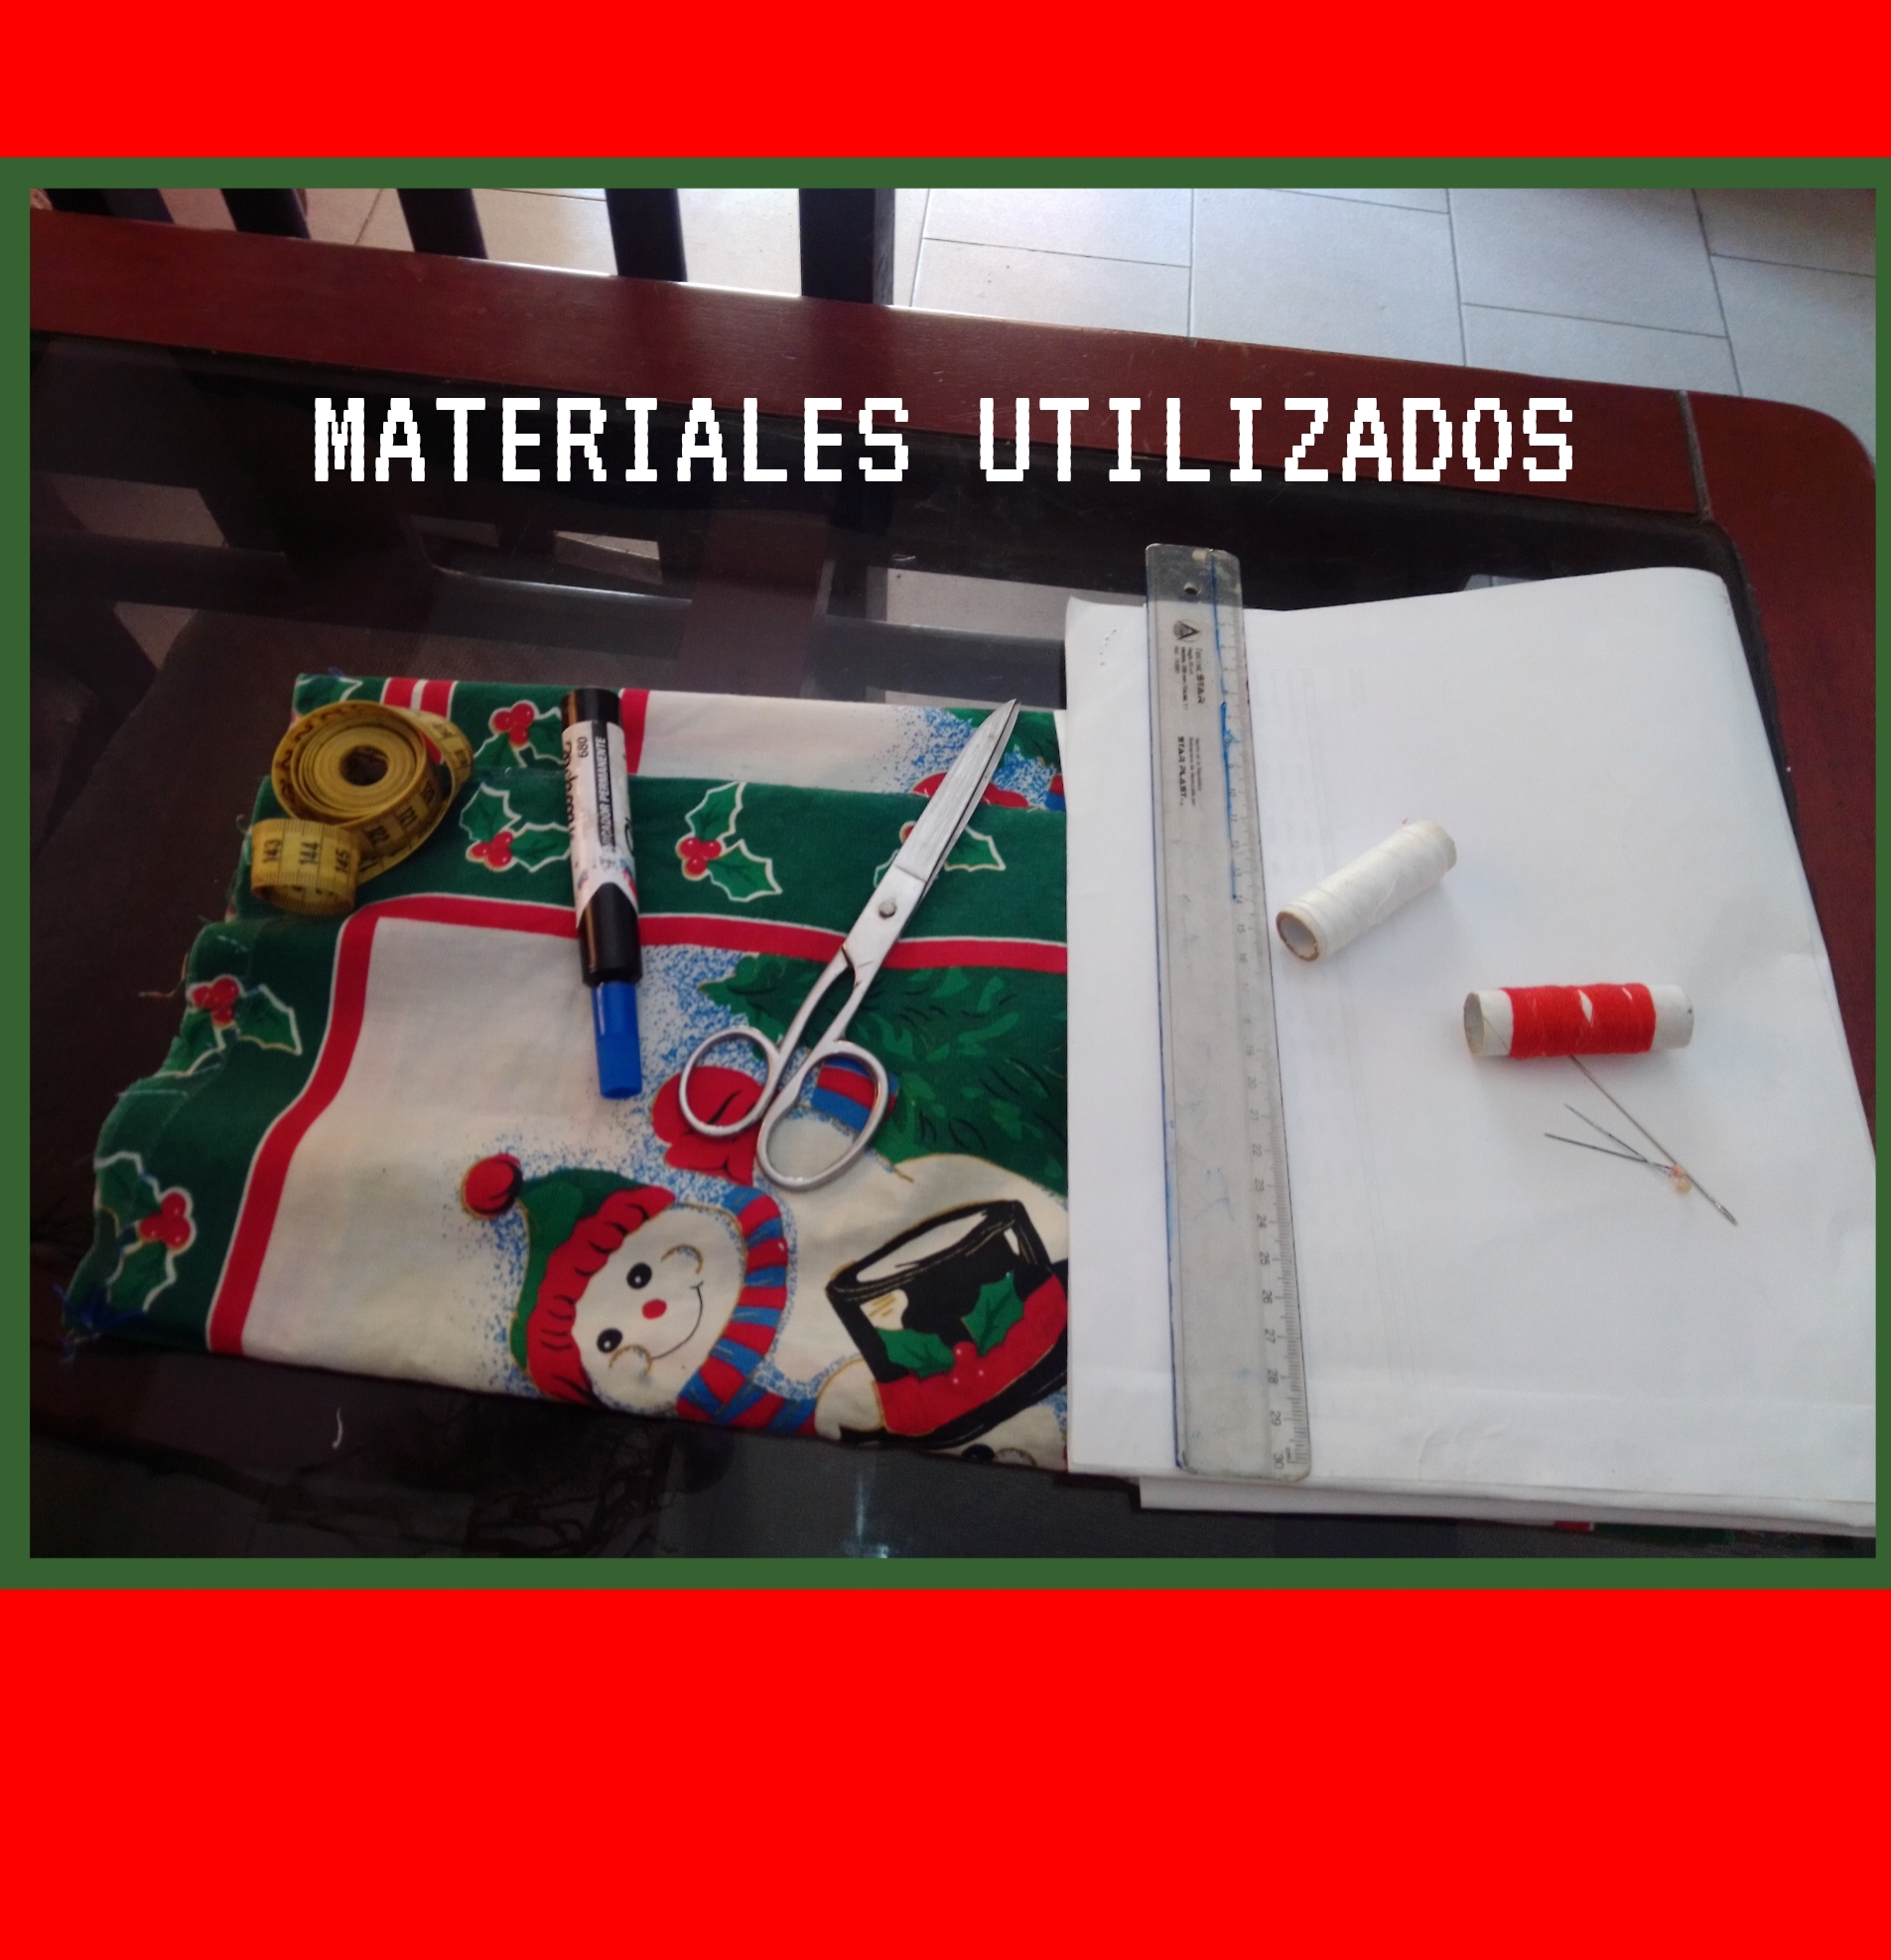
Materiales utilizados
Tela
2 Cojínes
Tijeras
Cinta métrica
Tijera
Papel
Hilos
Agujas
Marcadores
Materials used
Fabric
2 Cushions
Scissors
Tape measure
Scissors
Paper
Thread
Needles
Markers
Elaboración // Elaboration
Paso 1 // Step 1
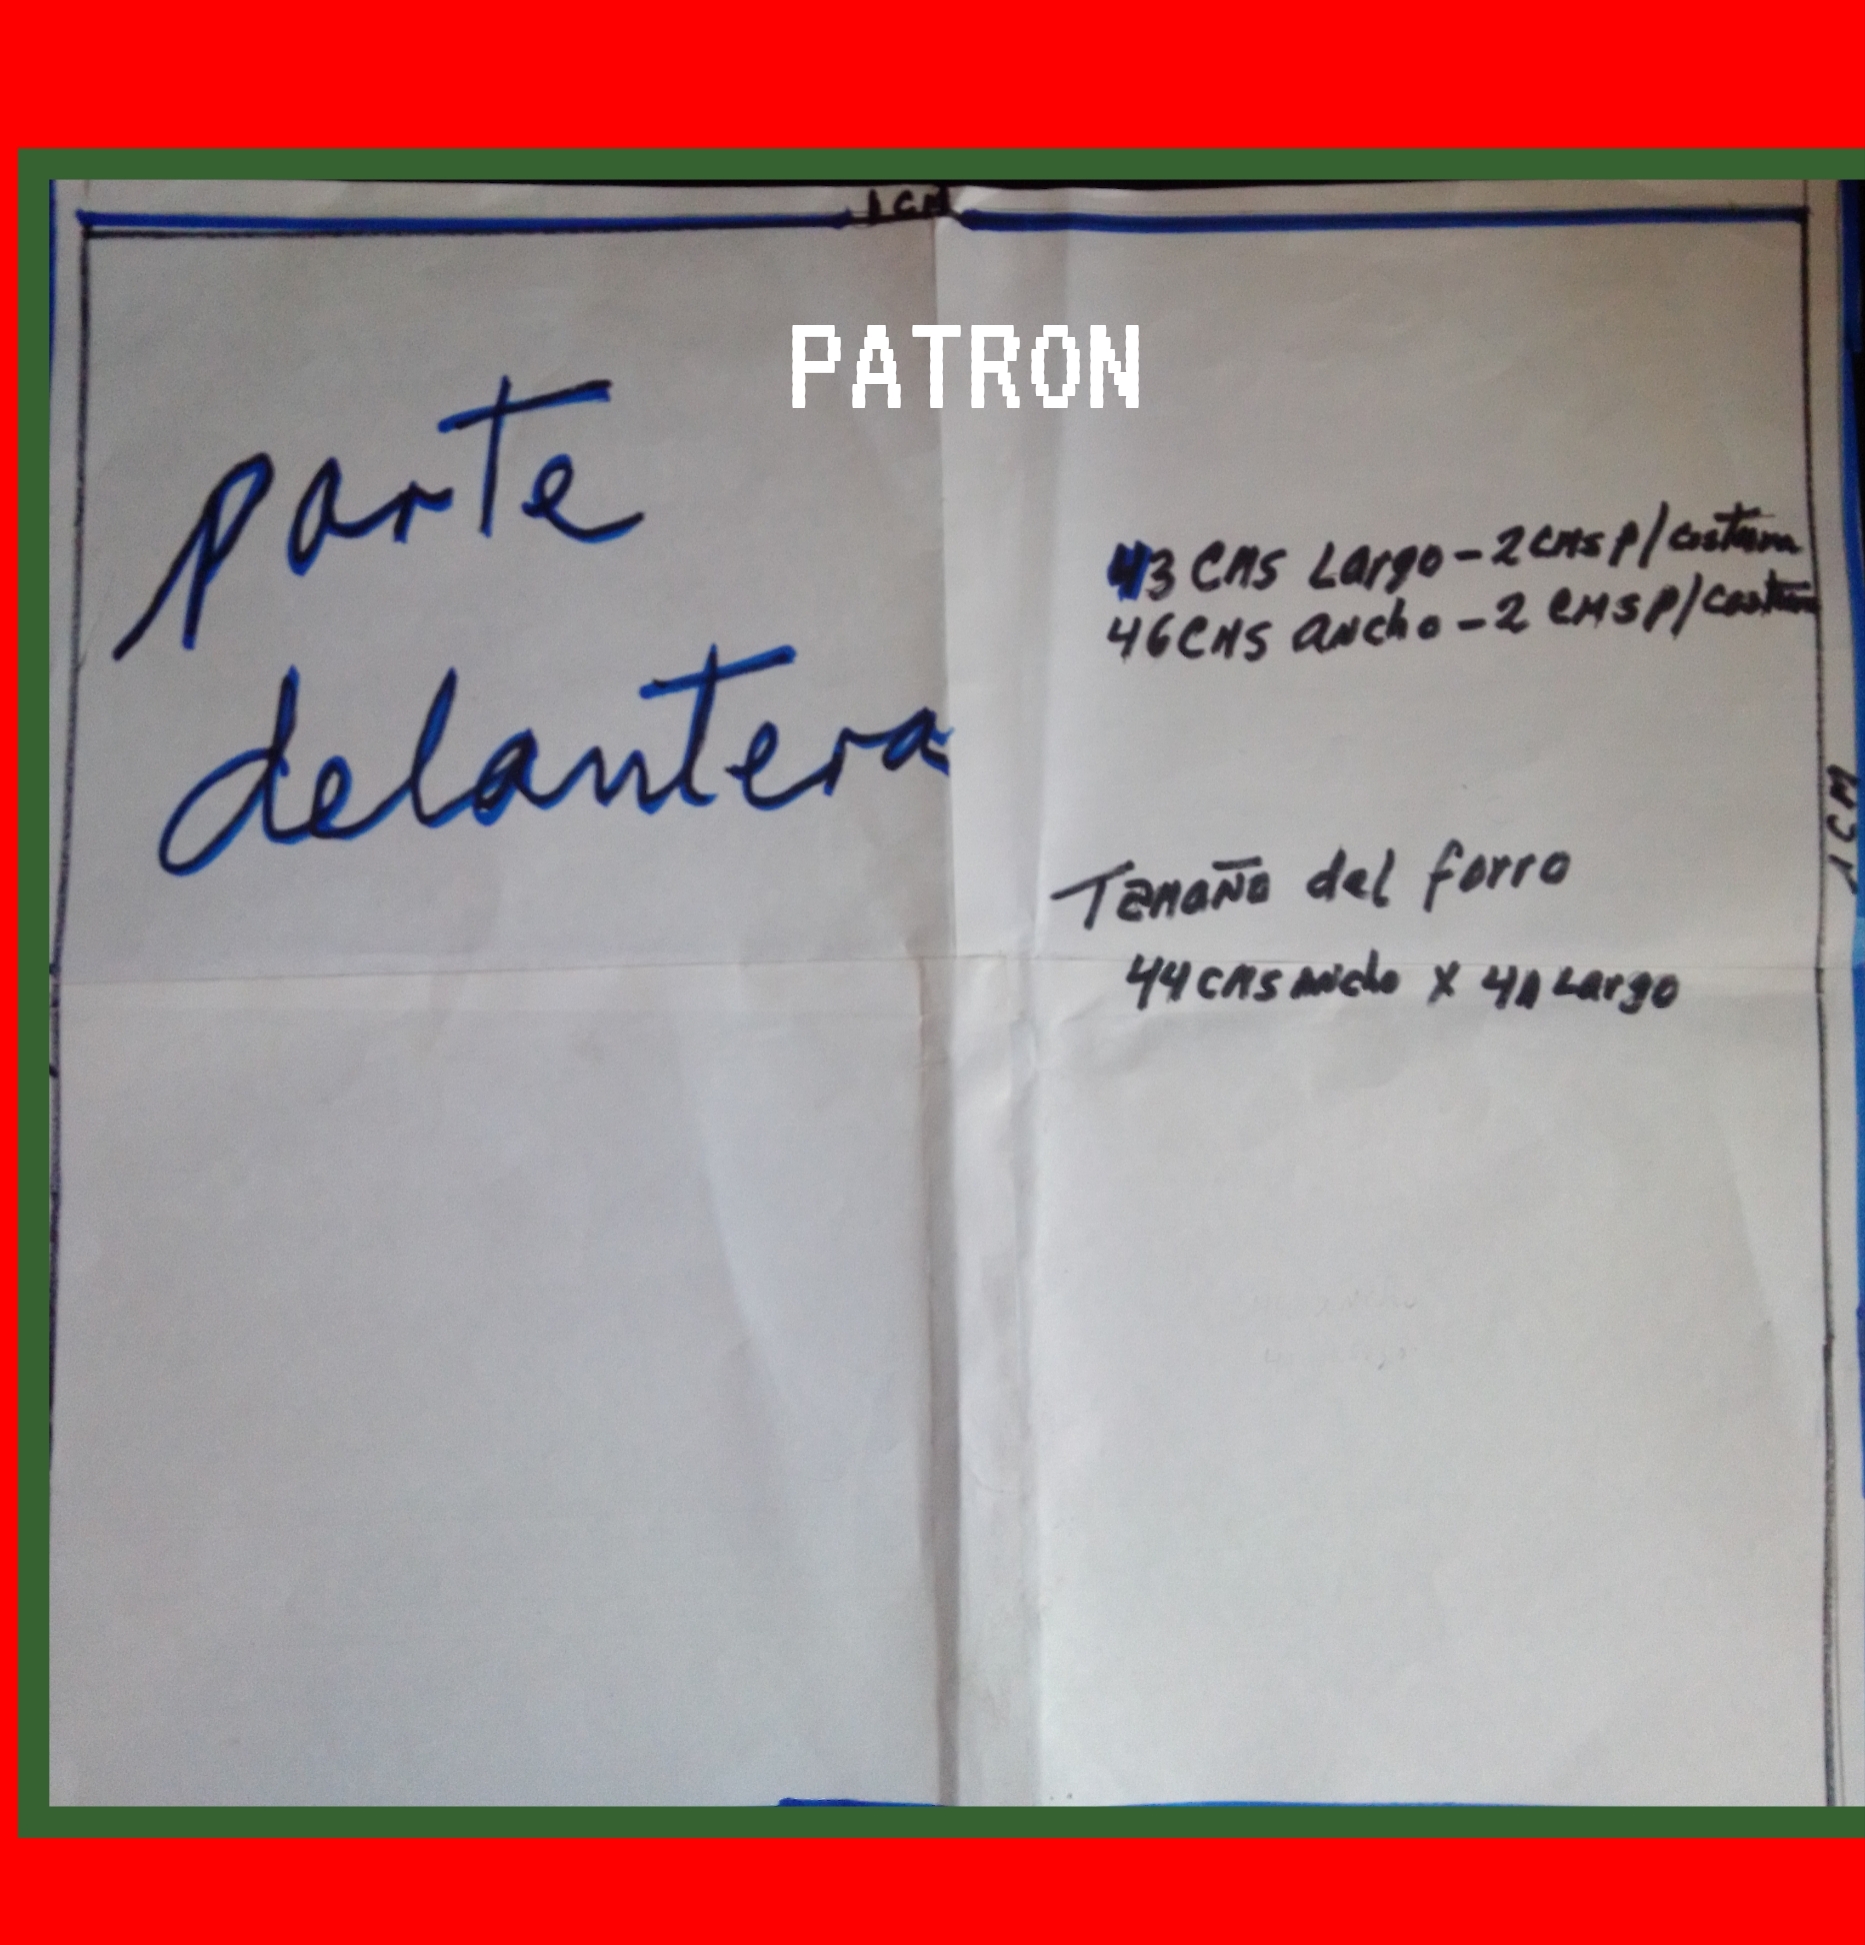
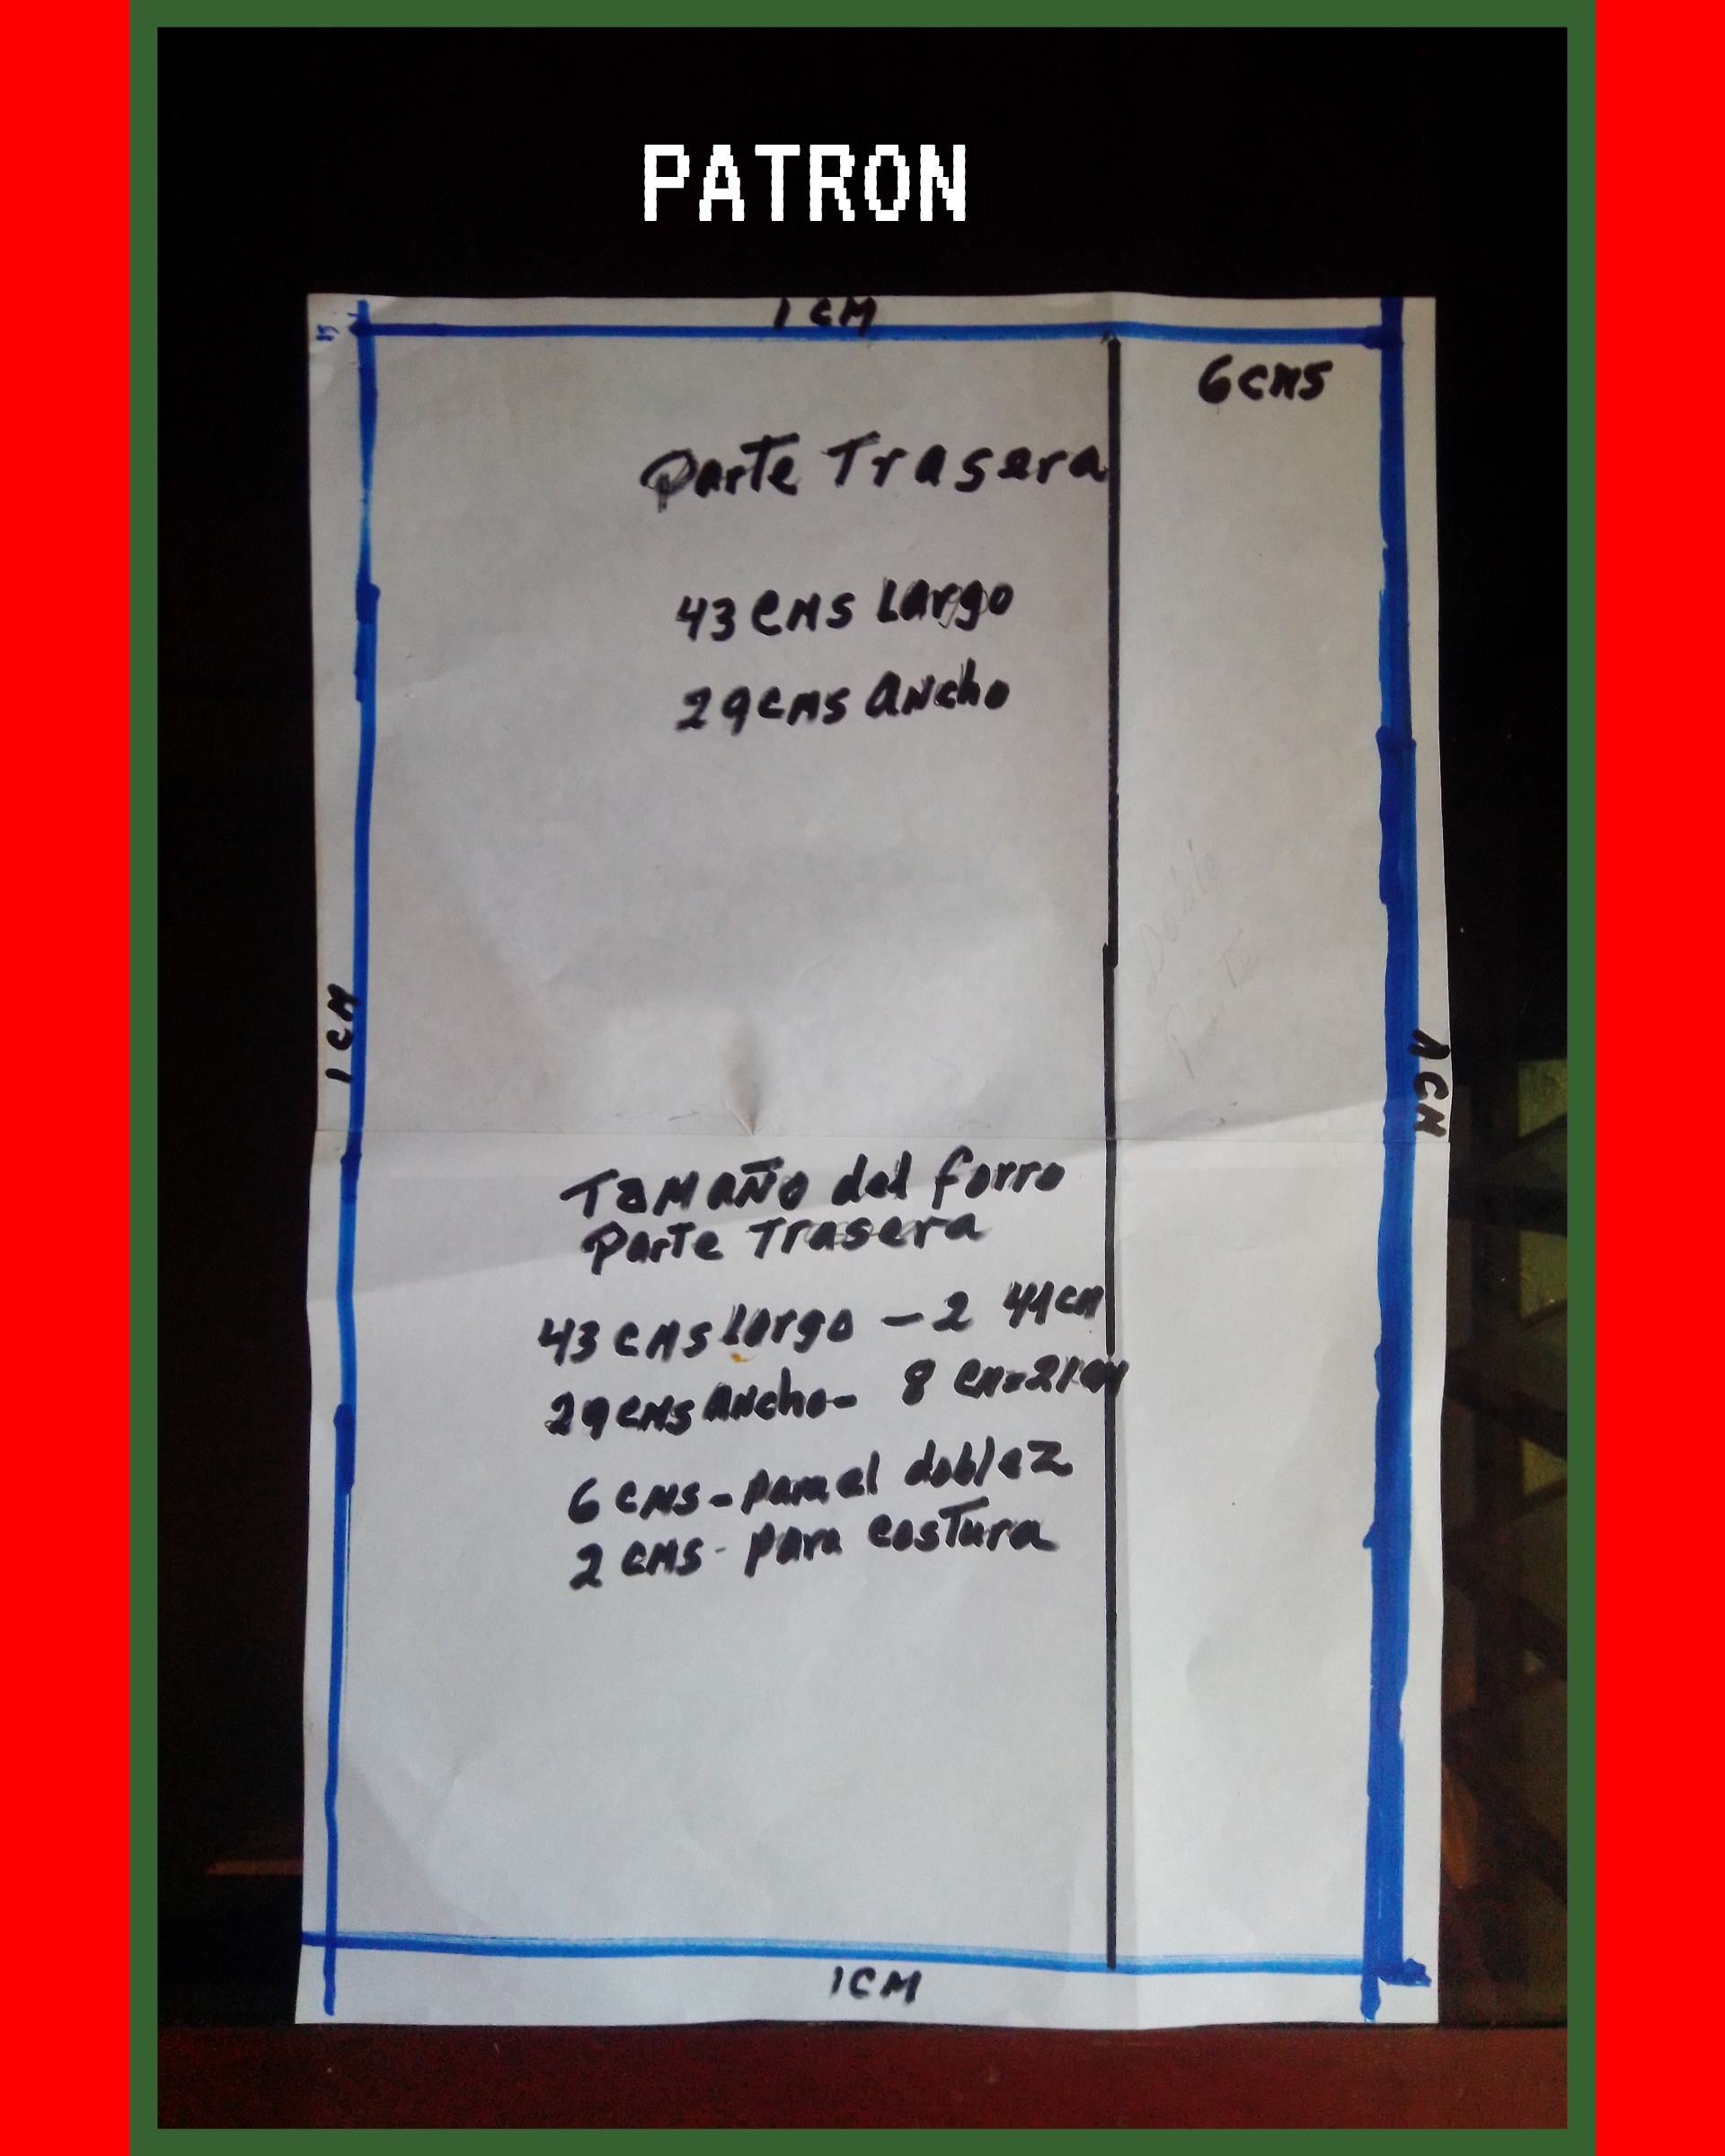
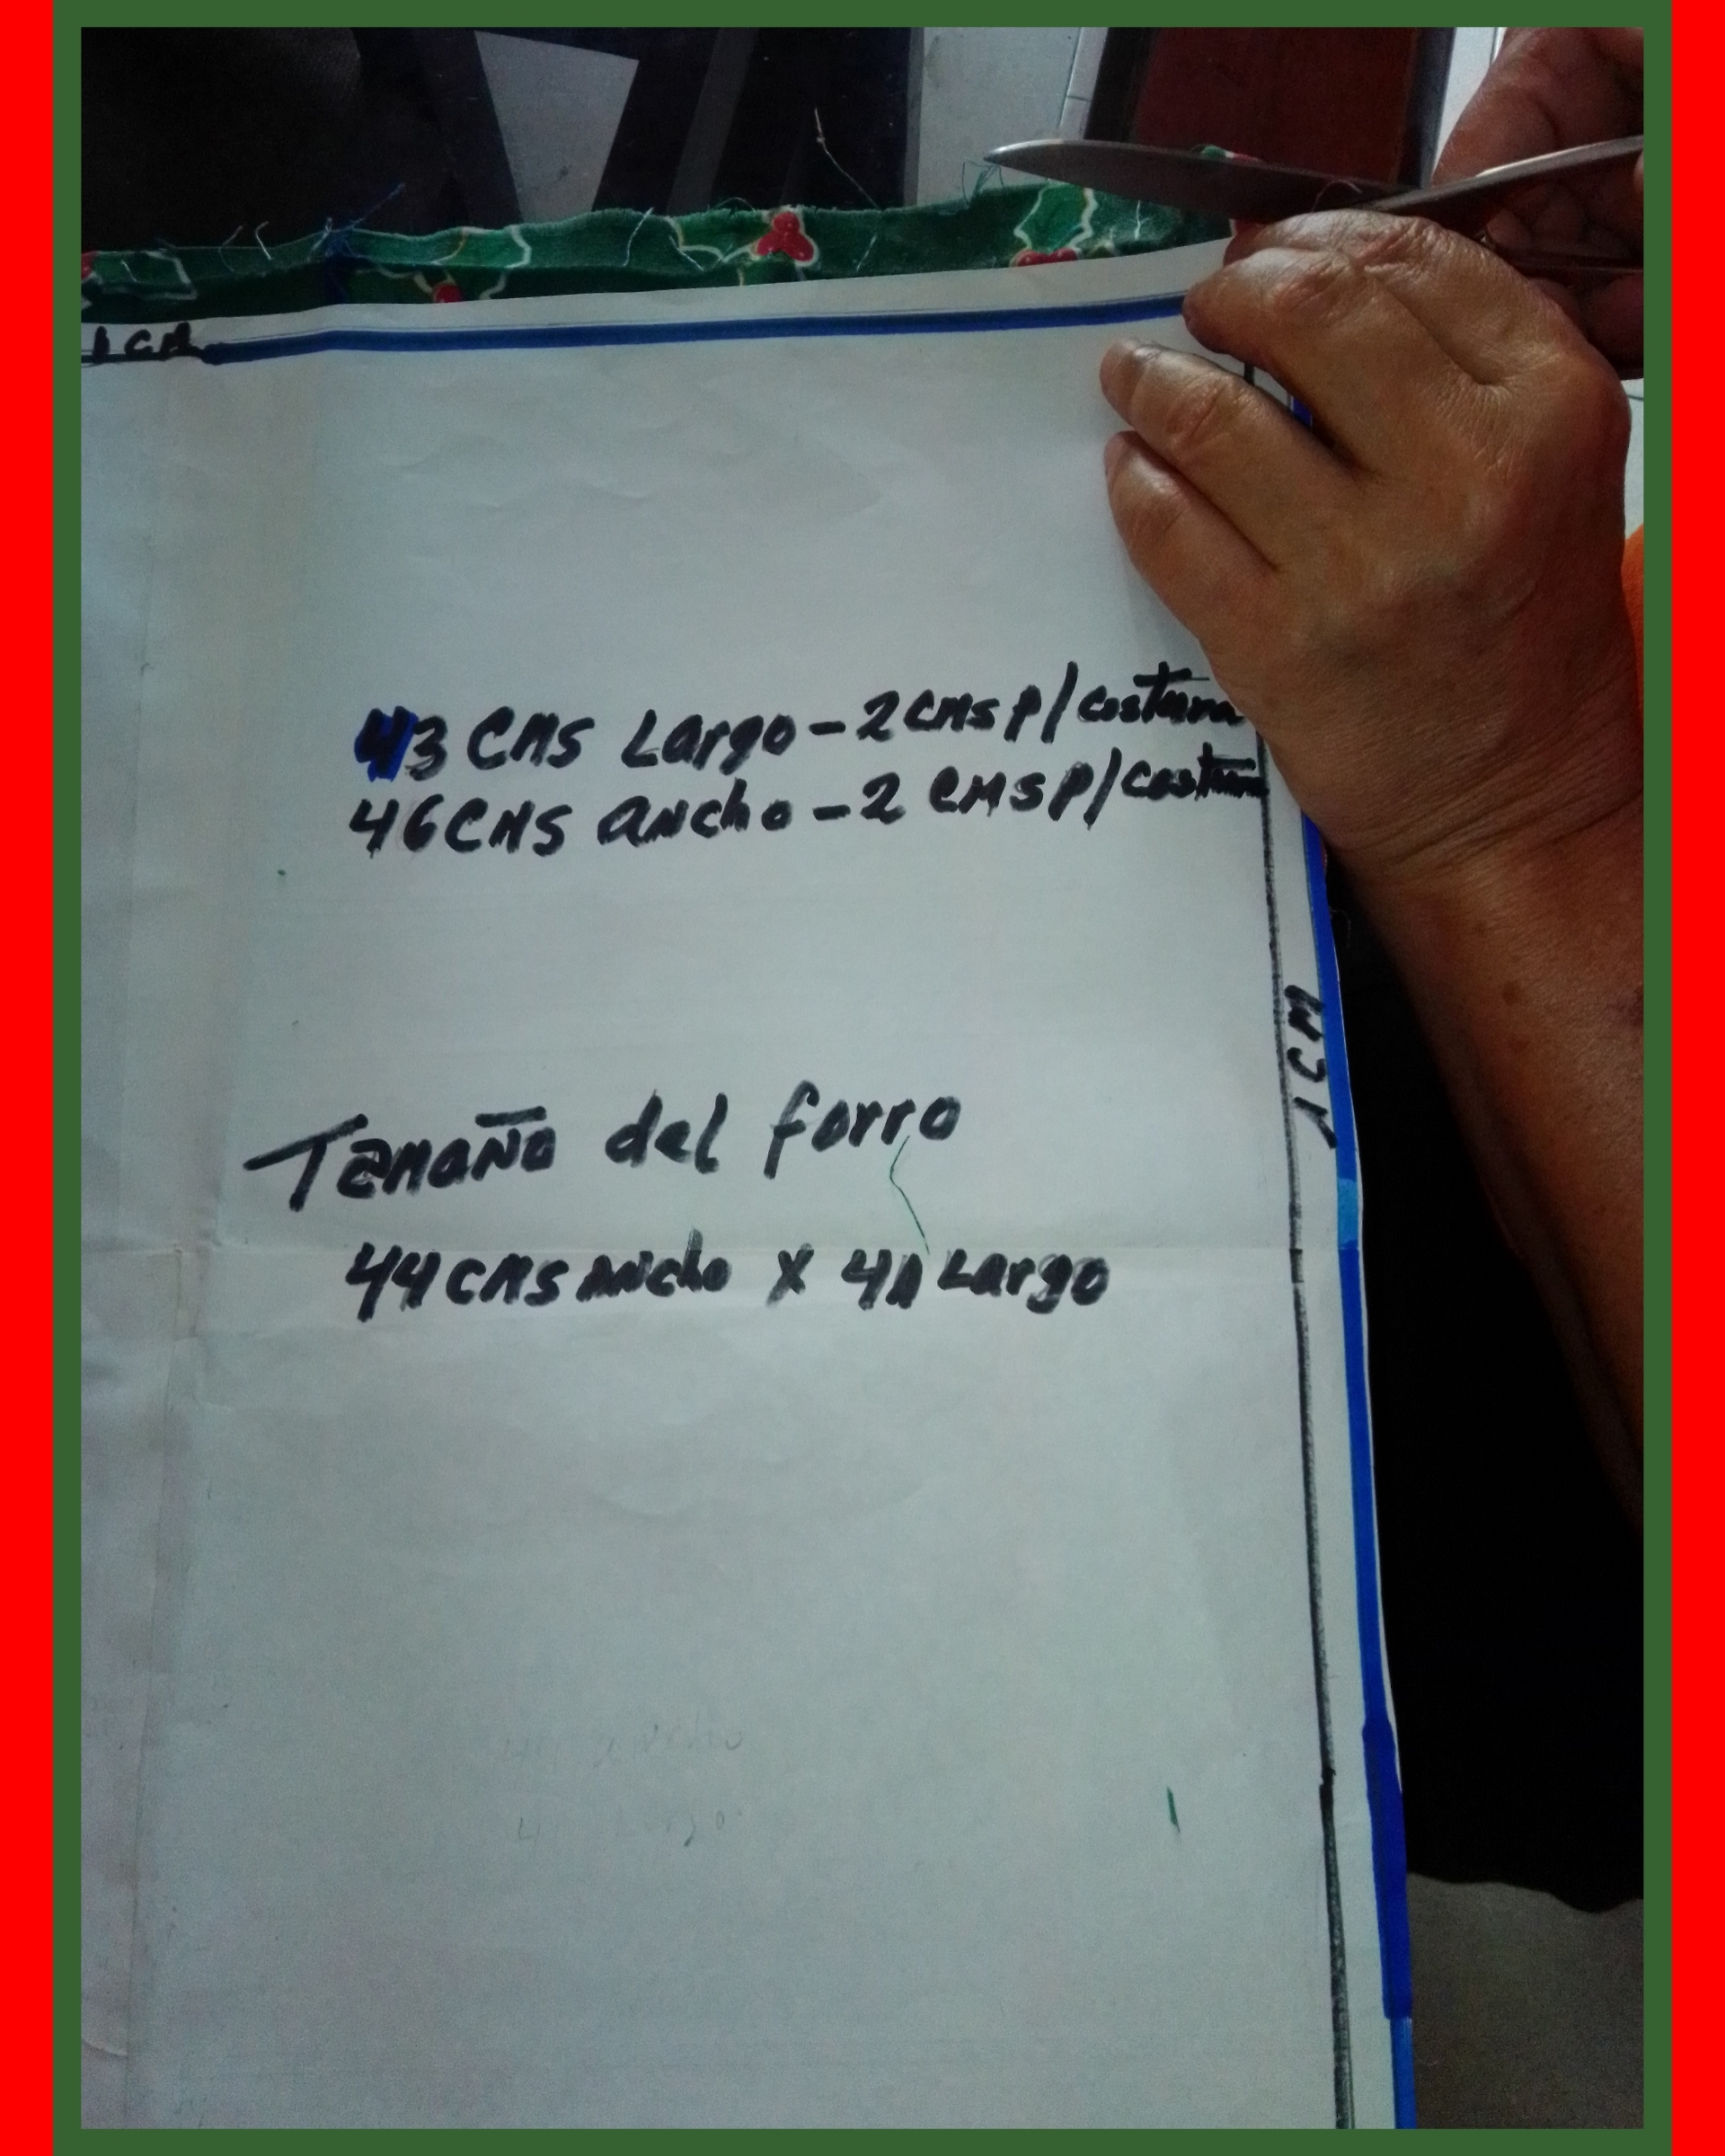
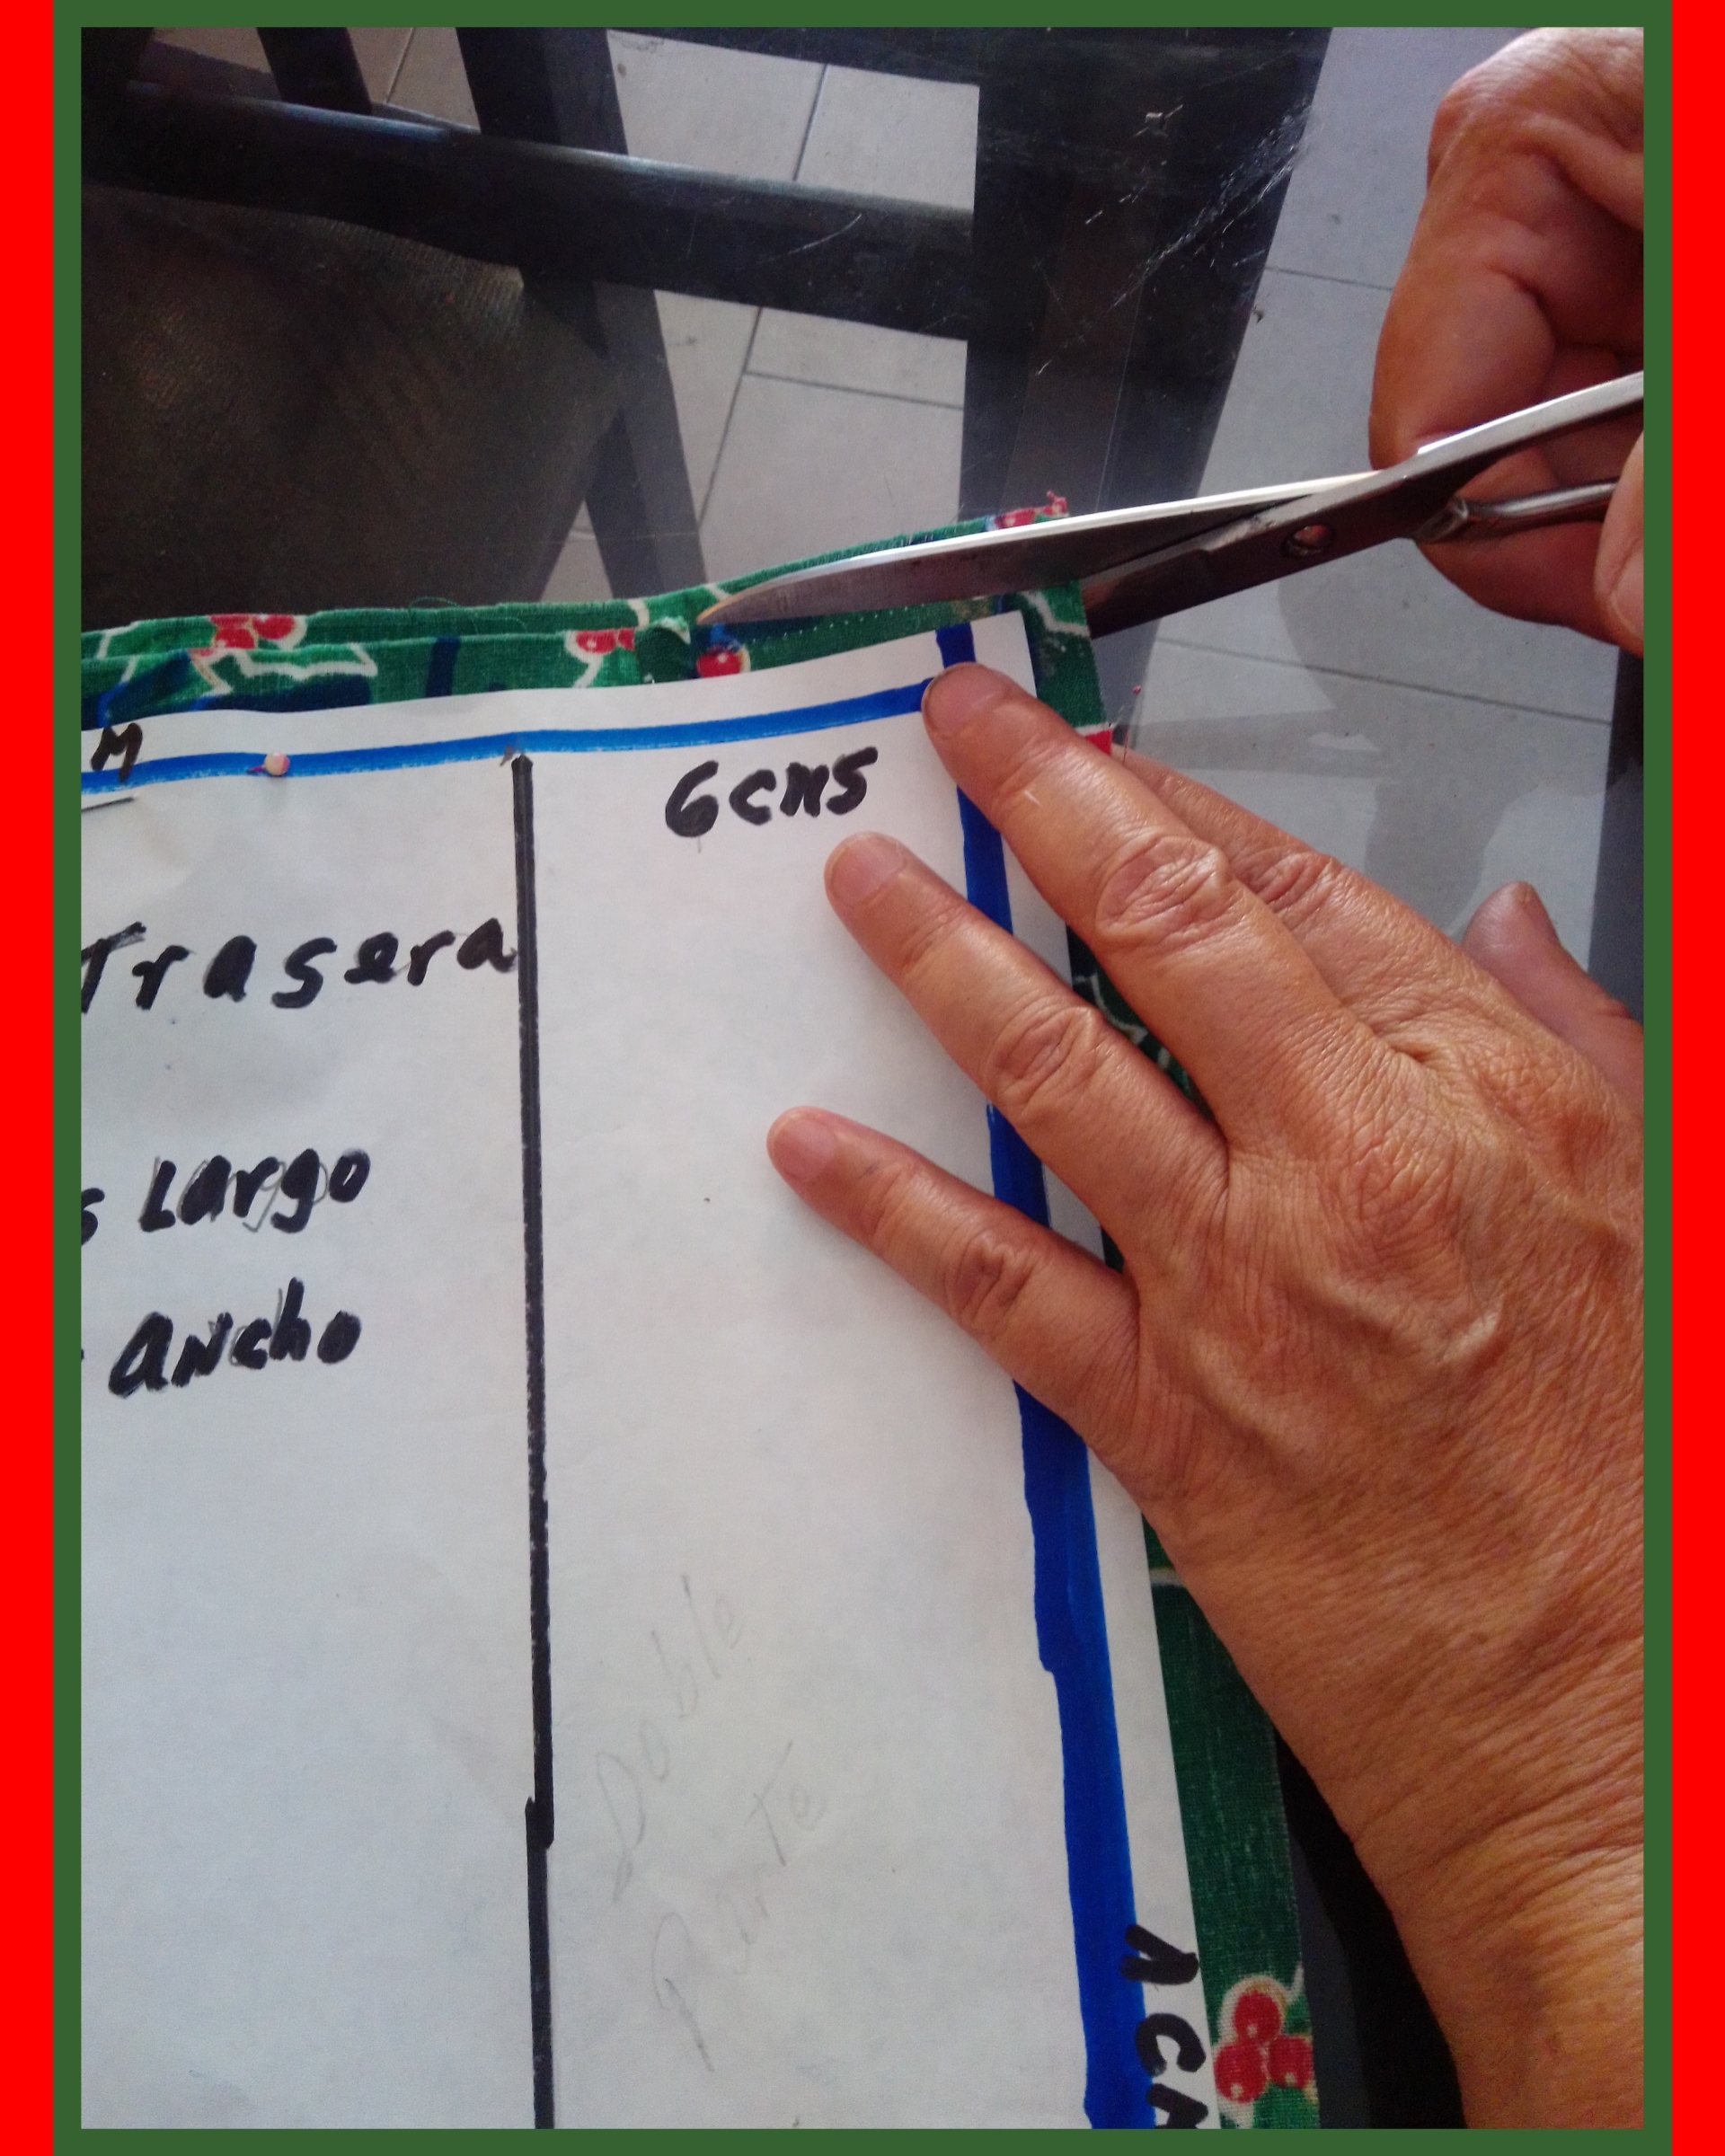
Dibujamos el patrón de los forros en un papel trazamos un rectángulo con las siguientes medidas 46 cms. de ancho x 43 cms de largo para la parte delantera.
Para la parte trasera trazamos un rectángulo con las siguientes medidas 43 cms. de largo x 29 cms. de ancho.
We draw the pattern of the linings on a piece of paper and trace a rectangle with the following measurements: 46 cm. wide x 43 cm. long for the front part.
For the back we draw a rectangle with the following measures 43 cm. long x 29 cm. wide.
Paso 2 // Step 2
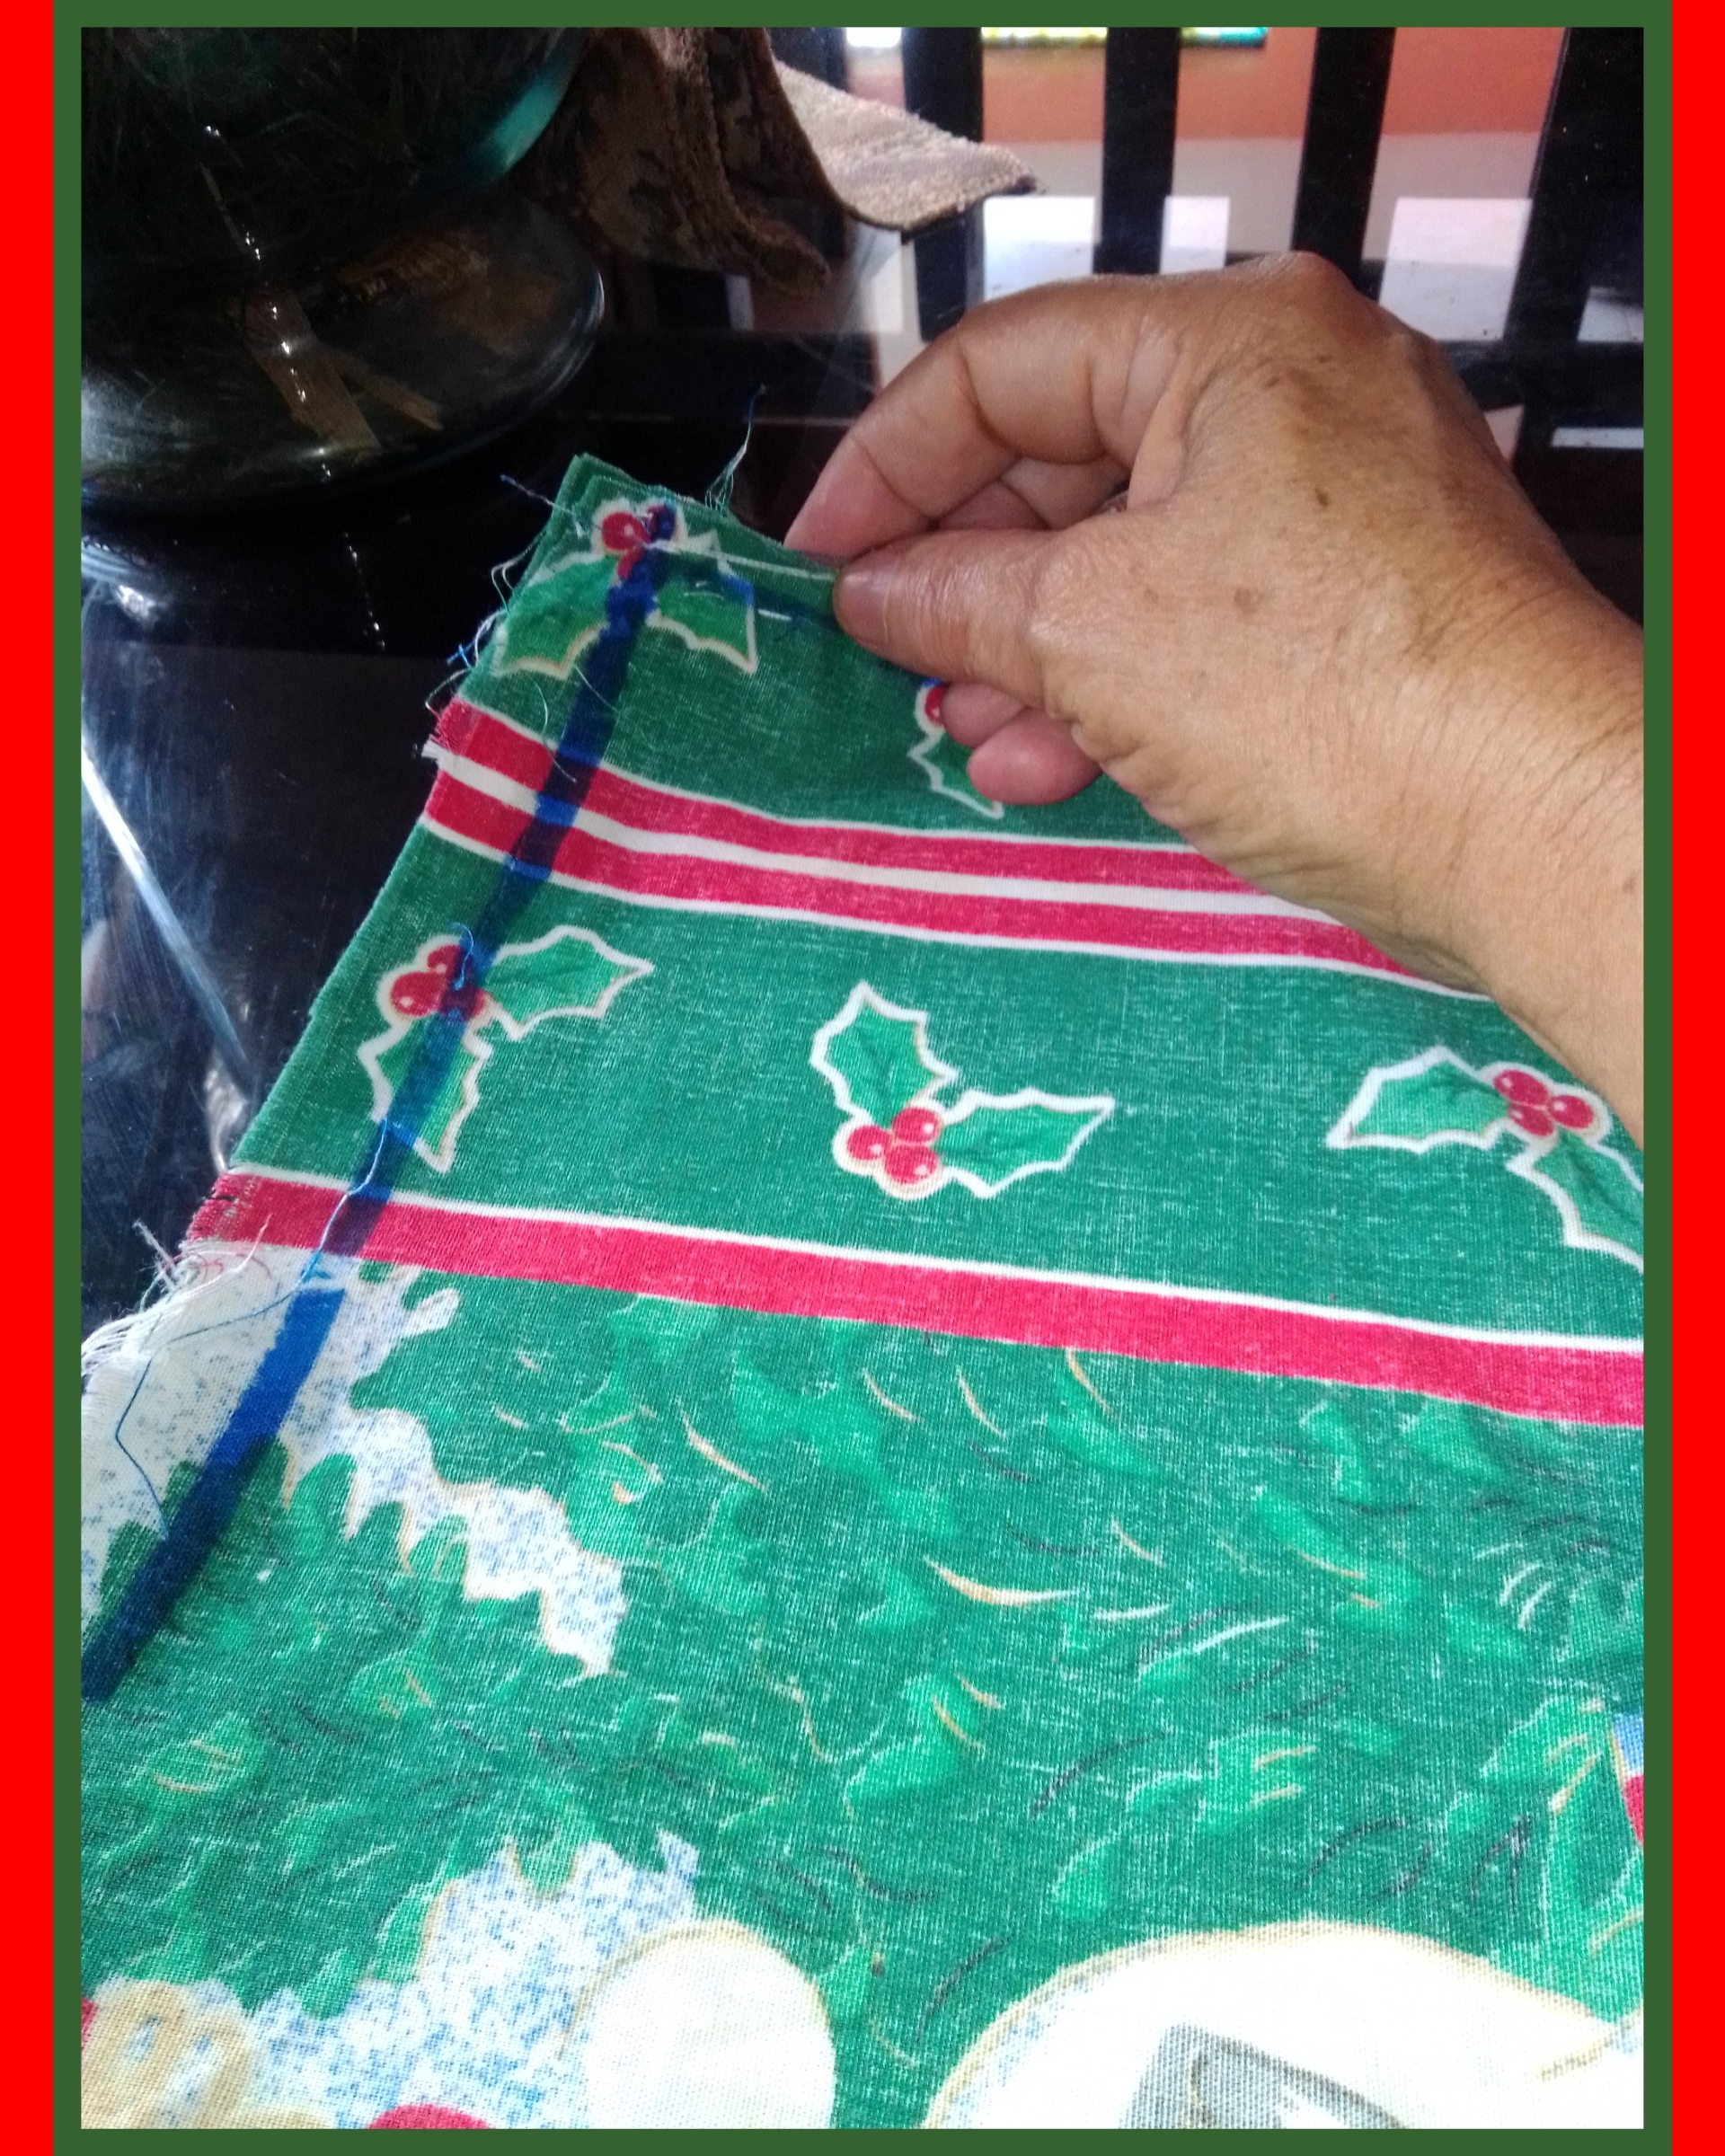
Luego colocamos el patrón encima de la tela y comenzamos a cortar 2 piezas para la parte delantera para los forros dejando 2 cms de ambos lados para la costura.
Then we place the pattern on top of the fabric and start cutting 2 pieces for the front part for the linings, leaving 2 cm on both sides for the seam allowance.
Paso 3 // Step 3
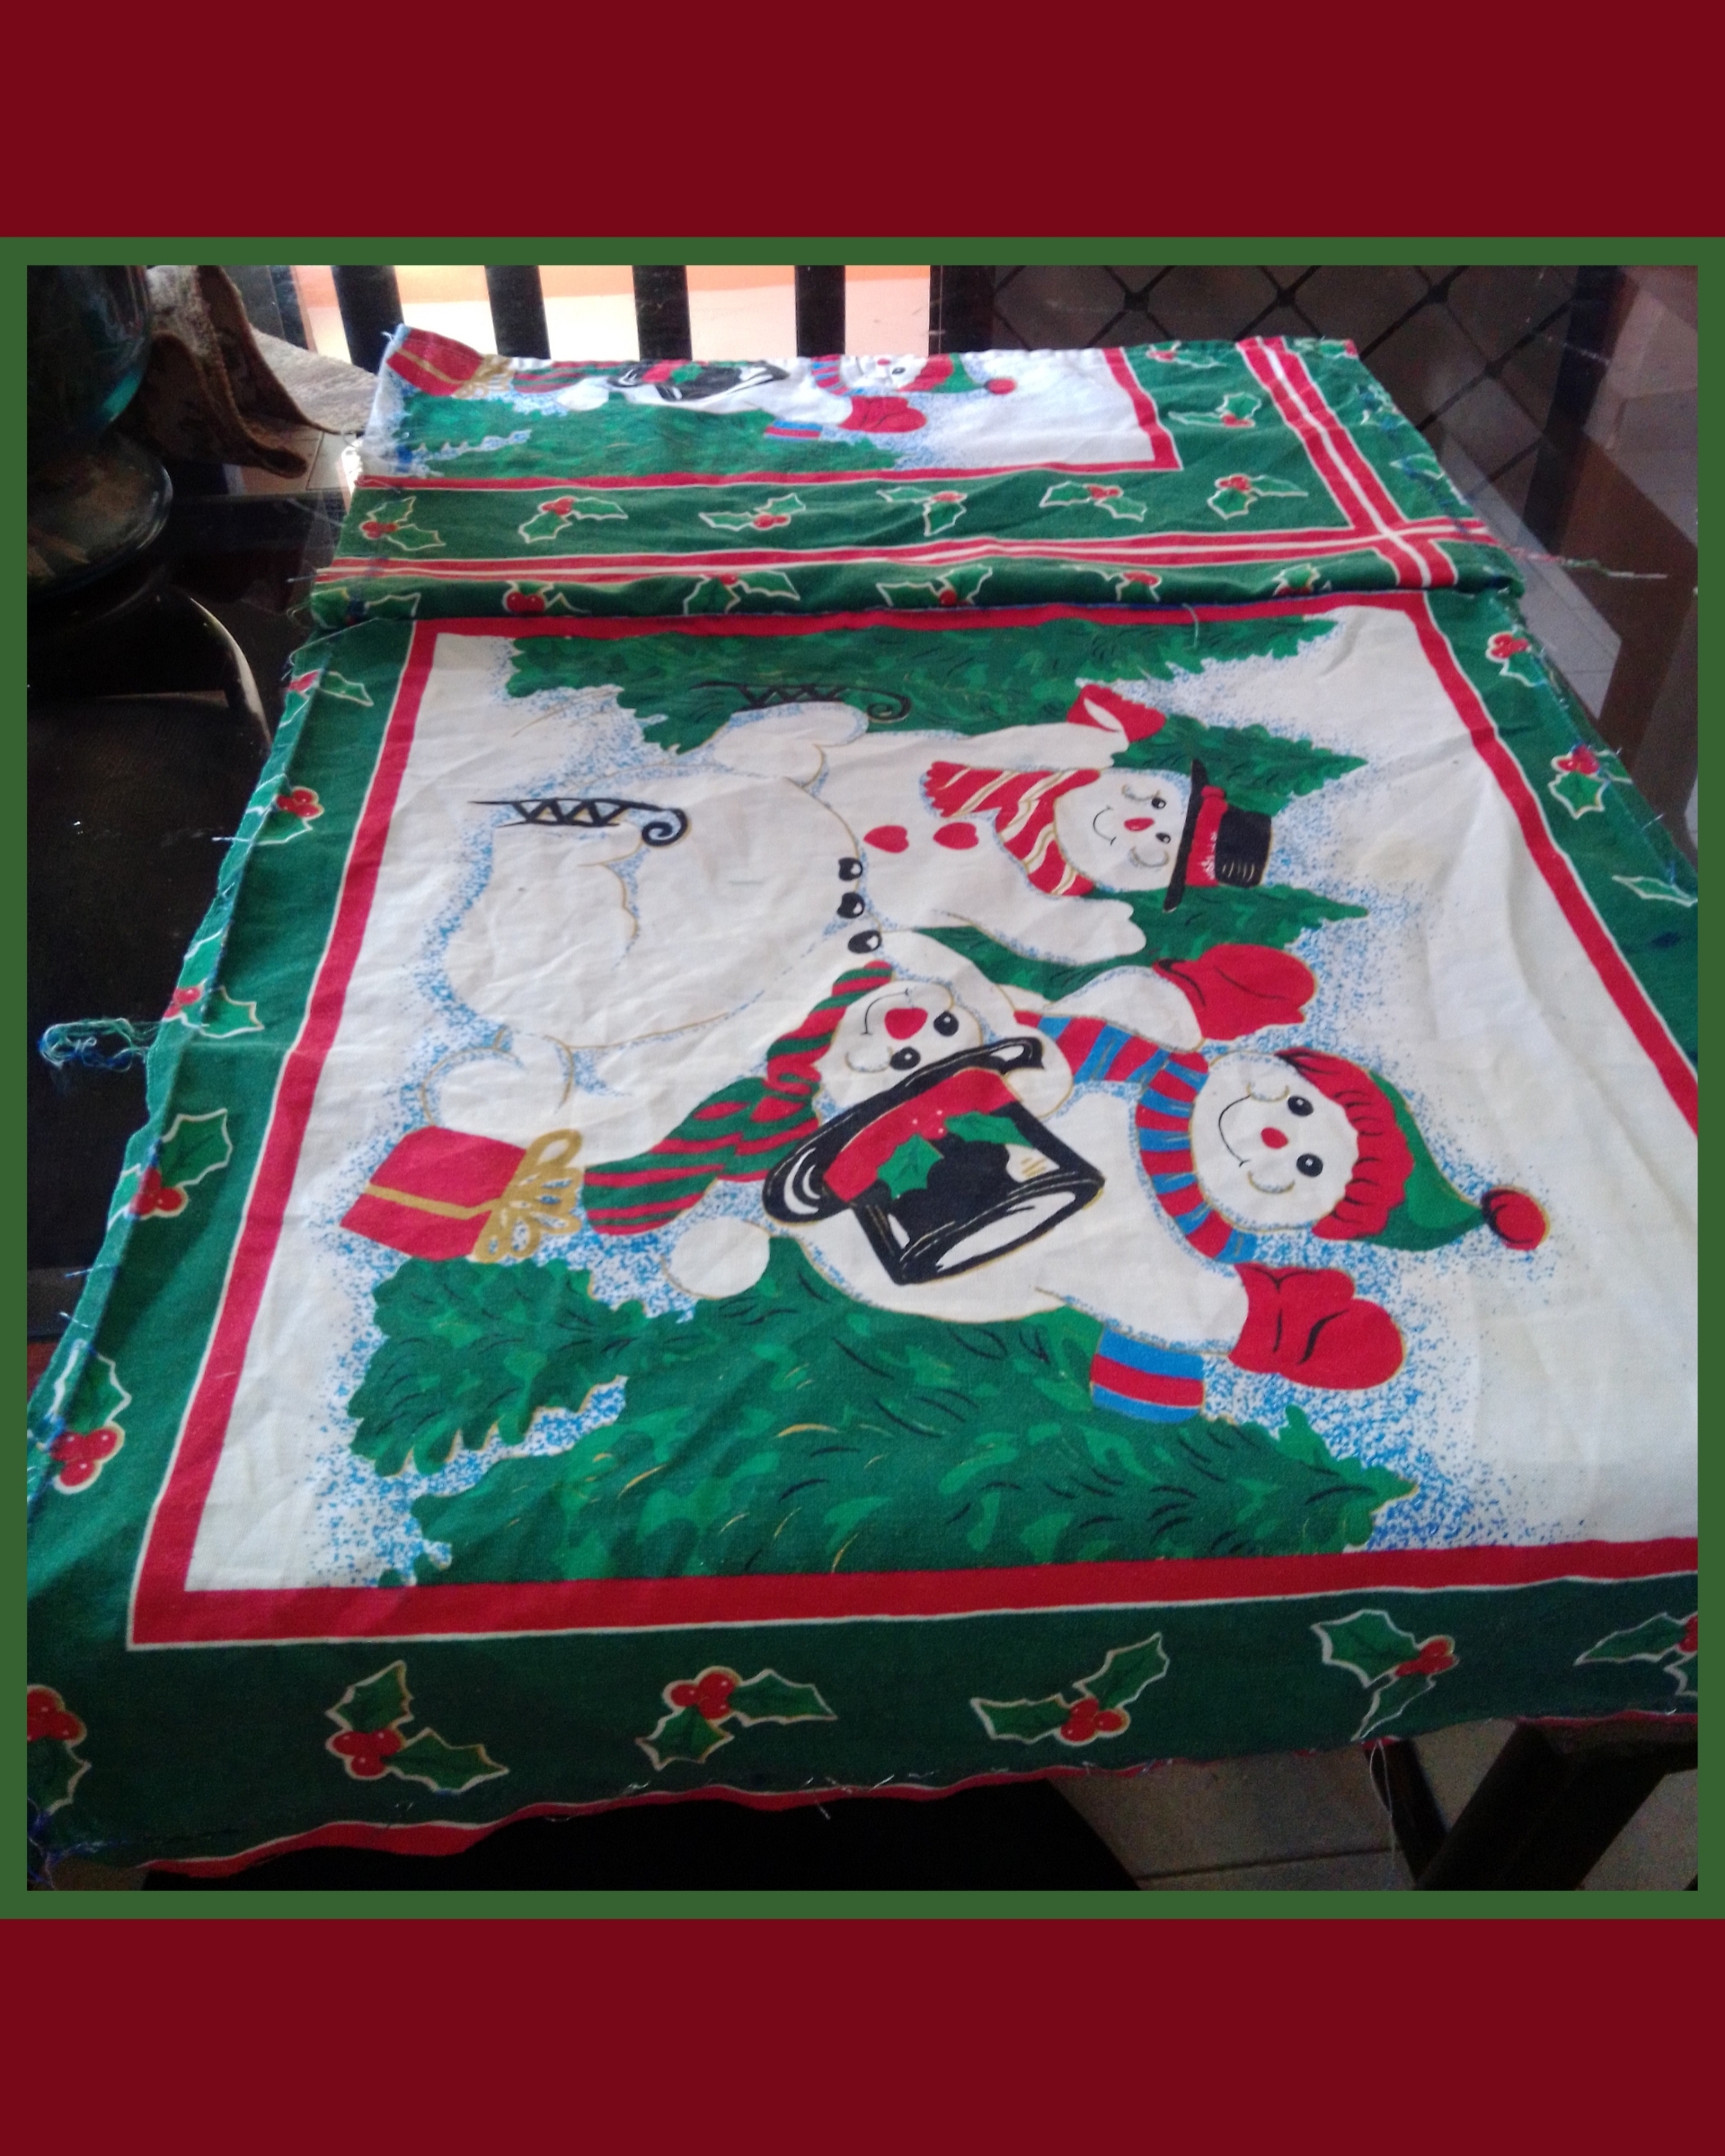
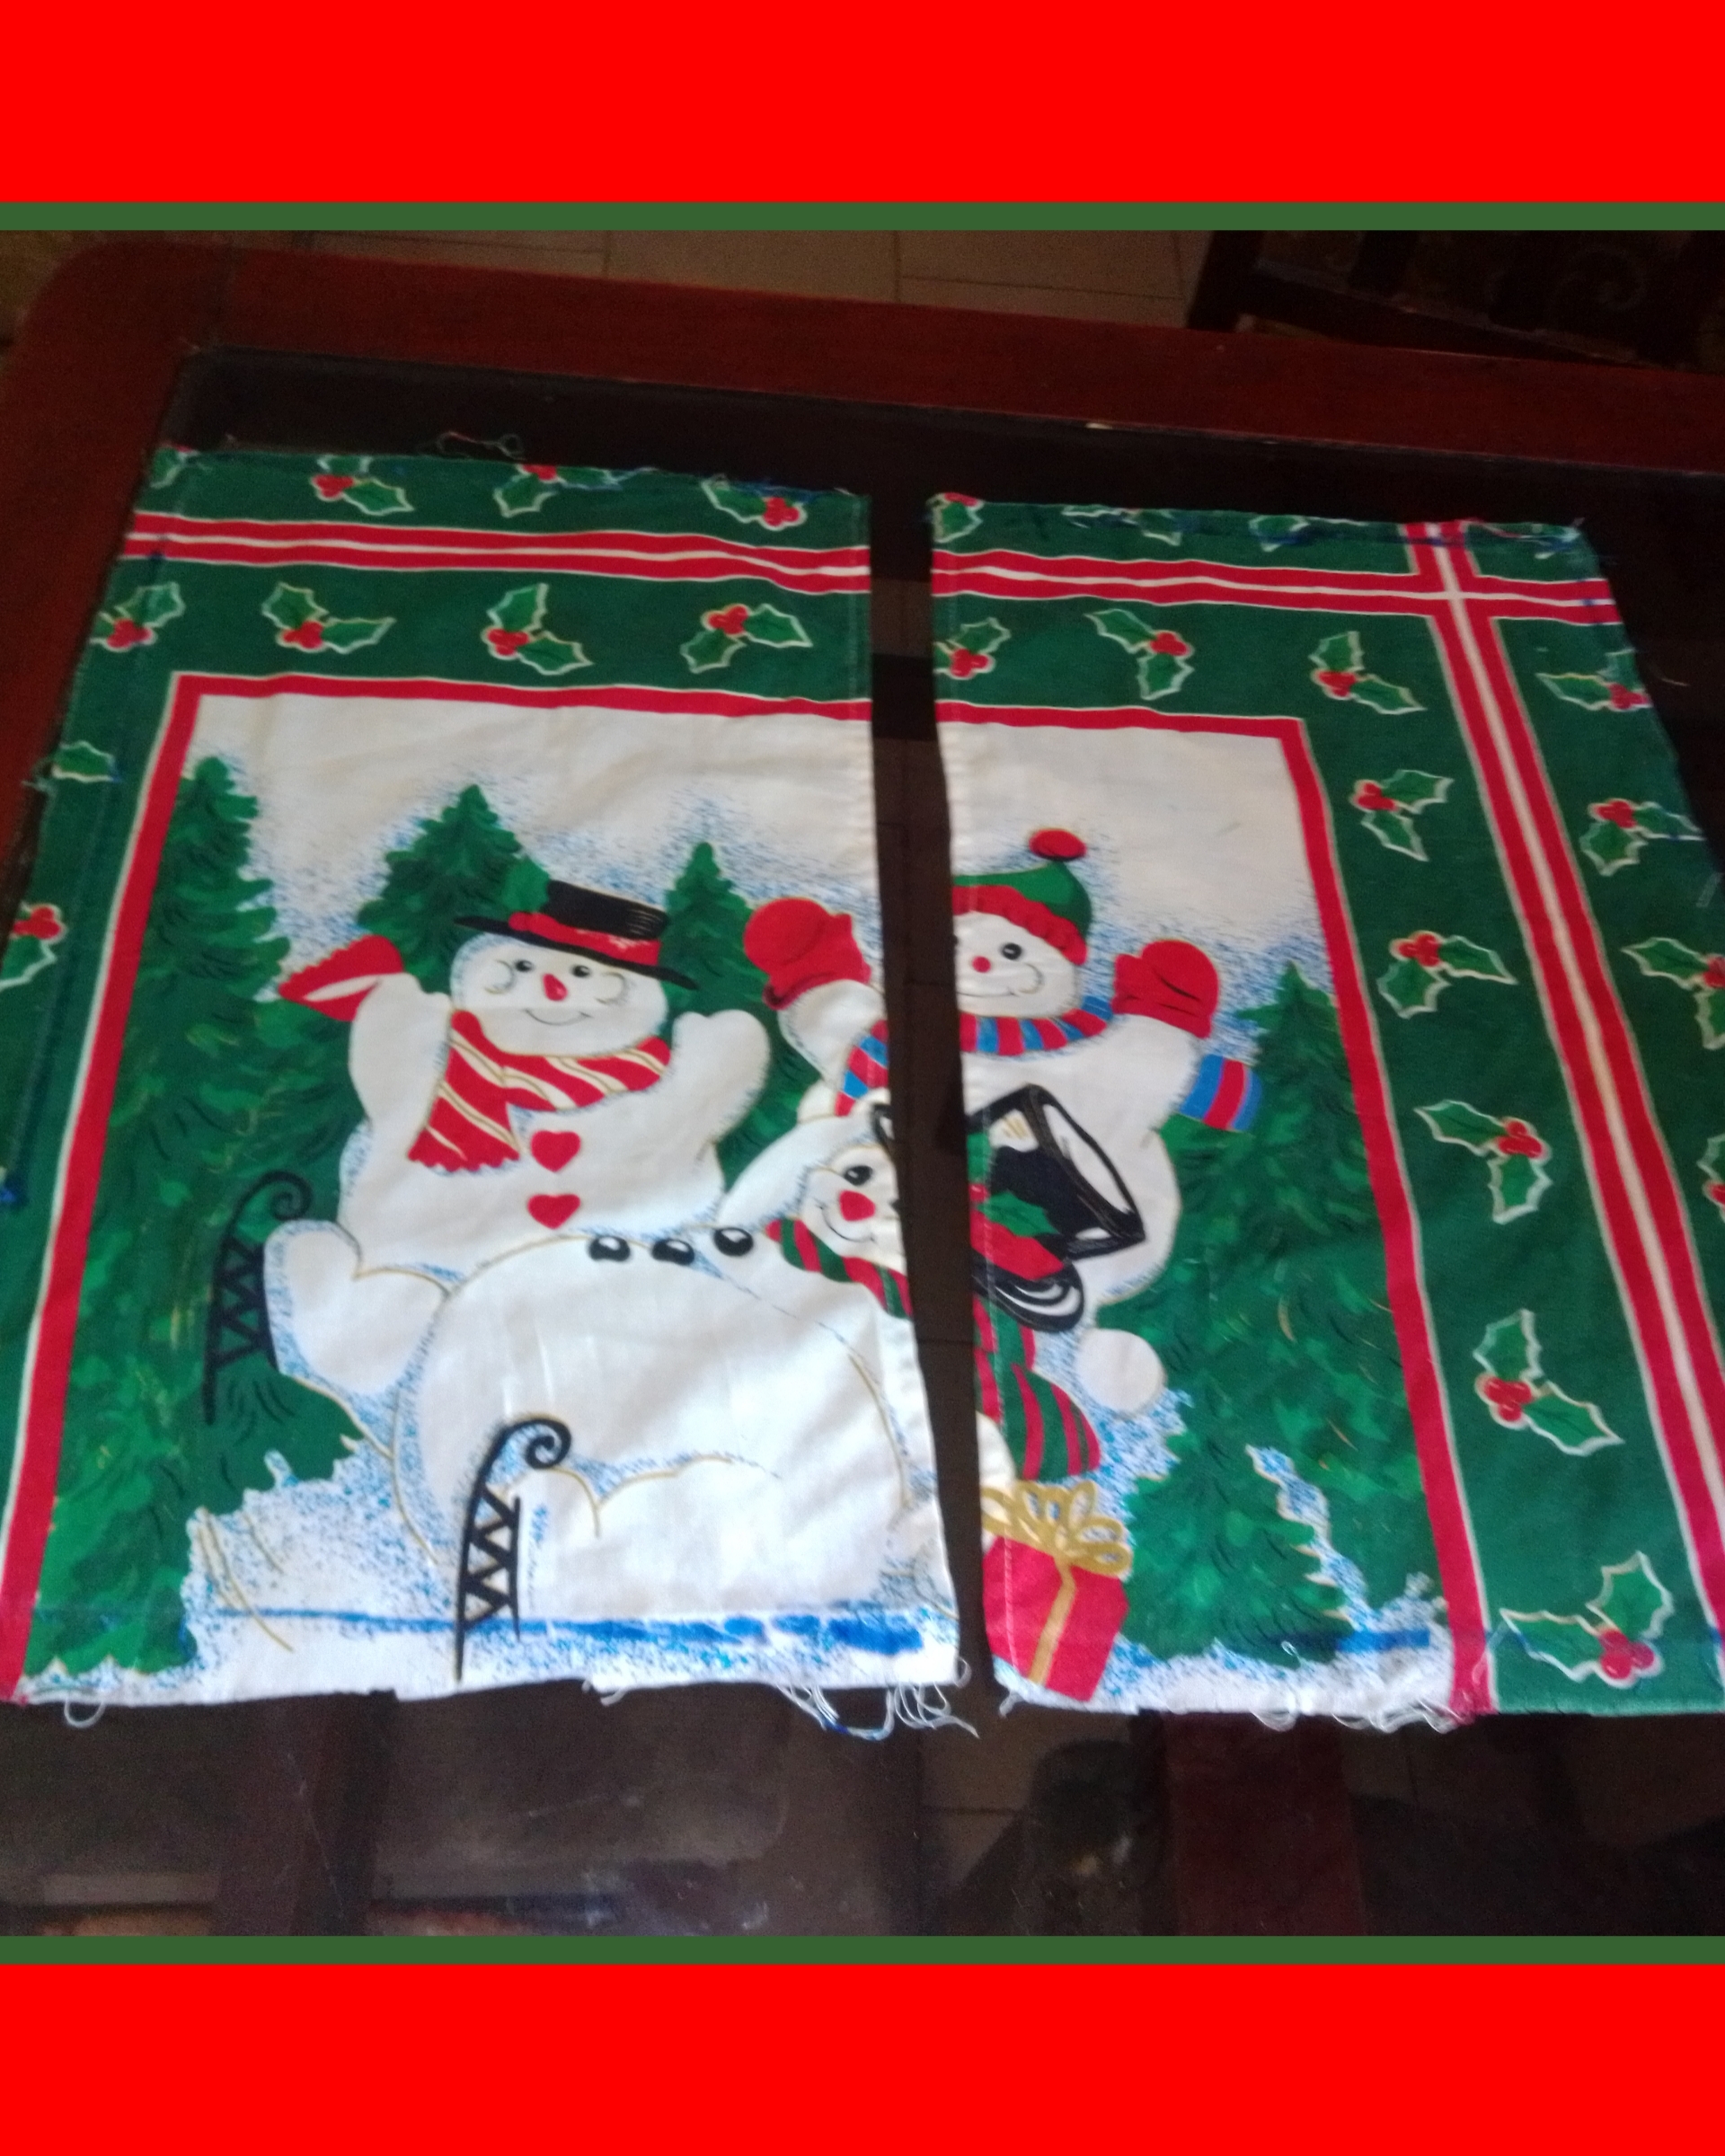
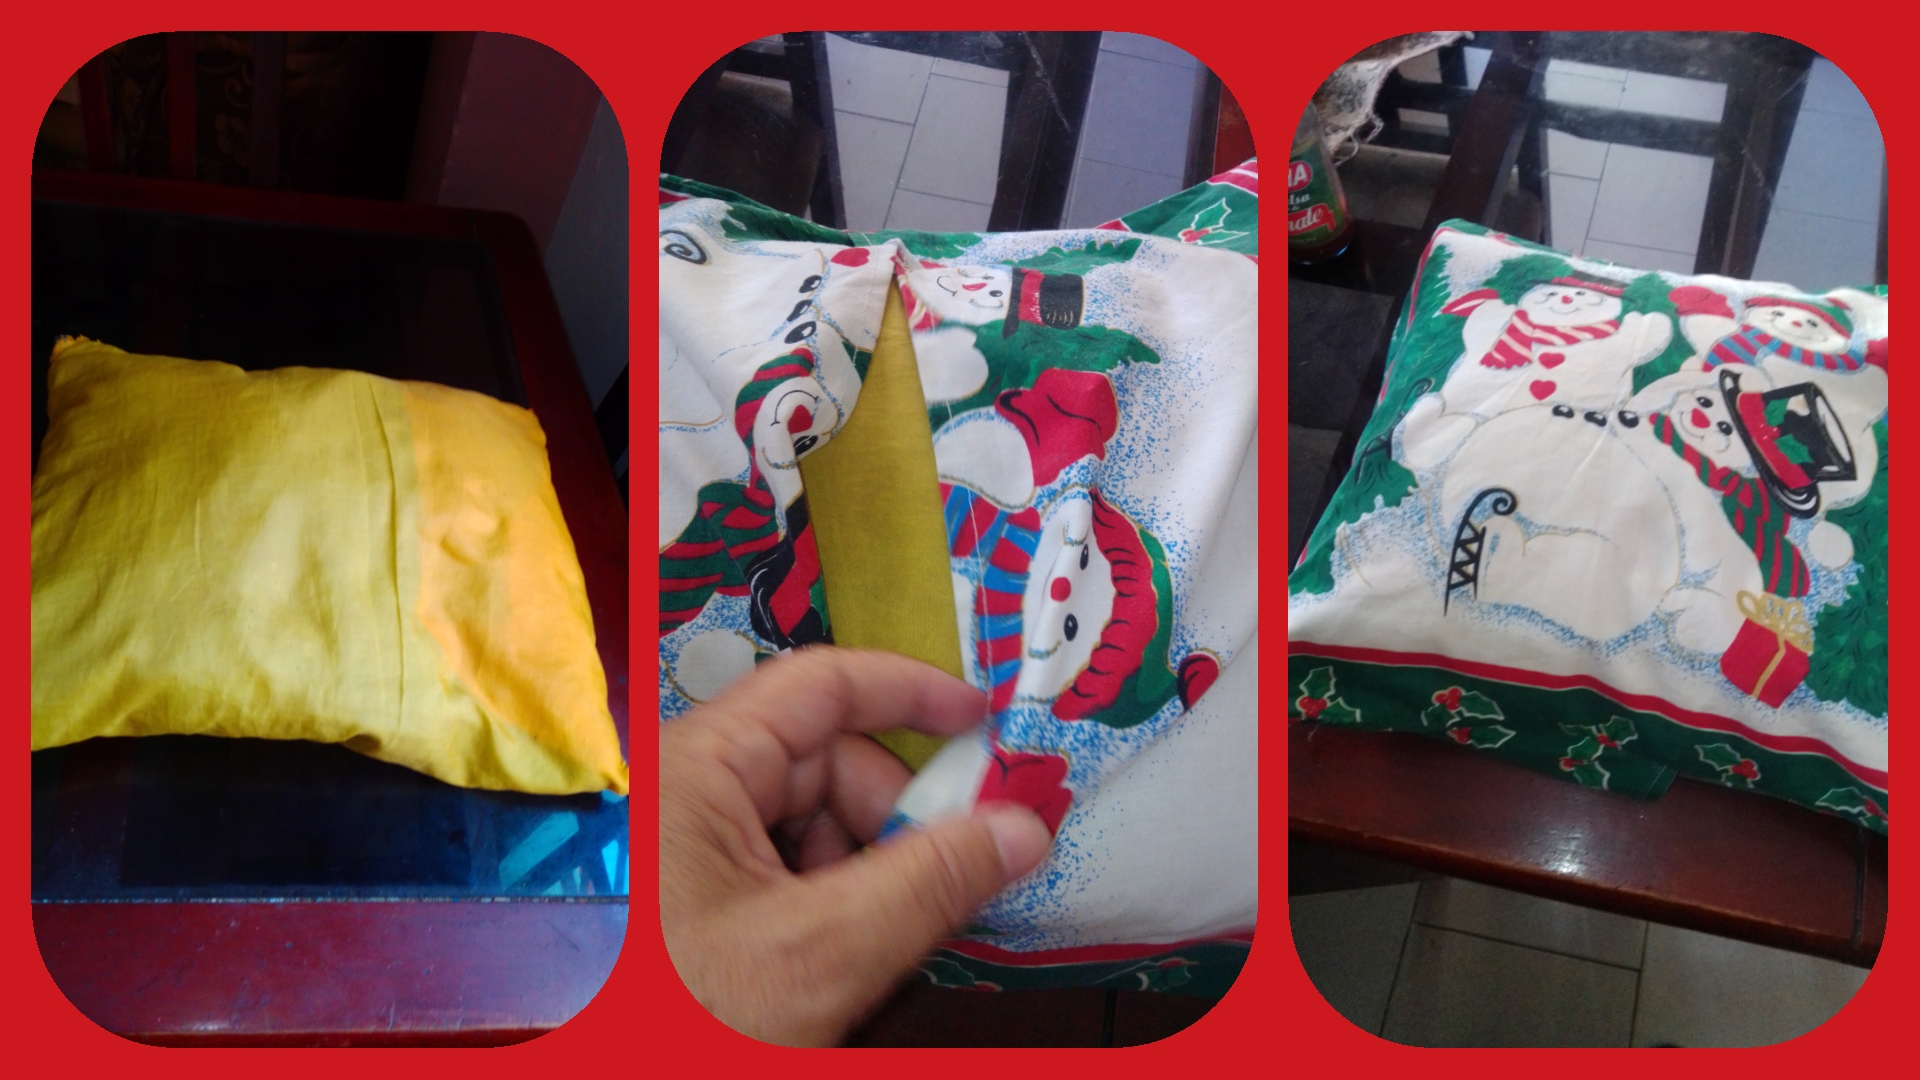
Luego cortamos 4 piezas para la parte trasera dejando 2 cms. para la costura de los lados y 6 cms para realizar la abertura para introducir el cojín.
Then we cut 4 pieces for the back, leaving 2 cm for the side seams and 6 cm to make the opening to insert the cushion.
Paso 4 // Step 4
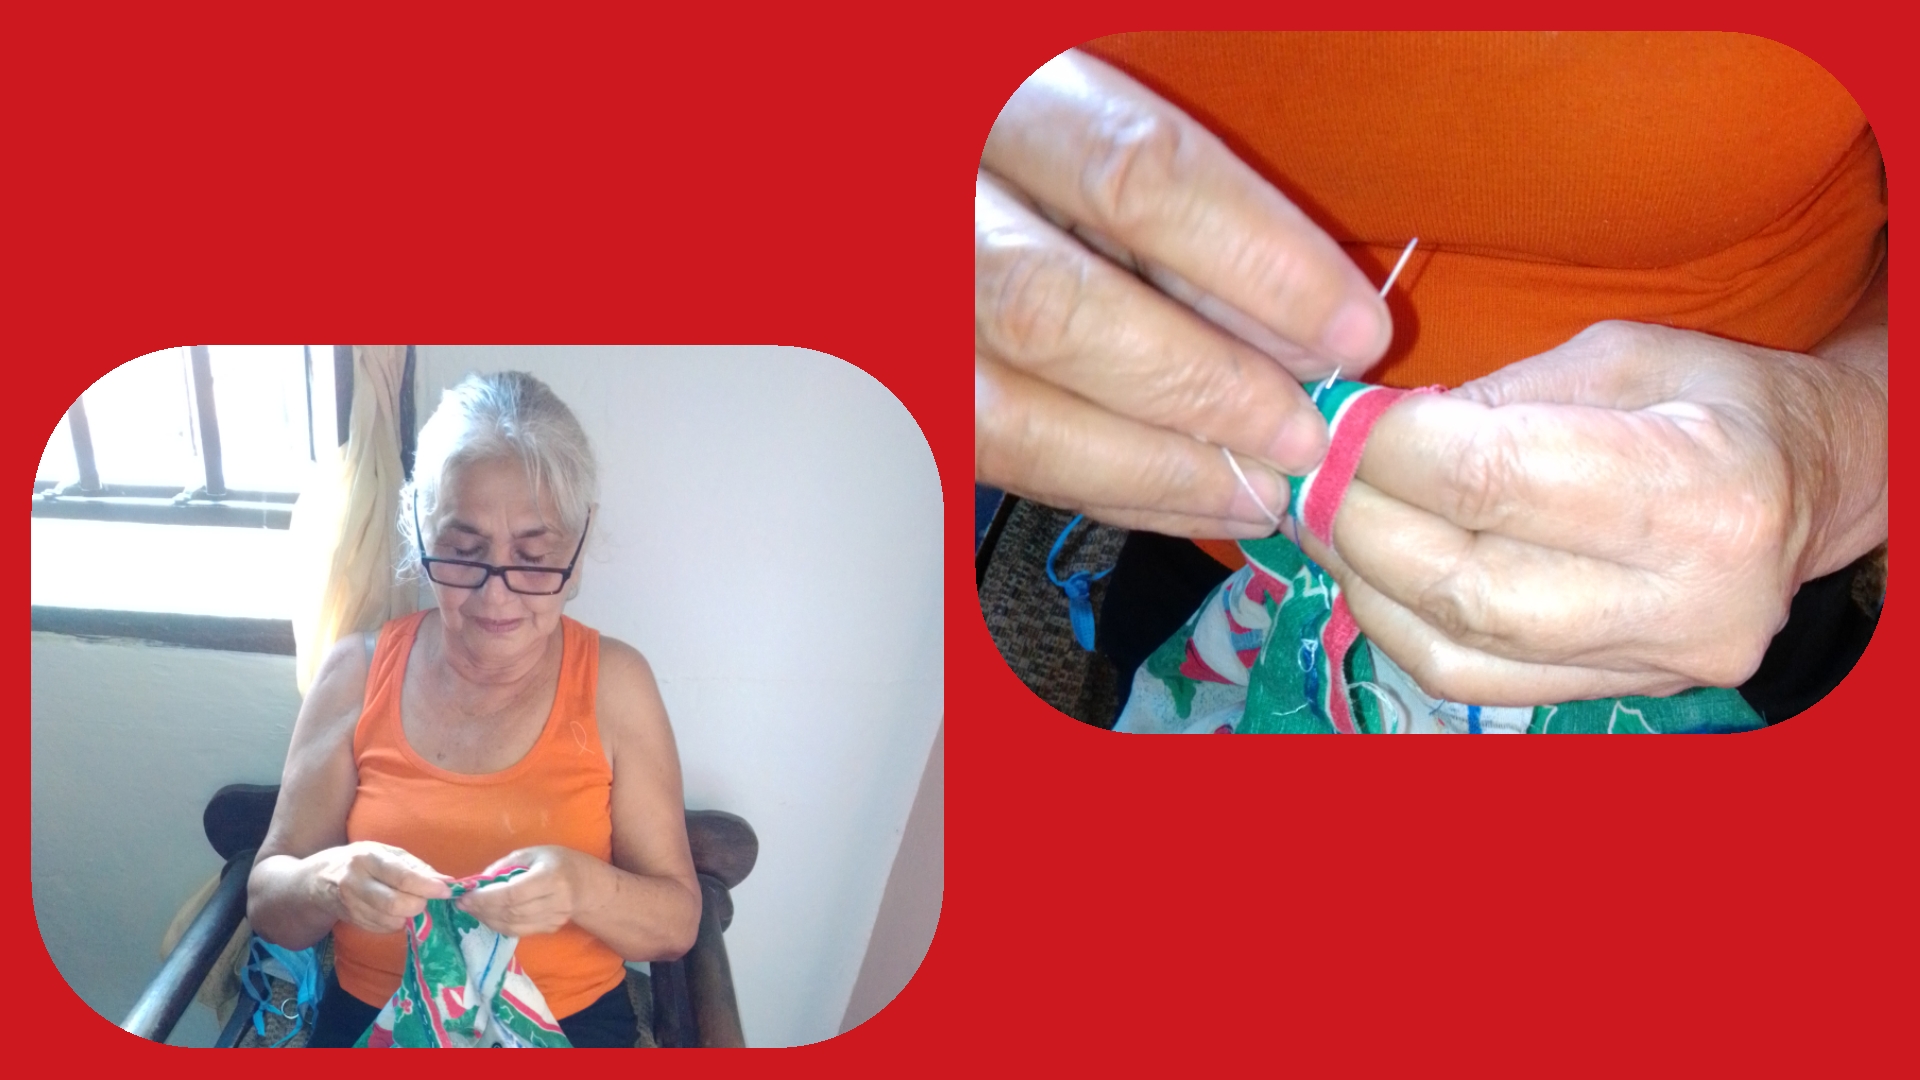
Una vez que terminamos de cortar, comenzamos a cocer por el envés haciendo un dobladillo en ambos lados estrechos del rectángulo hacia el interior de la tela.
Once we have finished cutting, we begin to sew on the back side, making a hem on both narrow sides of the rectangle towards the inside of the fabric.
Paso 5 // Step 5
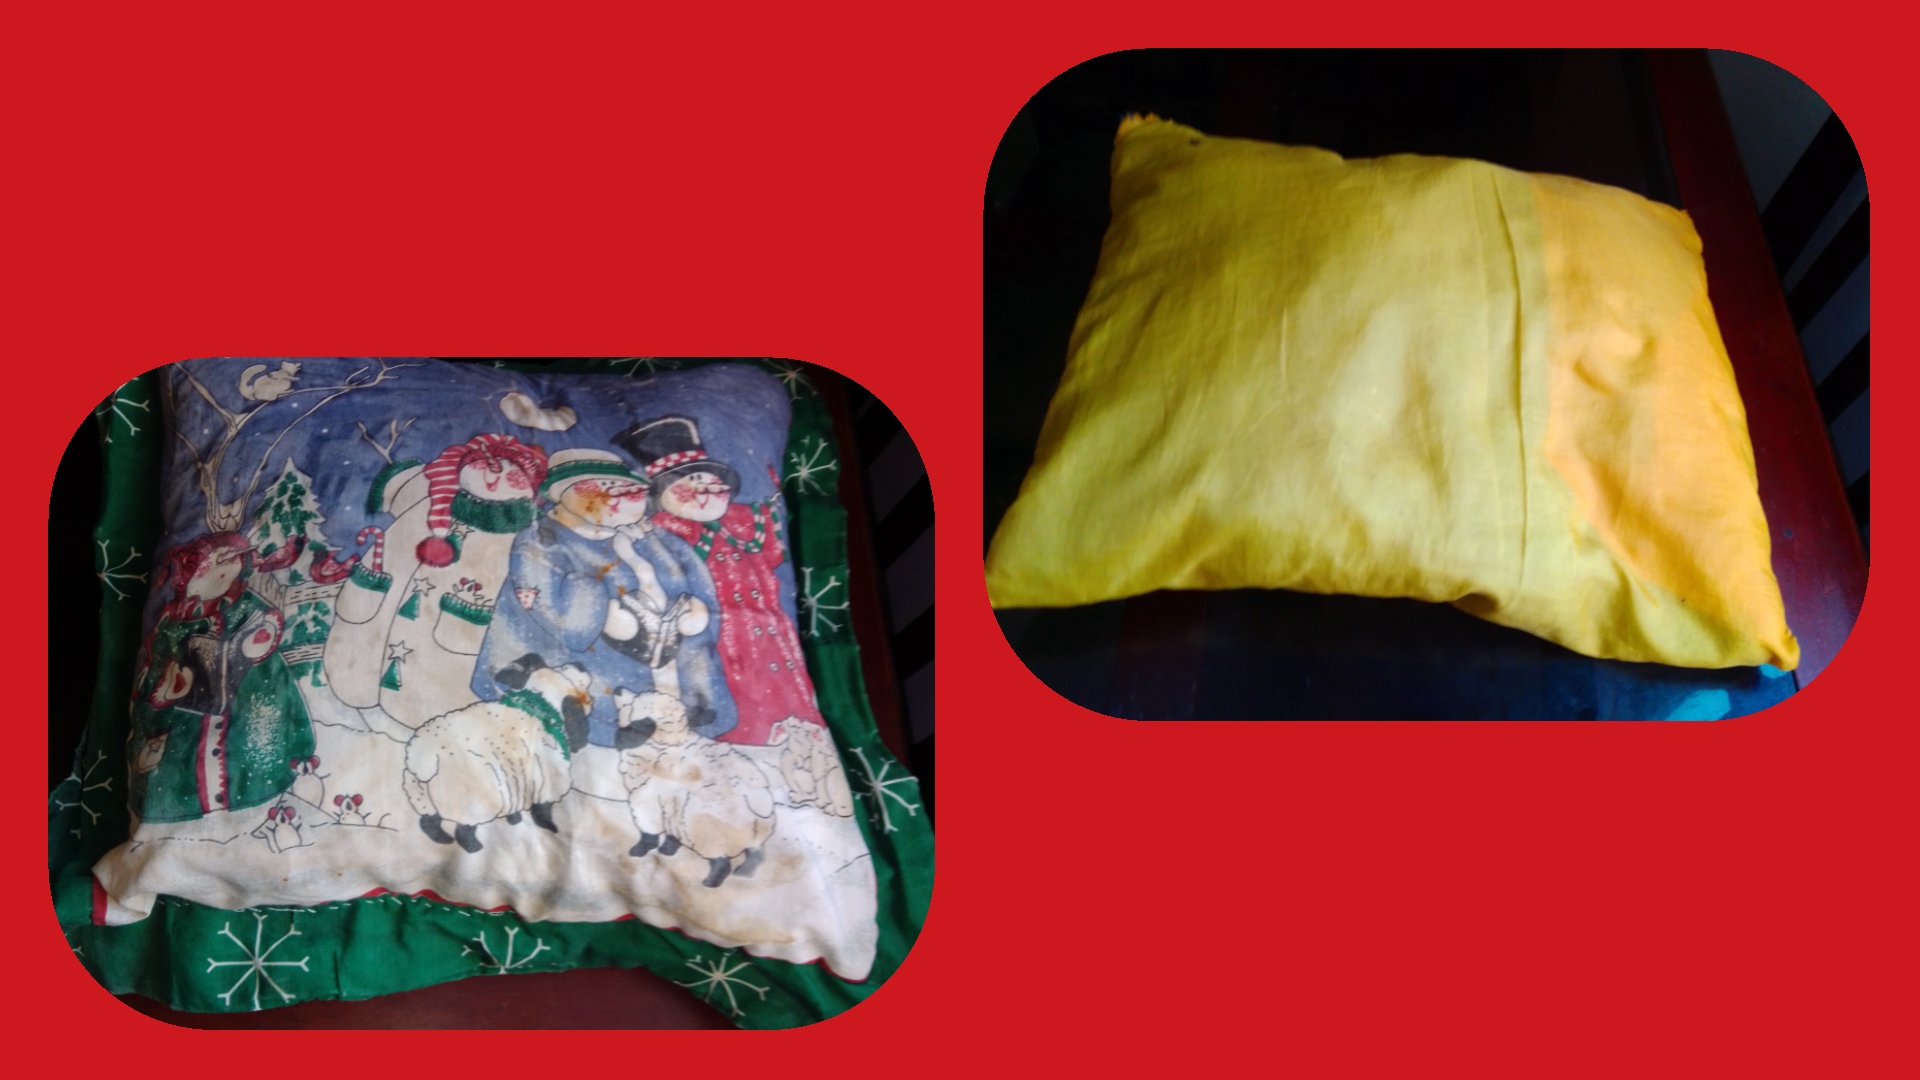
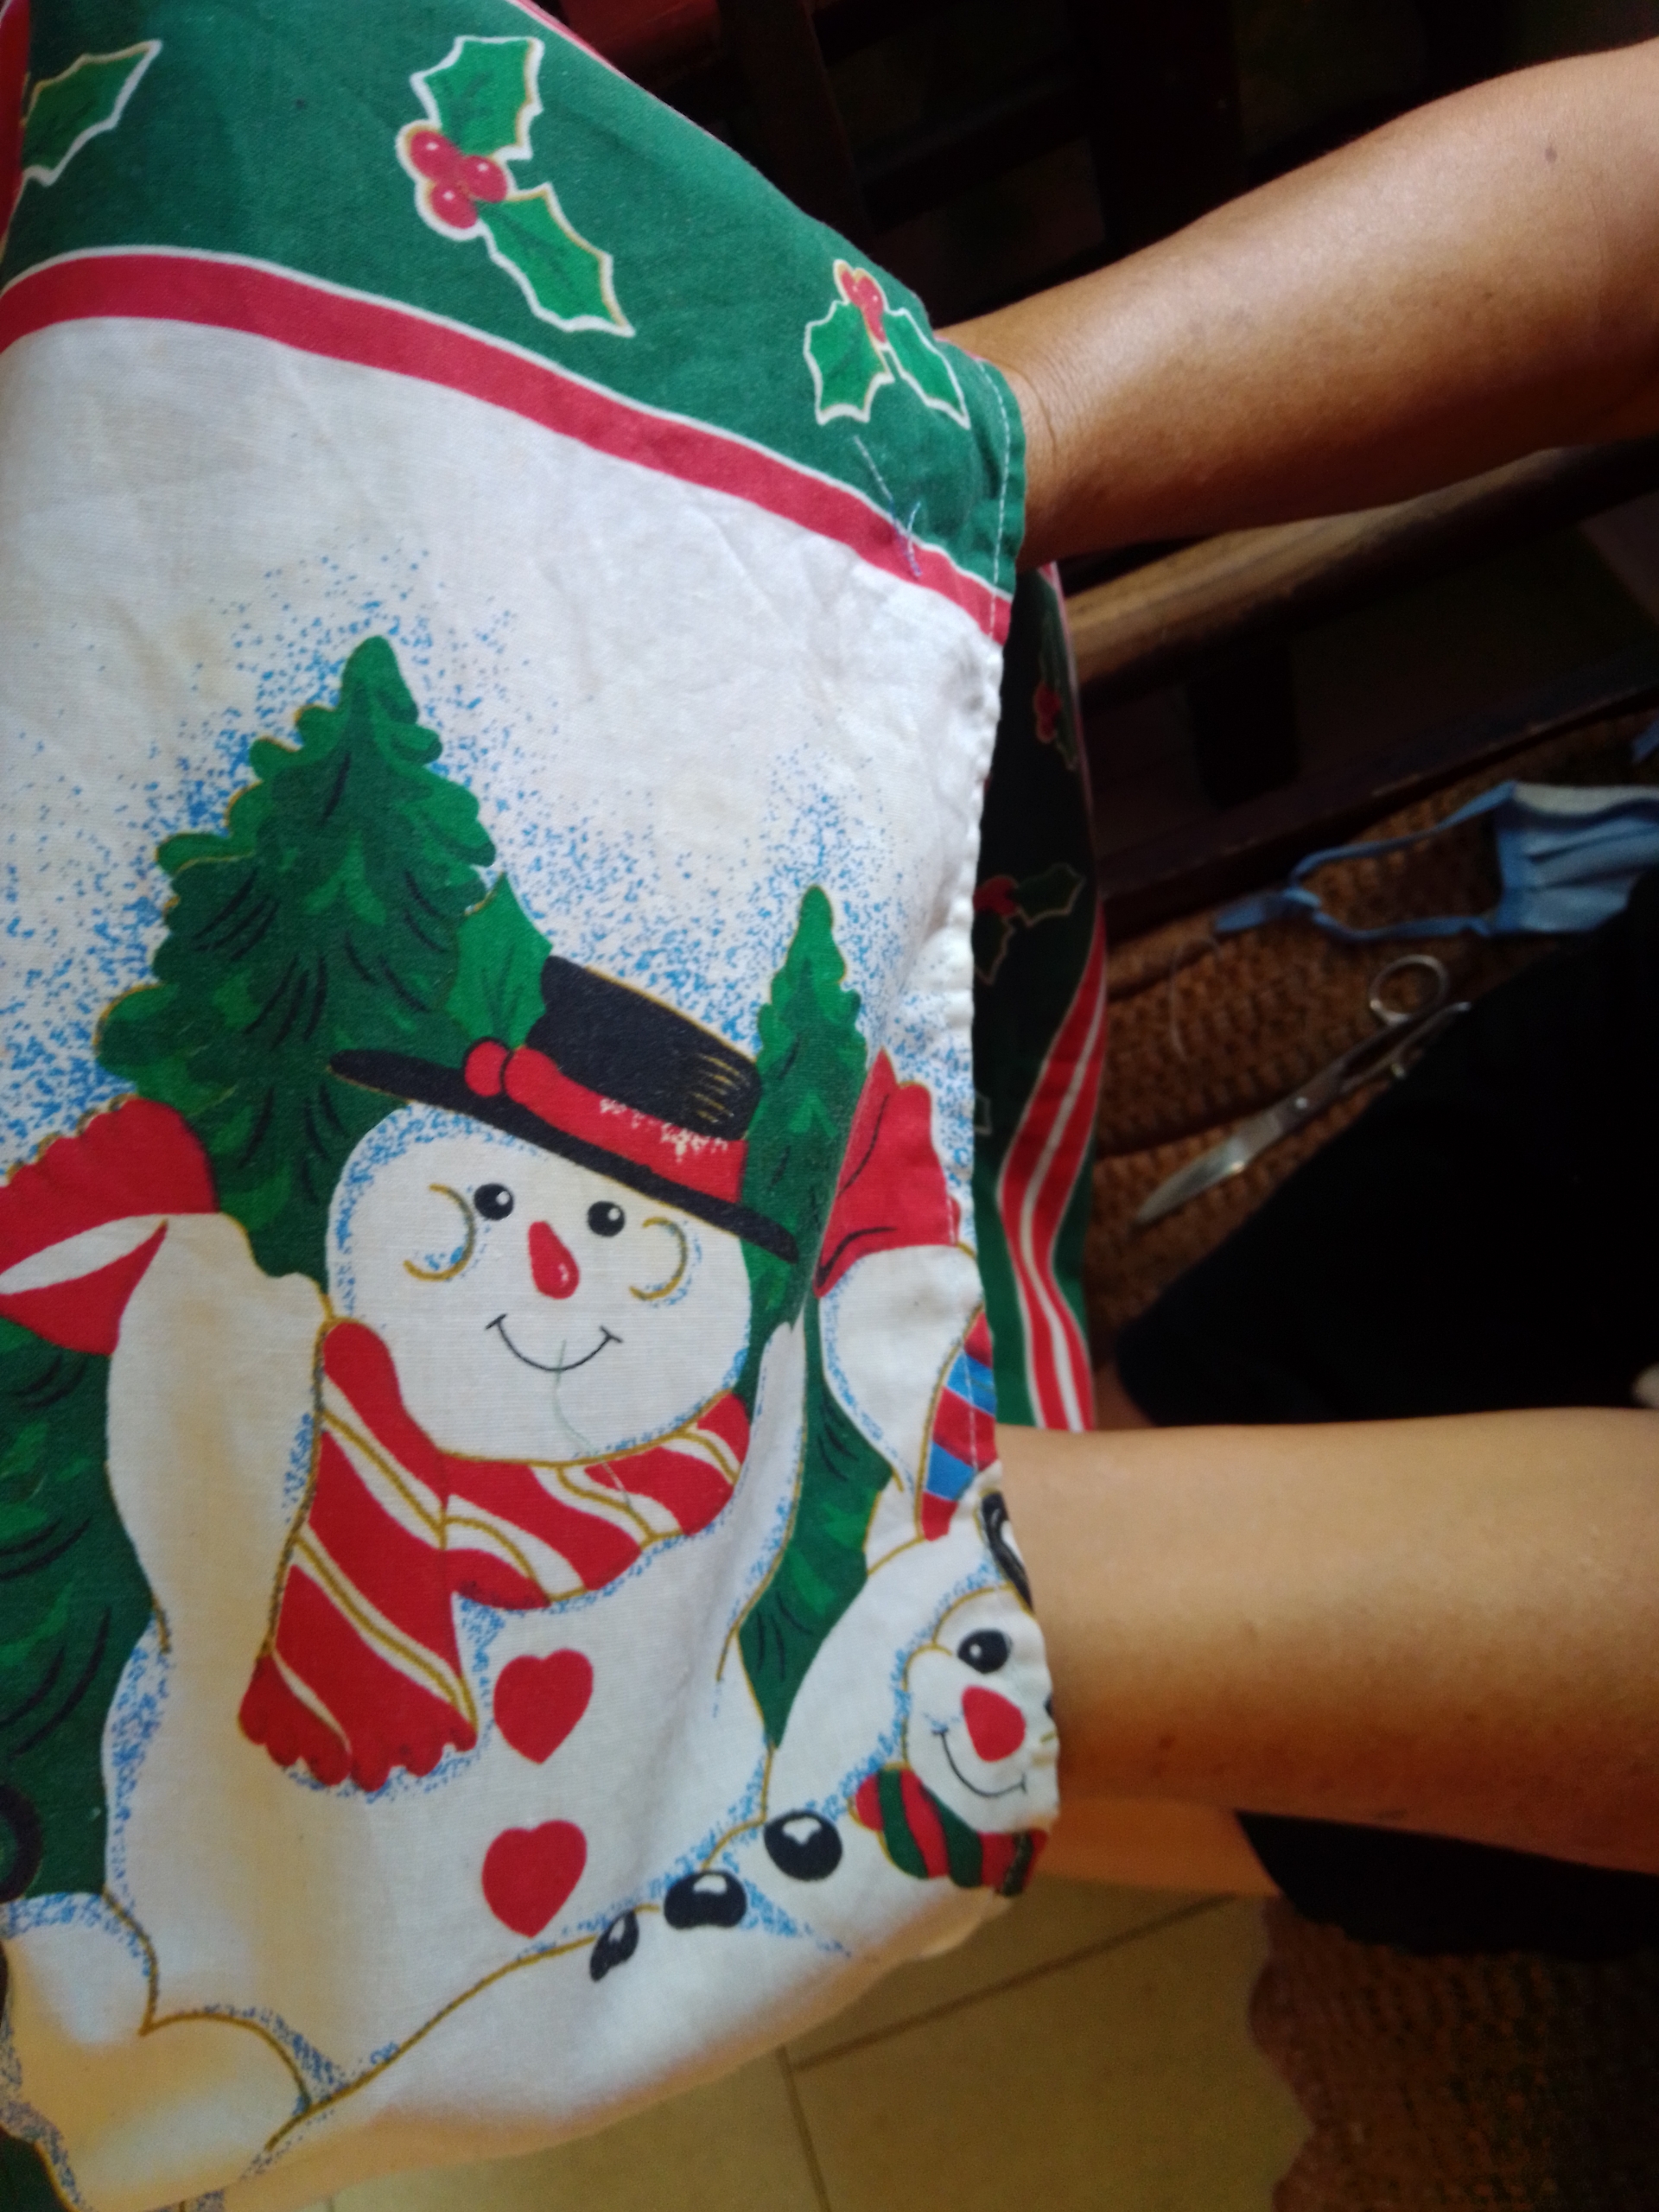
Una vez que terminamos de cocer damos la vuelta a los forros para asentar las costuras y meter los cojines, así tenemos nuevos forros con las siguientes medidas 44cms X 41cms.
Once we finish baking we turn the linings over to settle the seams
and put the cushions in, so we have new linings with the following measurements 44cms X 41cms.

Paso 6 // Step 6
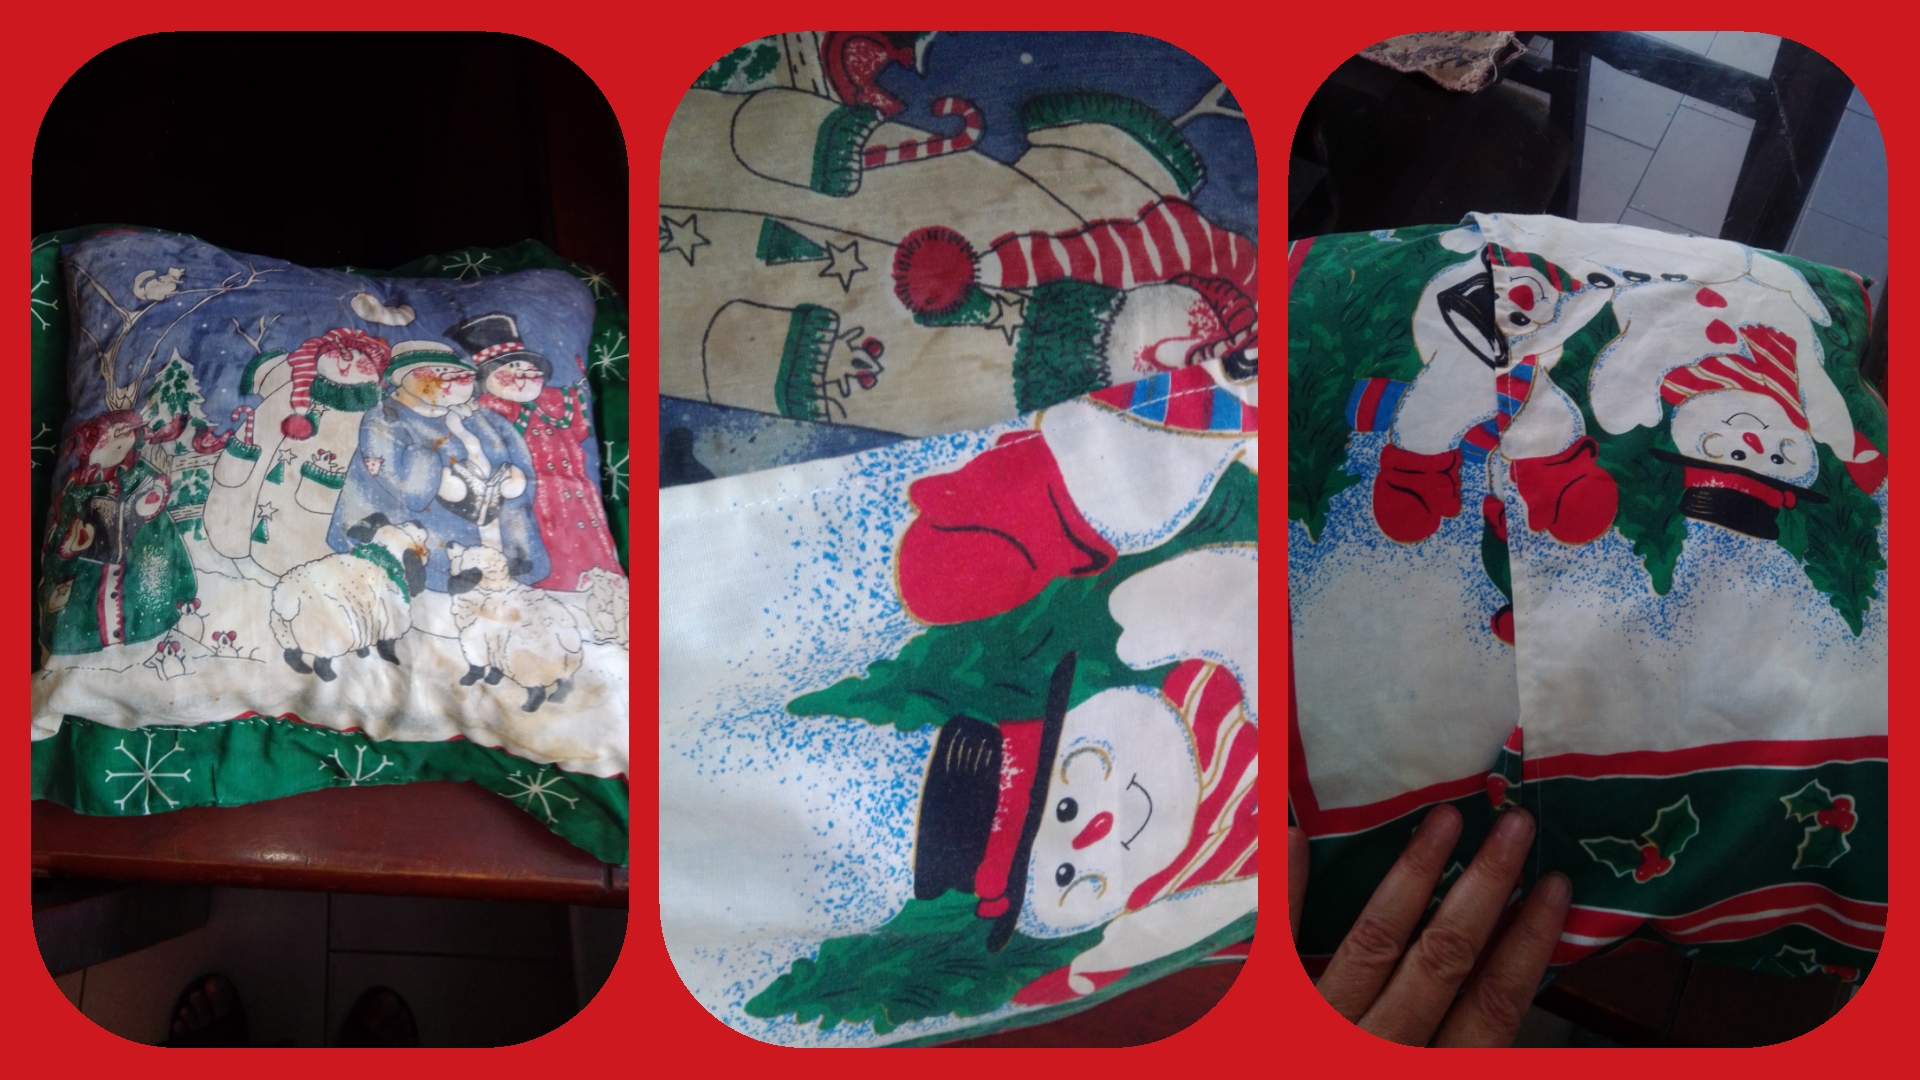
Una vez terminados los dos forros les colocamos los cojínes dentro.
>Once the two liners are finished, we place the cushions inside them.
Gracias por visitar mi post.
Thank you for visiting my post