[ESP-ENG] Practico sujetador de teléfono | Practical phone holder
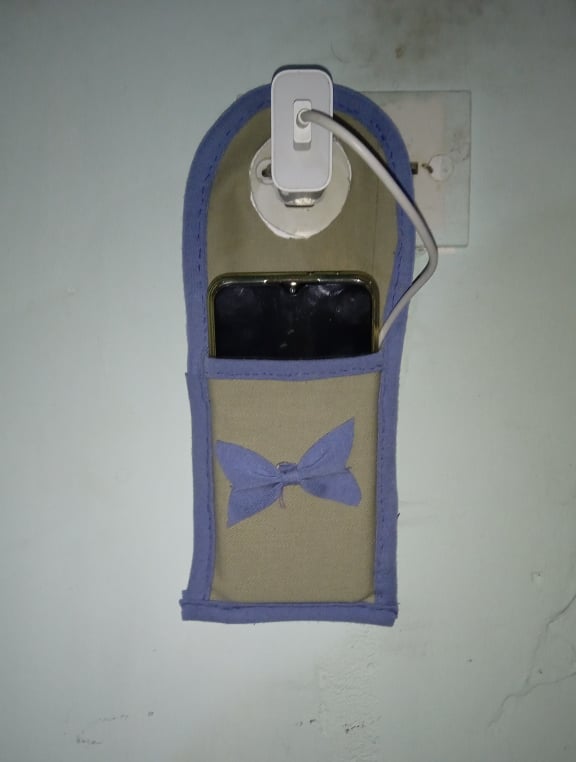
I hope everyone is very well, today I share a practical phone holder, ideal for hanging anywhere in our house and charge it in a very comfortable way, sometimes the chargers are short cables and we place the phone on top of an object so that it can reach the socket, with this practical holder we avoid such inconveniences, let's see the step by step.
.jpg)
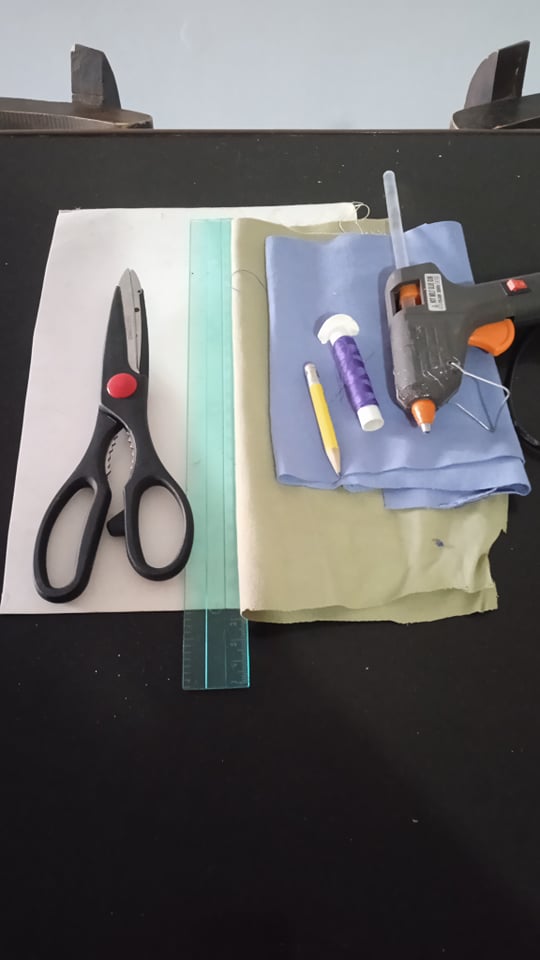
- Los materiales a utilizar son:
- Retazos de tela.
- Tijera.
- Regla.
- Lápiz.
- Hilo y aguja de coser.
- Cartón.
- Silicón en barra.
- The materials to be used are:
- Fabric scraps.
- Scissors.
- Ruler.
- Pencil.
- Thread and sewing needle.
- Cardboard.
- Silicone stick.
.jpg)
- Paso 1: Primeramente marcamos las medidas sobre la tela, las cuales serán 18 cm de largo por 10 cm de ancho, esto para la parte trasera del sujetador, una vez marcadas estas medidas, procedemos a recortar.
- Step 1: First we mark the measurements on the fabric, which will be 18 cm long by 10 cm wide, this for the back of the bra, once these measurements are marked, we proceed to cut.
.jpg)
- Paso 2: Luego recortamos lo que seria la parte delantera del sujetador con unas medidas de 10cm de largo por 9cm de ancho, luego recortamos una tira de 1cm de ancho y la cosemos por toda la orilla superior de la parte delantera tal cual como muestra la última imágen.
- Step 2: Then we cut out what would be the front part of the bra with measures of 10cm long by 9cm wide, then we cut a strip of 1cm wide and sew it along the top edge of the front as shown in the last image.
.jpg)
- Paso 3: Luego de haber cosido la tira en la parte delantera, la colocamos sobre la parte trasera del sujetador, y cosemos la tira por toda la orilla del mismo.
- Step 3: After sewing the strap on the front, we place it on the back of the bra, and sew the strap all around the edge of the bra.
.jpg)
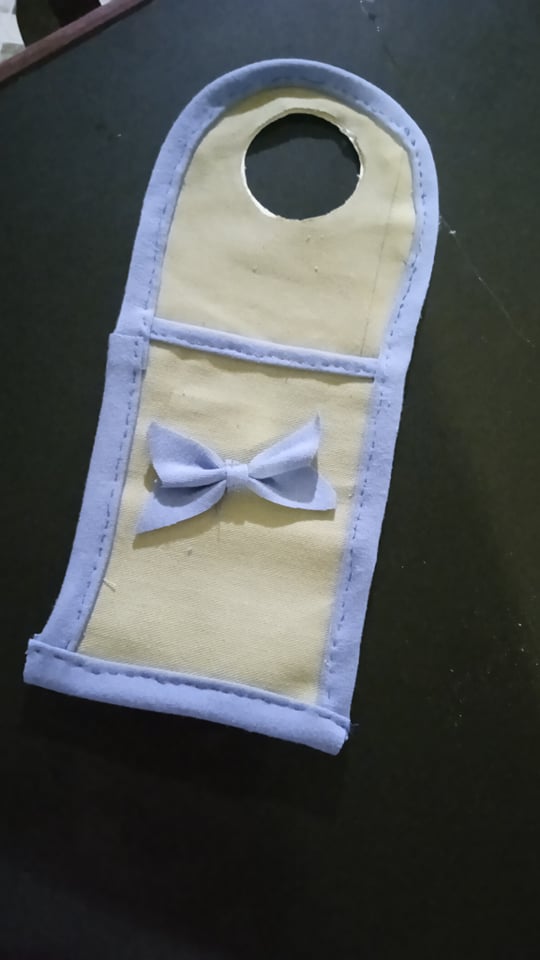
- Paso 4: Luego agarramos una pequeña tira y hacemos un lindo lazo, lo pegamos en la parte delantera, con una pequeña tapa marcamos en la parte superior del sujetador y recortamos, deberá quedar como muestra la última imágen.
- Step 4: Then we take a small strip and make a nice bow, we glue it on the front, with a small cap we mark on the top of the bra and cut it out, it should look like the last picture shows.
.jpg)
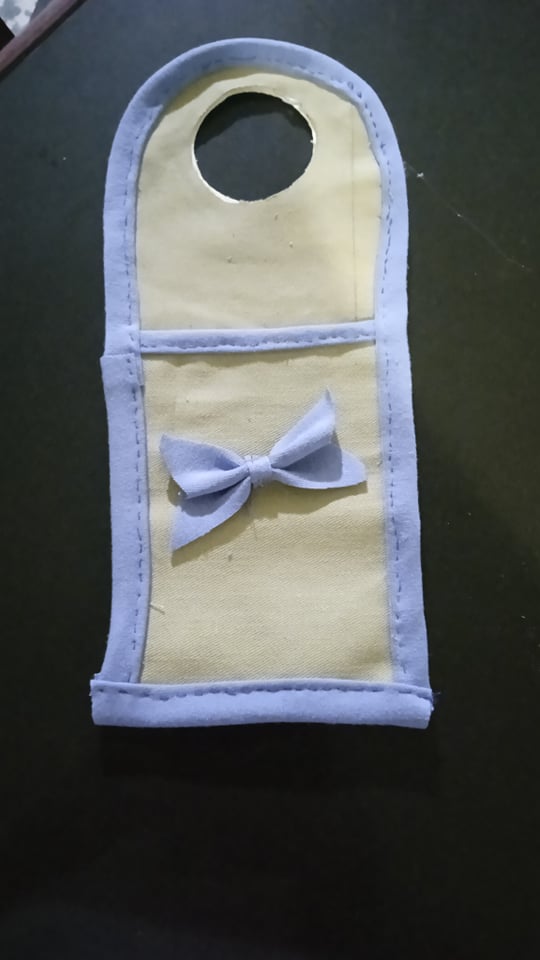
- Paso 5: Por último marcamos en el cartón con una tapa, recortamos y pegamos con silicón en la parte trasera del sujetador.
- Step 5: Finally we mark on the cardboard with a cap, cut out and glue with silicone on the back of the bra.


0
0
0.000
Love this phone holder, I might as well going to create some. Have a nice day ahead.
Hello, thank you very much.
You're welcome (^_^)
Congratulations @yannet80! You have completed the following achievement on the Hive blockchain and have been rewarded with new badge(s):
Your next target is to reach 10000 upvotes.
You can view your badges on your board and compare yourself to others in the Ranking
If you no longer want to receive notifications, reply to this comment with the word
STOPCheck out the last post from @hivebuzz:
Support the HiveBuzz project. Vote for our proposal!
Thank you very much
De nada @yannet80.
Por cierto, ¡podemos pedirle que apoye nuestra propuesta para 2022 para que nuestro equipo pueda continuar con su trabajo!
Puedes hacerlo en peakd, ecency, Hive.blog o con HiveSigner.
https://peakd.com/me/proposals/199
¡Muchas gracias !
Nice thanks for sharing
Thanks to you for commenting, a hug.