[ESP-ENG] Nueva funda para mi télefono | New case for my phone
.jpg)
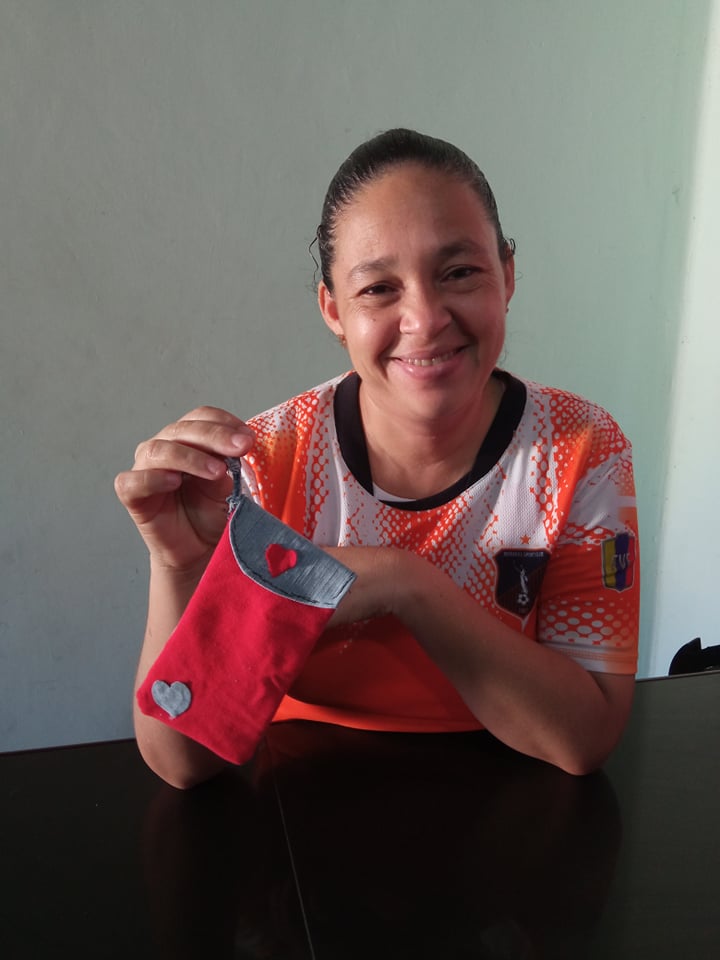
Hello everyone, I am pleased to be again sharing with all of you, this time I want to show you how I made a new case for my phone, I made it with some small scraps of fabric that I had saved and sometimes we need new cases because maybe we lose them, or they break, and in some cases we need to make another one. Here is the step by step.

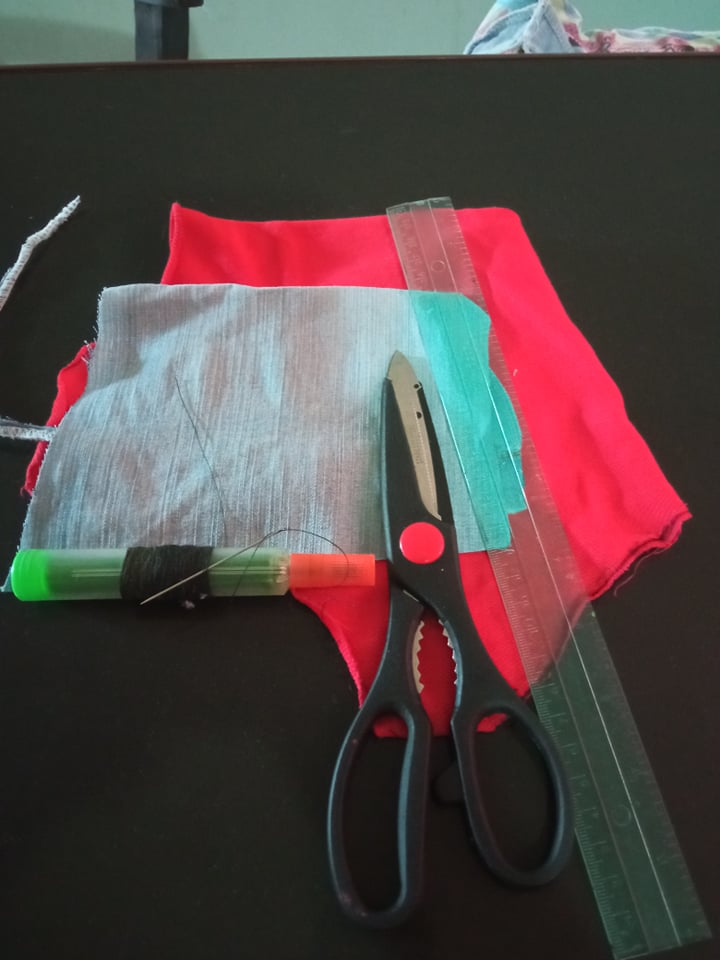
- Los materiales a utilizar son:
- Retazos de tela.
- Tijera.
- Regla.
- Hilo de coser.
- Aguja de coser.
- Marcador.
- The materials to be used are:
- Fabric scraps.
- Scissors.
- Ruler.
- Sewing thread.
- Sewing needle.
- Marker.
.jpg)
- Paso 1: Primeramente con el marcador marcamos en la tela las medidas del télefono, en mí caso coloque 10 cm de ancho por 18 cm de largo, una vez que ya tenemos esas medidas sobre la tela comenzamos a recortar.
- Step 1: First with the marker we mark on the fabric the measures of the telephone, in my case I put 10 cm wide by 18 cm long, once we have these measures on the fabric we begin to cut.
.jpg)
- Paso 2: Luego en el otro retazo de tela colocamos las mismas medidas de ancho pero de largo colocamos 24cm y en la parte de arriba debe ser en forma de circulo, luego procedemos a recortar.
- Step 2: Then on the other piece of fabric we place the same width measures but in length we place 24cm and the top should be in the form of a circle, then proceed to cut.
.jpg)
- Paso 3: Luego de obtener las 2 piezas, las colocamos derecho con derecho y procedemos a coserlas por toda la orilla, cuando lleguemos a la parte de arriba, doblamos medio centimetro hacía abajo y cosemos.
- Step 3: After obtaining the 2 pieces, we place them right side together and proceed to sew them along the edge, when we reach the top, we fold half a centimeter down and sew.
.jpg)
- Paso 4: Volteamos la funda del lado derecho, y en la parte de arriba, la que tiene forma de medio circulo, doblamos medio centimetro hacía adentro y cosemos por toda la orilla, desde un extremo hasta el otro extremo debe quedar como muestra la tercera imágen.
- Step 4: Turn the cover right side out, and on the top part, the one that has the shape of a half circle, fold half a centimeter inwards and sew all around the edge, from one end to the other end, as shown in the third image.
.jpg)
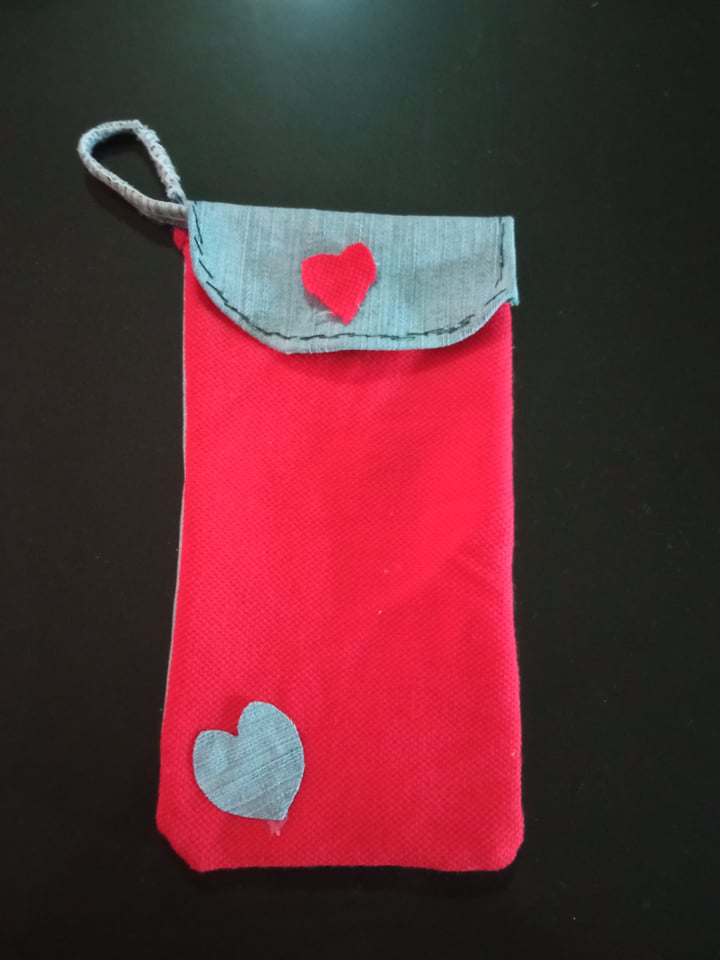
- Paso 5: Luego cosemos un pedacito de cierre mágico en la parte de arriba, y otro pedacito en la parte de abajo, luego agarramos un tirita de las costuras de los retazos, la doblamos y la cosemos en un extremo de la funda, luego lo puede decorar con cualquier figura que usted desee.
- Step 5: Then we sew a little piece of magic zipper on the top, and another little piece on the bottom, then we take a strip from the seams of the scraps, fold it and sew it on one end of the cover, then you can decorate it with any figure you want.


0
0
0.000
Wow lovely wallet
Thank you very much
You’re welcome dear
Your welcome
Hola @yannet80
Gracias por compartir tu proceso creativo con nosotros. Que maravilloso tengas habilidades para las manualidades y puedas trabajar con materiales que ya no se usaban. Me encantó el agarradero que hiciste con la tiritas de la costura, me quedo con ese tip.
Saludos
Muchas gracias por comentar jicrochet.
Congratulations @yannet80! You have completed the following achievement on the Hive blockchain and have been rewarded with new badge(s) :
Your next target is to reach 300 comments.
You can view your badges on your board and compare yourself to others in the Ranking
If you no longer want to receive notifications, reply to this comment with the word
STOPTo support your work, I also upvoted your post!
Check out the last post from @hivebuzz:
Muchas gracias @hivebuzz.
De nada @yannet80 🌹🌹🌹
Apóyenos también y vote por nuestro testigo.
Recibirá una insignia adicional y un voto más fuerte de nuestra parte cuando le notifiquemos.