[ESP-ENG] Lindo bolso hecho con retazos de tela | Cute bag made from fabric scraps
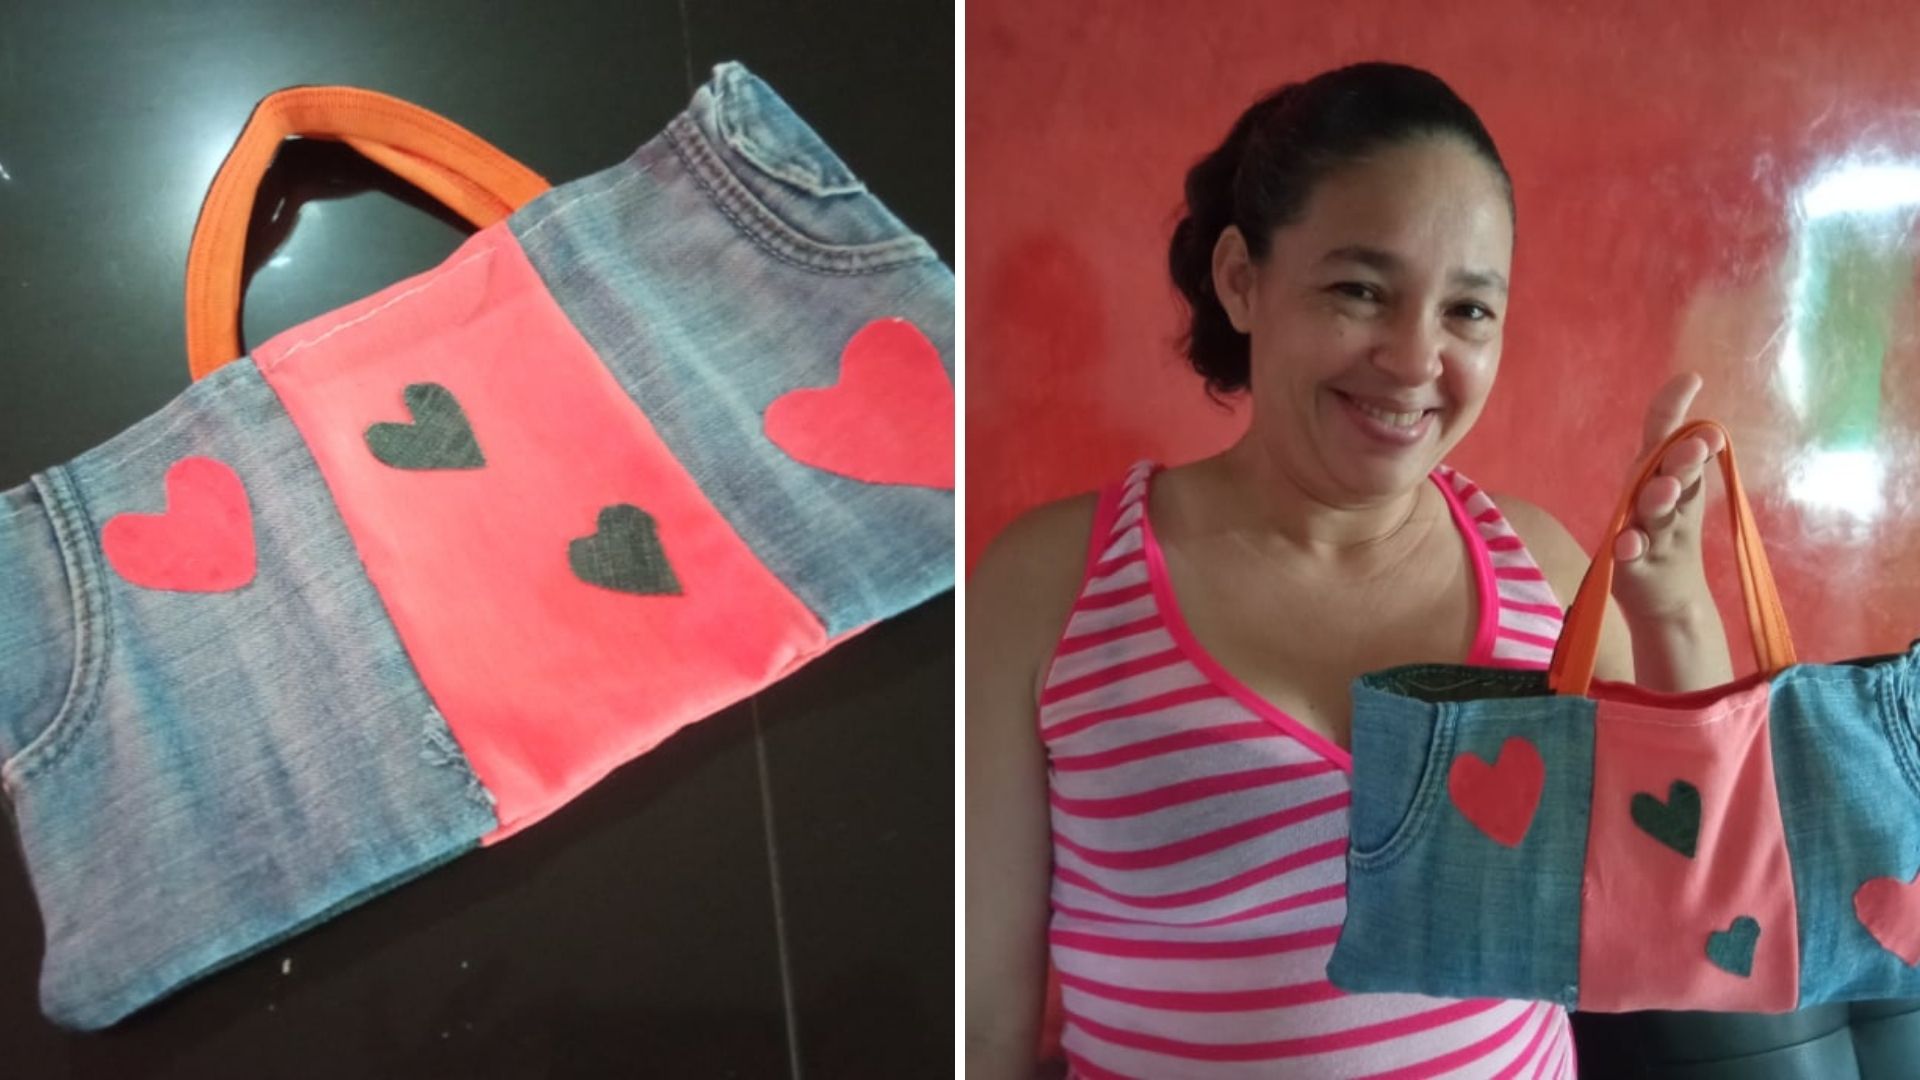
A big greeting to everyone, grateful to share again with this great community, today I bring you a nice bag made with scraps of fabric, those scraps that we have left when we do anything, I had some around, so I decided to do something to use it. Let's see the steps to follow.
.jpg)
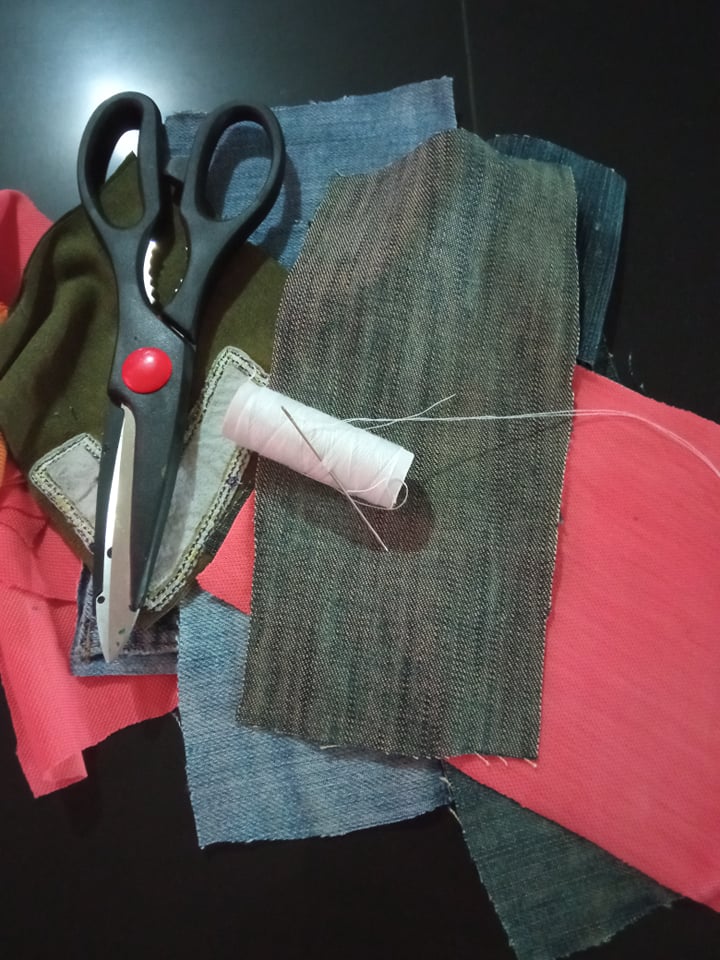
- Los materiales a utilizar son :
- Retazos de tela, de 16cm de largo x 10cm de ancho.
- Tijera.
- Hilo de coser.
- Aguja de coser.
- The materials to be used are :
- Pieces of fabric, 16cm long x 10cm wide.
- Scissors.
- Sewing thread.
- Sewing needle.
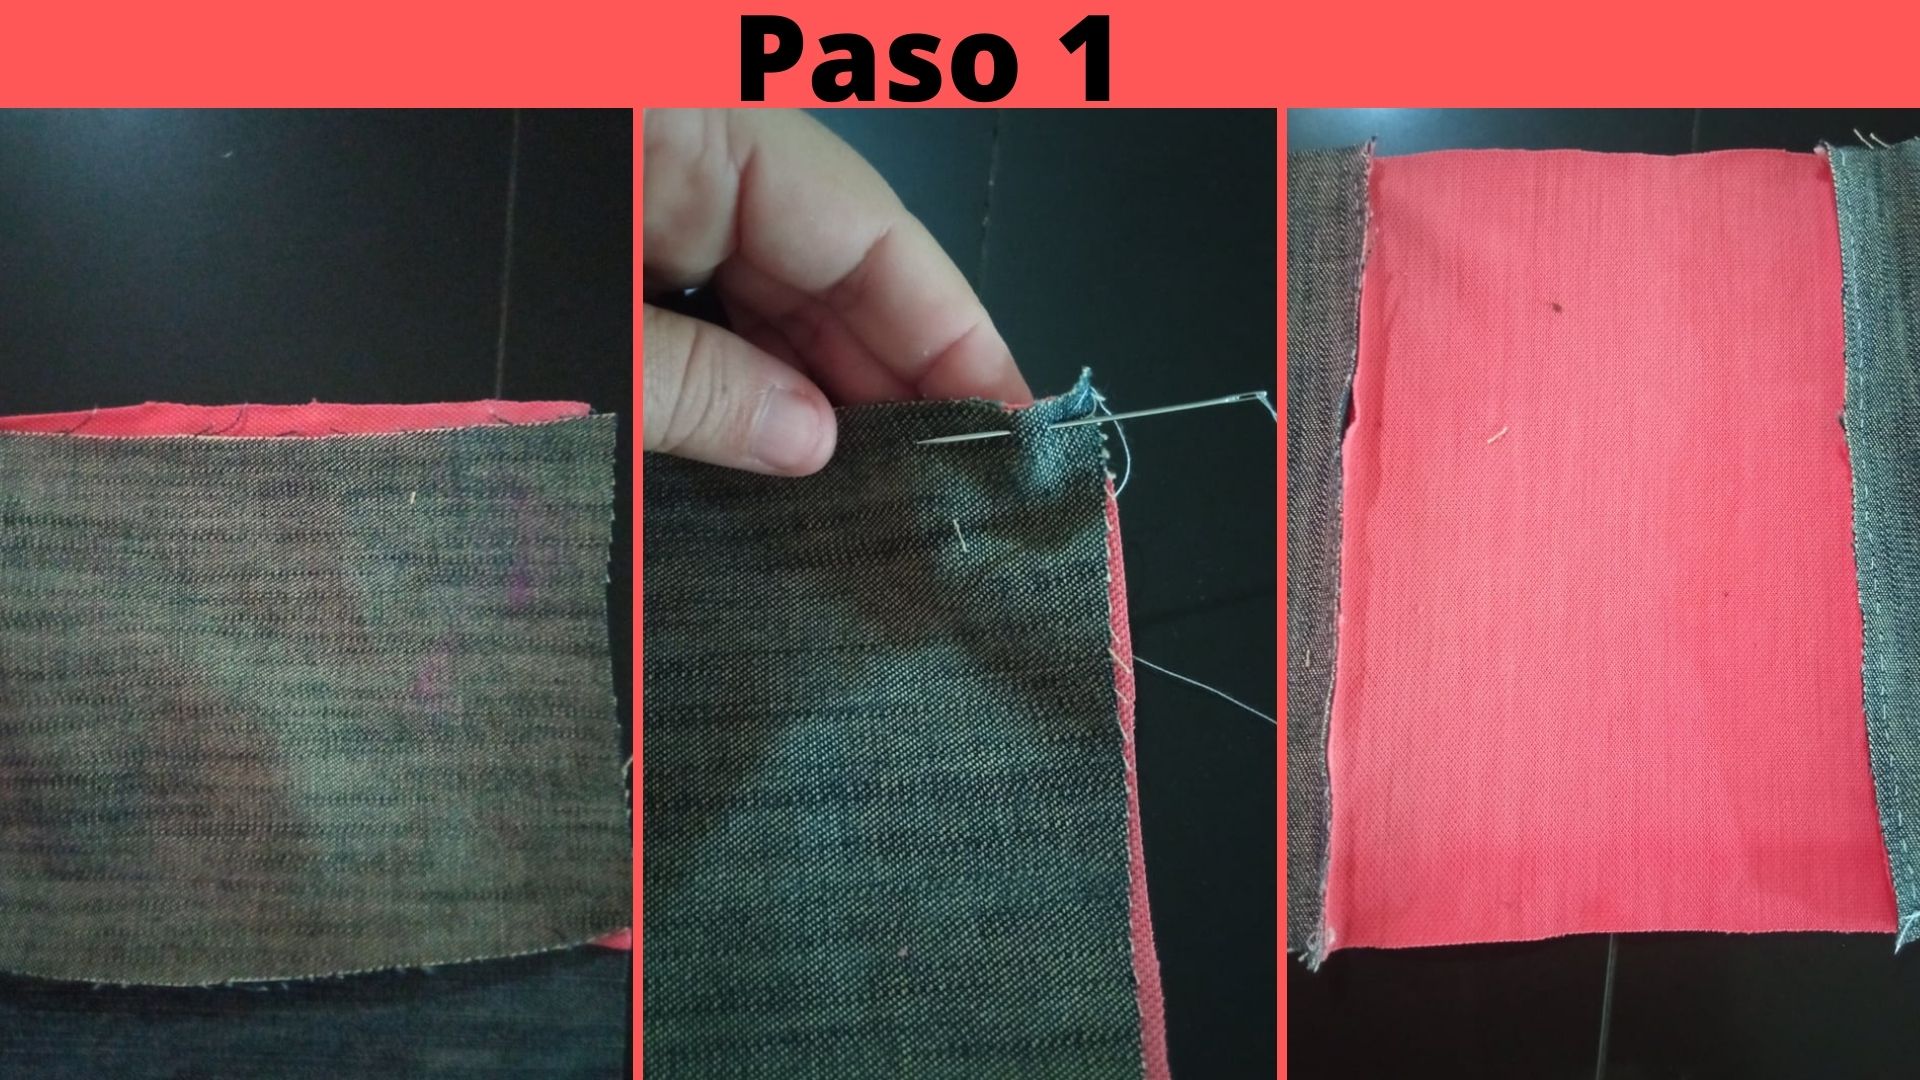
- Paso 1: Primeramente unimos los retazos de tela, las colocamos derecho con derecho y luego cosemos, los retazos de jean deben ir a los lados y la de tela naranja debe ir en el centro, luego de coser las 3 piezas las cuales serán la primera parte deberán quedar como muestra la imágen.
- Step 1: First we join the pieces of fabric, we place them right sides together and then sew, the jean pieces should go to the sides and the orange fabric should go in the center, after sewing the 3 pieces which will be the first part should be as shown in the image.
.jpg)
- Paso 2: Cuando volteamos la primera parte que ya cosimos nos debe quedar como muestra la primera imágen, luego con la segunda parte hacemos el mismo procedimiento, colocamos derecho con derecho y procedemos a coser las 3 piezas que serán la segunda parte del bolso.
- Step 2: When we flip the first part that we have already sewn, it should be as shown in the first image, then with the second part we do the same procedure, we place right to right and proceed to sew the 3 pieces that will be the second part of the bag.
.jpg)
- Paso 3: Cosidas las 3 partes nos quedará como la primera imágen, al tener las 2 partes ya cosidas, la primera y la segunda, procedemos a colocar las piezas derecho con derecho y procedemos a coser primeo la parte de abajo y luego los extremos.
- Step 3: Once the 3 parts are sewn, it will look like the first image, having the 2 parts already sewn, the first and the second, we proceed to place the pieces right side by right side and proceed to sew first the bottom part and then the ends.
.jpg)
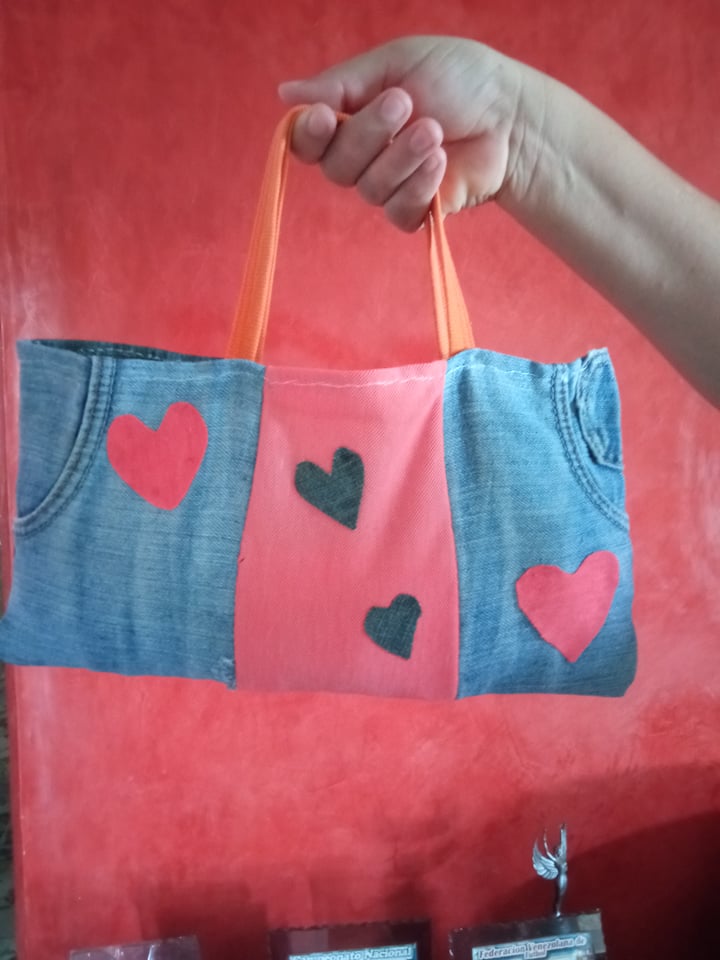
- Paso 4: Luego que cosemos los extremos del bolso, en la parte de arriba doblamos hacía adentro 1 cm y luego cosemos, procedemos a voltear el bolso para ver como va quedando, luego colocamos los agarraderos del bolso, estos agarraderos son elásticas de mangas de camisa, primero los colocamos para ver las medidas para empezar a coserlos.
- Step 4: After we sew the ends of the bag, at the top we fold inward 1 cm and then sew, we proceed to flip the bag to see how it will be, then we place the handles of the bag, these handles are elastic shirt sleeves, first we place them to see the measures to start sewing them.
.jpg)
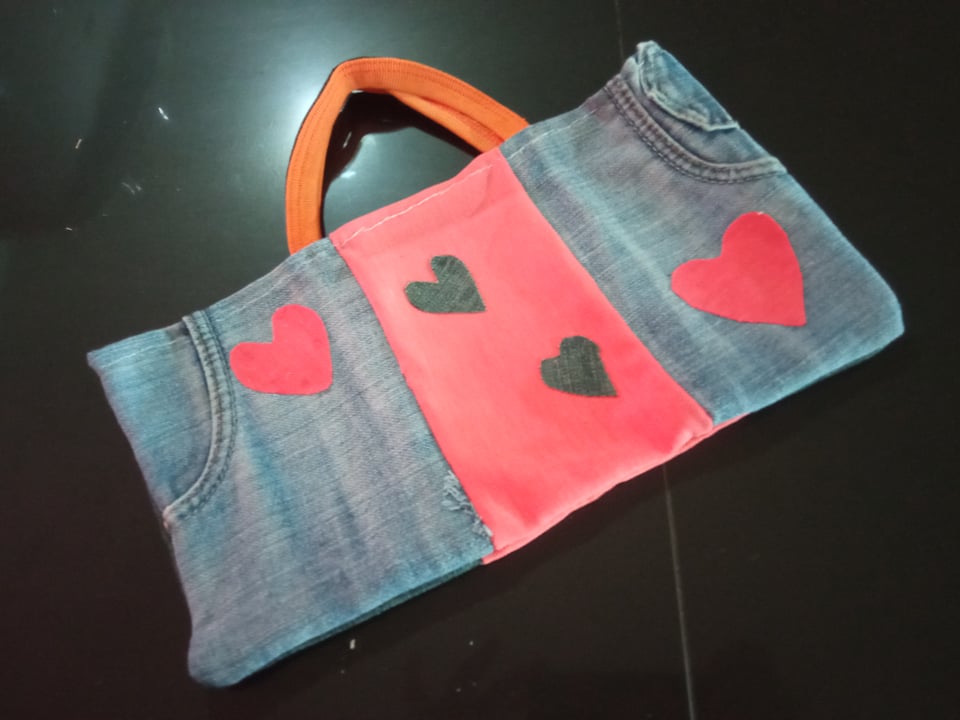
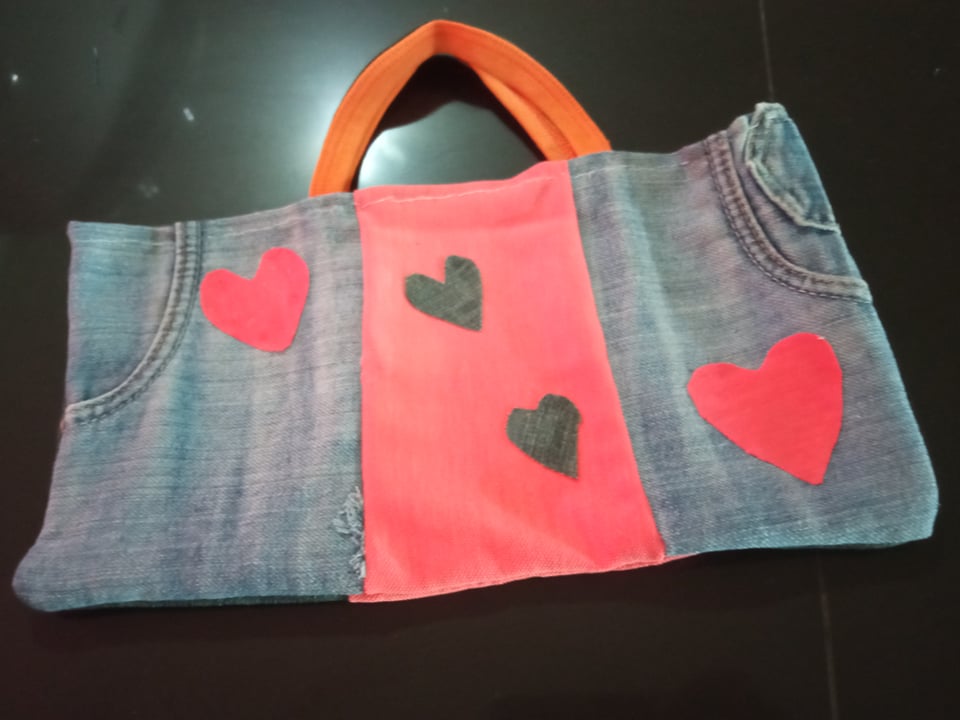
- Paso 5: Luego cosemos los agarraderos del bolso, y lo podemos adornar con cualquier cosita, en mí caso lo hice con corazones, en la parte de jean coloqué corazones de la misma tela naranja, y en la parte naranja coloqué corazones de jean.
- Step 5: Then we sew the handles of the bag, and we can decorate it with any little thing, in my case I did it with hearts, in the jean part I placed hearts of the same orange fabric, and in the orange part I placed jean hearts.

0
0
0.000
Very cute bag @yannet80!! It’s a fun and useful way to use up those scraps ;)
Thank you very much for commenting crosheille.
You’re welcome ~
Congratulations, your post has been upvoted by @dsc-r2cornell, which is the curating account for @R2cornell's Discord Community.
Thank you very much.
Se ve hermoso tu bolso, ahora puedes salir a la calle y llevar una pieza hermosa contigo. me encantan los detalles, ahora puedes hacer uno más grande. Yo me la paso pidiendo pantalones viejos a mis amigas para hacer cosas así. gracias por compartir.
Gracias carolinacardoza por comentar, luego haré uno más grande para compartirlo con todos ustedes, saludos.
Thank you for sharing this amazing post on HIVE!
Your content got selected by our fellow curator @ashikstd & you just received a little thank you via an upvote from our non-profit curation initiative!
You will be featured in one of our recurring curation compilations and on our pinterest boards! Both are aiming to offer you a stage to widen your audience within and outside of the DIY scene of hive.
Join the official DIYHub community on HIVE and show us more of your amazing work and feel free to connect with us and other DIYers via our discord server: https://discord.gg/mY5uCfQ !
If you want to support our goal to motivate other DIY/art/music/homesteading/... creators just delegate to us and earn 100% of your curation rewards!
Stay creative & hive on!
Thank you very much for your support diyhub, I will continue to share with each and every one of you, thanks to this great platform.