[ESP-ENG] Haciendo una linda bufanda | Making a nice scarf
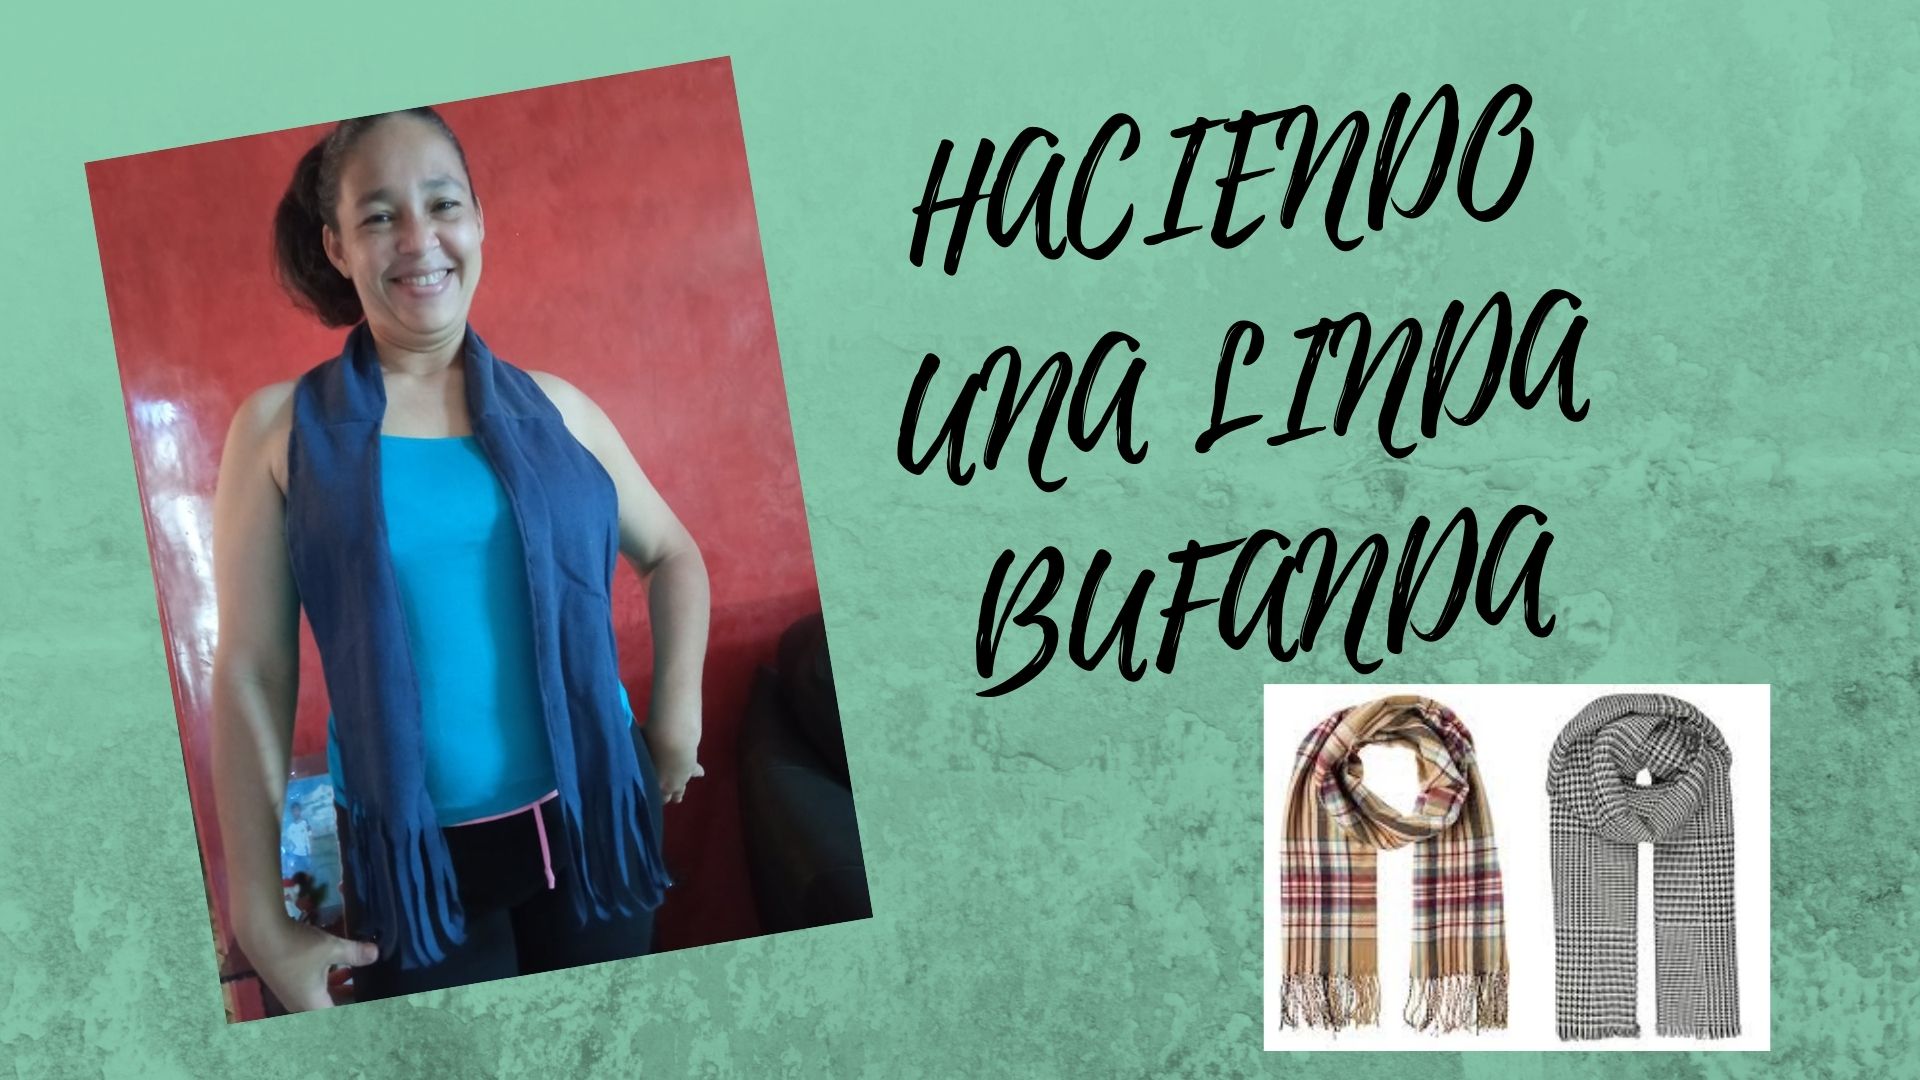
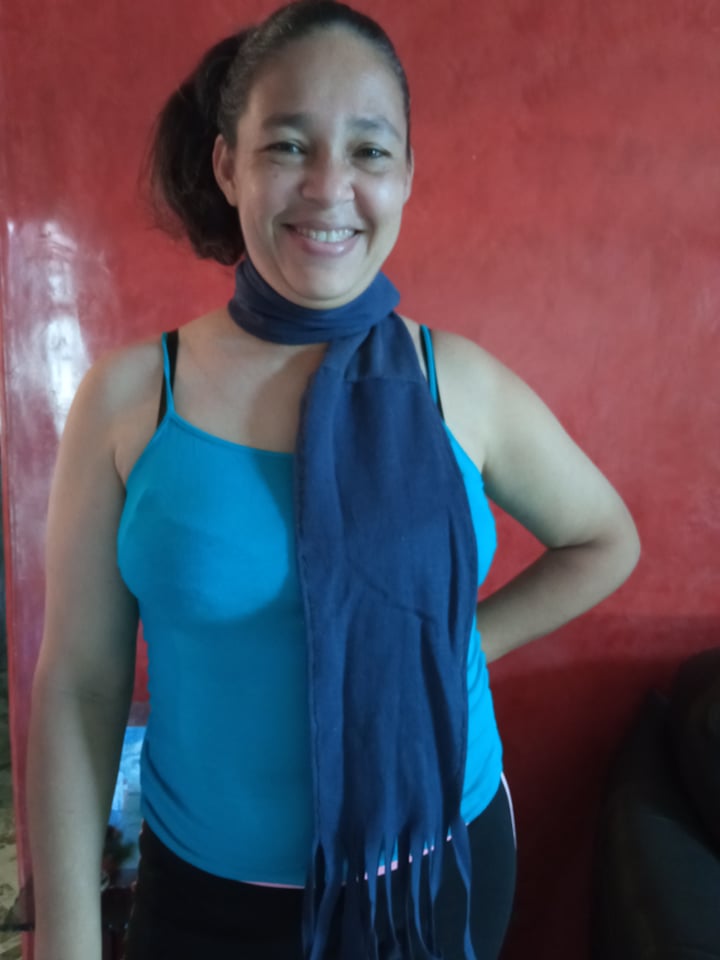
Once again happy to be with you and grateful for the opportunity you have given me to share great ideas, some time ago my son stopped using a jumpsuit that he used for sports at school because he outgrows it and I did not waste the opportunity to make him a beautiful scarf, I loved the end result and even more how it looks, here is the step by step, let's see.

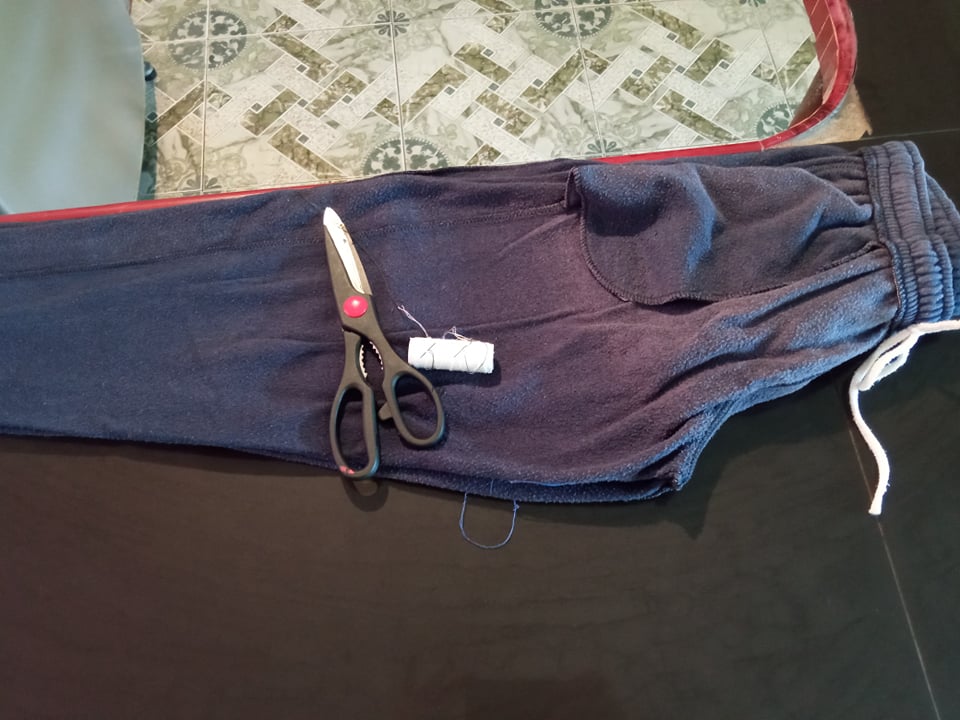
- Los materiales a utilizar son:
- Mono que ya no uses.
- Tijera.
- Hilo de coser.
- Aguja.
- The materials to be used are:
- Overalls that you no longer wear.
- Scissors.
- Sewing thread.
- Needle.
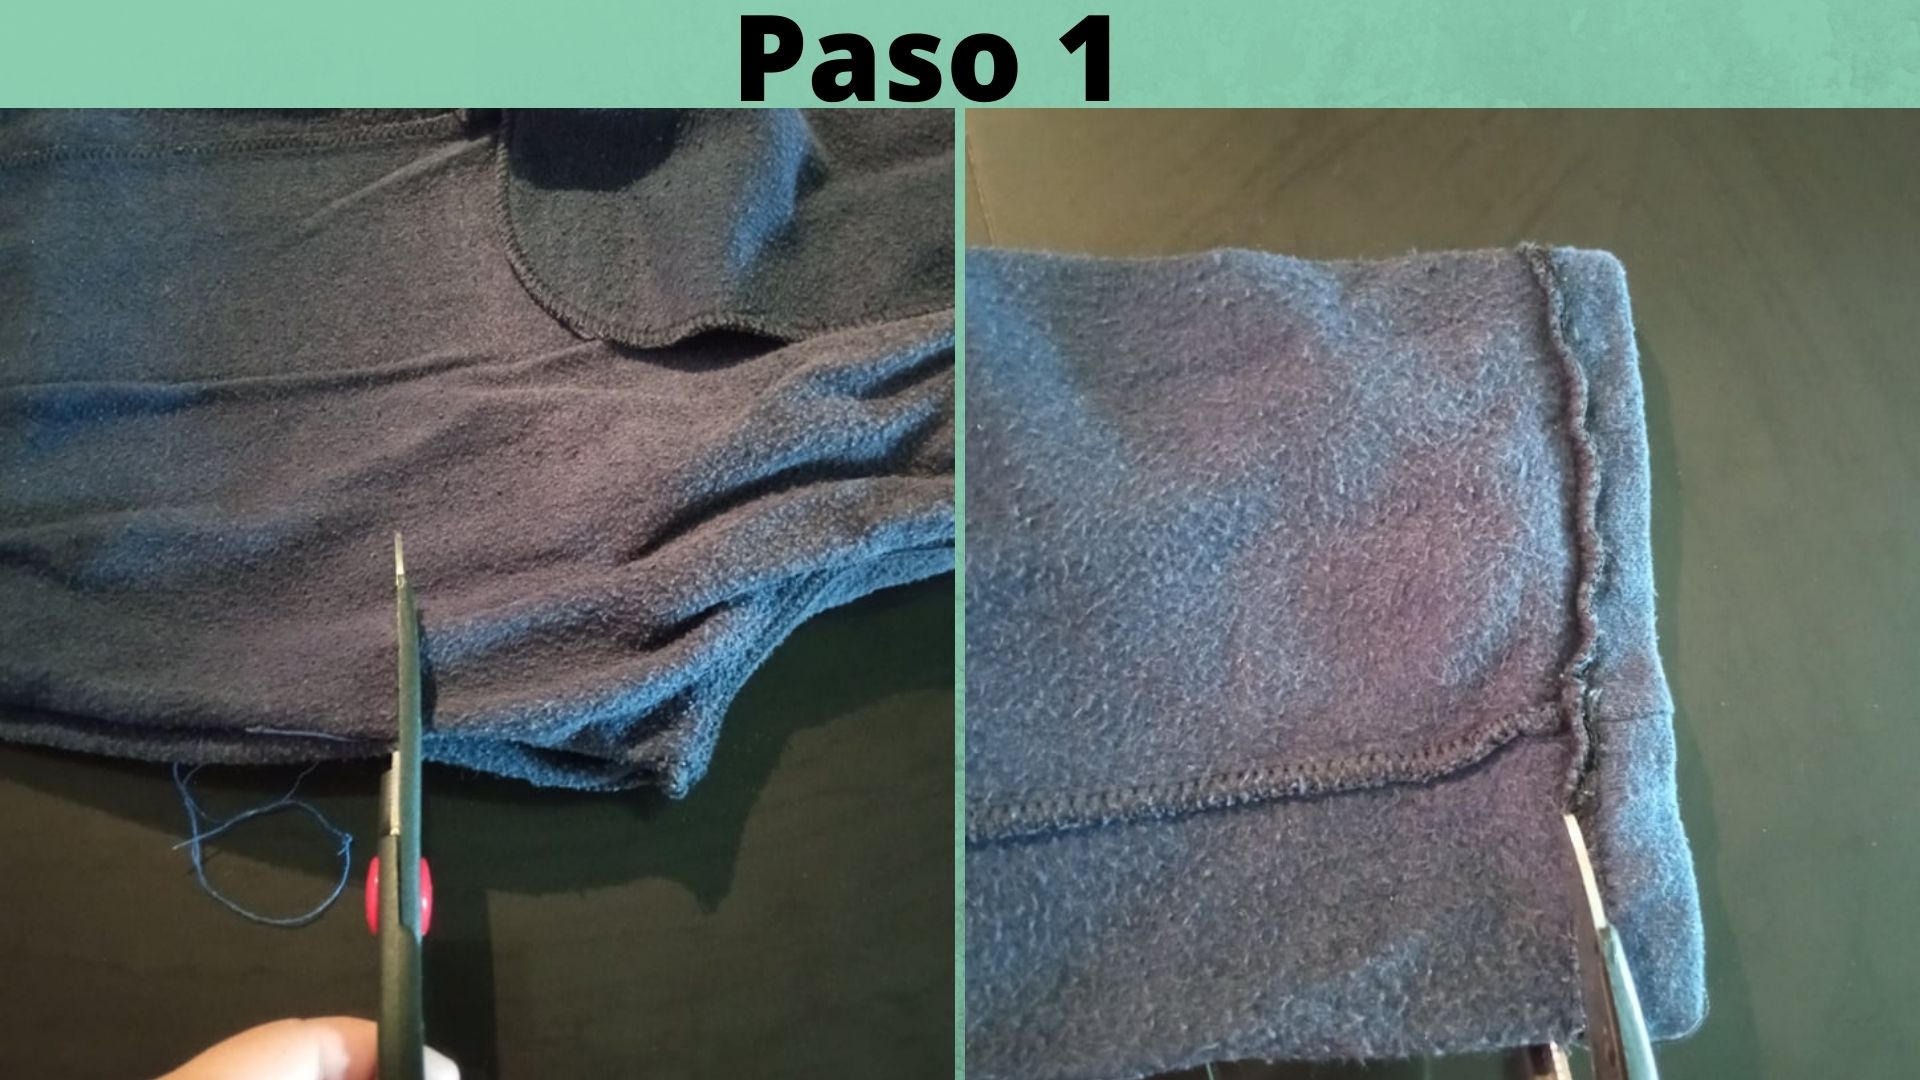
- Paso 1: Lo primero que debemos hacer es doblar el mono, luego cortar dejando un espacio de 5cm hacia abajo, después a cada manga del mono o sea a las 2 partes que sacamos, le cortamos el ruedo.
- Step 1: The first thing to do is to fold the jumpsuit, then cut leaving a space of 5cm downwards, then cut the hem of each sleeve of the jumpsuit, that is to say the 2 parts that we took out.
.jpg)
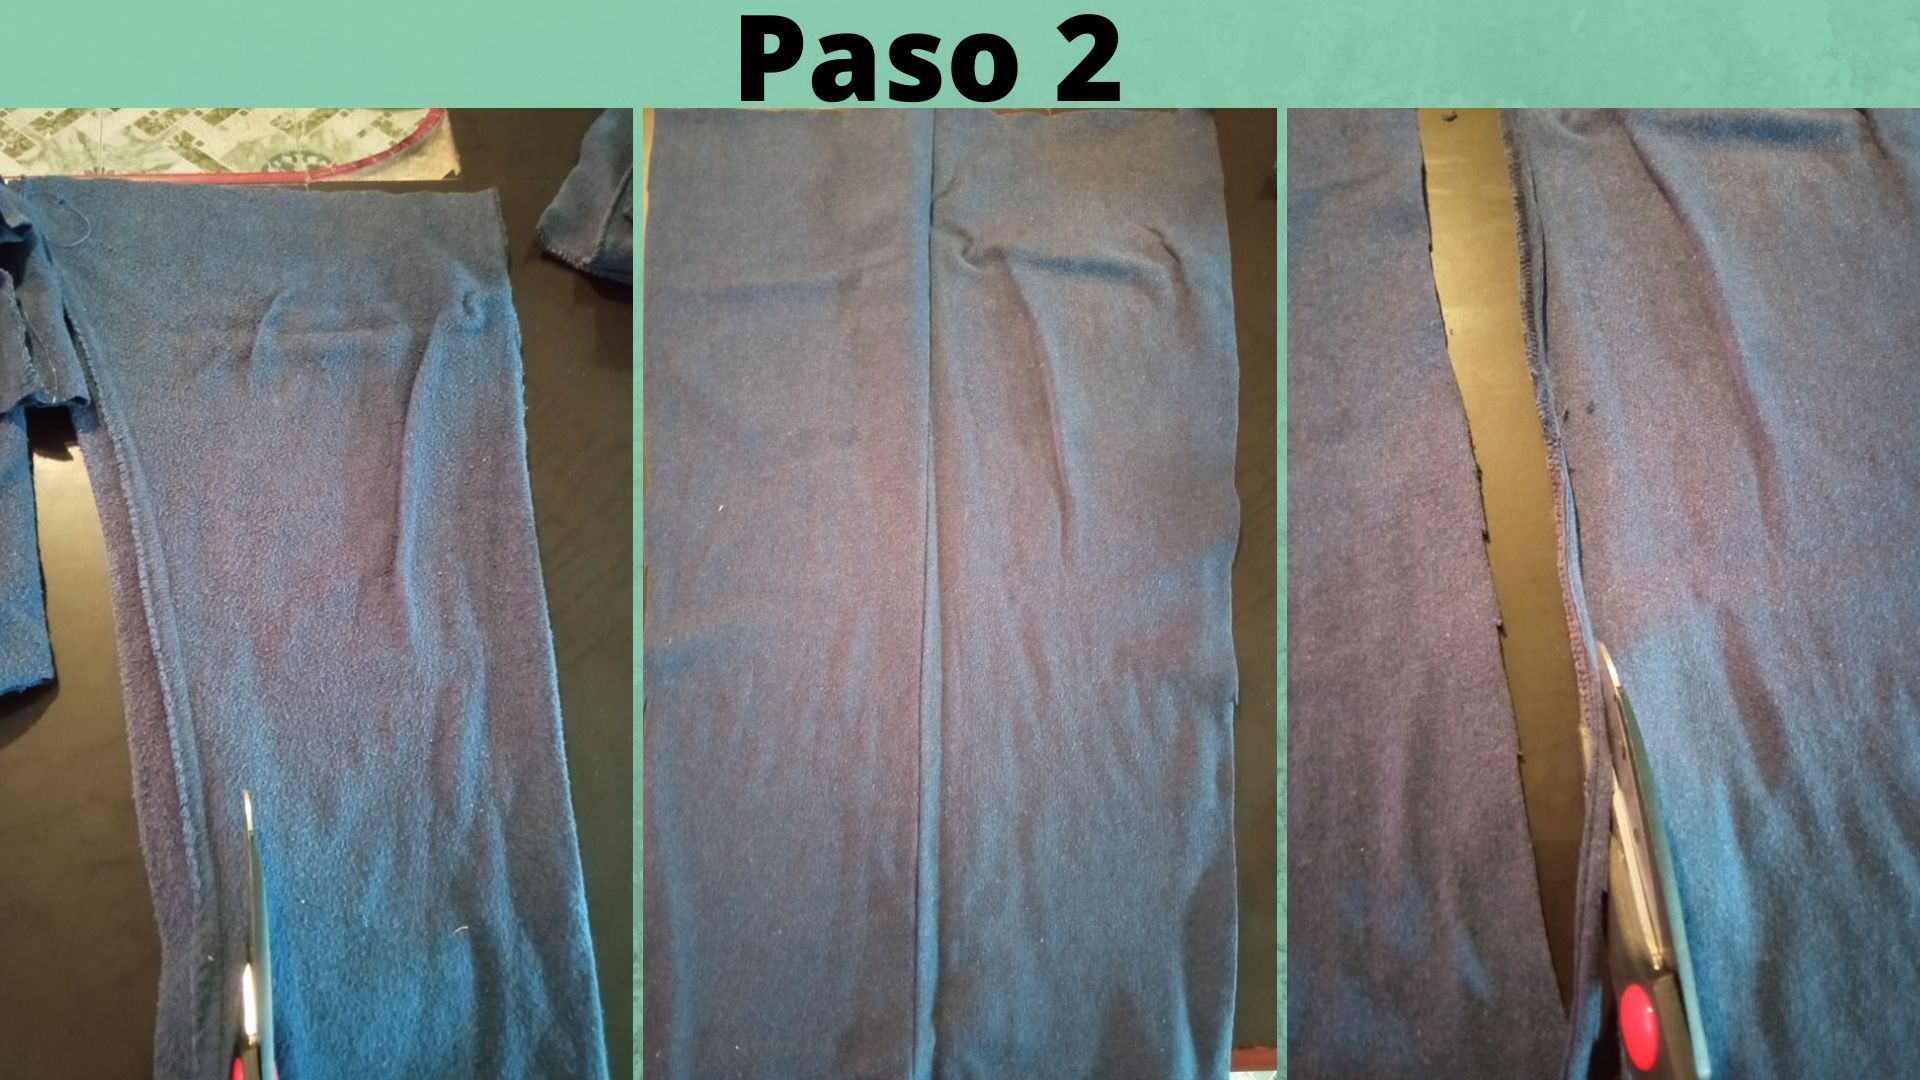
- Paso 2: Una vez que cortamos el ruedo, procedemos a recortar el extremo de la manga, luego abrimos y justamente por el medio cortamos a la mitad, quitando las costuras de cada pieza, cabe destacar que se utilizaron 3 piezas iguales de las mangas del mono.
- Step 2: Once we cut the hem, we proceed to cut the end of the sleeve, then we open it and cut it in the middle, removing the seams of each piece, it should be noted that 3 equal pieces of the sleeves of the jumpsuit were used.
.jpg)
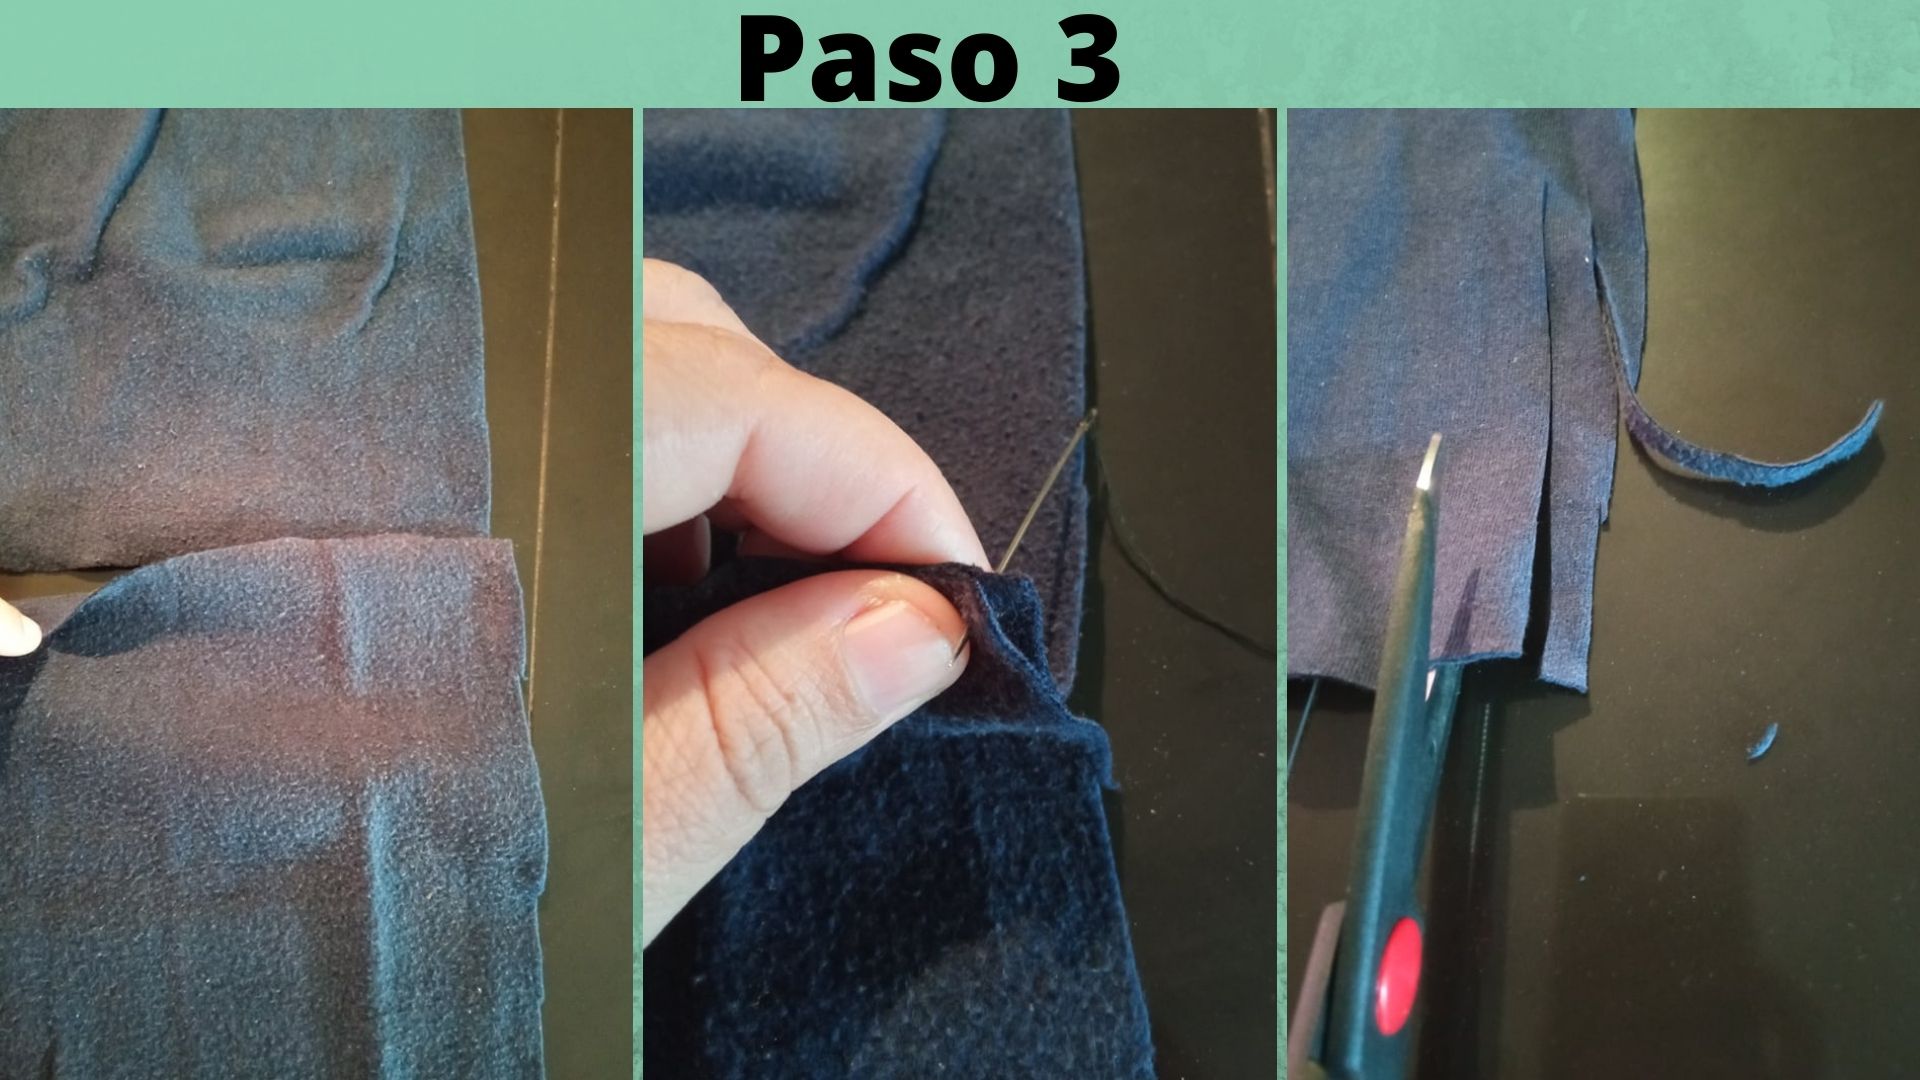
- Paso 3: Luego que quitamos todas las costuras, comenzamos a unir las 3 piezas cosiendo una por una, una vez unidas, en cada extremo de las puntas comenzamos a cortar en hilachas delgadas, esto es para darle un toque delicado y decorativo a nuestra bufanda.
- Step 3: After we remove all the seams, we begin to join the 3 pieces sewing one by one, once joined, at each end of the ends we begin to cut in thin threads, this is to give a delicate and decorative touch to our scarf.
.jpg)
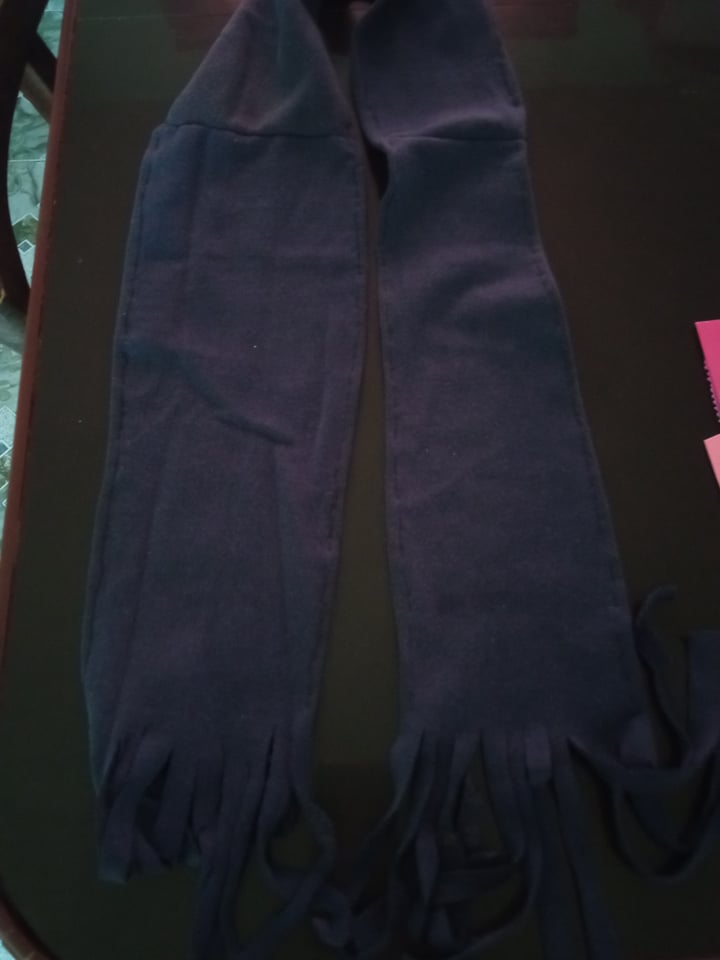
- Paso 4: Una vez que unimos las 3 piezas y que ya hemos cortados ambos extremos en hilachas delgadas, procedemos a coser por toda la orilla y a lo largo de la bufanda, para así terminar con ella.
- Step 4: Once the 3 pieces are joined and both ends have been cut into thin strands, we proceed to sew all around the edge and along the length of the scarf, in order to finish it.


0
0
0.000
Wow I love the way you did the down part neat work.....
I'm glad you liked it.
I never though that it would be this simple to create a scarf. Even though it is simple and easy to follow, I think I can't make one. Needle work is not my cup of tea. !discovery 13
Hello, juecoree, a hug, it is very simple, you will see that if you put yourself to do it, you will succeed. Blessings.
This post was shared and voted inside the discord by the curators team of discovery-it
Join our community! hive-193212
Discovery-it is also a Witness, vote for us here
Delegate to us for passive income. Check our 80% fee-back Program
Thank you very much.
Hola @yannet80, veo que te gusta mucho reciclar y transformar prendas para darles una nueva vida. Te ves feliz con tu nueva bufanda.
Gracias por compartir tu proyecto en esta comunidad.
Saludos y bendiciones 🤗
Saludos kattycrochet, me encanta reciclar y sí, estoy feliz con mi bufanda.
Congratulations @yannet80! You have completed the following achievement on the Hive blockchain and have been rewarded with new badge(s) :
Your next target is to reach 200 replies.
You can view your badges on your board and compare yourself to others in the Ranking
If you no longer want to receive notifications, reply to this comment with the word
STOPCheck out the last post from @hivebuzz:
Support the HiveBuzz project. Vote for our proposal!